In this tutorial, I will introduce you to BunkerWeb and then explain how to deploy it in your environment with Docker and configure a service that is a site that will be protected by BunkerWeb.
Table of Content
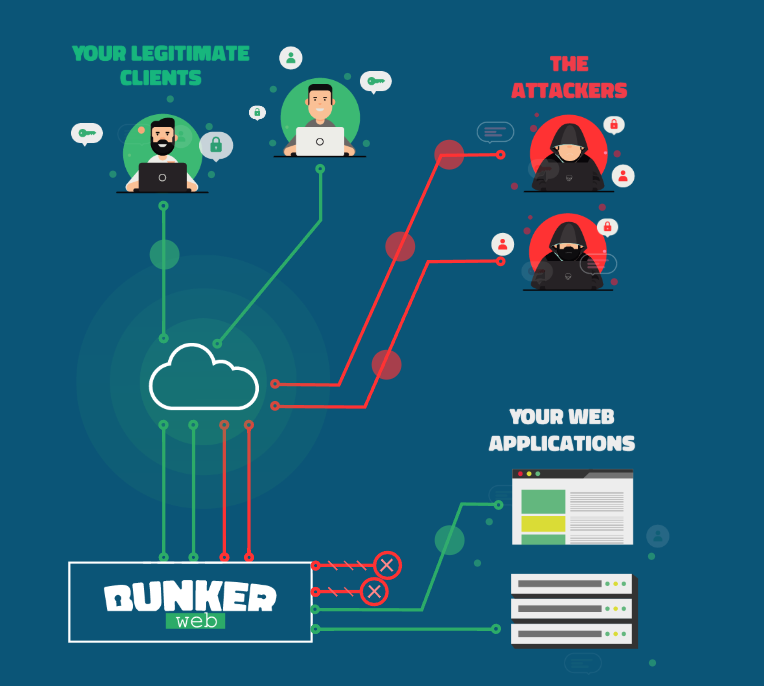
What is BunkerWeb?
Bunkerweb is a WAF (Web Application Firewall) solution that will allow you to publish your web applications on the Internet while keeping them secure.
To put it simply, it’s a reverse proxy based on Nginx which includes all the elements needed to secure your applications, such as:
- ModSecurity is the WAF layer that will detect malicious requests.
- DNSBL: Verify that the IP address of the client accessing the application is not blacklisted.
- ReverseScan
- Bad behavior: suspicious behavior that generates 400 and 404 error codes, usually discovery bots
- Antibot: adds a Captcha to ensure the user is human
- Geoip
- HTTPS with Let’s Encrypt or custom certificates
- Blacklist / Greylist / Whitelist
- ….
It is also possible to add plugins to add security features such as:
- Crowdsec
- ClamAV
The big advantage compared to a classic Nginx installation is that BunkerWeb allows you to configure all your applications (services) with a web interface for people who are uncomfortable with command lines.
Finally, regarding the possibilities, it is also possible to use configuration files if Nginx options are not available in BunkerWeb.
BunkerWeb is open source; the GitHub repository is located here: https://github.com/bunkerity/bunkerweb
There are more “versions”:
- Free, which we will see in this tutorial
- The Pro version offers additional support and features such as monitoring, Prometheus export, Let’s Encrypt DNS integration, and reporting.
- A Cloud version
Finally, BunkerWeb is French… Vive la France!
In this tutorial, I will mainly cover the configuration of BunkerWeb as a Reverse proxy; it is also designed to integrate with Docker and Kubernetes to automate the publishing of your containerized applications.
Since this tutorial was written, Bunkerweb has been released in version 1.6.0, and the web interface has been redesigned.
What you need to deploy BunkerWeb
From a Linux environment with Docker installed, the following tutorial Ubuntu 22.04: install Docker can help you if you have never installed Docker.
In terms of resources, it will depend mainly on the number of services you will publish and the traffic.
For your information, I ran tests on a container LCX on Proxmox with the following configuration:
- 1 CPU
- 1GB of RAM
- 20GB of disk space
You will also need a DNS record for access to the BunkerWeb administration console; this must point to your Linux server.
If you also want to understand the different elements that will be deployed to make BunkerWeb work, I invite you to read the concepts Before.
In summary, here are the key points to understand: the BunkerWeb solution relies on several Docker services to function:
- bunkerweb: this is the front-end service where Nginx is installed and which will process the requests.
- bw-scheduler: it is in a way the “brain”, it takes care of storing and generating configurations for bunkerweb and performs various tasks.
- bw-ui: this is the service that allows us to have a web interface
Deploy BunkerWeb with Docker
The main advantage of using Docker is that we will deploy BunkerWeb very easily without needing to install anything, we will just need to configure our docker-compose.yml file.
If you are used to reading my articles, for once, I’m going to go to the following location on my Linux server: /containers/bunkerweb
Here is my docker-compose.yml file:
services:
  bunkerweb:
    image: bunkerity/bunkerweb:1.6.0
    restart: always
    ports:
      - 80:8080
      - 443:8443
    environment:
      - DATABASE_URI=mariadb+pymysql://bunkerweb:changeme_mysql@bw-db:3306/db # Remember to set a stronger password for the database
      - API_WHITELIST_IP=127.0.0.0/8 10.150.250.0/24
    volumes:
      - ./ssl:/ssl
    networks:
      - bw-universe
      - bw-services

  bw-scheduler:
    image: bunkerity/bunkerweb-scheduler:1.6.0
    restart: always
    depends_on:
      - bunkerweb
    environment:
      - DATABASE_URI=mariadb+pymysql://bunkerweb:changeme_mysql@bw-db:3306/db # Remember to set a stronger password for the database
      - API_WHITELIST_IP=127.0.0.0/8 10.150.250.0/24
      - BUNKERWEB_INSTANCES="bunkerweb"
      - MULTISITE=yes
      - SERVE_FILES="no"
      - USE_CLIENT_CACHE=yes
      - USE_GZIP=yes
      - SERVER_NAME=bunkerweb.demo.lan
      - bunkerweb.demo.lan_USE_UI=yes
      - bunkerweb.demo.lan_USE_REVERSE_PROXY=yes
      - bunkerweb.demo.lan_REVERSE_PROXY_URL=/
      - bunkerweb.demo.lan_REVERSE_PROXY_HOST=http://bw-ui:7000
      - bunkerweb.demo.lan_INTERCEPTED_ERROR_CODES=400 404 405 413 429 500 501 502 503 504
      - bunkerweb.demo.lan_MAX_CLIENT_SIZE=50m
    volumes:
      - ./ssl:/ssl
    networks:
      - bw-universe
      - bw-docker

  bw-ui:
    image: bunkerity/bunkerweb-ui:1.6.0
    restart: always
    environment:
      - DATABASE_URI=mariadb+pymysql://bunkerweb:changeme_mysql@bw-db:3306/db # Remember to set a stronger password for the database
      - ADMIN_USERNAME=admin
      - ADMIN_PASSWORD=changeme_adminpassword # Remember to set a stronger password for the changeme user
    networks:
      - bw-universe
      - bw-docker

  bw-db:
    image: mariadb:11
    restart: always
    environment:
      - MYSQL_RANDOM_ROOT_PASSWORD=yes
      - MYSQL_DATABASE=db
      - MYSQL_USER=bunkerweb
      - MYSQL_PASSWORD=changeme_mysql # Remember to set a stronger password for the database
    volumes:
      - ./bw-data:/var/lib/mysql
    networks:
      - bw-docker

networks:
  bw-universe:
    name: bw-universe
    ipam:
      driver: default
      config:
        - subnet: 10.150.250.0/24
  bw-services:
    name: bw-services
  bw-docker:
    name: bw-docker
Here are the elements you need to change:
- bunkerweb.demo.lan: via the URL (DNS record) you chose for accessing the web interface
- changeme_mysql: MariaDB password for the bunkerweb account
- changeme_adminpassword: password for the admin account to access the web interface, which must be complex.
Once the file docker-compose.yml On your server, in the correct location, enter the following command to download the images:
sudo docker compose pull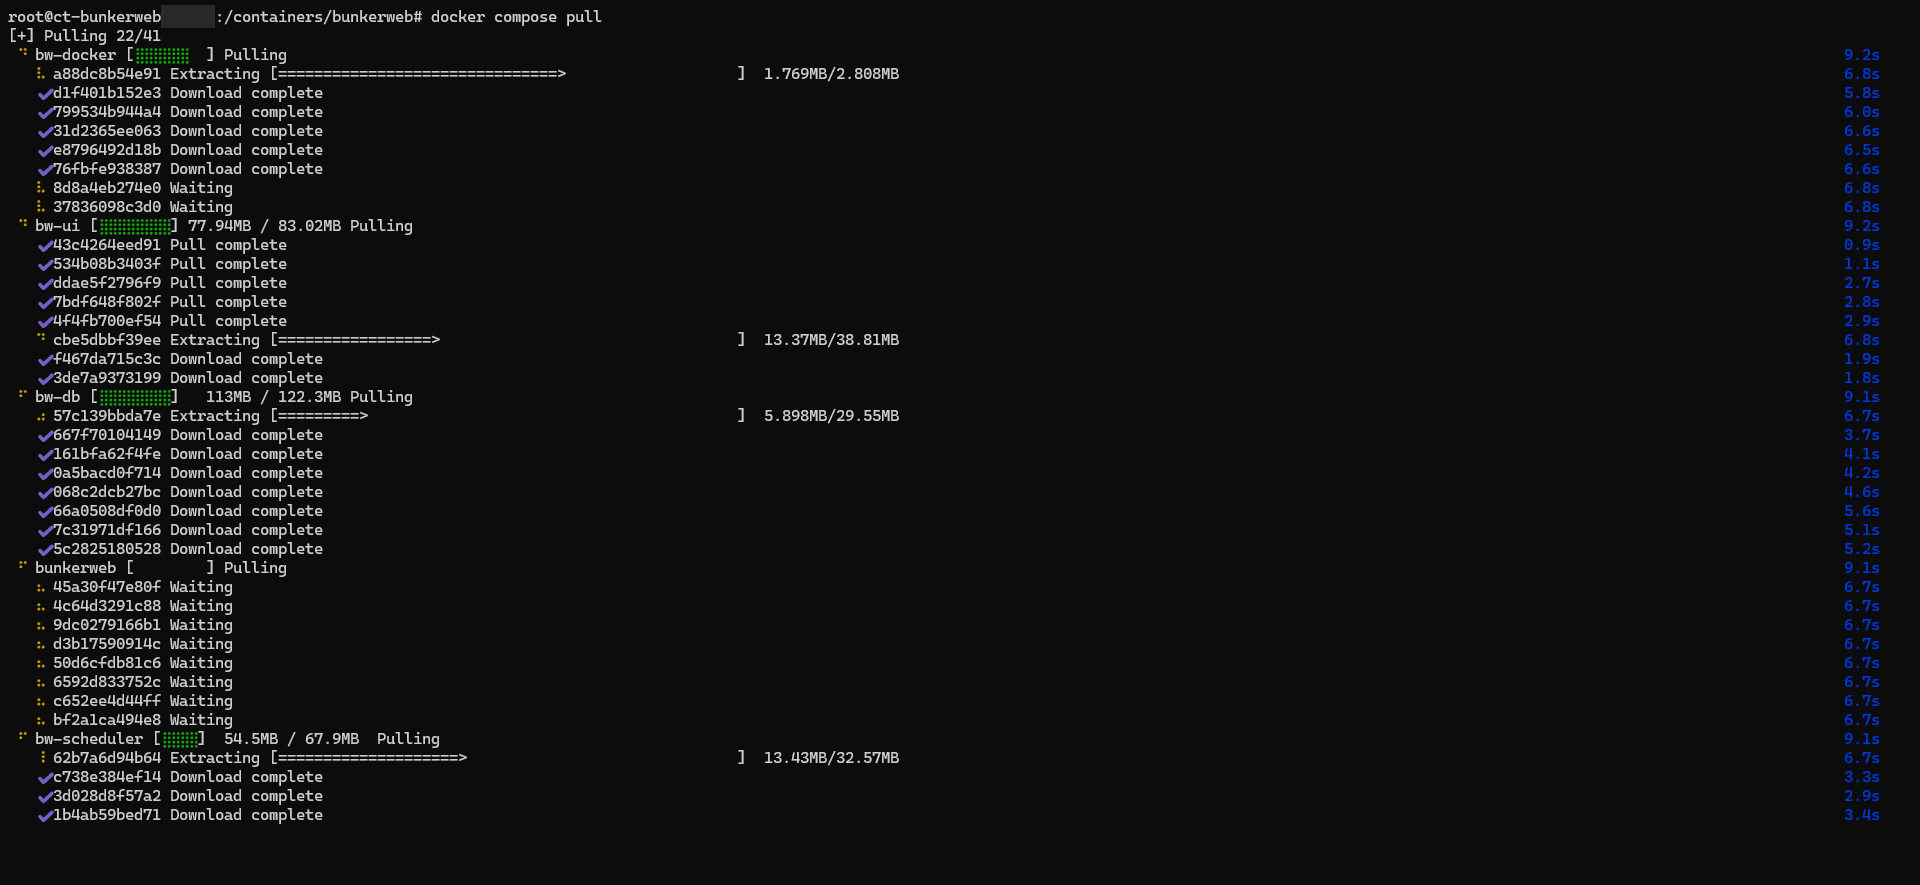
Once the images are downloaded, enter the following command to start the containers and access the logs.
sudo docker compose up -d && sudo docker compose logs -f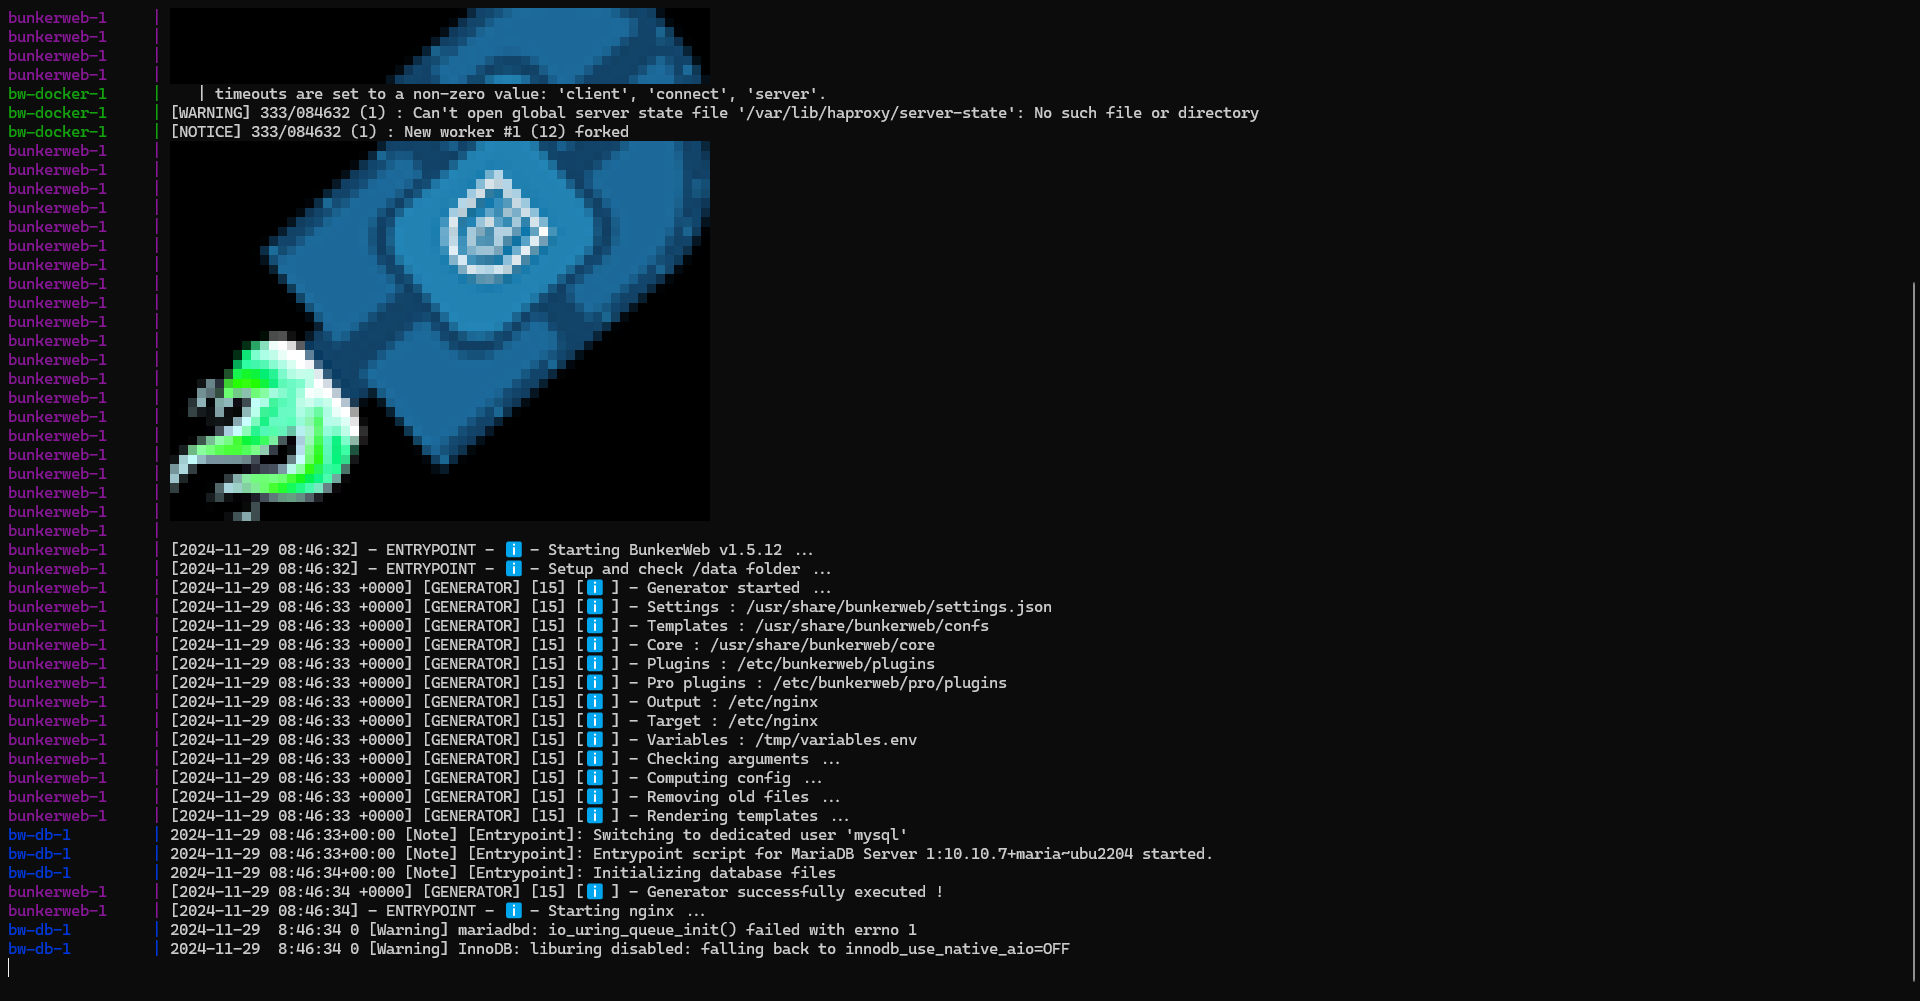
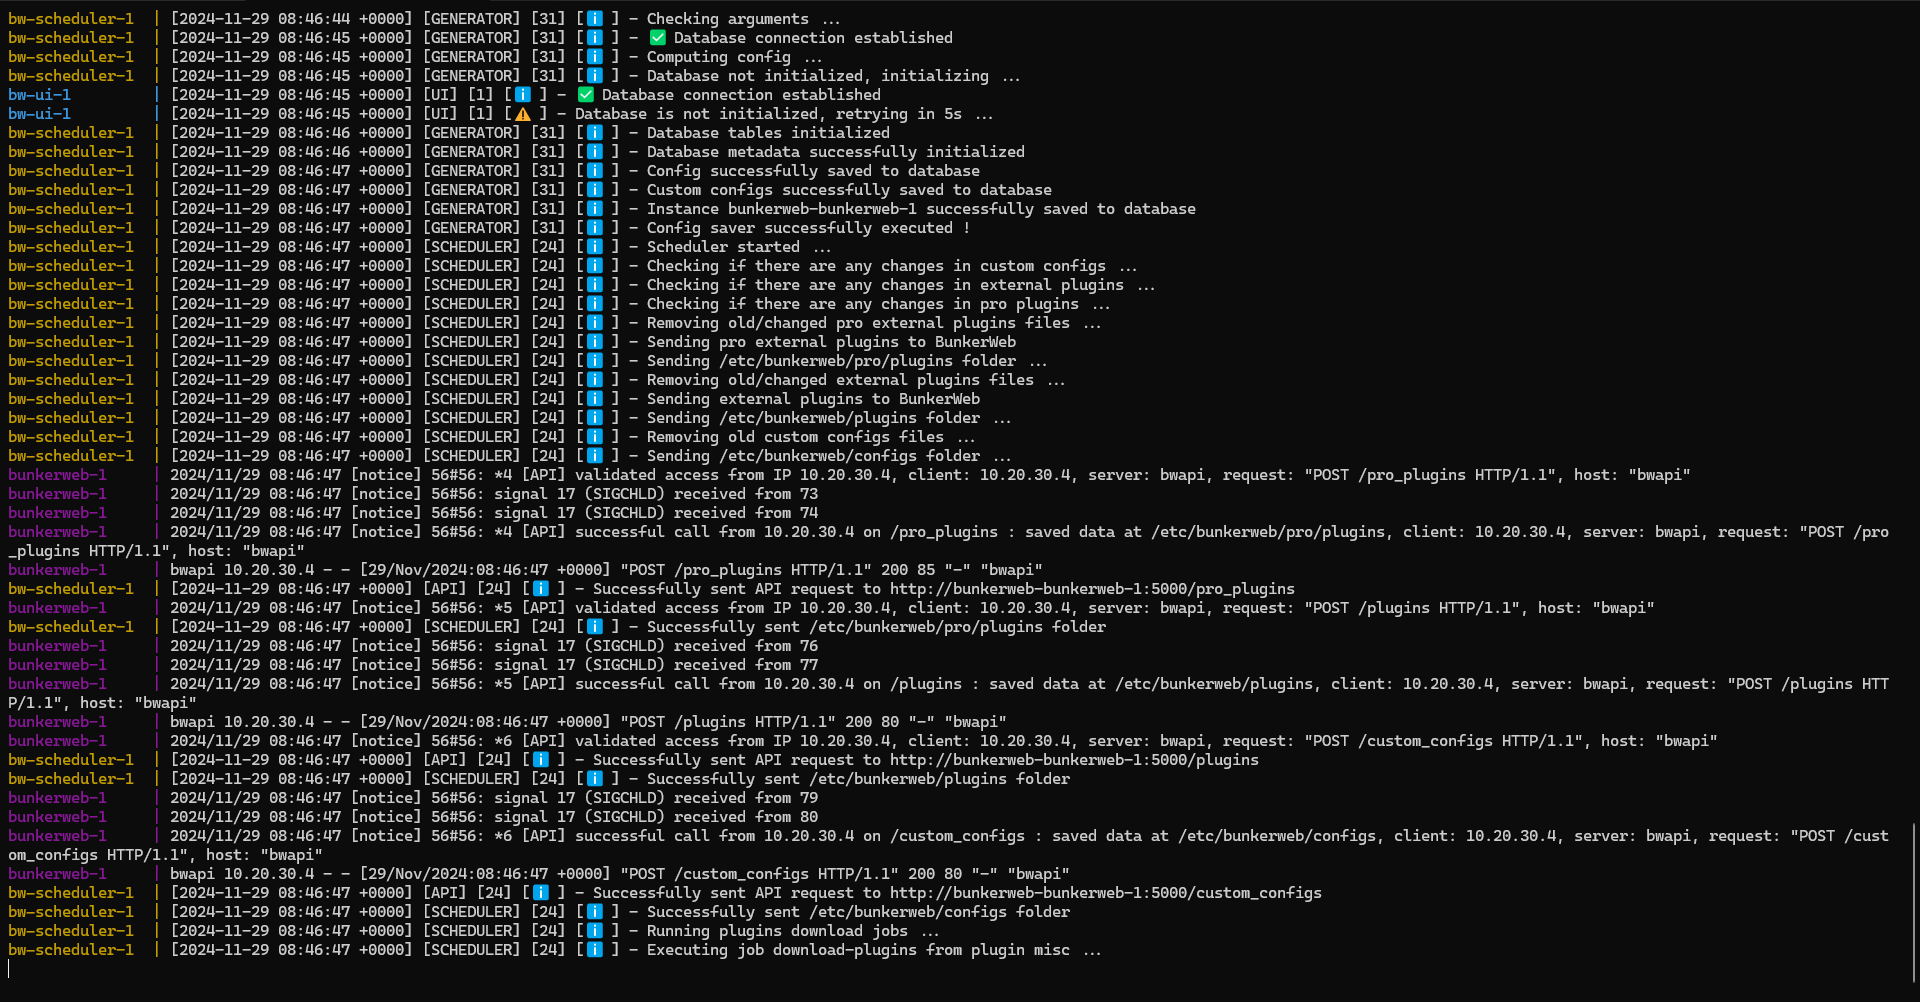
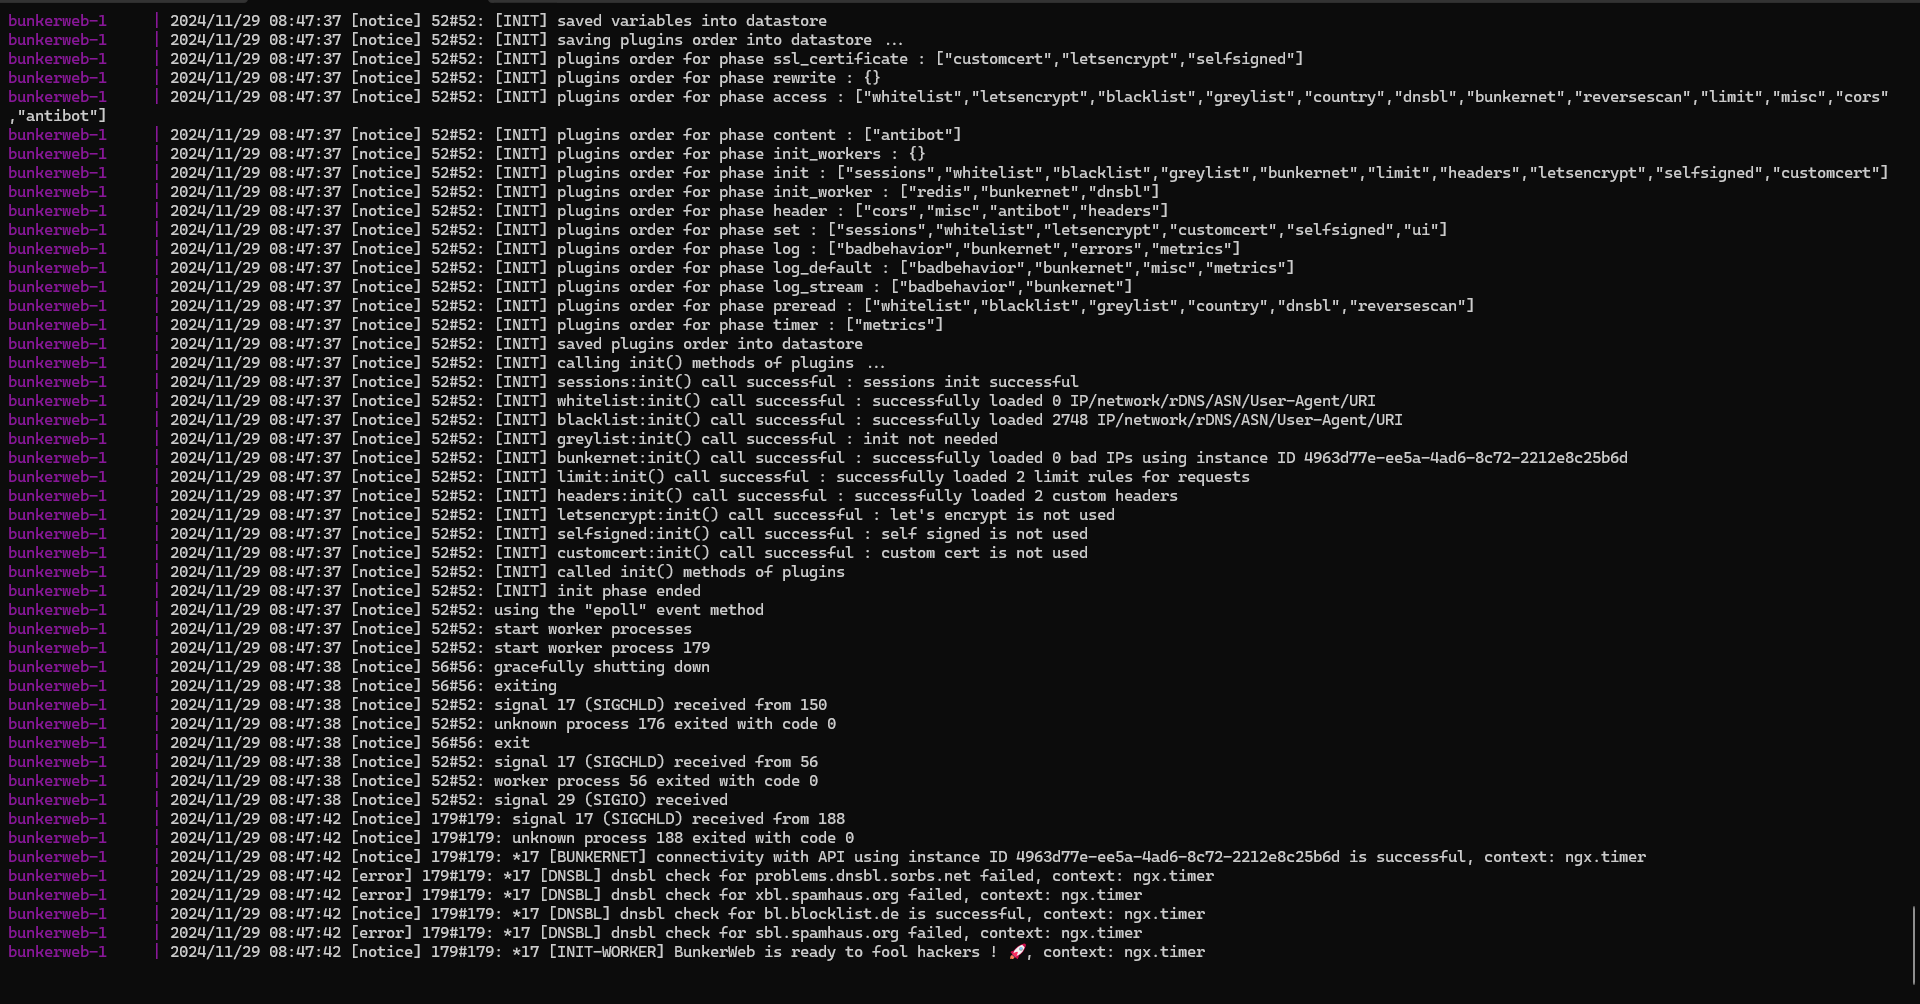
Please wait during the initial startup, which takes some time due to the initialization of BunkerWeb and the database; check the logs for any errors.
To exit the logs, press Ctrl+C.
From a web browser, enter the URL of the web interface, you should arrive at the form below, you should also get a certificate error because it is not known.
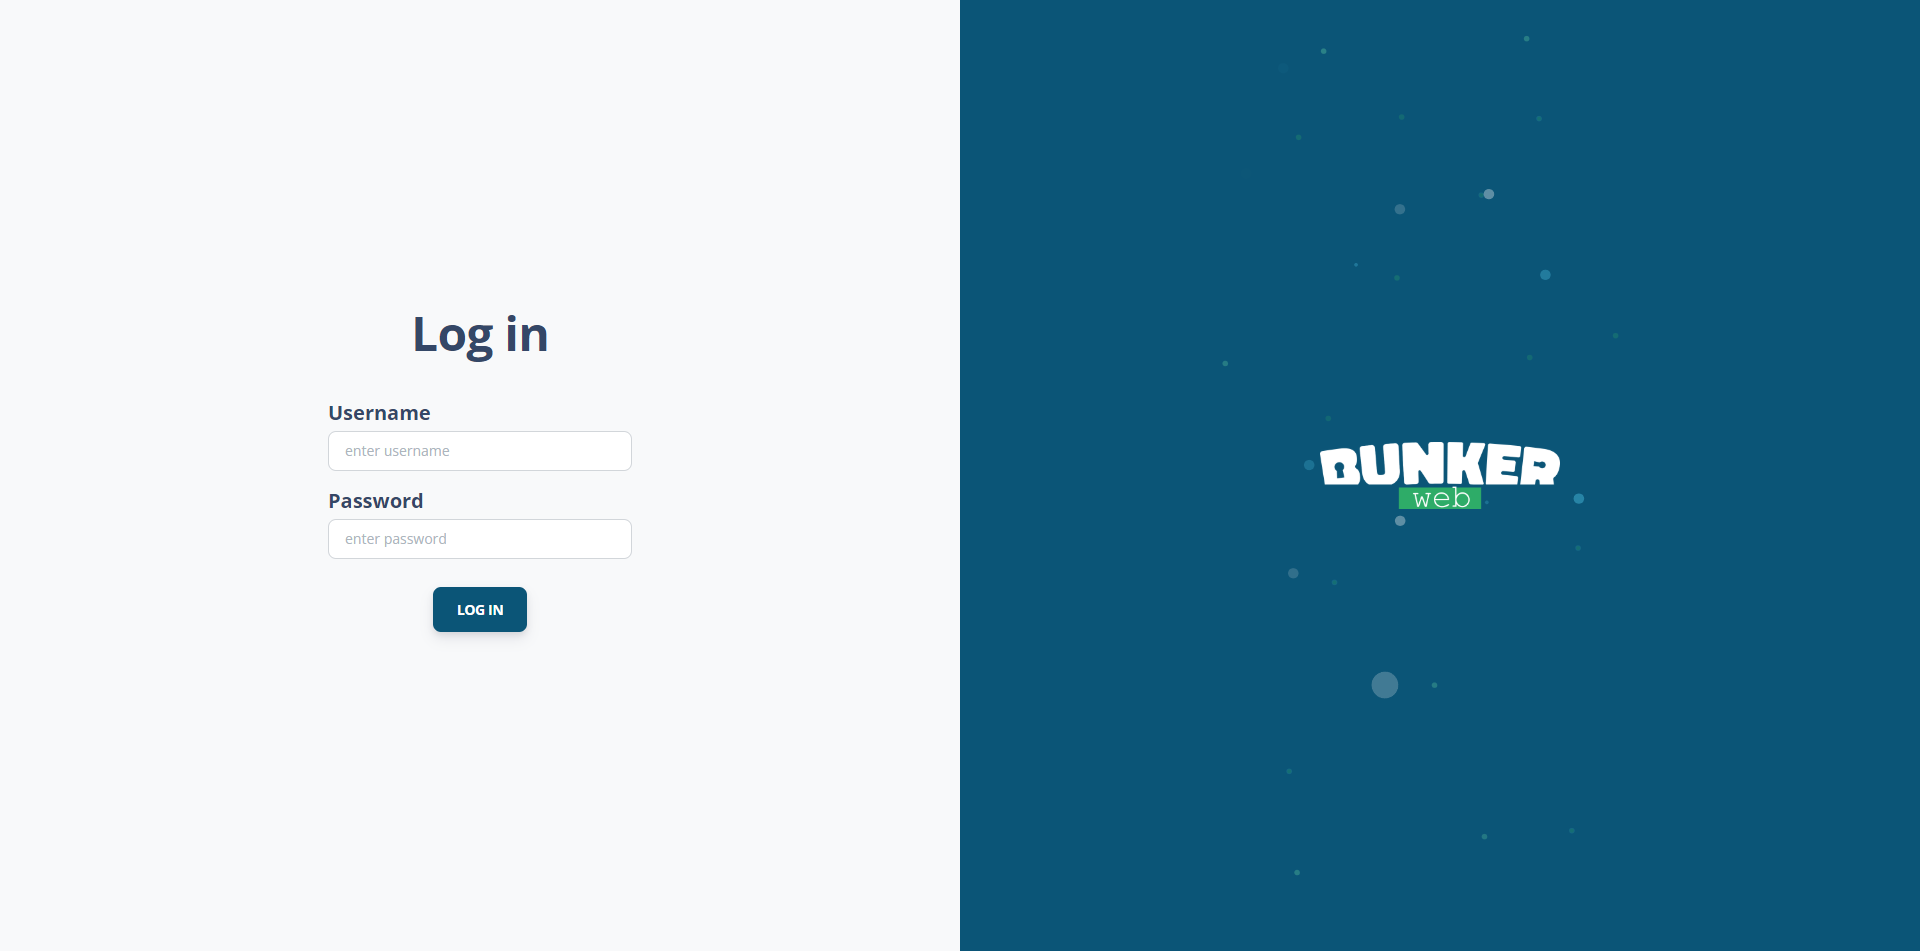
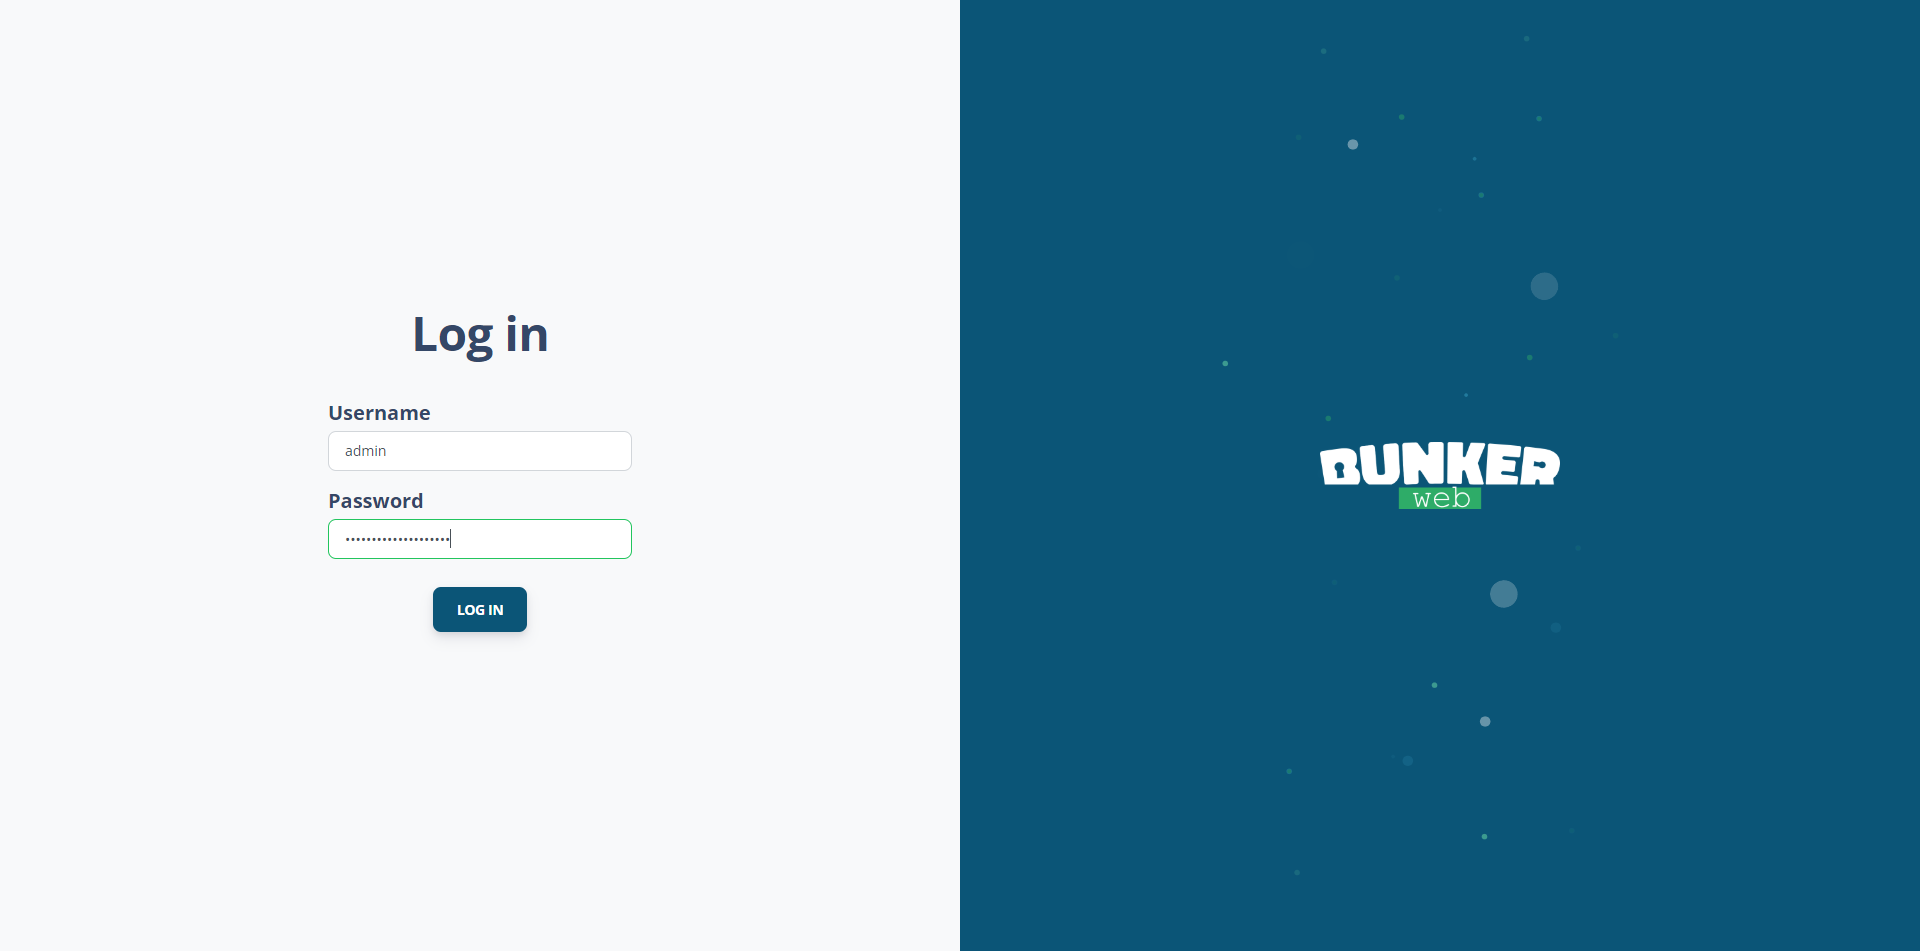
Enter the configured credentials in the file docker-compose.yml admin and the password.
Once logged in, you arrive at the home page of the web interface.
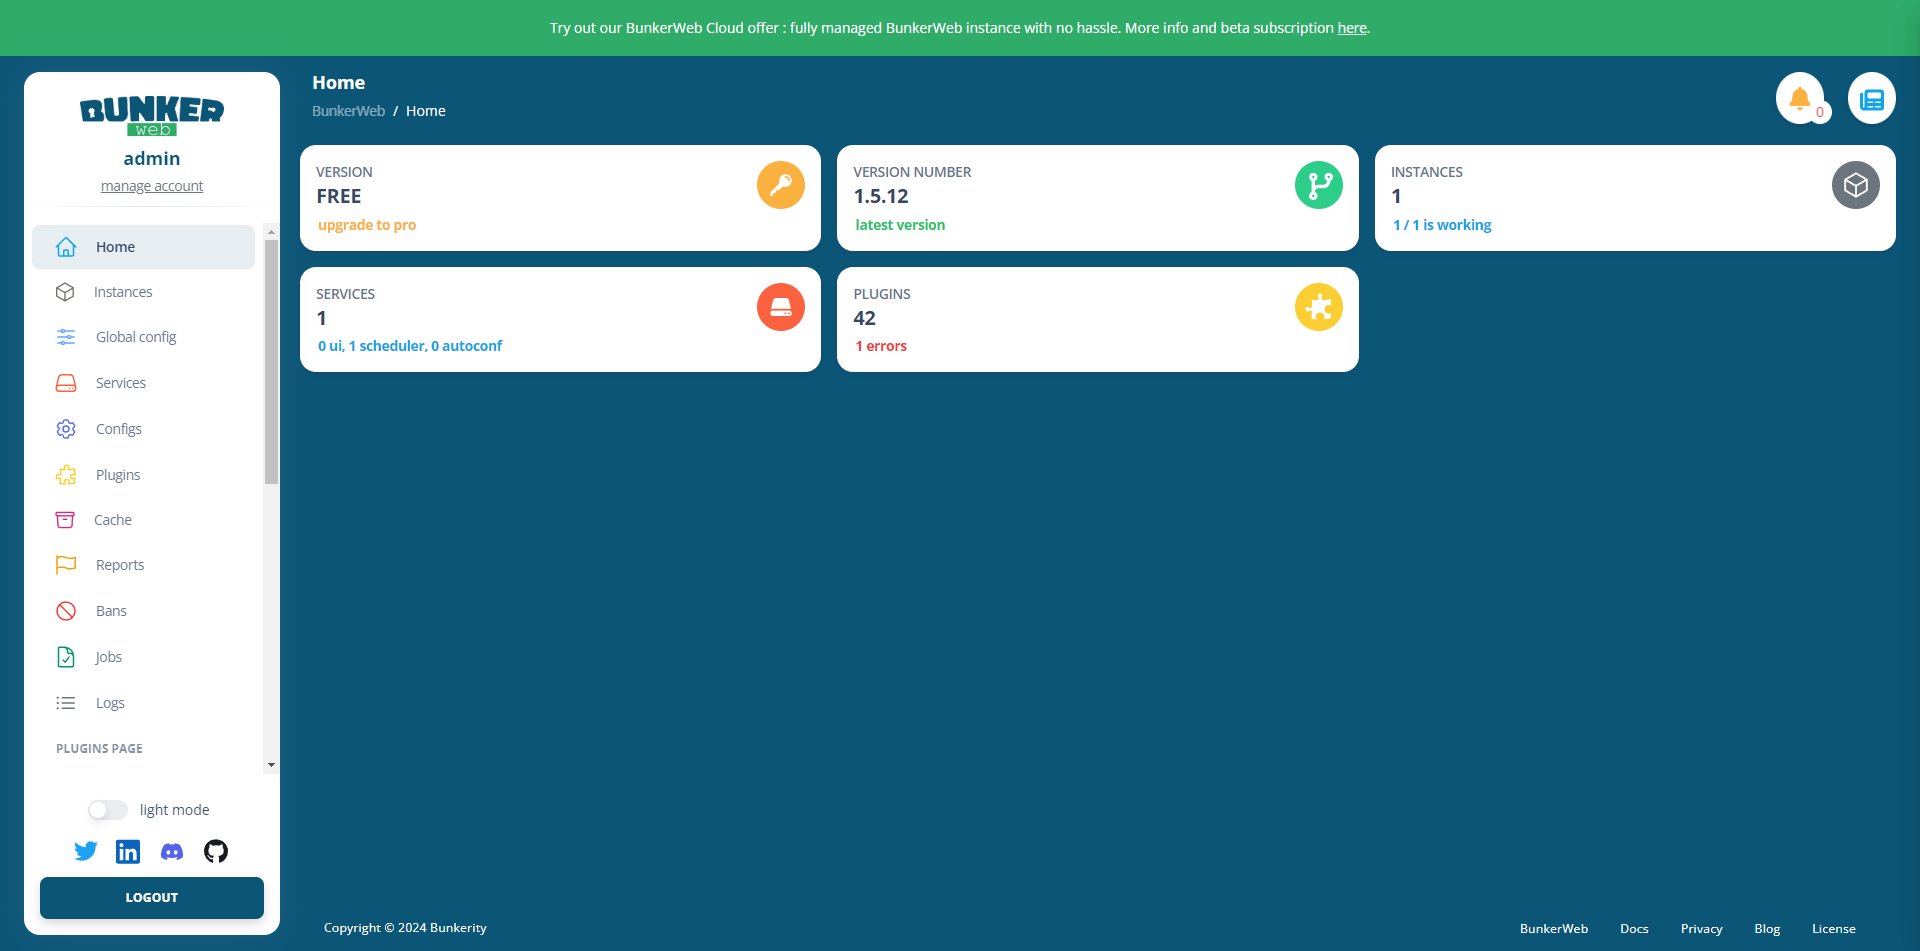
Our BunkerWeb is deployed; now we just need to configure the services.
If you would like examples of BunkerWeb deployments, there are more examples on the Github repository: https://github.com/bunkerity/bunkerweb/tree/master/examples
Configure a service in BunkerWeb
We will now move on to configuring a service, which is the name of the publications on BunkerWeb.
In this first tutorial dedicated to BunkerWeb, I will not go through all the options, we will see that in other articles.
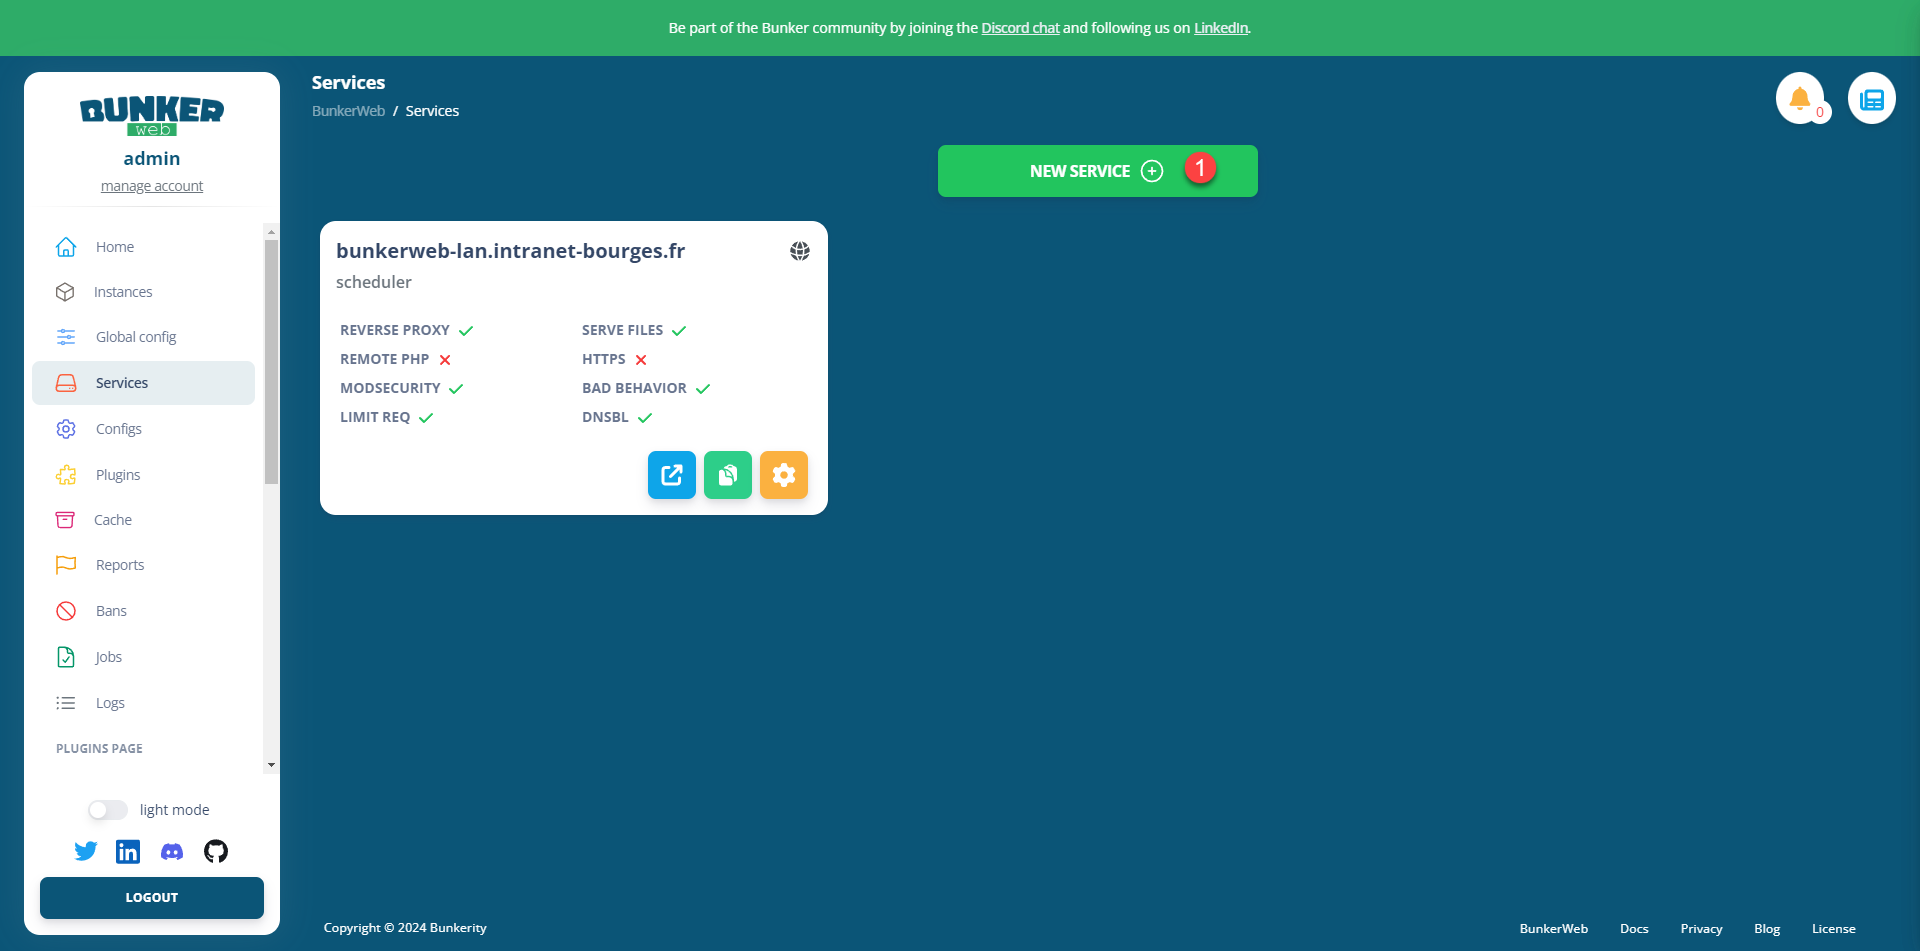
From the navigation menu, click on Services 1.

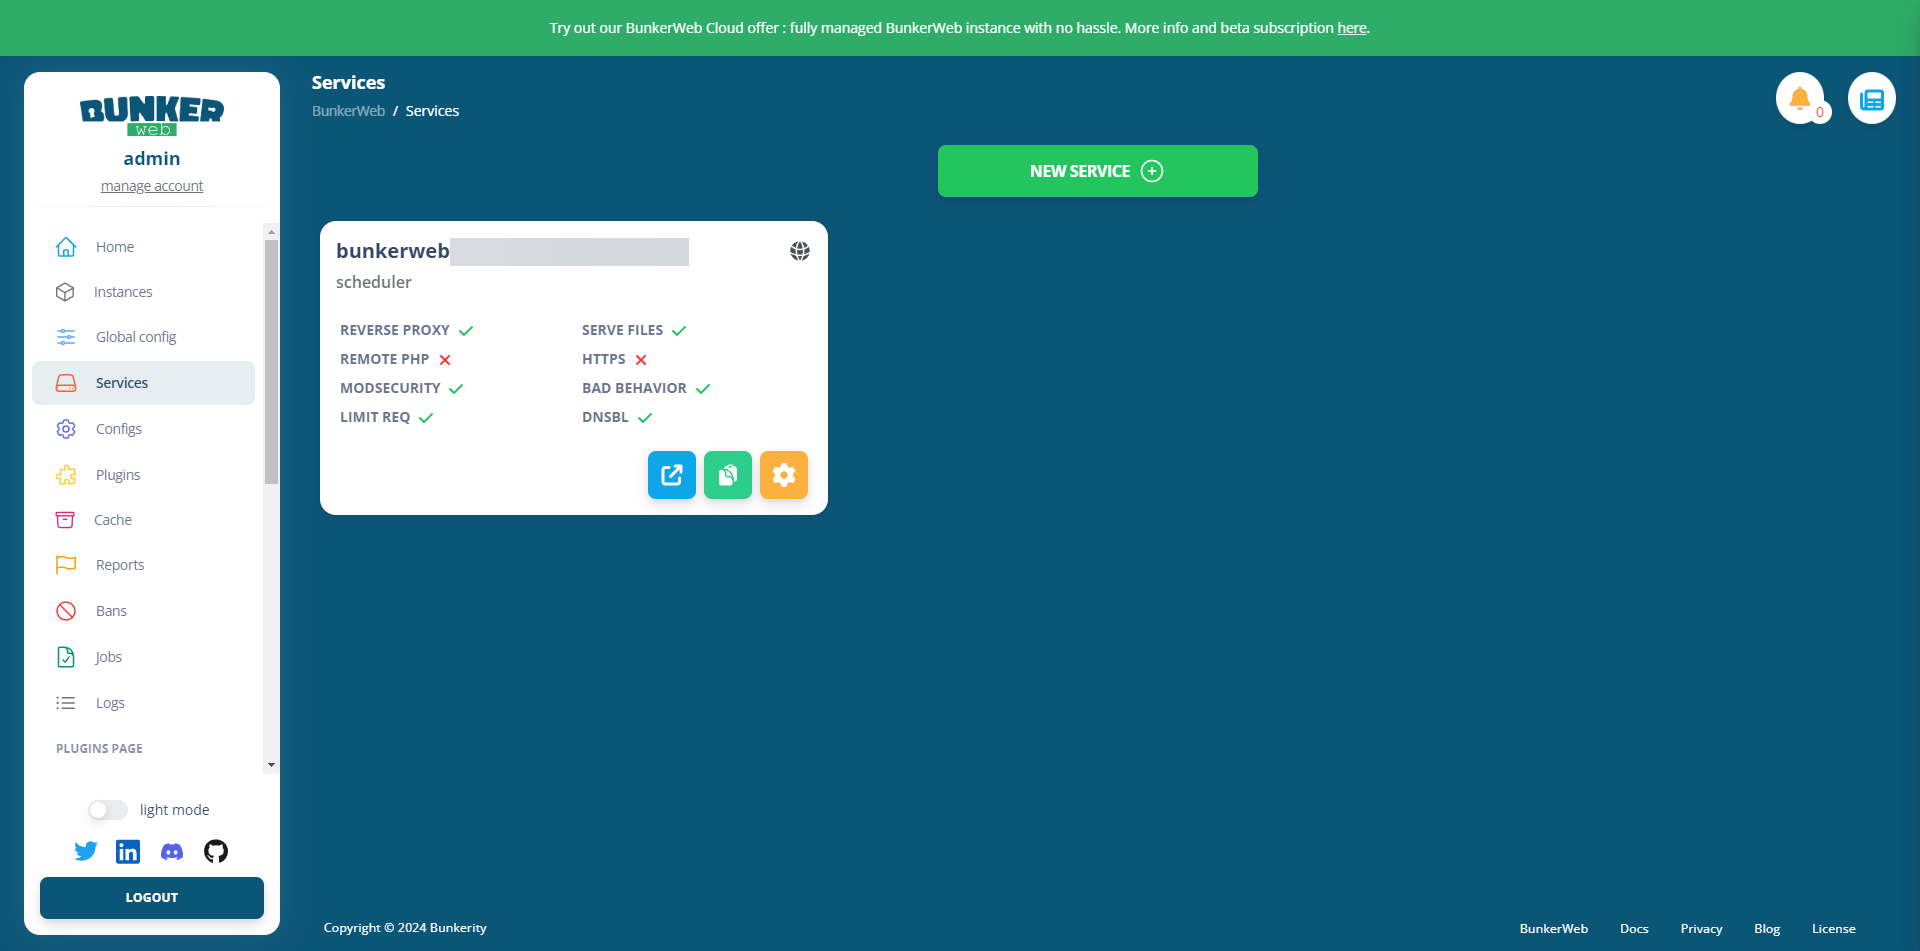
On the services page, we can see that one is already configured; this is the one that allows us to access the web interface, and its settings are located in the file docker-compose.yml.
Click on the NEW SERVICE 1 button.
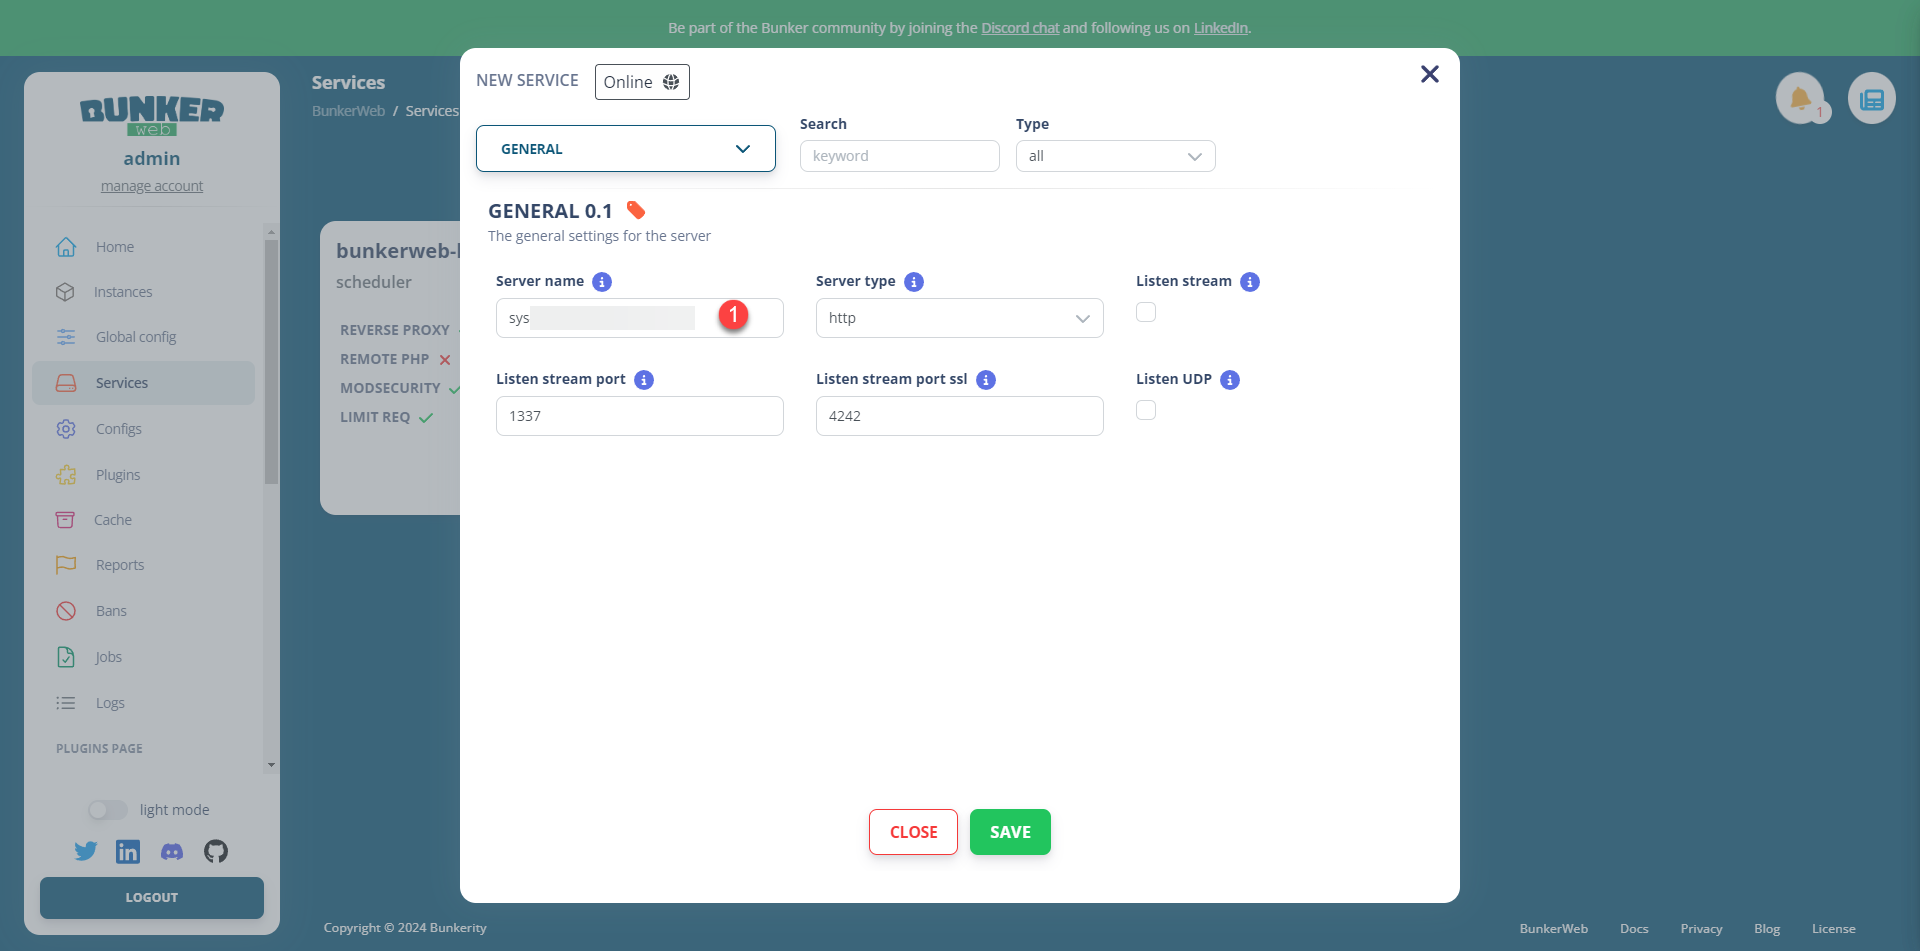
Start by configuring the Server name parameter 1 which is the fqdn (DNS) name of your application.
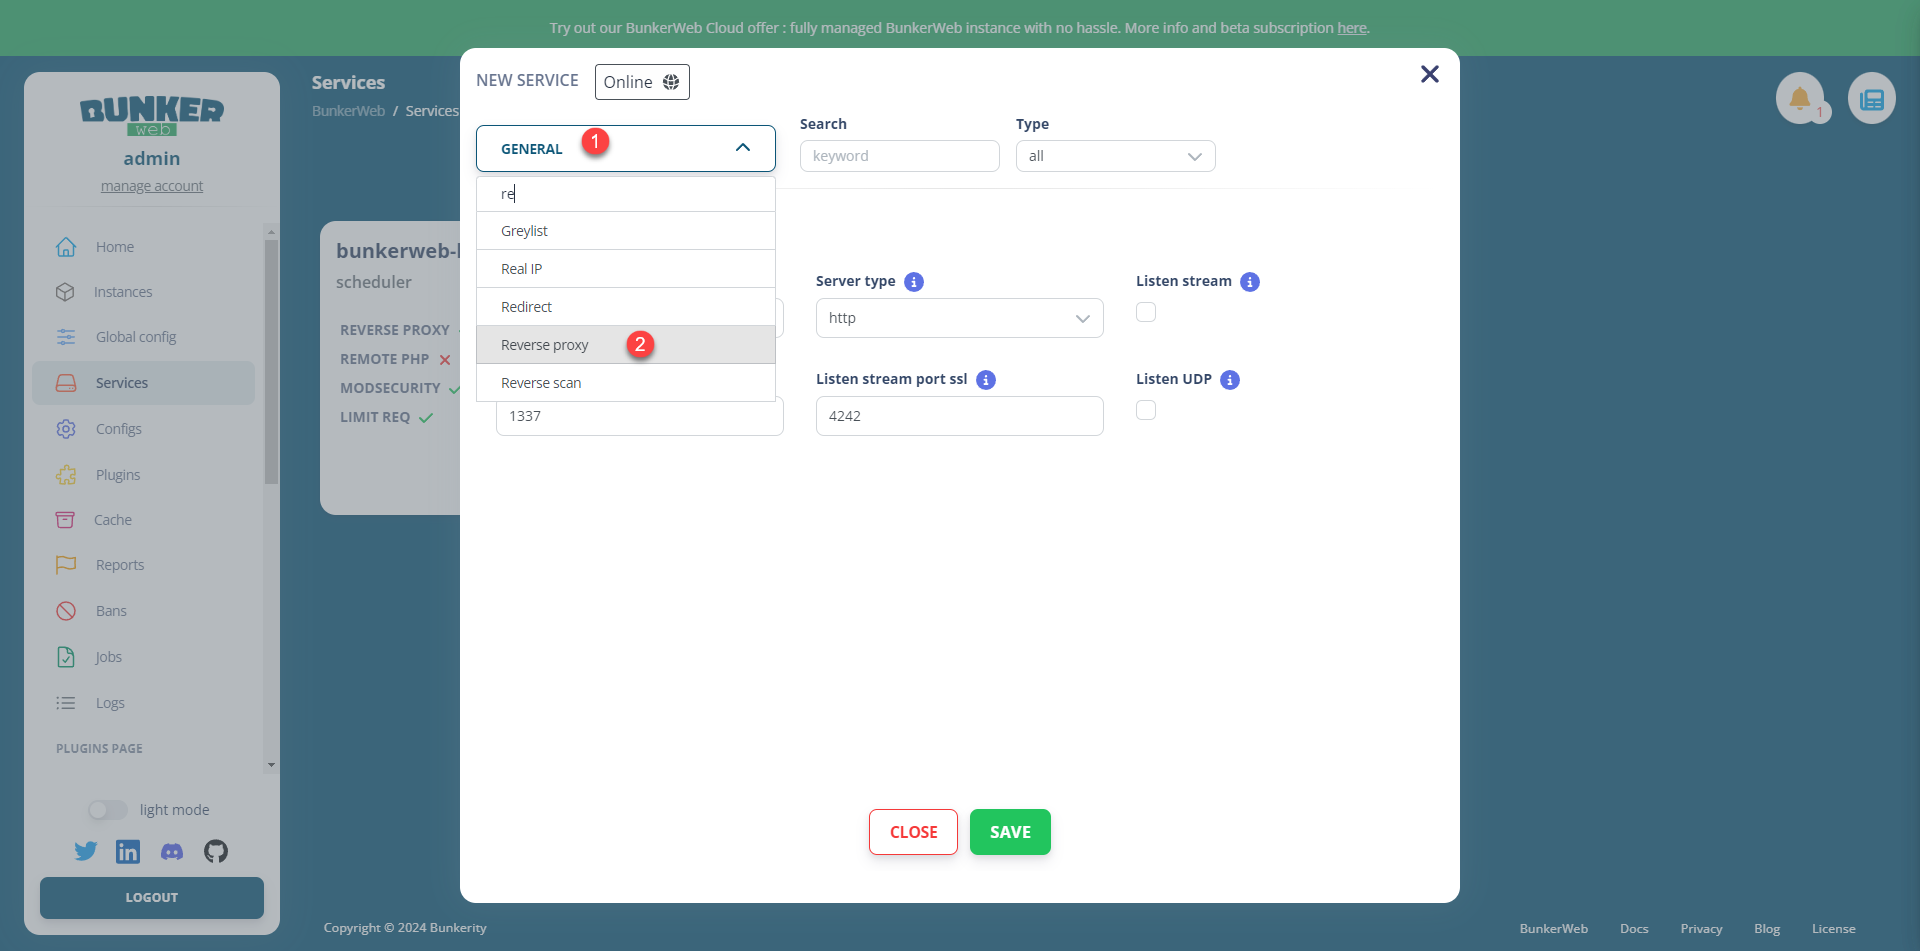
Next, click on GENERAL 1 then search for the Reverse proxy plugin 2 and click on it.
Check the box Use reverse proxy 1.
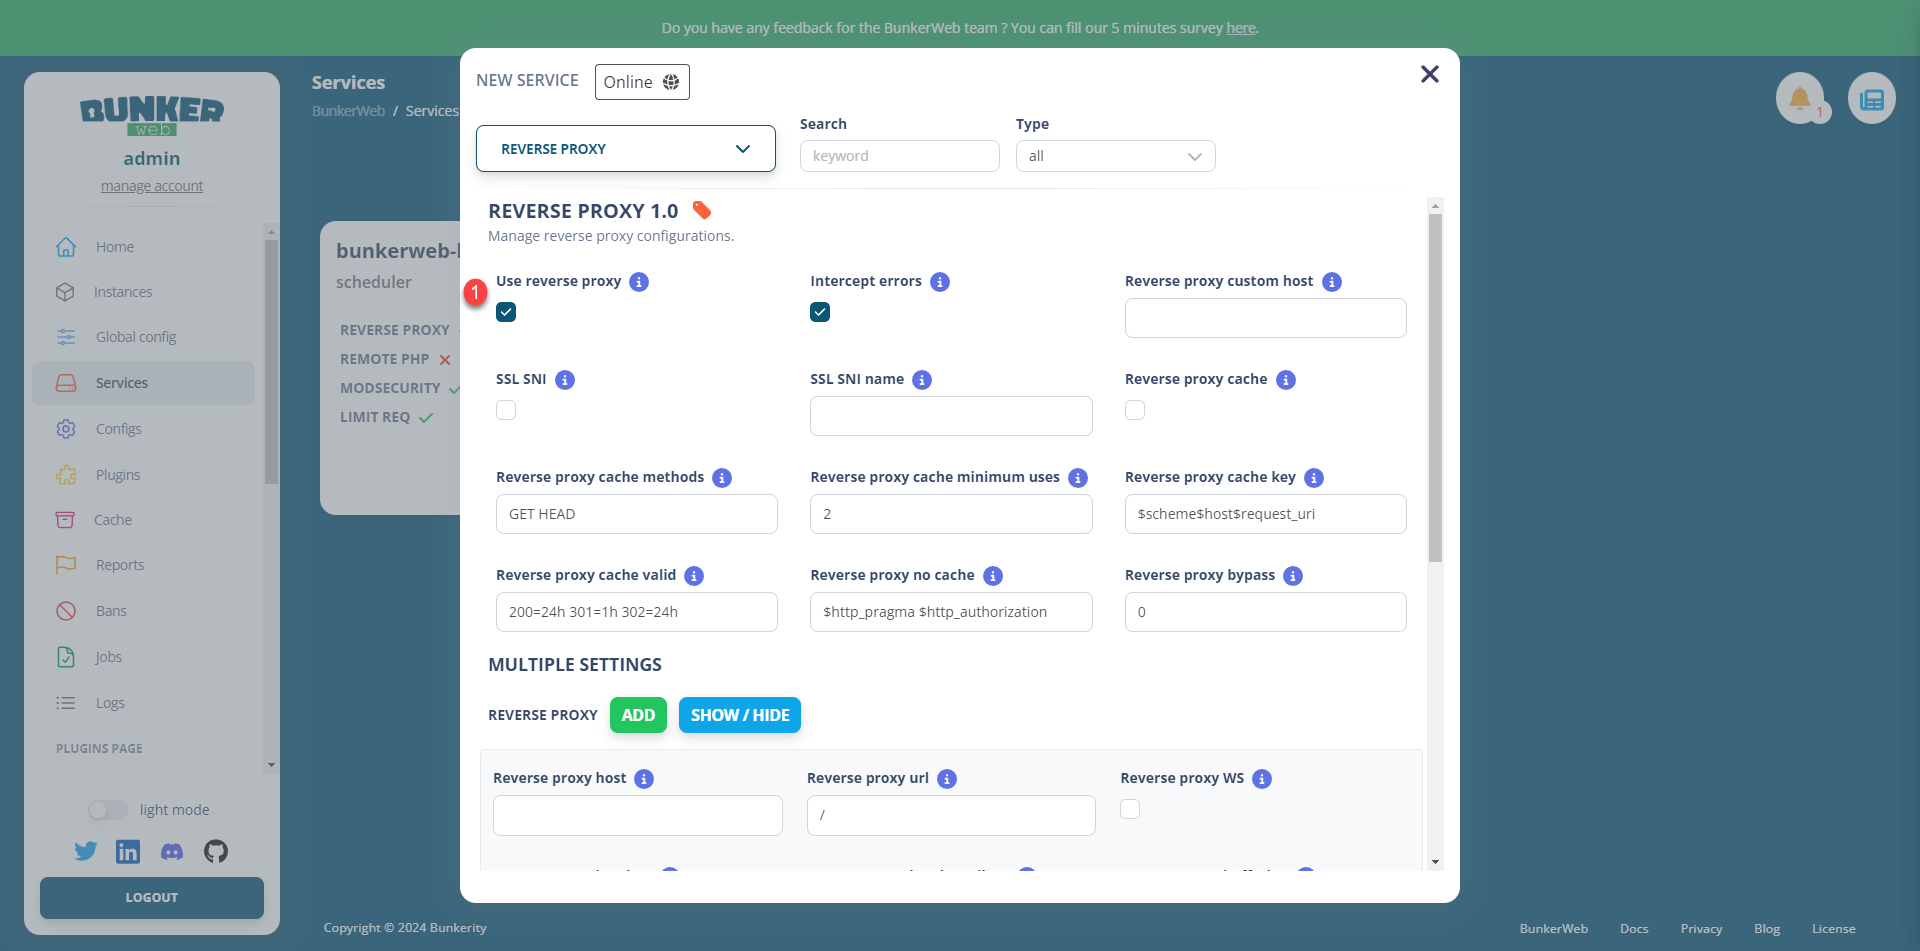
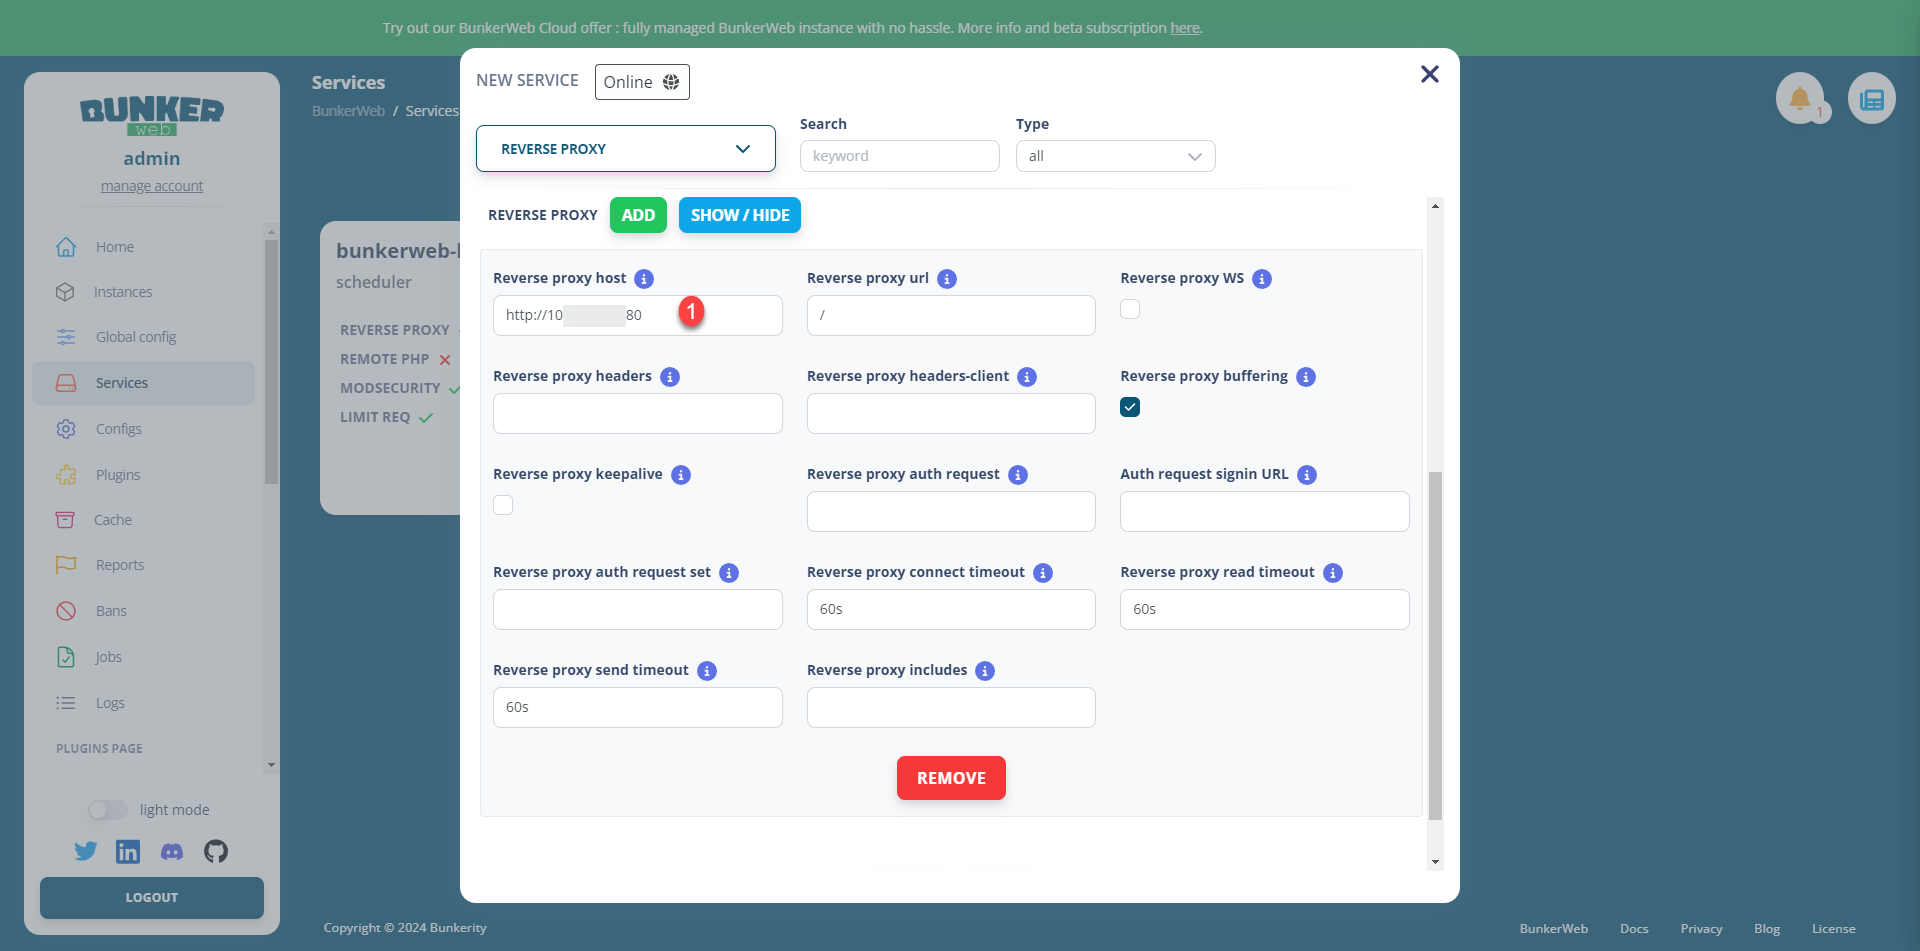
Next, in the lower part of the configuration page, specify the URL 1 to the destination server.
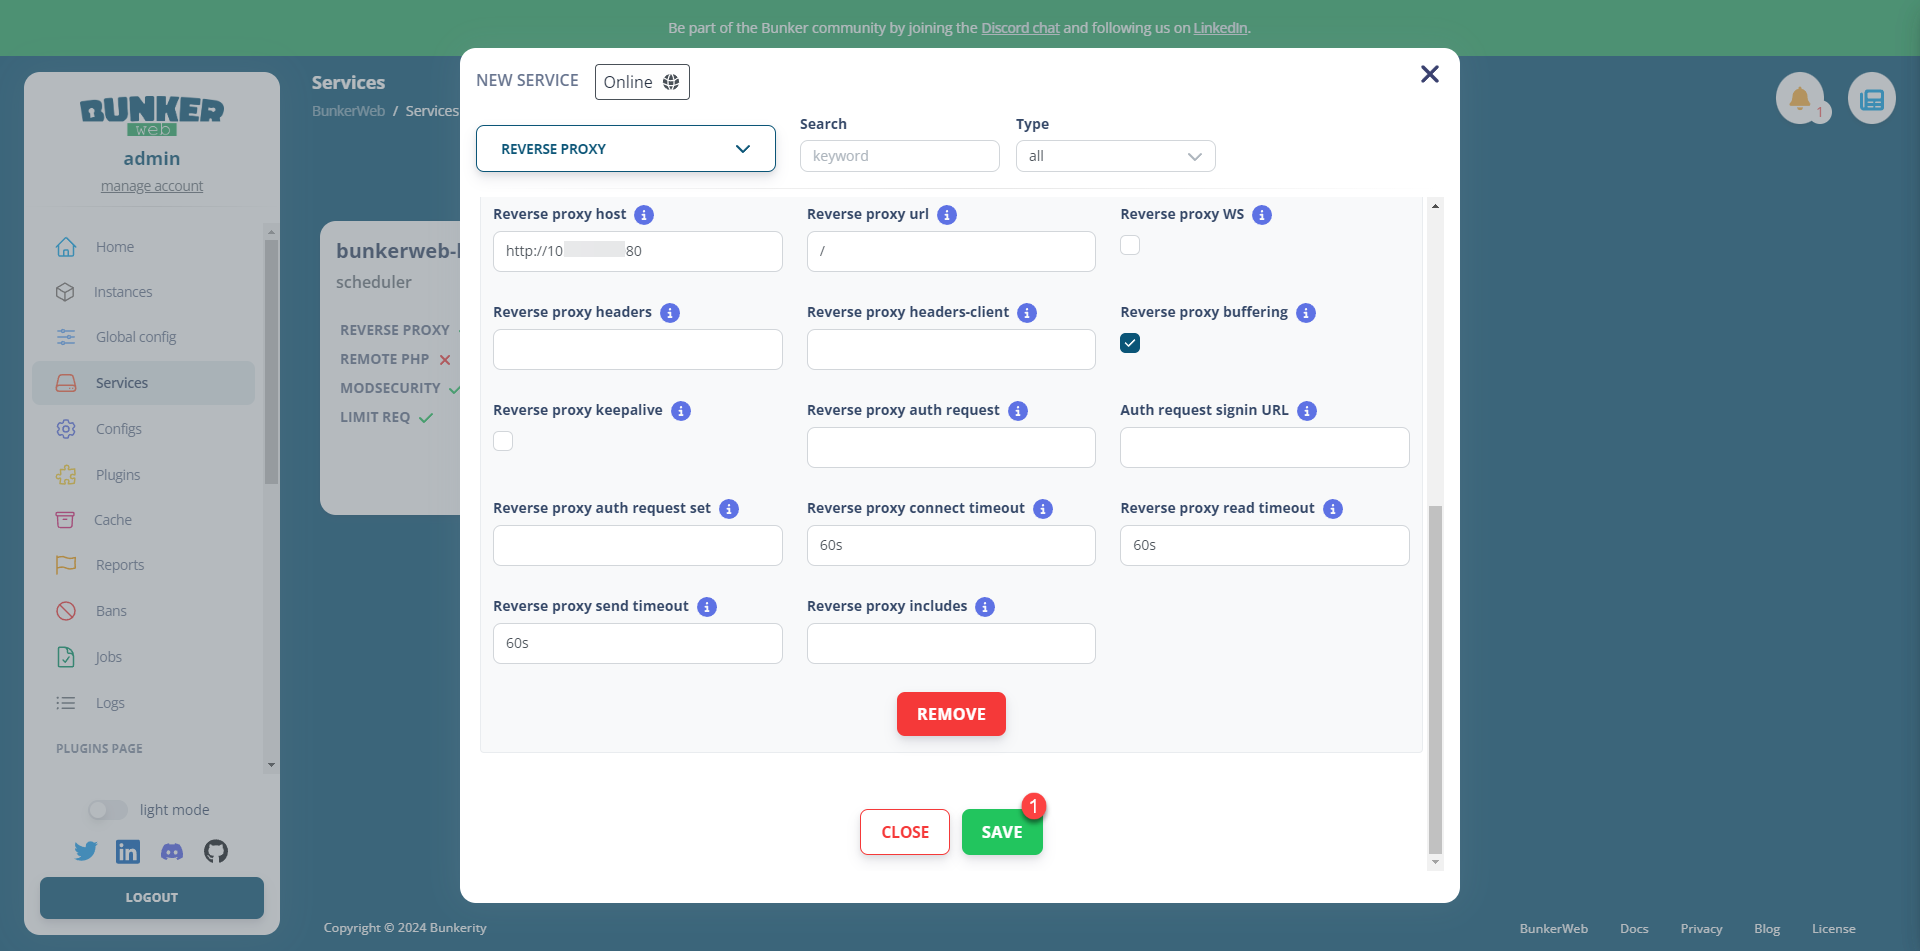
Finally, go to the bottom and click on the SAVE 1 button.
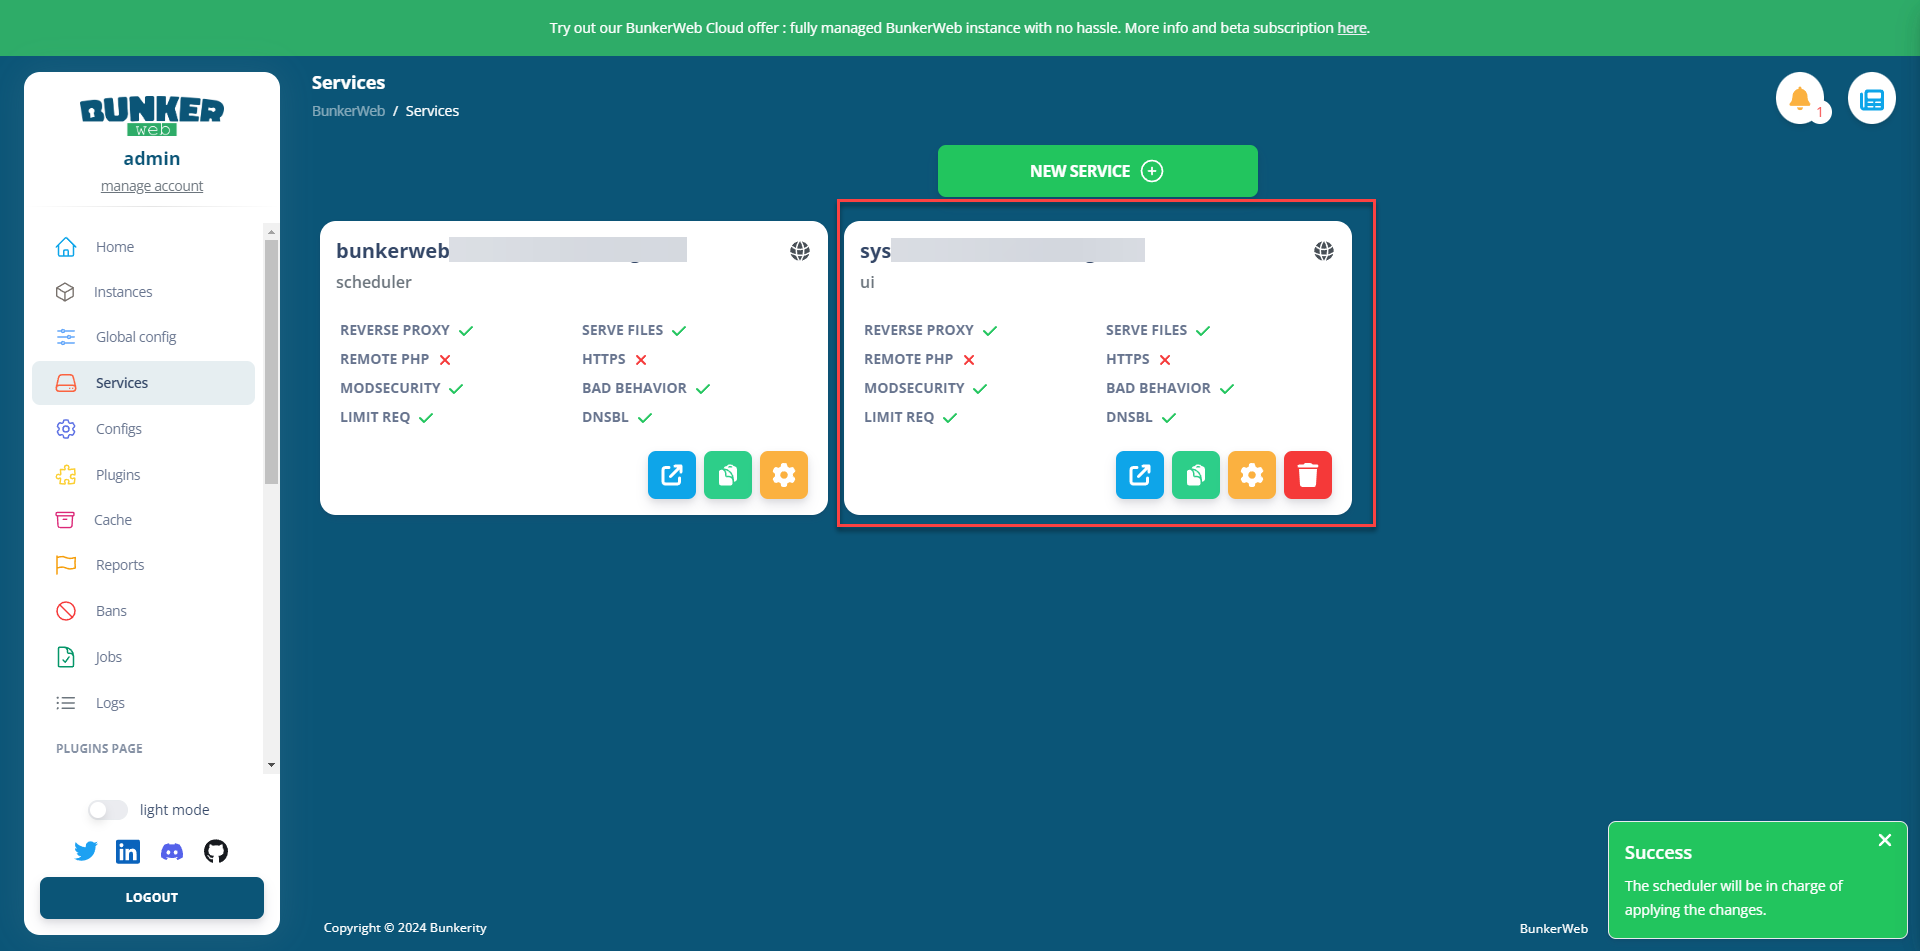
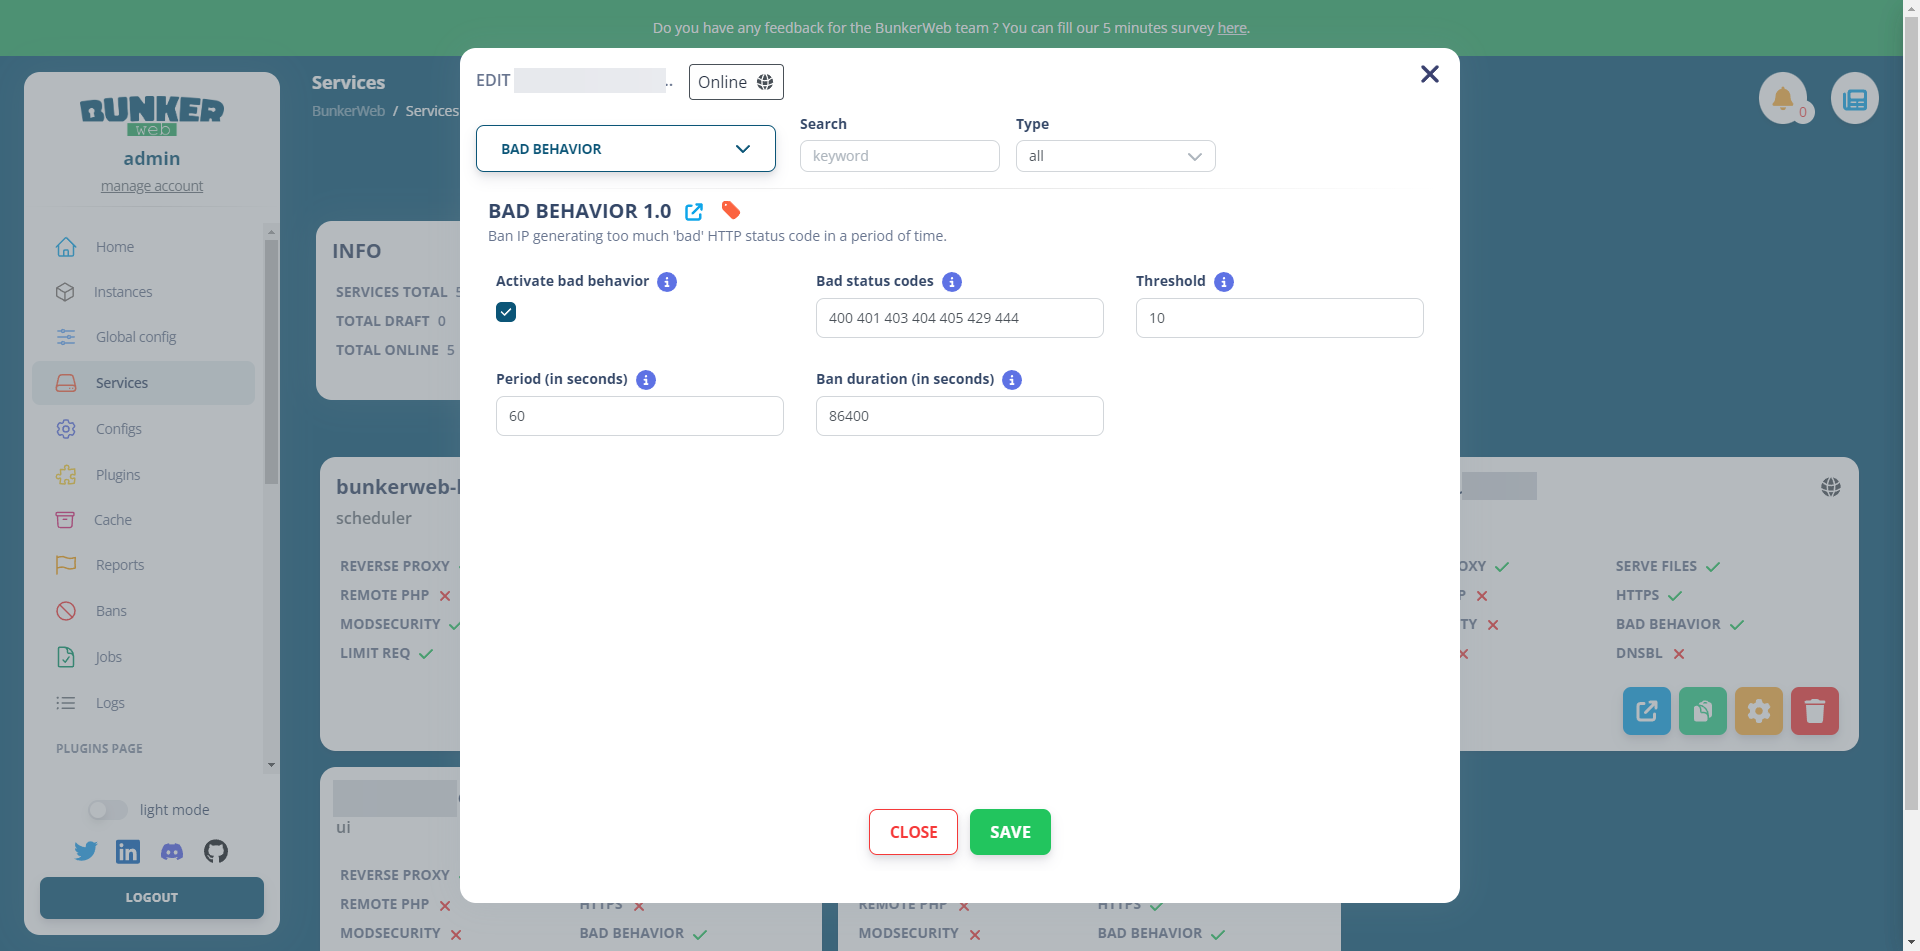
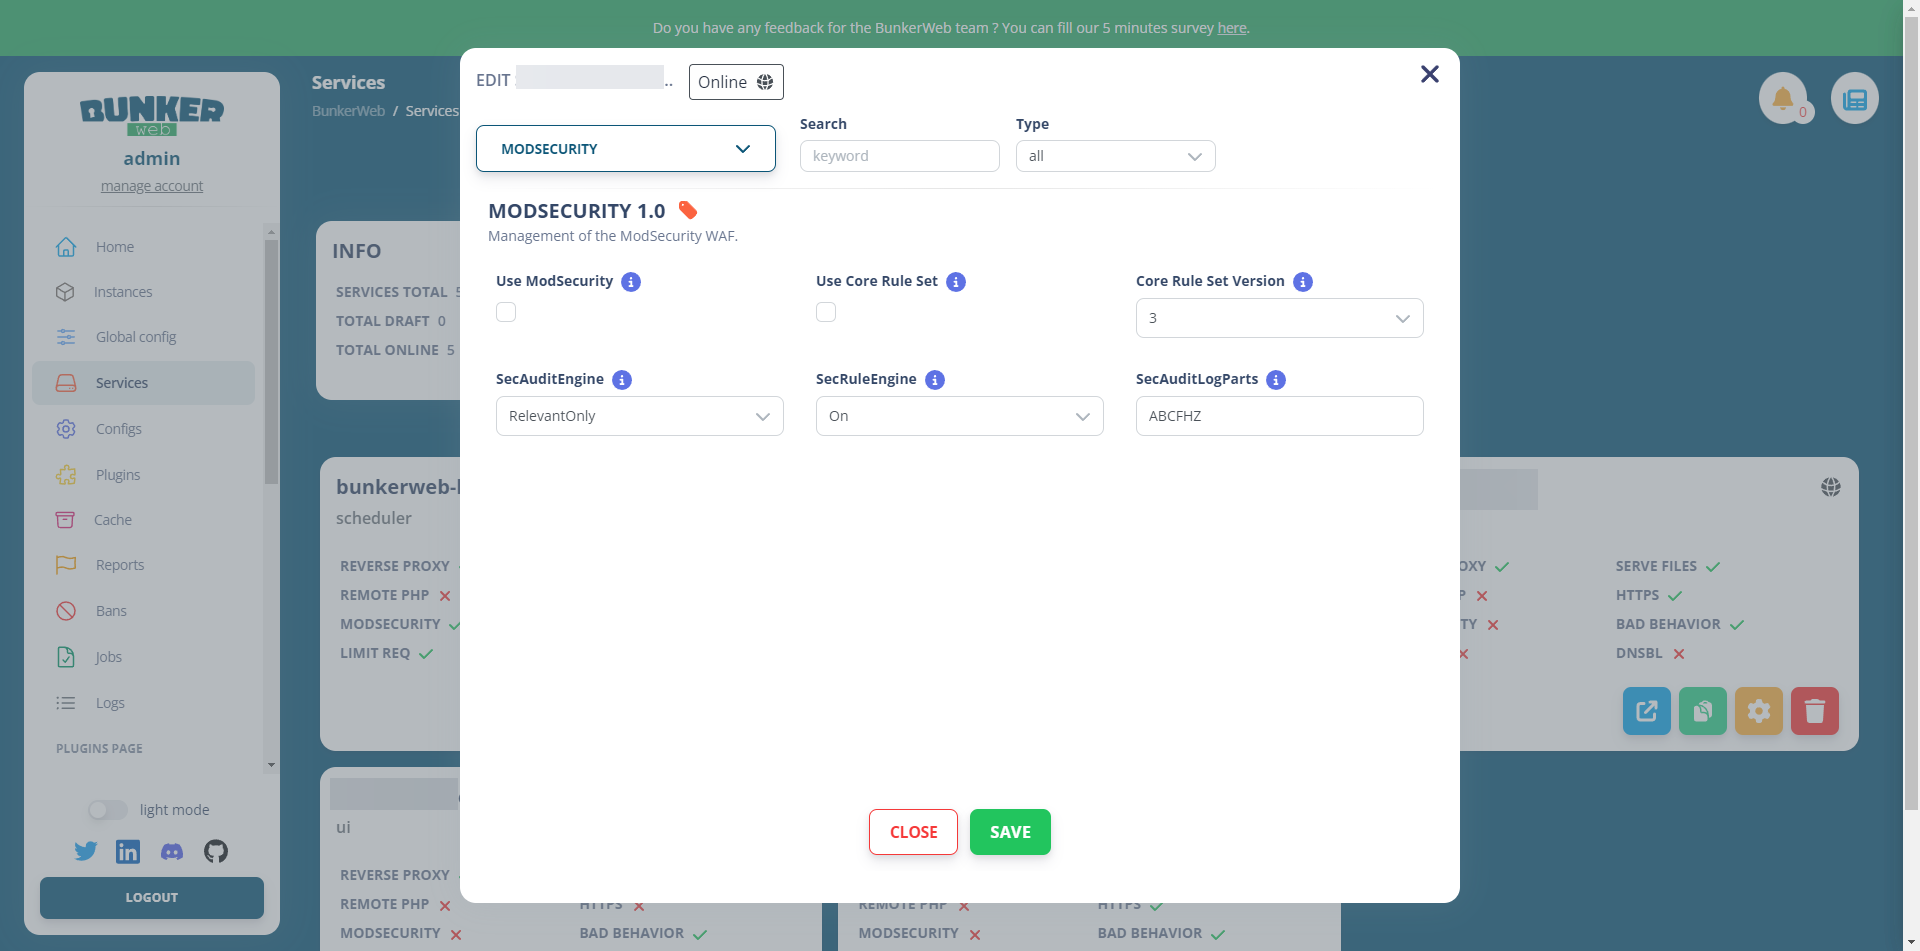
Our service is set up and we can see the different plugins that are activated, such as MODSECURITY, BAD BEHAVIOR…
We can now test our service. If you are testing with a production site, before modifying the DNS record I advise you to use your computer’s hosts file.
When accessing your application from a browser, you may encounter a certificate error because by default it will use a self-signed certificate.
Tips and troubleshooting
In order for you to fully enjoy BunkerWeb with this first tutorial, here are a few points to help you get started.
Display web logs – access_log
To view live web logs, you need to access the Linux machine where Docker is installed and display the logs with the following command:
sudo docker compose logs -fDisable HTTP to HTTPS redirection
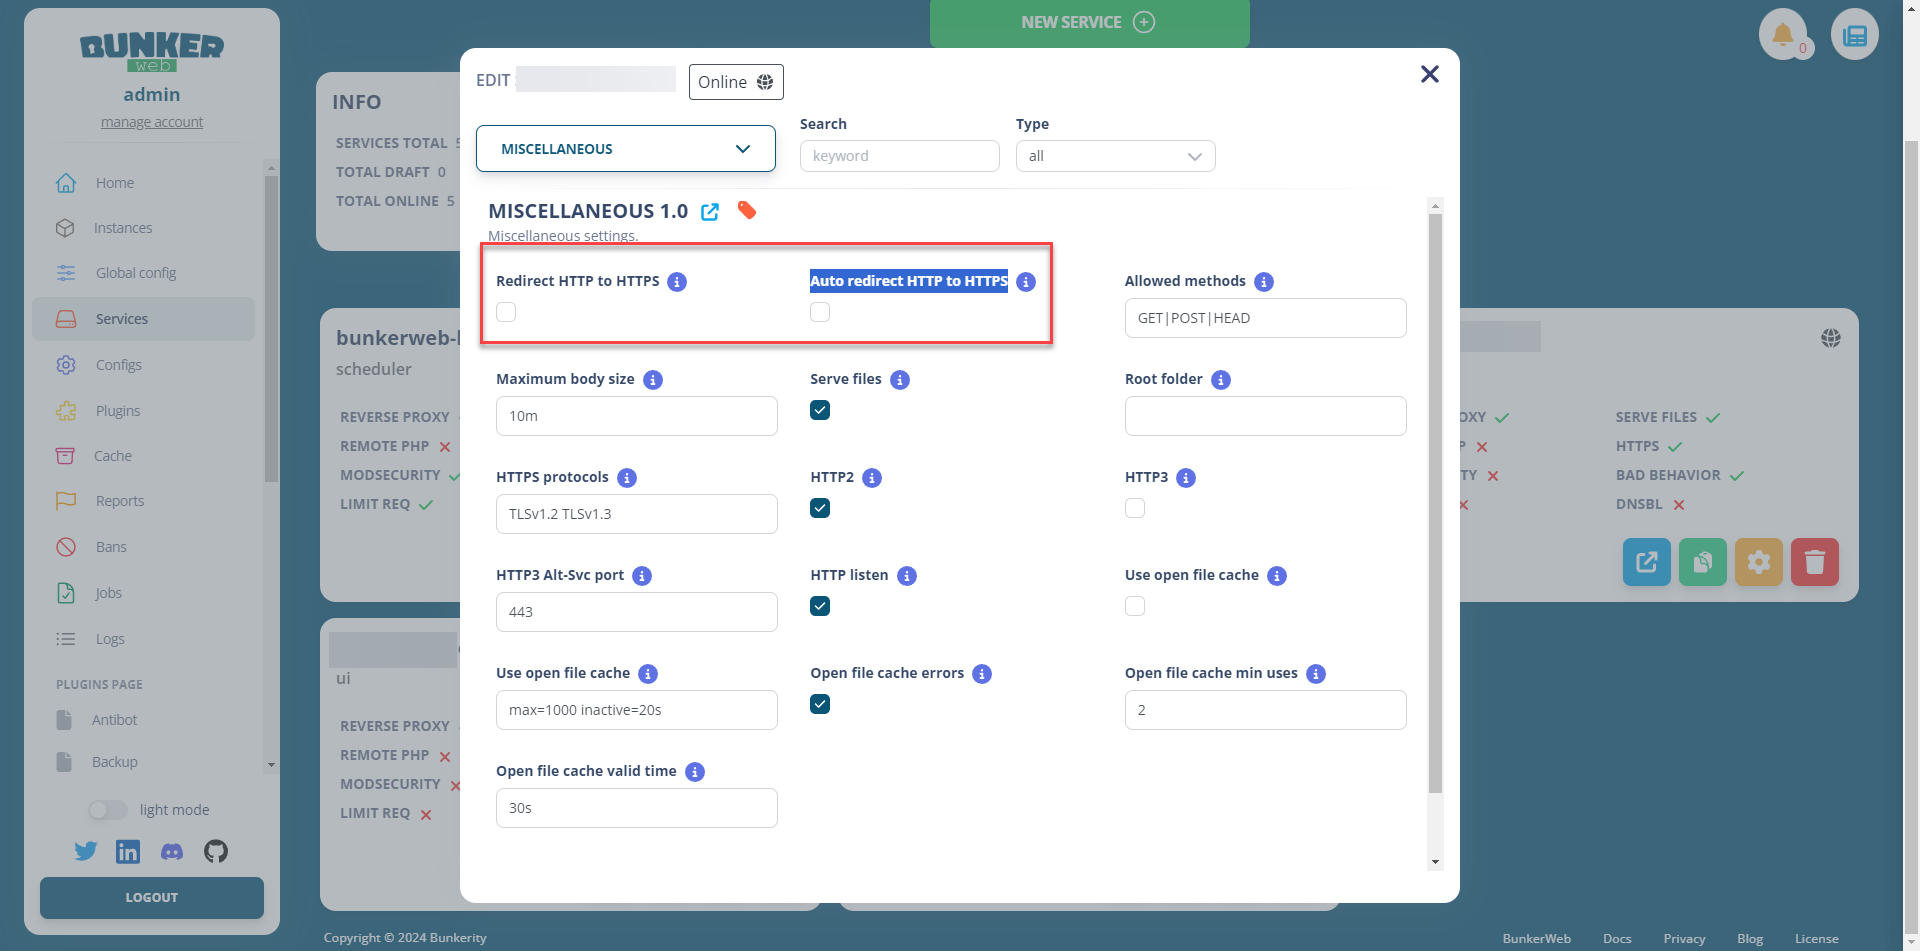
In the service configuration, in the MUSCELLANEOUS plugins, uncheck the boxes Redirect HTTP to HTTPS and Auto redirect HTTP to HTTPS.
Let’s Encrypt certificate
In the service configuration, go to the LET’S ENCRYPT plugin, then check the Automatic Let’s Encrypt box and enter your email address.

Access to service block
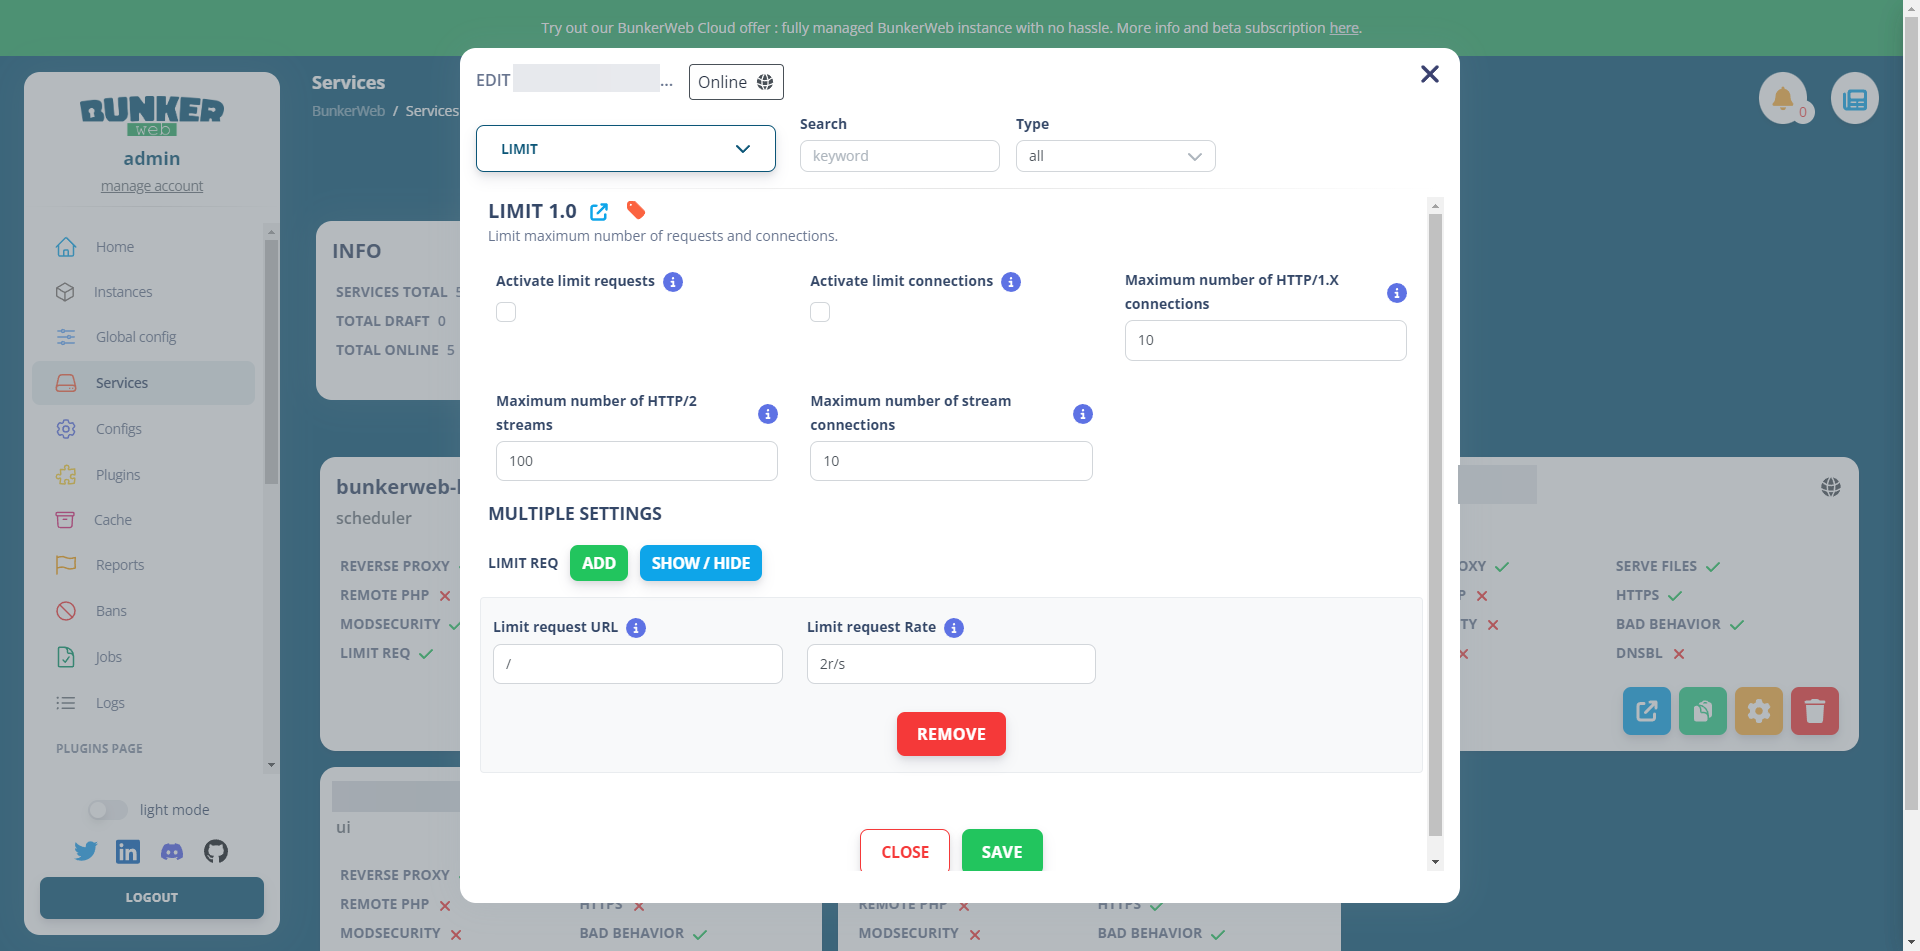
By default, BunkerWeb’s configuration is quite aggressive; check the logs and adjust the LIMIT, BAD BEHAVIOR, and MODSECURITY plugin settings.
This first tutorial ends here; I hope it has made you want to discover and use BunkerWeb.
In future tutorials, we will see how to configure your own certificate, set up Crowdsec and the advanced configuration of services including security settings.
