
In this tutorial, I will explain how to add (import) a certificate from Exchange 2016 (2019) and then assign it.
Since Exchange 2016, importing a certificate is done exclusively in PowerShell with the Import-ExchangeCertificate Cmdlet, on Exchange 2013, it was possible to do it via the ECP interface.
Before importing the certificate, you must have it in .pfx format with the private key and place it on a network share accessible by Exchange servers.
Table of Content
Import the certificate to the Exchange server
Open an Exchange Management Shell console as an administrator and enter the following command to import it to the local server:
Import-ExchangeCertificate -FileData ([System.IO.File]::ReadAllBytes('\\exchange-server-1\c$\CertSSL\CertName.pfx')) -Password (ConvertTo-SecureString -String 'CertPassword' -AsPlainText -Force)If you have multiple Exchange servers, it is possible to import the certificate to the other servers by adding the -Server parameter.
Import-ExchangeCertificate -FileData ([System.IO.File]::ReadAllBytes('\\exchange-server-1\c$\CertSSL\CertName.pfx')) -Password (ConvertTo-SecureString -String 'CertPassword' -AsPlainText -Force) -Server exchange-server-2For proper operation, it is necessary to import the certificate on all Exchange servers.
Now that the certificate is added, we will see how to assign it.
Assign an SSL certificate to a service on Exchange Server
Typically, a certificate is assigned to one of the following services:
- IIS
- POP
- IMAP
In this tutorial, we will assign the certificate to the IIS service.
To assign the certificate to a service, we have two possibilities:
- Via the ECP web interface
- With PowerShell
Assign an SSL certificate to a service from the ECP
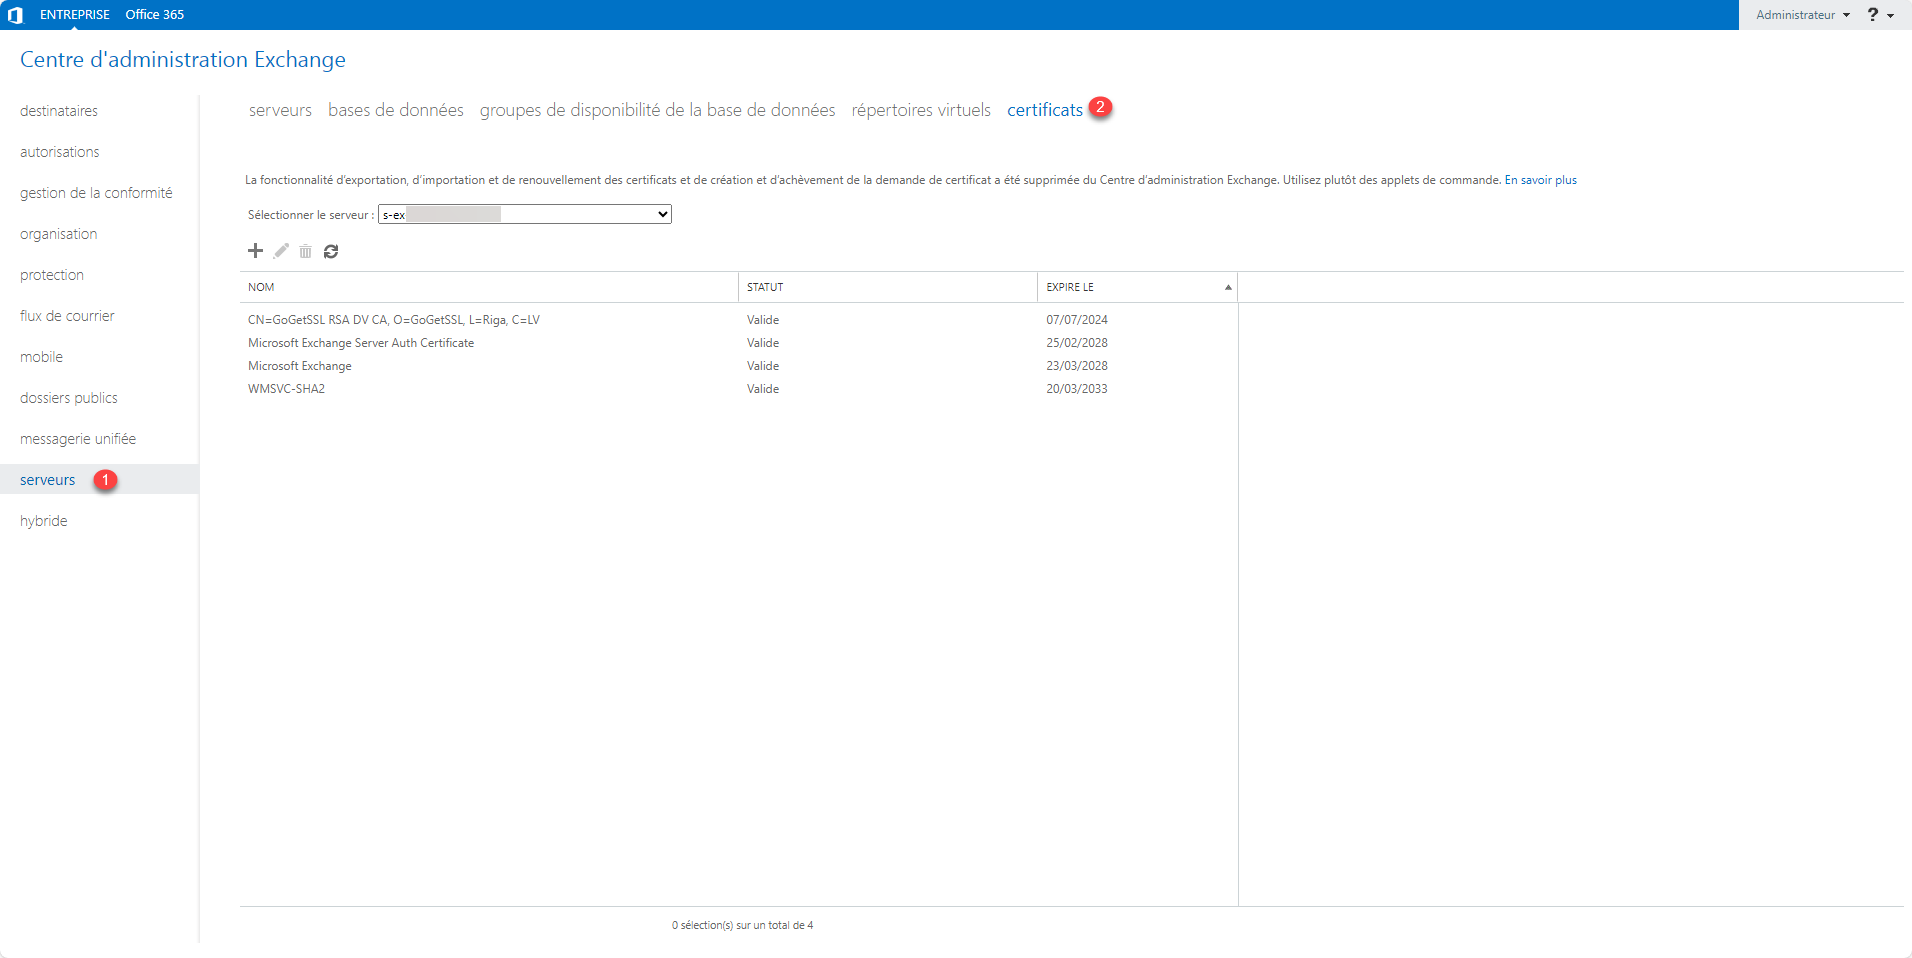
From the ECP go to the list of certificates: server 1 then certificate 2.
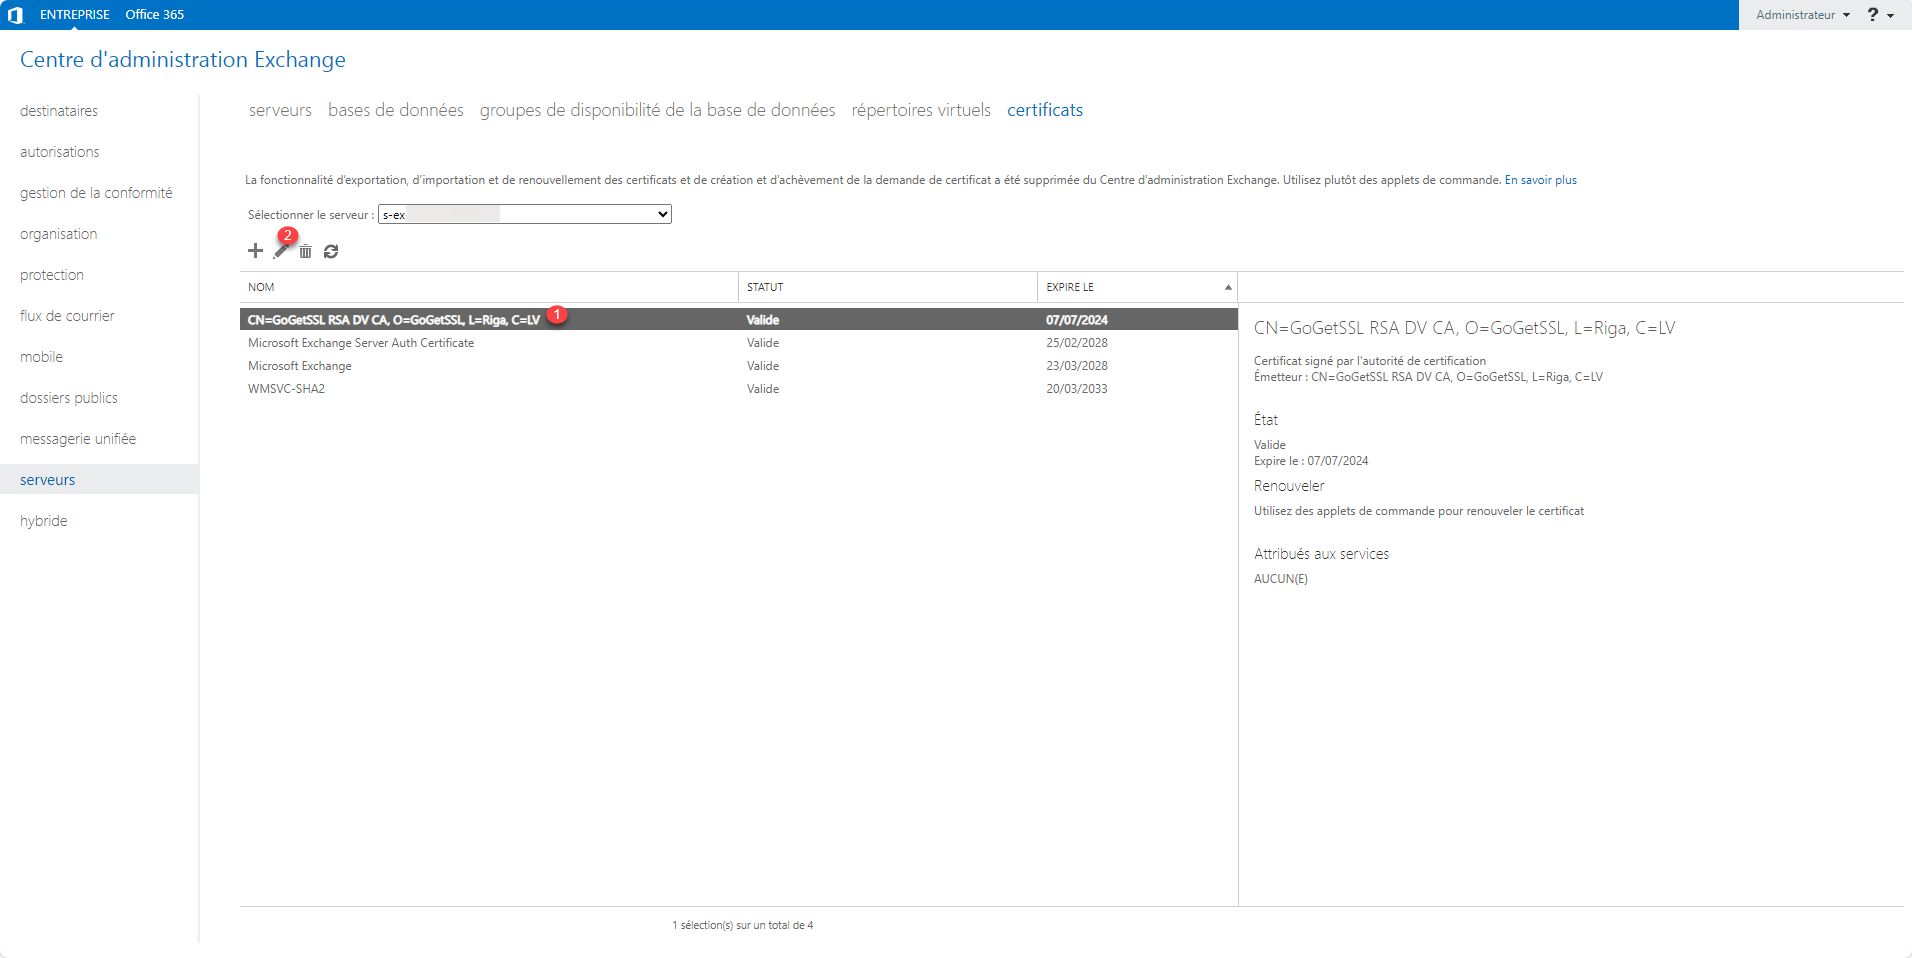
Select the certificate 1 and click on the edit icon 2.
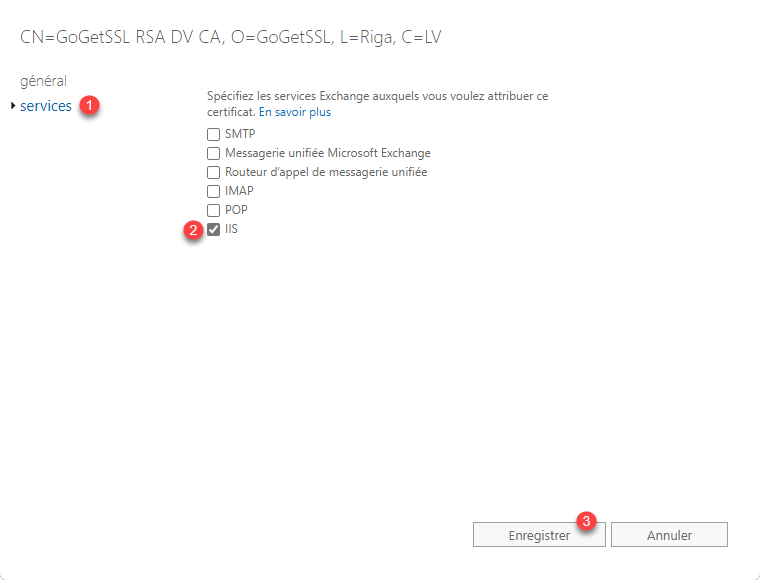
On the new page that opens, go to services 1, check the service(s) 2 to assign the certificate and click on the Save button 3.
The certificate is assigned to the service, if you have multiple Exchange servers, repeat for each one.
Assign an SSL certificate to a service with PowerShell
From the Exchange Management Shell, run as administrator, enter the following command to display the list of certificates:
Get-ExchangeCertificate | select Thumbprint, Services, NotAfter, Subject, CertificateDomains
Copy the Thumbprint of the certificate you wish to assign.
Enter the following command to assign the certificate to the IIS service:
Enable-ExchangeCertificate -Thumbprint <Thumbprint> -Services IISTo assign the local server certificate to another server use the -Server parameter with the server name.
Enable-ExchangeCertificate -Thumbprint <Thumbprint> -Services IIS -Server <exchange-server-X>You know how to import and assign a certificate on Exchange Server 2016 and Exchange Server 2019.
