
Released in early September 2025, Veeam Backup & Replication 13 brings a major new feature: it is now distributed as a ready-to-use Linux appliance.
In this tutorial, I will show you step by step how to deploy this new version of Veeam, from importing the appliance to its initial configuration.
Veeam 13 B&R for Windows is scheduled for release in late 2025.
Table of Contents
What’s new in Veeam 13
Veeam Backup & Replication v13 – Now Available as a Linux Appliance
Secure and Lightweight Linux Appliance
Version 13 introduces a streamlined Linux appliance built on JeOS (Just-Enough OS) with SELinux in enforcing mode. SSH is disabled by default, and unnecessary services are turned off to minimize the attack surface. Automated security updates with centralized management ensure your environment stays protected, while optional patches can be applied automatically.
Modern User Interface
Experience the new modern web interface (HTTPS), designed to gradually replace the classic console. The Windows console remains available temporarily for smooth migration.
Advanced Authentication and Access Control
Version 13 supports SAML authentication for Single Sign-On (SSO) and Role-Based Access Control (RBAC) with an intuitive wizard to create custom roles.
High Performance and Availability
Optimized scheduler and data engine deliver up to 50% faster backups and double the speed for very small VMs. High Availability (HA) mode ensures seamless operation: if one node fails, another automatically takes over.
Instant Cloud Recovery
Restore backed-up VMs as native Azure instances in under 5 minutes, and Linux VMs in under 4 minutes, via streaming from object storage. AWS and Google Cloud support are planned for future releases.
Simplified Infrastructure Management
The Veeam Infrastructure Appliance (VIA) is a pre-hardened JeOS appliance that can be used for infrastructure roles such as proxies or repositories, simplifying deployment and management.
Enhanced Data Engine & Deduplication
Built on PostgreSQL 17.6 with automatic updates, the new data engine uses the modern BLAKE3 hashing algorithm, reducing CPU usage by up to 30% on proxies or agents.
Multi-Environment Support
Full support for VMware vSphere 9.0 and Nutanix AHV with vTPM and persistent guest agent. Proxmox VE now includes Microsoft VSS integration and application-level restores.
Faster Recovery and Scalability
The improved Instant Recovery engine offers up to 50% higher I/O throughput, more efficient bulk VM restores, and support for IDE, SATA, and NVMe disks. Linux backup proxies now deliver better NFS v3 performance via multi-TCP connections, with backup speeds increased by approximately 25%.
Comprehensive Application Backup
Protect your critical applications with plugins for Oracle RMAN, SAP, SQL, MongoDB, and more. Enjoy object storage backups, source-side encryption, and centralized management. New supported OS include RHEL 10+, Debian 12.11 & 13, among others.
Secure Repositories & Immutability
Hardened repositories are hidden and easy to reconnect using certified authentication and time-limited PINs. Optimized object immutability reduces overhead and API calls. Data Movers are permanently installed on certain deduplication appliances such as ExaGrid and Quantum DXi.
Deprecated Features
Reversed incremental backup, retention based on the number of restore points, and machine-unaware backup chains are disabled for new installations in v13 and will be fully removed in v14.
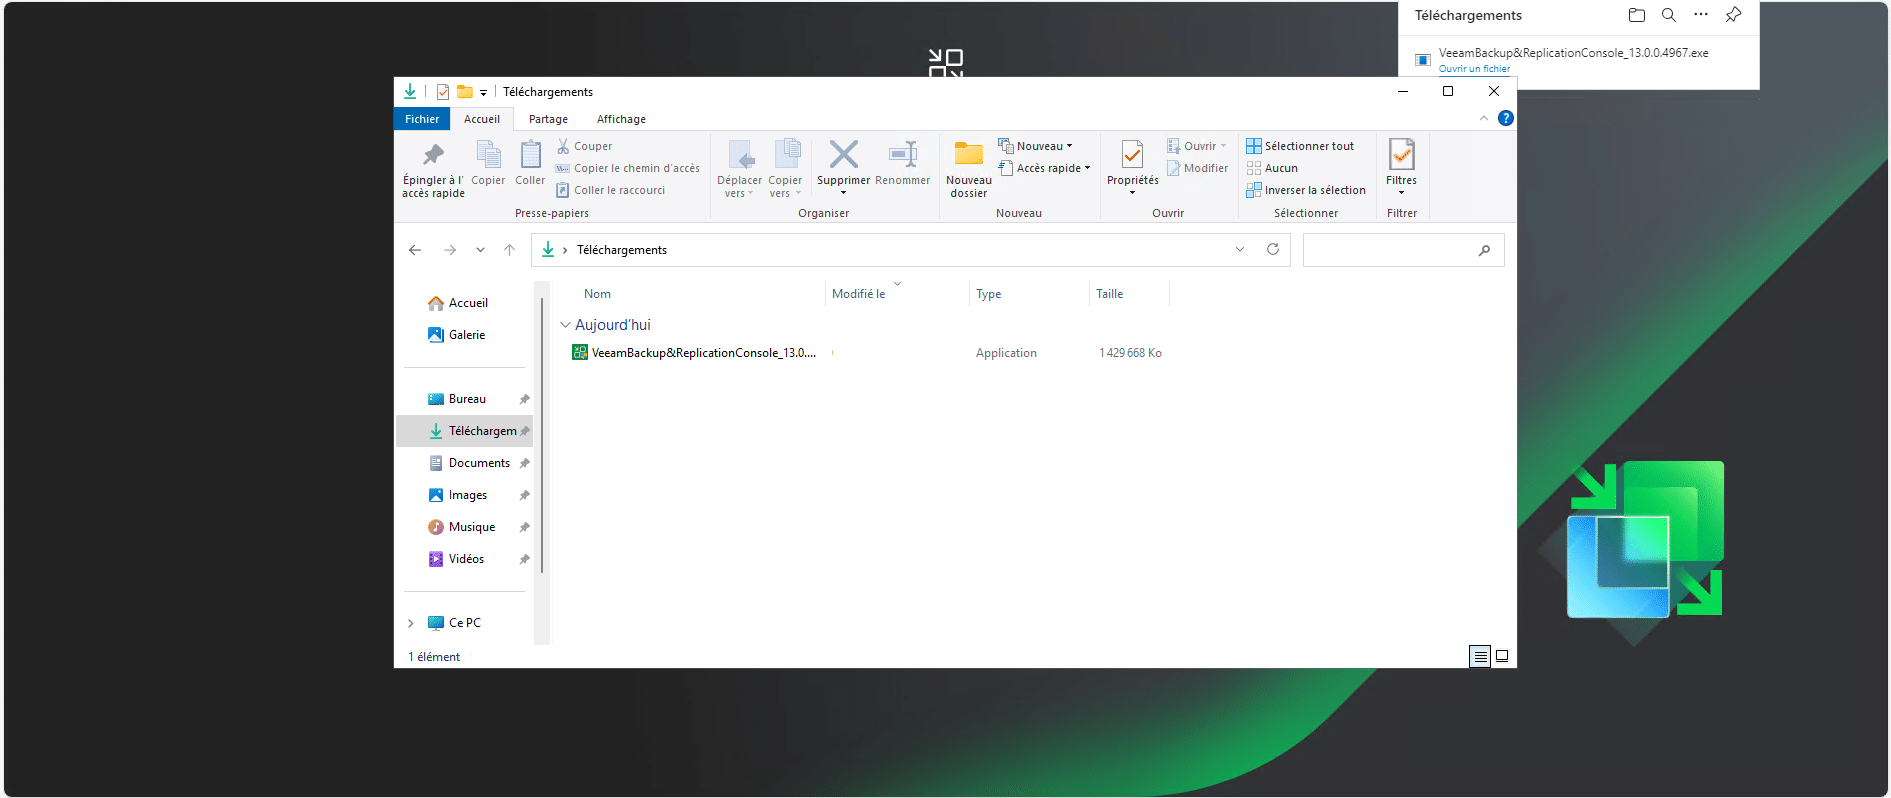
Download Veeam version 13
From the site of Veeam, Start by downloading the Veeam 13 ISO or OVA file.
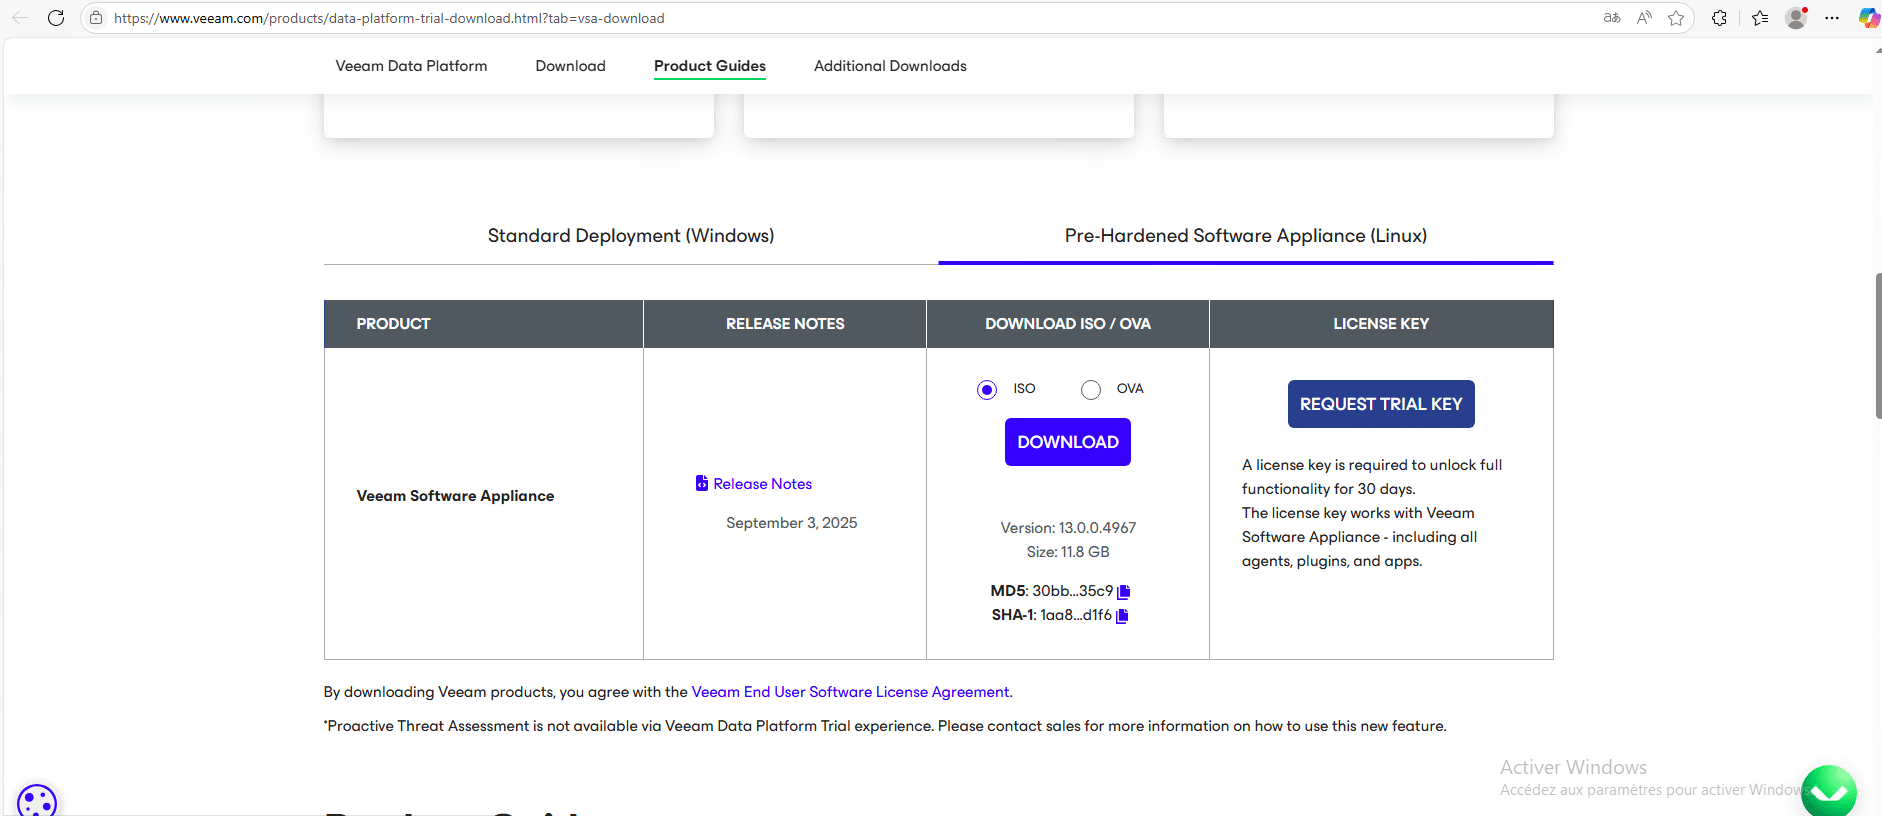
Here I will download the ISO file, because I will be installing the appliance on a VM on a Hyper-V server.
Creating and configuring the virtual machine
I’m not going to go through the creation of the virtual machine step by step, because it will depend on your hypervisor, but here are the minimum characteristics:
- CPU : 4
- RAM : 8Go
- Disks: 2 x 250GB hard drives
Configure the virtual machine to boot from the previously downloaded ISO.
On Hyper-V you can use a Generation 2 machine, remember to disable Secure Boot.
Installing Veeam 13 on a virtual machine
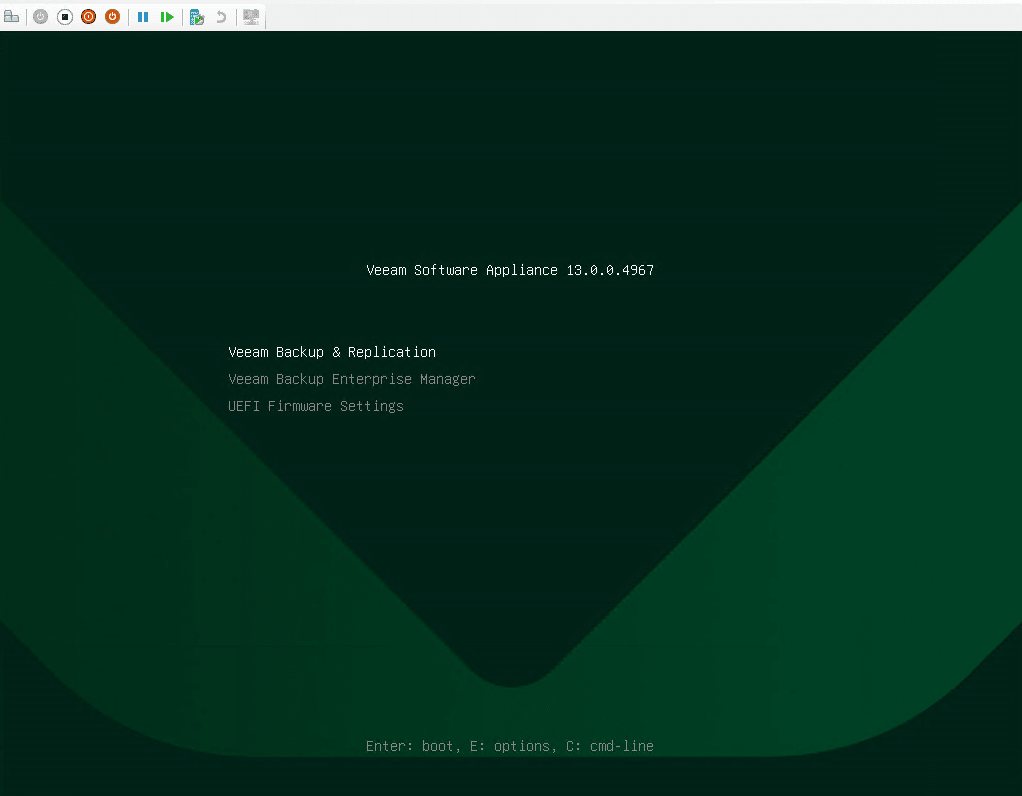
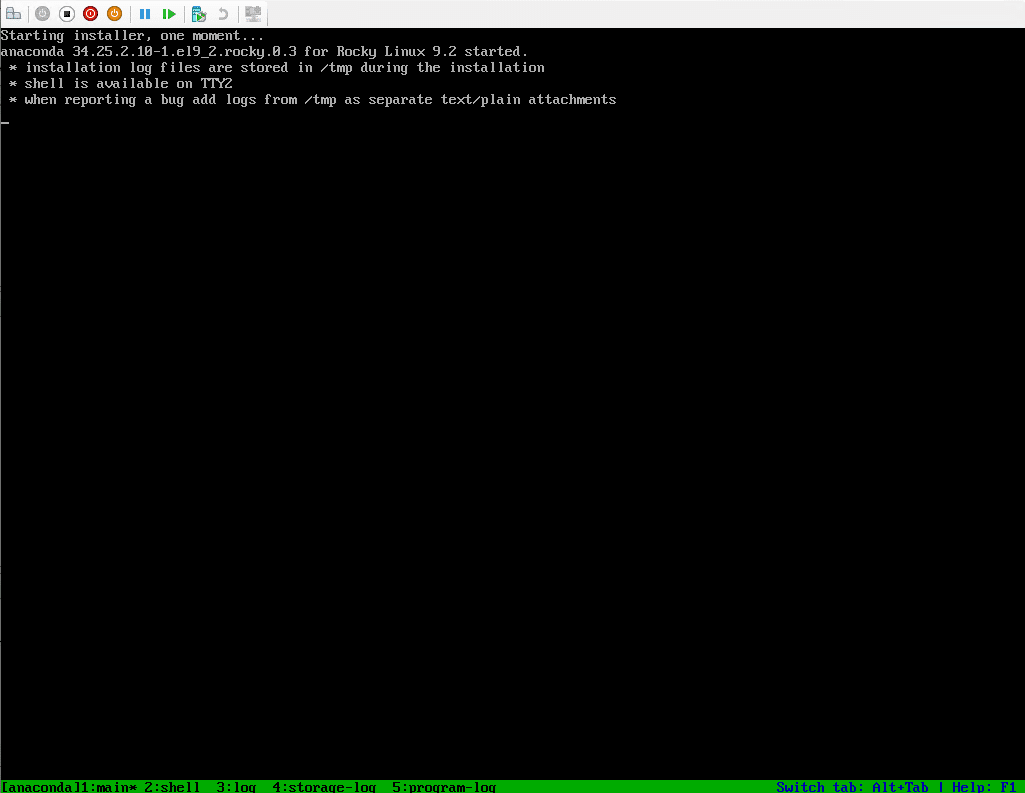
When booting from the ISO, choose: Veeam Backup & Replication.
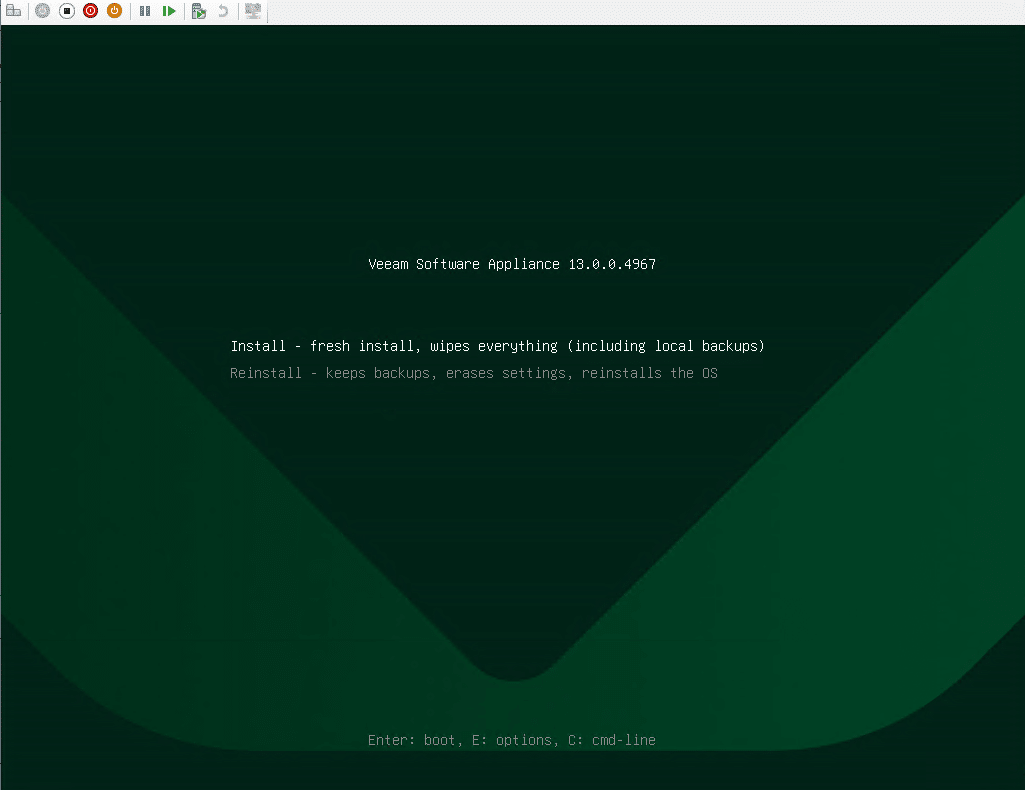
Then choose: Install – fresh install, wipes everything (including local backups).
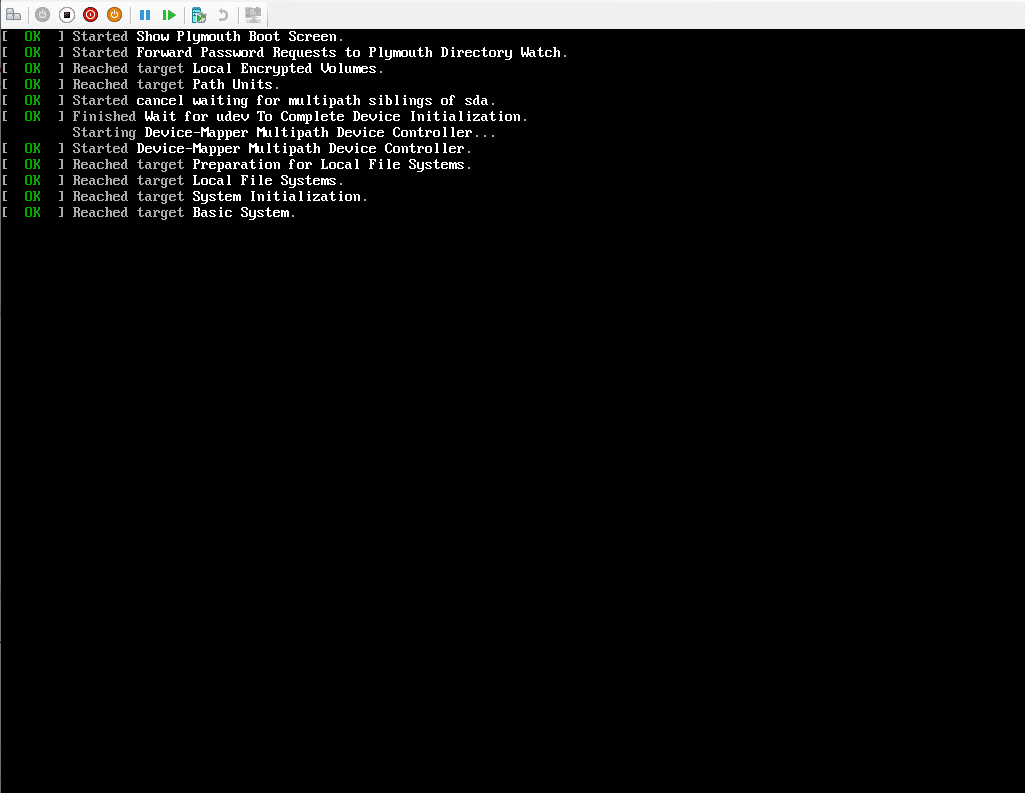
Please wait while loading…
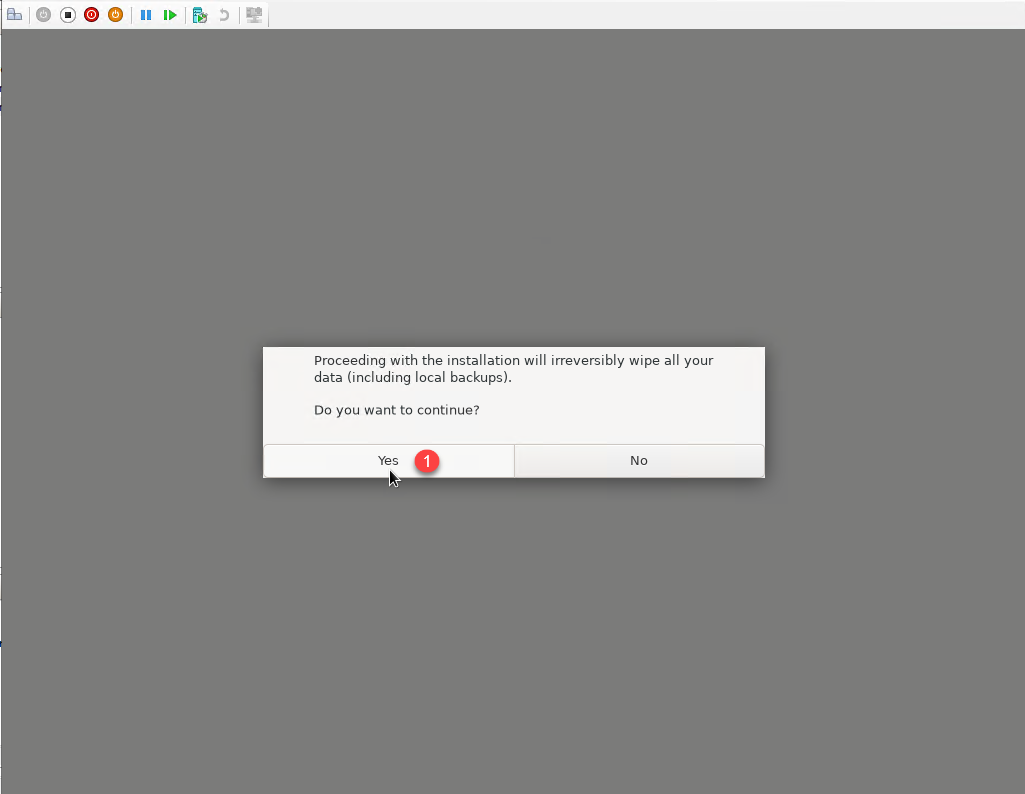
At the end of the loading, before launching the installation wizard, a warning message appears indicating that all data will be erased, click Yes 1.
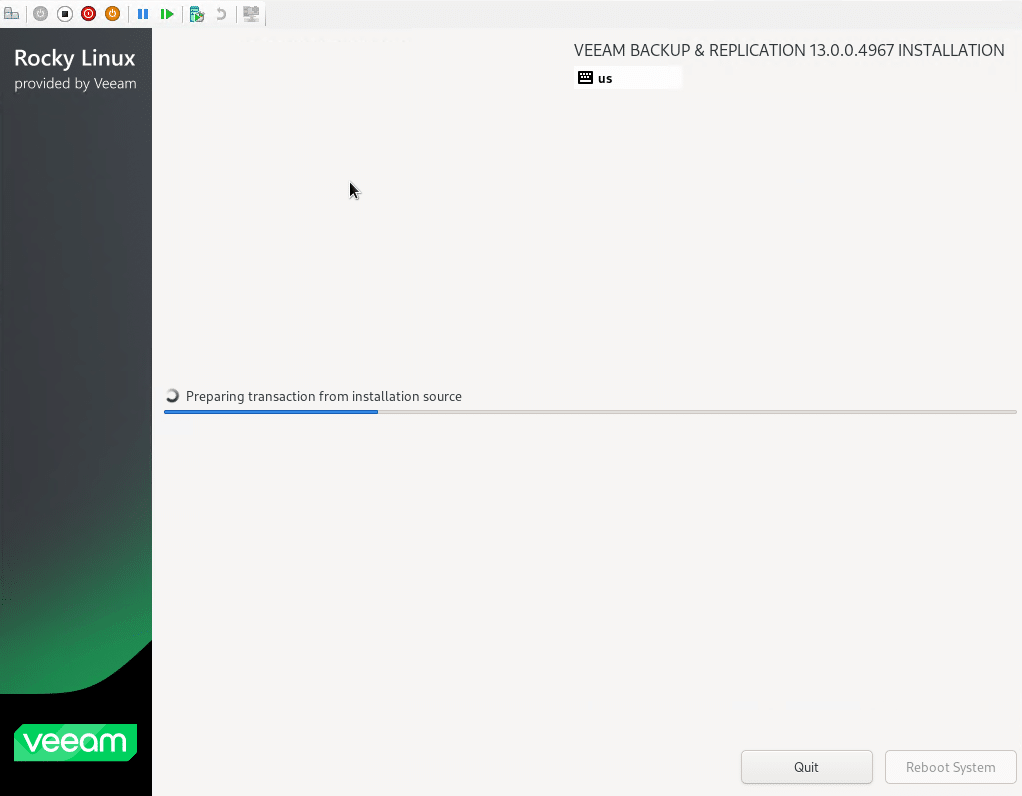
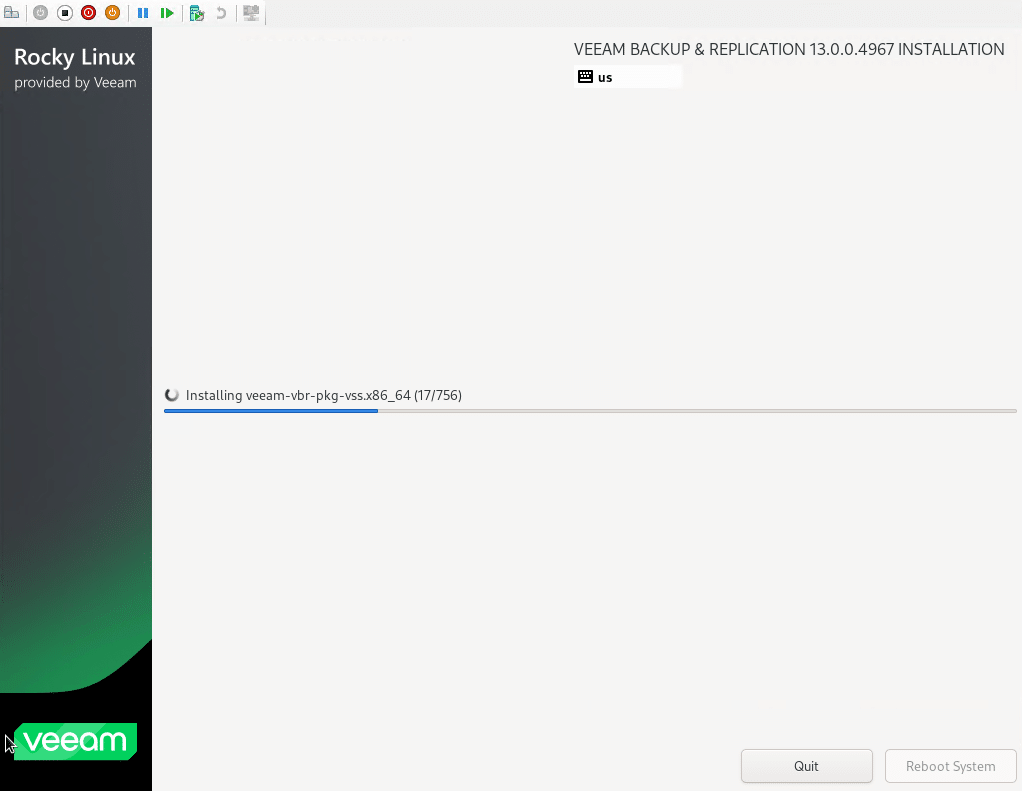
Please wait while Veeam 13 is installed…
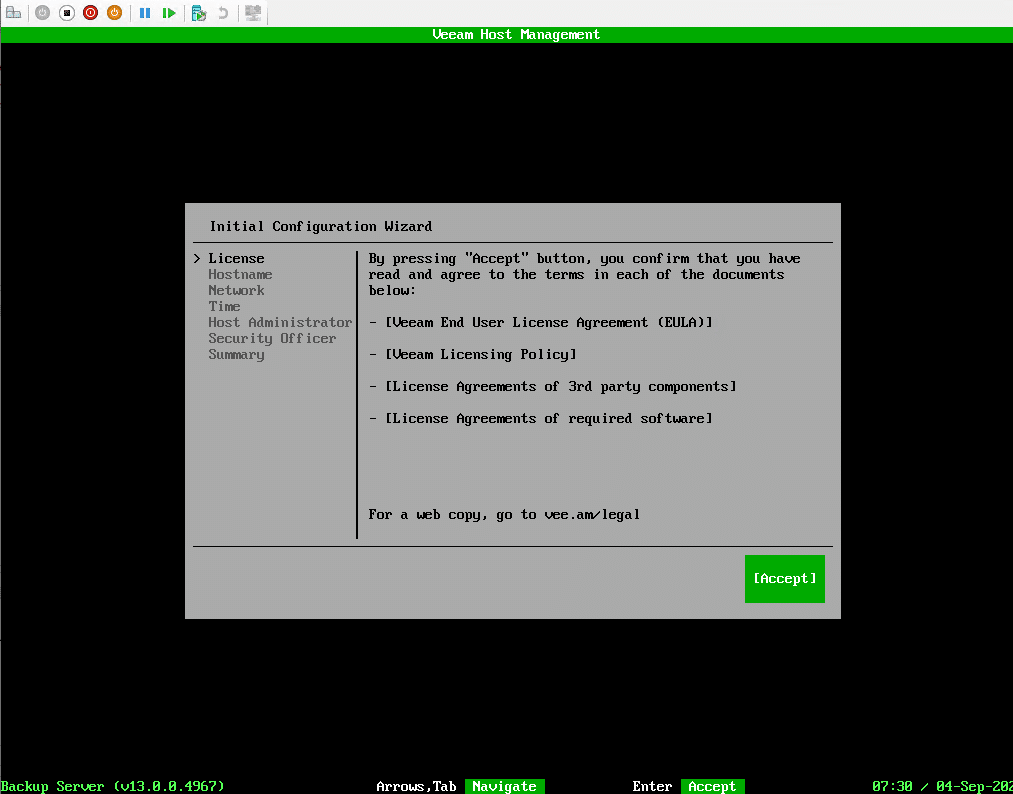
Once the installation is complete, you will arrive at a configuration wizard. Start by accepting the various license agreements.
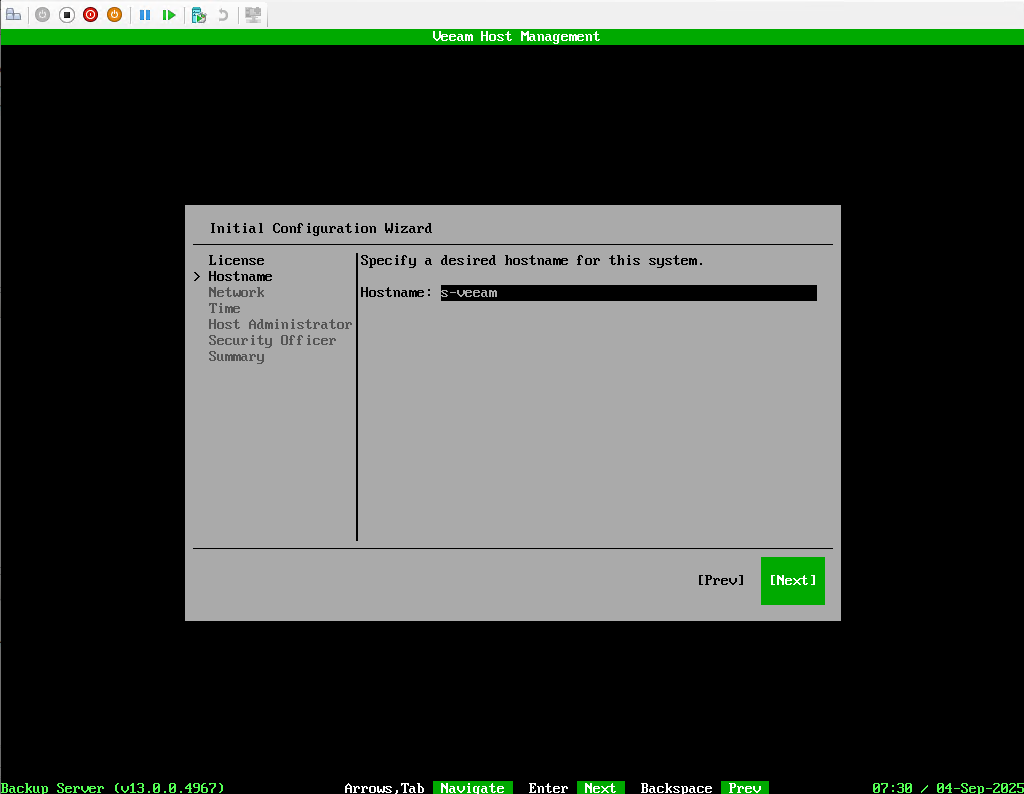
Then configure the computer name.
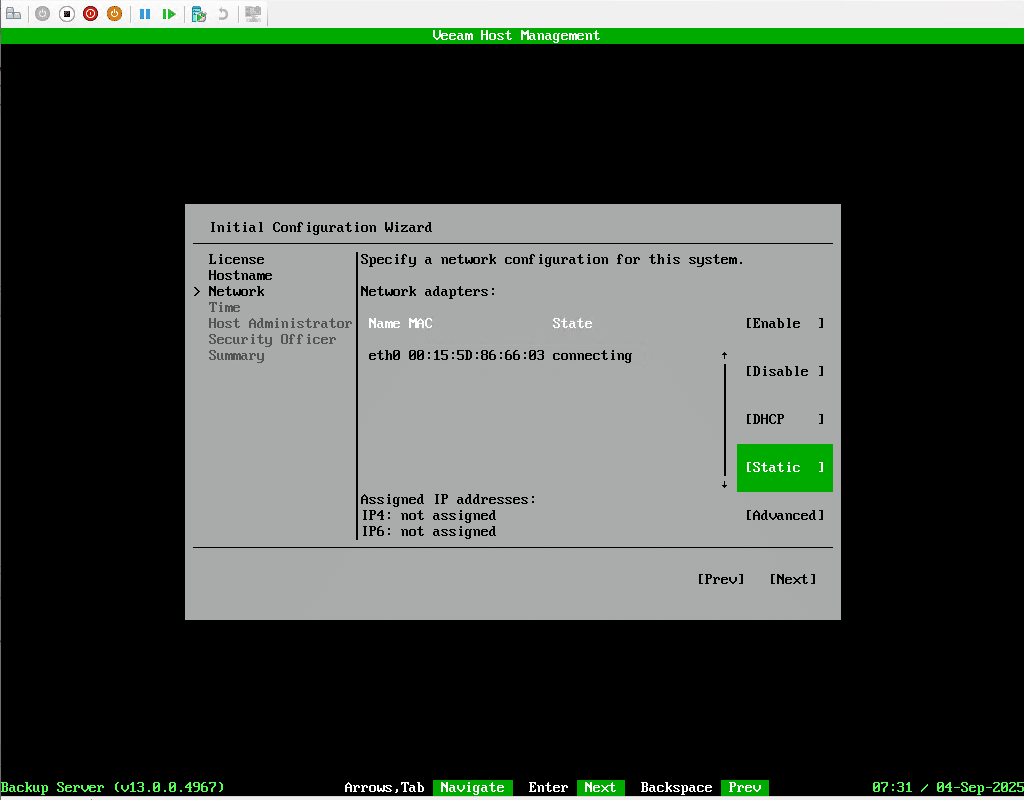
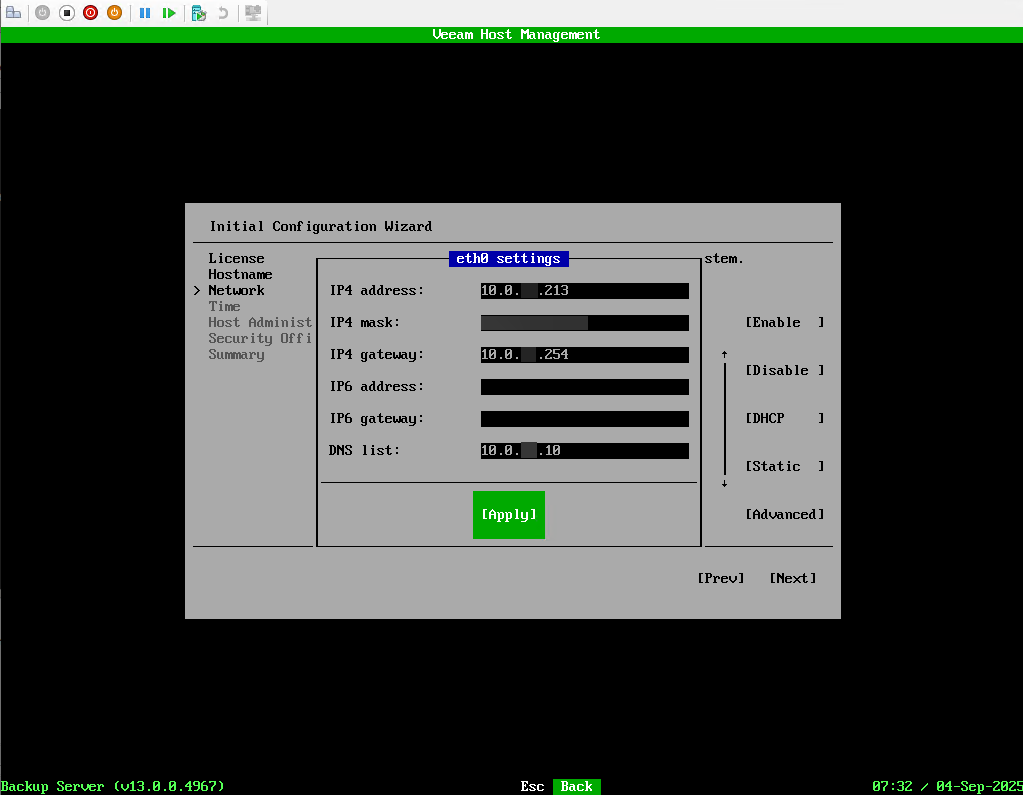
To continue, configure the network on the Veeam 13 computer.
Proceed to Timezone and NTP server configuration.
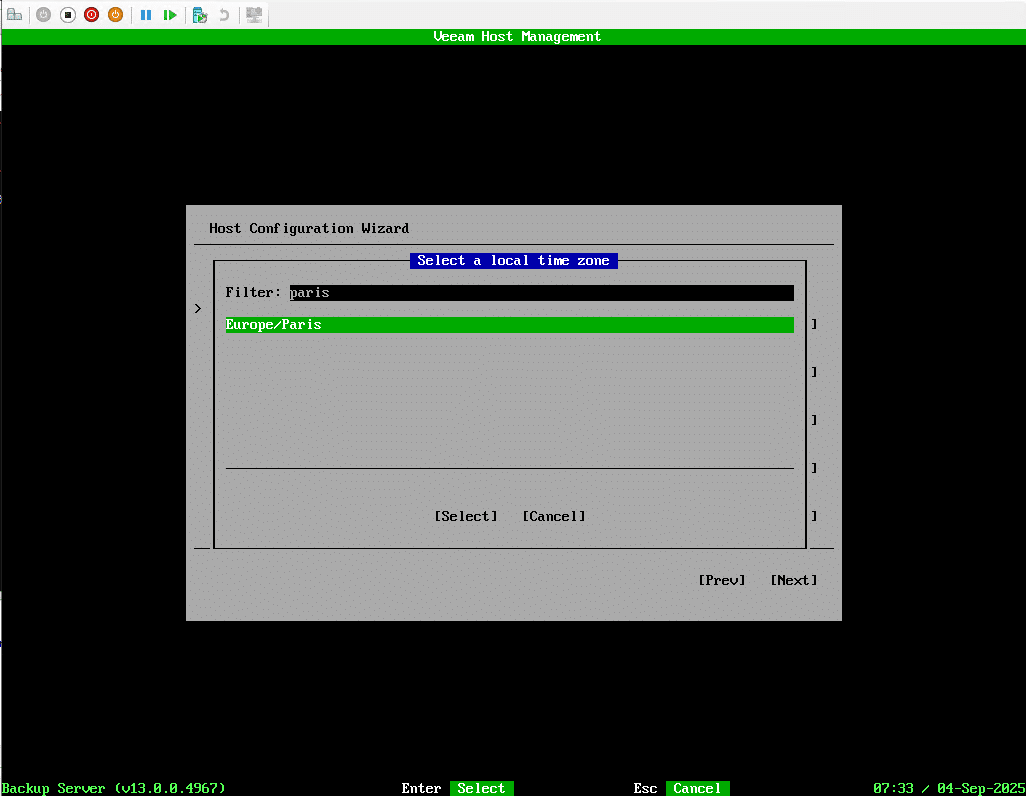
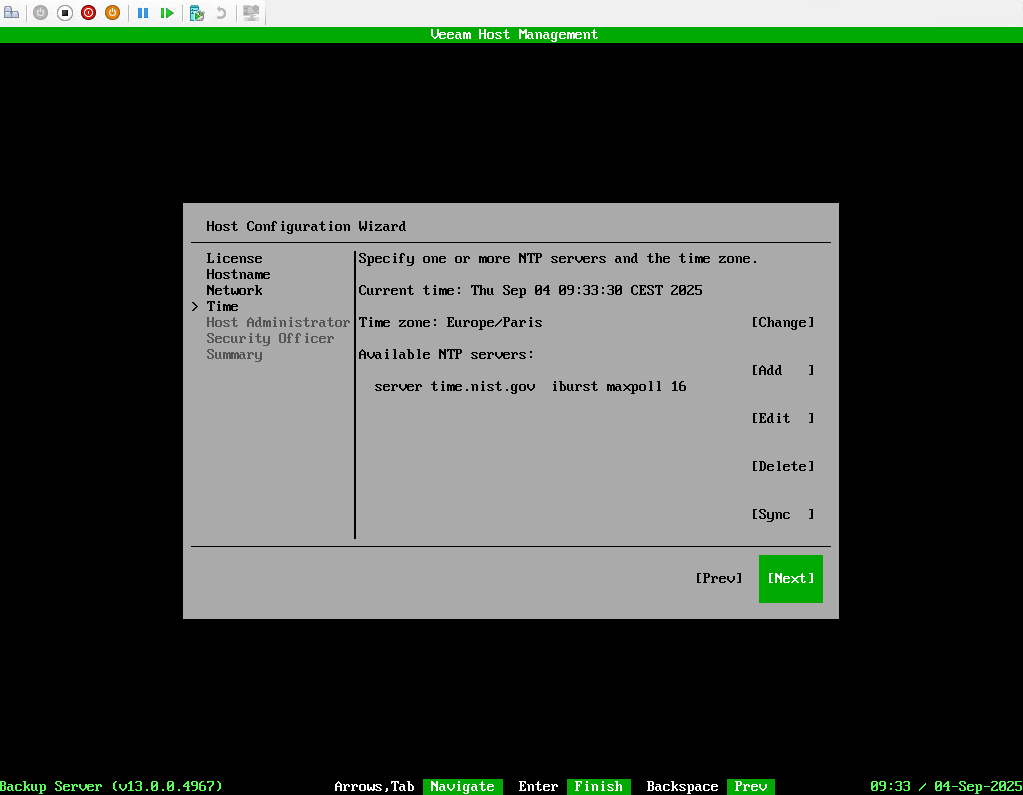
This configuration is important to ensure that backups start at the time configured in the job schedule.
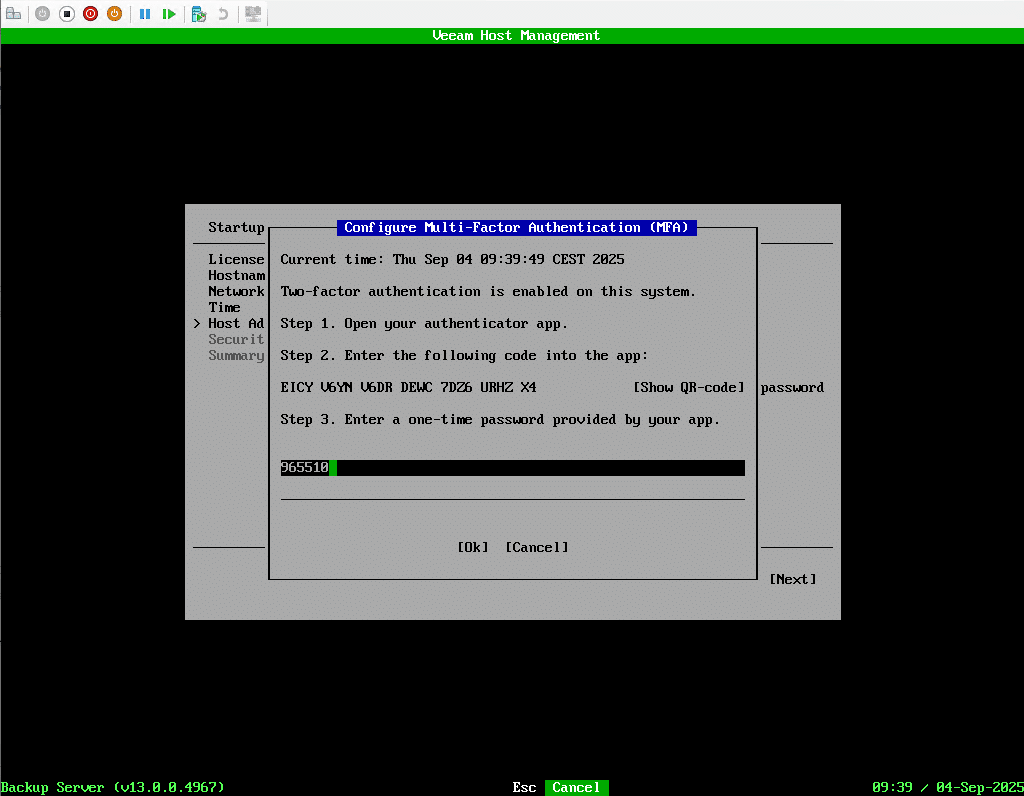
We continue with the configuration of the veeamadmin account, where we must configure the password and the TOTP code.
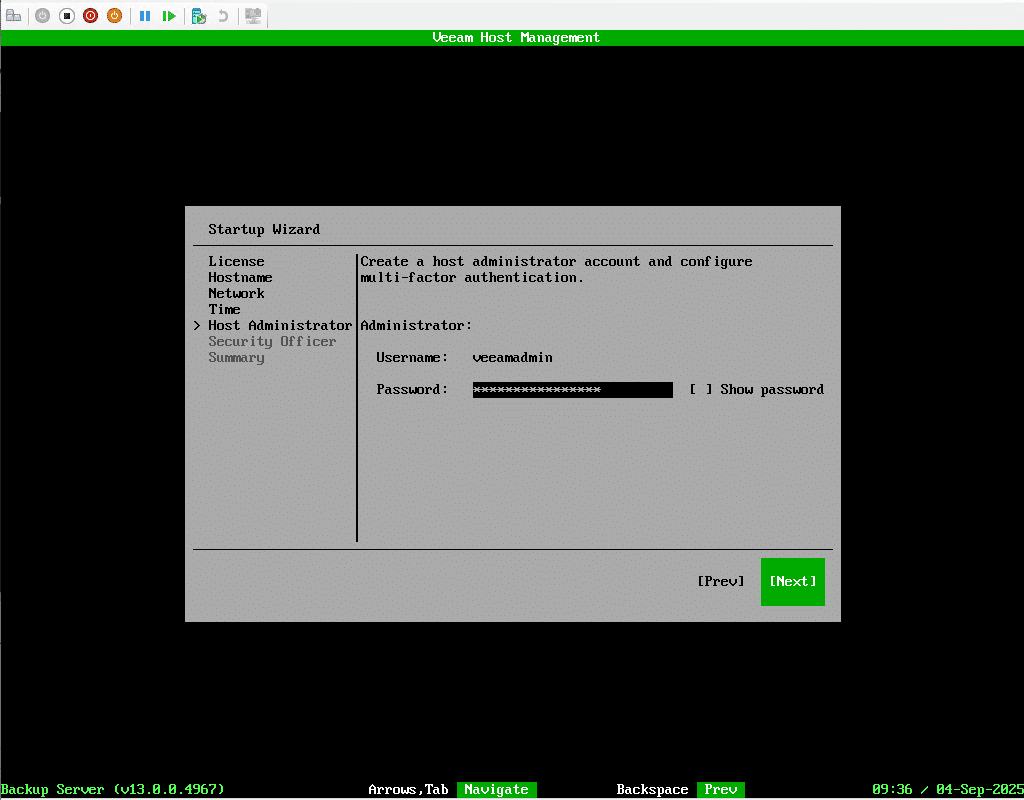
The password must be complex.
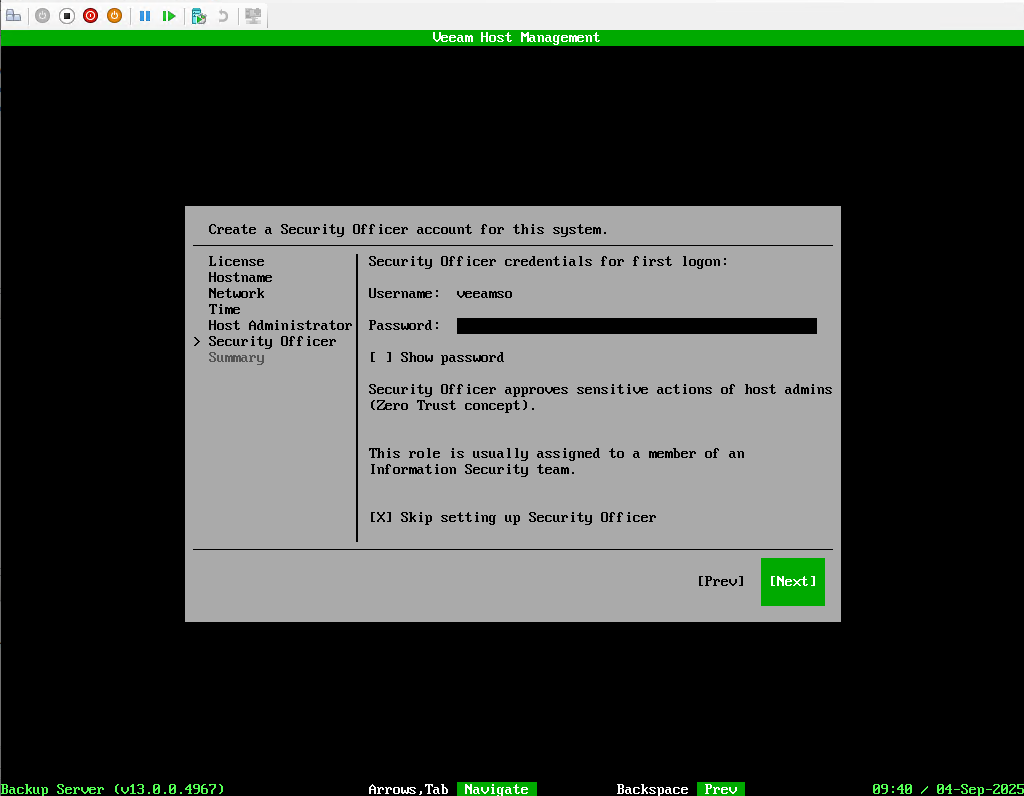
As for the veeamso account, I passed it by checking the Skip setting up Security Officer.
Click Finish to validate the Veeam computer configuration.

Once the configuration is complete, in the terminal we have the IP address of the server, as well as the URL to access the web interface.
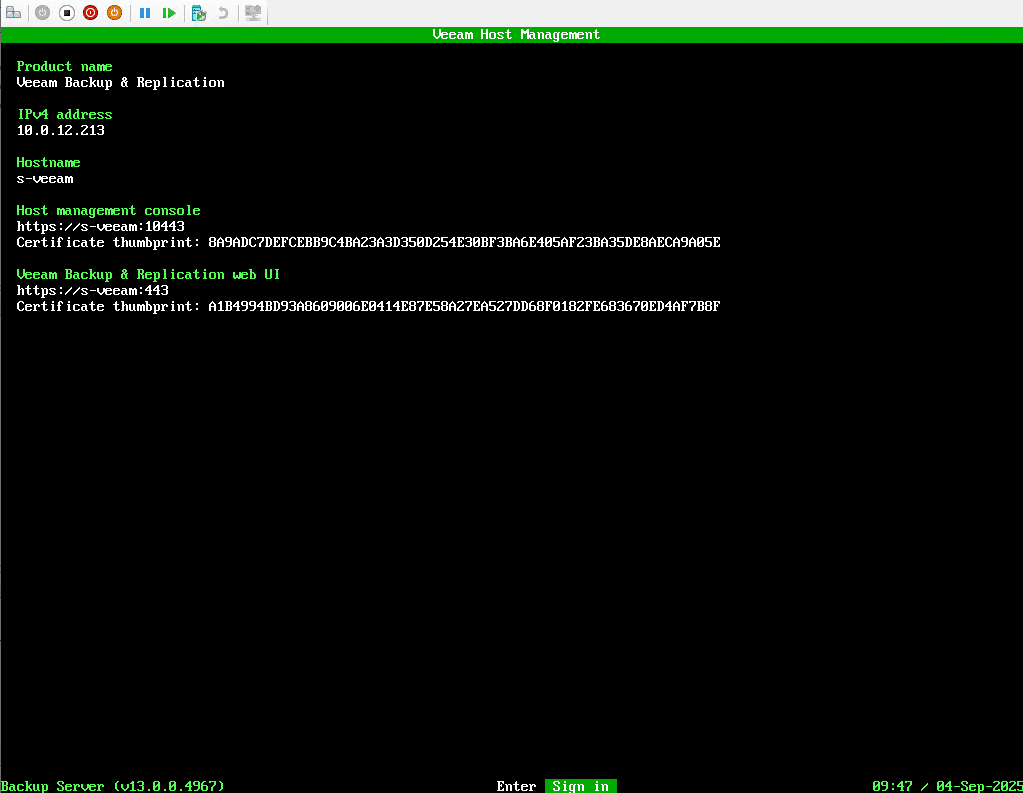
Veeam 13 appliance installation is complete.
Access the Veeam web interface
One of the new features introduced with Veeam 13 is the management of the backup software through a web interface which will eventually replace the administration console available on Windows.
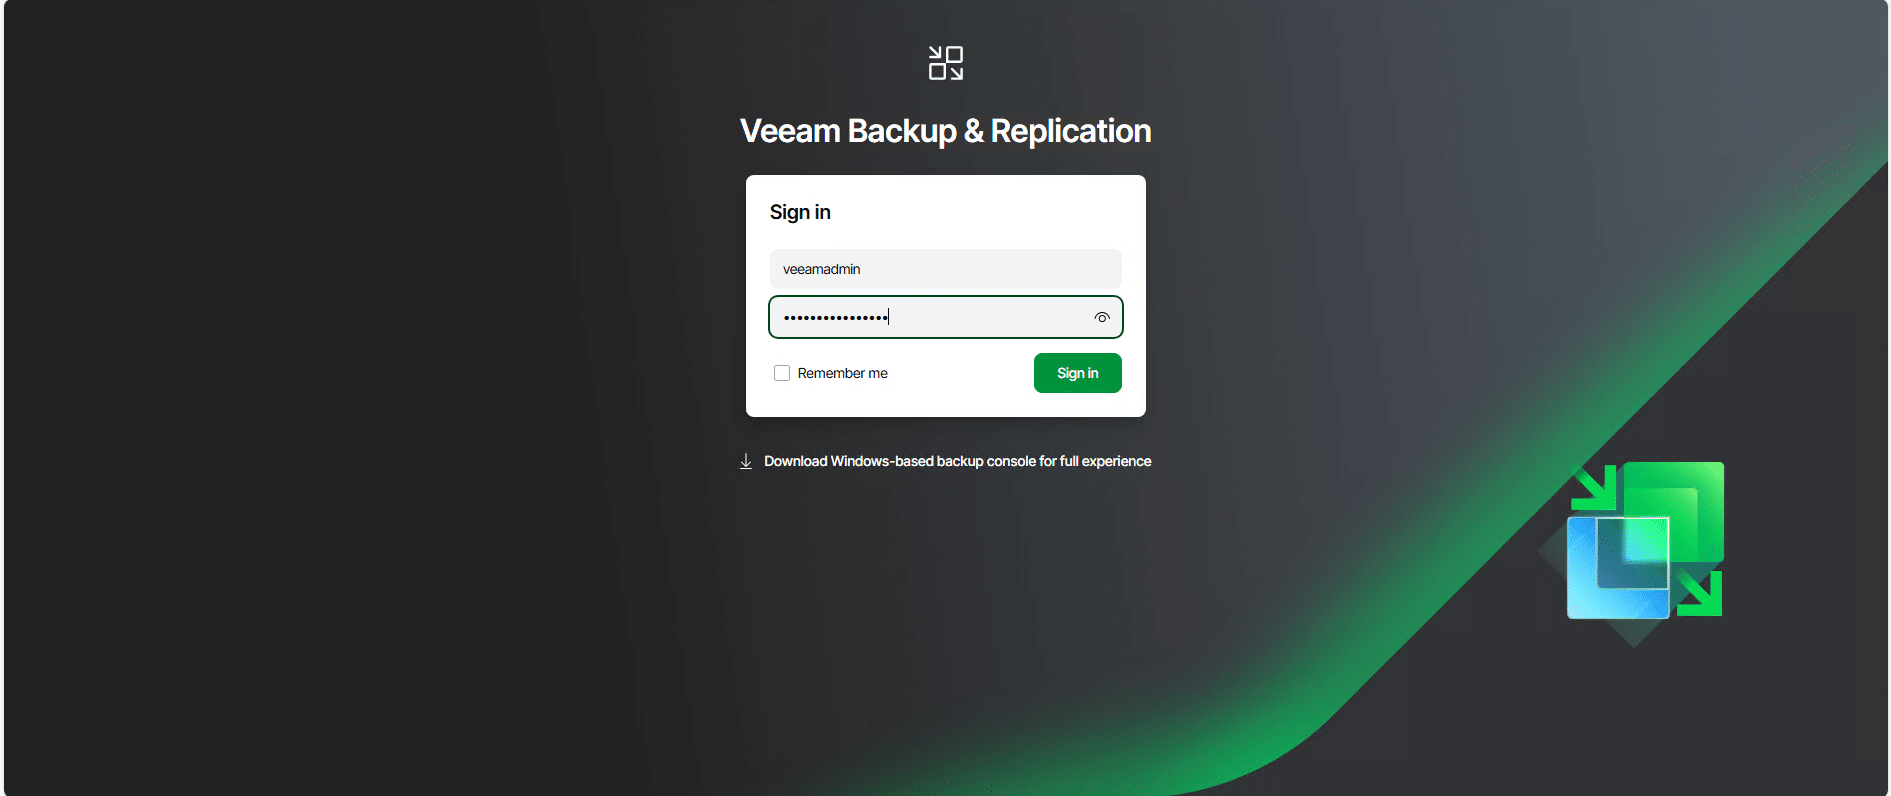
From a web browser, in the address bar enter the FQDN name of the server or its IP address in HTTPS, enter the login information of the veeamadmin account.
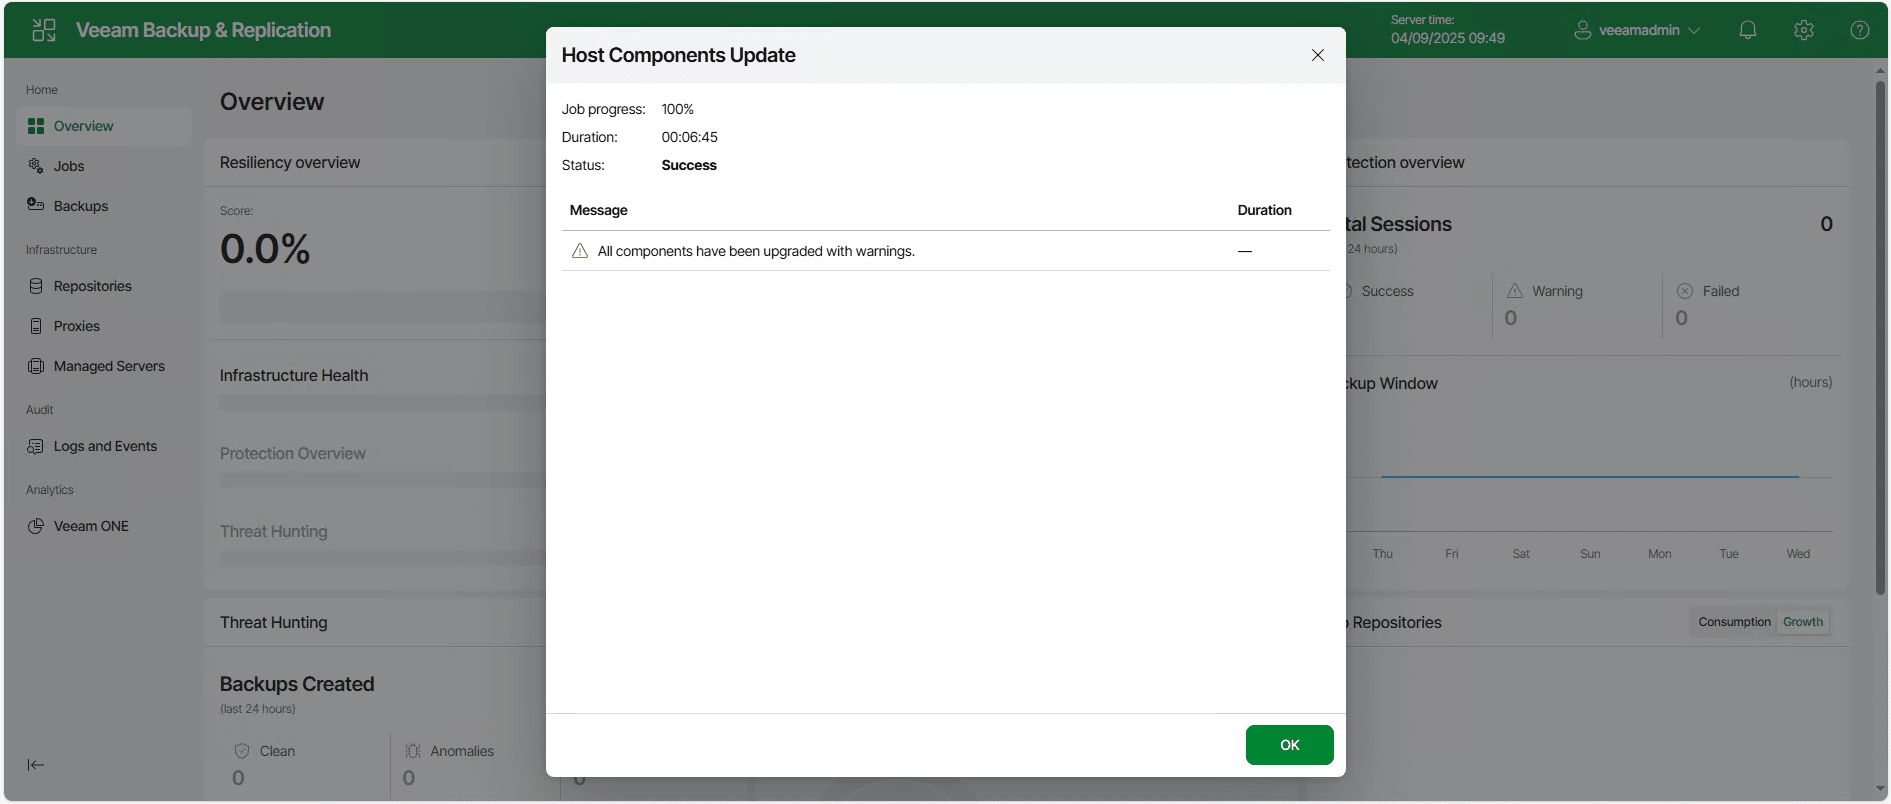
If you have just finished the installation, you may be stuck on a window that indicates a component update, wait… the update is complete, close the window.
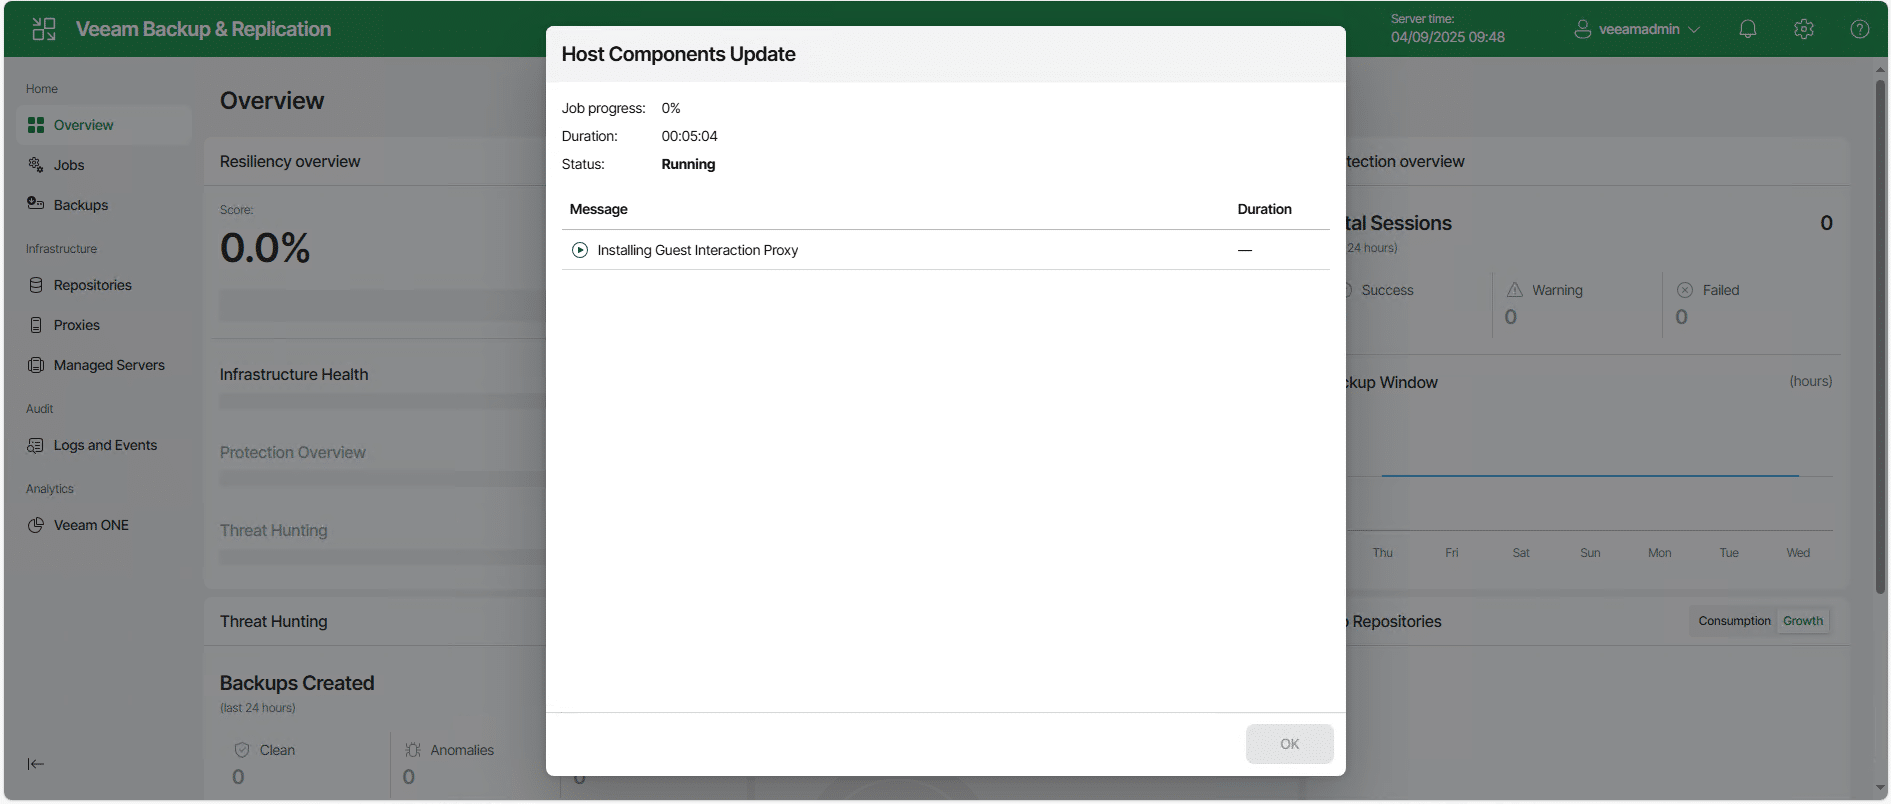

You can then navigate through the web interface.
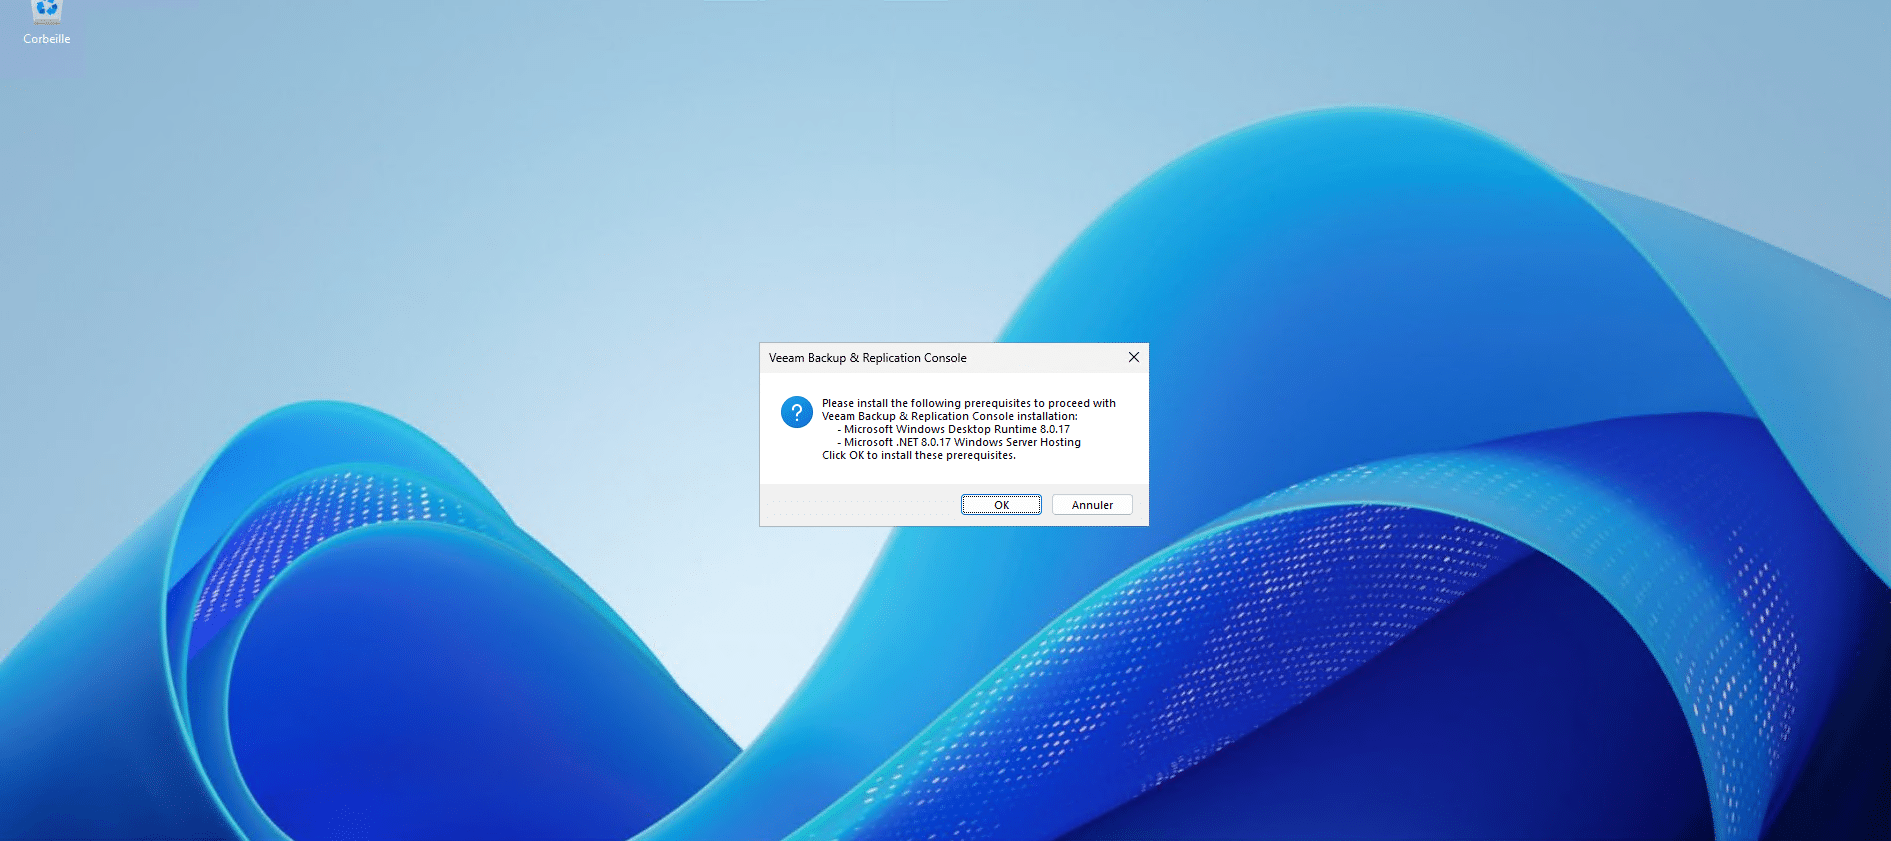
Installing the Windows Administration Console
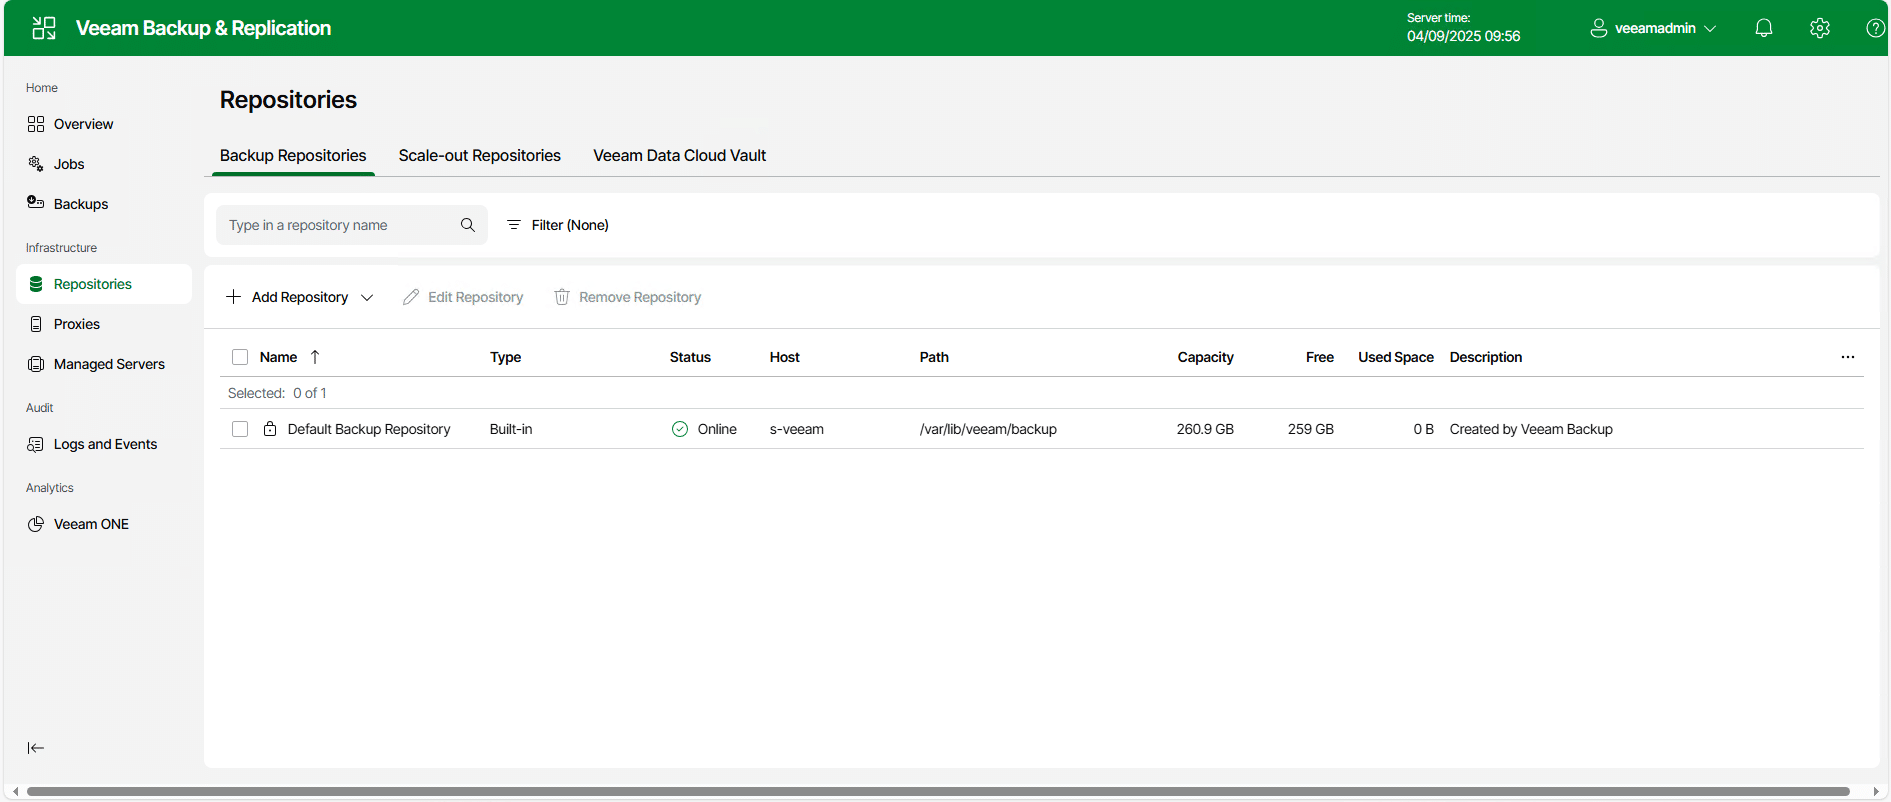
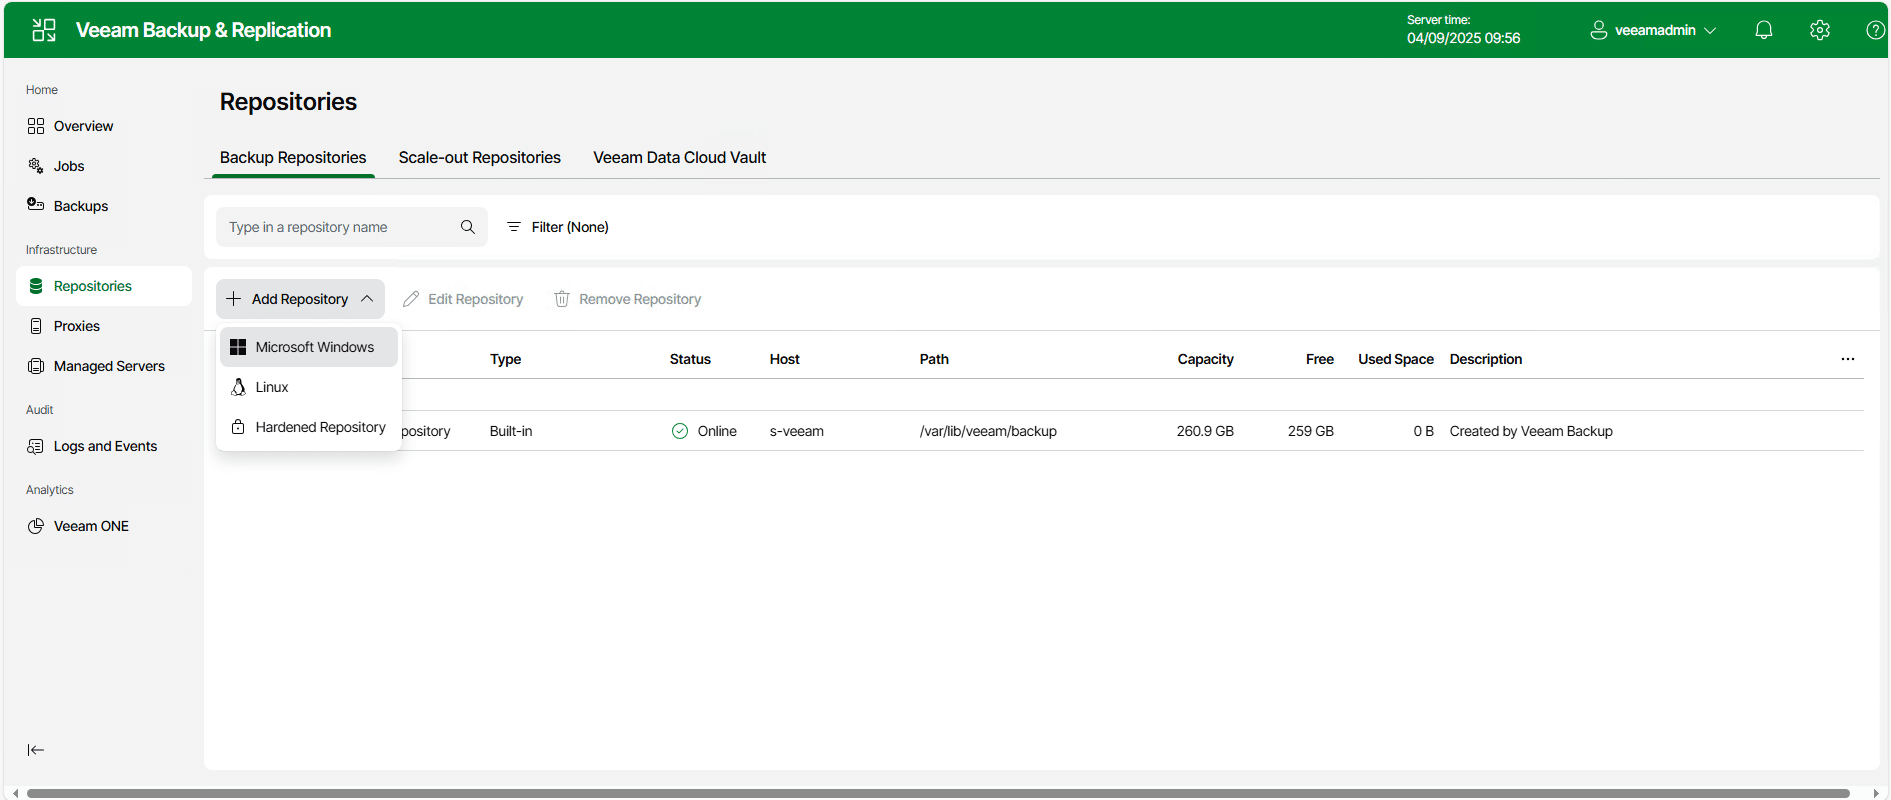
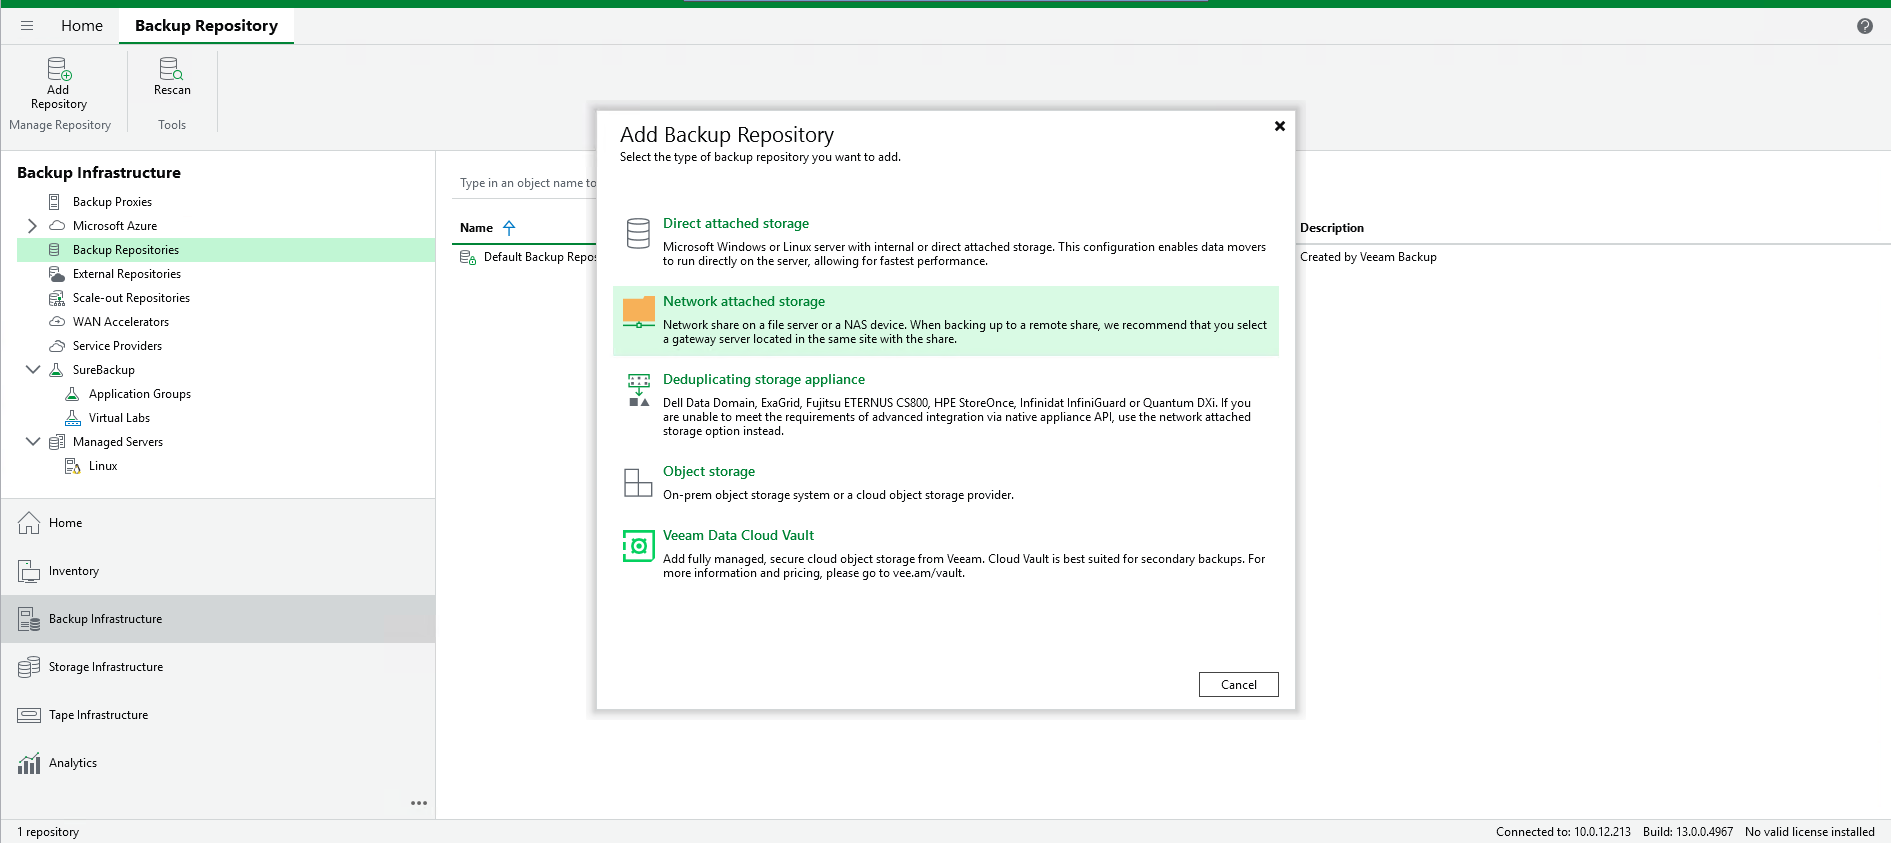
At the time of writing this tutorial, the Veeam 13 web administration interface does not yet integrate all the features, as can be seen in the screenshot below, you cannot add an SMB repository for example.
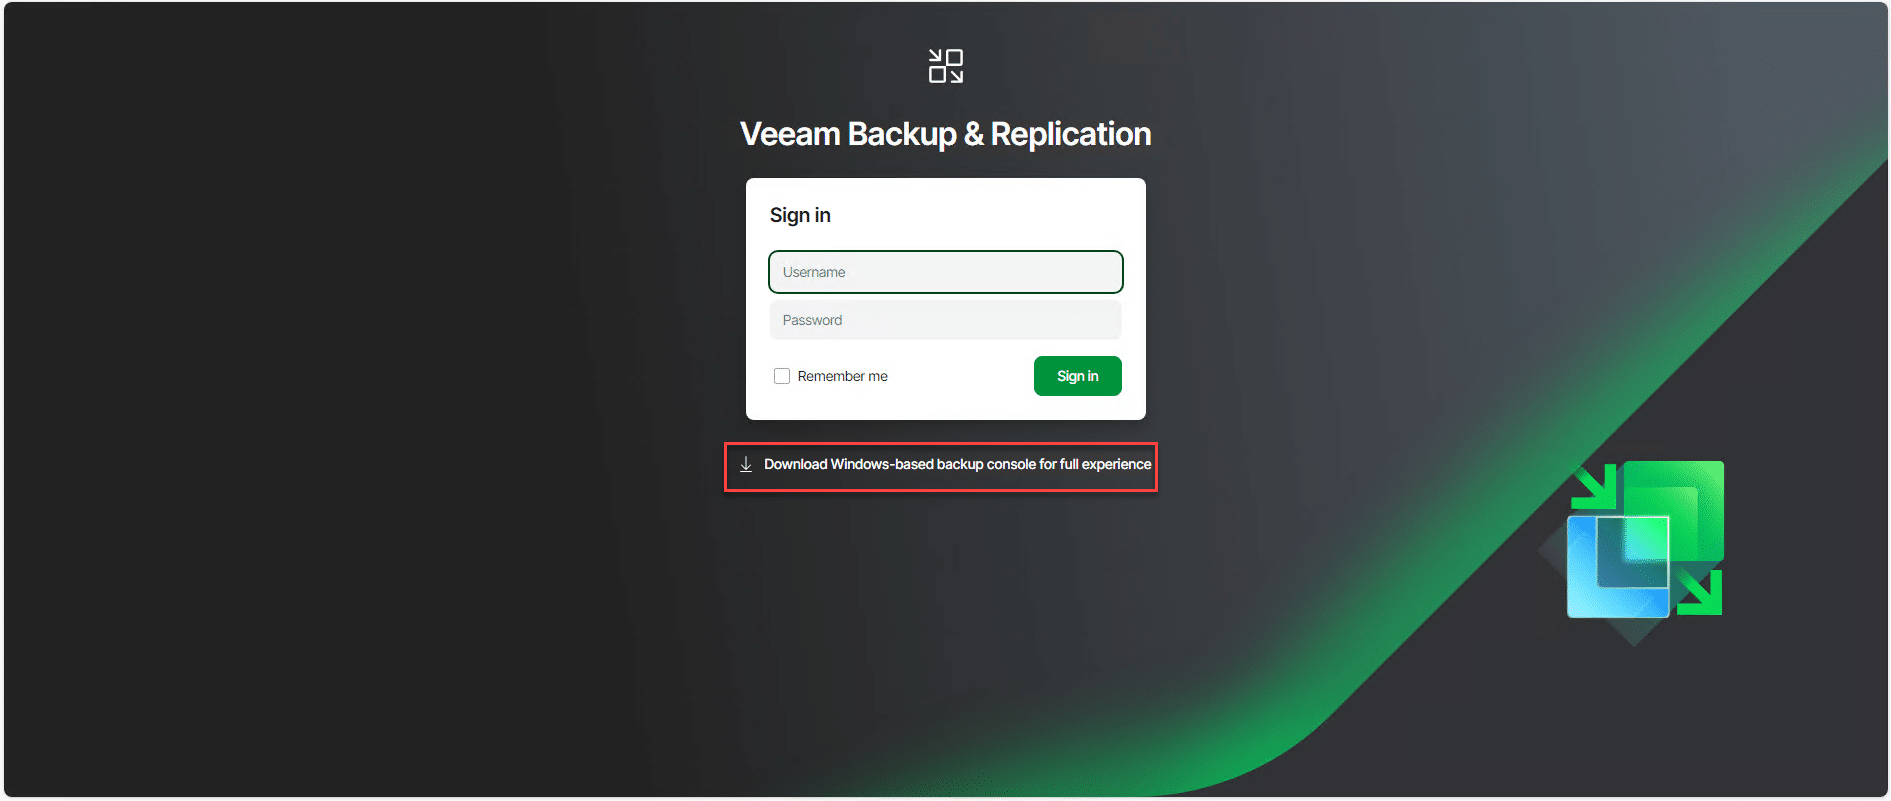
From a Windows server, go to the Veeam 13 web console login page and click Download Windows-based backup console for full experience.
Run the downloaded file to start the Veeam 13 console installation.
Follow the wizard to install the necessary prerequisites and the console…

When installation is complete, close the wizard.

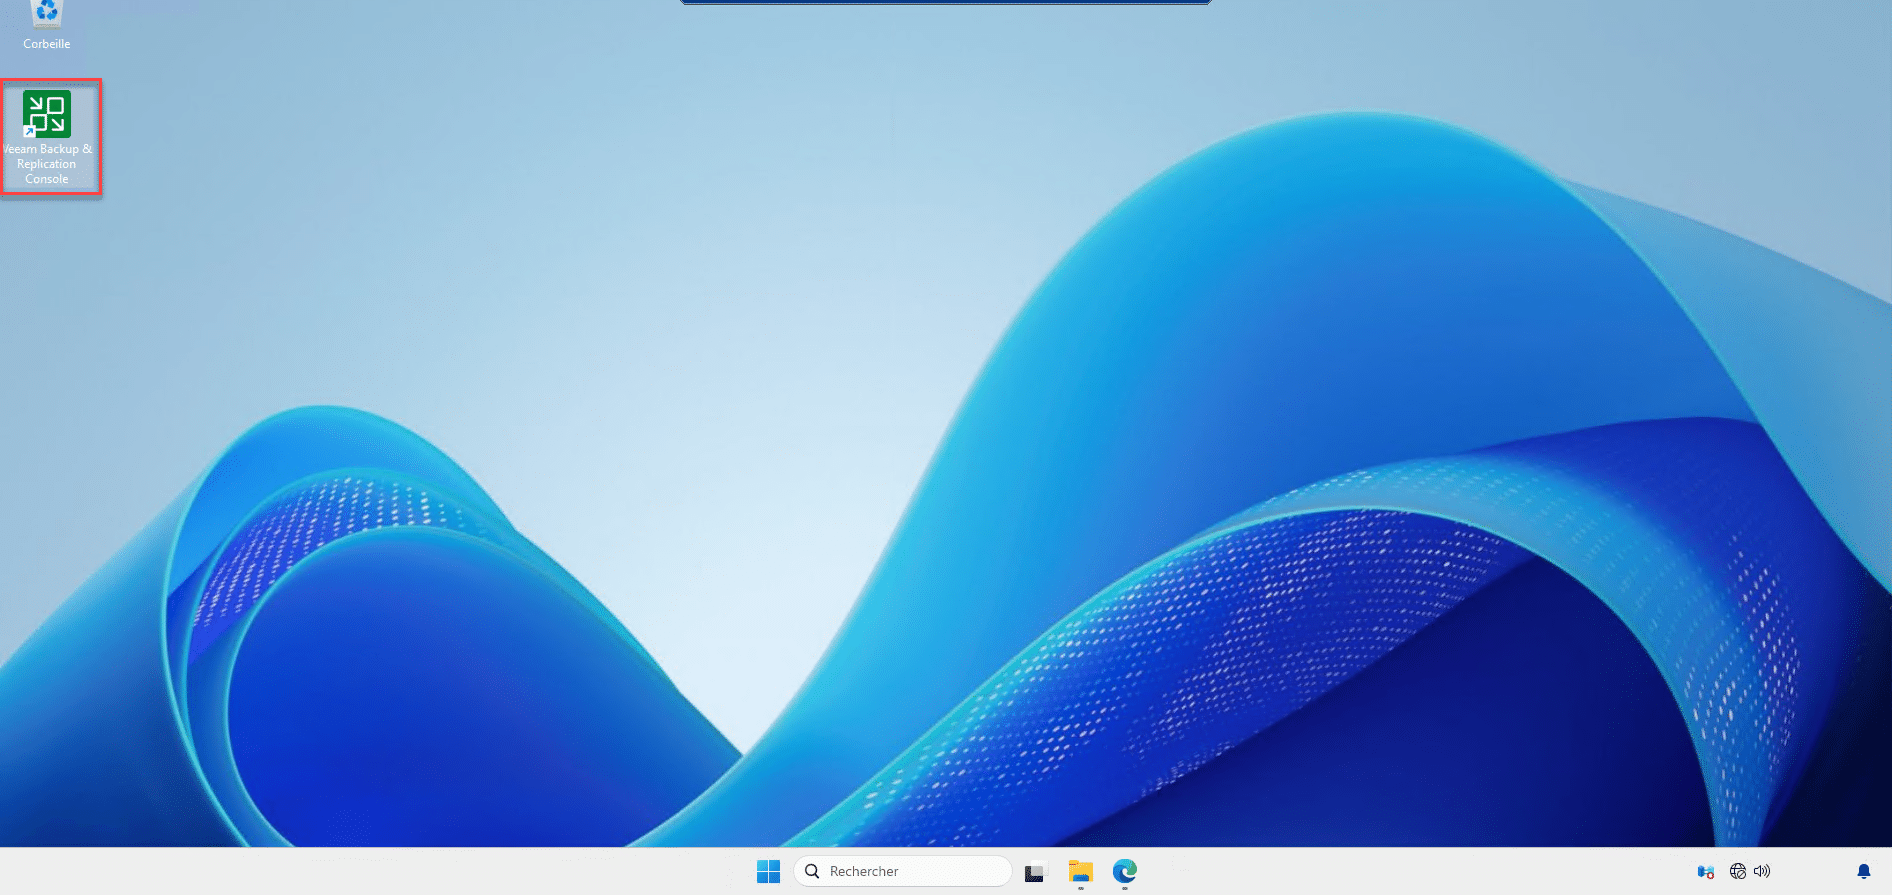
Veeam 13 Management Console is installed.
Connect to Veeam 13 server with the management console
Launch the console using the icon on the Desktop.
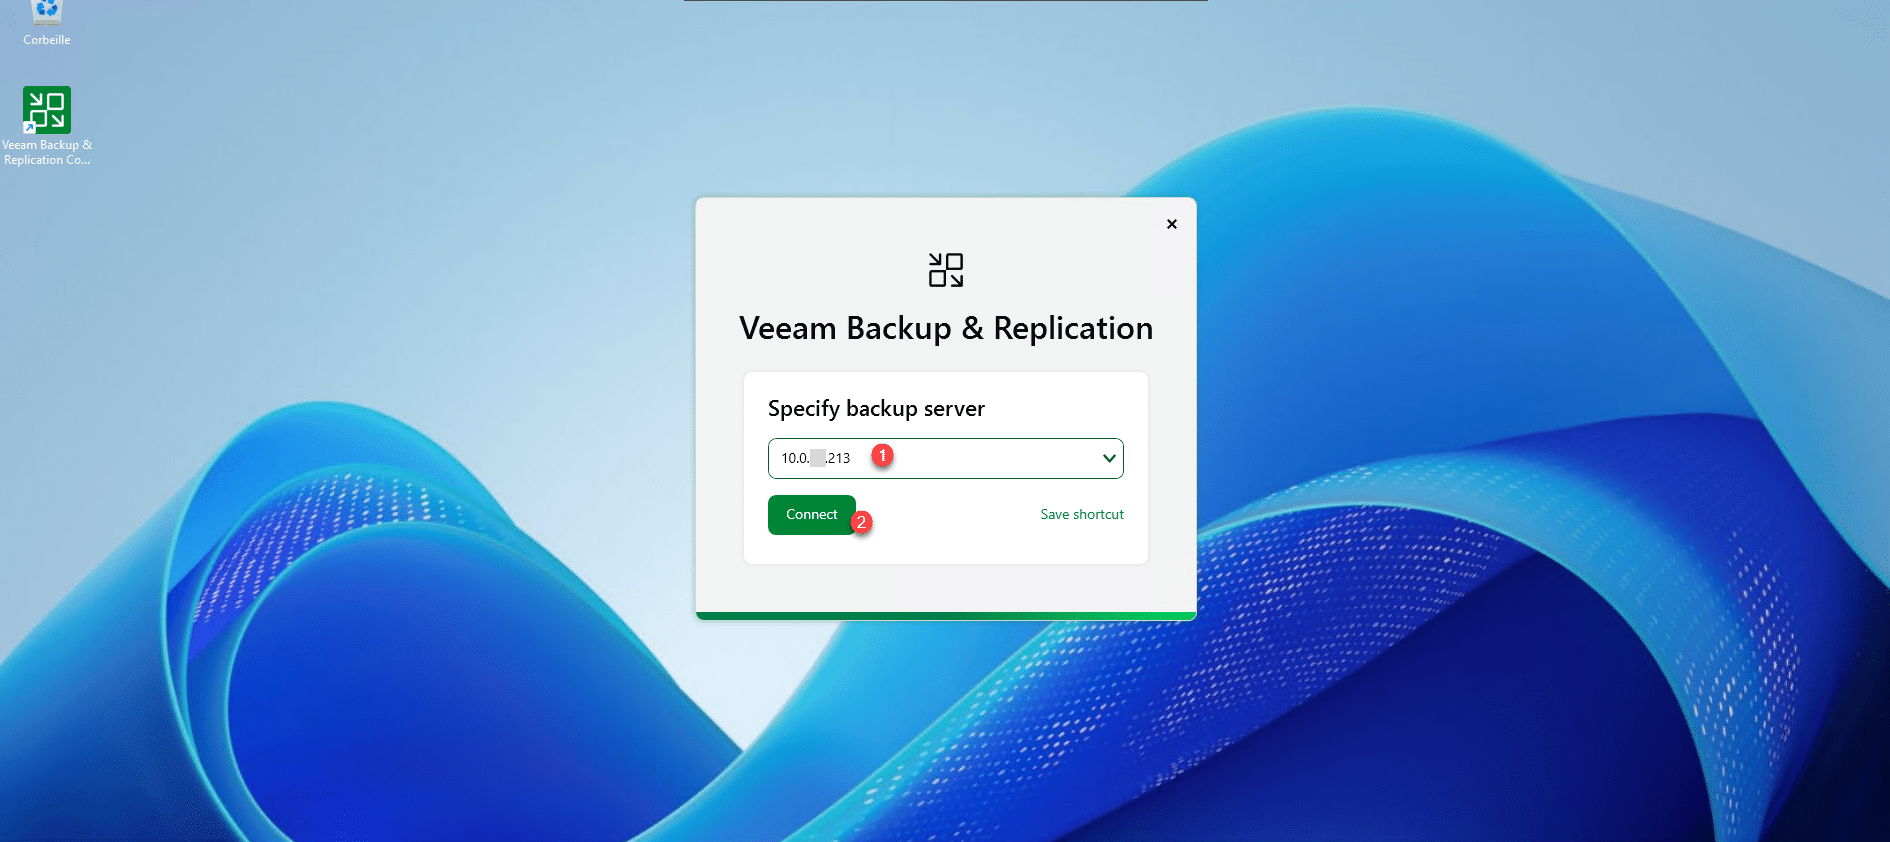
Enter the server address 1 then click the Connect button 2.
Validate the server certificate by clicking Yes 1.

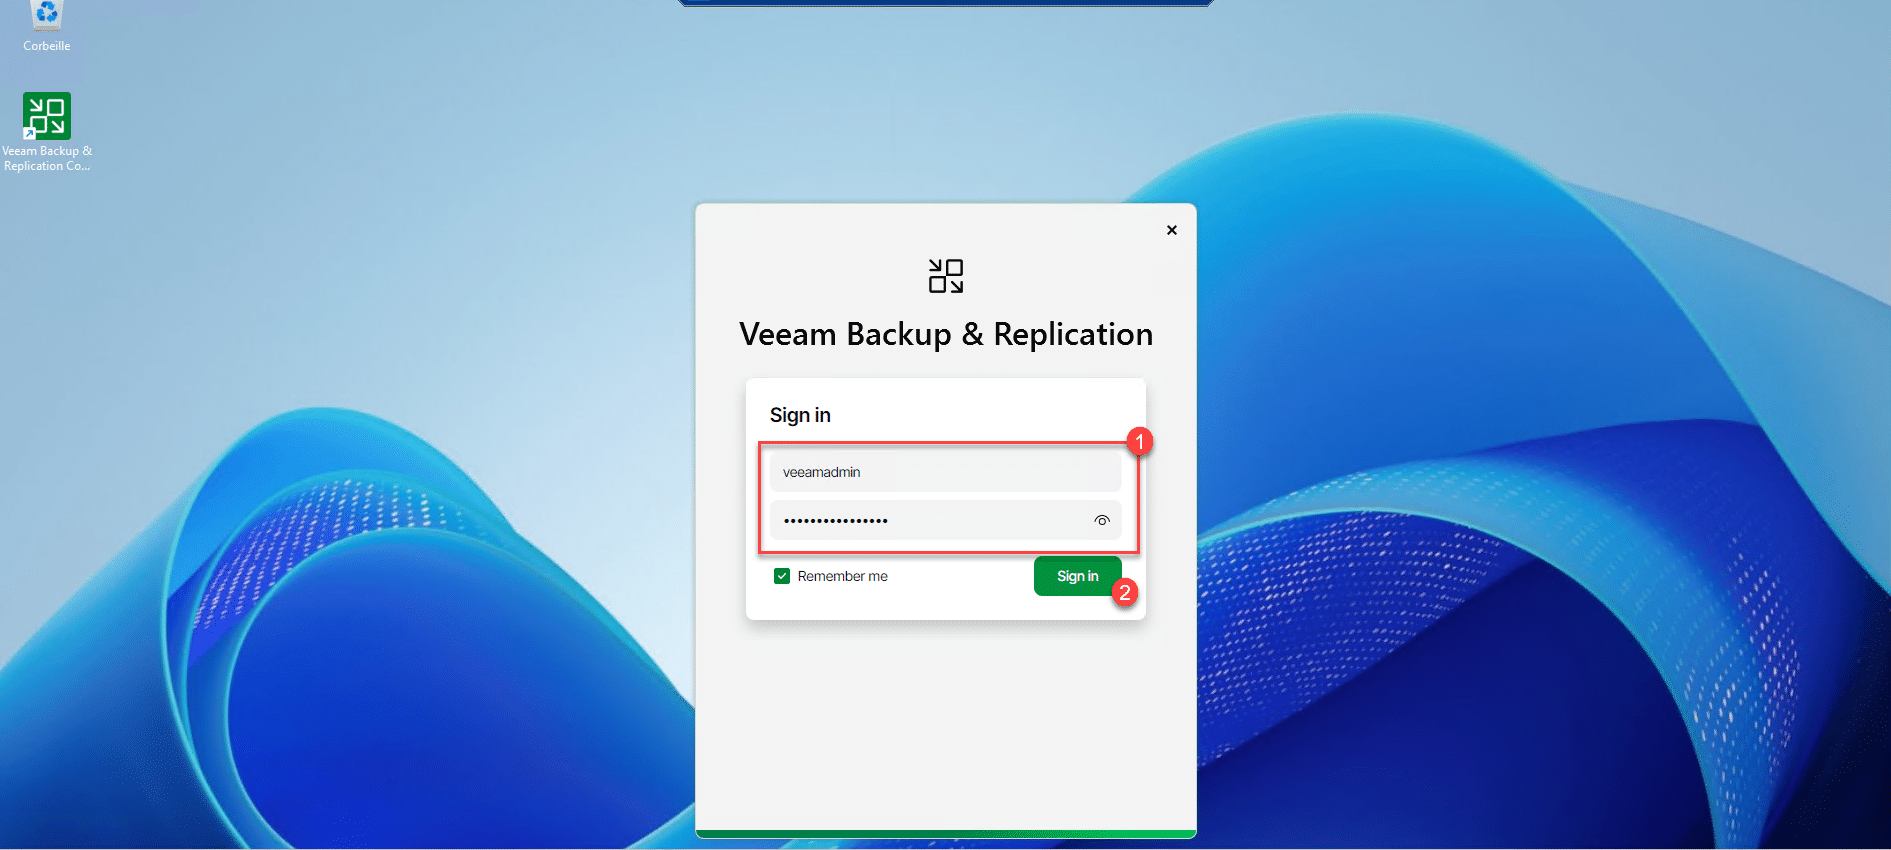
Enter the veeamadmin account credentials 1 and click Sign in 2.
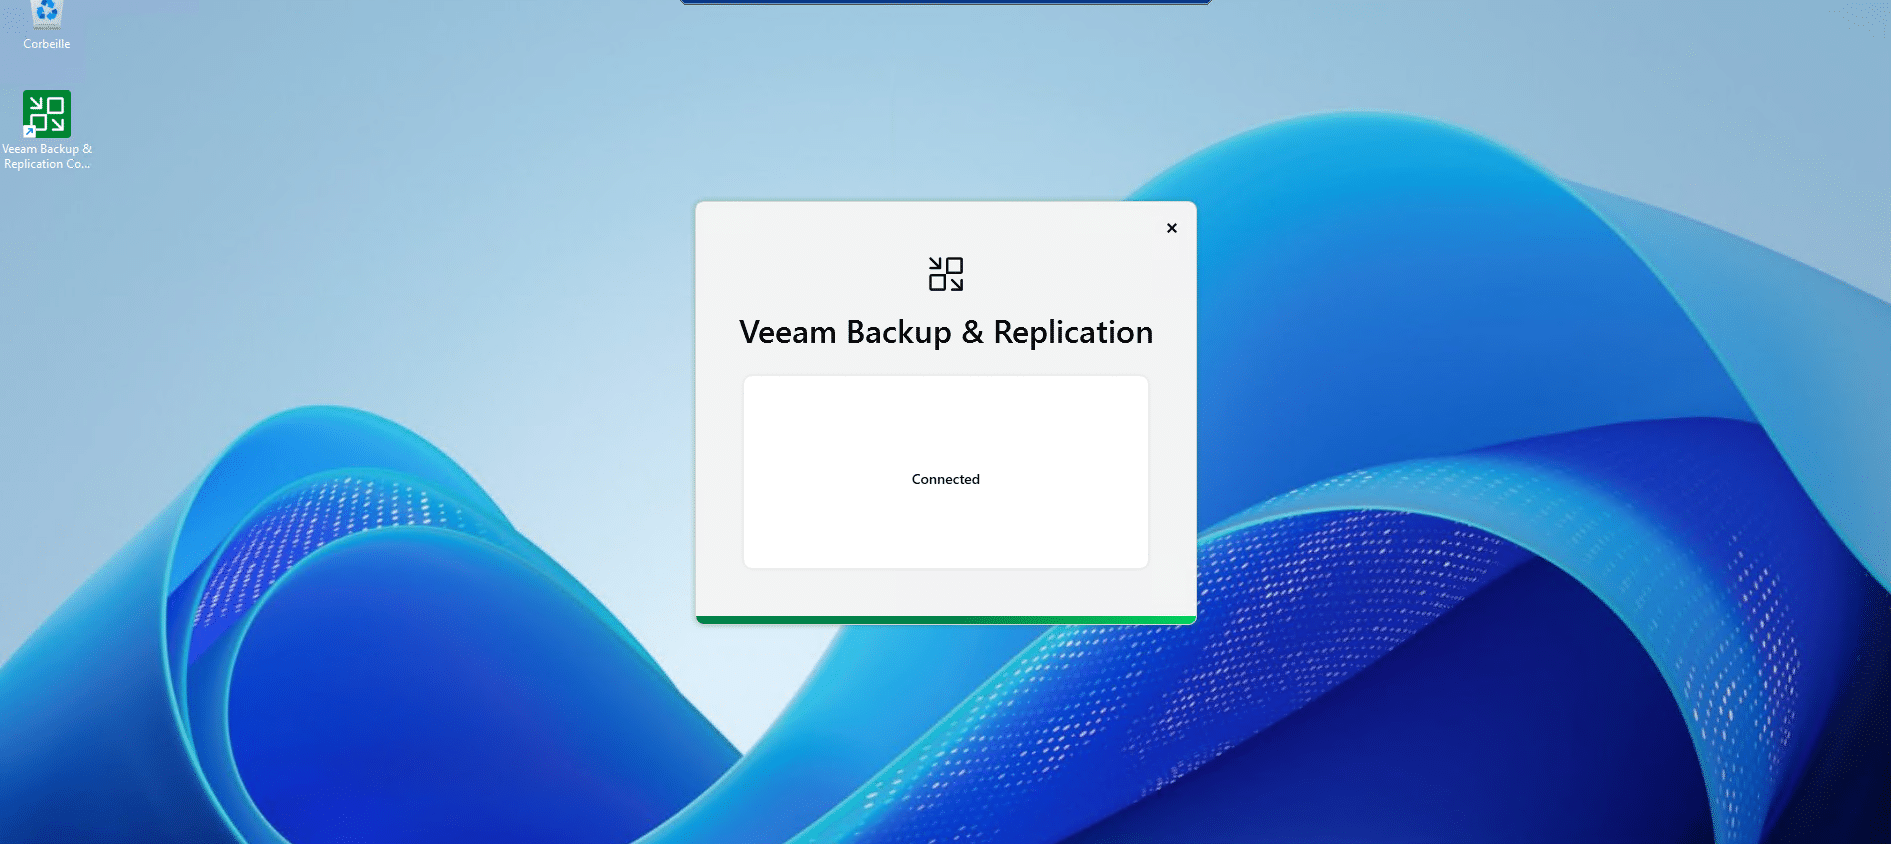
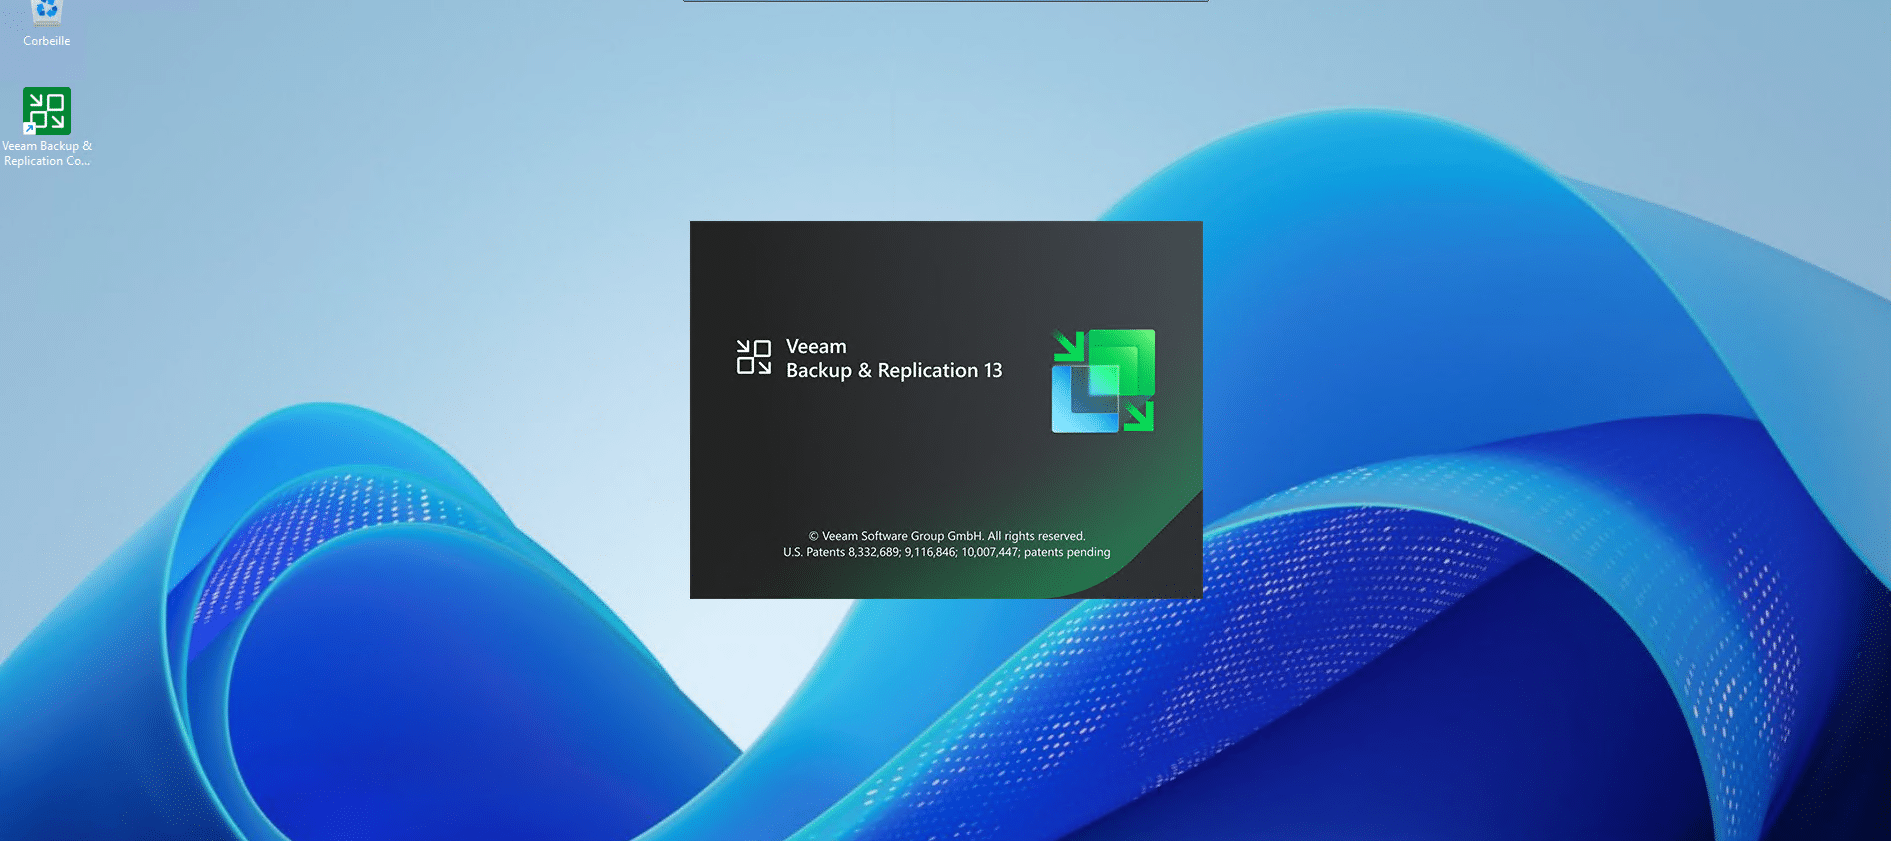
Please wait while the console connects and loads…
As you can see, we find the classic Veeam console, which has been revised in terms of design, in operation, it is identical to the previous version of Veeam.
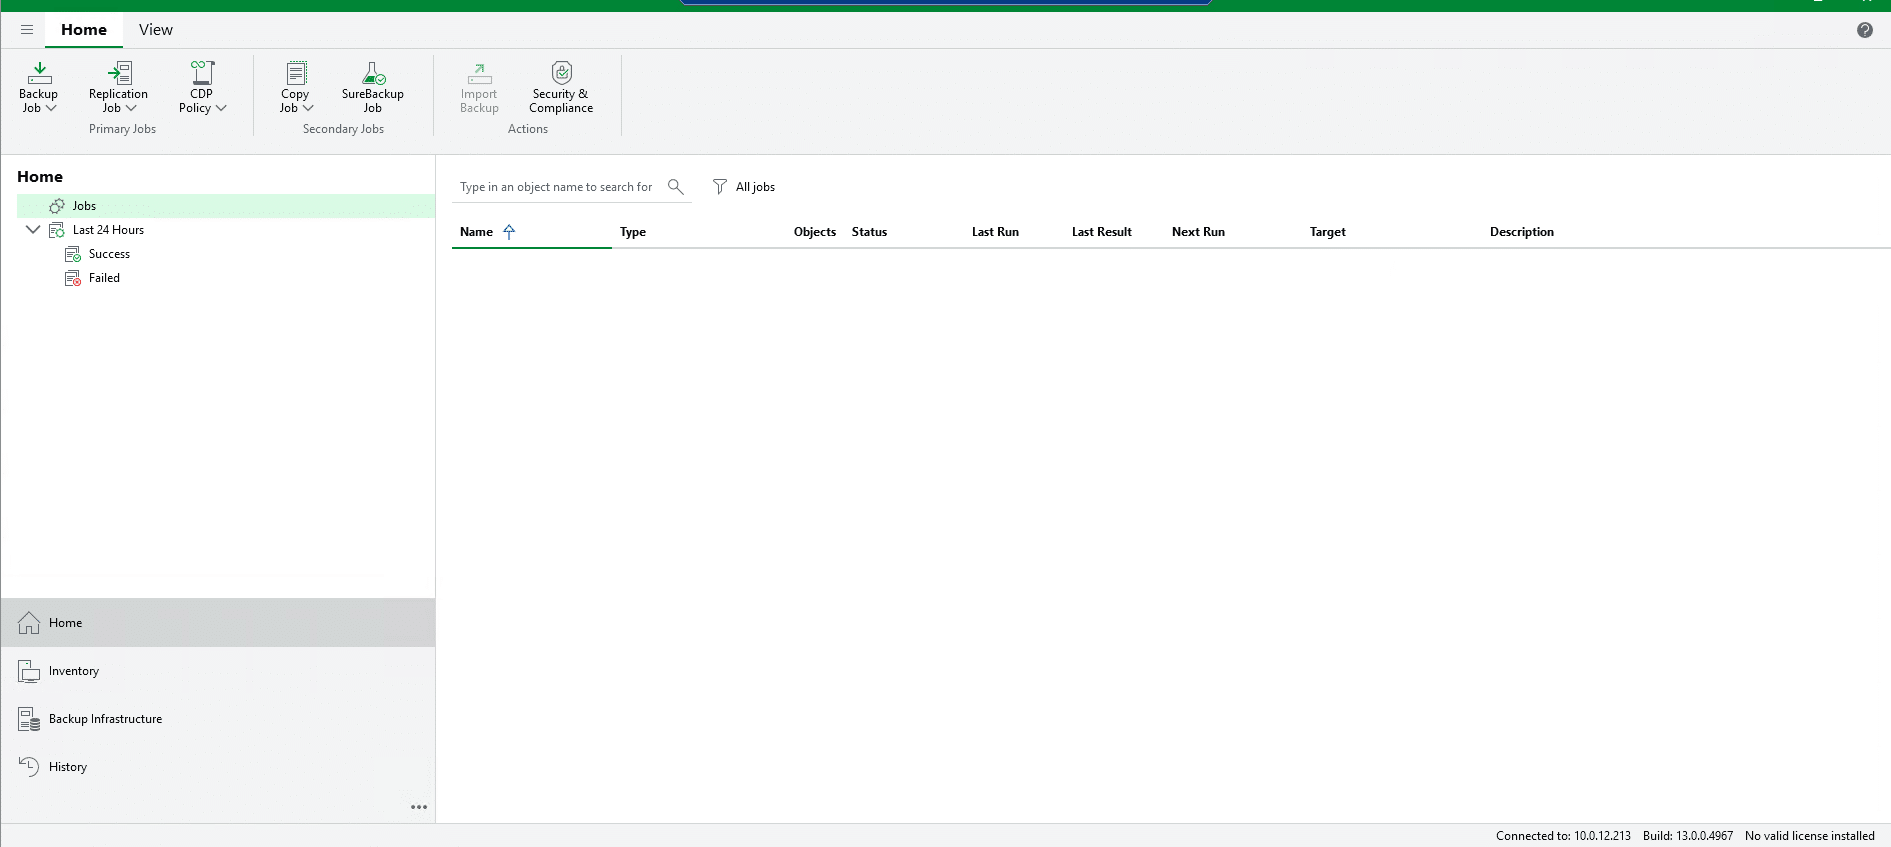
This time, we can add an SMB type repository.
Migrating from Veeam 12 to Veeam 13
As of today, it is not yet possible to migrate from Veeam 12 to Veeam 13, the migration tools should be available in Veeam version 13.1, so we will have to wait a little longer.
If you want to upgrade directly to Veeam 13, you will have to start from a clean Veeam installation and do all the configuration, which will also involve starting from full backups and therefore having the necessary space.
If you are using third-party cloud storage services, you should verify that they support Veeam 13.
Now you know how to install Veeam 13.
