
In this tutorial, we will see how to go from Proxmox VE 8 to Proxmox VE 9 step by step.
Version 9 of Proxmox Virtual Environment is released on August 5, 2025 : Proxmox Virtual Environment 9.0 with Debian 13 released.
Table of Content
Proxmox Ve 9 news
Before you start, here is a summary of changes:
🧱 1. Modernized base: Debian13 “Trixie” & Kernel Linux6.14.8-2
- Founded on Debian13 “Trixie”, offering updated libraries and better management of modern equipment.
- Kernel Linux6.14 (6.14.8-2) for compatibility with recent AMD/Intel processors, PCIe5.0, NVME, and new network chips
💾 2. SnapShots for LVM Thick – Privisioned (ISCSI / Channel fiber)
- Native support for snapshots on shared thick LVM storage (ISCSI, Channel fiber, NVMEOF).
- Works in Chainé volume (delta) without total copying, simplifying backups and restorations on San
🌐 3. SDN manufacturing and pinning of network interfaces
- SDN manufacturing for Complex network topologies: Spine-Leaf, Full-Mash CEPH, Multivlan Route, OSPF/Openfabric integrated.
- Proxmox – network – interface – pump tool: Mac/Nic STABLE subscriptions, manages nic damage without rupture, Firewall and Bridge Automatically
📦 4. Key updates: Qemu 10.0.2, lxc6.0.4, CEPH19.2 Squid, ZFS 2.3.3
- QEMU 10.0.2 : Better hot migration, NUMA conscience, extended support of secure guest features.
- LXC 6.0.4 : Reinforced insulation via CGROUP V2, improved network, finite CGROUP V1 support (requires recent containers)
- Ceph Squid 19.2.3 : bACKEN by default, better memory efficiency, active LZ4 compression, better stability and performance of cepphs/RBD
- ZFS 2.3.3 : Addition of VDEV to Raid -Z online, without interruption of service, and I/O pipeline optimized
⚙️ 5. Optimized backup
- Best integration with Proxmox Backup Server (PBS): Faster catering thanks to parallel access to chunks, settings suitable for network/disk speed
🛠️ 6. Importing simplified VM discs via UI
- Graphic assistant to easily import VM disks from VMware or other sources in various storage (NFS, CEPH, etc.), accelerating migration
🧩 7. HA improved and affinity rules
- New affinity rules: precisely control the distribution of VMS/CTS between HA nodes (co-location or distribution according to service)
📱 8. UI web reshaped, Dark Fashion by default
- Mobile application reworked in Rust / Framework Yew.
- Dark mode activated by default from installation.
- More notification options, improved error messages and more intuitive interface on mobile and desktop
🚫 9. Changes to note
- End of glusterfs support: to be migrated before updating.
- Deletion of the role vm.monitor: now uses SYS. Audit and permissions with Guest Agent for a finer control.
- Update of Appartmor 4.1, New ACL, Automatic microcode via firmware non -free activated by default
Prerequisites for going from proxmox ve 8 to 9
Before you start, here are the prerequisites to go to Proxmox VE 9:
- Be in version 8.4.1 minimum
- If you use CEPH is at the CEPH 19.2 squid version before migration
- If you use Proxmox Backup Server in co-installation, you must plan a version 3 to 4 of PSB.
- If you are cluster, it must be functional without error
- Have at least 5GB of space available, ideally 10GB
For security reasons in the event of problems:
- Physical access to the server or KVM/IPMI (Idrac, ILO, …)
- A functional backup of VMS and CTS
Update Proxmox VE in version 9
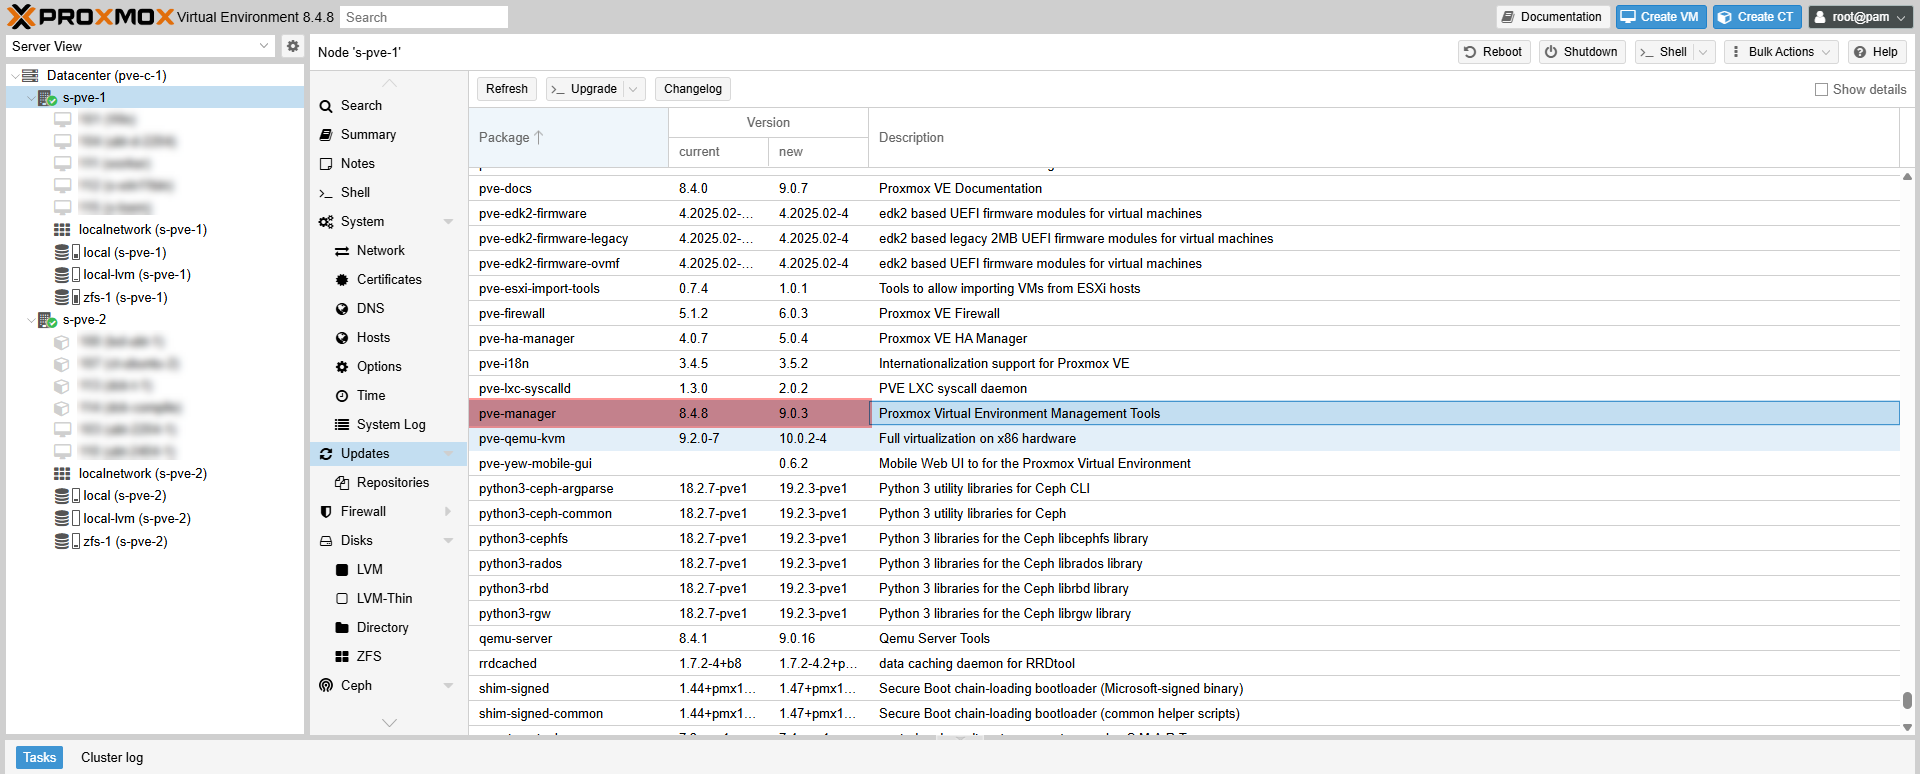
To start, check the version, on the capture below, we can see that I am in version 8.4.8, from there, launch the shell 1 of the Proxmox server.

You can also display the version in the shell with the command:
pveversion.
Verification of the system
Entering the order for below to verify that the prerequisites are technical are respected.
pve8to9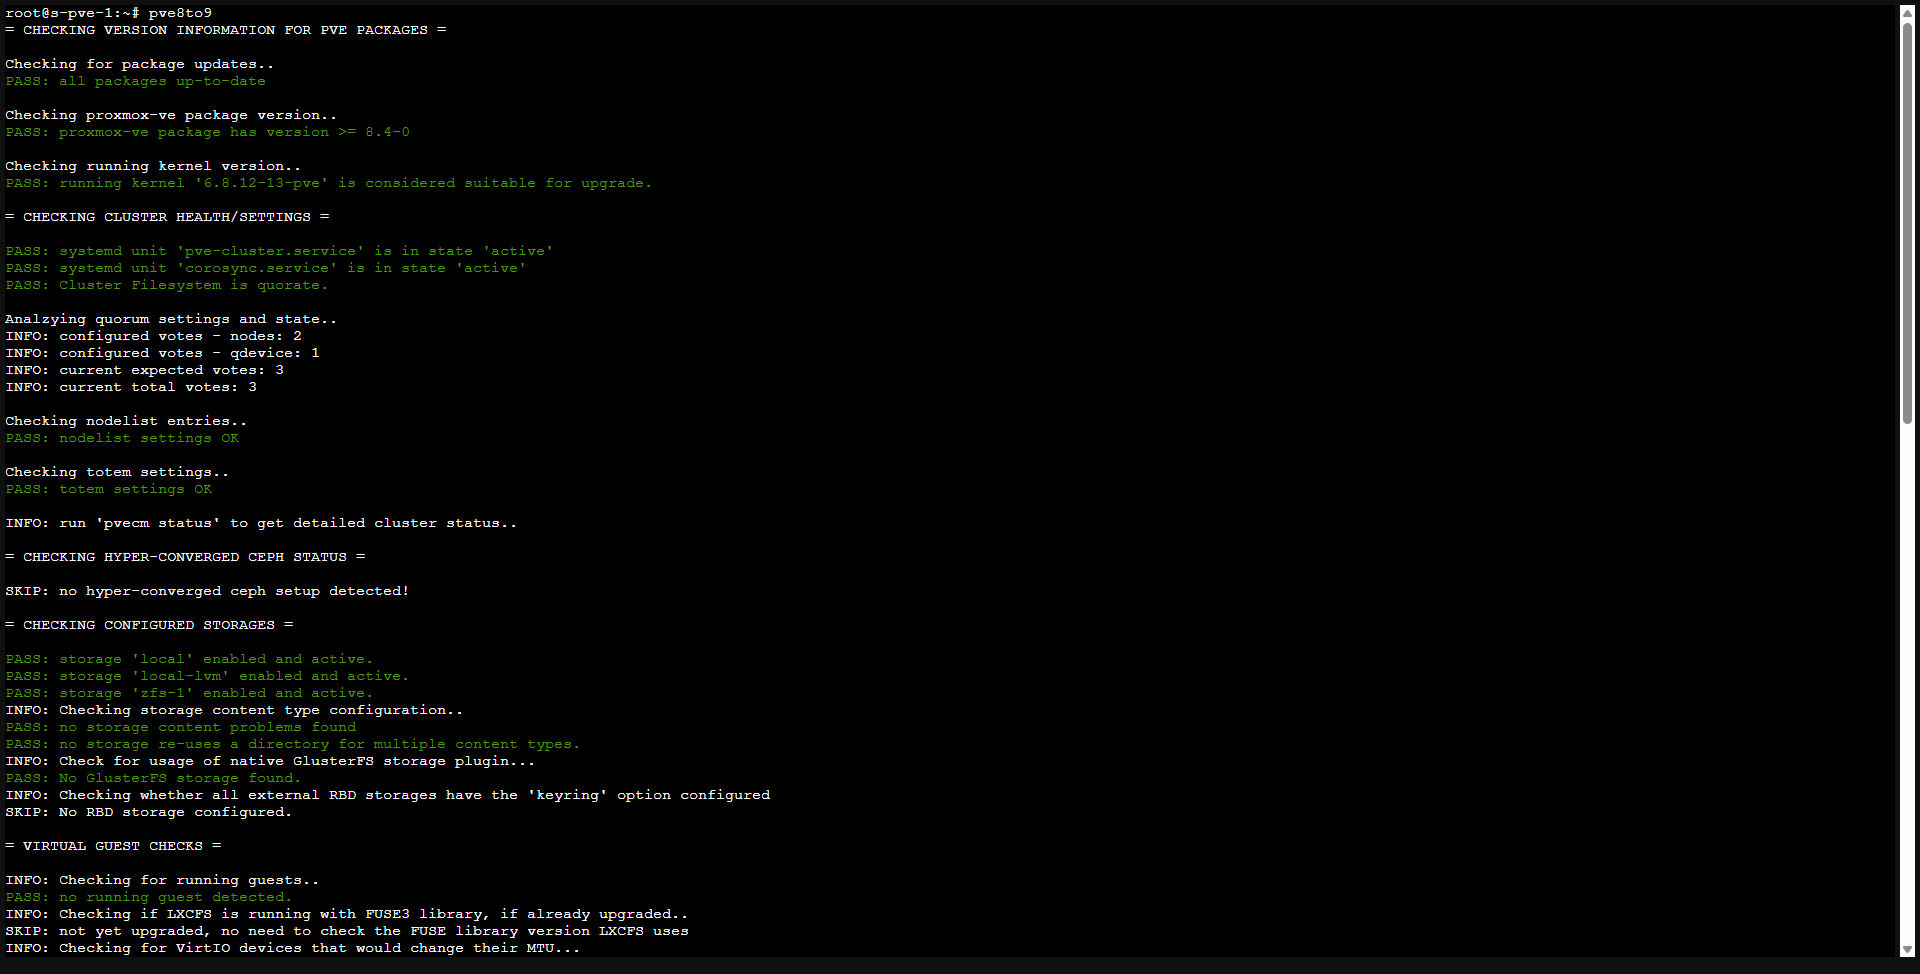
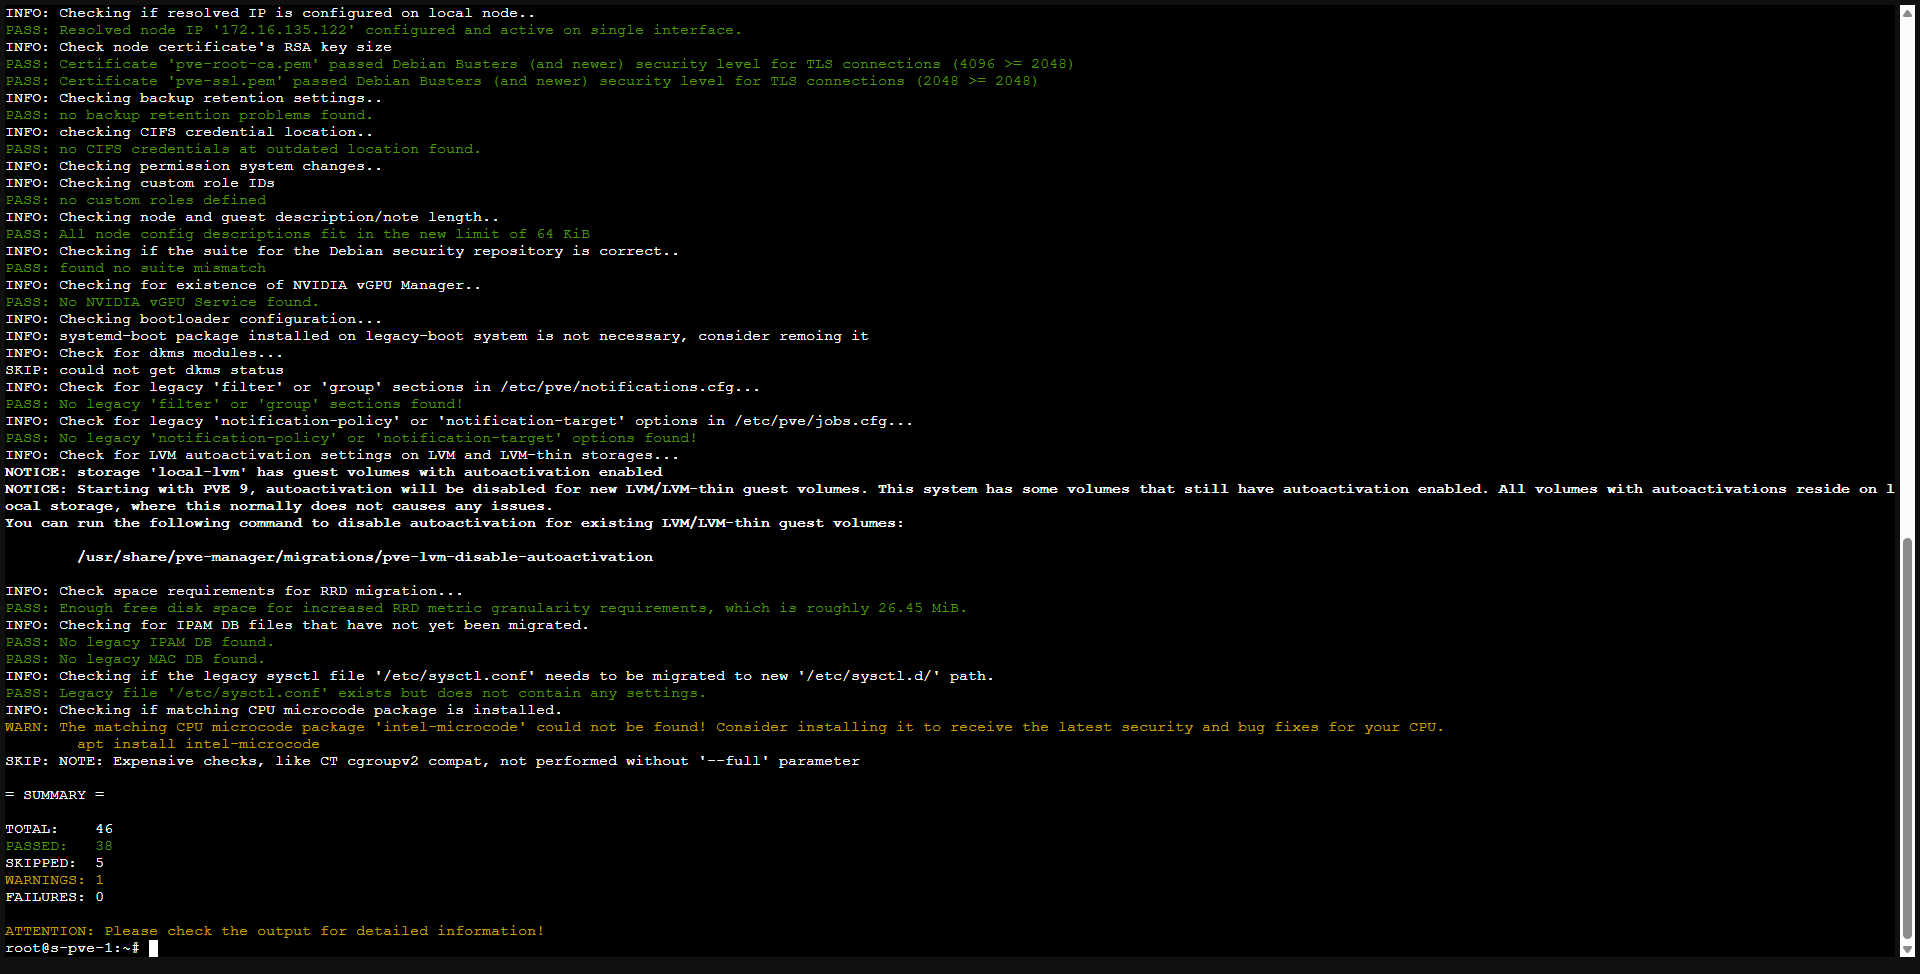
You can add the --full option for a thorough test
pve8to9 --fullIn my case, no blocking error of detected.
In the case of a Proxmox VE cluster, I advise you to launch this command (pve8to9 –full) on all nodes before updating the first server, it will be a shame to have one or more nodes with a blocking error.
Add the new repo
Update deposits for Debian 13 Trixie
sed -i 's/bookworm/trixie/g' /etc/apt/sources.list
sed -i 's/bookworm/trixie/g' /etc/apt/sources.list.d/pve-enterprise.list
Add the Proxmox VE 9 deposits.
No-Subscription deposit:
Repo entreprise
Add the CEPH deposits:
No-Subscription deposit:
Repo entreprise:
The deposits added, you can check in the web interface that they were taken into account.
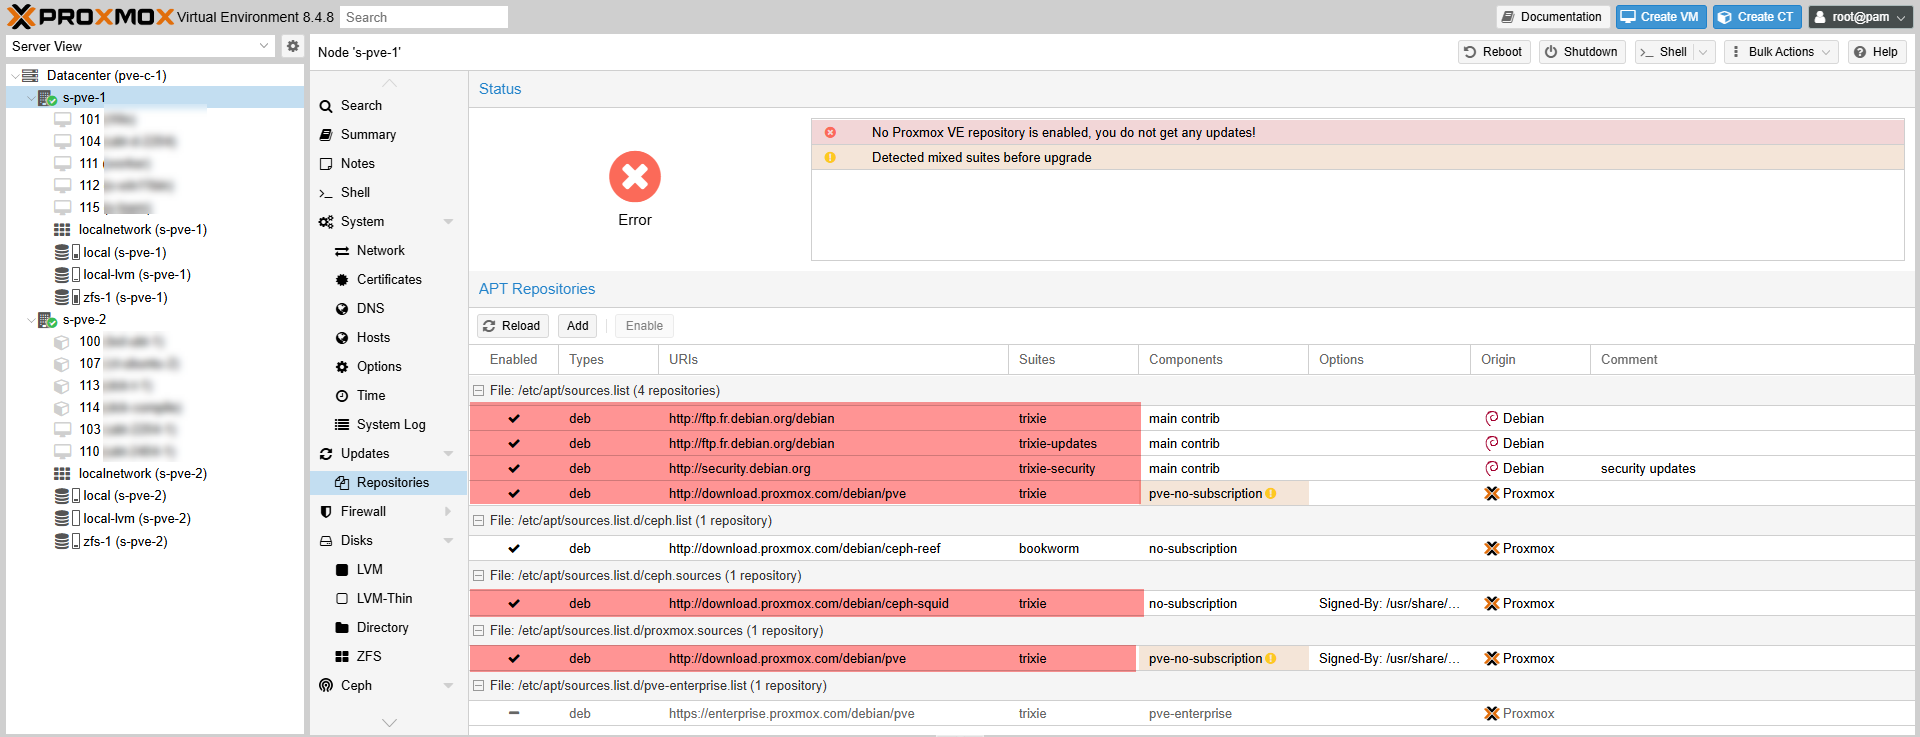
As, we have added all the deposits, from the interface, deactivate business deposits if you do not have a license and the CEPH BookWorm if present.
Update the list of available packages
Enter the following command:
apt update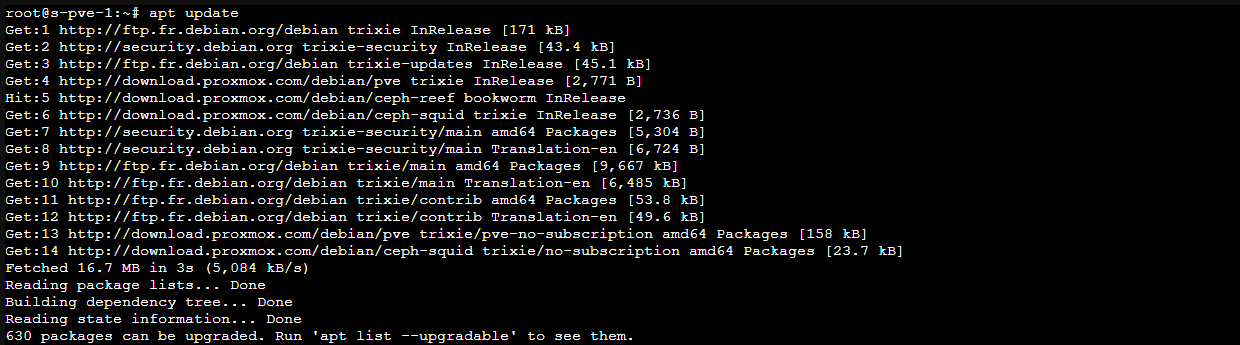
On the capture above, we can see that 630 packages can be updated
Looking from the Proxmox web interface in the packages to be updated, we have a passage from Pve-Manager 8.4.8 to 9.0.3.
Launch the update to Debian 13 and Proxmox VE 9
Launch updates with the following command:
apt dist-upgradeConfirm the installation of the packages by entering Y.
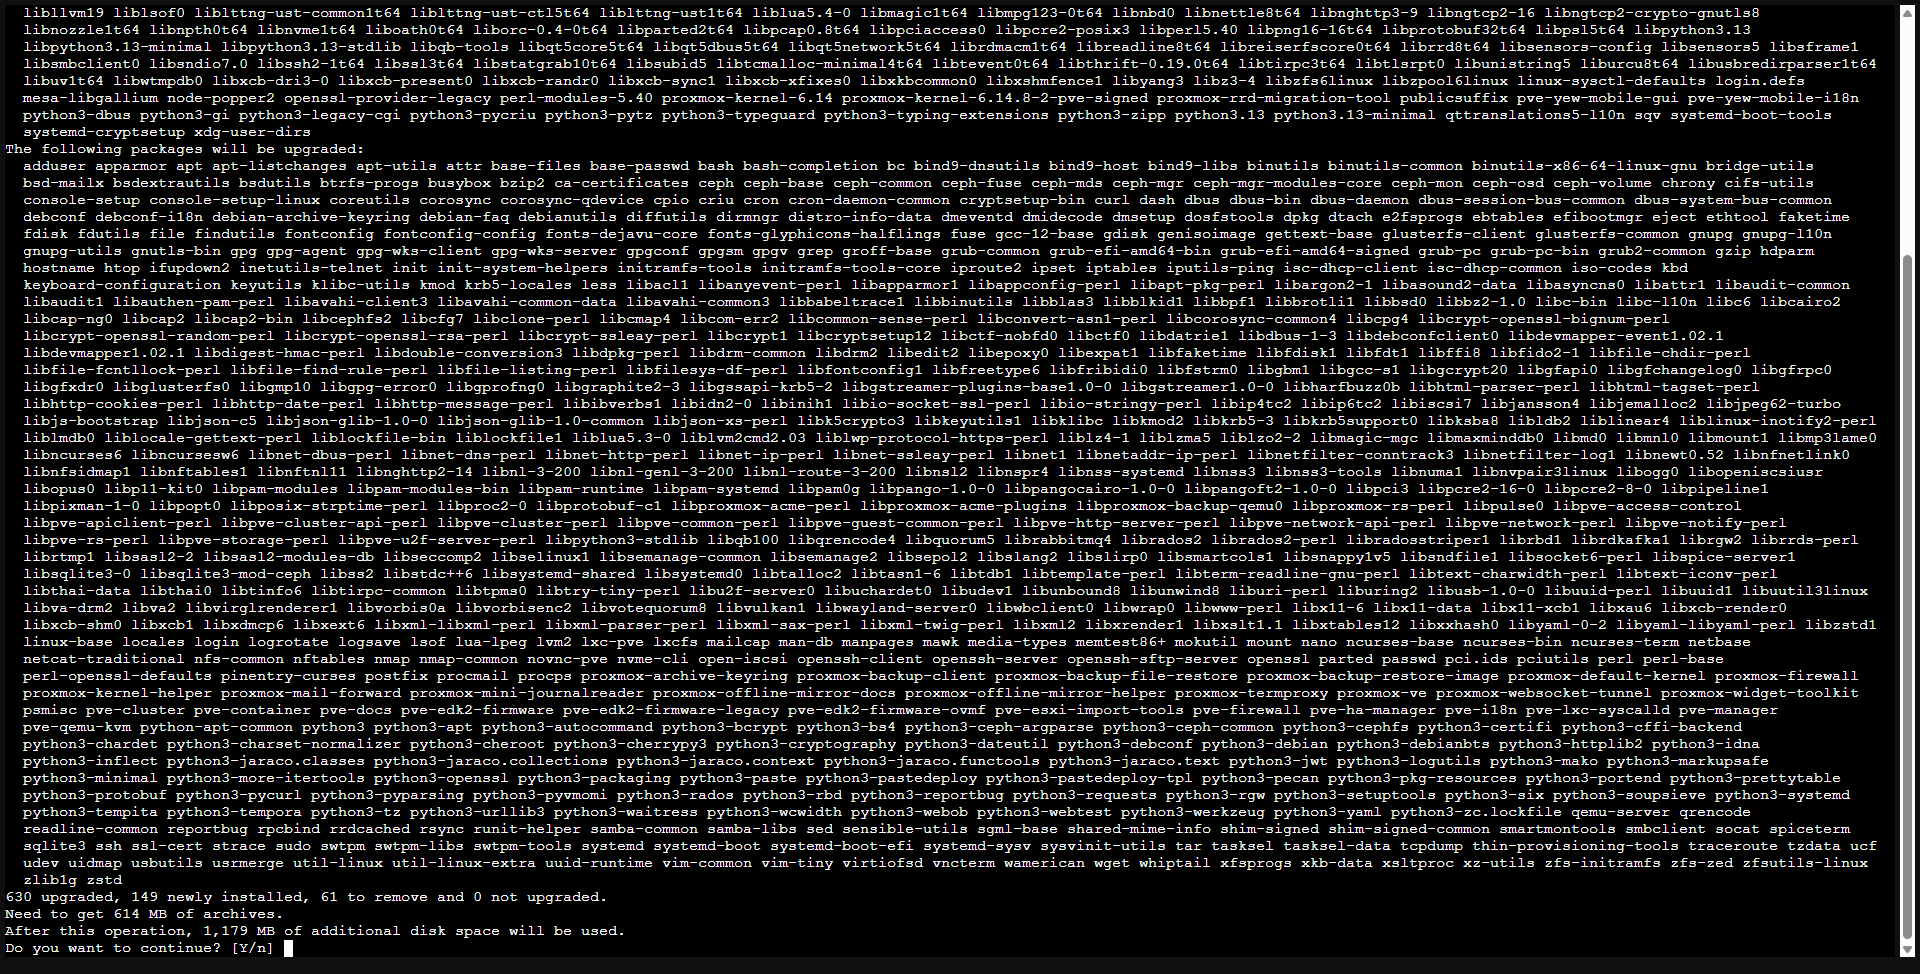
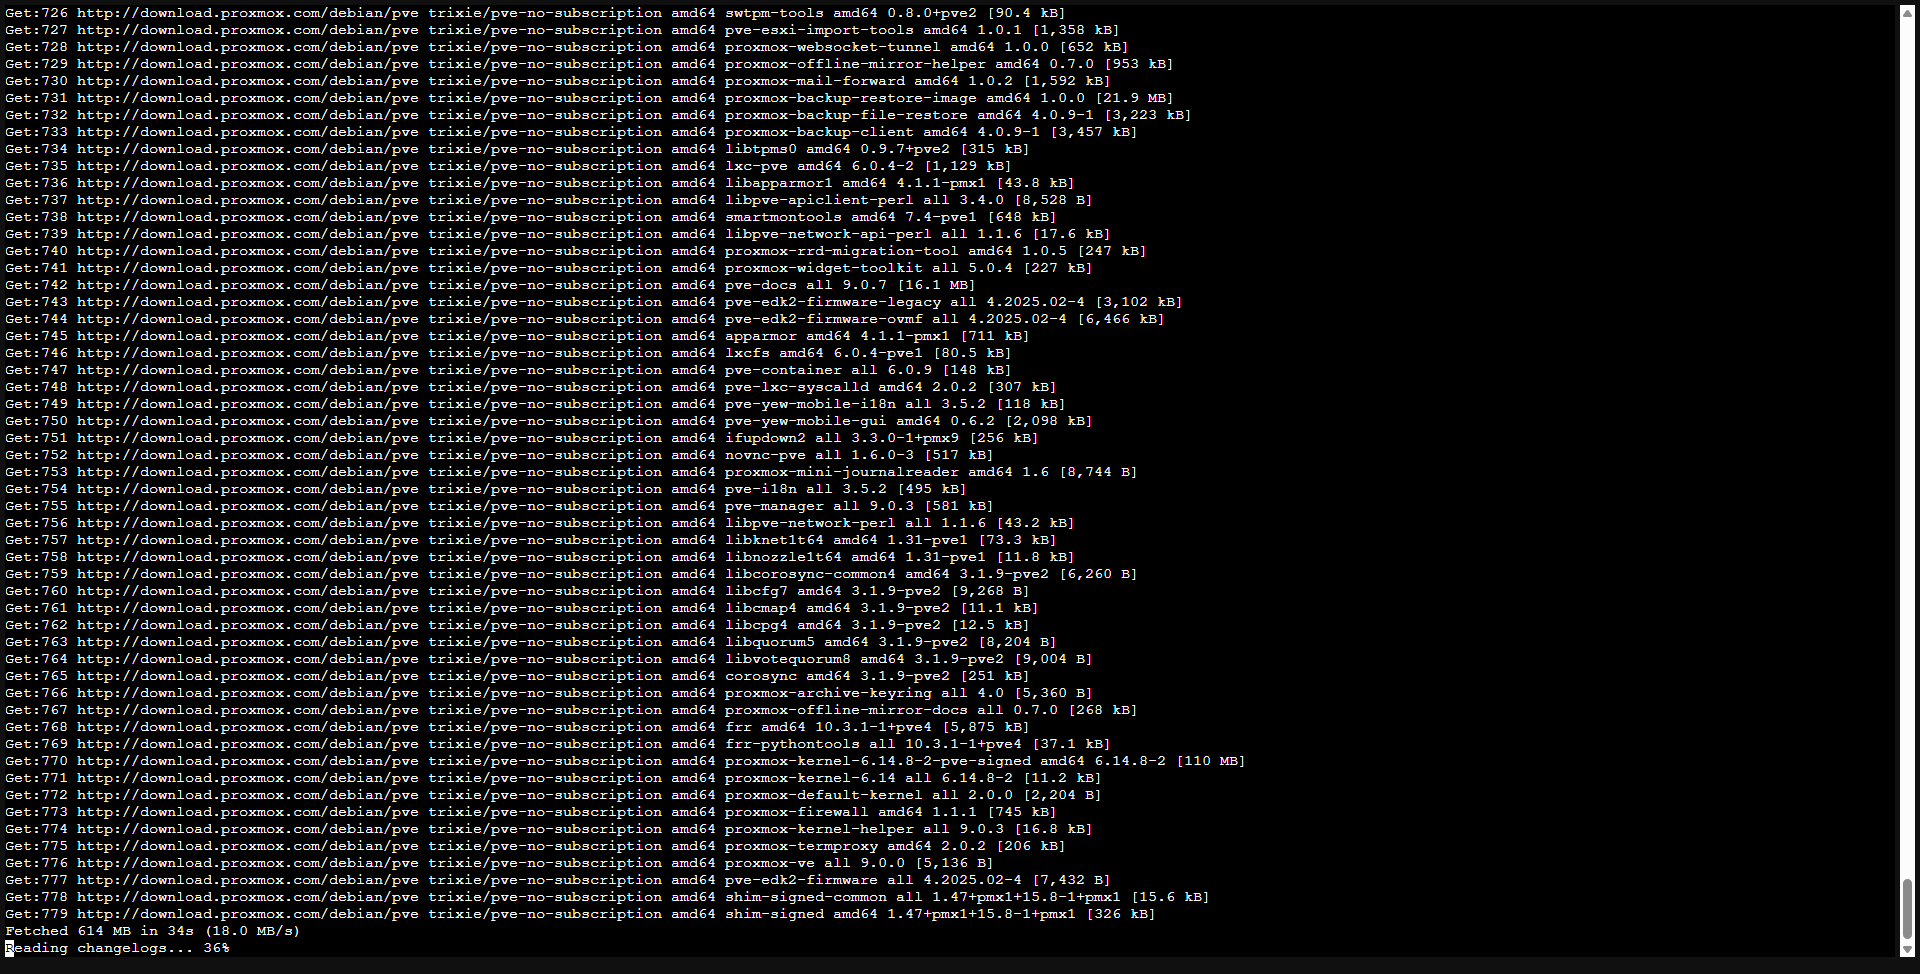
Wait during downloading of packages ….
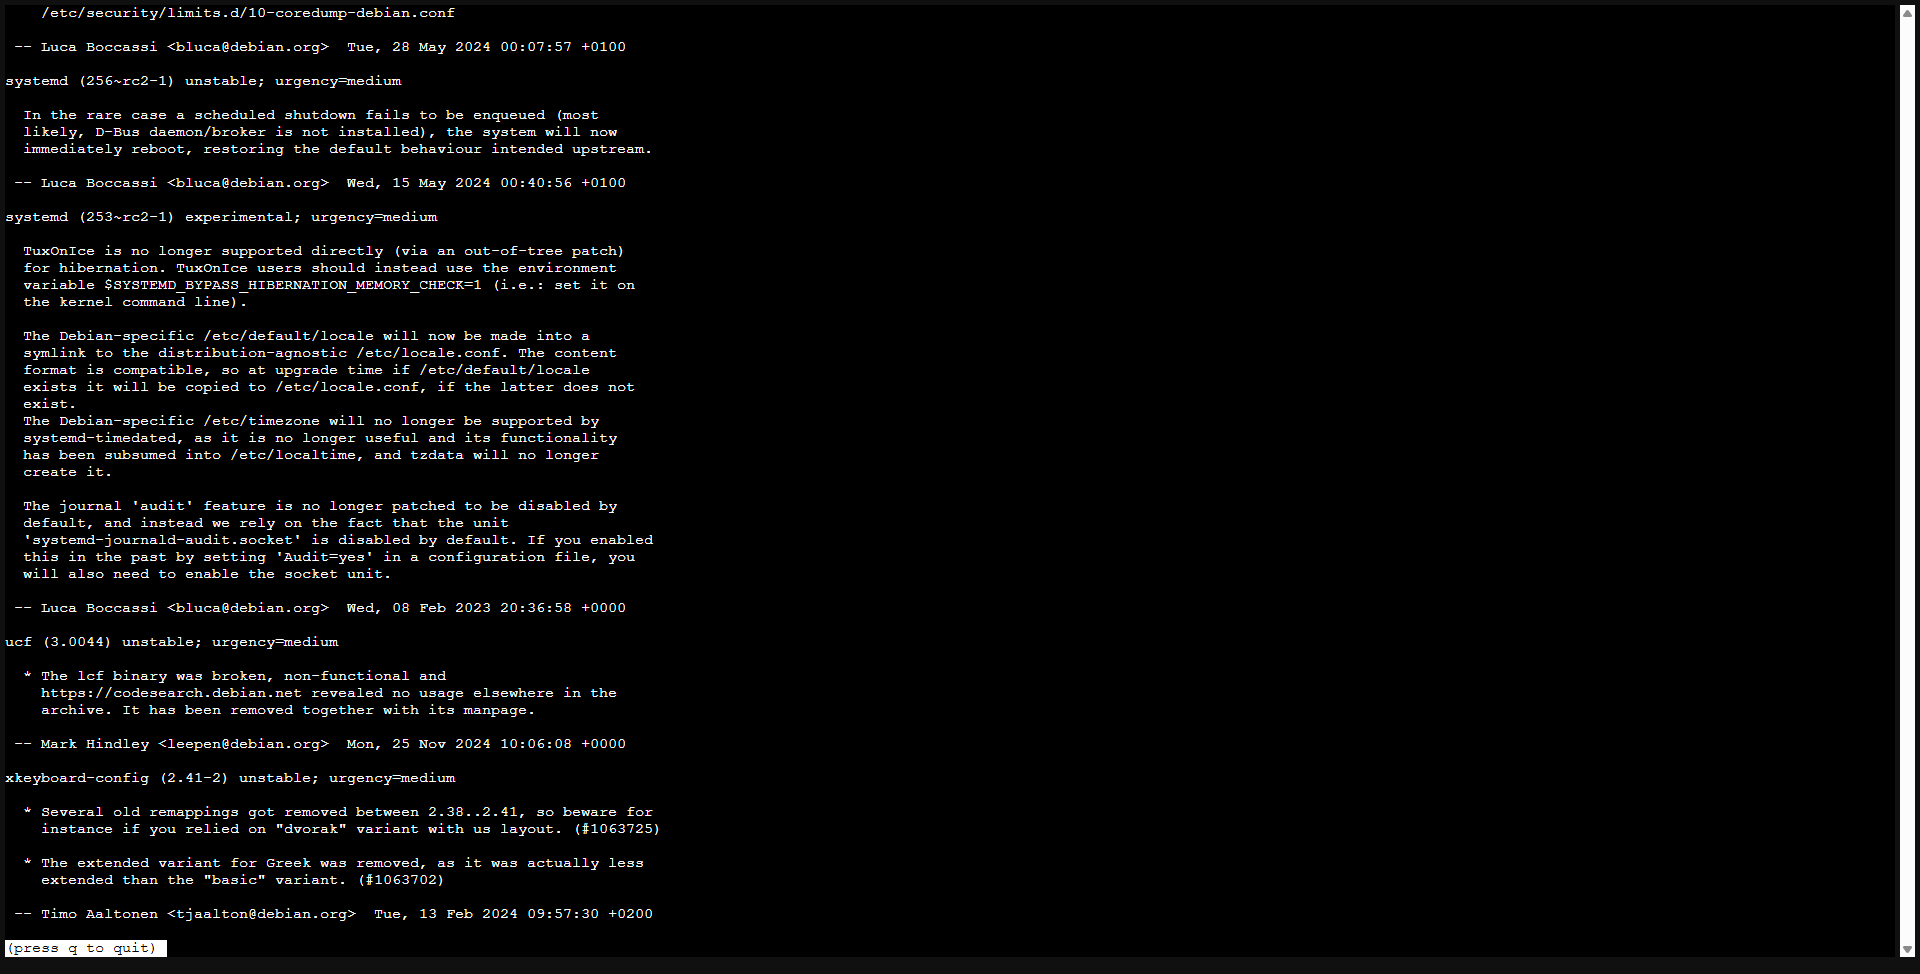
A changelog will appear, go down and press Q to continue.
During the update process, several interaction will be requested.
Regarding the file /etc/issue, leave the default choice (N).
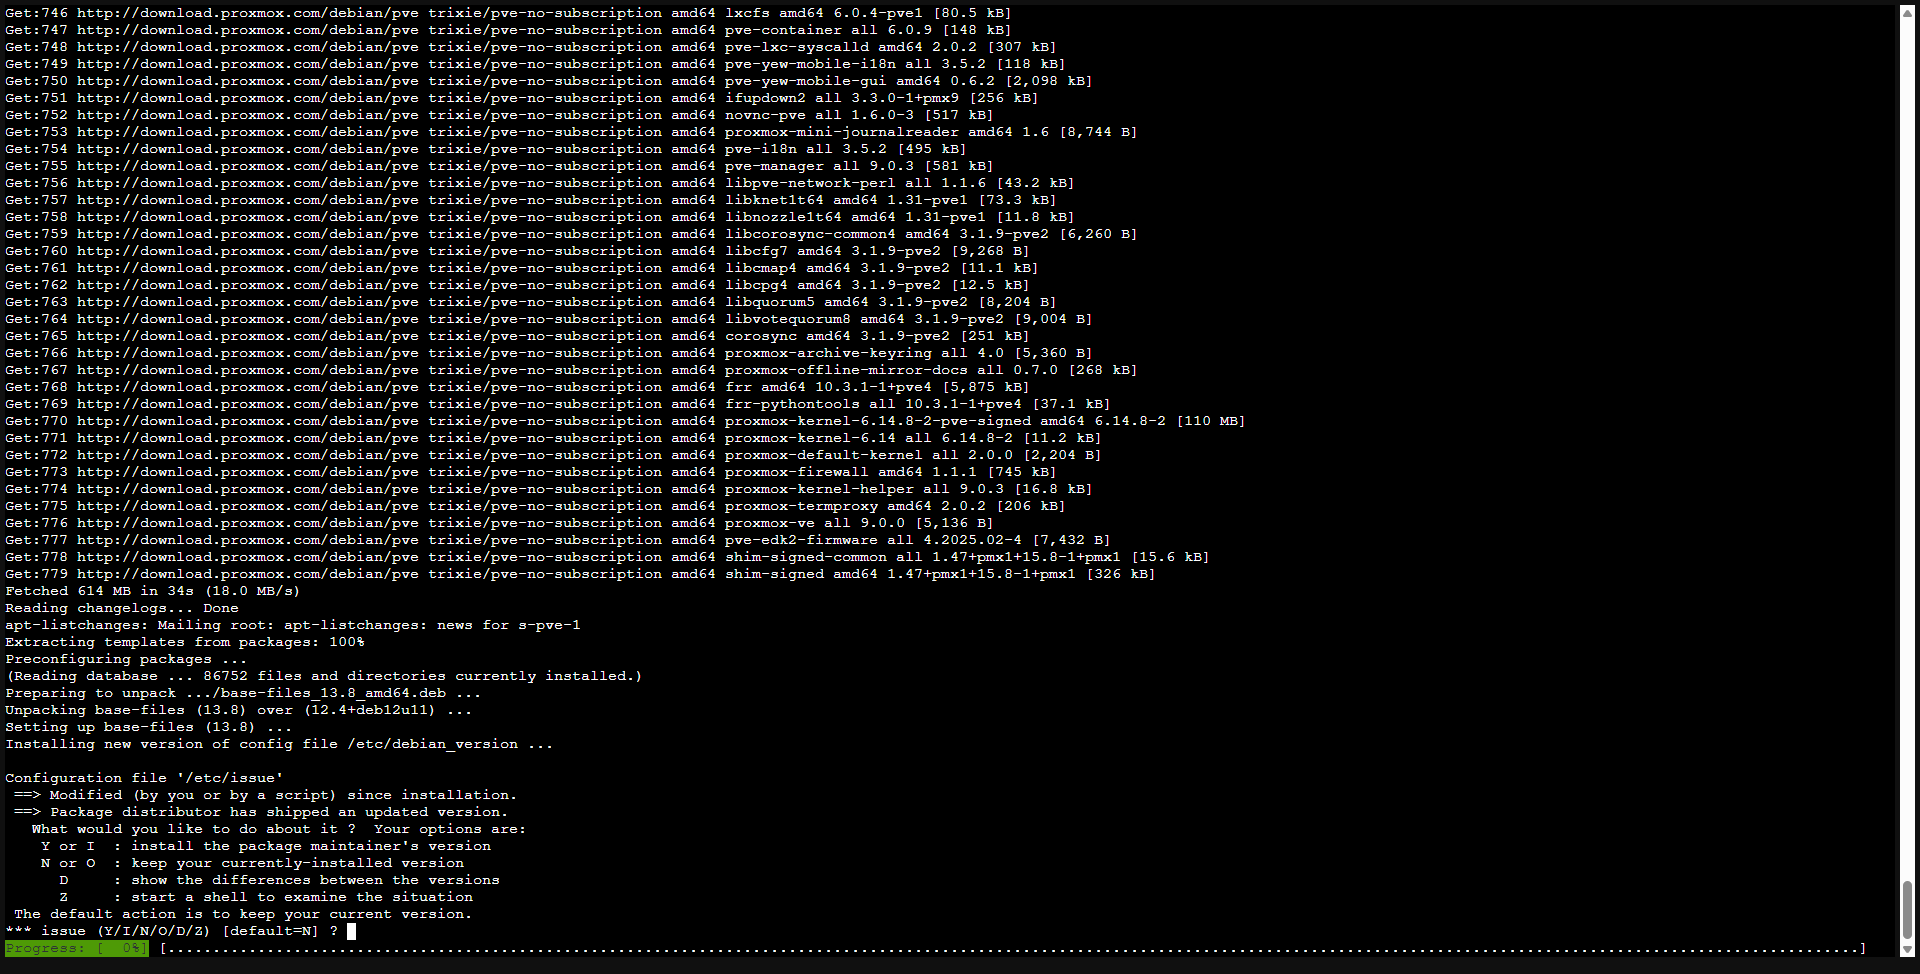
/etc/issue->Proxmox VE automatically generates this file at start -up, and its effect on the connection console is purely aesthetic.
The use of the default value “NO” (keep the version currently installed) is here without risk.
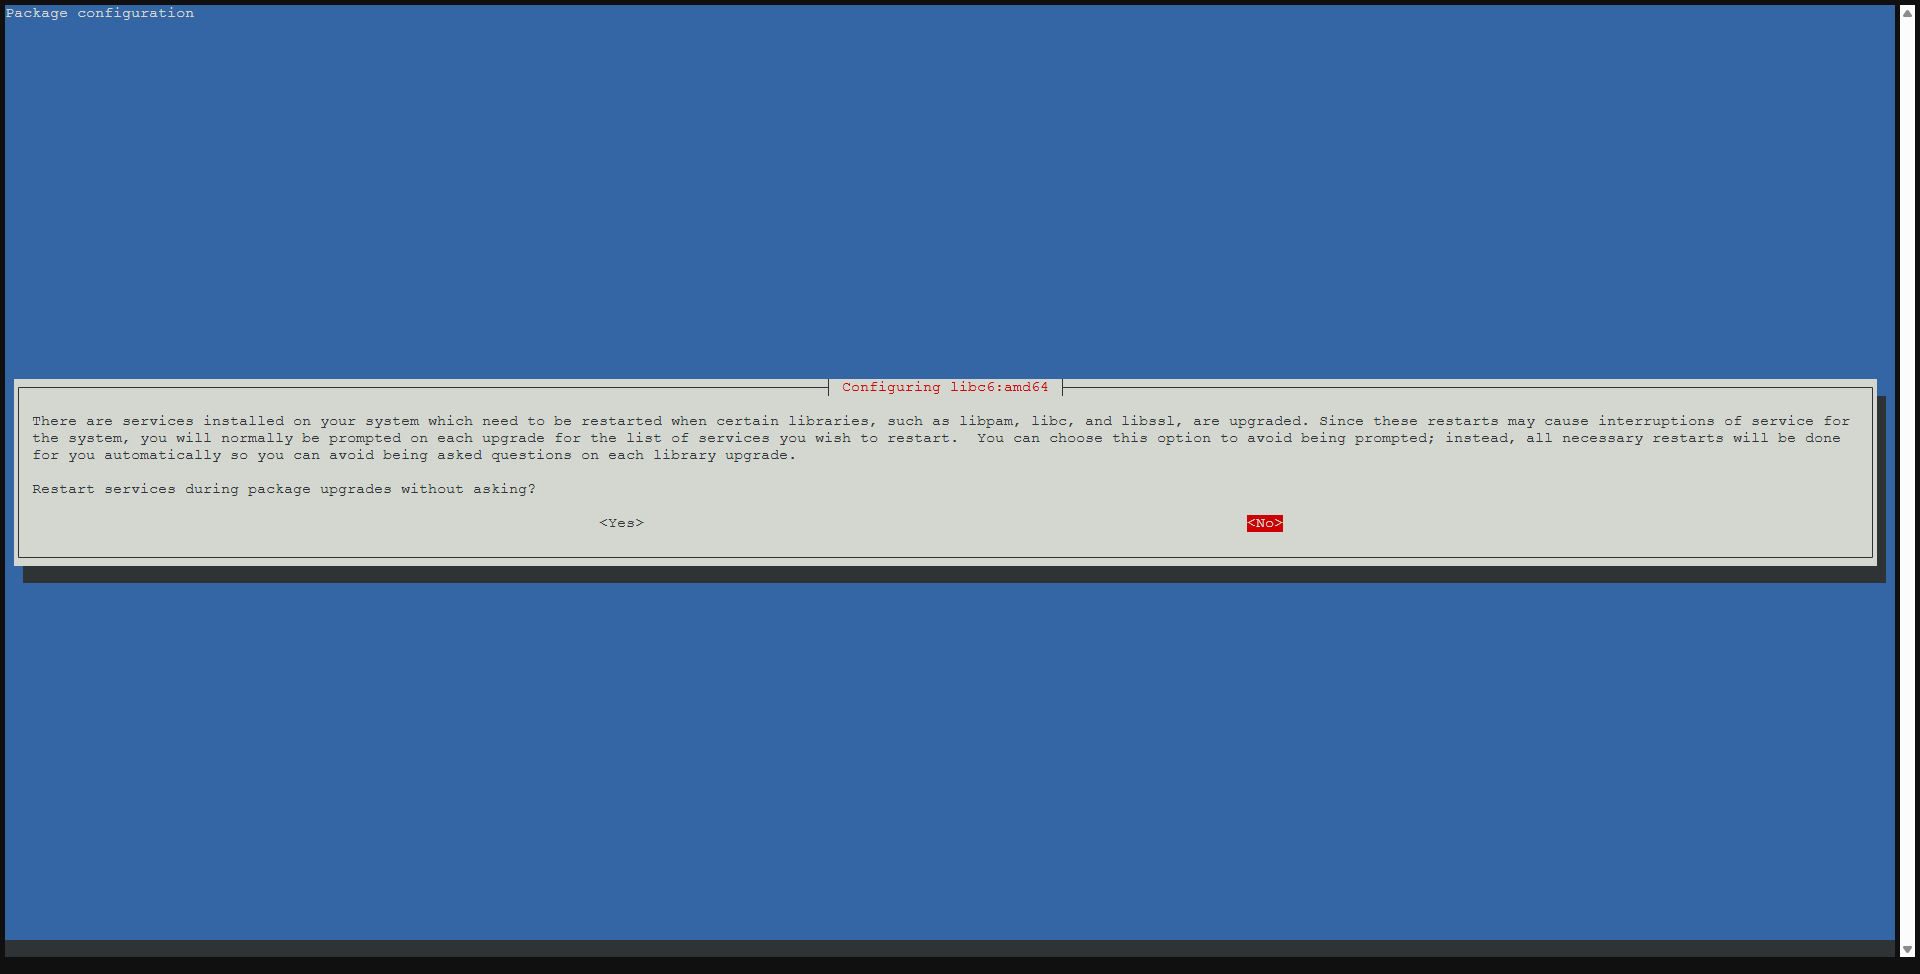
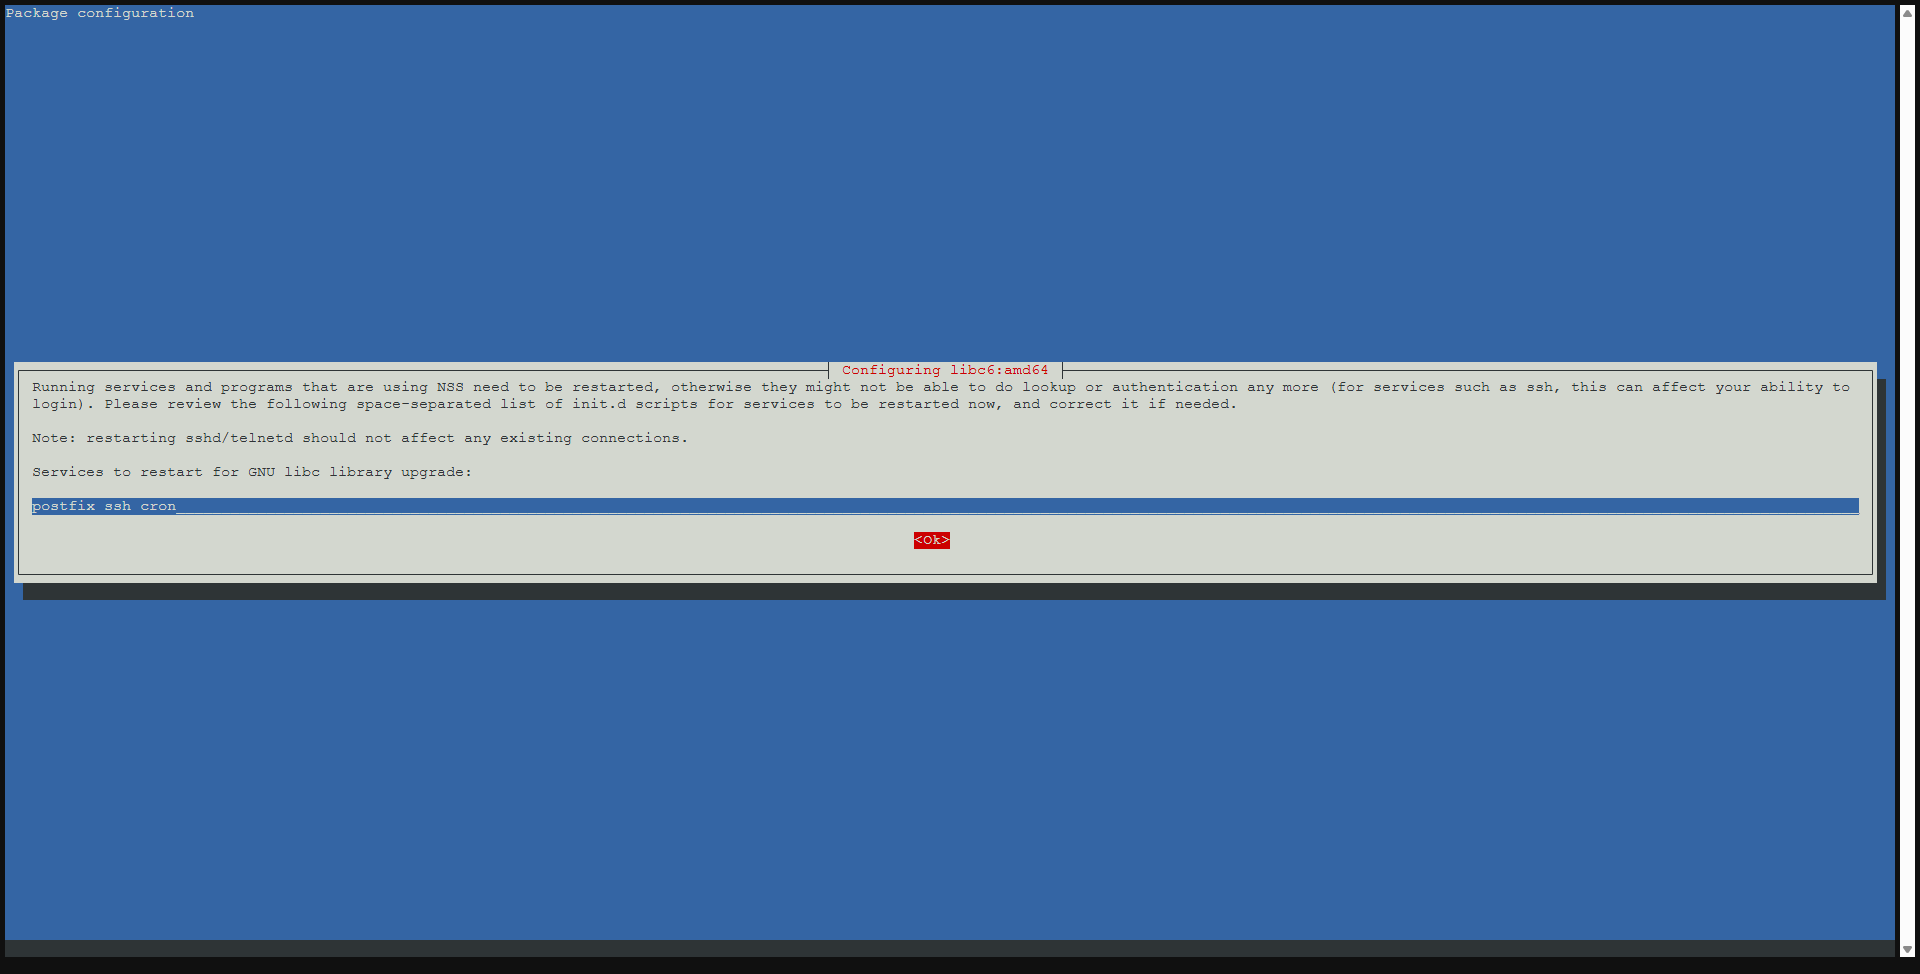
Configuration of: LIBC6:AMD64, answer no then ok.
For the /etc/lvm/lvm.conf file to apply the new configuration only if you have not manually edit the file.
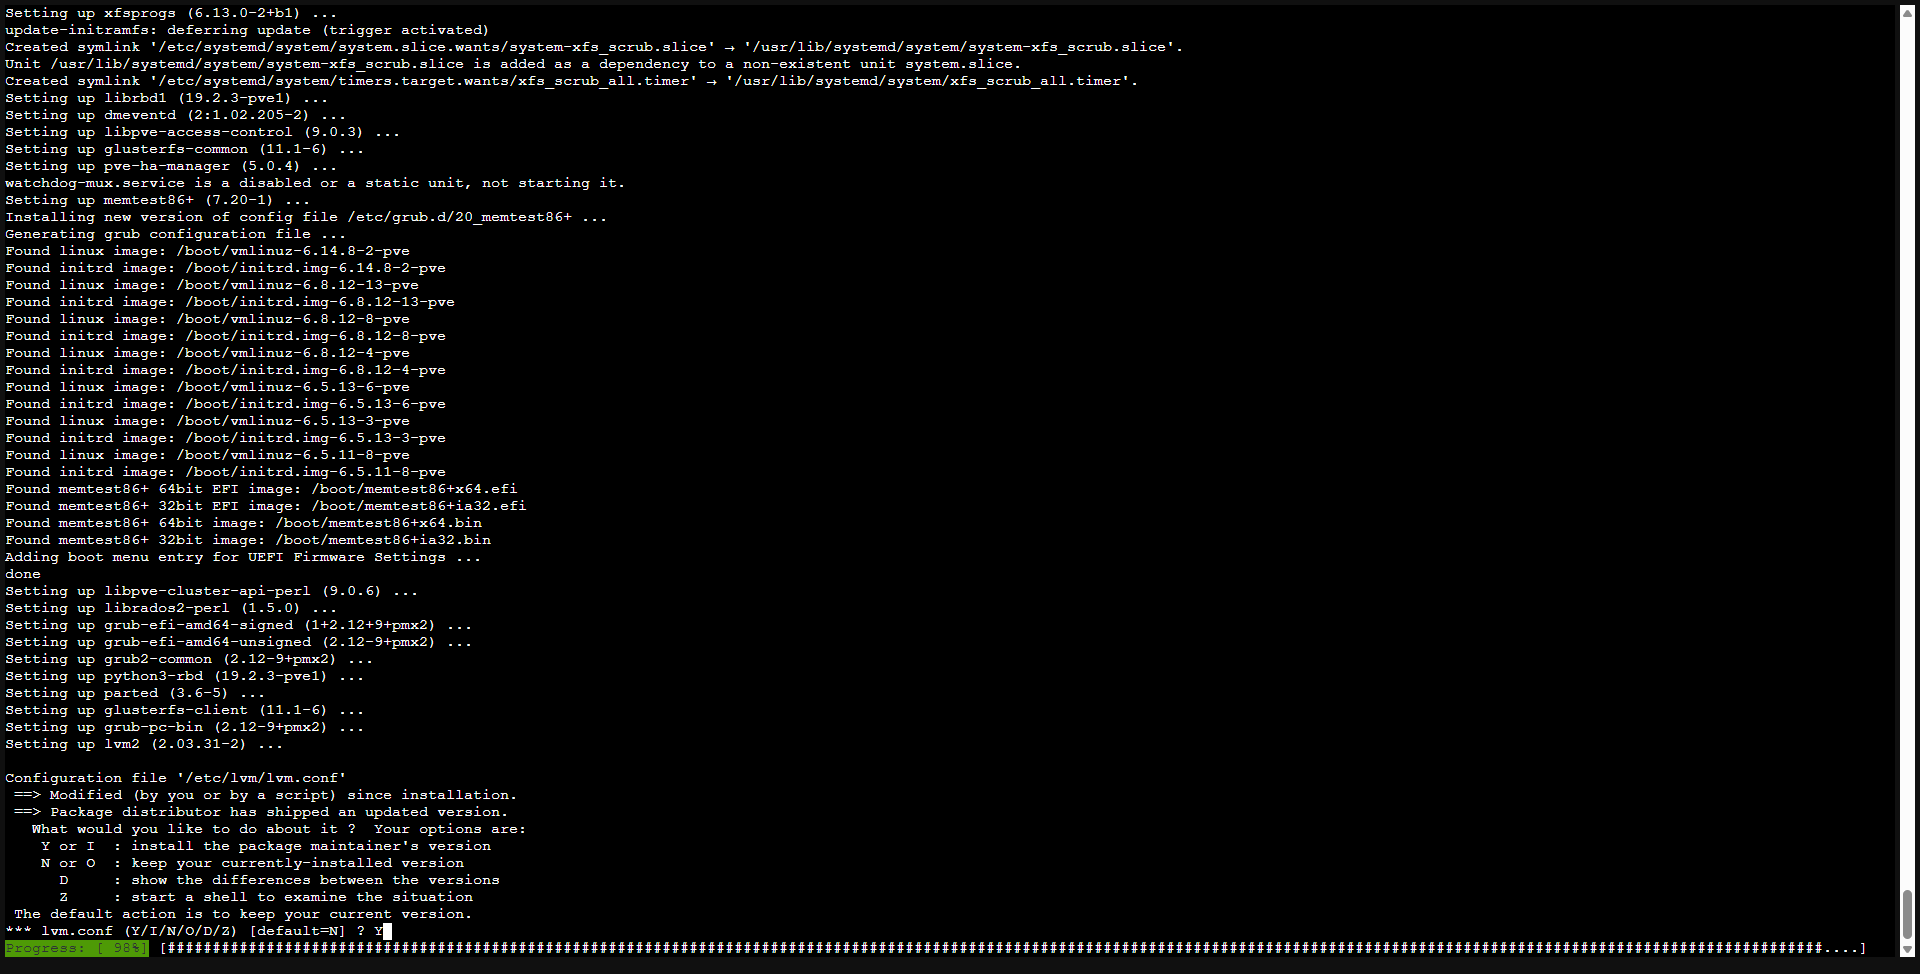
/etc/lvm/lvm.conf-> The changes concerning Proxmox VE will be updated, and a more recent configuration version could be useful.
If you have not made additional modifications yourself and you have doubts, it is advisable to select “Yes” (install the maintenance version of the package) here.
For my part, this is the only requests that I had during updates.
According to the official documentation, other interactions are possible:
/etc/ssh/sshd_config-> If you have not changed this file manually, the only differences should be replacement of ChallengesponsAuthentication NO by KBDINTAractiveAuthentication No and some not relevant modifications in the comments (lines starting with #). If this is the case, the two options are safe, but we recommend installing the maintenance version in order to abandon the obsolete option Challengeresponsauthentication. If other modifications are made, we suggest you examine them carefully and make a decision accordingly./etc/default/grub-> Be particularly vigilant, because this information is generally requested only if you have changed it manually, for example to add an option of command line to the kernel. It is recommended to check the difference for any relevant modification. Note that the modifications in the comments (lines starting with #) are not relevant. If in doubt, we suggest that you select “No” (keep the version currently installed)./etc/chrony/chrony.conf-> If you have made local changes, you can move from the global configuration to the conf.D file or, for personalized sources of time, to the Sources.D folder. Consult the /etc/chrony/Conf.d/README and /etc/chrony/sources.d/README files on your system for more details. If you have not made additional changes and you have any doubts, it is advisable to select “Yes” (install the version of the maintenance of the package).
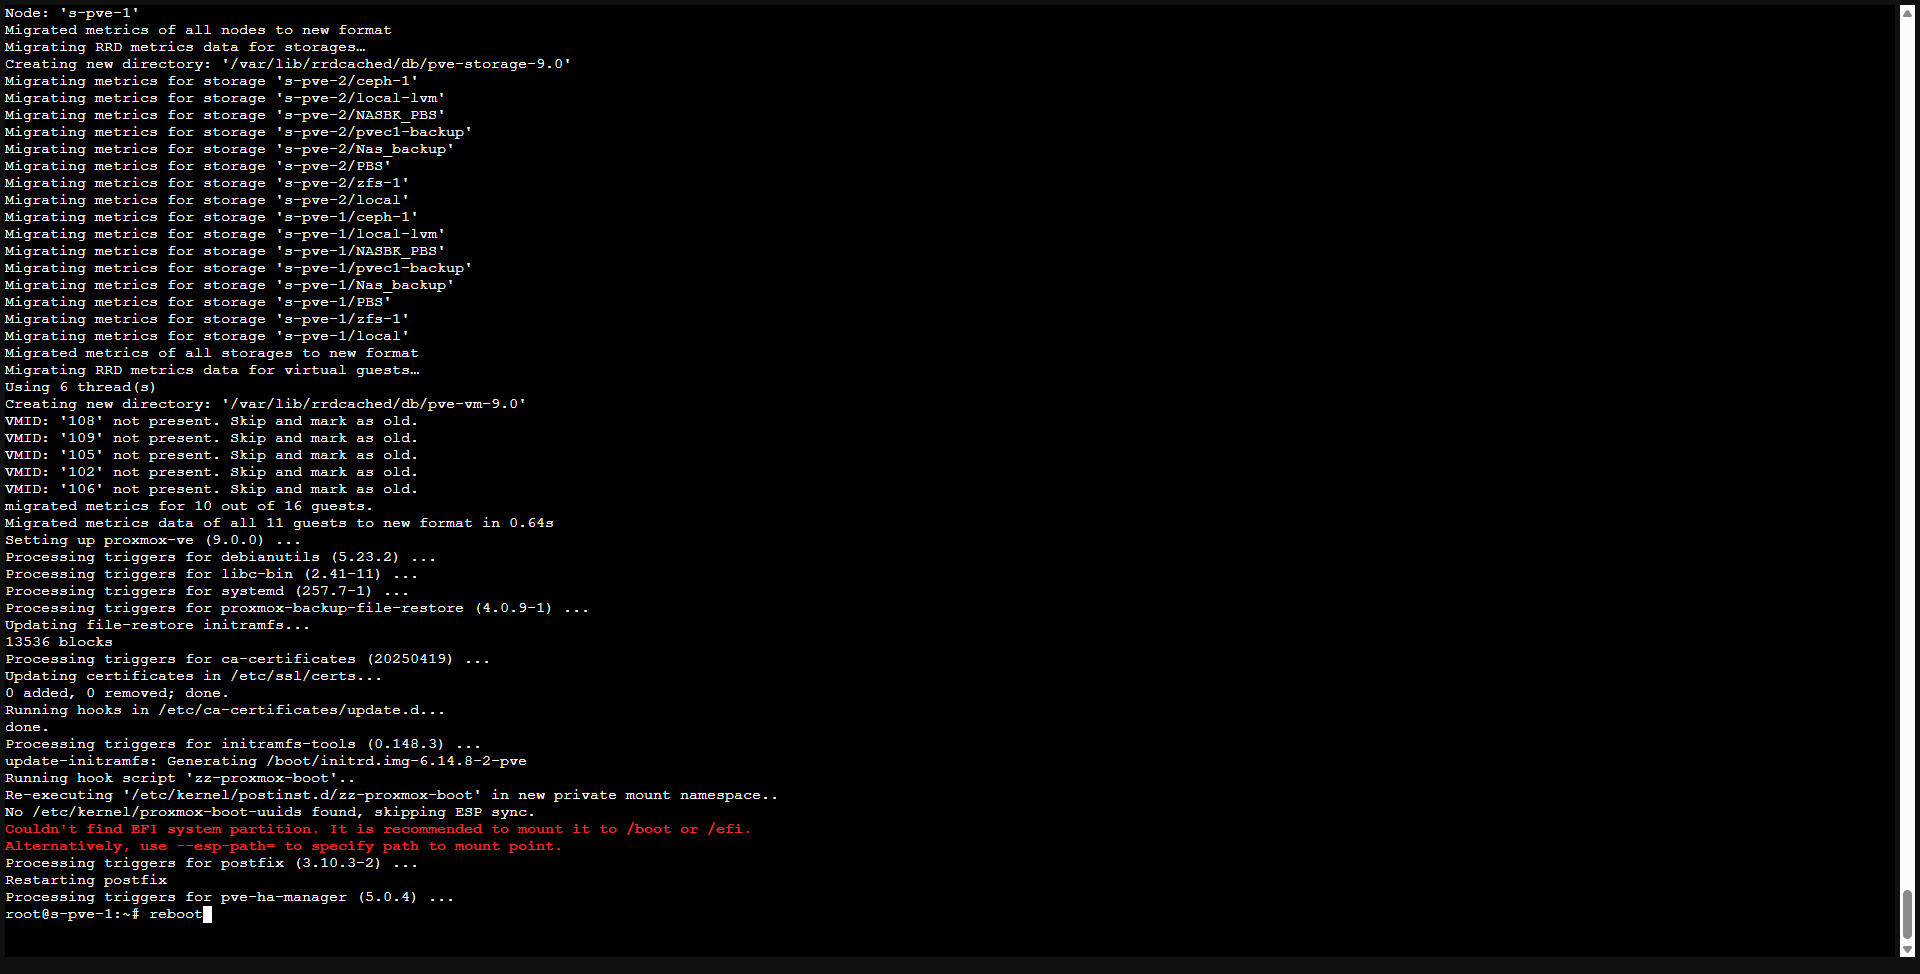
Once the installation is complete, restart the server with the reboot control.
Check the version of Proxmox VE
After restarting, check the Proxmox VE version which must be in 9.0.x, it is visible from the web interface.

We can also realize the passage in version 9 of Proxmox VE with the new performance graphics available on hosts.

Case of a proxmox cluster
In the case of a Proxmox cluster, start the update operation for all the nodes.
You know how to start going from Proxmox VE 8 to 9.
Before you embark on the installation of the update, I invite you to read the official documentation : https://pve.proxmox.com/wiki/Upgrade_from_8_to_9
From the documentation, an update procedure is available by resettlement proxmox from ISO, this requires backing up VMS, CTS and PVE configuration file.
This tutorial was written the day after the release of Proxmox VE 9 (08/05/2025), in the case of a production environment, I advise you to wait a few weeks before updating.
