Clustered Update is a feature that allows you to update servers in a failover cluster with little or no loss of availability during the update process. During an update run, the feature transparently performs the following tasks:
- Places a cluster node in maintenance mode.
- Move the clustered roles of the node.
- Installs updates and dependent updates.
- Perform a reboot if necessary.
- Exit the node in maintenance mode.
- Restores clustered roles on the node.
- Move to the next node.
The automatic update process triggers a scheduled failover. This may result in a temporary downtime for connected clients. However, in the case of continuously available workloads, such as Dynamic Migration Hyper-V or SMB Transparent Failover File Server, the cluster-aware update coordinates cluster updates without impacting the availability of the cluster. service.
Table of Contents
Prerequisites
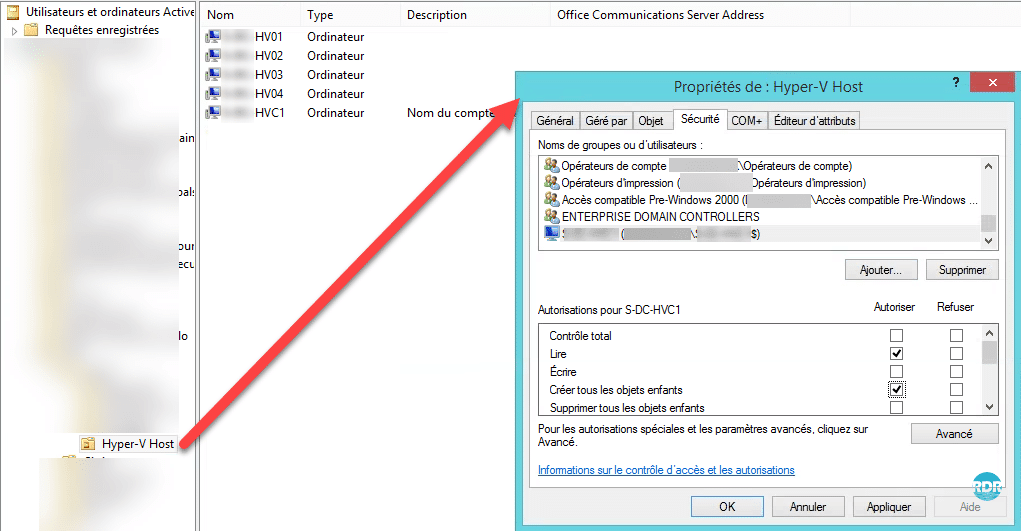
Using the “Cluster-enabled” feature requires giving the child object creation rights to the cluster account on OU.
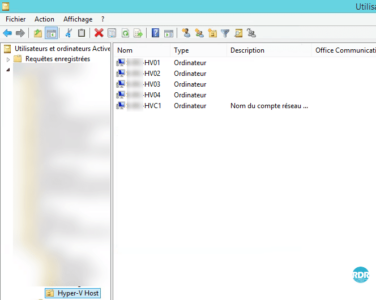
If you have not already done so, create a cluster-dedicated OU on your Active Directory and put in the computer accounts of the nodes and the Computer object with the cluster name.
Change the security properties of the OU, to give the “Create all child objects” rights to the cluster account.
Configuration: Creating the update run profil
Launch the “Update adapted to cluster” console.
Select cluster 1 and click on Connect 2 .
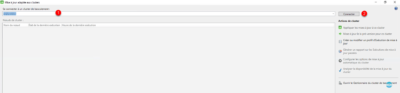
Once connected, click on Configure automatic update options for cluster 1 , which will launch a wizard to configure the updates.

When launching the wizard, click Next 1 .

Check the box “Add Cluster-Ready Cluster Role with Automatic Update Mode Enabled” at this cluster “ 1” and click Next 2 .

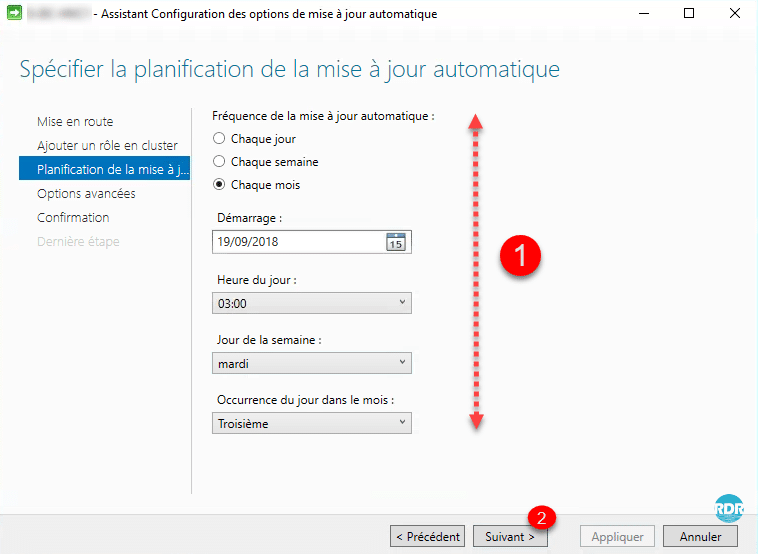
Configure Schedule 1 and click Next 2 .
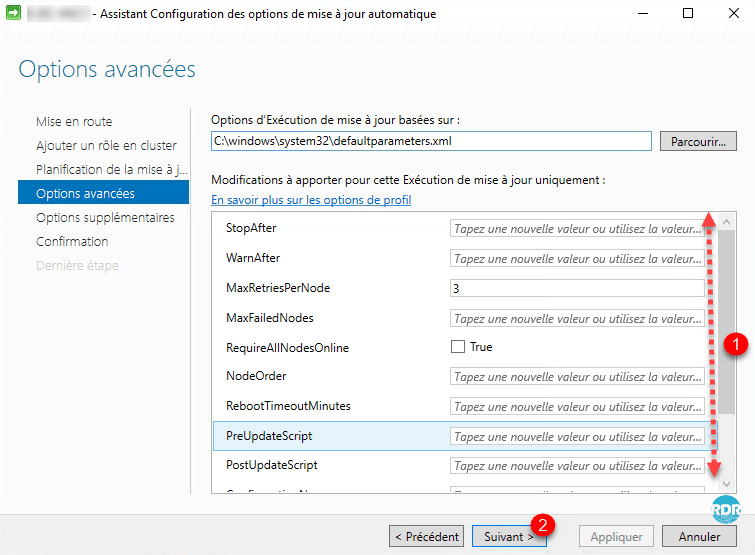
Configure advanced update options 1 and click Next 2 .
Configure the reception of additional updates then click Next 1 .

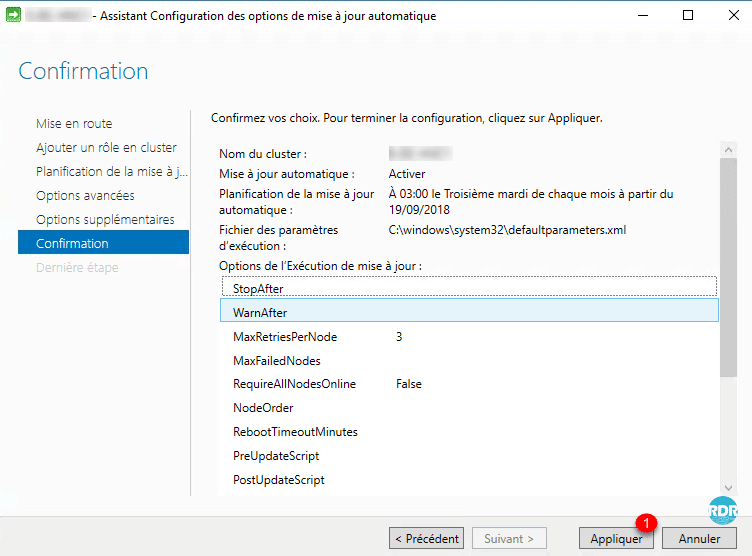
Click on Apply 1 .
Wait during configuration …

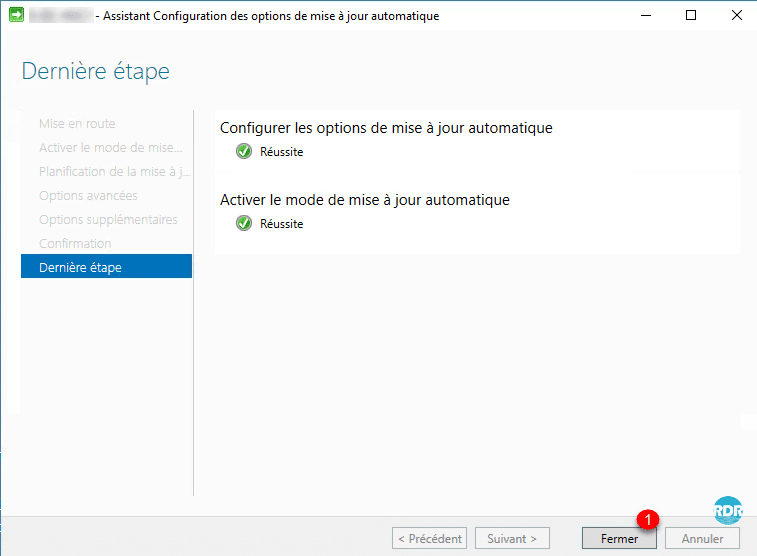
The configuration is complete, exit the wizard by clicking on the button Close 1 .
The cluster will apply Windows updates according to the schedule, it is possible to force the application of the updates.
Apply updates
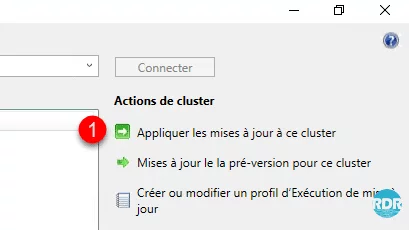
From the console, click Apply updates to this cluster 1 .
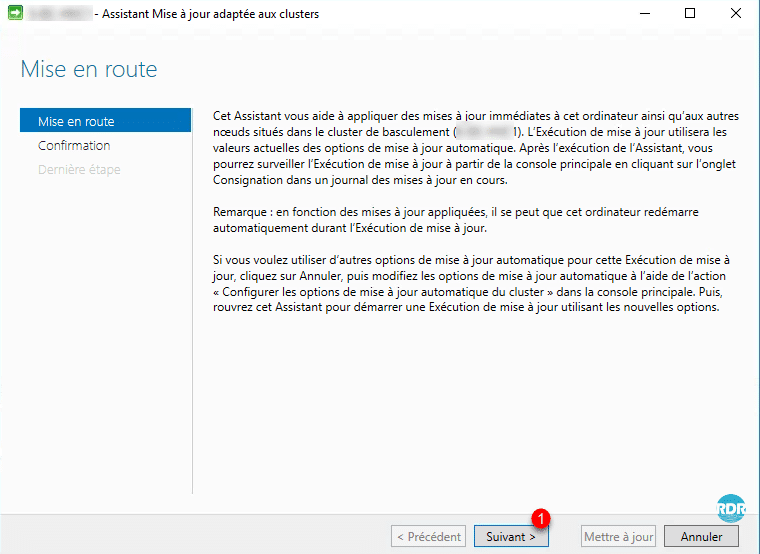
When launching the wizard, click Next 1 .
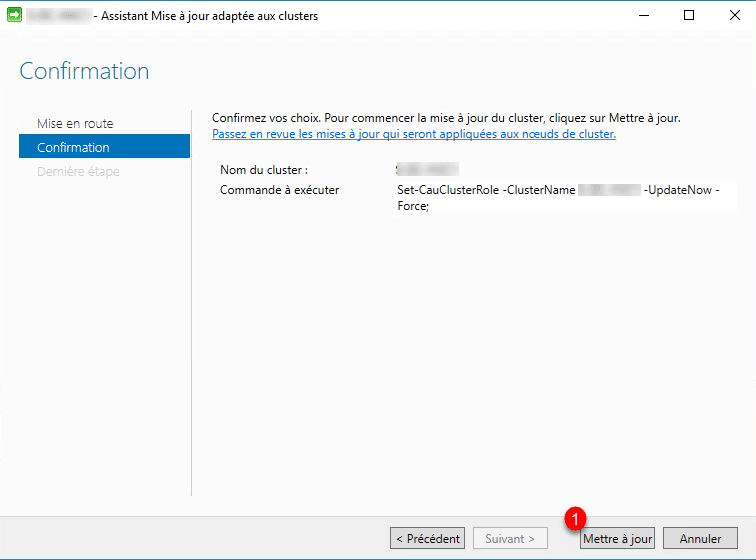
Confirm the update application by clicking Update 1 .
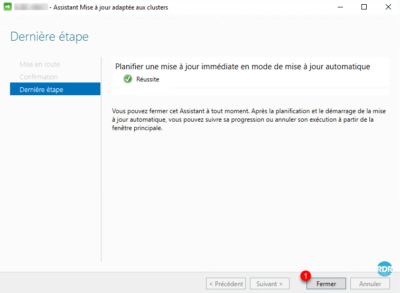
Leave the wizard by clicking Close 1 .
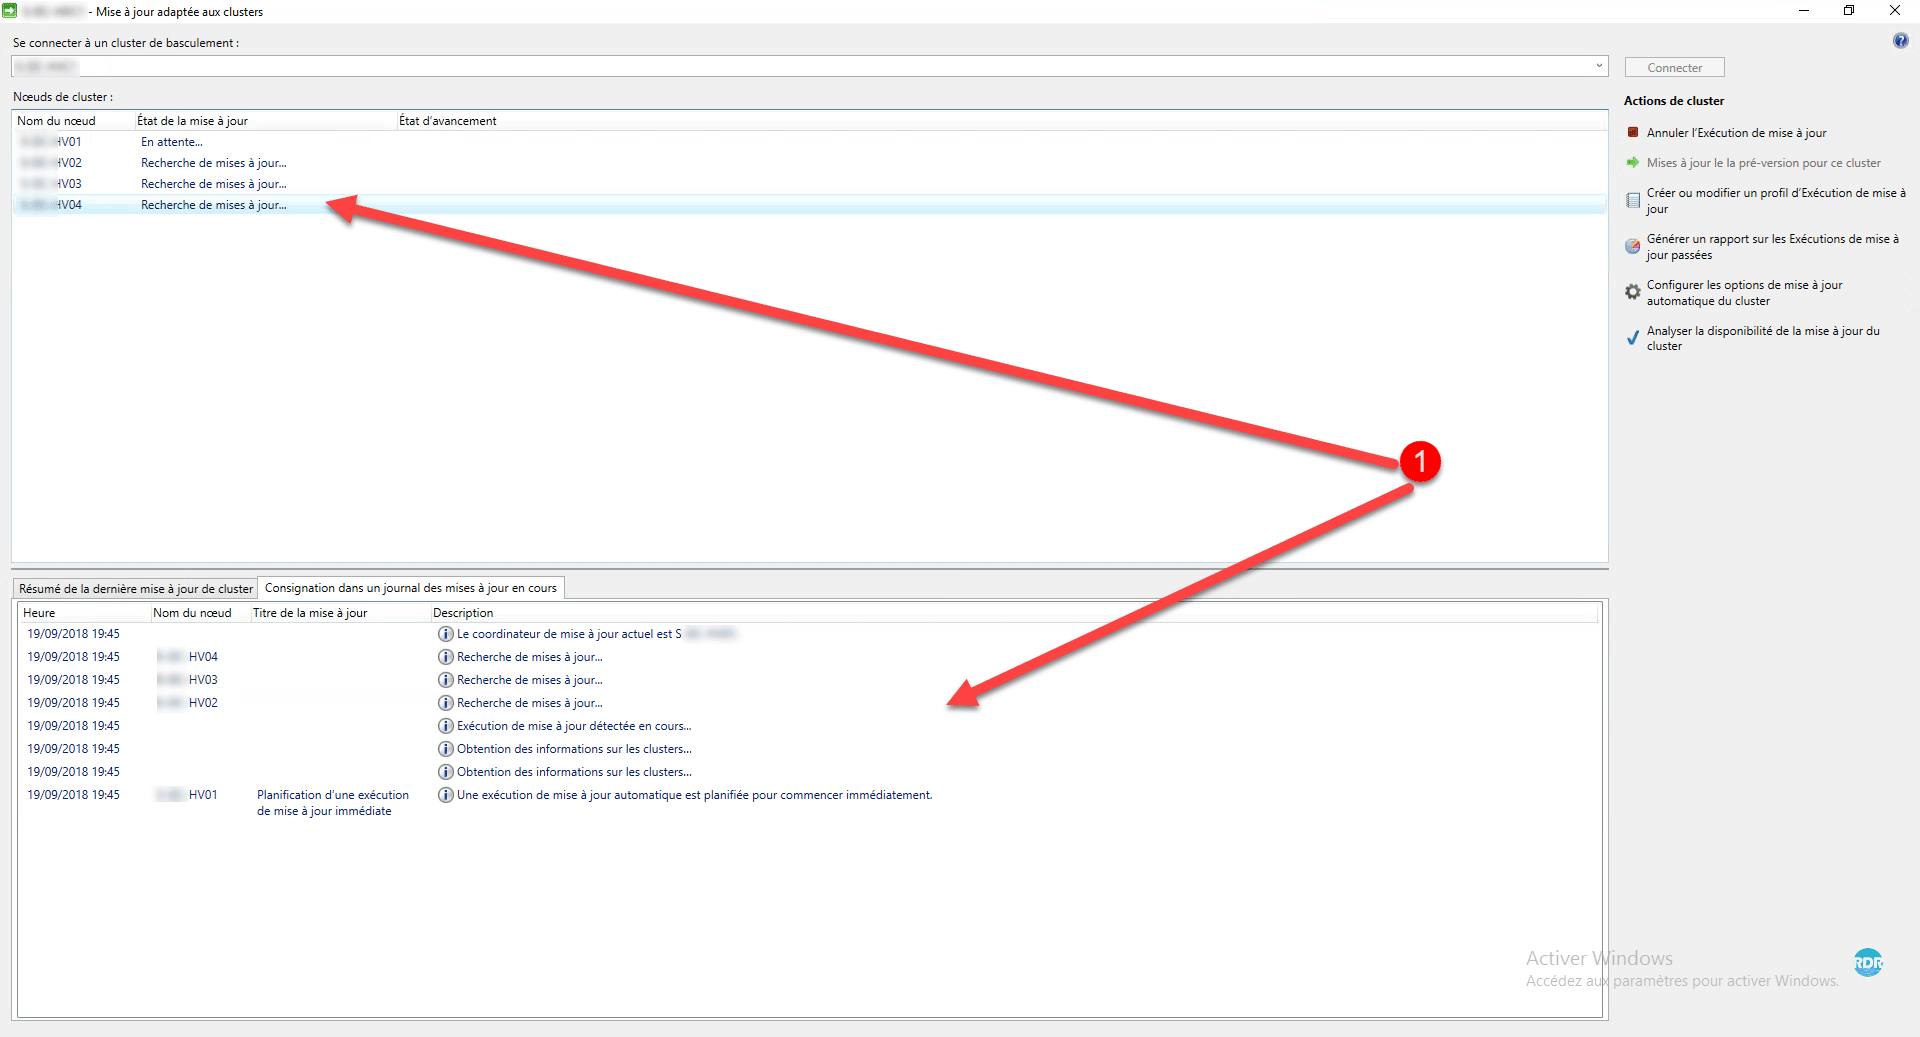
Wait while applying updates. It is possible to follow the progress using console 1 .
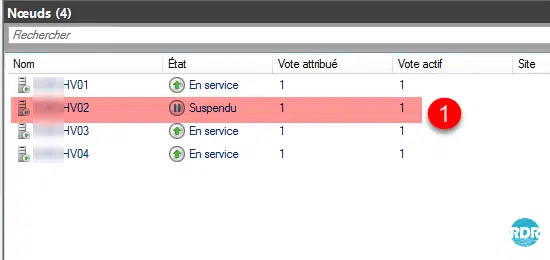
In the cluster management console, it is possible to see the nodes in “maintenance” mode 1 .
Wait while applying updates …
Tip: Use Cluster-Ready Update Without Planning
You can use Clustered Update without Scheduling, which allows you to manually manage updates. If you disable the automatic cluster update mode and you initiate updates from the cluster, the following message is displayed:
This connected cluster (XXXX) does not have the clustered role Clustered update enabled. This activation is required to start an automatic update from a cluster node. To enable automatic update, click Cancel, and then click the “Configure automatic cluster update options” action in the main console. Then, reopen this wizard to start an Update Run using your new settings.
Install the “Failover Cluster Manager” administrative tools on a server.
From the cluster or on the server, launch the Cluster-based Update Console, click Configure Cluster Automatic Update Options to launch the wizard, and disable automatic update.

Updates are no longer scheduled, it is possible from the server where the console is installed, to apply the updates manually, once the console is open, connect to the cluster and click Apply updates to it cluster in the Action menu
