In this tutorial, I will explain how to install Home Assistant as a virtual machine on Proxmox.
Home Assistant is a free and open-source home automation server that allows you to control various connected (IoT) devices from a single interface. Home Assistant’s main advantage is its support for multiple brands of connected devices, which overcomes the limitations of manufacturers who only manage devices through their mobile applications.
With Home Assistant, you will be able to manage a Tapo brand bulb with a connected switch from another brand, for example, something that is not possible with the Tapo application.
Through various tutorials, you will see the full power of Home Assistant.
For my home automation setup, I use a mini PC. BMAX B4 PLUS on which I installed Proxmox as a hypervisor in order to be able to run several virtual machines.
To begin, you will need a computer with Proxmox installed; here is a tutorial: Proxmox: Installing a Hypervisor.
To install Home Assistant on Proxmox, there are two solutions:
- Download HAOS in .qcow2 format, upload the image to Proxmox, create a virtual machine, attach the disk….
- Use a script that will allow you to deploy Home Assistant in just a few clicks.
In this tutorial, we will look at the second solution and we will use the following website: https://helper-scripts.com/ to retrieve the scripts to install Home Assistant on Proxmox.
Table of Contents
Install Home Assistant on Proxmox
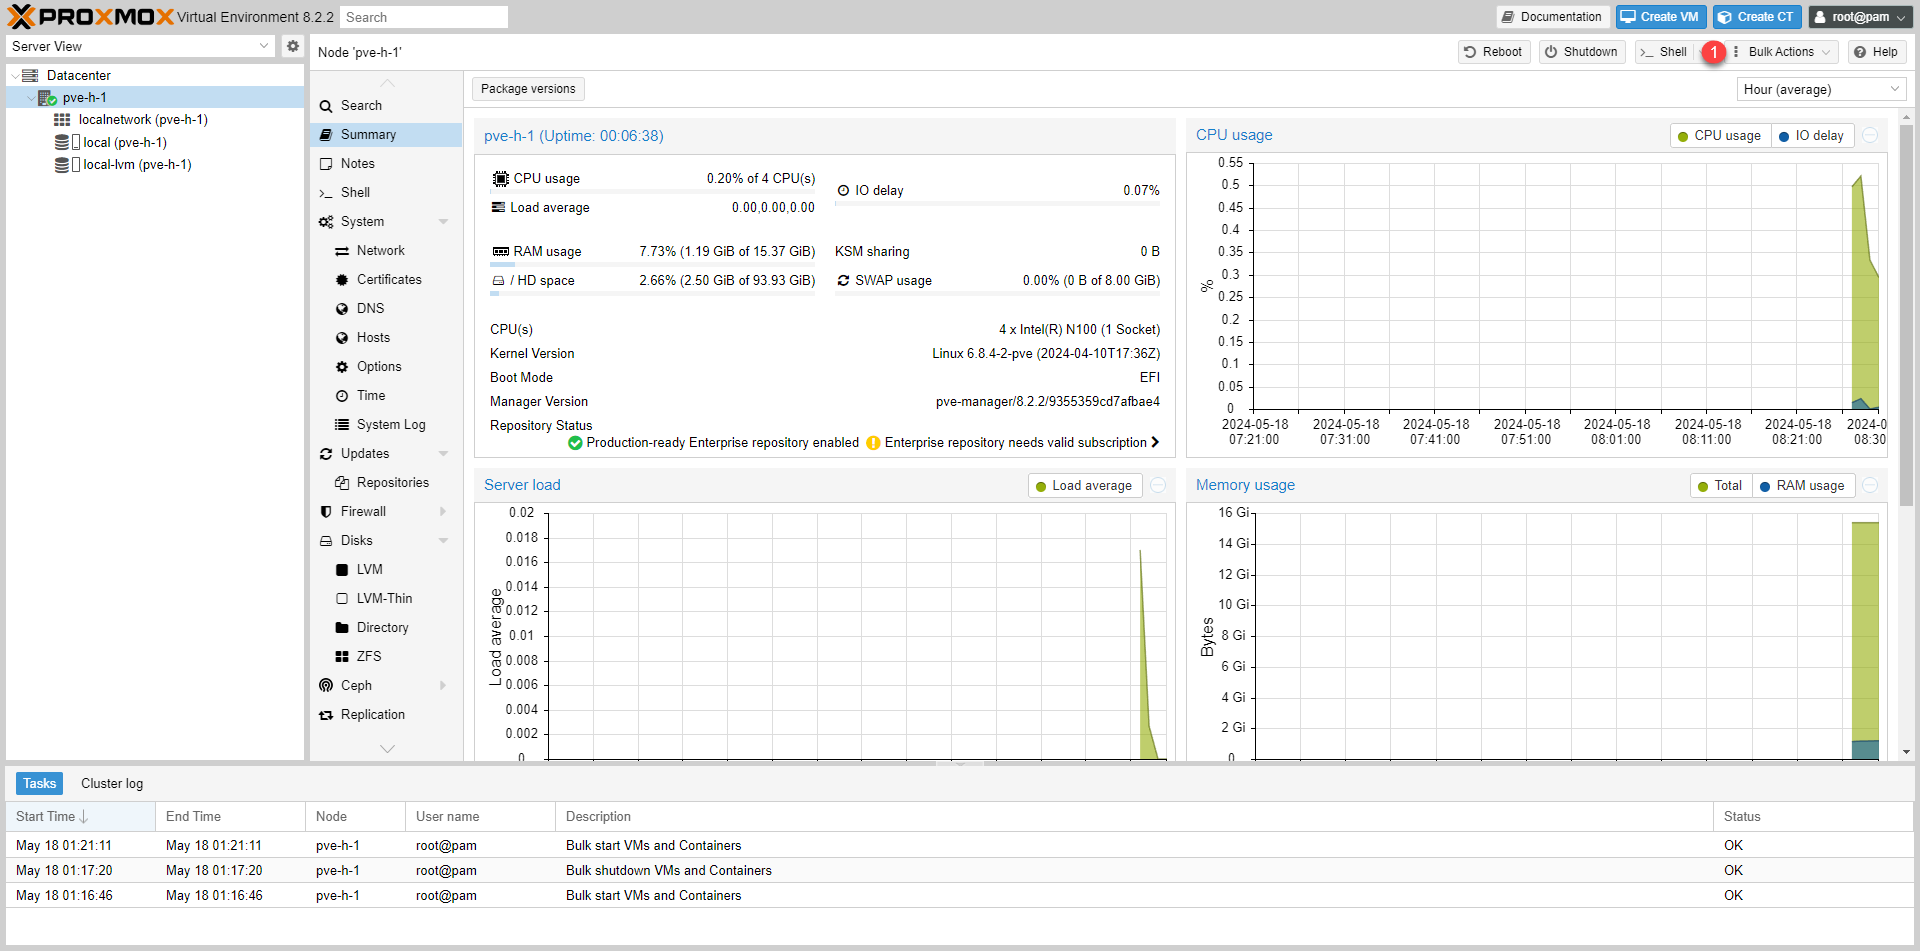
From the Proxmox web interface, click the Shell 1 button to access the Proxmox Hypervisor Terminal.
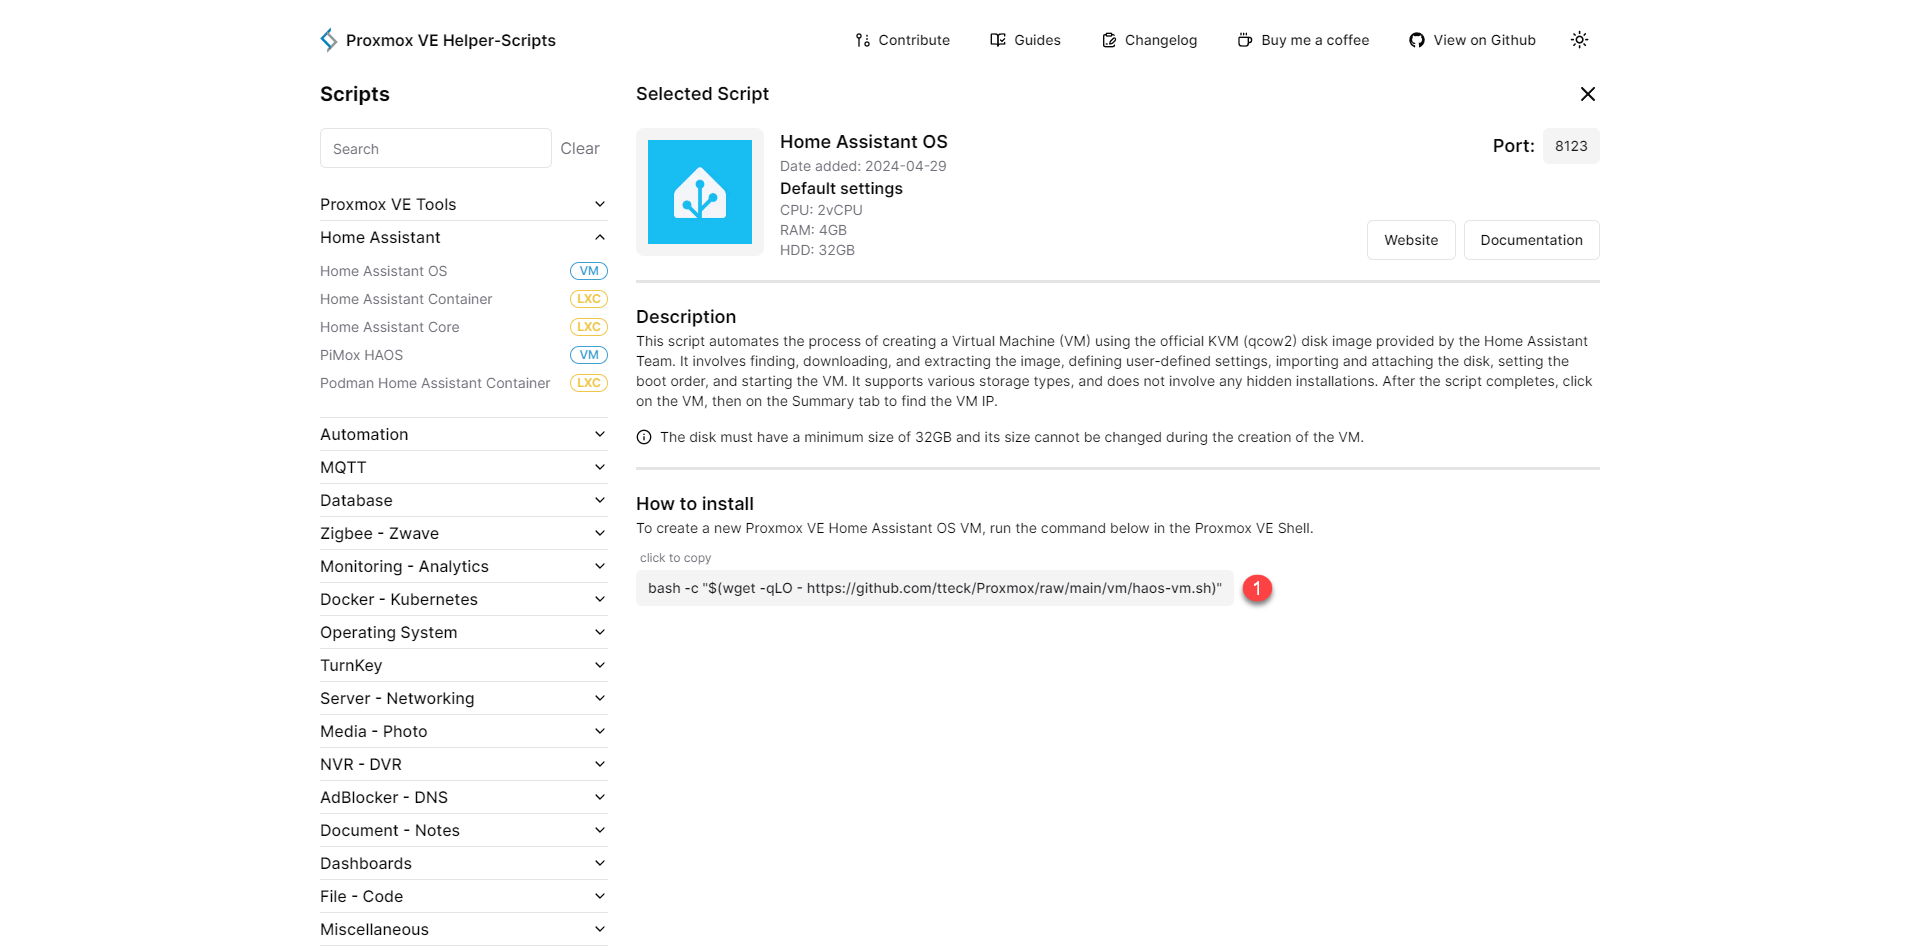
Go to the following address: https://helper-scripts.com/scripts?id=Home+Assistant+OS then copy the command line 1 which will allow the script to be executed.
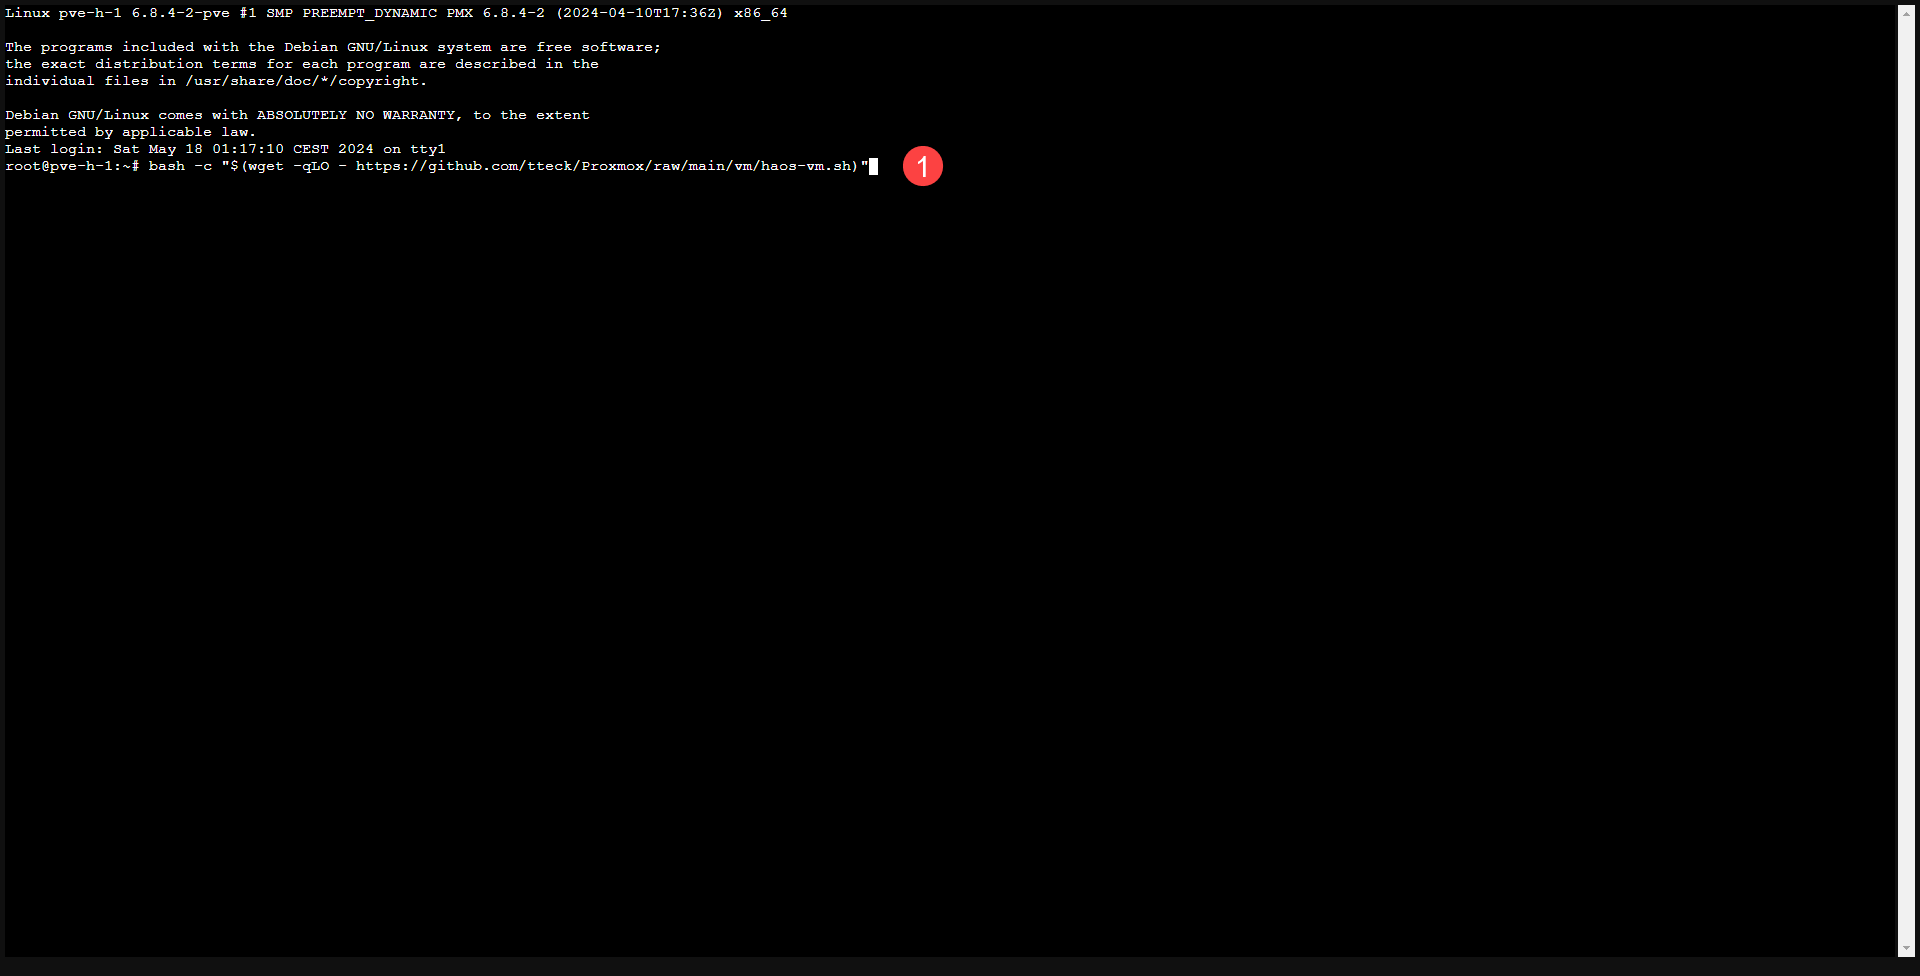
Paste the command into the Terminal 1 and then validate by pressing the Enter key.
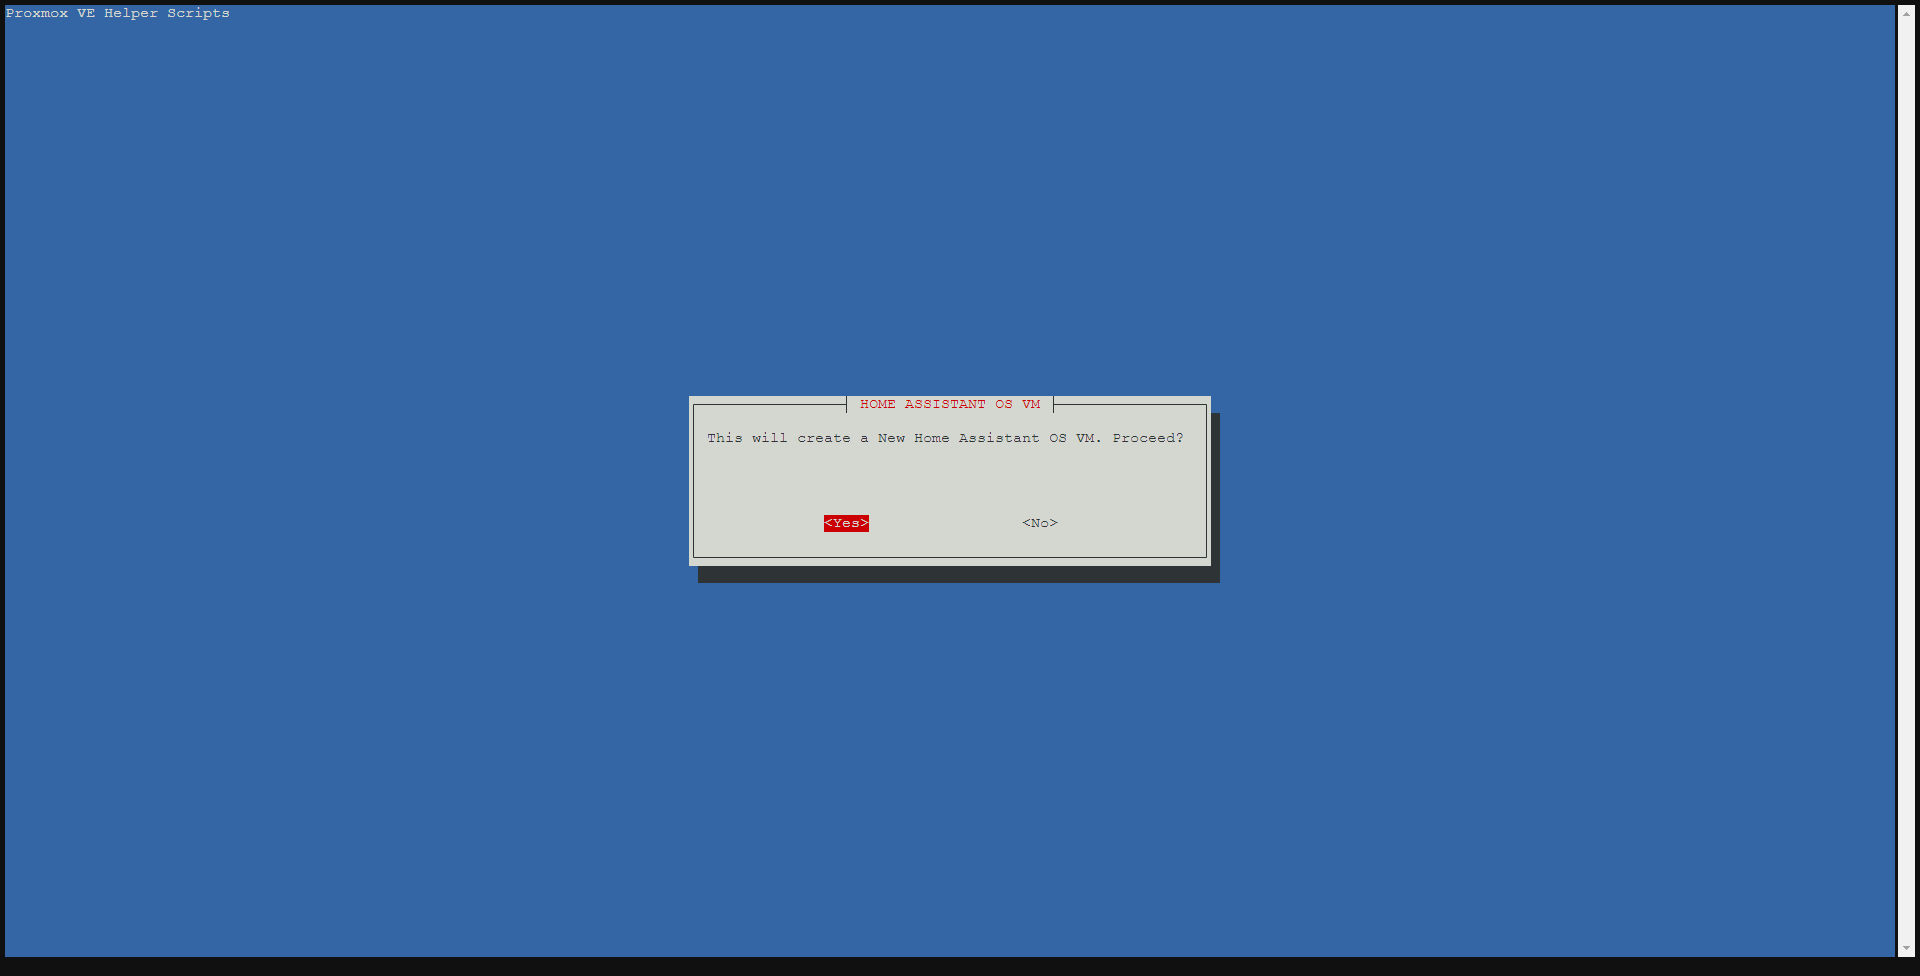
An assistant will start; in the first step you must confirm that you want to create a virtual machine for Home Assistant OS, select Yes and validate with the Enter key.
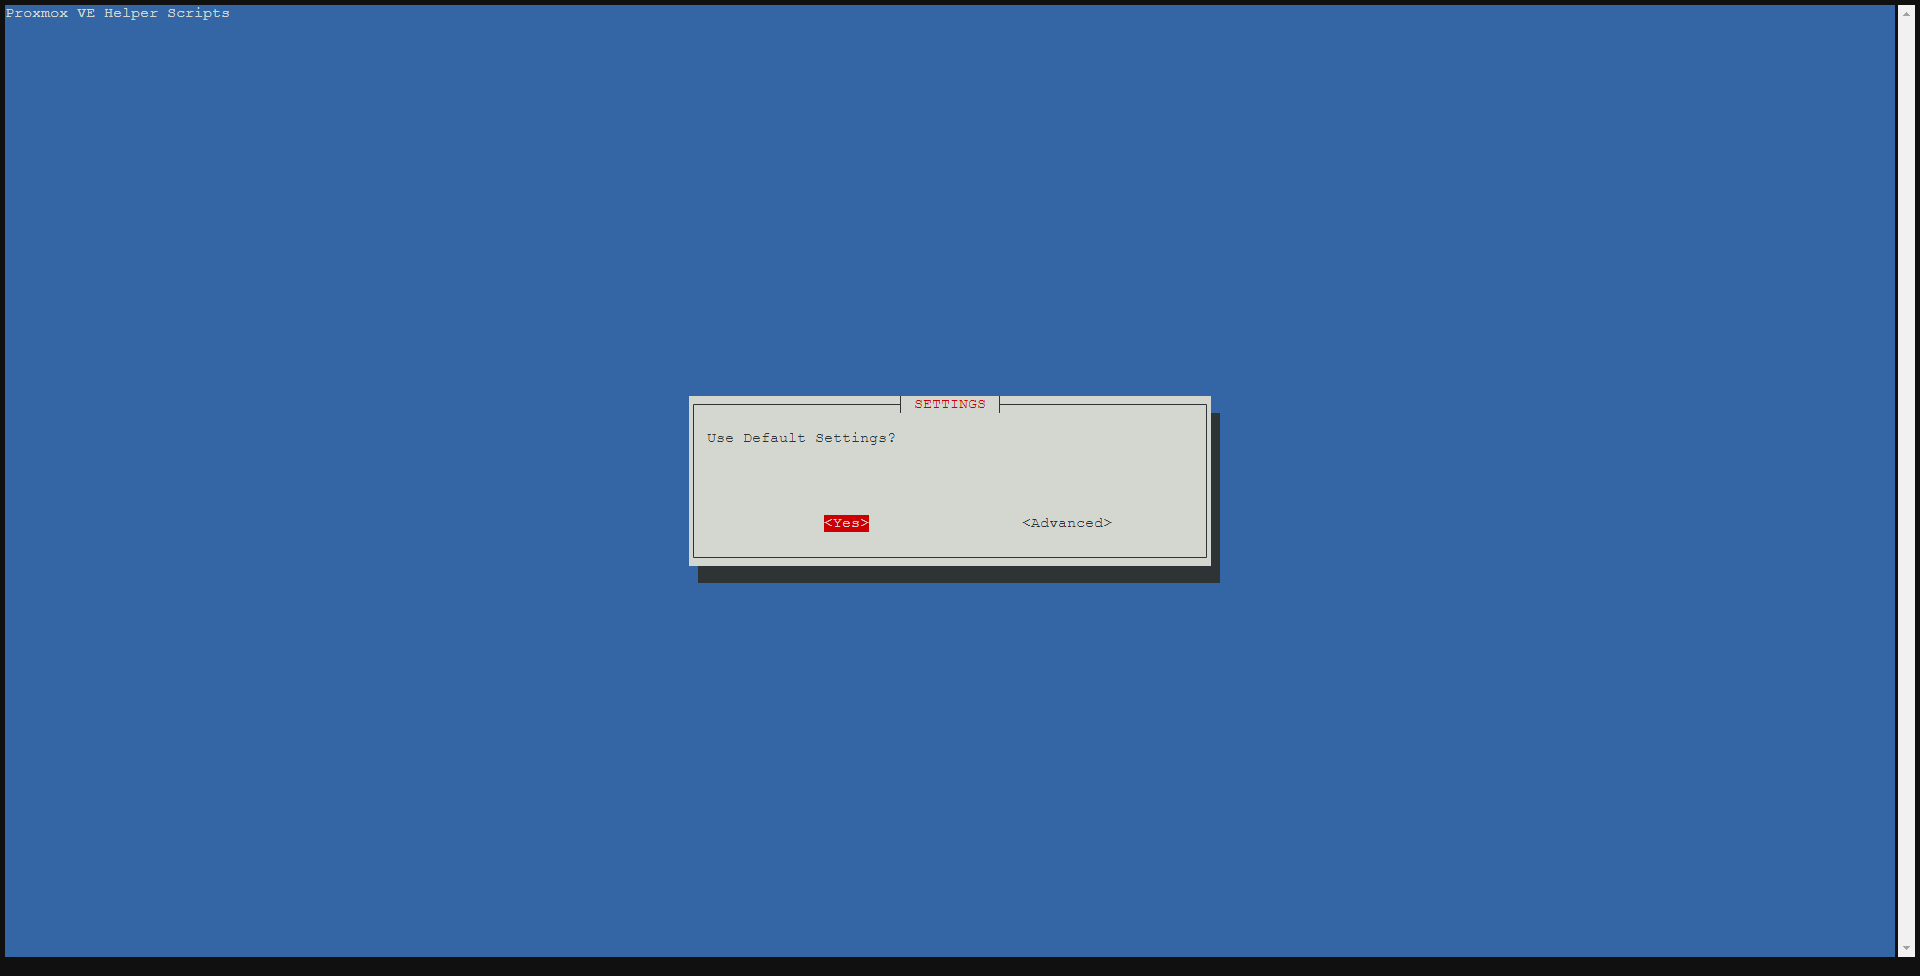
The wizard offers two installation modes: using the default settings and an advanced mode where you can configure the virtual machine components and network settings. For most users, we’ll use the default settings, select Yes, and confirm by pressing Enter.
If you have multiple storage configurations in Proxmox, the wizard will ask you to select the location where the virtual disk will be stored.
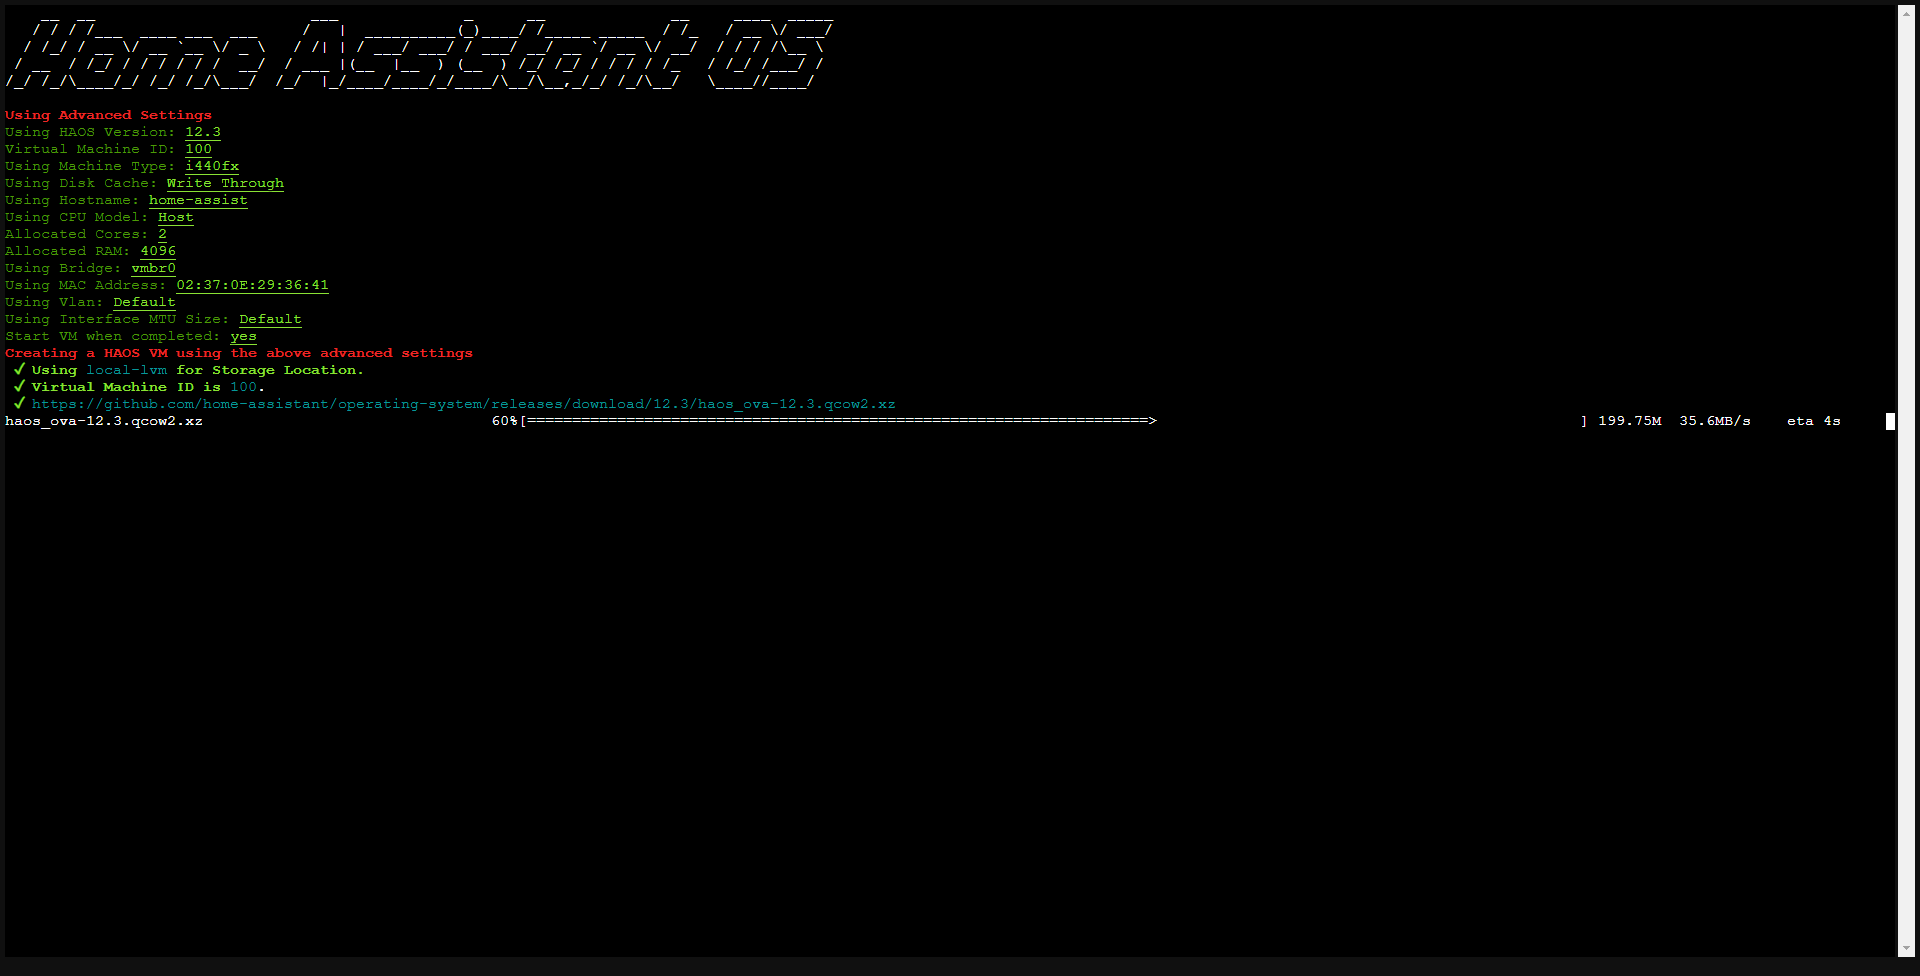
Please wait while the virtual machine is being created and the disk is being downloaded.
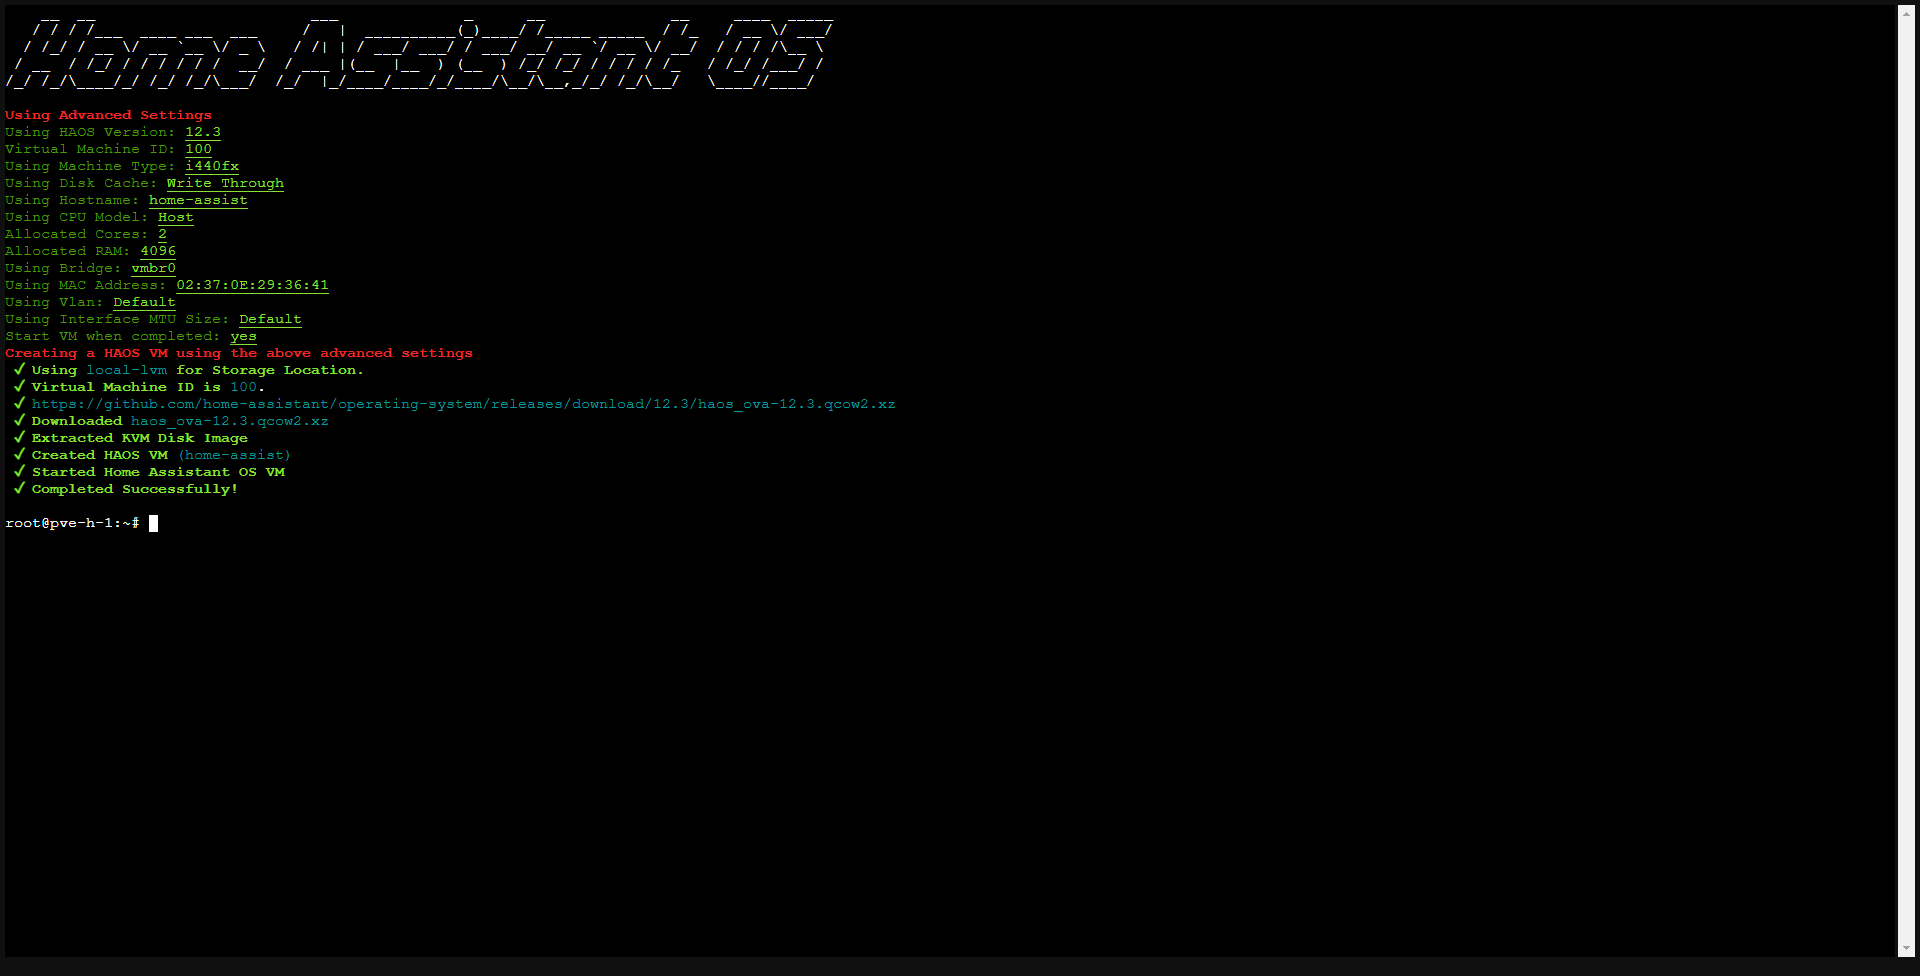
The virtual machine for HA OS is ready, close the Proxmox Shell window.
In the Proxmox web interface, you will find the Home Assistant virtual machine which is running; click on it to access its management.
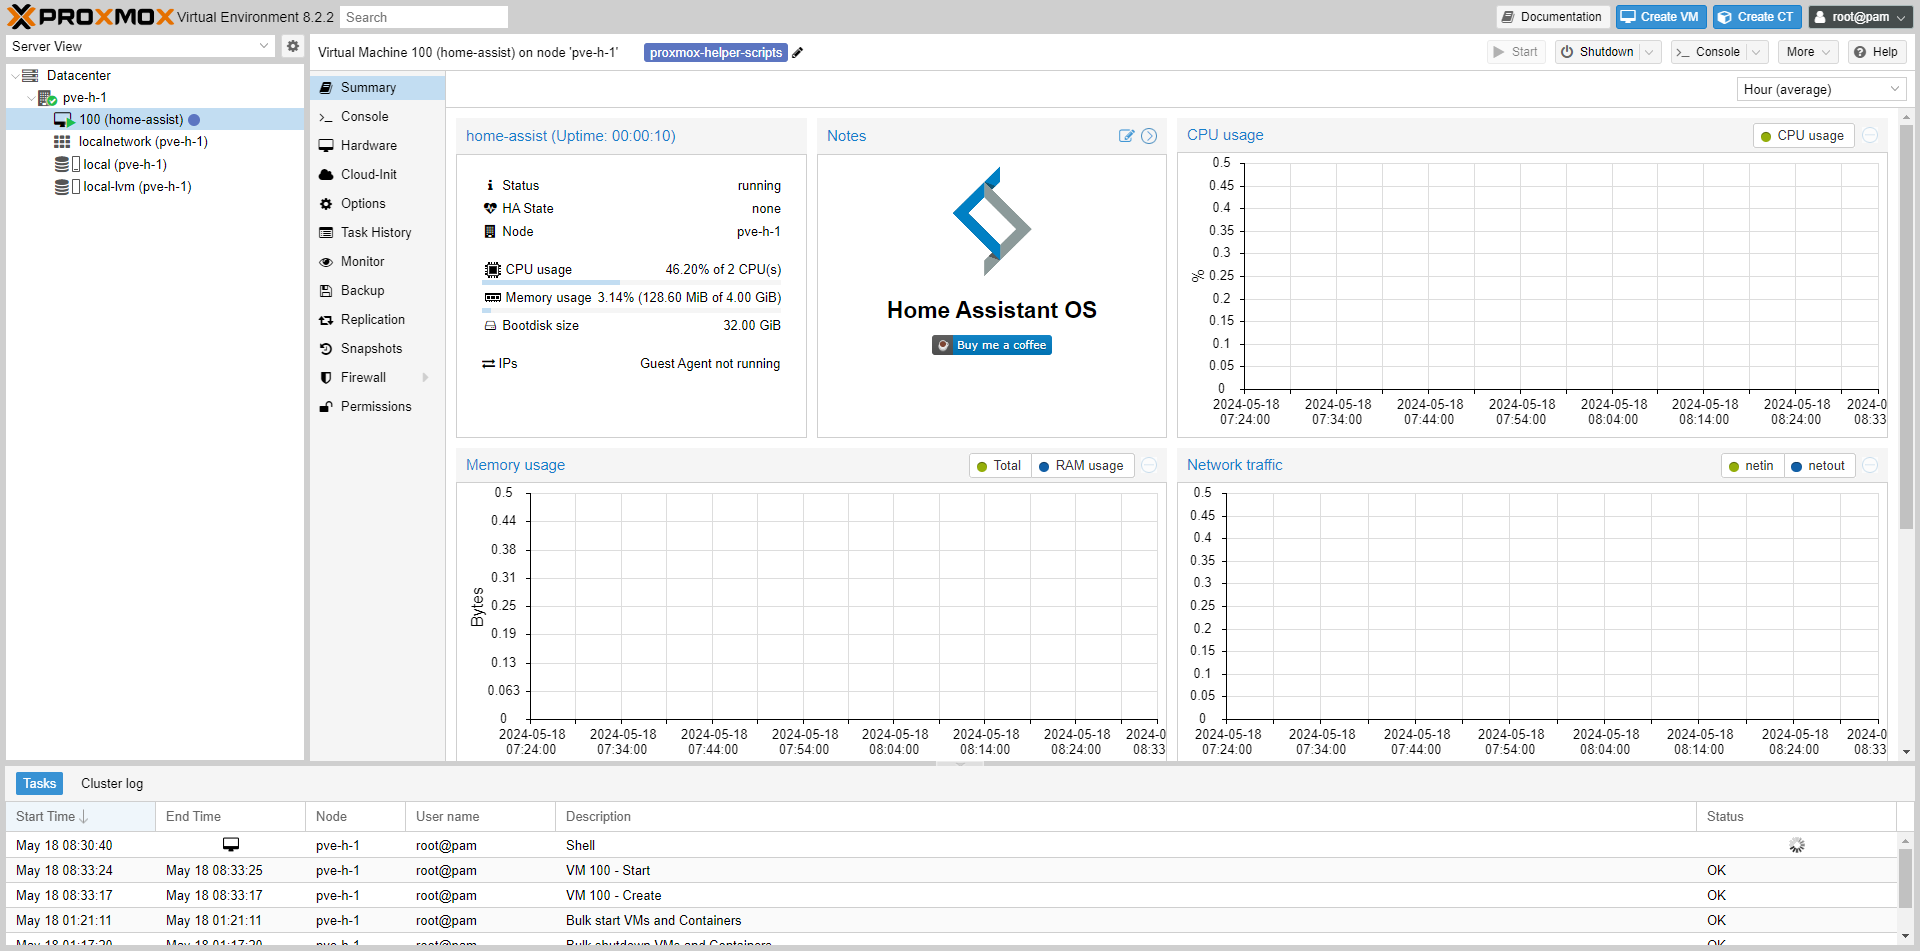
To get the “screen” feedback, click go to the Console view 1.
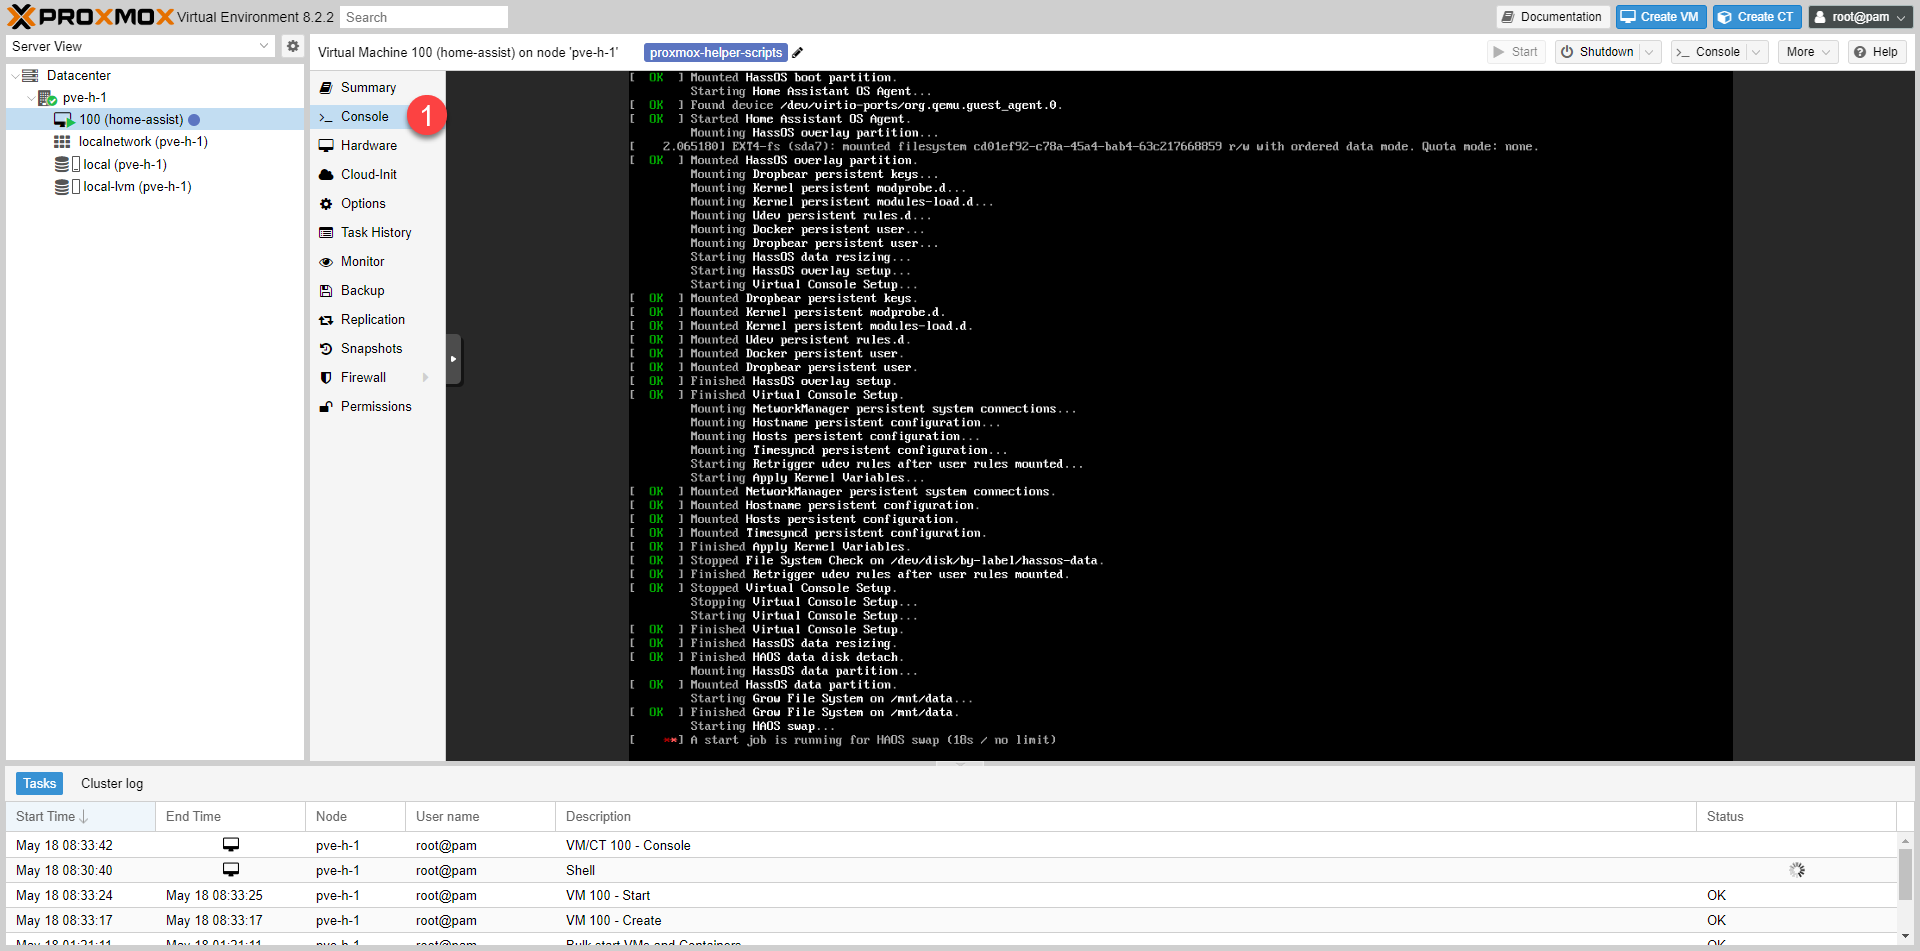
In the screenshot above, you can see that the machine is starting up…
Once the virtual machine is started, the console displays a Mod with various information, including the IP address of our Home Assistant and a prompt which allows us to place commands.
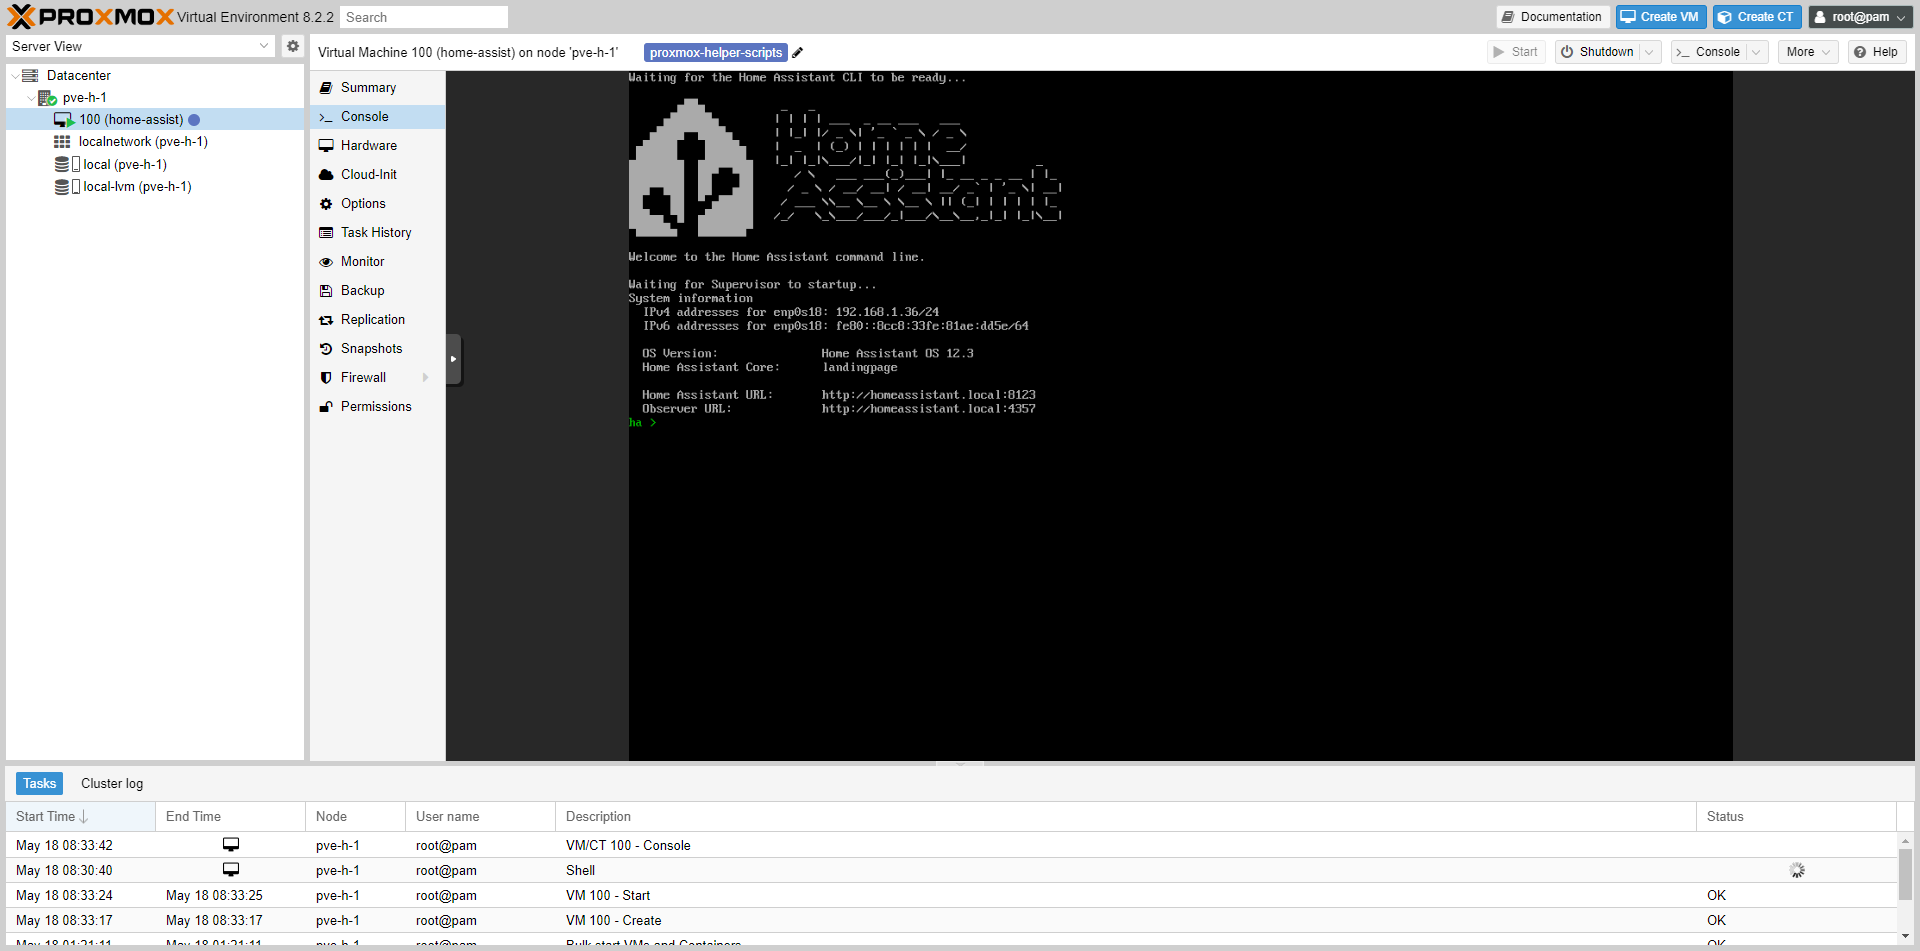
Here we can see that the address is: 192.168.1.36.
You have installed Home Assistant on Proxmox.
Initial Home Assistant Setup
We will now look at the initial setup of Home Assistant where we will create our home and the first user.
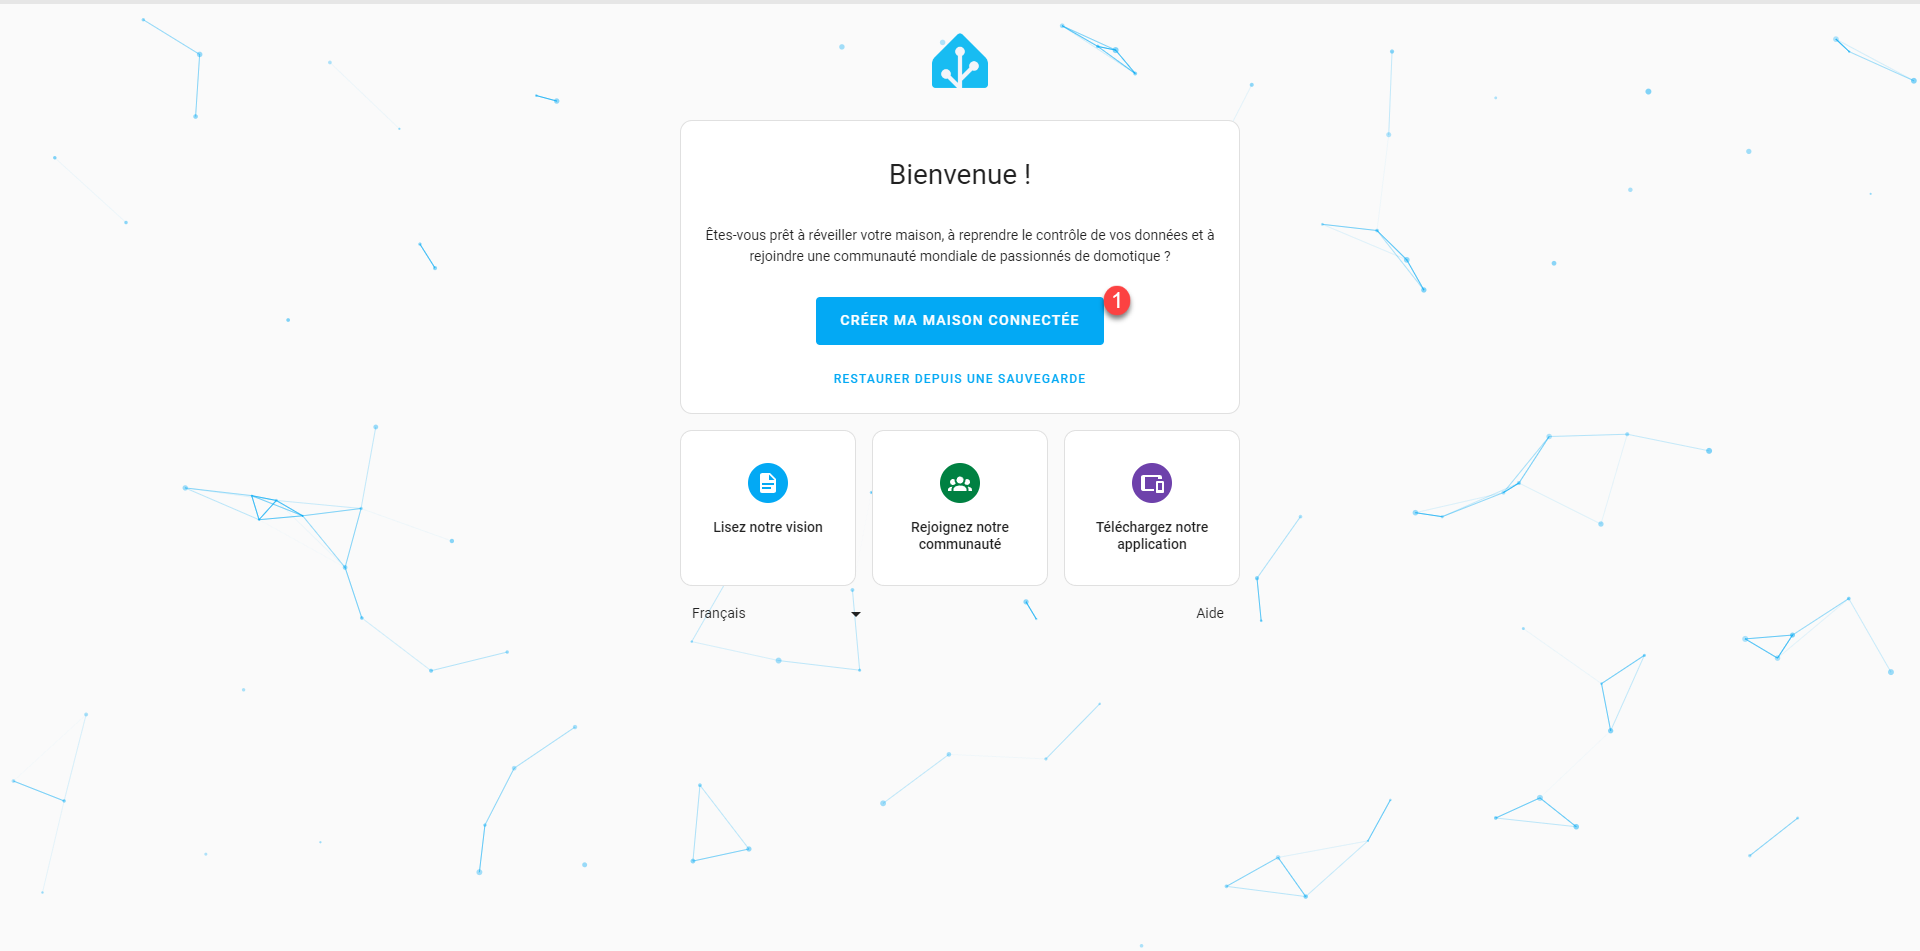
From a web browser, go to the following address: http://ip-address-ha:8123
Click on the CREATE MY SMART HOME button 1.
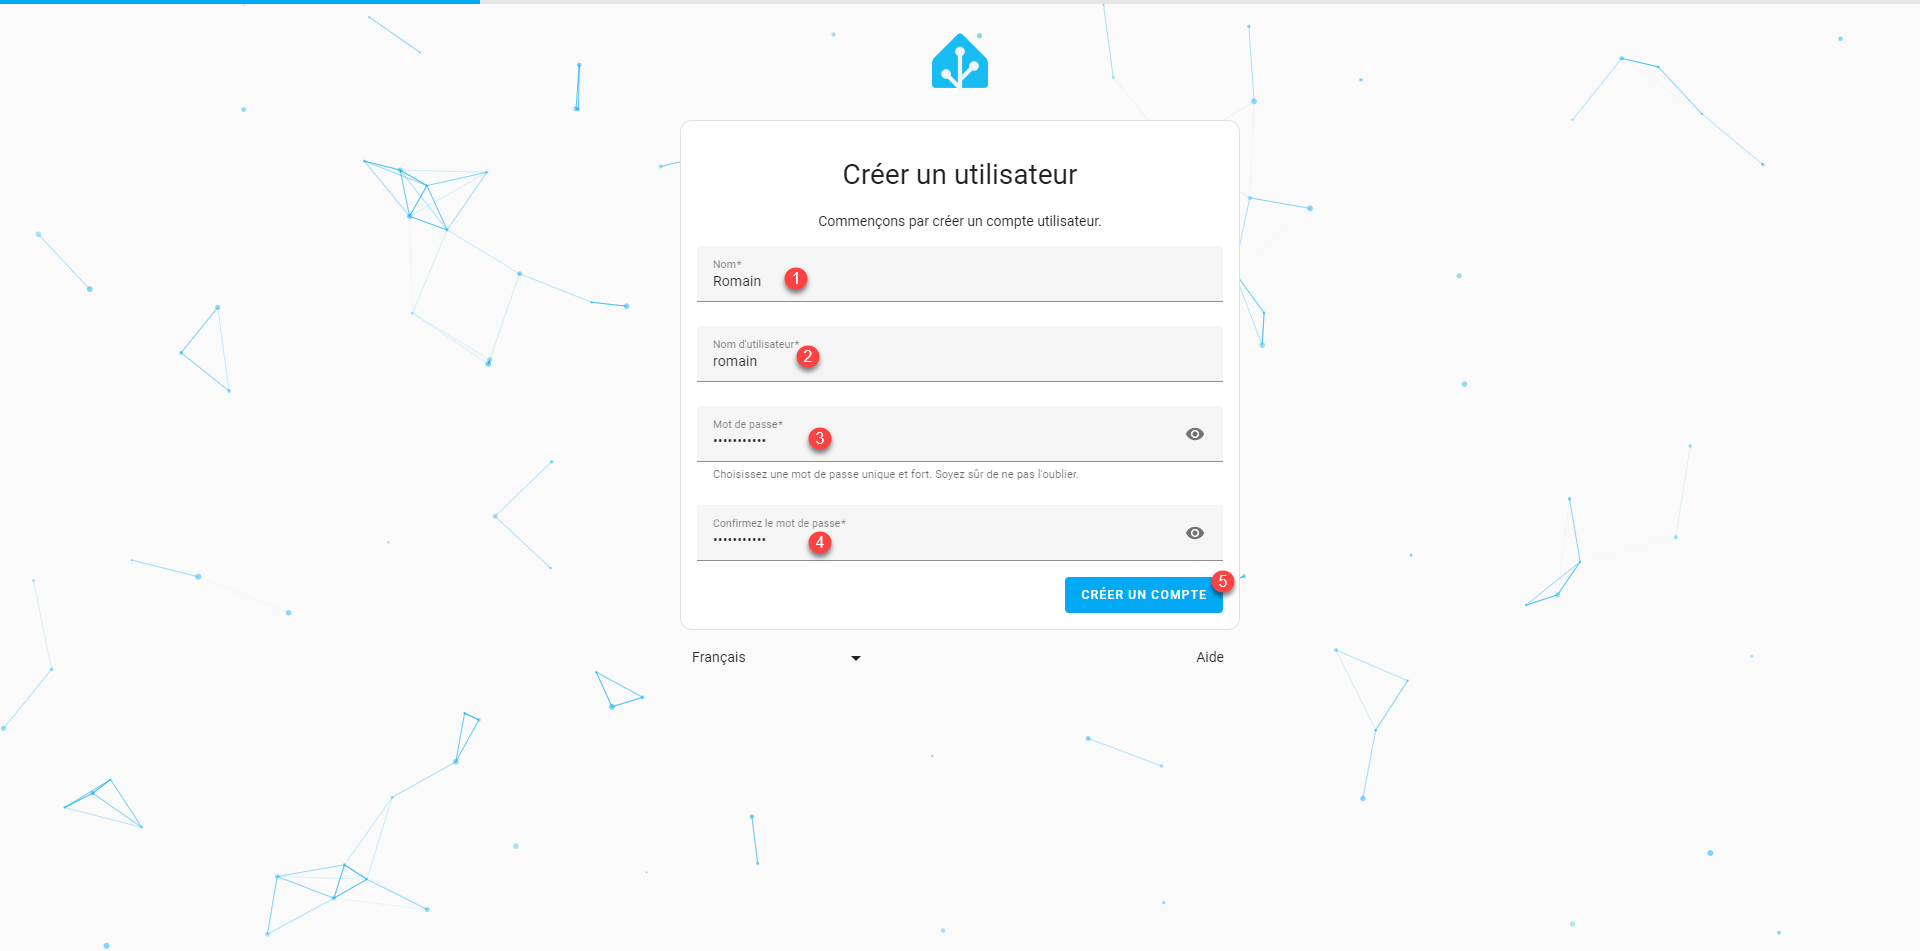
Enter your 1, a login ID 2 then a password 3 which you confirm 4 and click on the CREATE AN ACCOUNT button 5.
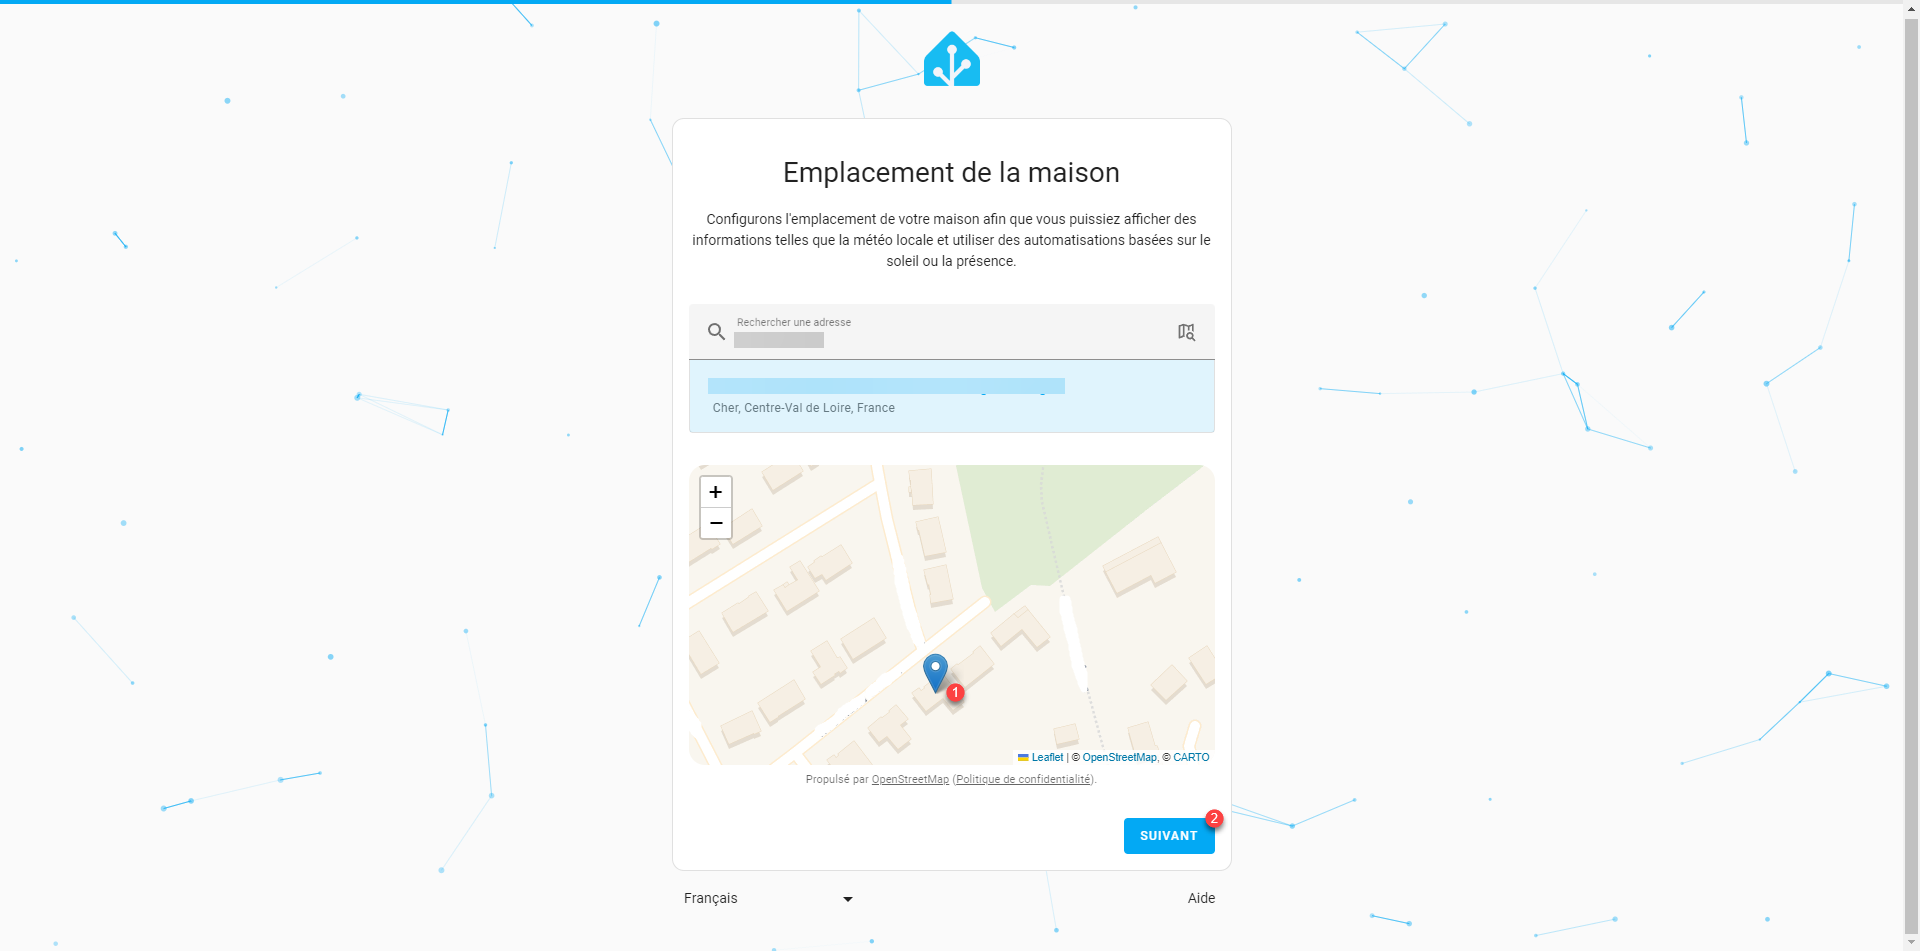
Position your house on the map 1 and click on Next 2.
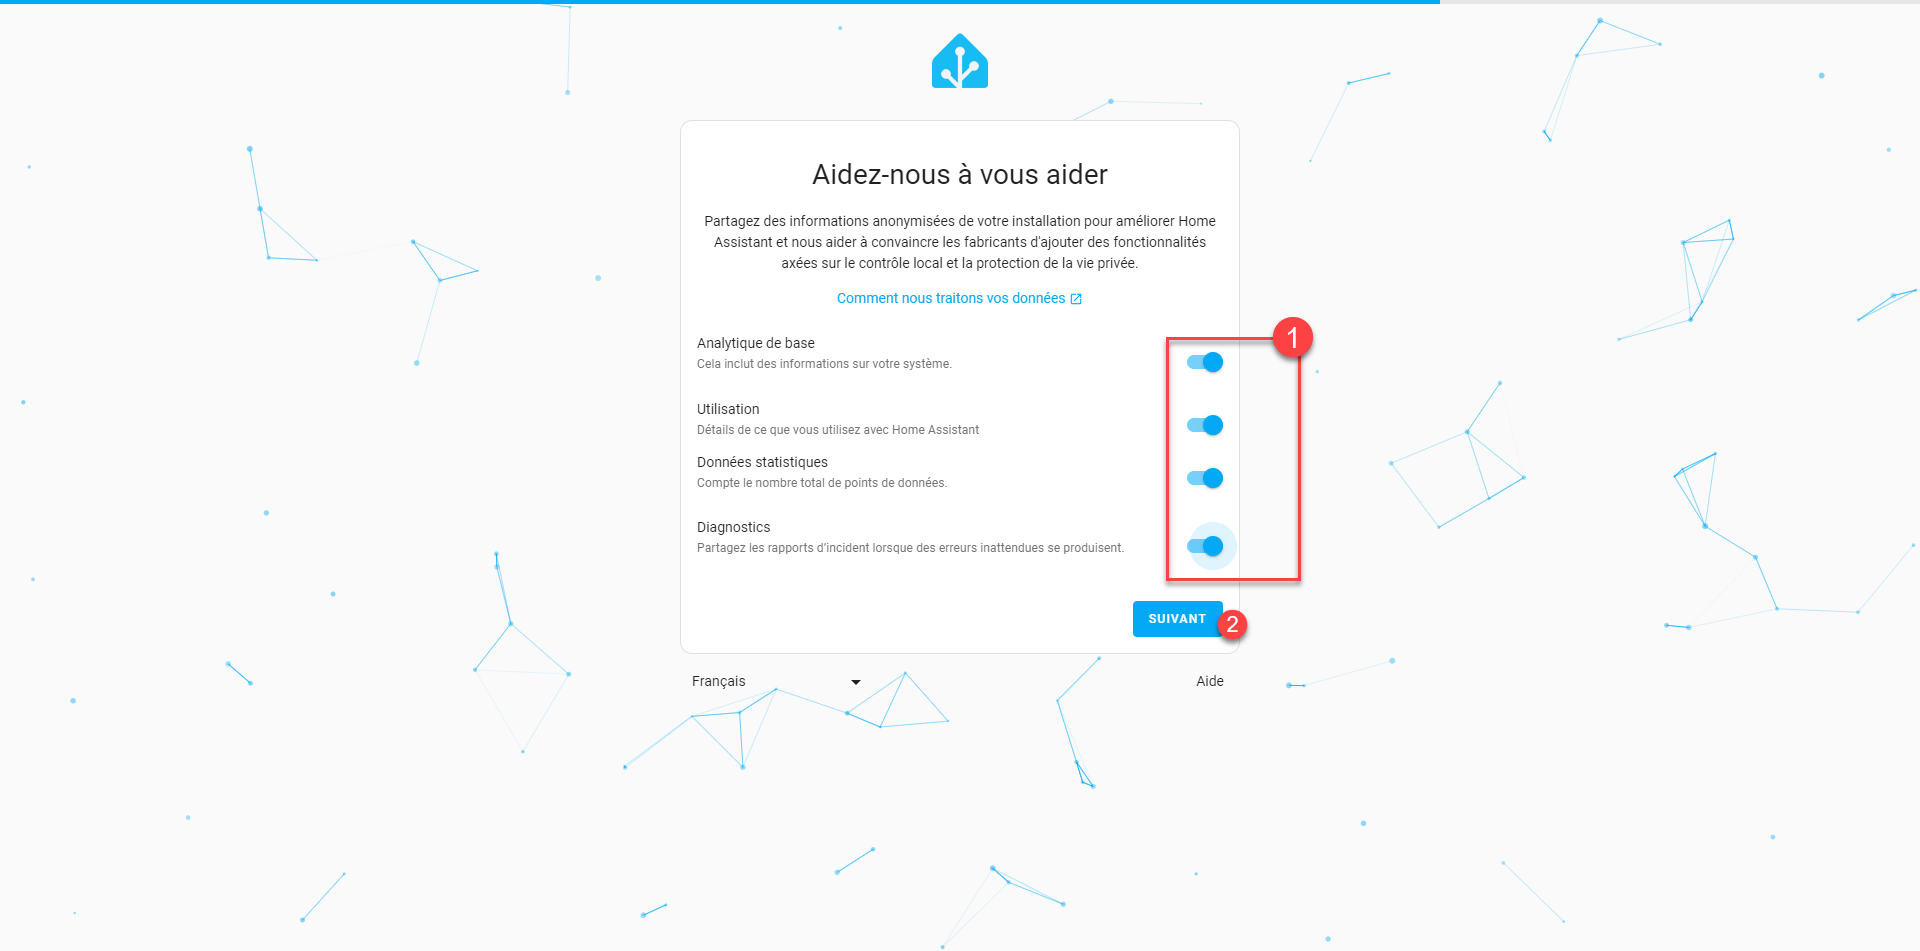
Configure the data 1 you want to share and then click Next 2.
The setup is complete; if any devices are detected, Home Assistant will display them. Click the FINISH button 1.

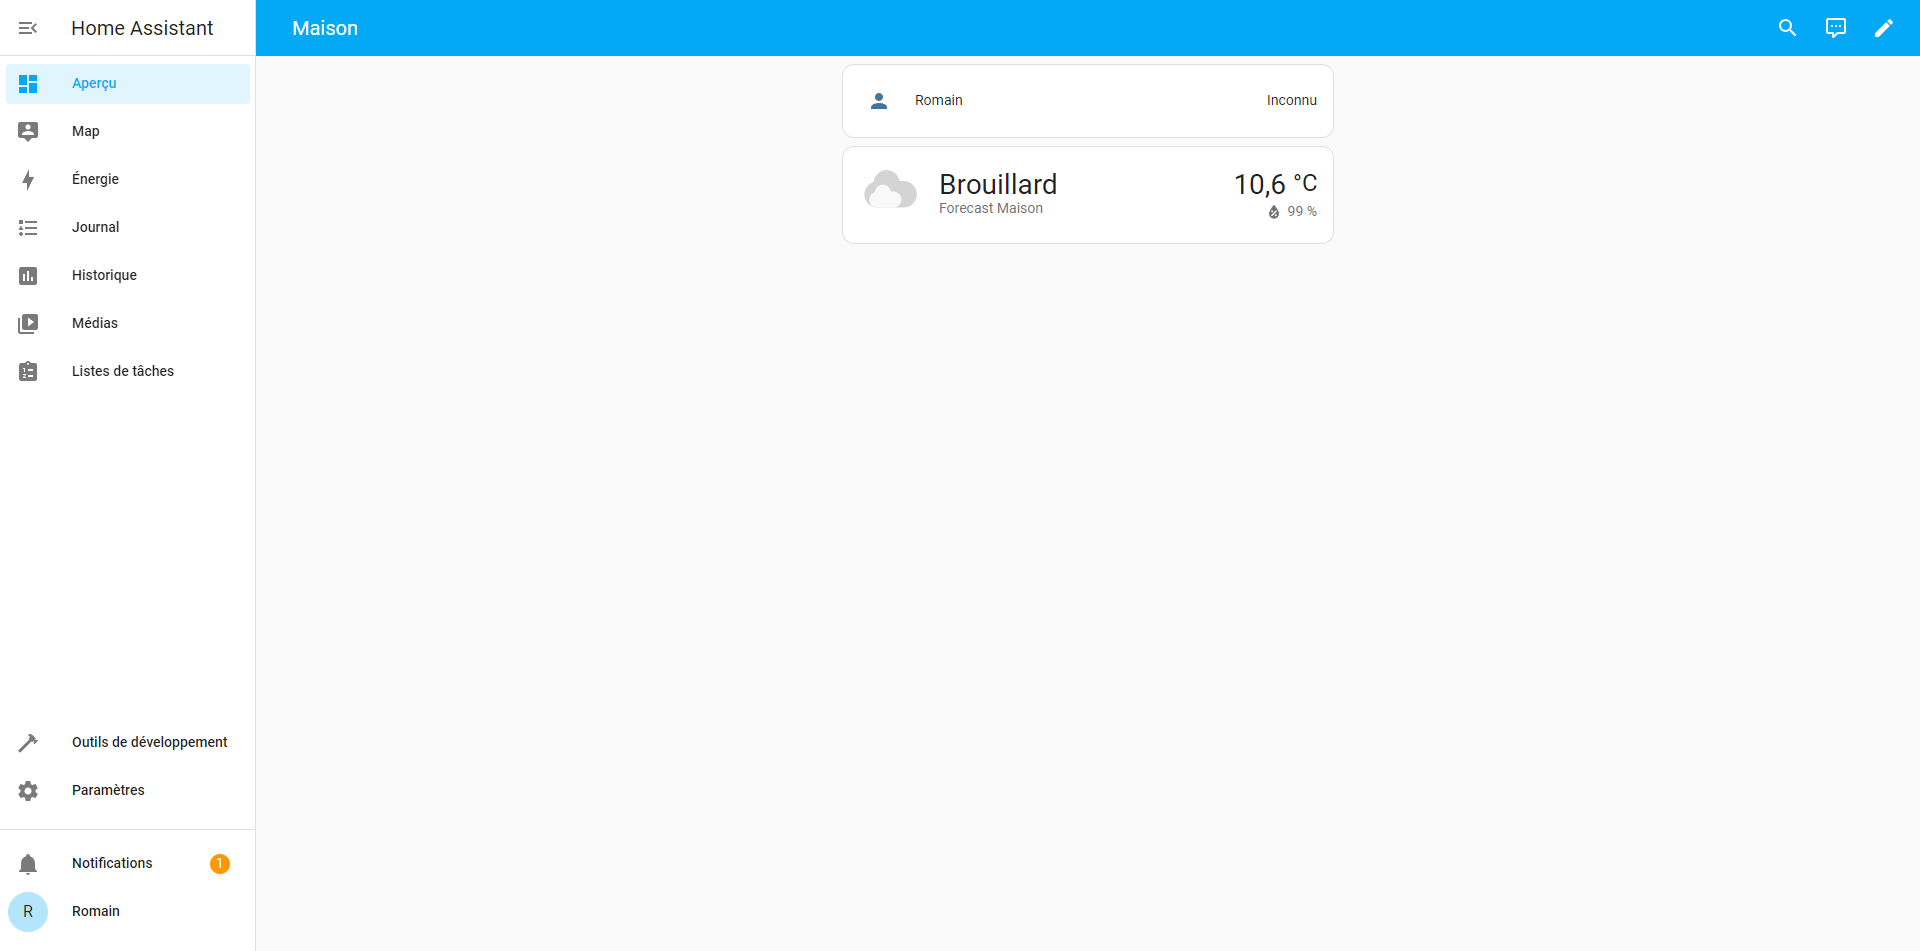
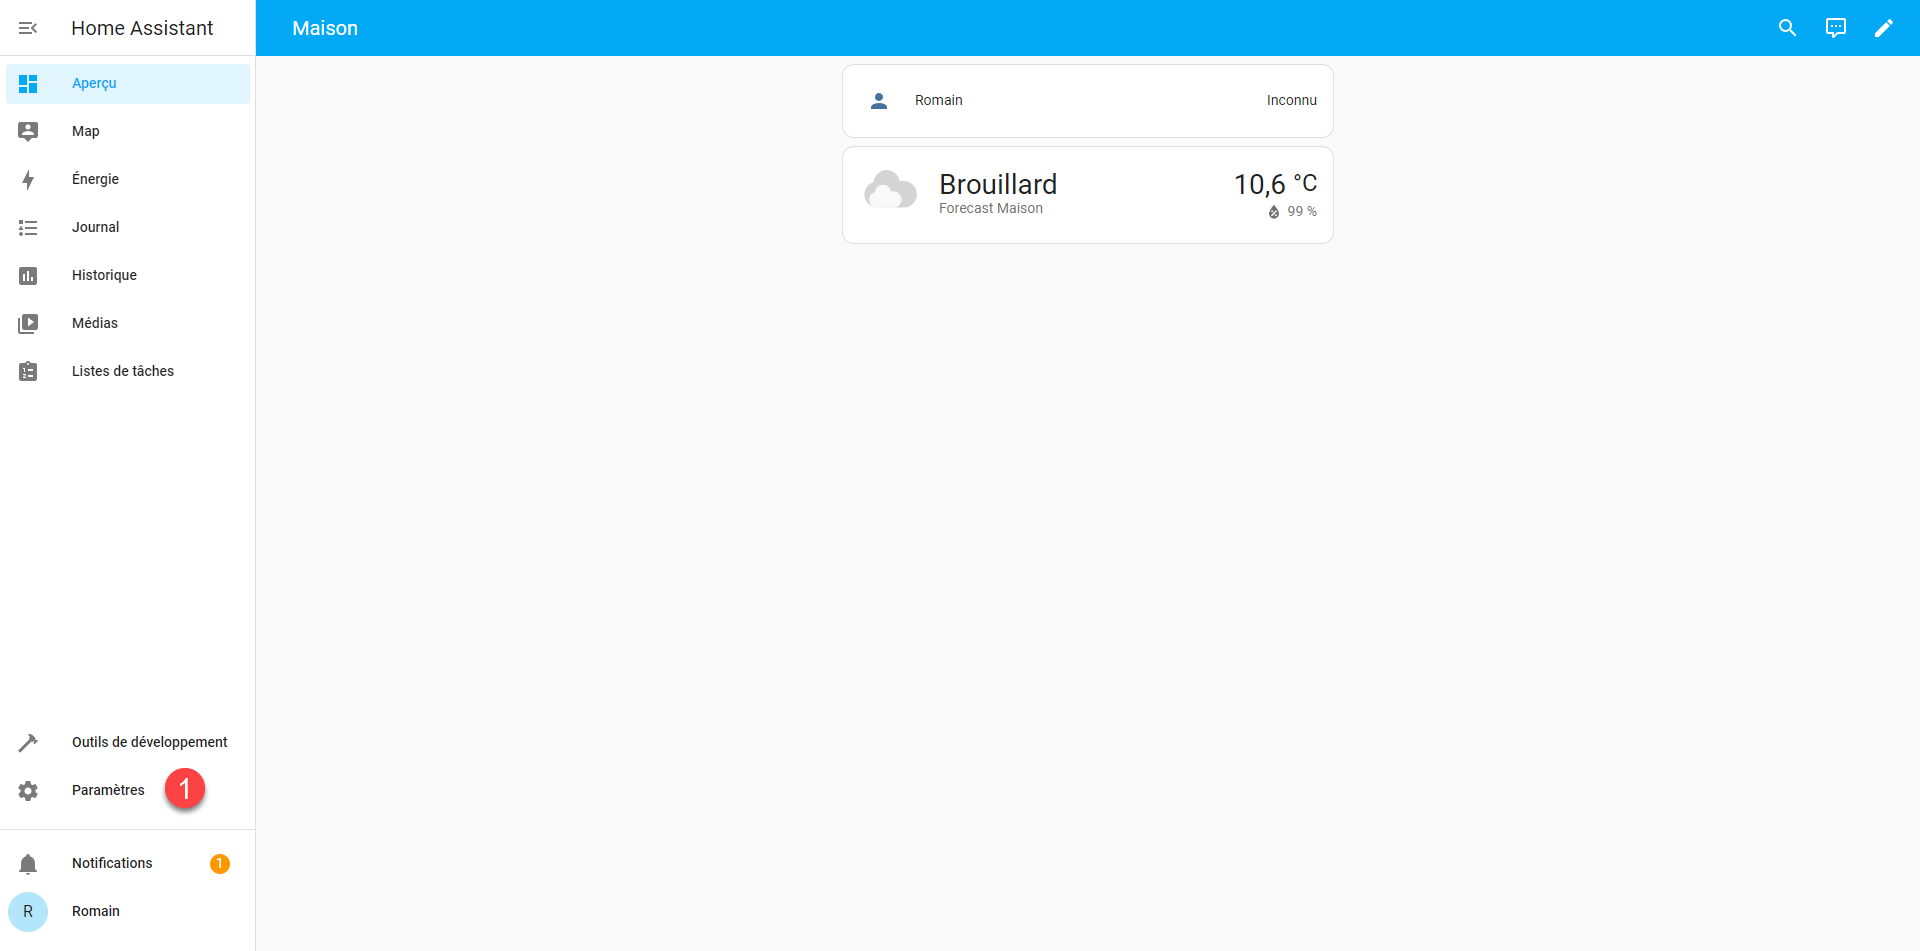
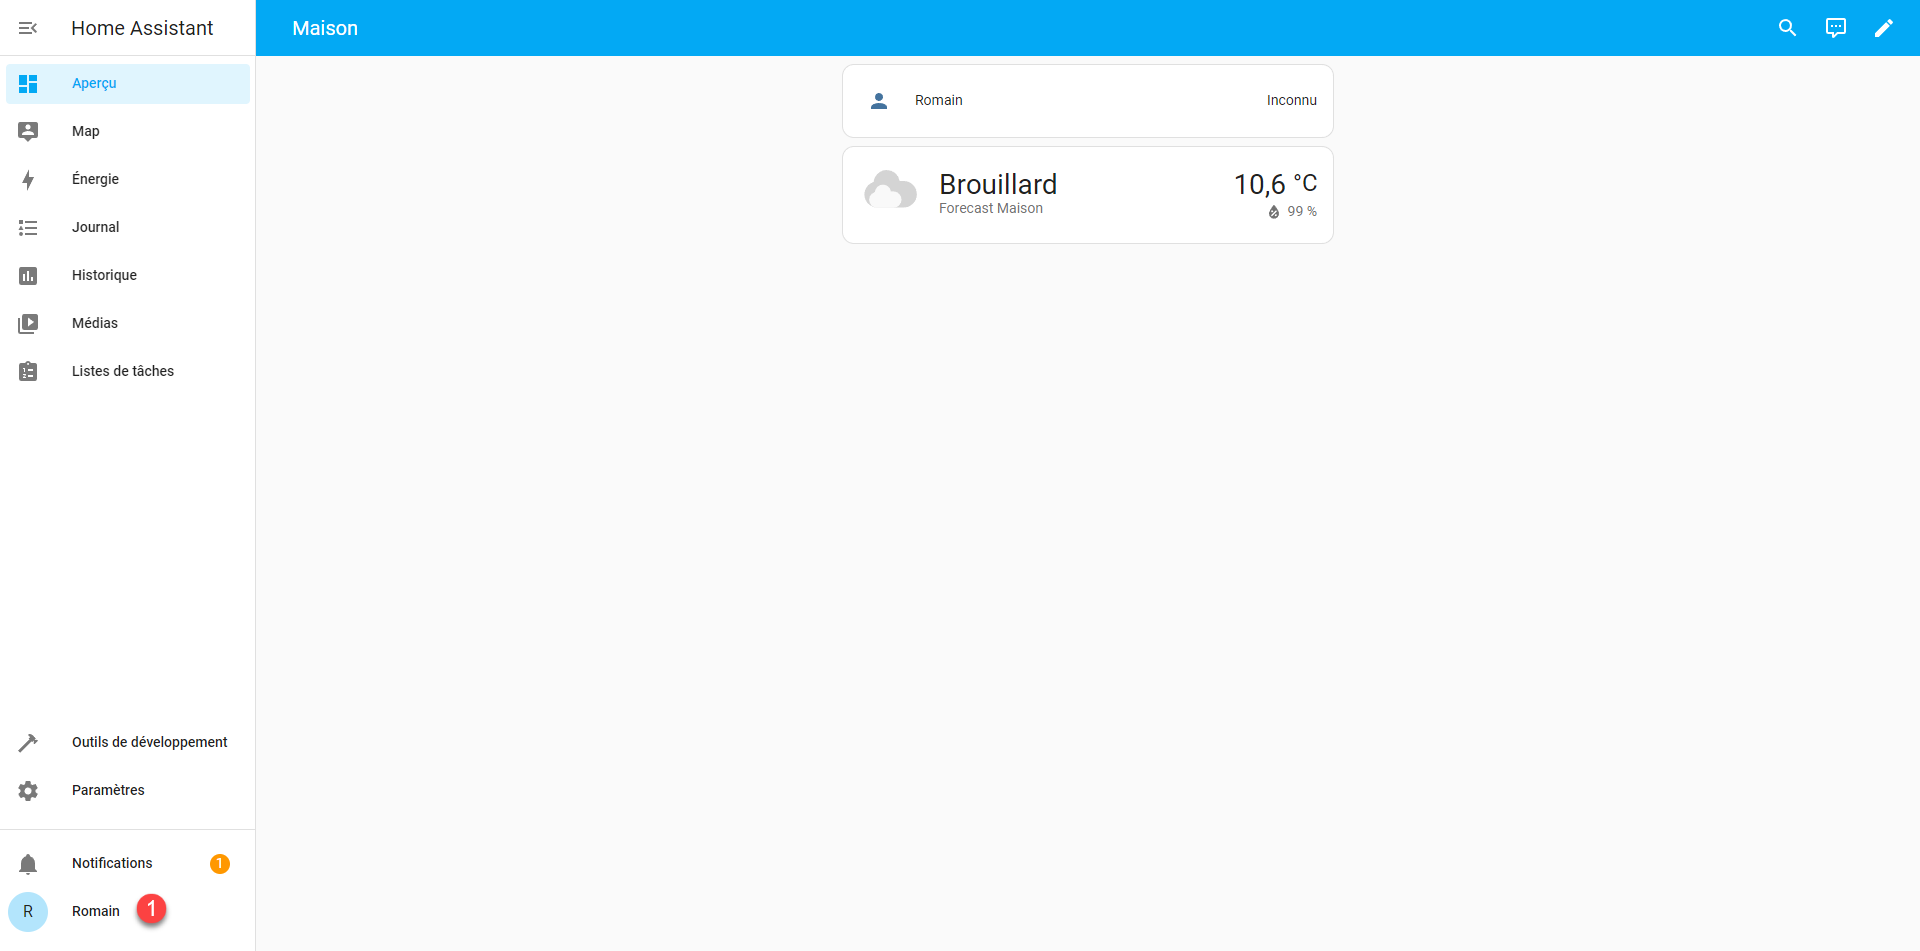
We now arrive at the Home Assistant dashboard, which is currently empty.
Configure the IP address of the Home Assistant virtual machine
To begin configuring your Home Assistant virtual machine, I will explain how to configure a static IP address, because at the moment, your Home Assistant’s address is likely being assigned by your Internet box’s DHCP server.
From the menu on the left side of the screen, click on Settings 1.
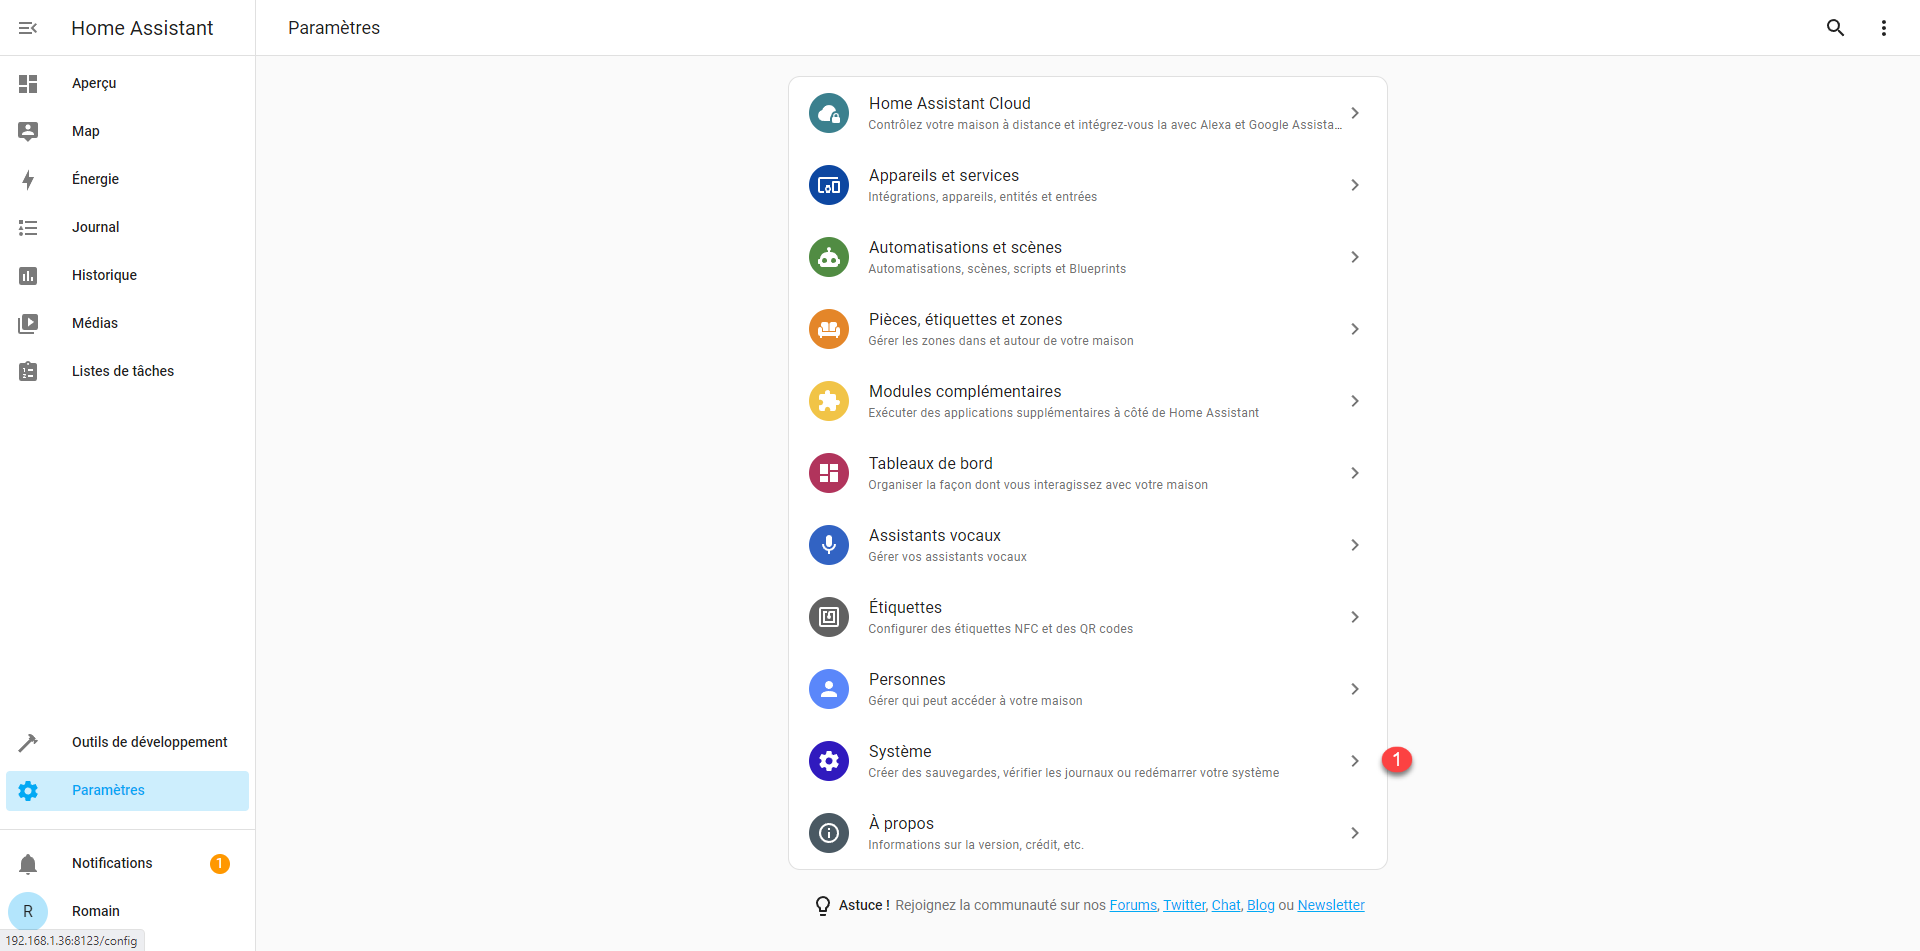
In the settings, click on System 1.
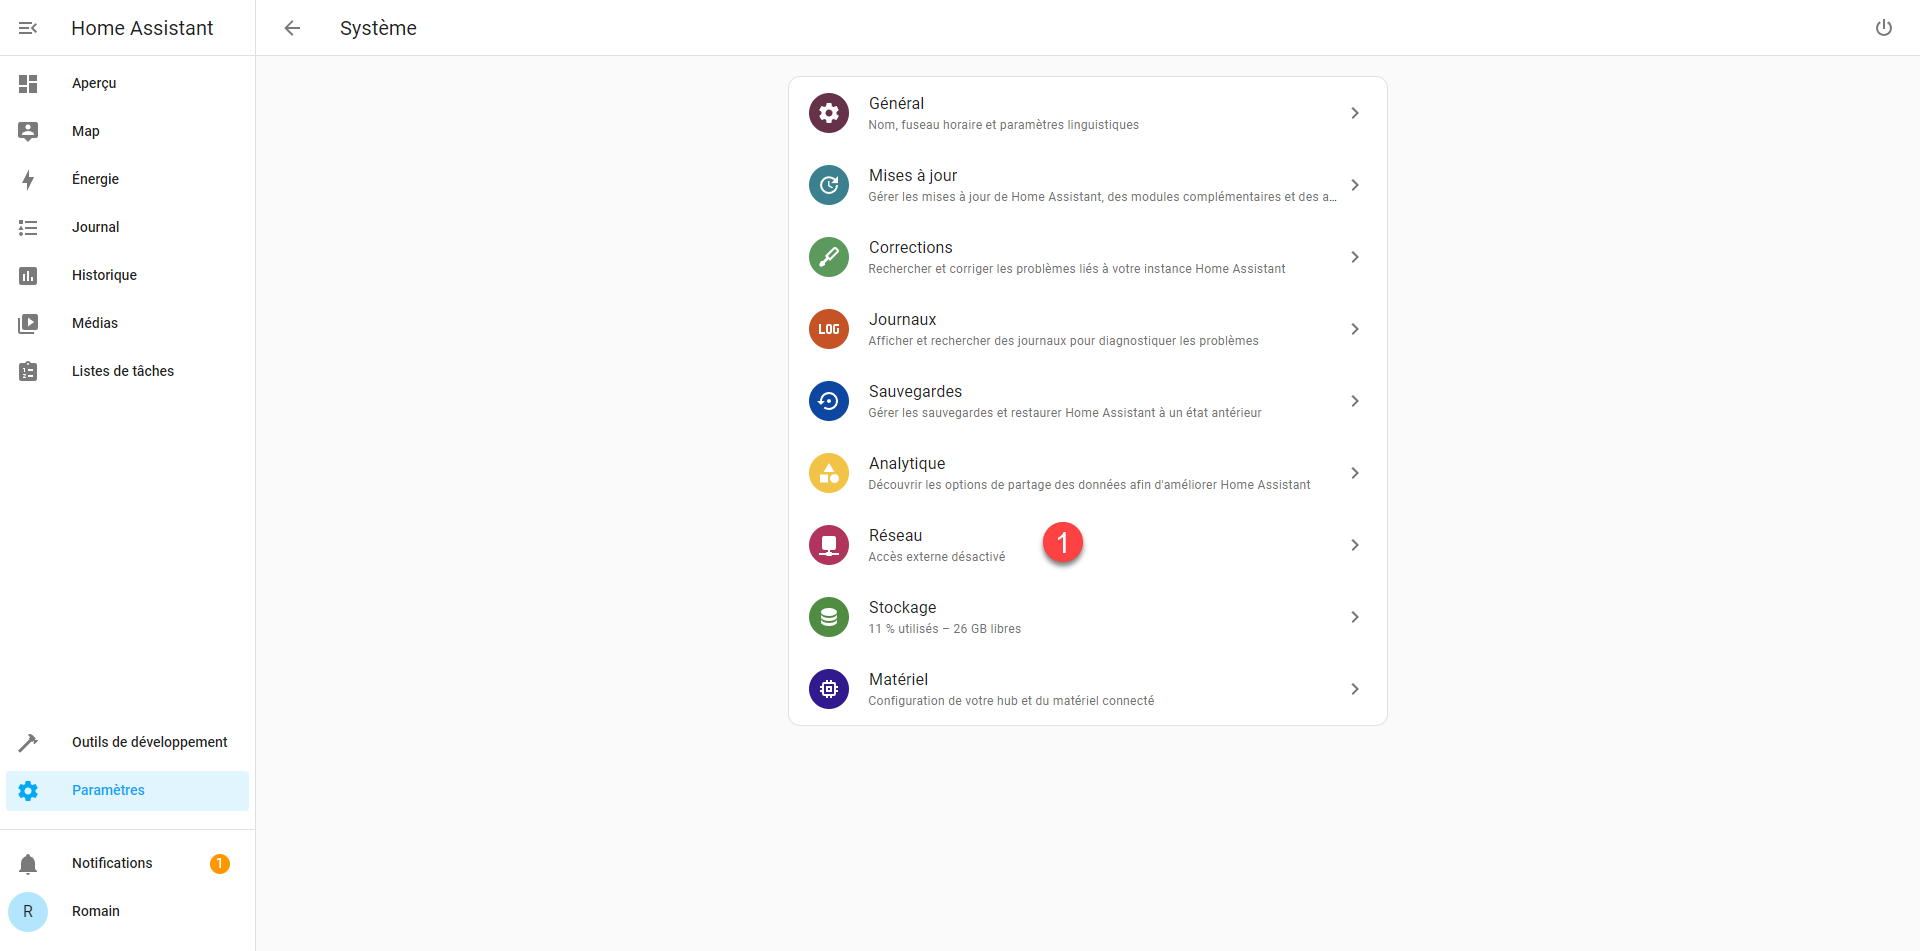
Then click on Network 1.
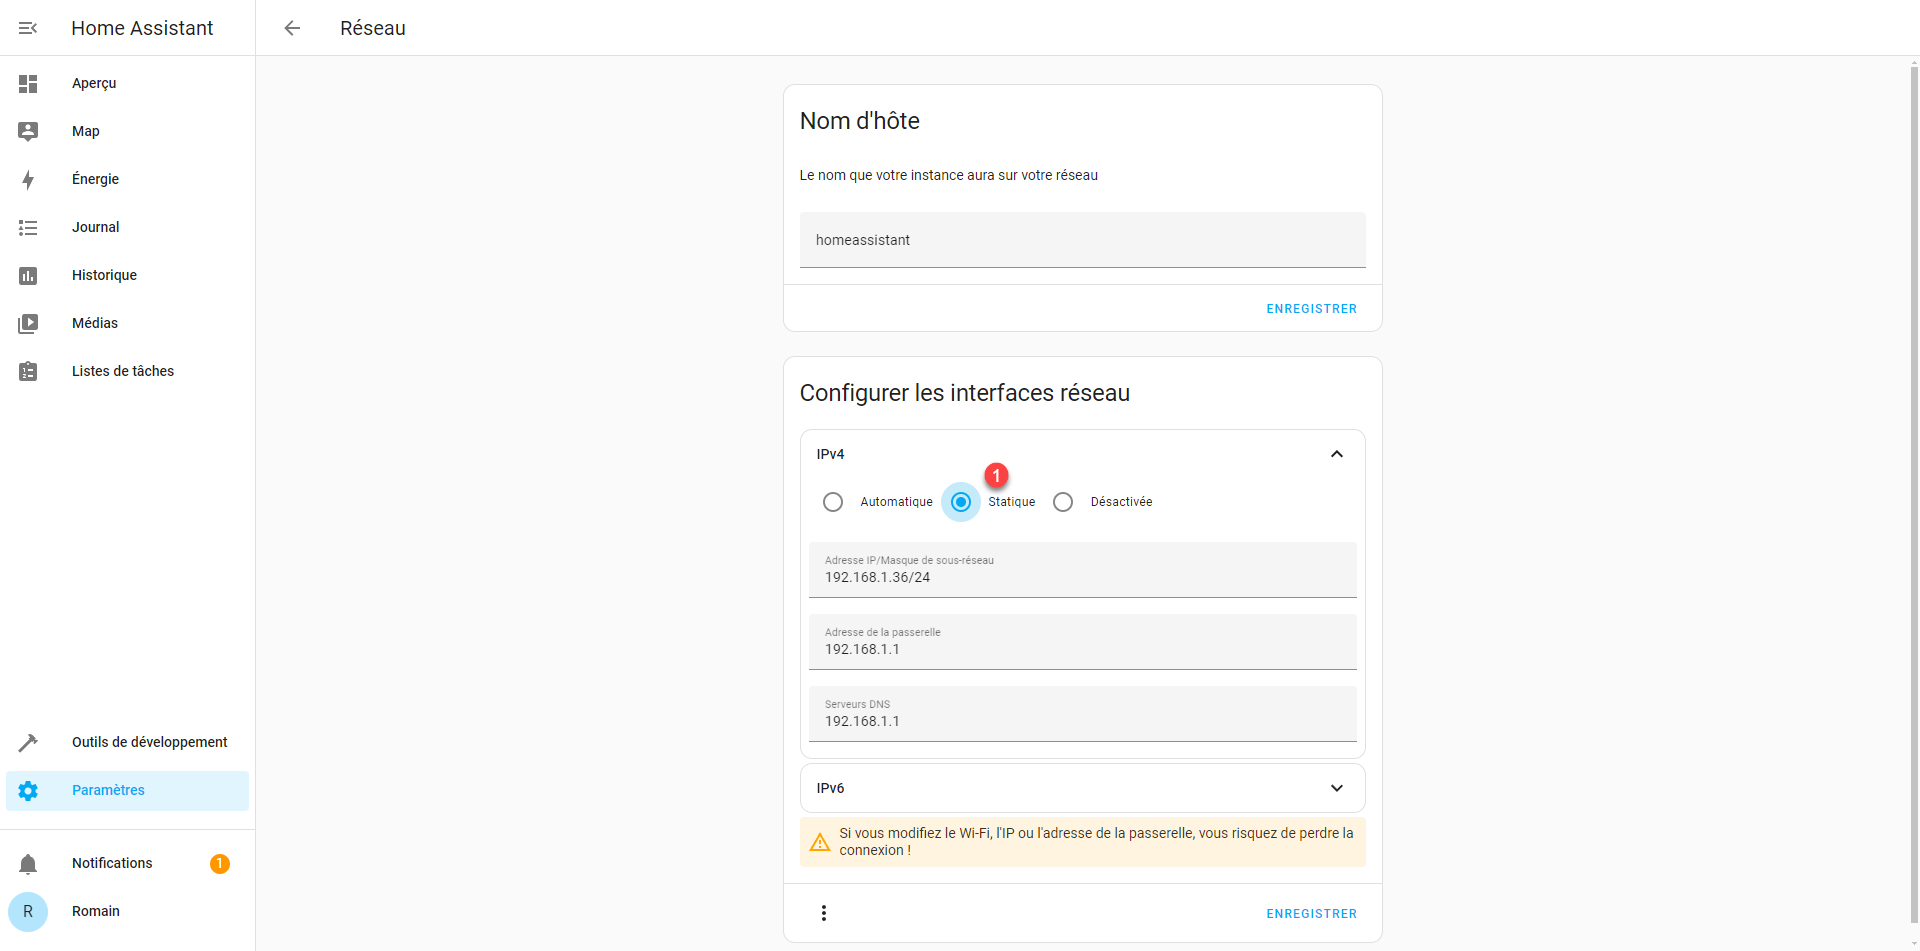
We arrive at the network configuration page of our Home Assistant, in the Configure network interfaces section, expand IPv4 1 by clicking on it.
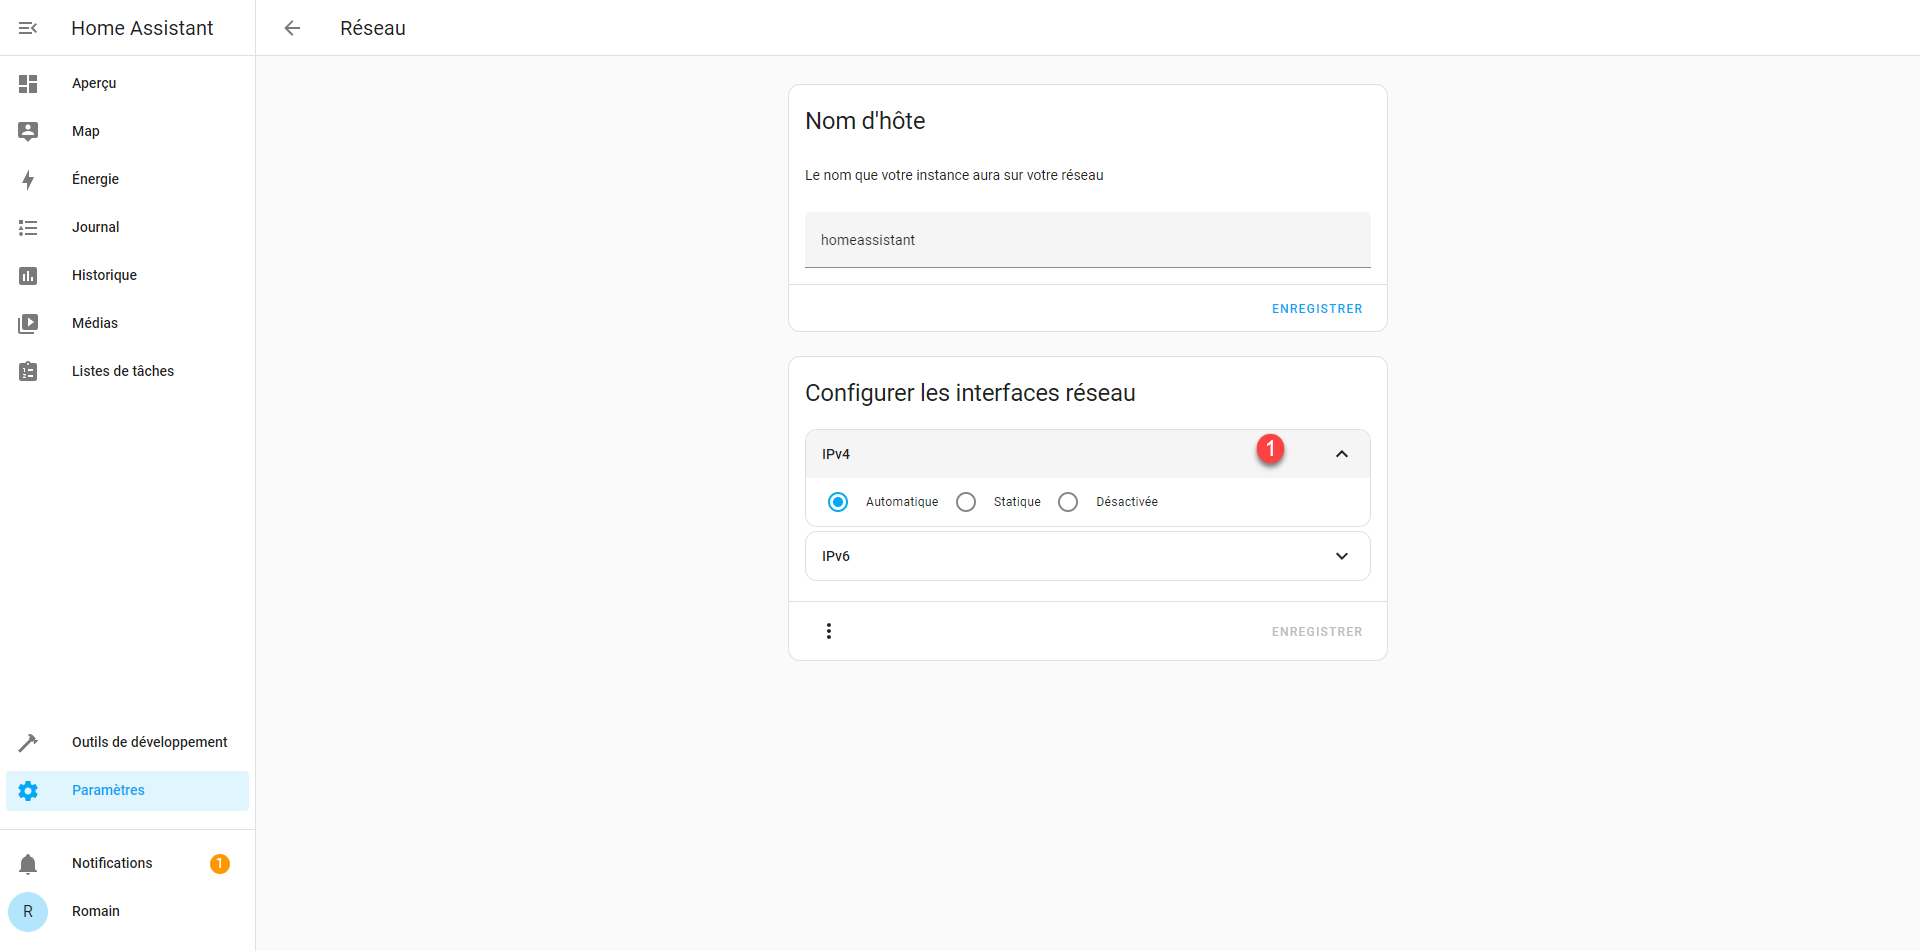
As you can see, by default the configuration is automatic, that is to say using a DHCP server.
Select the Static option 1.
By default, Home Assistant will use the address assigned by the DHCP server as a static IP address.
For my setup, I will configure an IP address that is not distributed by the DHCP server of my internet box.
Enter the IP address 1 in CIDR* format, the gateway address 2 (usually the Internet box) then one or more DNS servers 3 and click on the SAVE button 4.
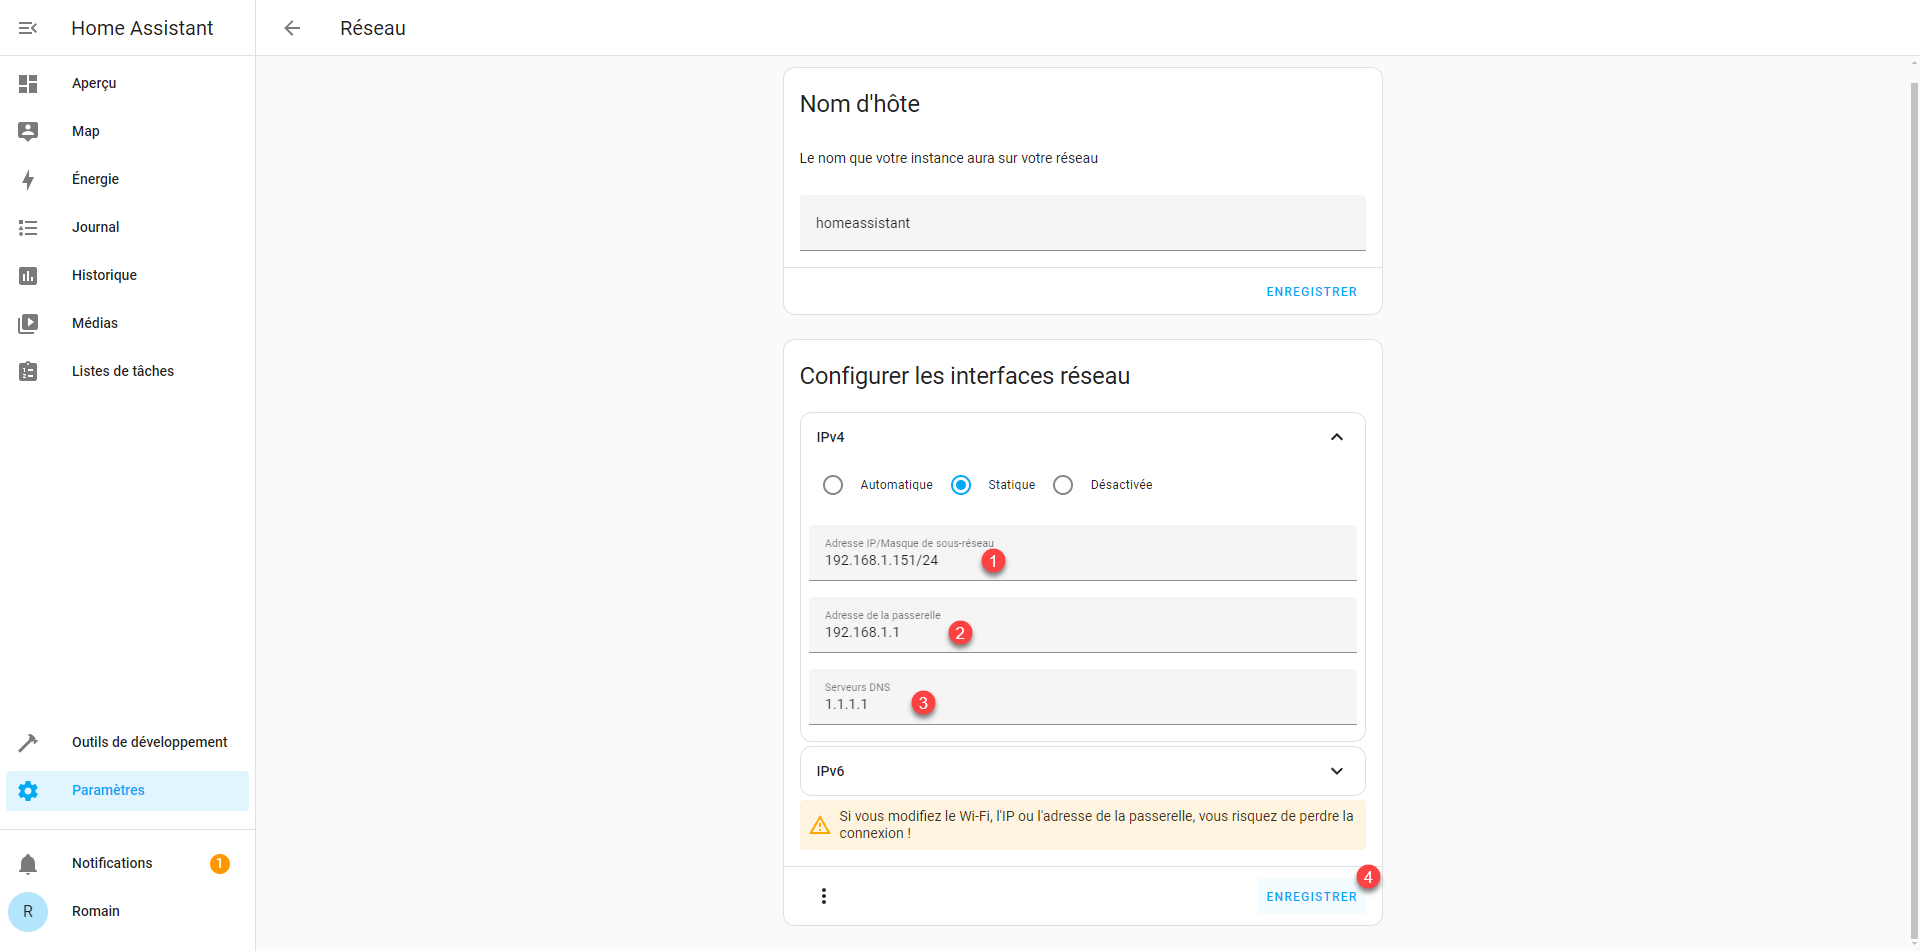
* Using the CIDR format for the IP address allows you to indicate the subnet mask, which is usually 255.255.255.0 for a home network; the number after the / corresponds to the number of bits set to 1 in the subnet mask.
255.255.255.0 = 1111 1111 . 1111 1111 . 1111 1111 . 0000 0000
If you have configured a different IP address for Home Assistant, change the address in your internet browser and then reconnect.
The IP address is configured.
Activate advanced mode
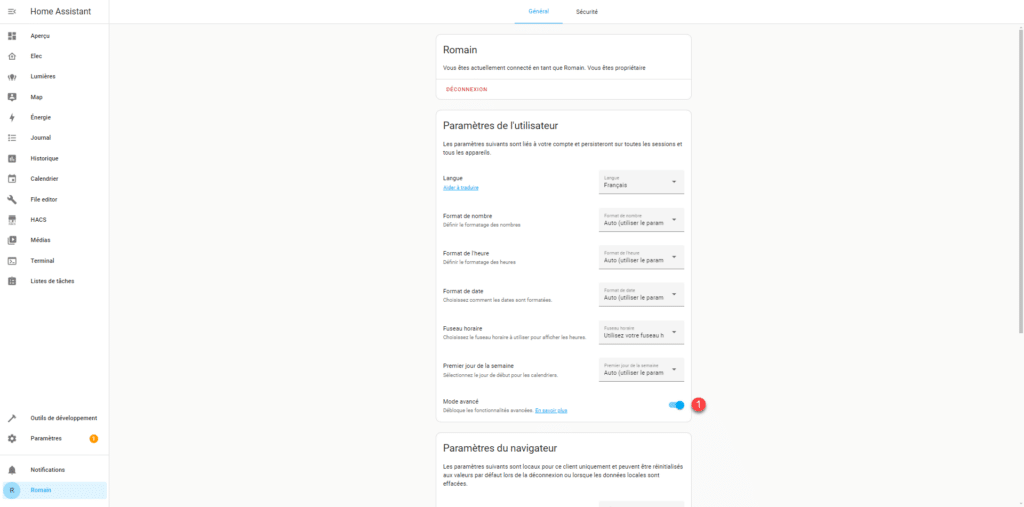
To conclude this tutorial, I’ll explain how to activate Advanced Mode, which will give you access to all of Home Assistant’s options. If you later wish to install add-ons, you’ll need this mode to be enabled.
In the left panel, click on your user 1.
Activate Advanced Mode 1 by clicking on the “switch”.
You now know how to install Home Assistant OS on Proxmox.
* This article contains affiliate links.