


In this tutorial, I will explain how to install GLPI 11 on Linux (Ubuntu 24.04) with Apache2, PHP 8.3 in FPM and MariaDB.
GLPI 11 is an open-source IT Service Management (ITSM) solution that manages equipment, users, incident tickets, and service requests. This version provides a modernized interface, improved usability, and improved performance. It natively integrates project management, knowledge base, and inventory tools. GLPI 11 also strengthens security and facilitates integration with other systems via REST APIs.
Warning
At the time of writing the tutorial, GLPI 11 is still in Beta version.
Table of Content
Prerequisites for deploying GLPI
To run GLPI you need a web server and PHP. In this tutorial, we will install Apache2 and PHP directly on the server using the PPA repositories which will allow us to have the most recent versions of Apache2 and PHP.
For the database server part, we will deploy a MariaDB 11 server using Docker.
As a complement to the end of this tutorial, I also explain how to configure GLPI to use Redis as a cache system.
You also need to provide a DNS name like glpi.domain.tld.
Installer Docker et Docker compose
To begin, you will need to install Docker and docker compose which we will use for the database server and the Redis server, I invite you to follow this tutorial first: Ubuntu 24.04: Installing Docker and Docker compose
Install Apache2
To begin, we will install the Apache2 web server from the repository PPA for Apache 2.
Start by entering the following command:
sudo add-apt-repository ppa:ondrej/apache2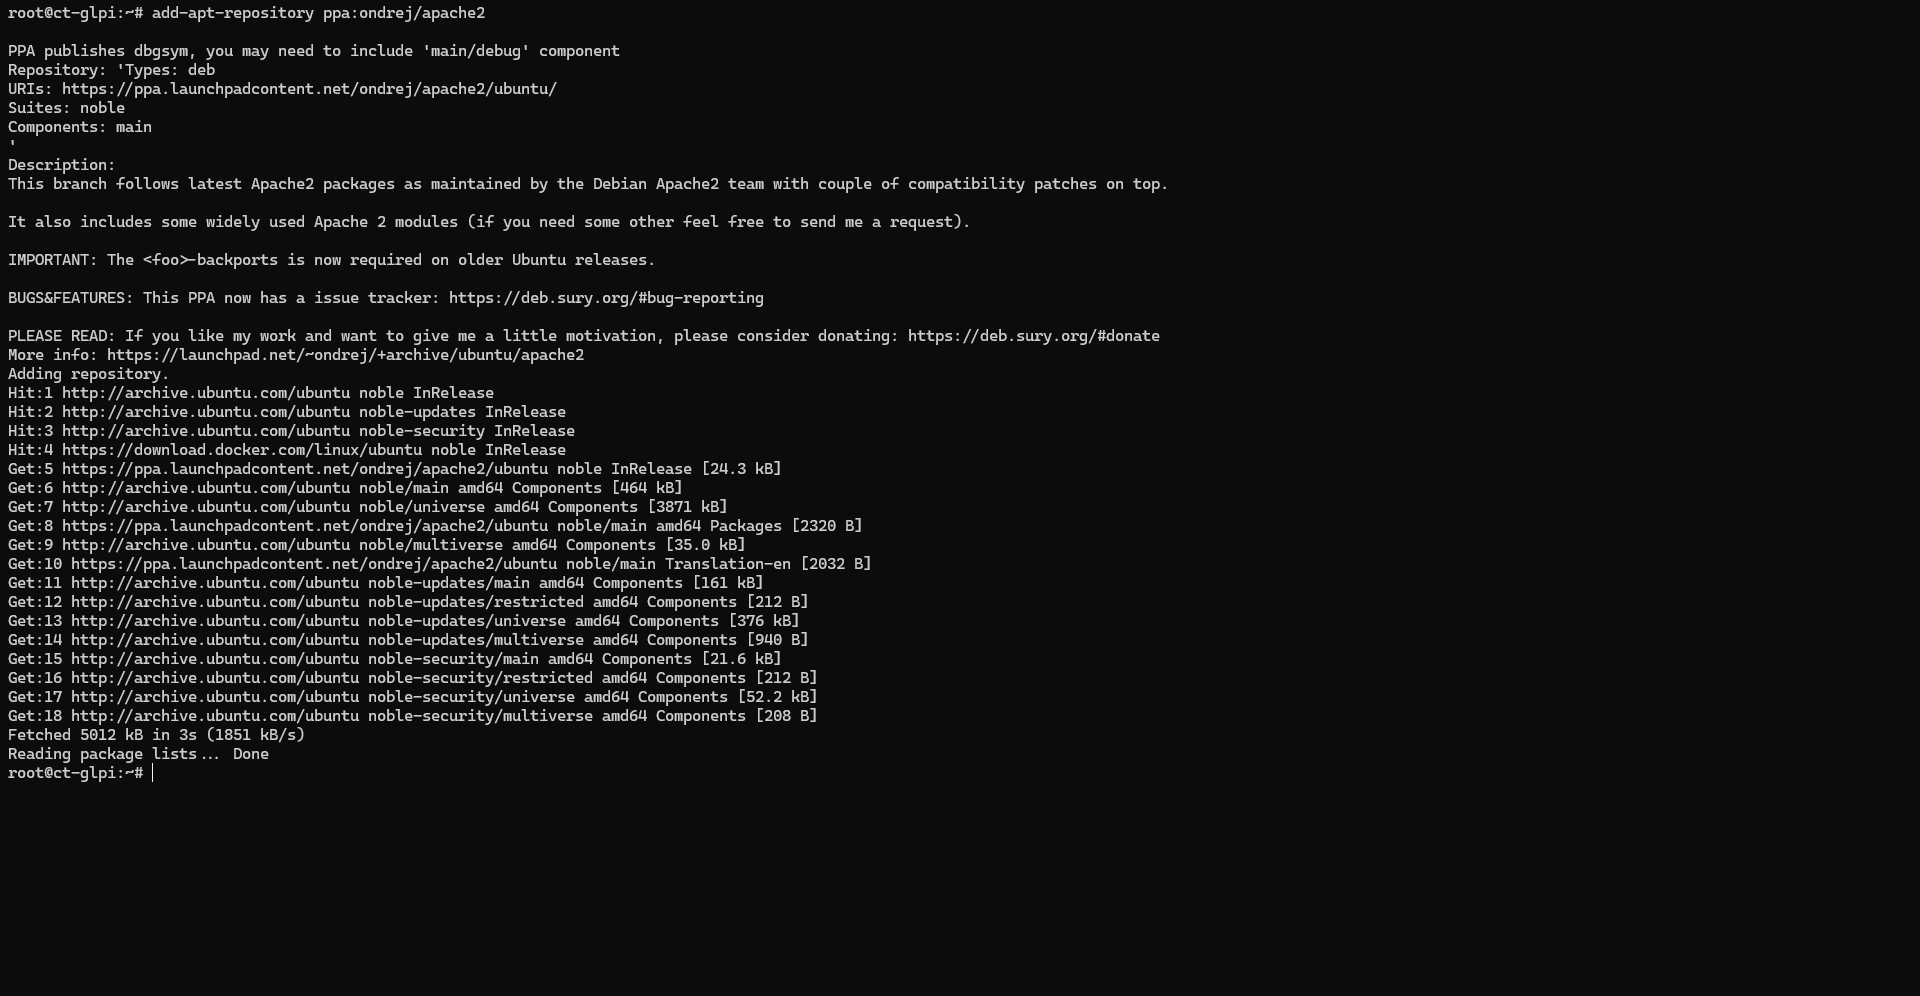
Update the package cache:
sudo apt update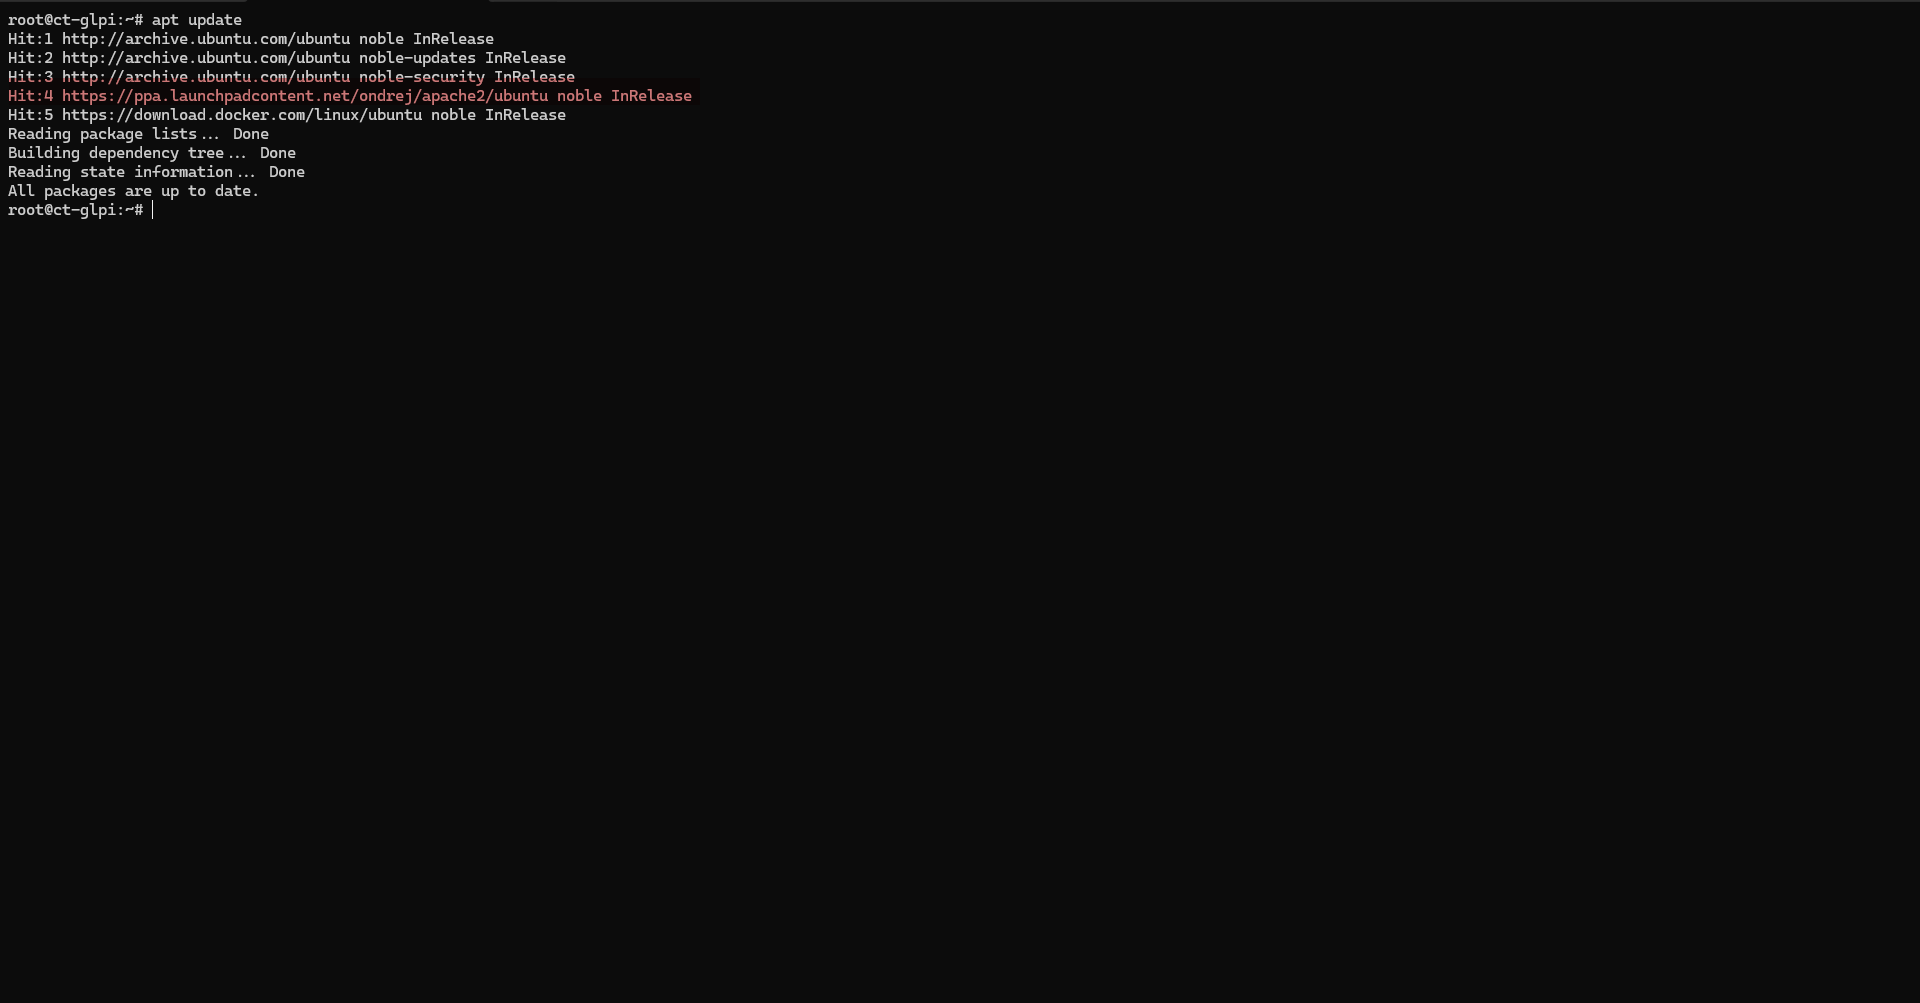
In the screenshot, we can see that the ondrej/apache2 repository was queried.
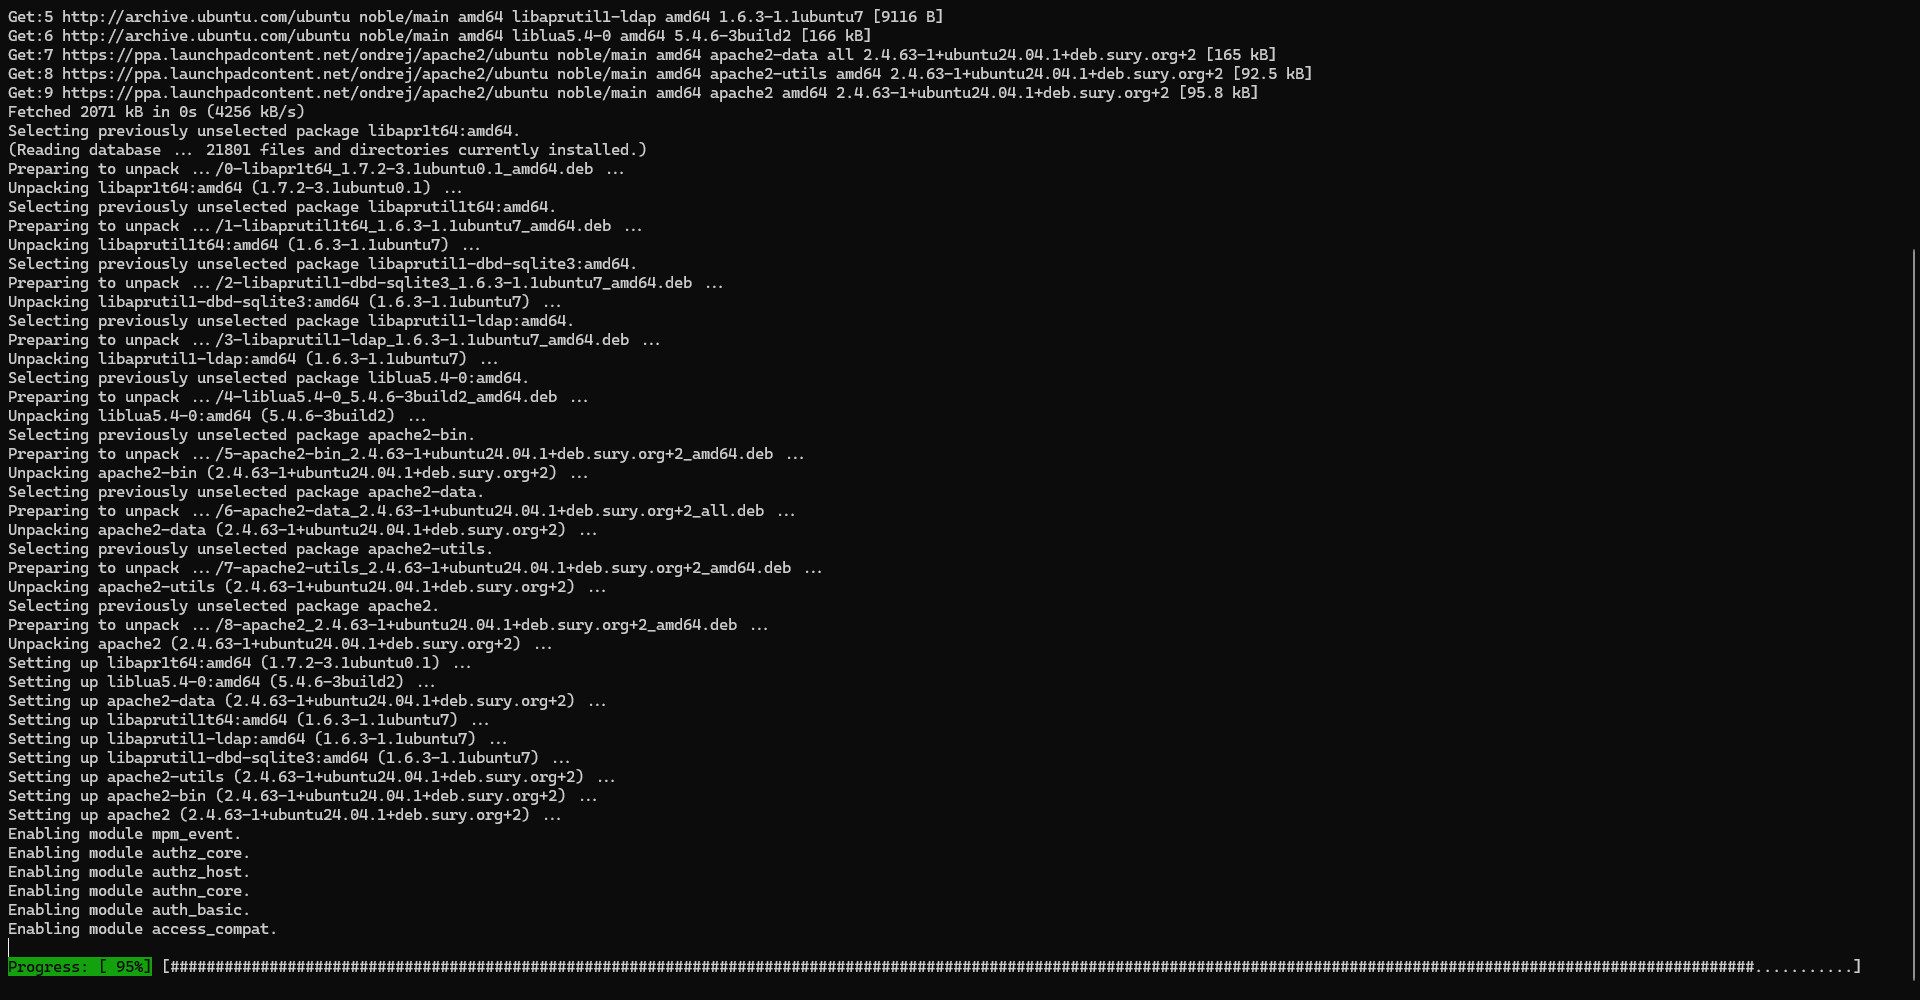
Start the Apache2 installation
sudo apt install apache2 -y
Please wait while installing…
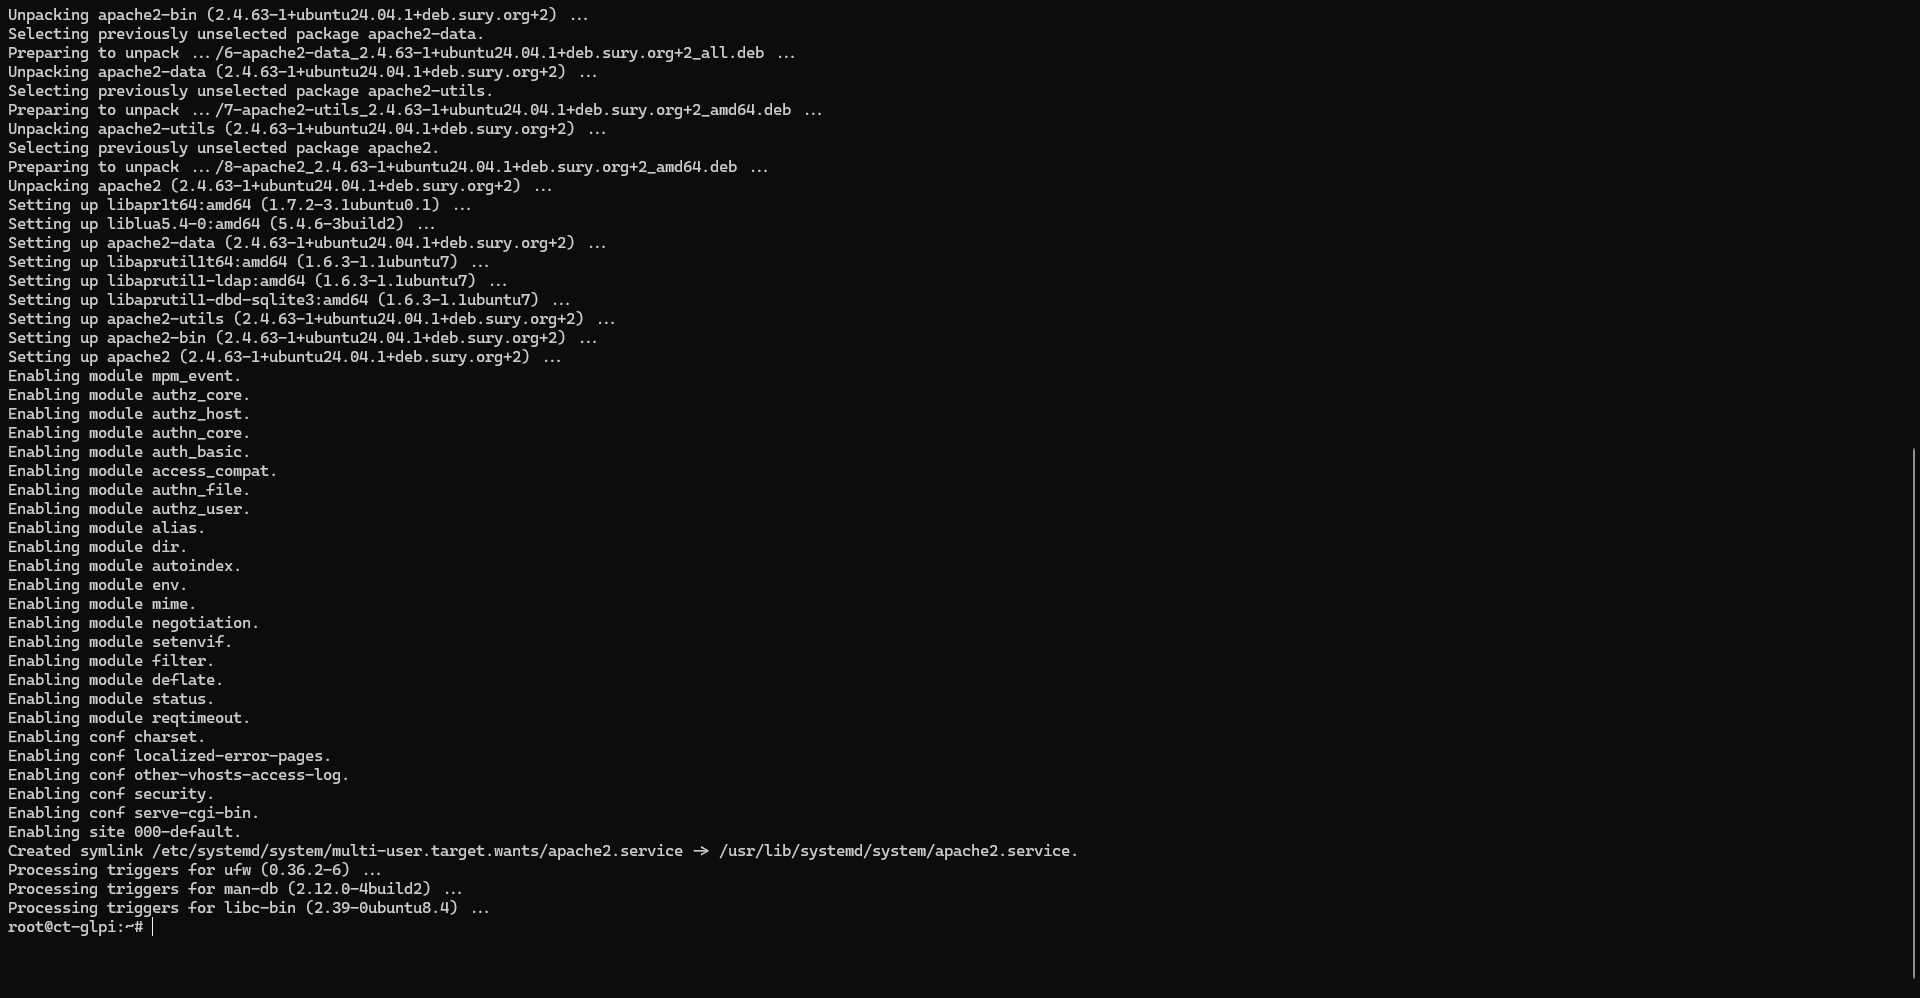
Apache2 is installed, enter the following command to verify that the service is started:
sudo systemctl status apache2
GLPI needs the Rewrite module to work, we will activate it now, enter the following command:
sudo a2enmod rewriteRestart Apache2 to take the Rewrite module into account.
sudo systemctl restart apache2To test the Apache2 web server, open an internet browser and enter the server’s IP address (http://a.b.c.d) as the URL. You should see the following page:
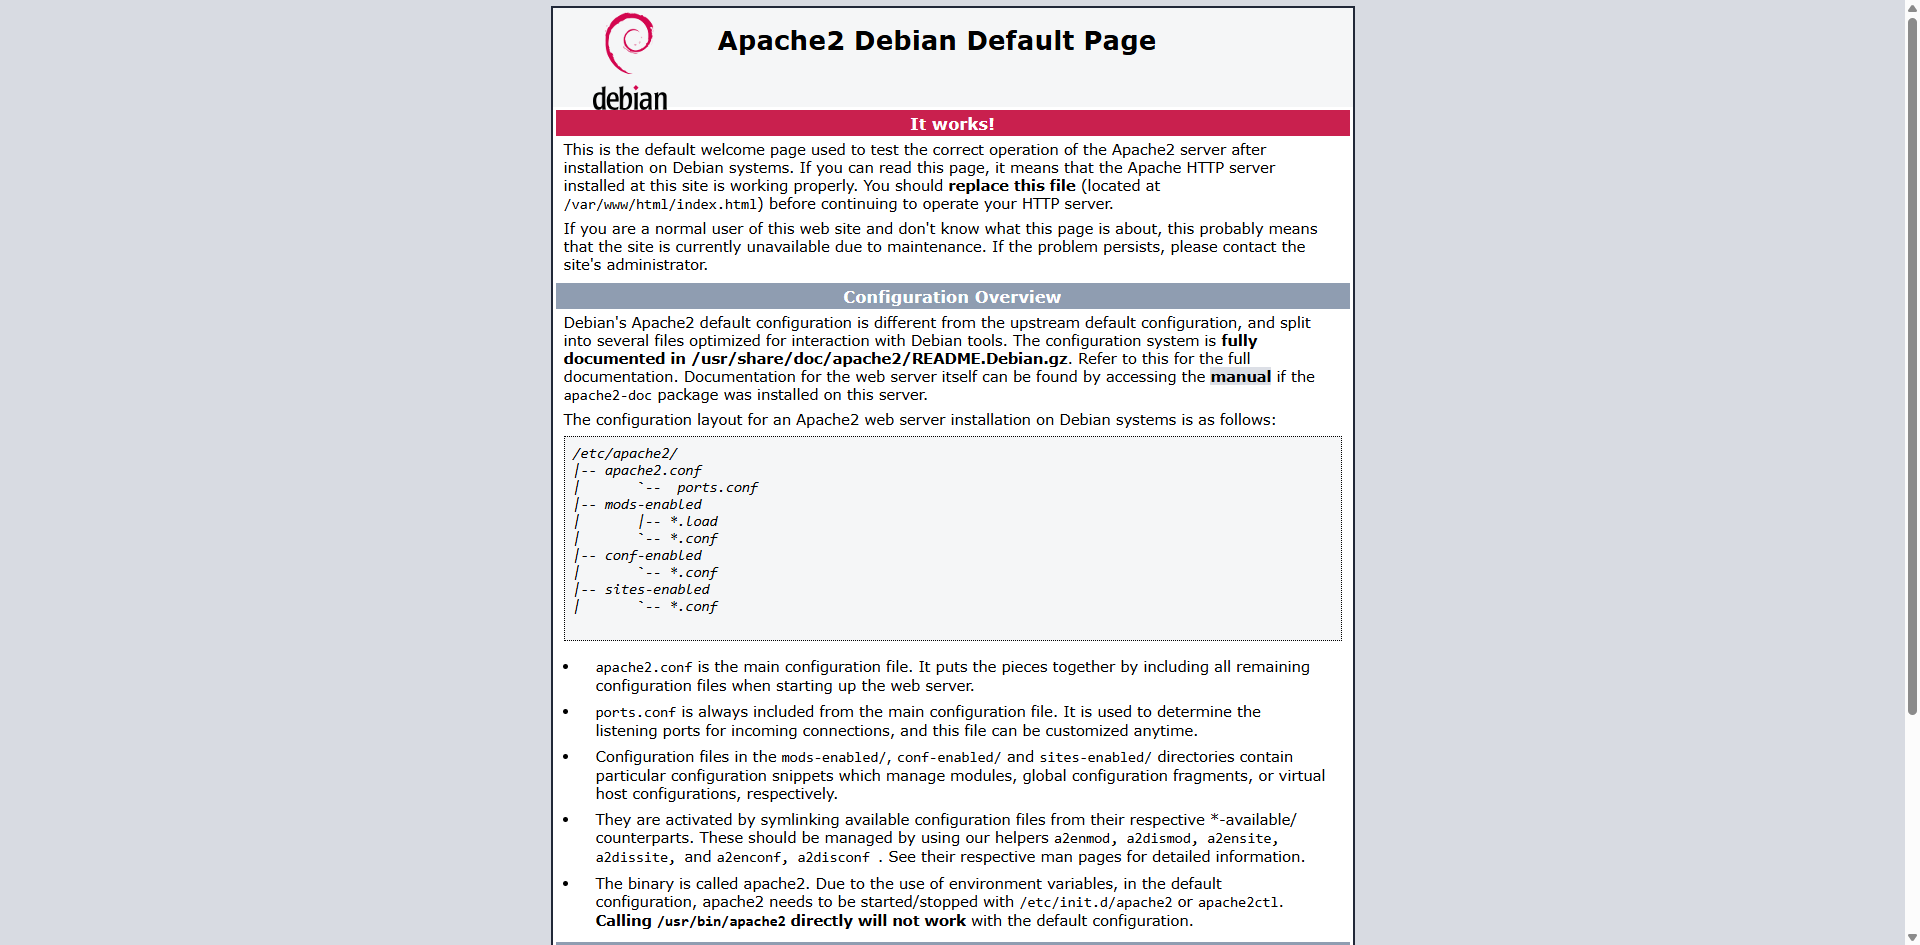
The Apache2 server is up and running.
Installing PHP-FPM for GLPI
PHP is the language used on the server side, for the dynamic generation of pages but also for handling all the inventory part and various automatic tasks using CRON.
For “performance” reasons and separation of services at the Apache2 web server level, we will install PHP-FPM.
PHP-FPM (FastCGI Process Manager) is a powerful method for running PHP code on a web server. It allows for better management of PHP processes, improved execution speed, and reduced server load. PHP-FPM also offers greater stability, especially under heavy traffic, and allows for fine-grained configuration (per site or application). It is currently the recommended method with Nginx and is also widely used with Apache.
As with Apache2, we will use the repository ppa:ondrej/php which allows us to have the most up-to-date version of PHP 8.3 on Ubuntu.
Start by adding the repository with the following command:
sudo add-apt-repository ppa:ondrej/php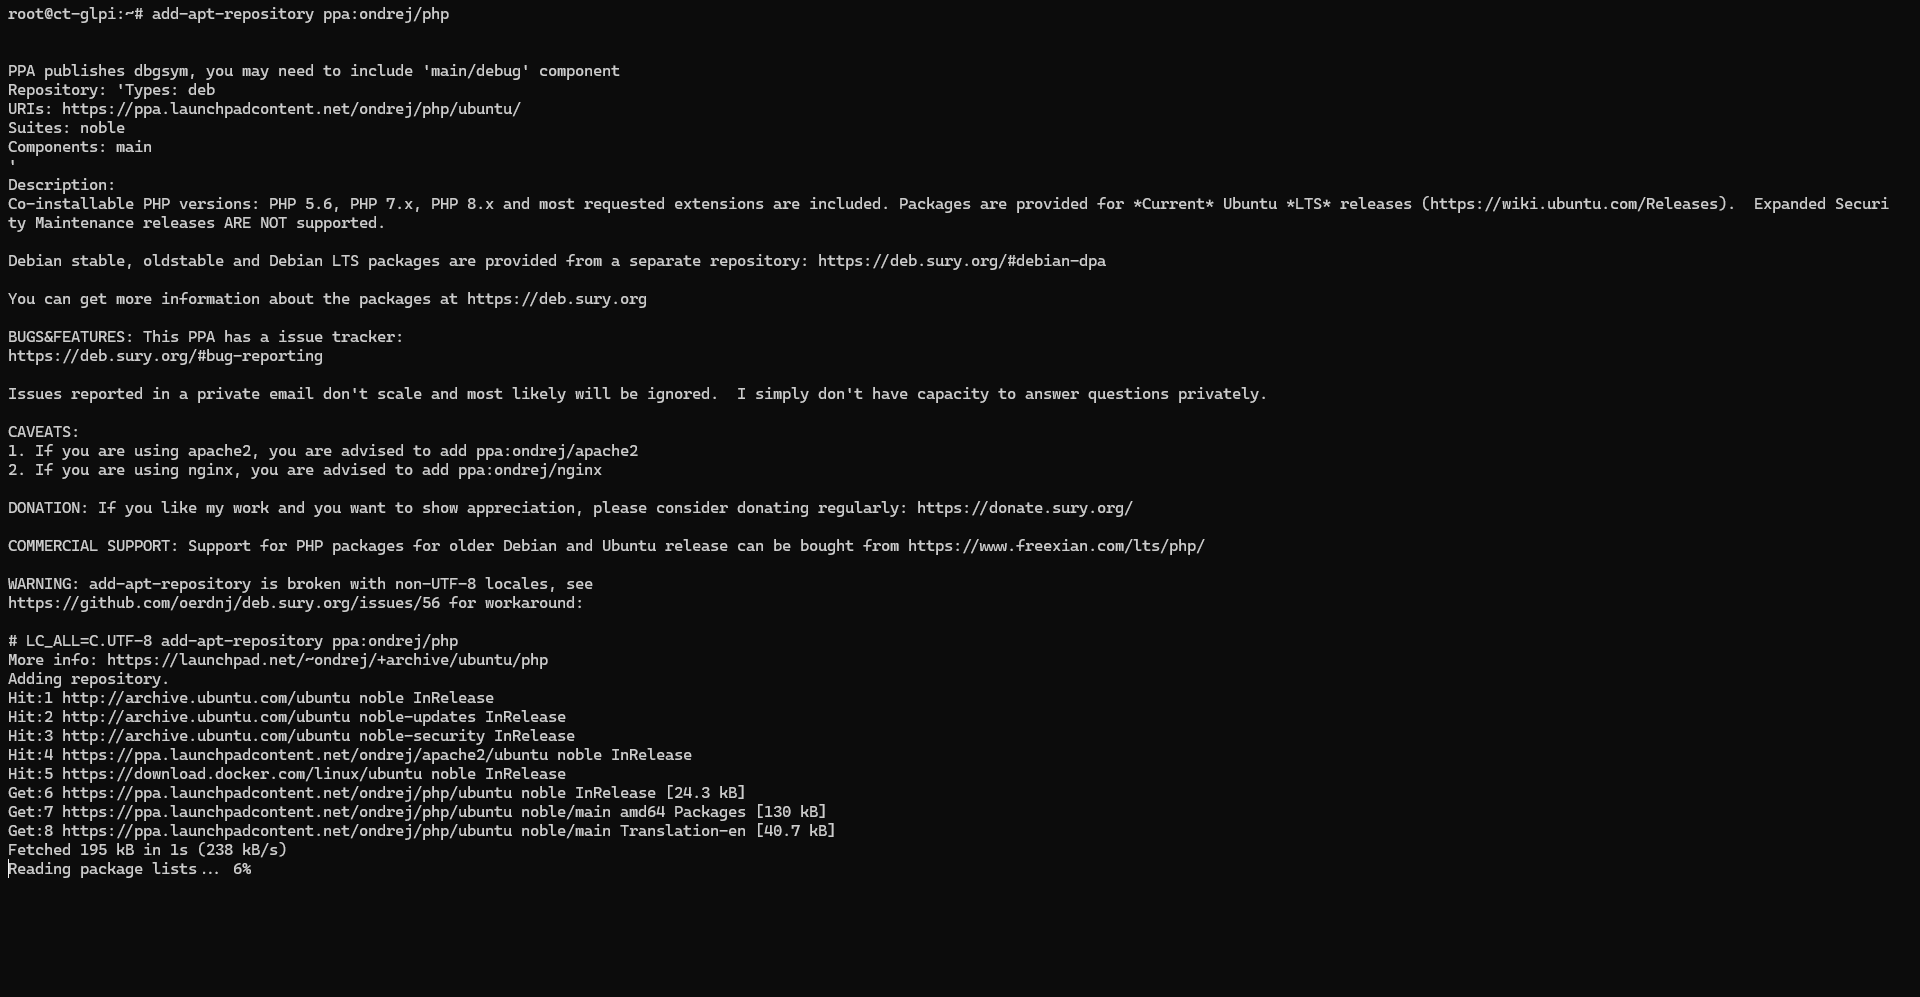
Once the repository is added, enter the following command:
sudo apt updateNow we install PHP 8.3, enter the following command:
sudo apt install php8.3-fpm -y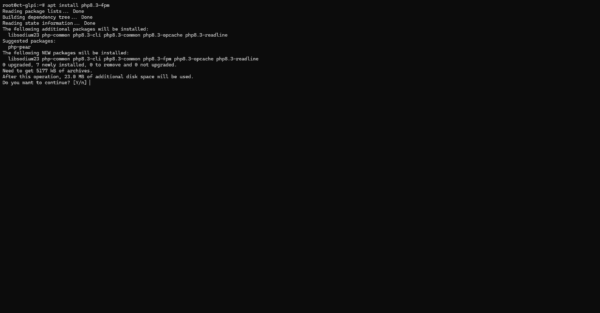
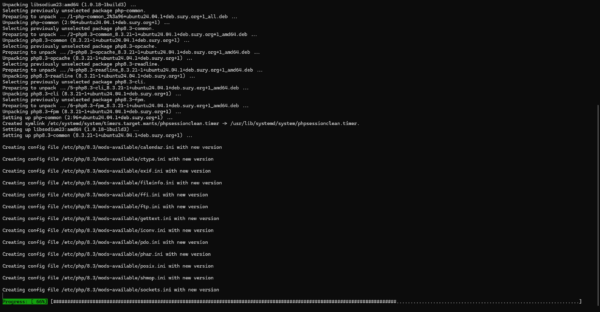
Install PHP add-ons for GLPI 11:
sudo apt install php8.3-curl php8.3-gd php8.3-intl php8.3-mysql php8.3-bz2 php8.3-zip php8.3-apcu php8.3-cli php8.3-imap php8.3-mbstring php8.3-dom php8.3-simplexml php8.3-xmlreader php8.3-xmlwriter php8.3-bcmath php8.3-redis -yIf you plan to connect LDAP to an Active Directory, you must also install the PHP ldap module:
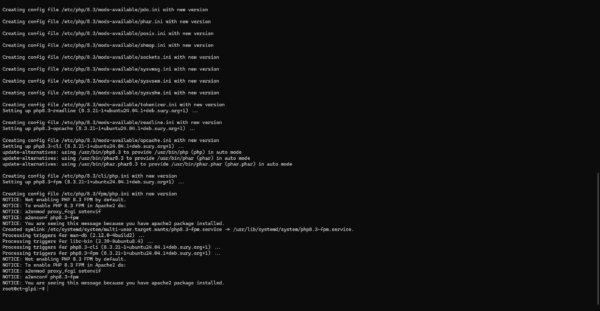
sudo apt install php8.3-ldap -yPHP is installed, we will start by activating the modules necessary for using PHP-FPM in Apache2, to do this enter the following command:
sudo a2enmod proxy_fcgi setenvifRestart the Apache2 service:
sudo systemctl restart apache2Now, there are several ways to make Apache2 communicate with PHP-FPM, the server being dedicated to GLPI with a single version of PHP, we will activate the configuration directly available in Apache2, enter the following command:
sudo a2enconf php8.3-fpmRestart the Apache2 service again:
sudo systemctl restart apache2We will test the installation of PHP, for this we will create a PHP file with the phpinfo() function; which will return the information about the PHP installation.
Create the file:
sudo nano /var/www/html/phpinfo.phpIn the file add the following lines:
<?php
phpinfo();
?>
Then from a browser called the phpinfo.php page (http://a.b.c.d/phpinfo.php), you should have this:

As can be seen from the Server API, PHP is executed in FPM/FastCGI mode.
MariaDB Container Configuration
The last element of our server needed to run GLPI 11 is the database, as explained at the beginning of this tutorial, we will use Docker to run the MariaDB database for GLPI.
Using Docker will allow us to free ourselves from Ubuntu repositories for our database, which also allows for faster updates. There are other advantages, but that’s beyond the scope of this tutorial.
Create the folder for container storage:
sudo mkdir /containers/mariadb-glpiGo to the folder of the folder:
cd /containers/mariadb-glpiClone the following repository which contains the container configuration files for mariadb:
sudo git clone https://git.rdr-it.com/docker/mariadb-or-mysql-container.git .If you would like more information on deploying MariaDB with Docker: Docker: Create a MariaDB or MySQL container
Edit the .env file
sudo nano .envHere is the content you need to put (generate passwords):

Download the container image:
sudo docker compose pull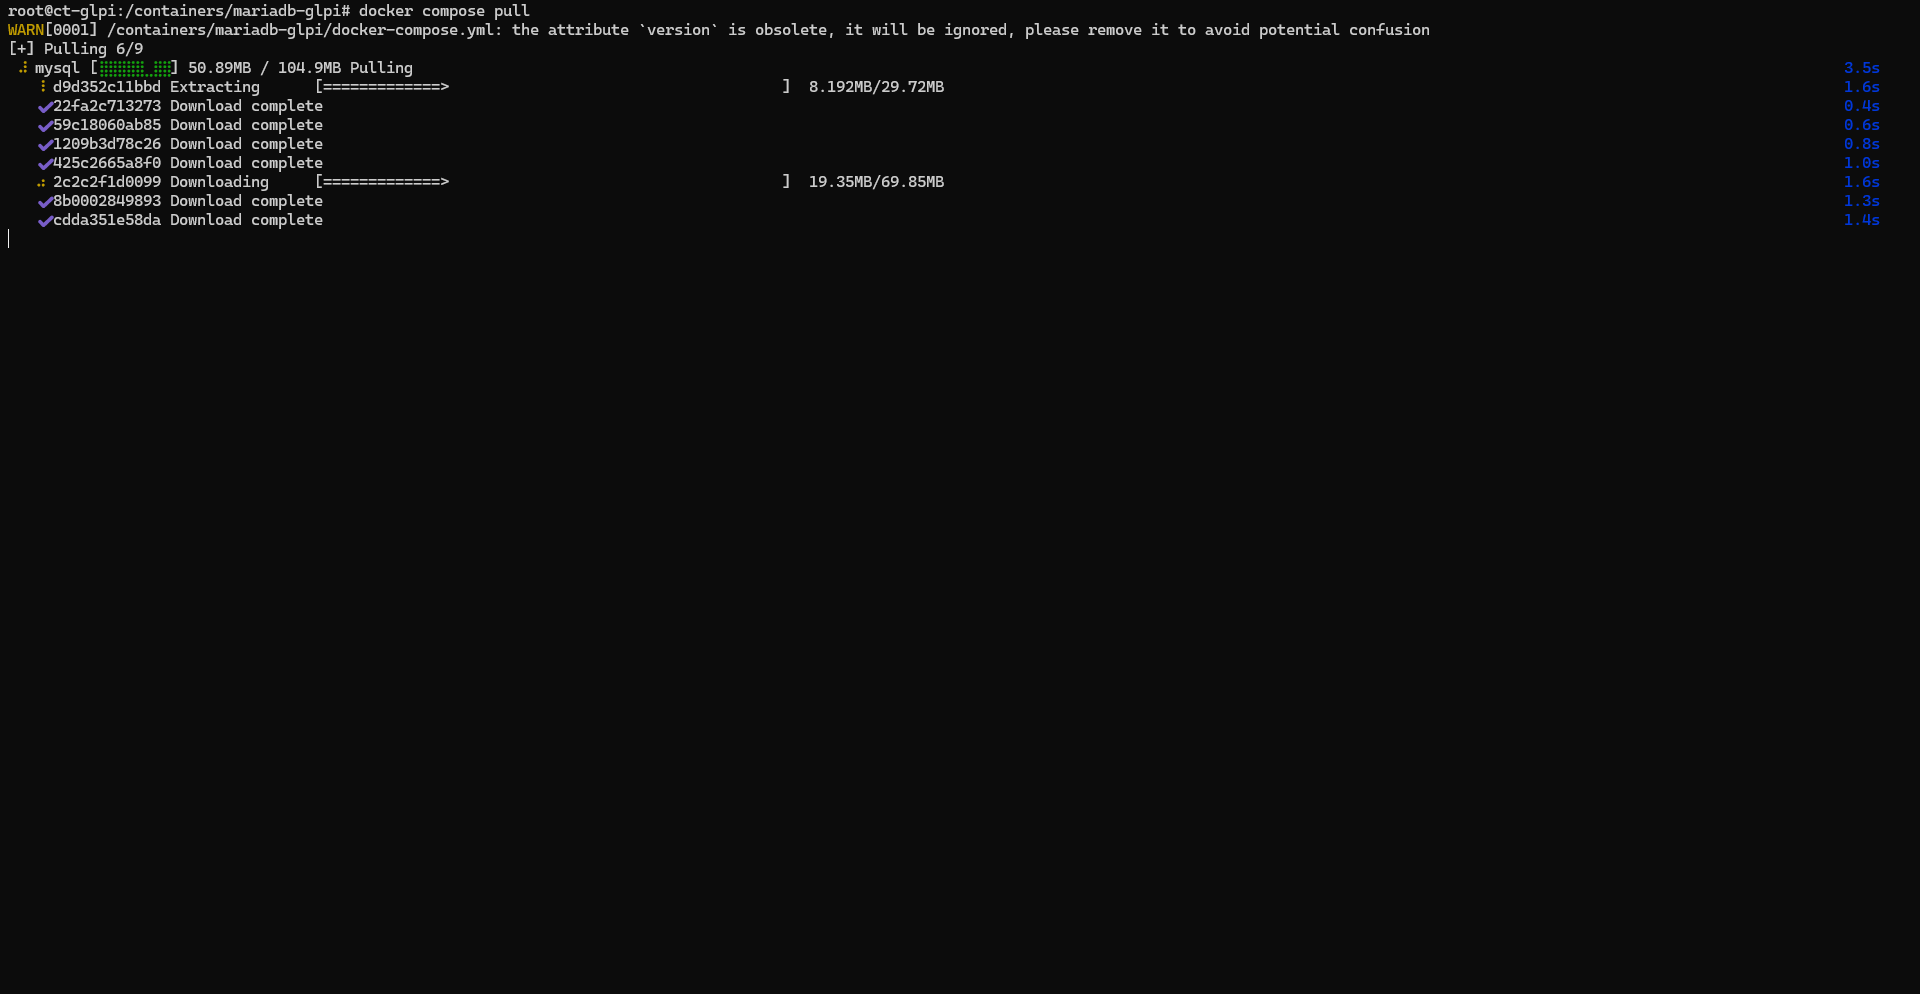
Start the container:
sudo docker compose up -d
The database server is ready.
Download GLPI 11
We will move on to downloading GLPI.
Before you begin, create the folder that will be used to host the GLPI files:
sudo mkdir -p /var/www/glpiGo to your user’s home folder:
cdOn the page: https://github.com/glpi-project/glpi/releases copy the url of the archive (tgz file) of the latest available release of GLPI 11.
Download the archive:
wget https://github.com/glpi-project/glpi/releases/download/11.0.0-beta5/glpi-11.0.0-beta5.tgzDownload the archive:
tar -xvzf glpi-11.0.0-beta5.tgzMove the GLPI 11 files into the folder intended for Apache2:
sudo mv glpi/* /var/www/glpiLast step, change the owner of the /var/www/glpi folder:
sudo chown www-data:www-data /var/www/glpi/ -RConfiguring virtualhost for GLPI 11 in Apache2
Last step with the command lines 😉 We will configure the virtualhost in Apache2 for GLPI 11.
Go to the folder /etc/apache2/sites-available/
cd /etc/apache2/sites-available/Copy the default virtualhost file:
sudo cp 000-default.conf glpi.confEdit the file:
nano glpi.confHere is the virtualhost file for GLPI 11, adapt the ServerName with the DNS record you have chosen.
Enable virtualhost:
sudo a2ensite glpiReload Apache2 configuration
sudo systemctl reload apache2Server level configuration is complete.
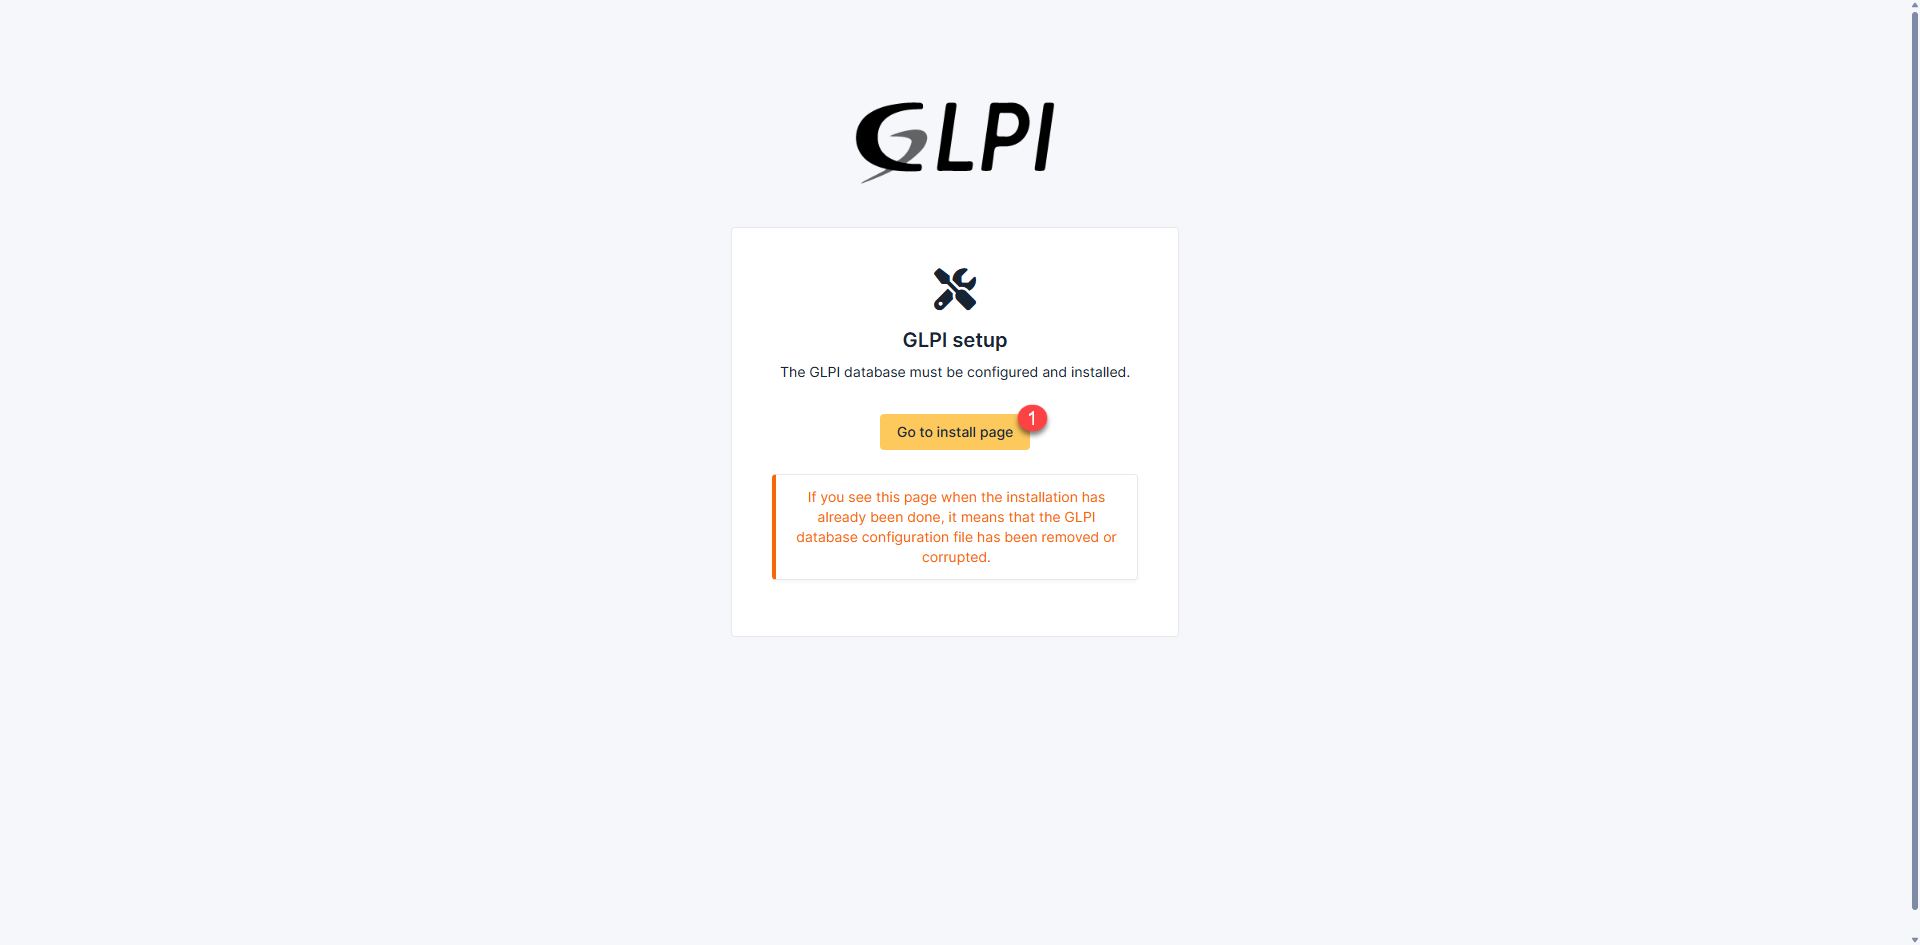
Install GLPI 11
From an Internet browser, enter the URL you chose for GLPI, on the page that appears, click on Go to install page 1.
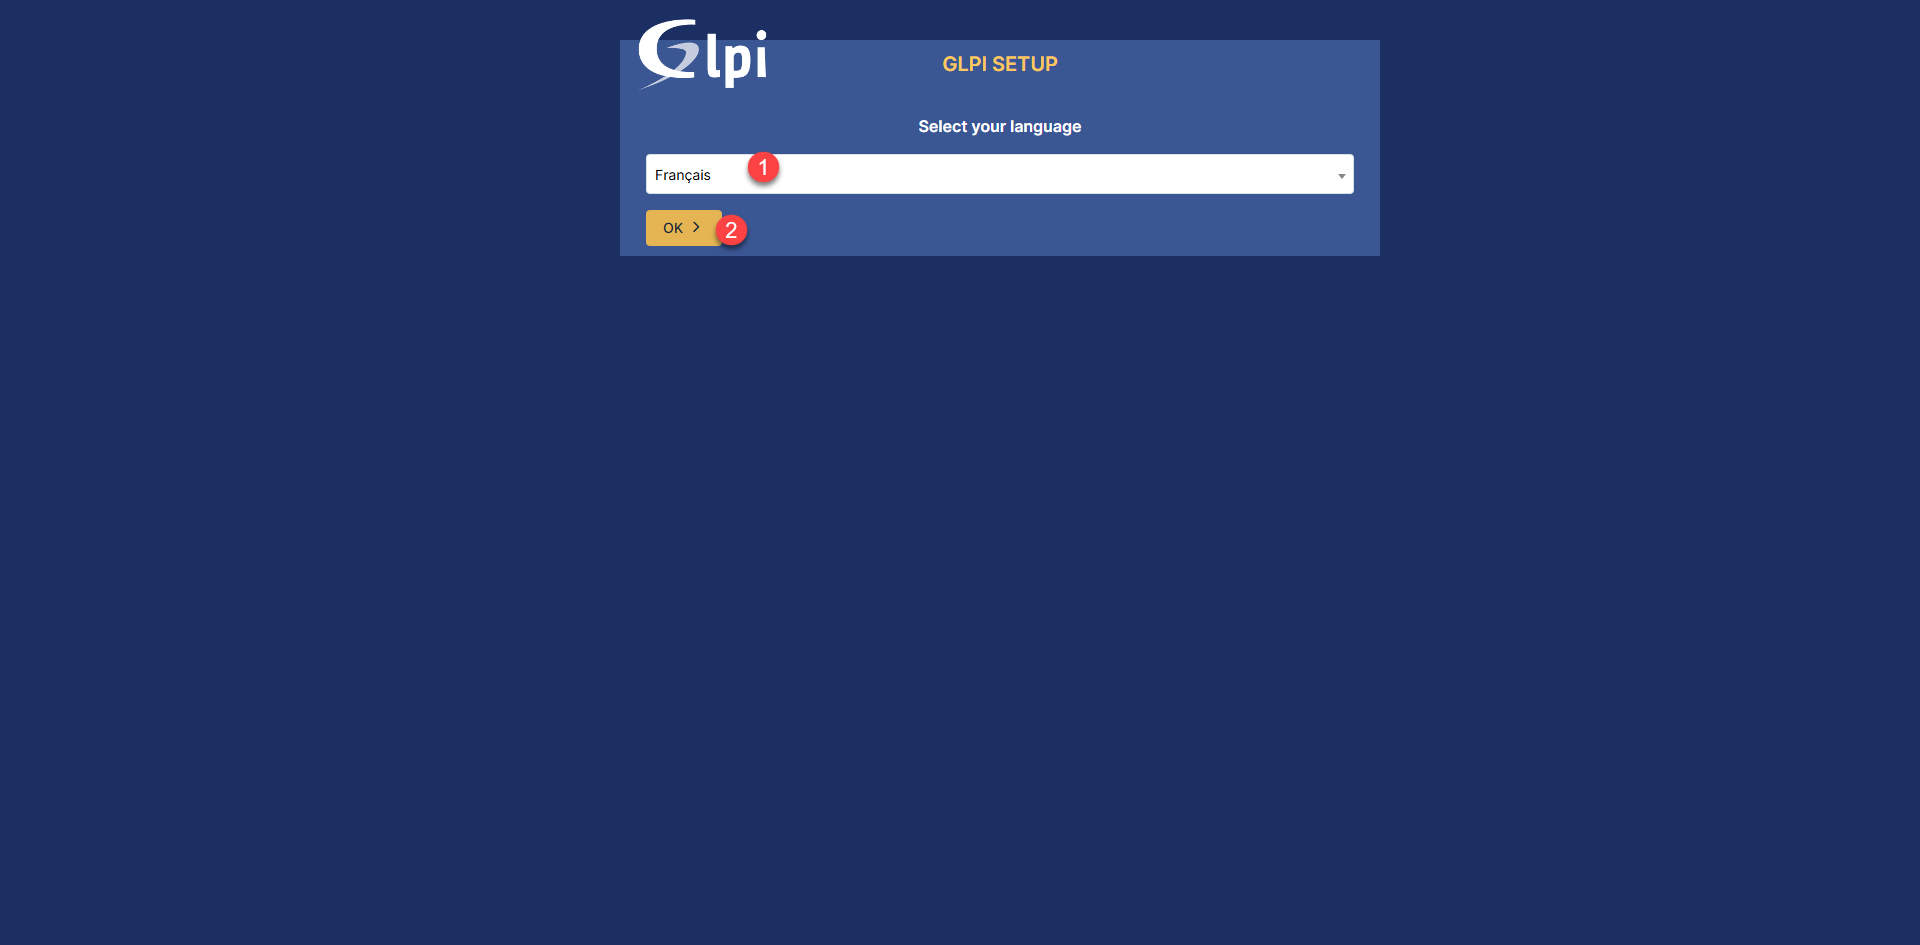
Start by selecting the language 1 and clicking the OK button 2.
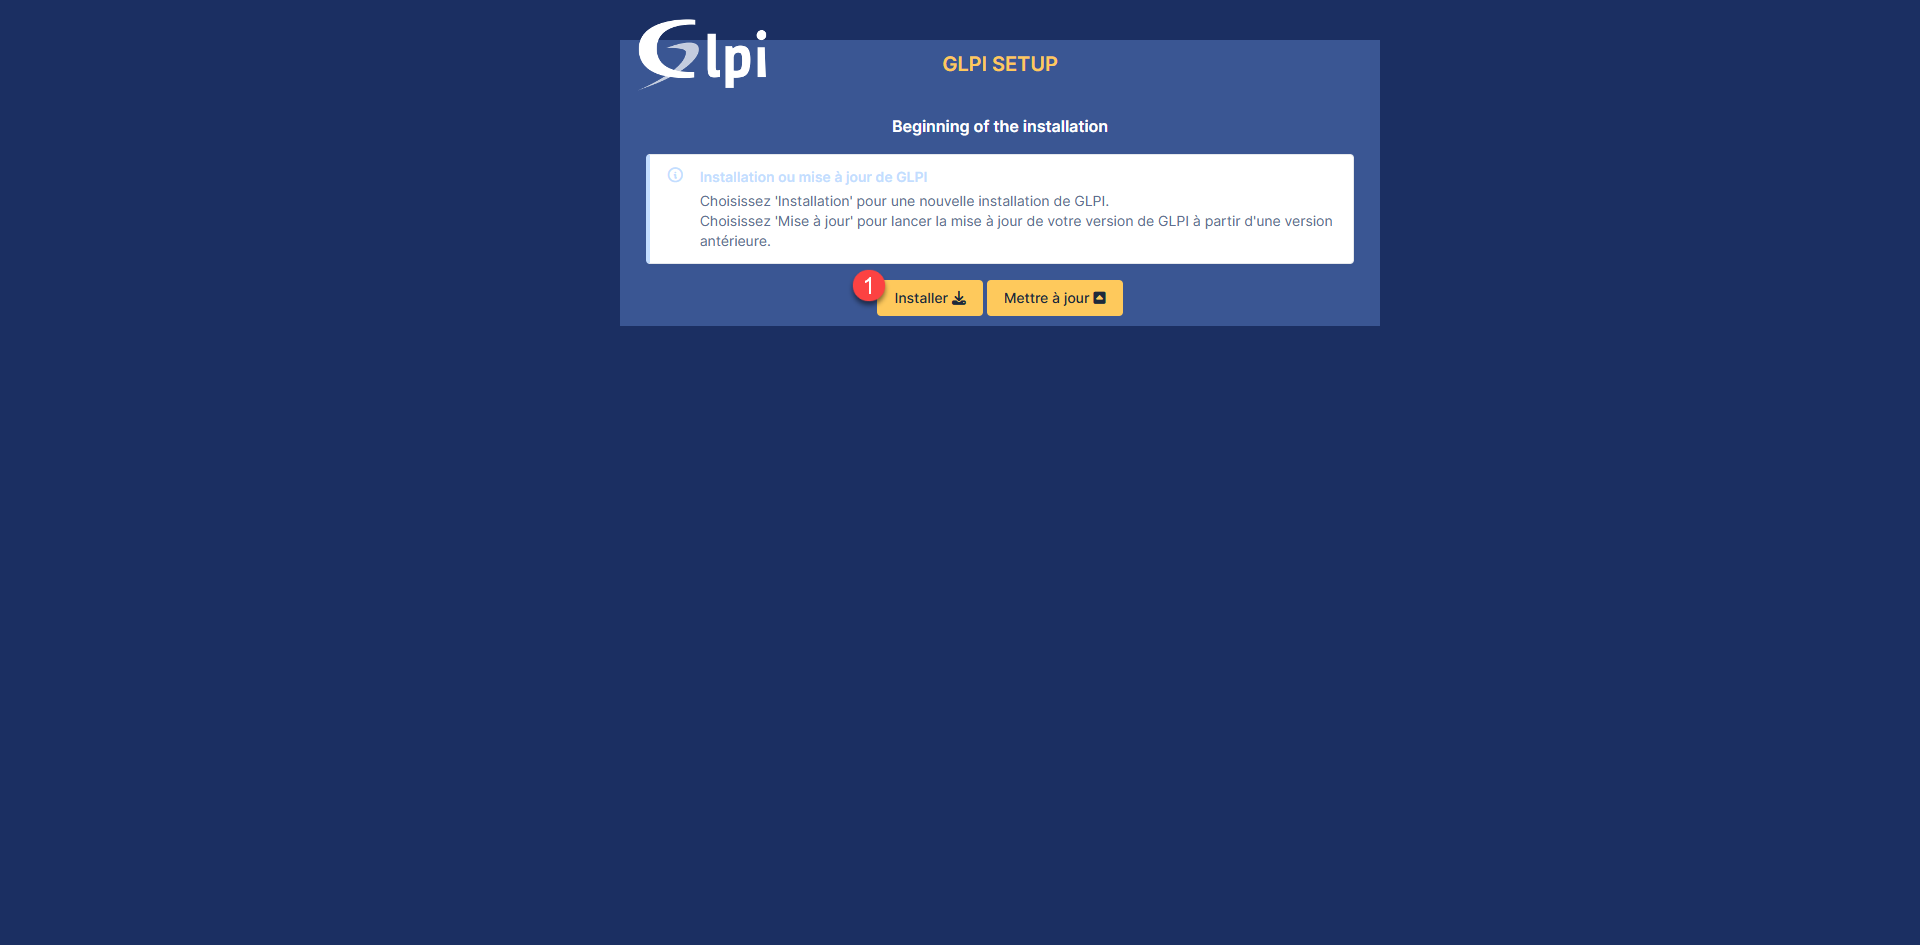
Accept the license by clicking Continue 1.

Accept the license by clicking Continue 1.
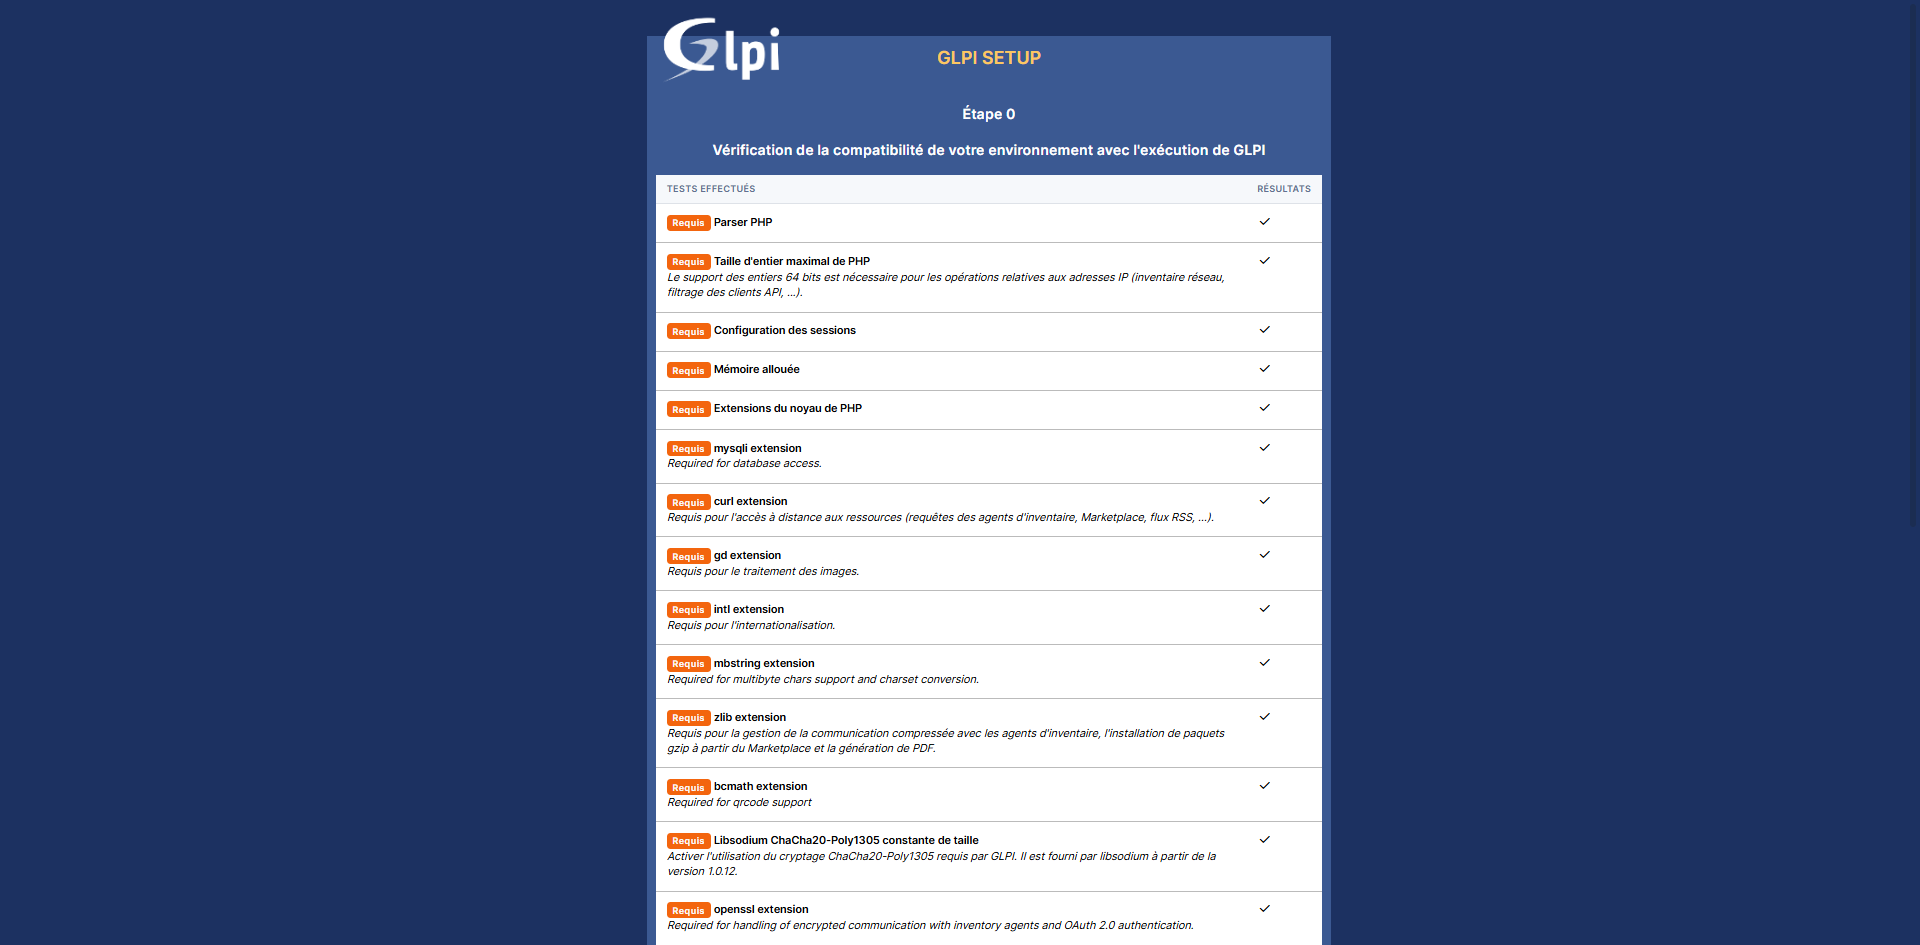
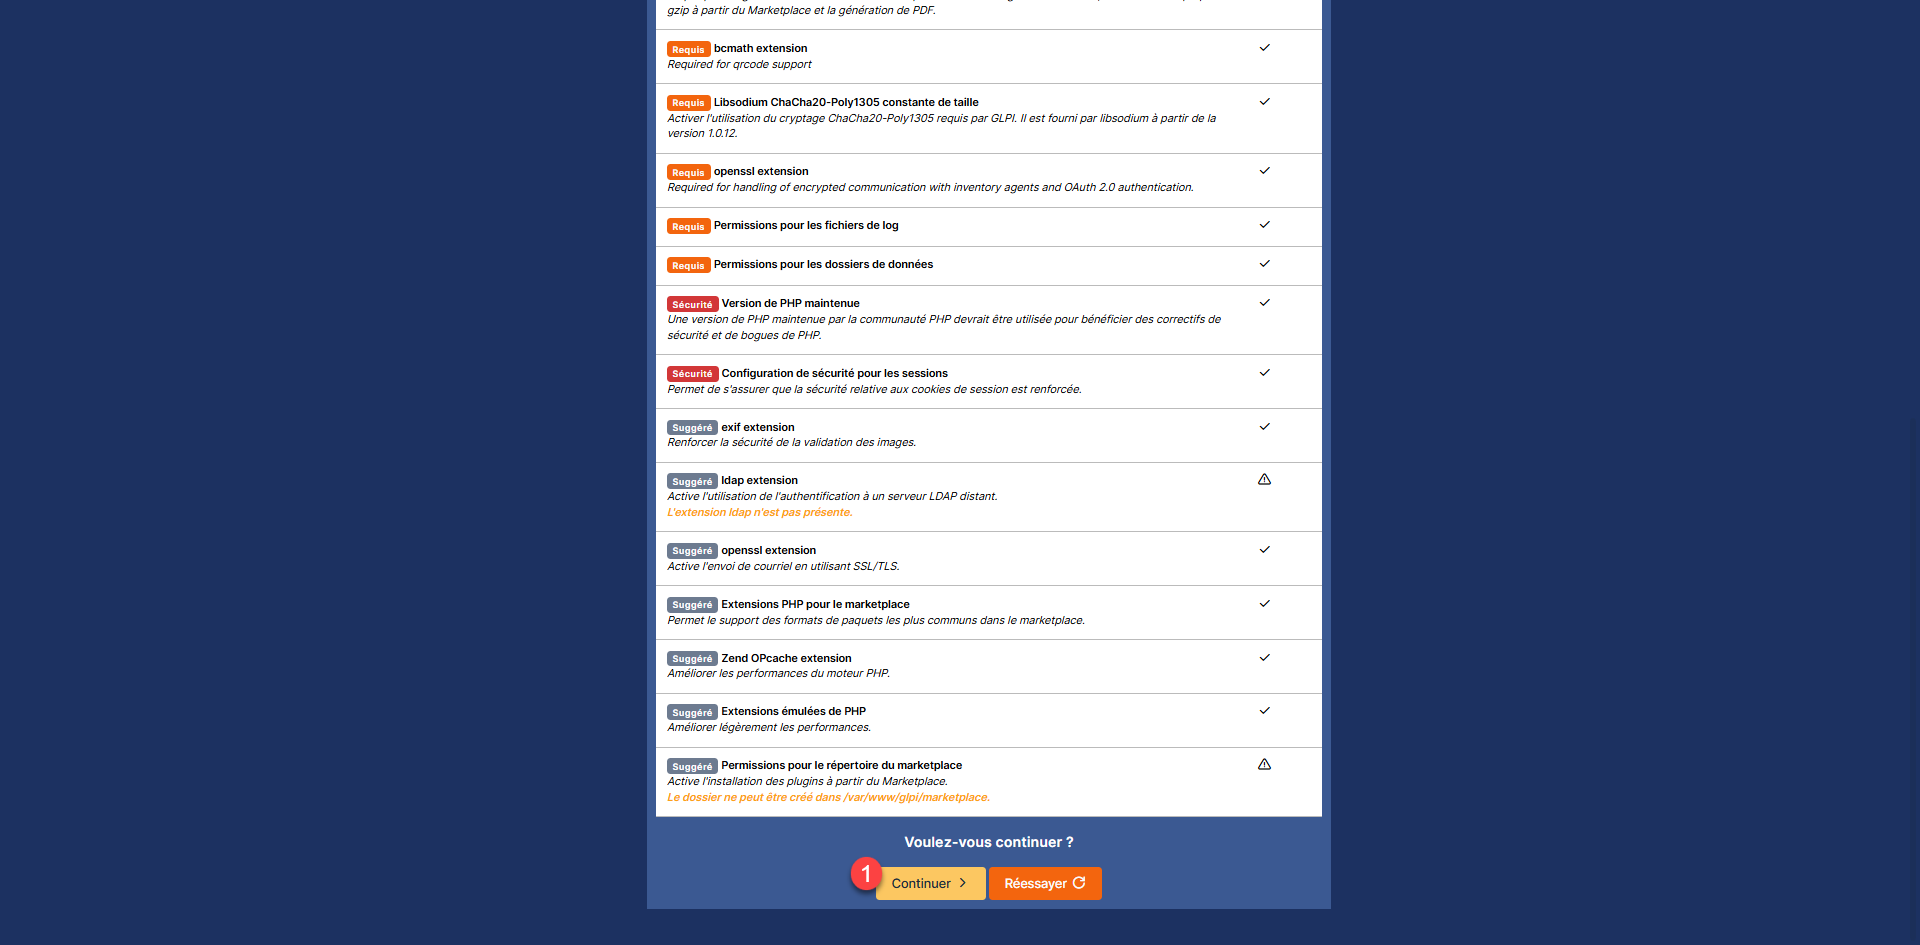
Check that the environment prerequisites are met, then click on the Continue button 1 at the bottom of the page.
Configure the database connection information 1 (Server, User and Password) and click the Continue button 2.

The connection to the MariaDB server which is in a container is functional, select the glpi database 1 and click on the Continue button 2.

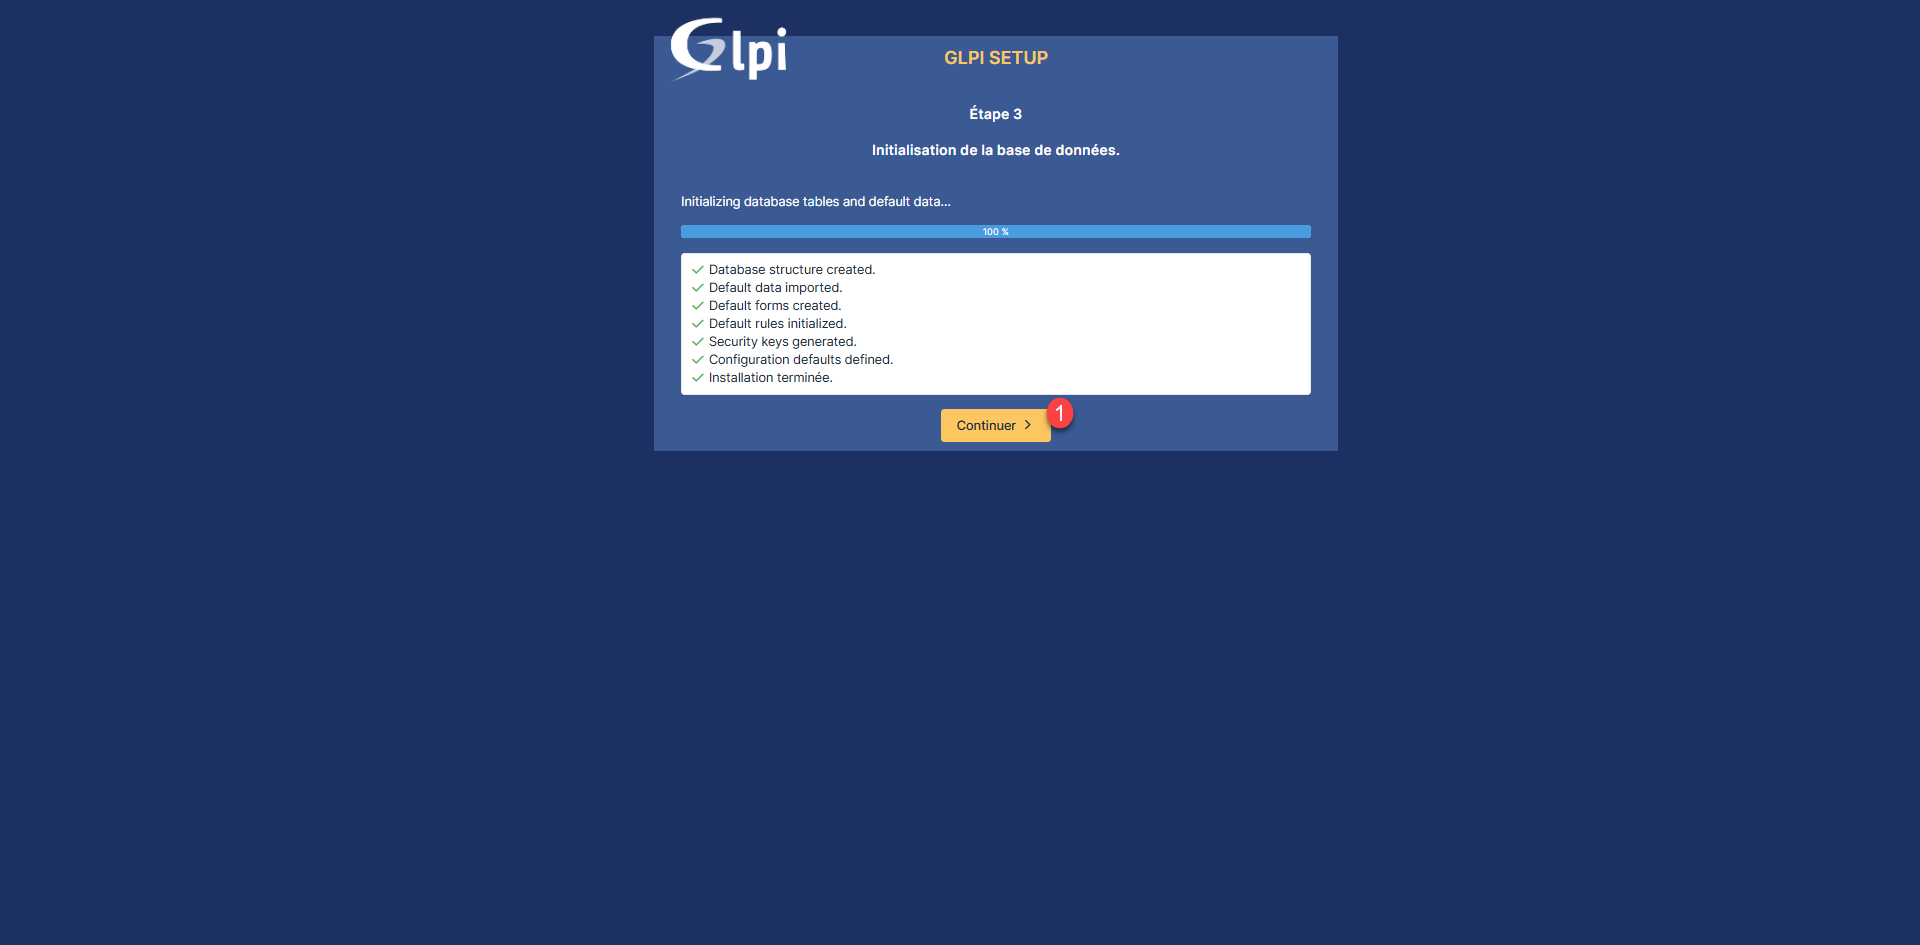
Please wait while the database is initializing….

The database for GLPI 11 has been initialized, and all default tables and data have been injected. Click the Continue button 1.
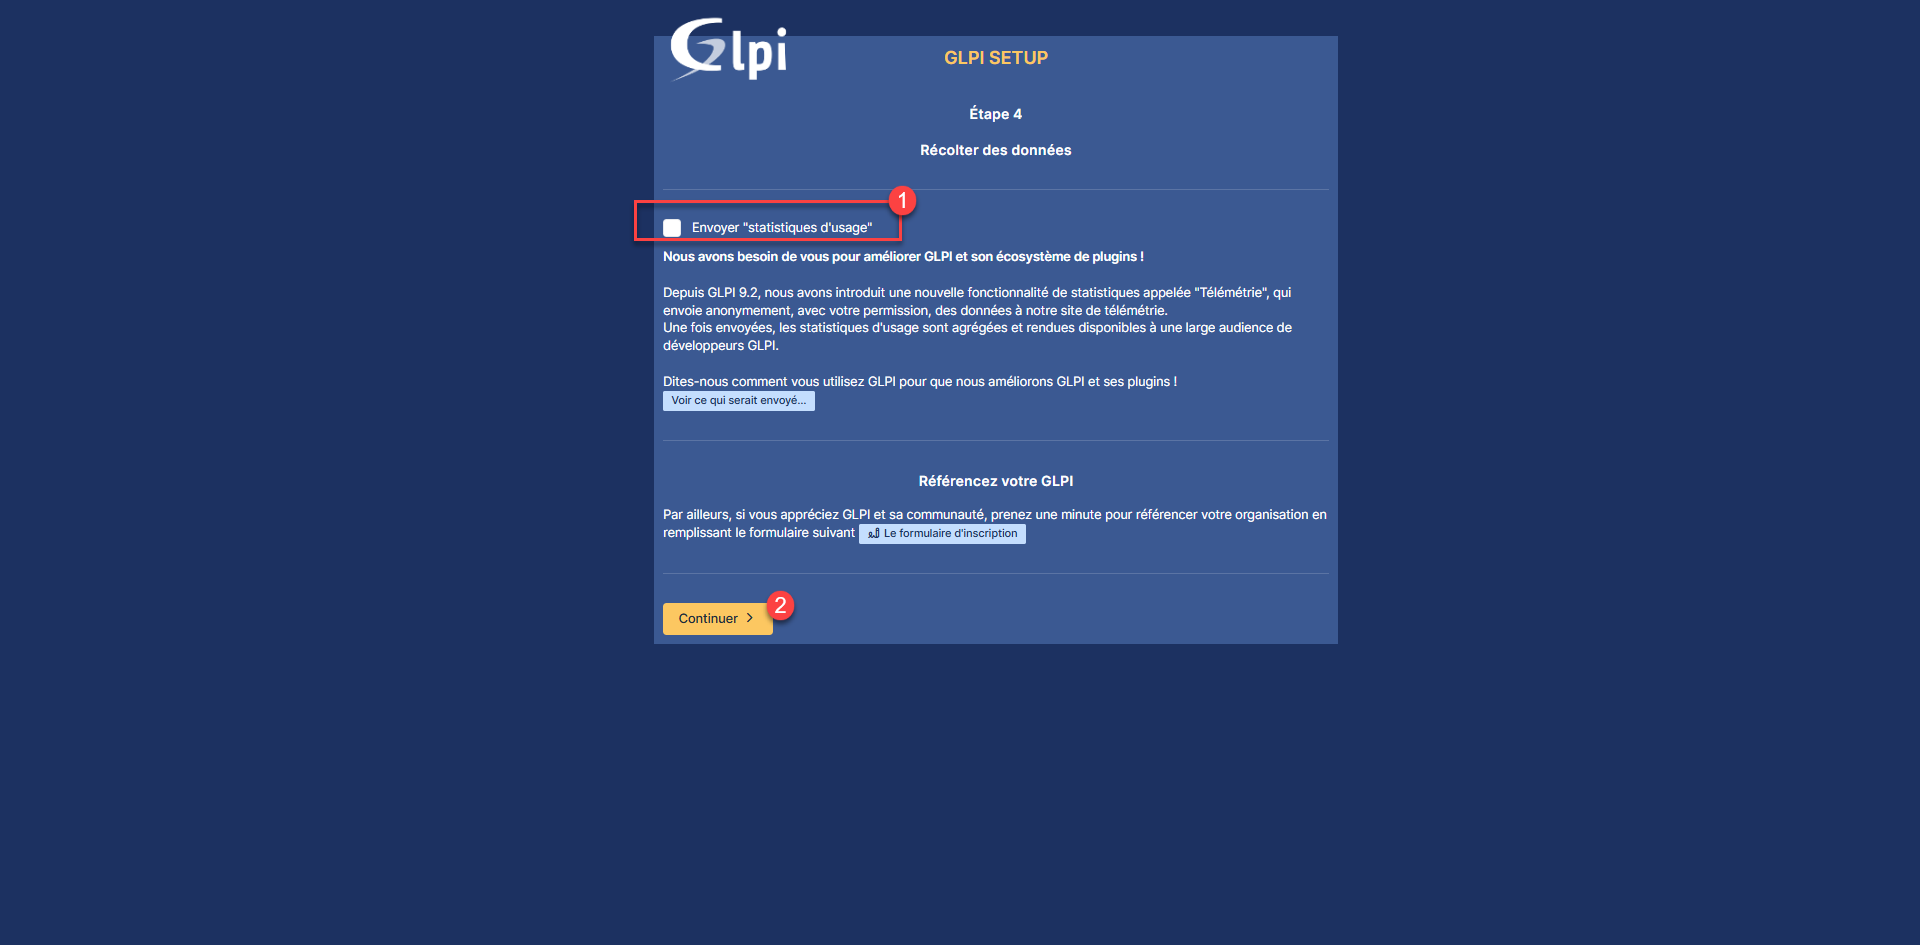
Configure data collection 1 if desired, then click the Continue button 2.
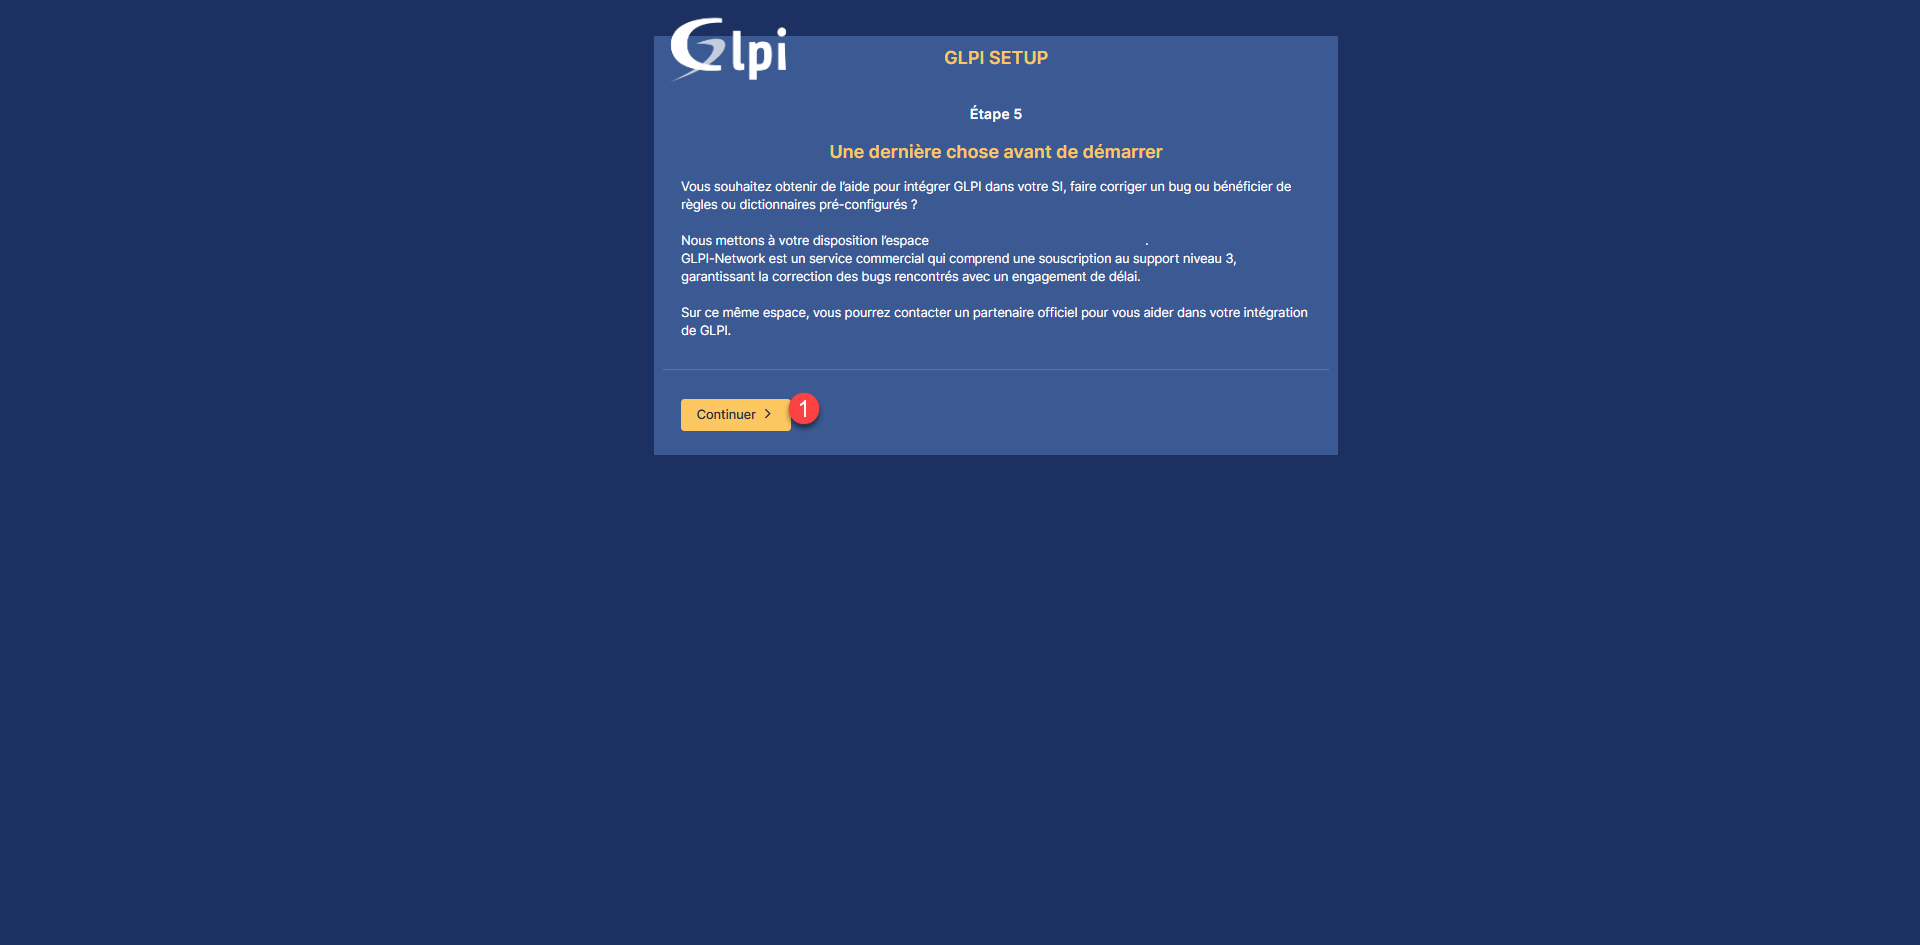
Skip step 5, click Continue 1.
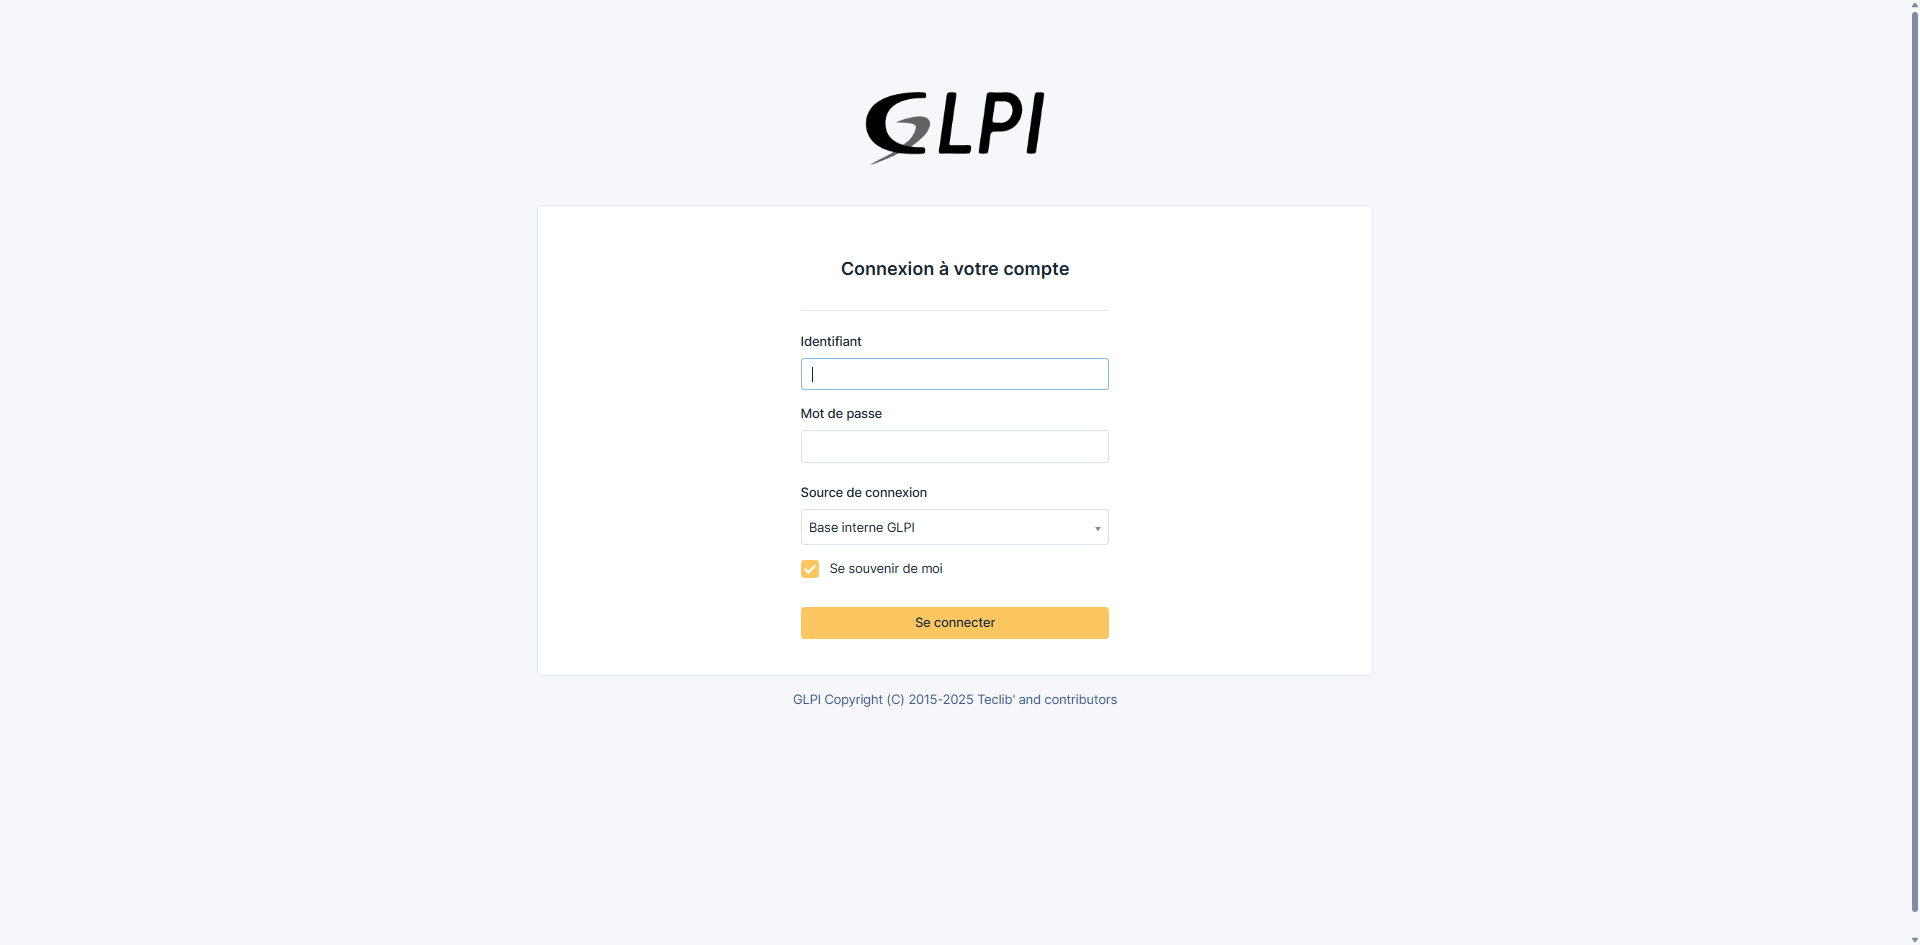
GLPI installation is complete, click on the Use GLPI button 1.

You are redirected to the GLPI 11 login page.
Connection to GLPI 11 and discovery
For the first connection, use the glpi identifier 1 and the glpi password 2 and click on Connect 3.

After logging in, you arrive at the GLPI home page which groups together several dashboards with statistics.

As you can see, the statistics are not at 0, this is normal, by default GLPI 11 displays demo data, it is possible to “delete” them by clicking on Disable demonstration.
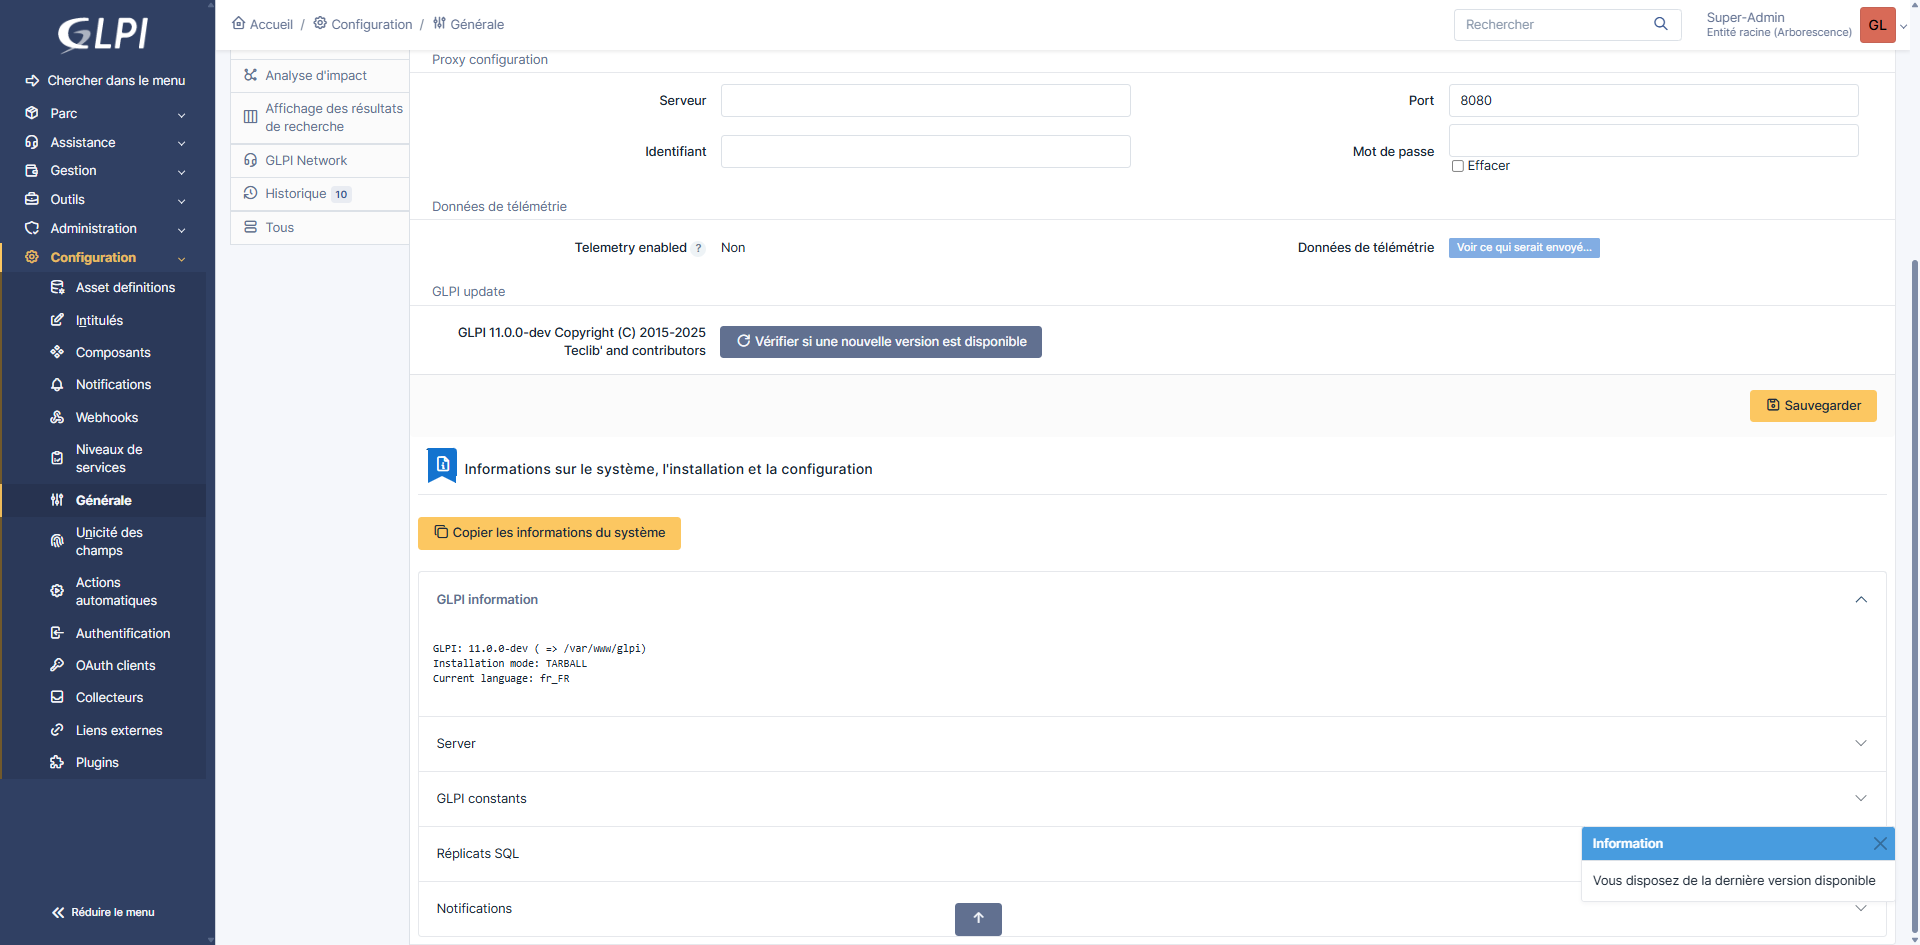
Check environment data
From the Configuration menu 1, click on General 2, here you will find the various information of the GLPI 11 application environment.


Configure Redis Cache
By default GLPI uses a file-based cache system, in environments where GLPI is heavily used, Redis can be used as a cache system which improves performance.
Redis is an open-source, in-memory NoSQL database primarily used as a cache, queue, or ultra-fast key-value store. It stores data directly in RAM, allowing for extremely fast response times (in milliseconds). Redis supports advanced data structures such as lists, sets, hashes, sorted sets, and bitmaps. It is often used to improve web application performance, manage sessions, or perform pub/sub. Redis can also be persistent, periodically writing data to disk. It supports high availability through mechanisms such as Redis Sentinel or Redis Cluster.
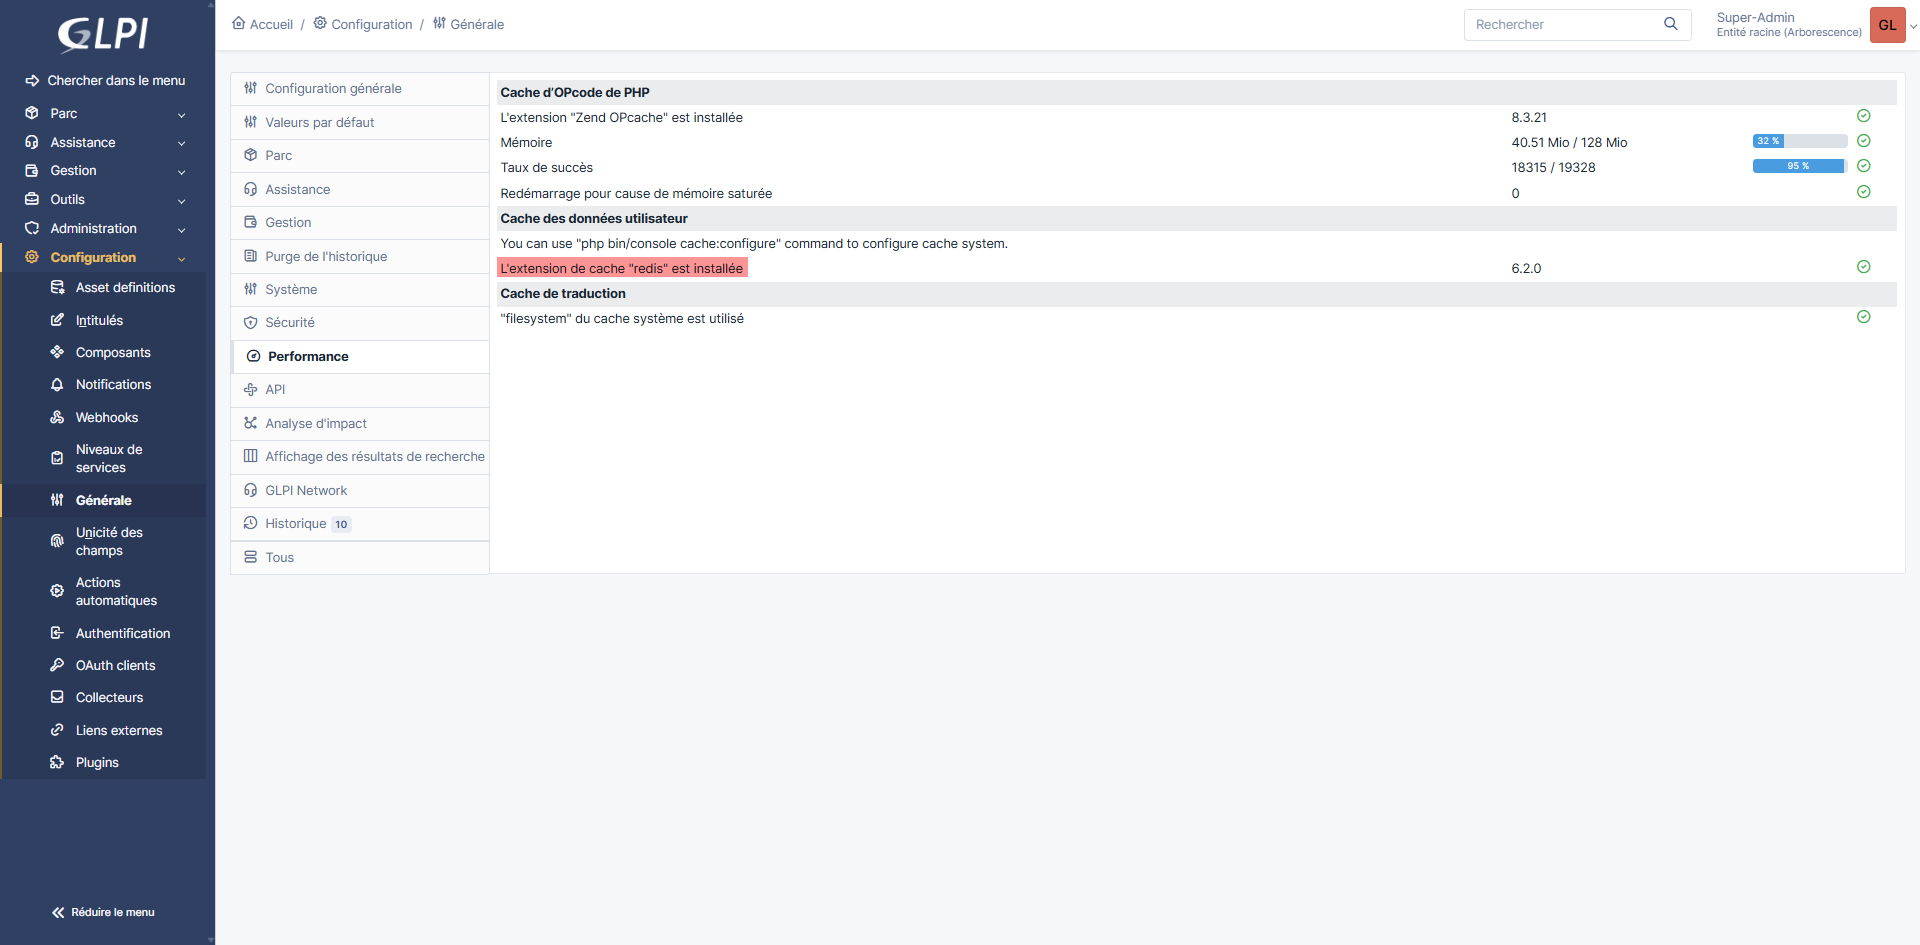
In the Performance 1 section, you have the information about the GLPI cache, as you can see in the screenshot below, by default, we are on “filesystem”.

To make it easier to “install” Redis, we’ll deploy the service in a container with Docker, just as we did for the MariaDB database.
Back in SSH to the server, go to the /containers/ folder and create the folder for the Redis container.
cd /containers
sudo mkdir redis-glpi
cd redis-glpi
Create the docker-compose.yml file.
sudo nano docker-compose.ymlCopy the following contents into the docker-compose.yml file:
Download the Redis container image:
sudo docker compose pullStart the container:
sudo docker compose up -dThen go to the GLPI 11 installation folder:
cd /var/www/glpiEnter the following command to configure the Redis cache in GLPI 11:
sudo php bin/console cache:configure --context core --dsn redis://127.0.0.1:6379/1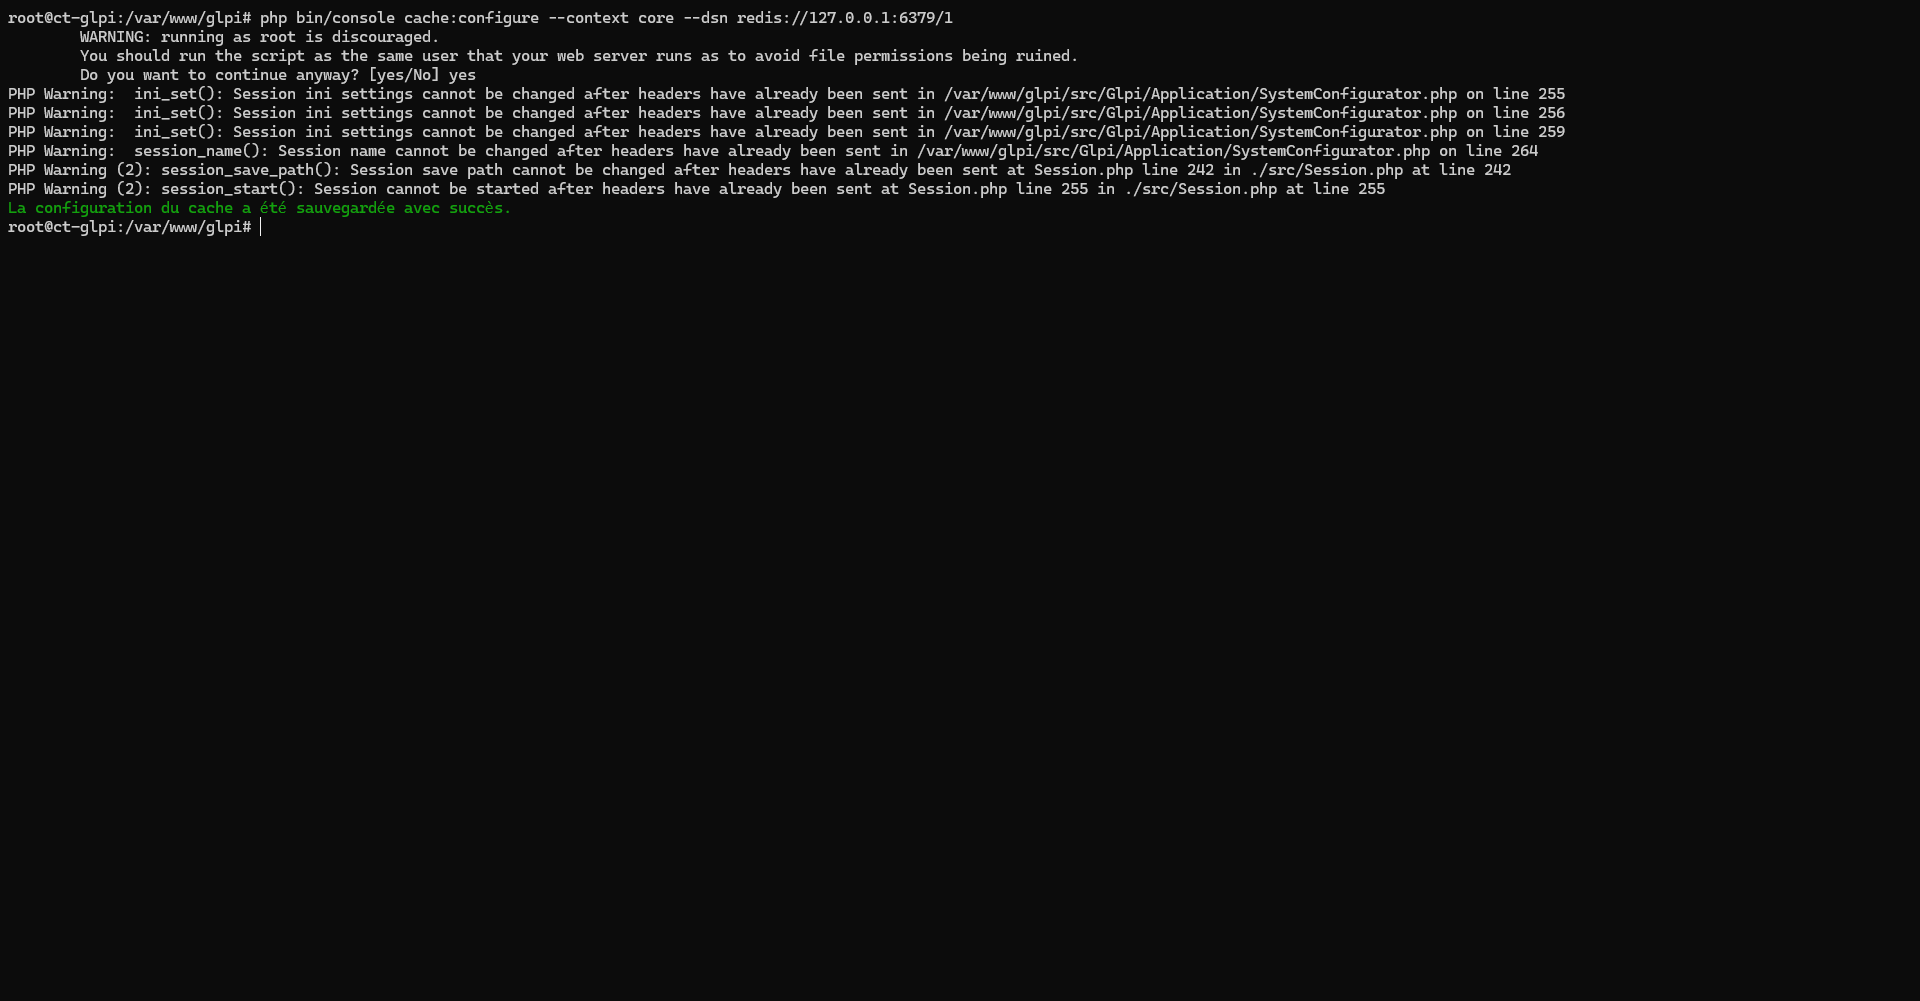
Depending on the user used in SSH, you must confirm the execution of the command.
Back on the GLPI 11 Performance page, refresh the page and you should see that Redis is configured.
Continue in the GLPI 11 configuration
This tutorial is coming to an end, others will arrive on GLPI 11, which you can do now:
- Delete the GLPI install folder
- Change the password for the glpi account
- Disable or delete other users.
If you are used to GLPI 10, you can see that both versions are similar in the interface and the configuration of other elements like LDAP connection, SMTP ….
Conclusion
Through this tutorial, you have seen how to configure a specific LAMP environment for GLPI on Ubuntu 24.04, by configuring Apache2, PHP-FPM and services with Docker (MariaDB and Redis).
There are a multitude of environments for installing GLPI and here we have seen ONE of the possibilities.
If you have any questions, ask them in the comments.