In this tutorial, we will see how to install and configure a DHCP server on Windows Server in an Active Directory environment.
As a reminder, the DHCP service makes it possible to distribute IP addresses to the hardware connected to a network that requests it.
The DHCP request can be received directly from the hardware when it is in the same logical network or from a relay agent when the hardware is on another network (physical or logical).
Installing the DHCP role
Powershell
1. Open a Powershell command window as administrator and enter:
Install-WindowsFeature DHCP –IncludeManagementTools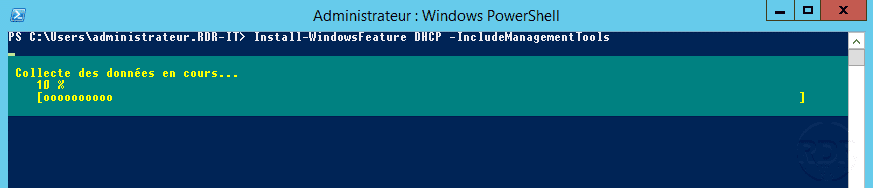
3. When the installation is complete, close the Powershell window.

Graphic mode
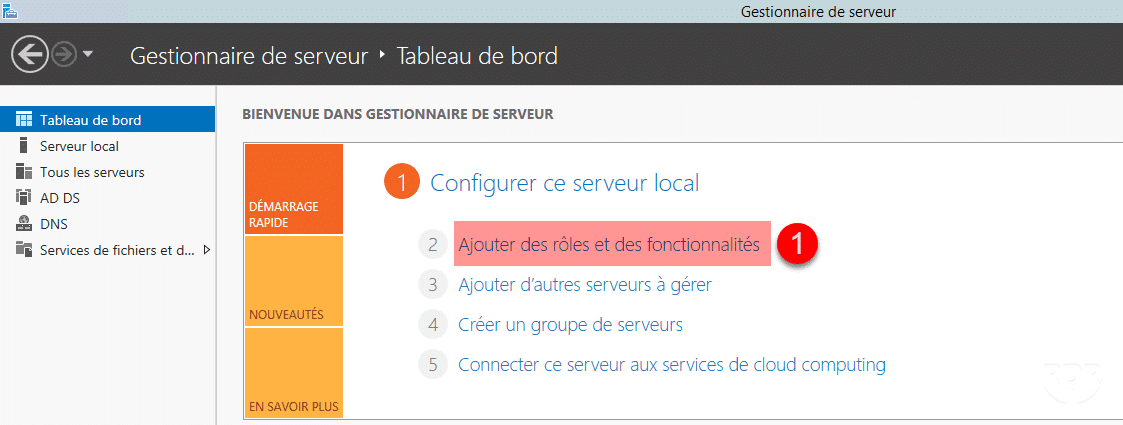
1. From Server Manager, click Add Roles and Features 1 to open the wizard.
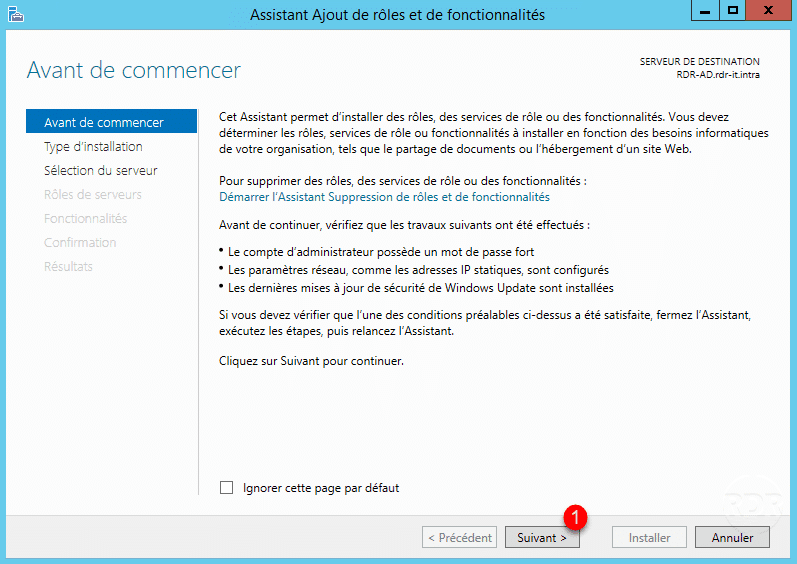
2. When launching the wizard, click Next 1 .
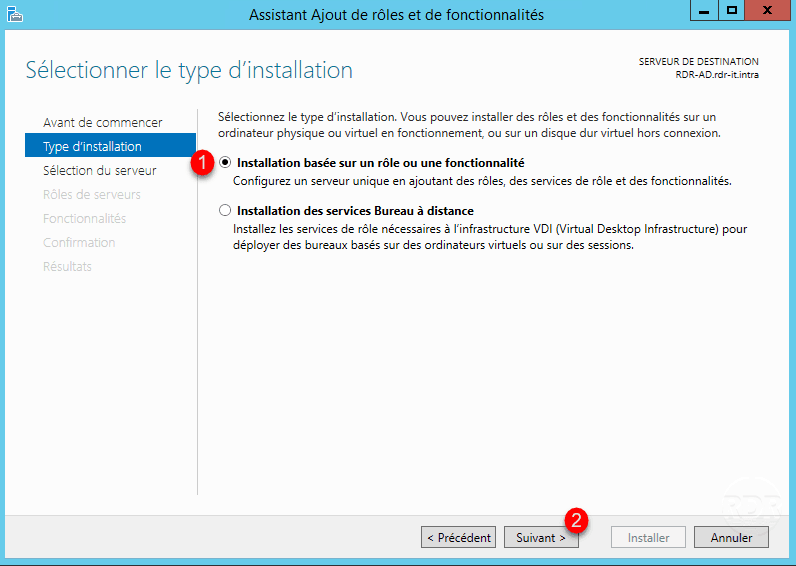
3. Select the Role Based Installation or 1 feature and click Next 2 .
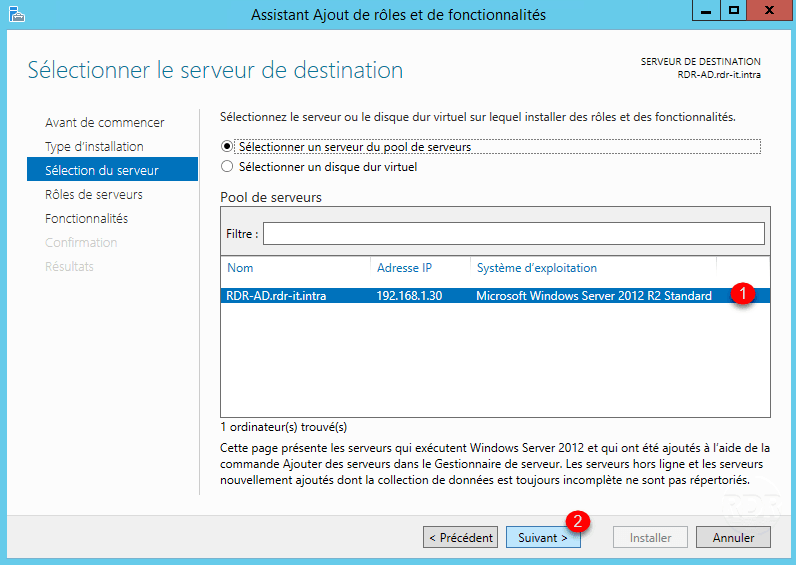
4. Choose the server where the DHCP role will be installed 1 and click Next 2 .
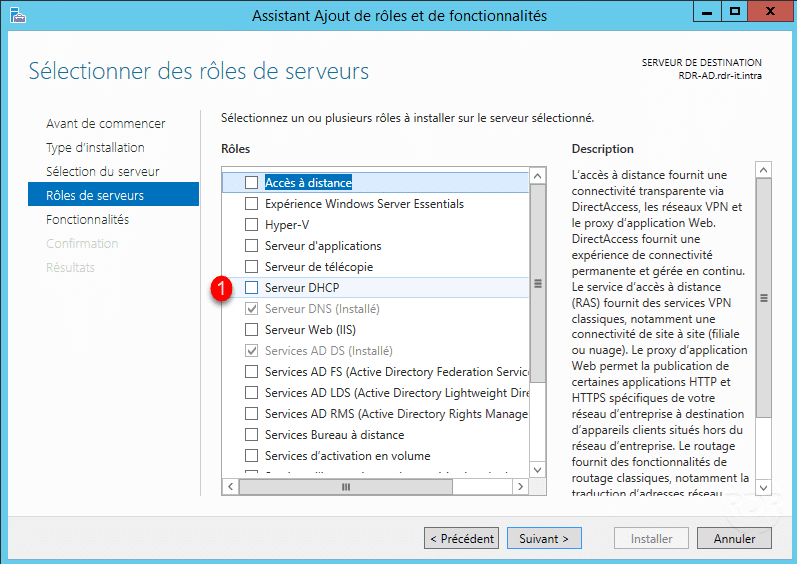
5. Check the box DHCP Server 1 .
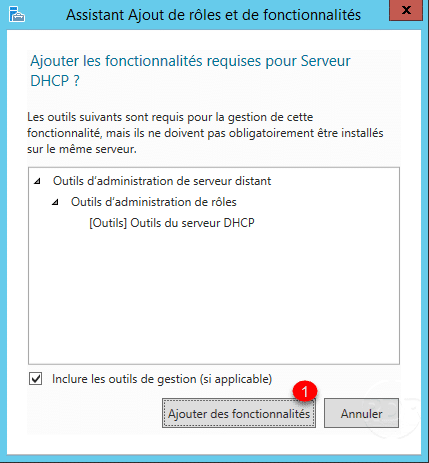
6. Click the Add Features 1 button.
7. Click Next 1 .

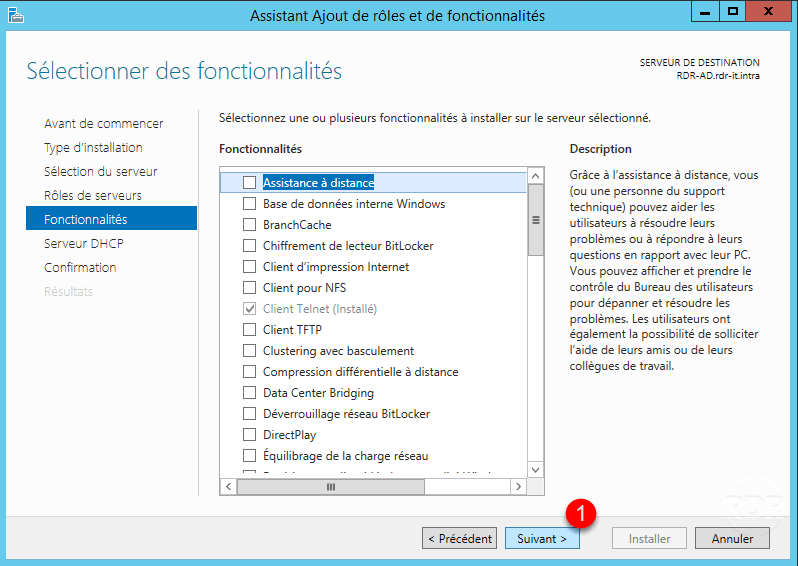
8. Skip the list of features by clicking Next 1 .
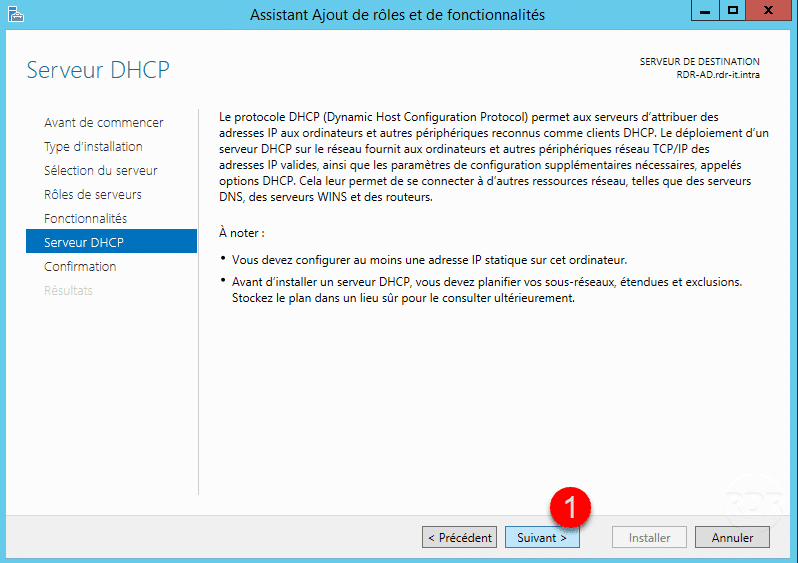
9. Pass the DHCP Server role summary by clicking Next 1 .
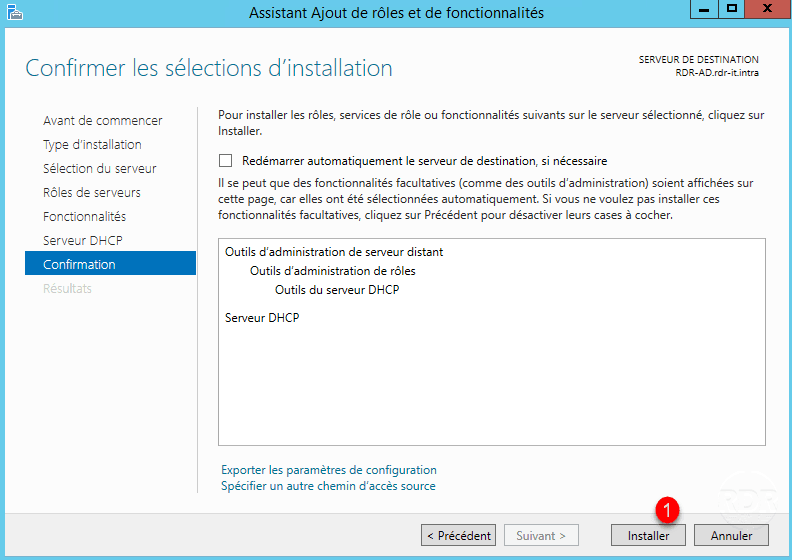
10. Click Install 1 .
11. Wait during the installation …
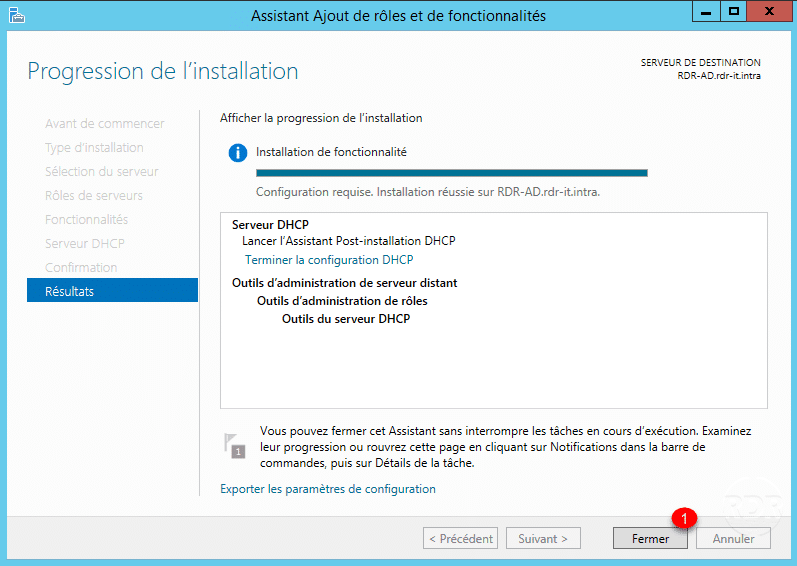
12. When the installation is complete, click Close 1 to exit the wizard.

DHCP service configuration
The configuration and administration of the DHCP server is done using the DHCP console or Powershell commands.
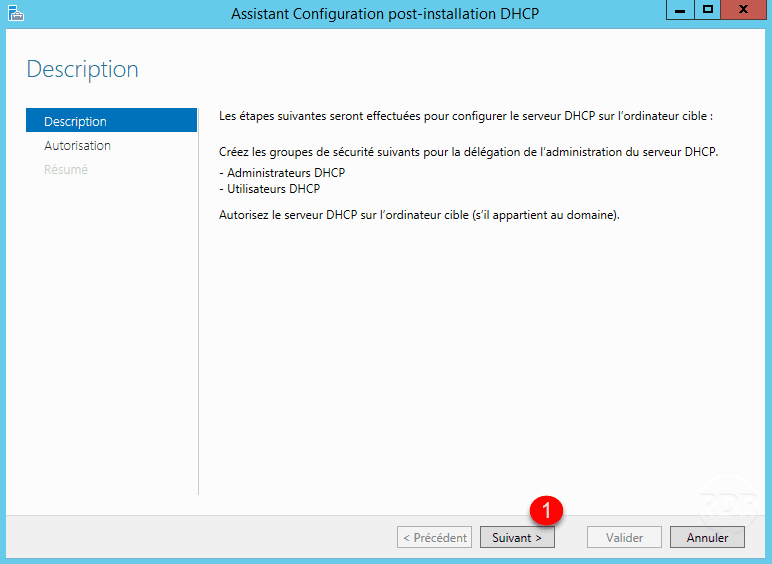
Allow the DHCP server in the domain
This step is required for each DHCP server and to be done once.
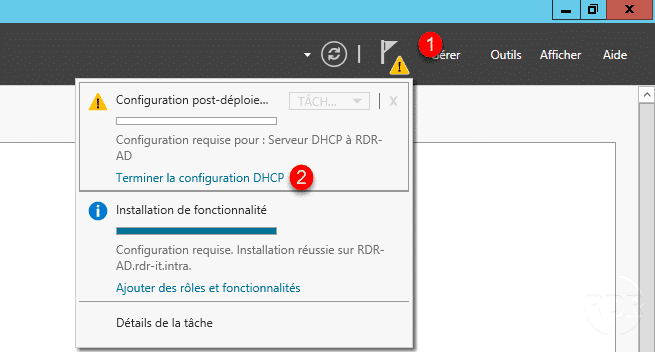
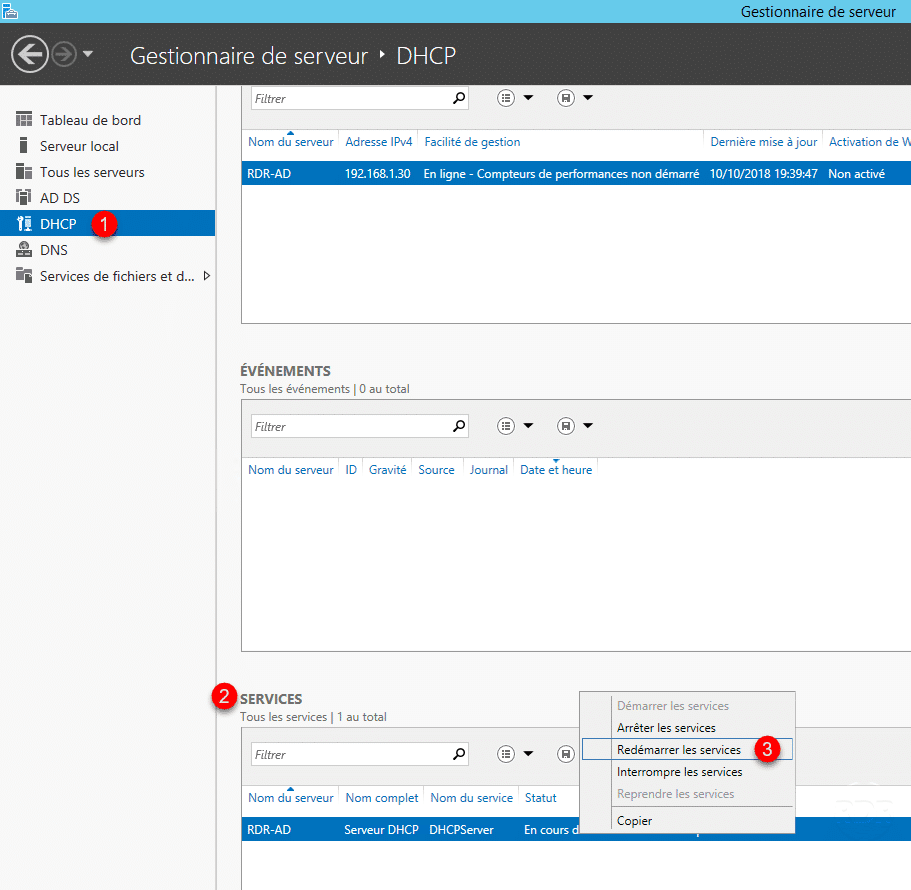
1. From the server manager, immediately after installation an alert is visible, click on 1 and on Finish DHCP configuration 2 . This will launch a new assistant.
2. Go to the next step by clicking Next 1 .
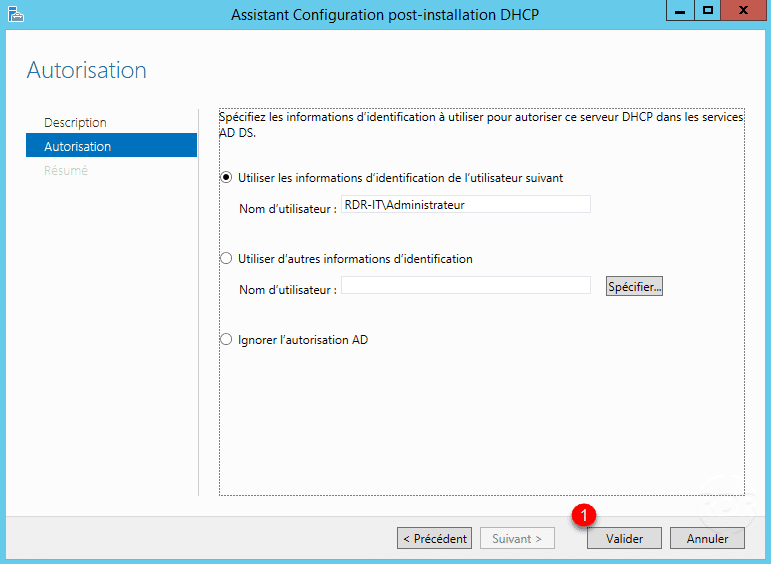
3. Click on Validate 1 .
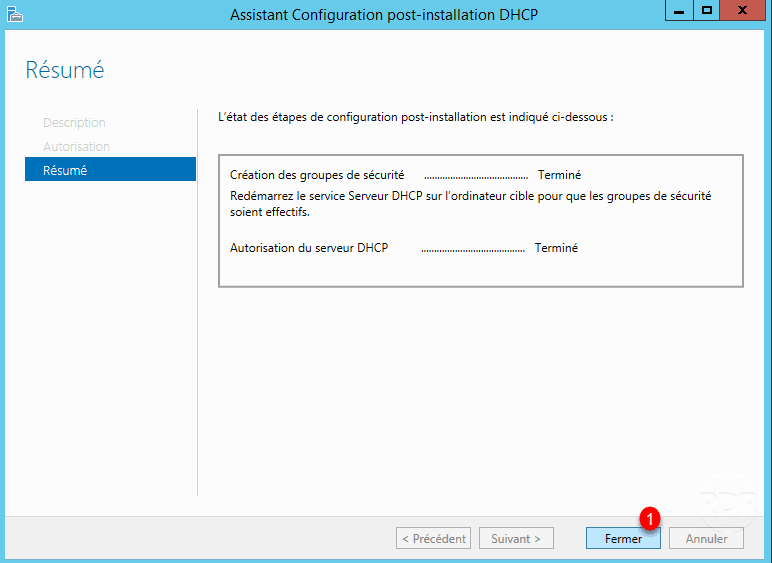
4. Exit the wizard by clicking the Close 1 button.
5. Back on the server manager, go to DHCP 1 / SERVICES 2 . Right-click on the service and click Restart Services 3 .
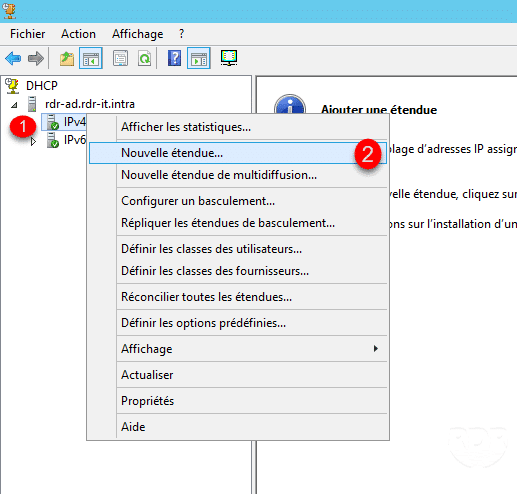
Add an address range
A scope is an IP address range assigned to computers requesting a dynamic IP address.
To run the DHCP server must have at least one configured scope.
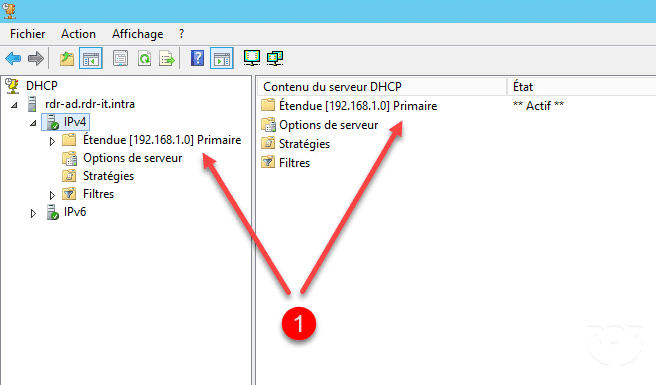
1. From the DHCP console, right-click on IPv4 1 and click on New scope … 2 to open the New scope wizard.
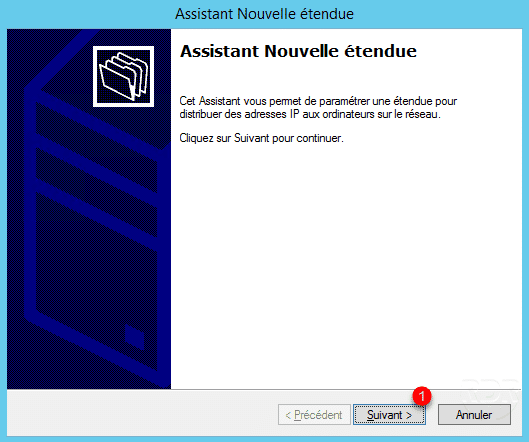
2. Skip the first window of the wizard by clicking Next 1 .
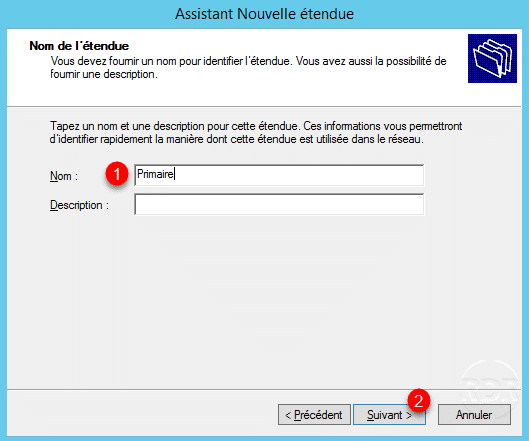
3. Name the range 1 then click Next 2 .
4. Enter an available address range that the DHCP server can distribute 1 . Enter the subnet mask 2 then click Next 3 .

In the example above, the DHCP server will distribute the addresses between 192.168.1.140 to 192.168.1.149, or 10 devices maximum.
5. Click Next 1 .
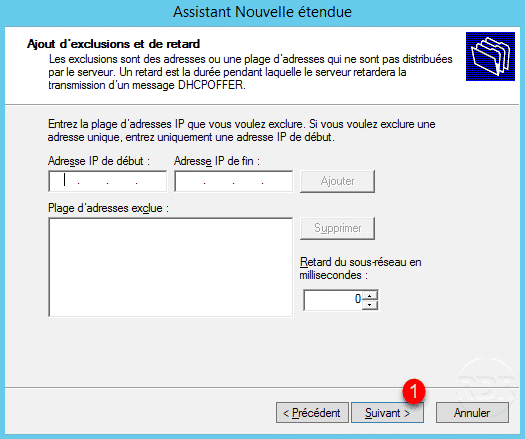
If for some reason, the IP addresses 142 to 144 are to be excluded from the distribution, it is possible to indicate it here.
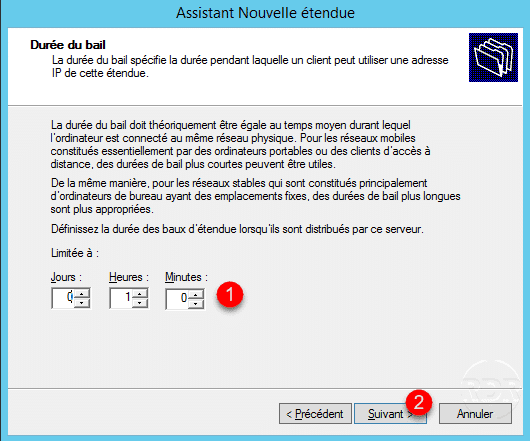
6. Configure the lease duration 1 , which is the duration of the extension at the IP address. Click Next 2 .
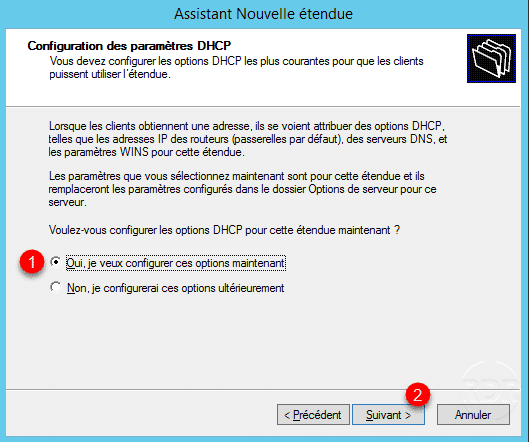
7. Choose Yes, I want to configure these options now 1 and click Next 2 .
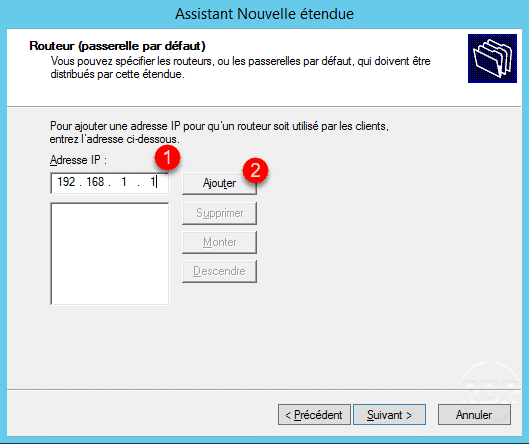
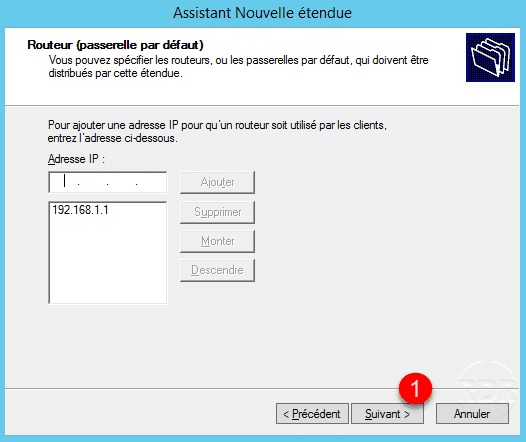
8. Default gateway: enter the IP address of router 1 and click on Add 2 .
9. Click Next 1 .
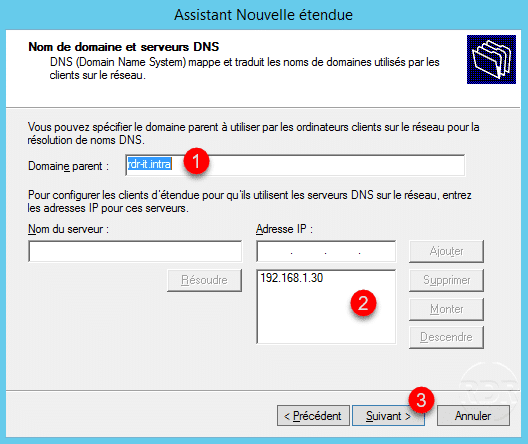
10. Enter the parent domain 1 , which is the DNS name of the Active Directory domain, add the DNS servers 2 (enter the IP then and press Add) then click Next 3> >.
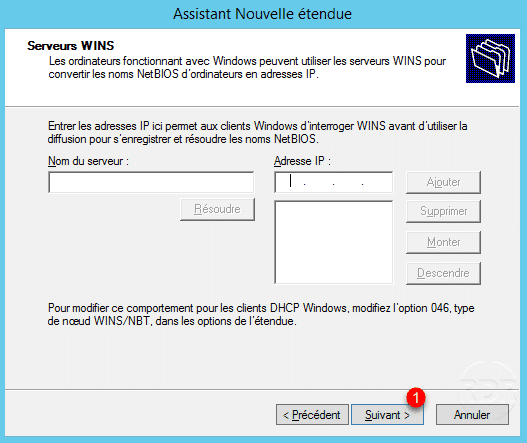
11. Configure the WINS server if necessary (same operation as the DNS servers), otherwise click Next 1 .
12. Select Yes, I want to activate this range now 1 for immediate commissioning and click Next 2 .

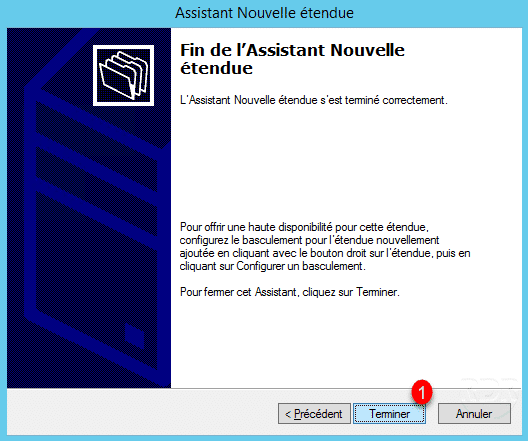
13. Click Finish 1 to close the wizard.
14. The scope is available 1 in the DHCP console.
Add a reservation
A reservation always assigns the same address to a network card, the reservation is based on the MAC address.
You can add a reservation by the following two methods:
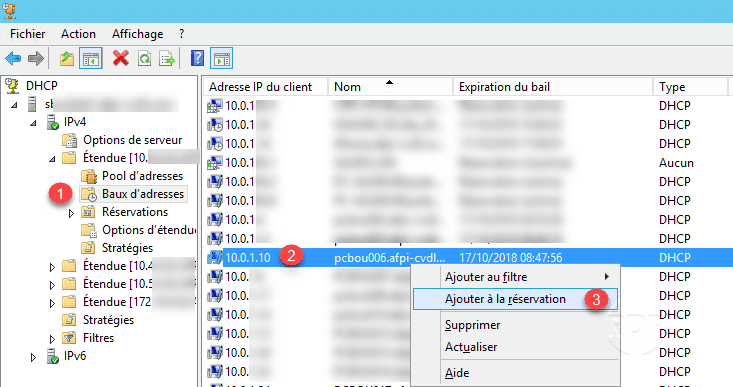
Adding from a lease
1. Go to the list of leases for extended 1 , right click on lease 2 and click on Add to reservation 3 .
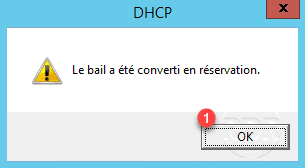
2. Click OK 1 to close the confirmation message.
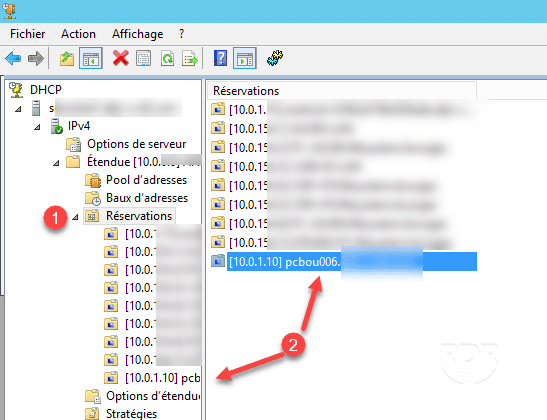
3. Go to the Reservations folder 1 in the scope and check the creation of the fixed lease 2 .
Manual entry
1. Right click on the Reservation folder of the range 1 then New reservation 2 .
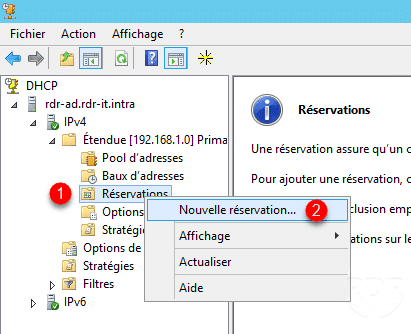
2. Enter the name of the reservation 1 , the IP address 2 , the MAC address of the network card 3 and click on Add 4 and Close 5.
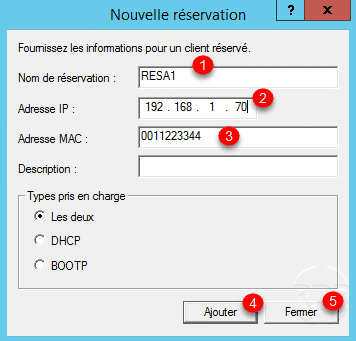
It is possible to specify an address outside the distribution range.
3. The reservation is added 1 .
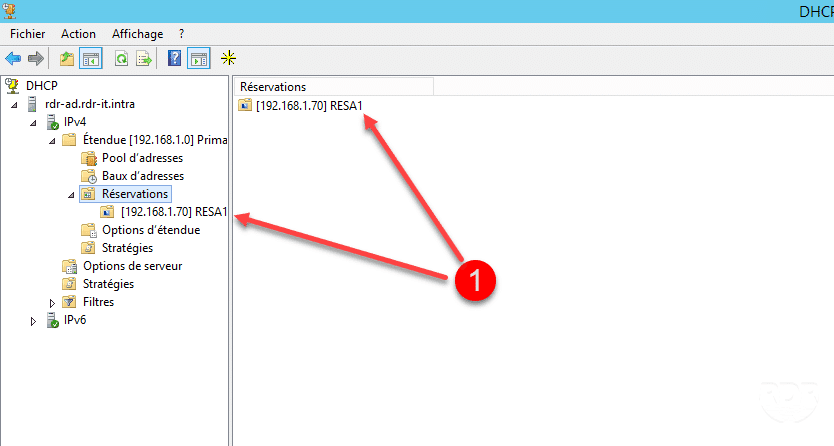
It is possible for a reservation to customize the scope / server options.
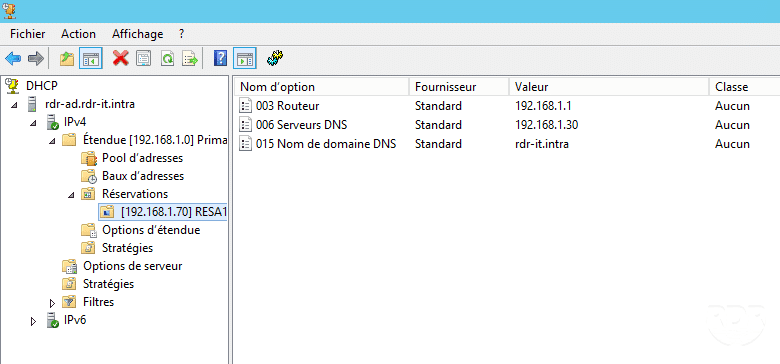
Differences Between Scope Options and Server Options
In the DHCP console, there are two folders that allow configuration of DHCP options. The main difference is in the range.
Server options: The options configured in this folder will be extended to all scopes on the DHCP server, for example DNS servers.
Scope Options: The options configured in this folder will be ported only at the level of the distributed addresses on the scope, for example the default gateway.
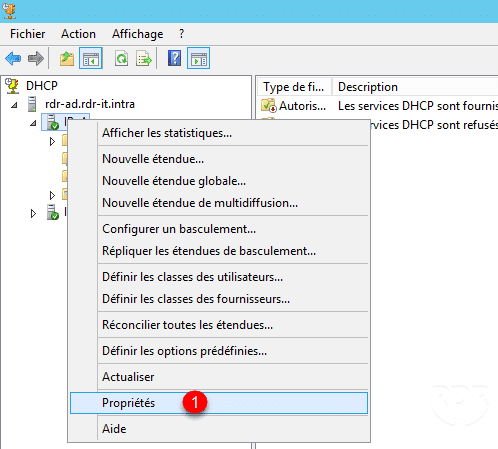
DHCP server properties
In this part we will have some useful properties of the DHCP server. To access the properties, right click on the IP protocol and click Properties 1 .
General
From this tab, it is possible to enable or disable the audit generation to resolve any problems with the service.
Filters
This tab allows the activation of the green lists and exclusions. To activate a list, just check the box and apply.
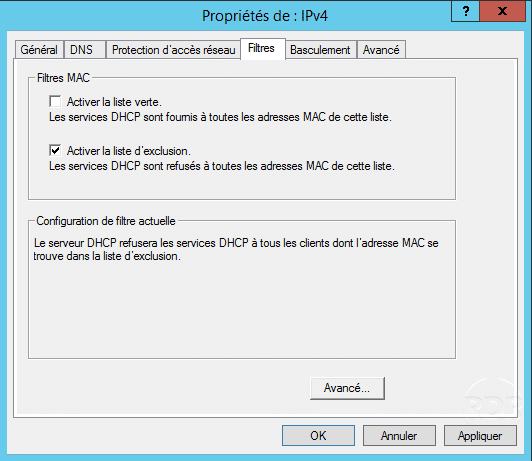
Filters apply to MAC addresses, it is possible to put a star for a wider filter *.
Example: you want to exclude iPhones from the network range, at first, you have to recover the IPhone MAC suffixes and add to the exclusion filters the MAC in the form:
AA-BB-CC – * – * – * or AABBCC *
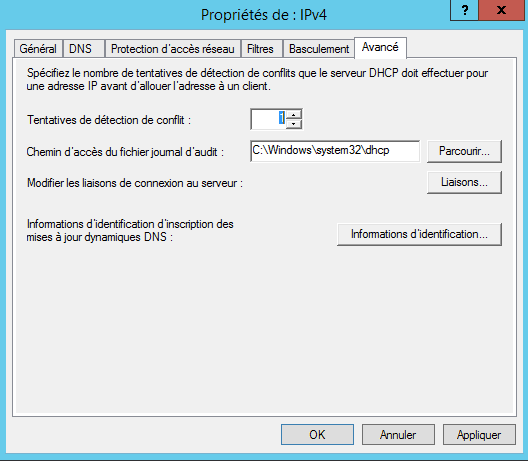
Advanced
An interesting option to enable in case of a regular conflict on the DHCP service is the Conflict Detection Attempt, which will attempt to complete if the address is already taken before sending it to the post that has made a request.