Install the Telnet client in Powershell
In this tutorial, I will explain how to install the Telnet client in PowerShell.
Using PowerShell to install this feature of Windows allows you to do it in minutes.
Open a PowerShell command prompt as an administrator
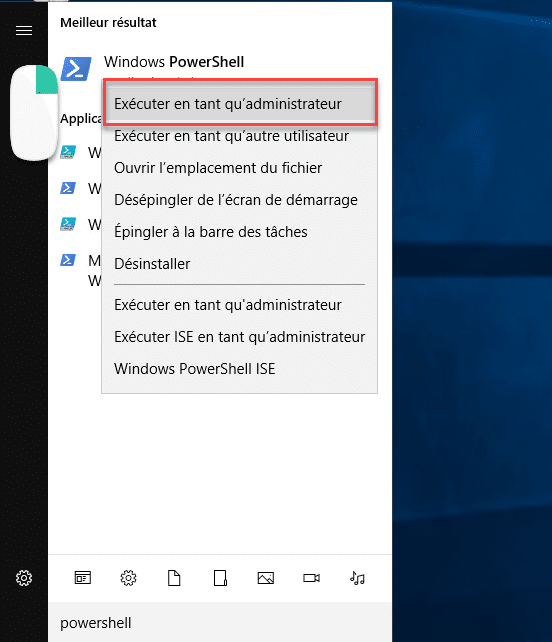
From the start menu, search for Powershell, right click on it and click on Run as administrator.
Use the Install-WindowsFeature command to install the Telnet client
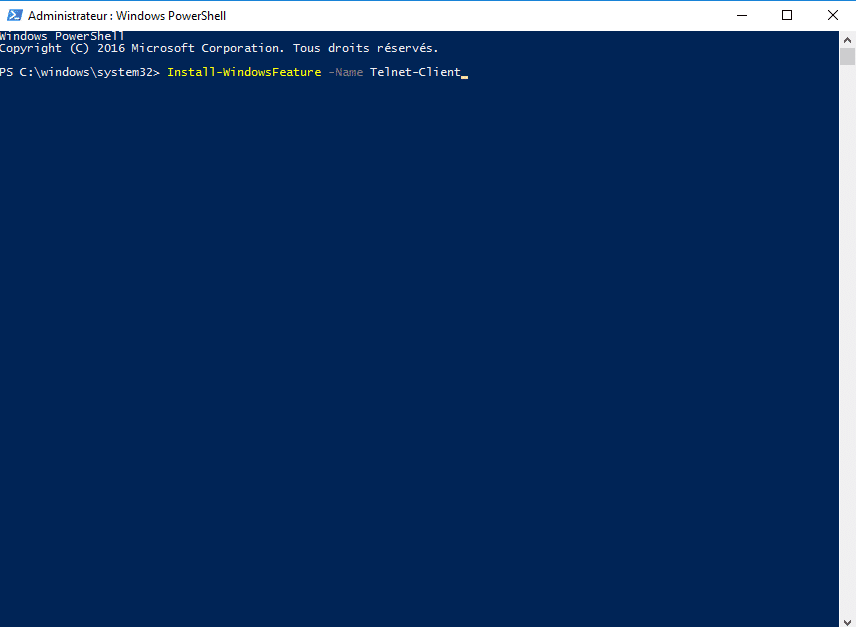
In the PowerShell window enter the following command : Install-WindowsFeature -Name Telnet-Client
Wait during installation
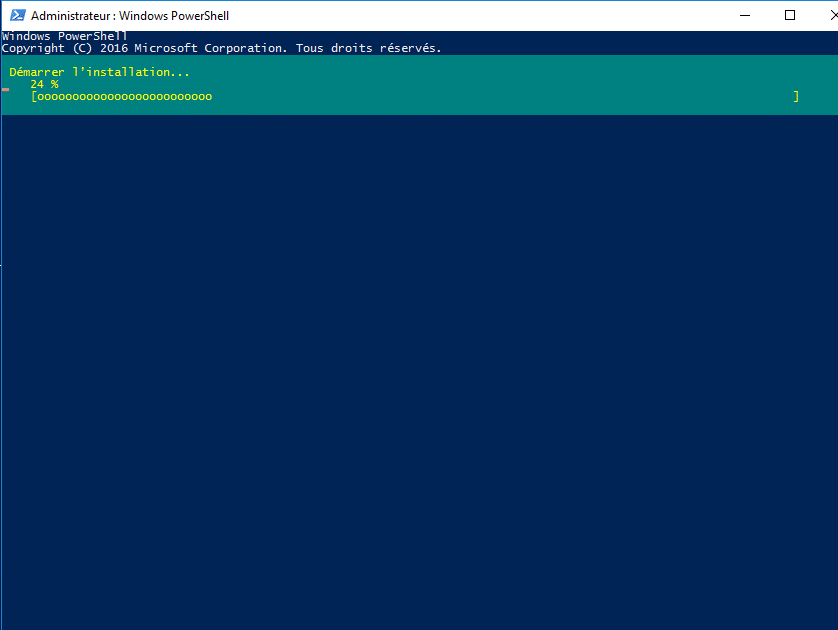
Wait while the Telnet client is installed.
Telnet client is installed
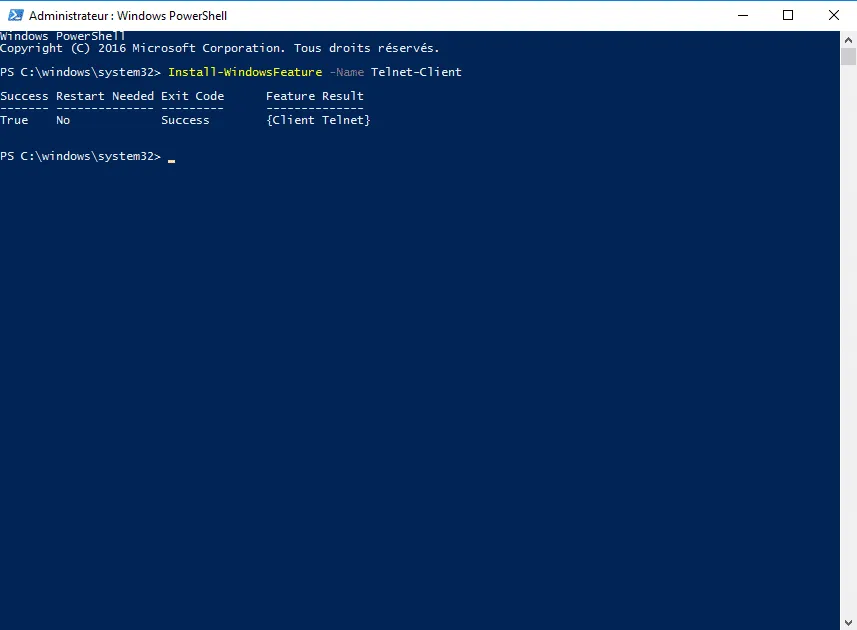
Check that the installation was successful.
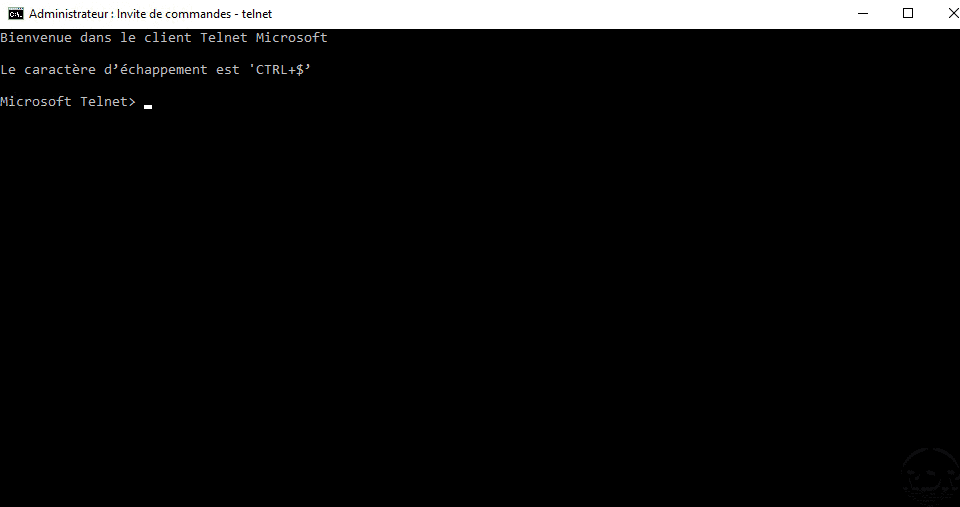
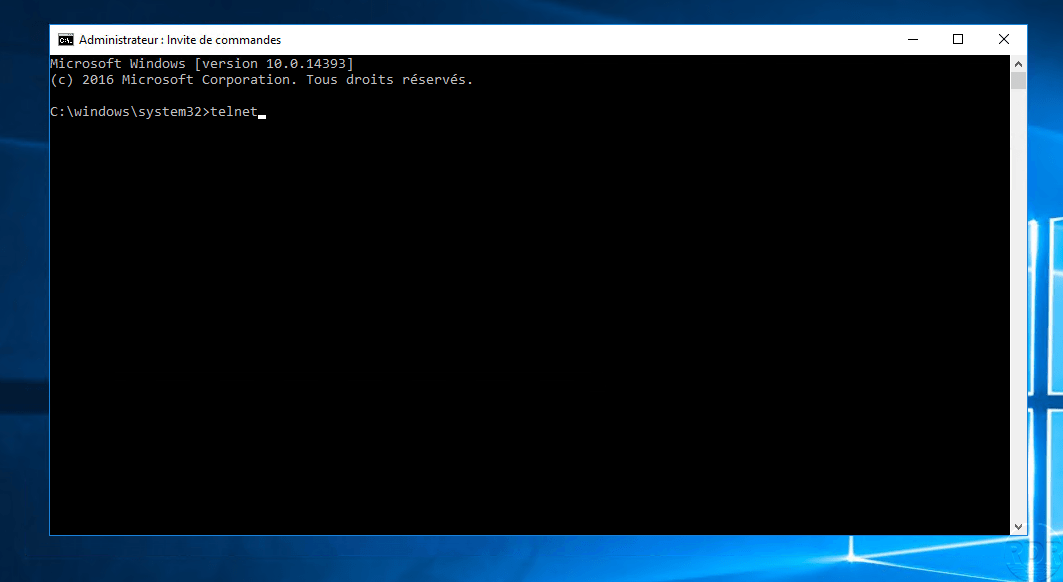
Start the Telnet client
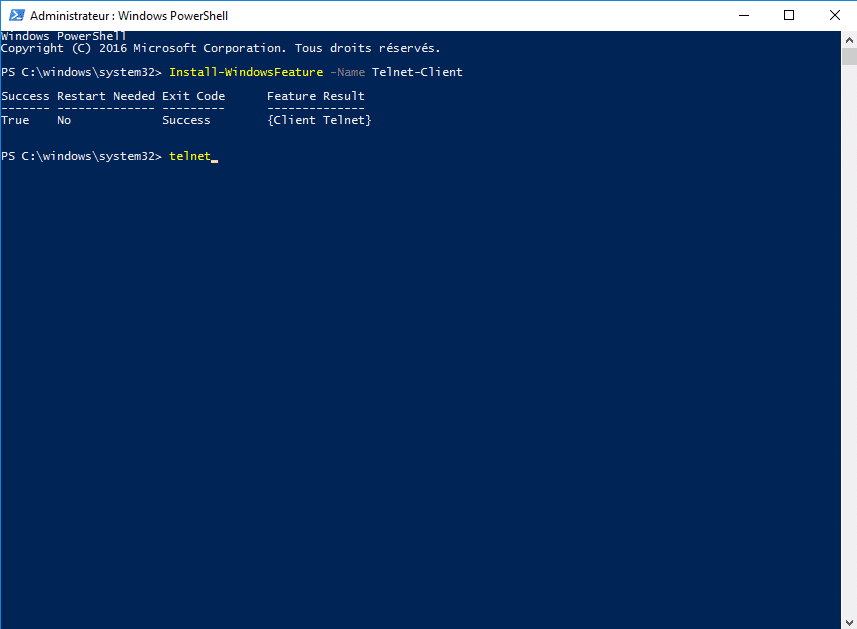
The telnet client can be used out of the box in the PowerShell window by entering the telnet command.
Use the Telnet client
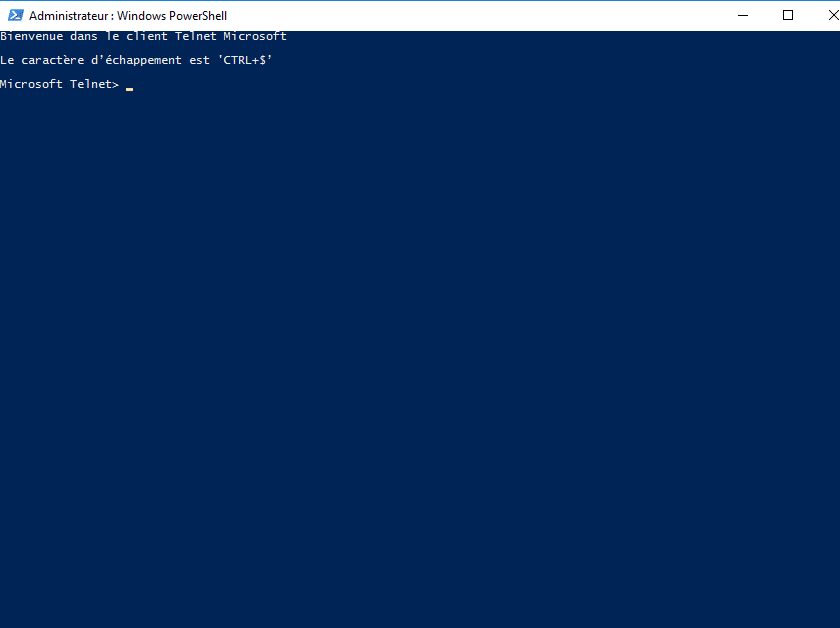
It only remains to use the Telnet commands.
If you prefer to use the GUI : Windows Server : installation of the Telnet client .
Example of use : Use the Telnet client to test a network connection .