Active Directory In this tutorial, I’ll explain how to join a Windows 11 computer to a domain.
Prerequisites for joining a domain Active Directory
Active DirectoryThe Windows 11 version must be at least Pro or higher; Home editions cannot be joined to a domain.
Before joining the domain, it’s best to have the computer properly named; if this hasn’t been done, rename the computer and restart it.
You must be a local administrator on the computer and have a domainActive Directory account that allows domain joining.
In this tutorial, I will use an account that is a member of the domain’s Admins group.
For the domainActive Directory join to succeed, the computer must be able to resolve the domain name.
ping From a command prompt, you can run the following test:
ping nom-du-domaine-ad
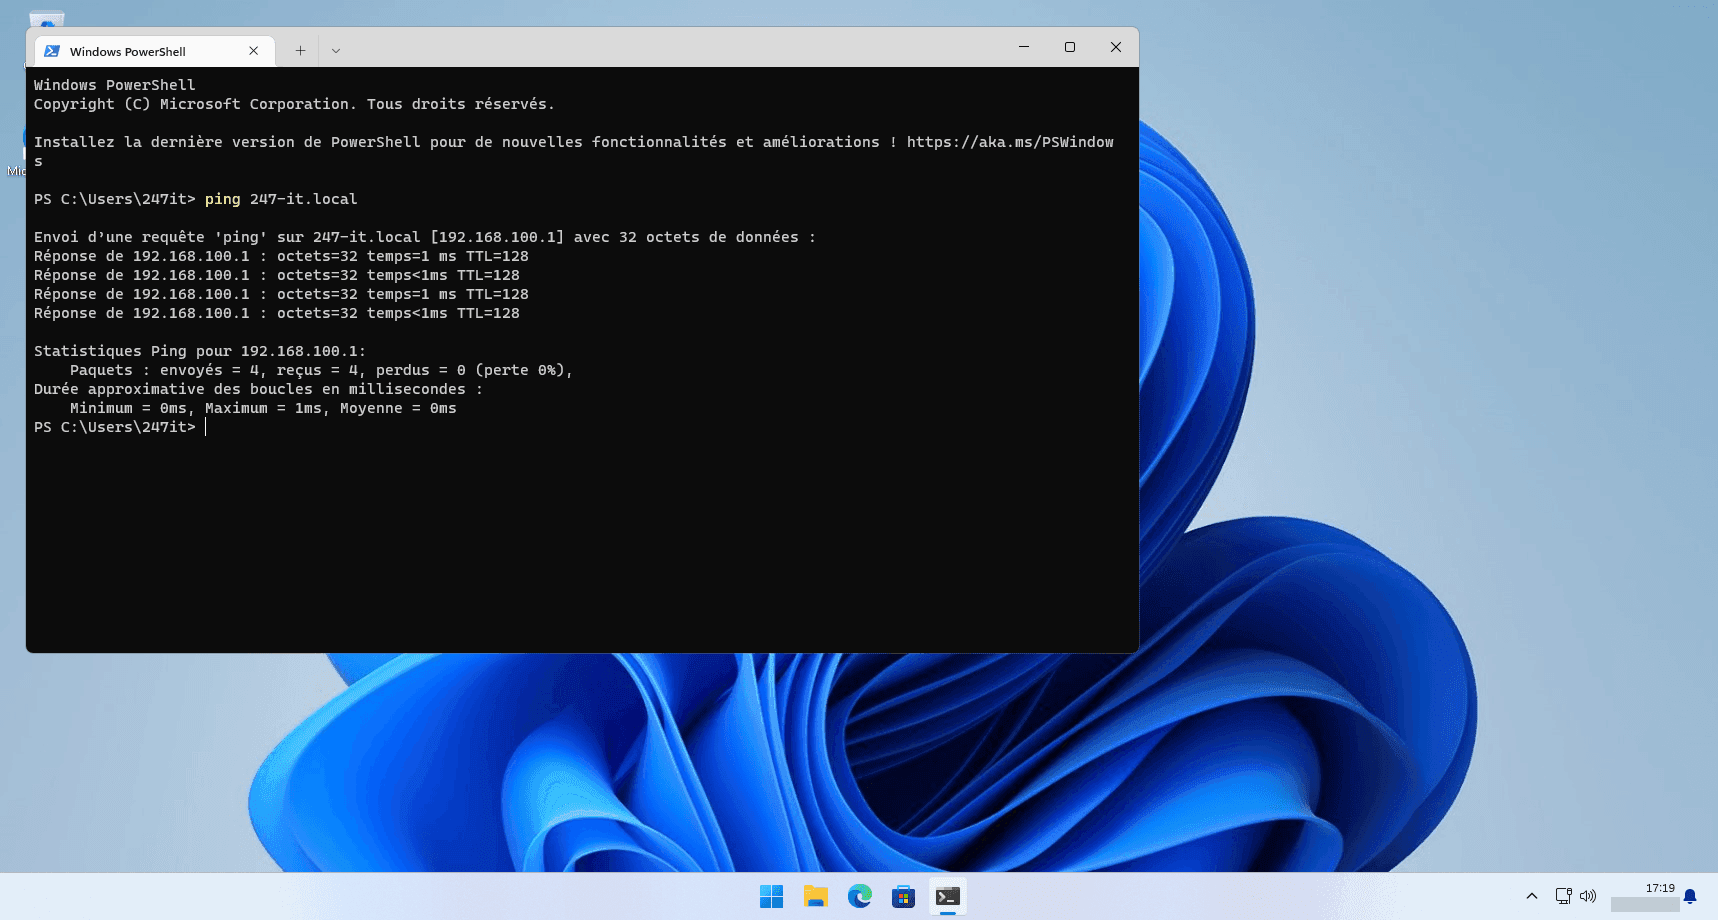
In PowerShell, you can run the test using the following cmdletTest-NetConnection:
Test-NetConnection nom-du-domaine-ad
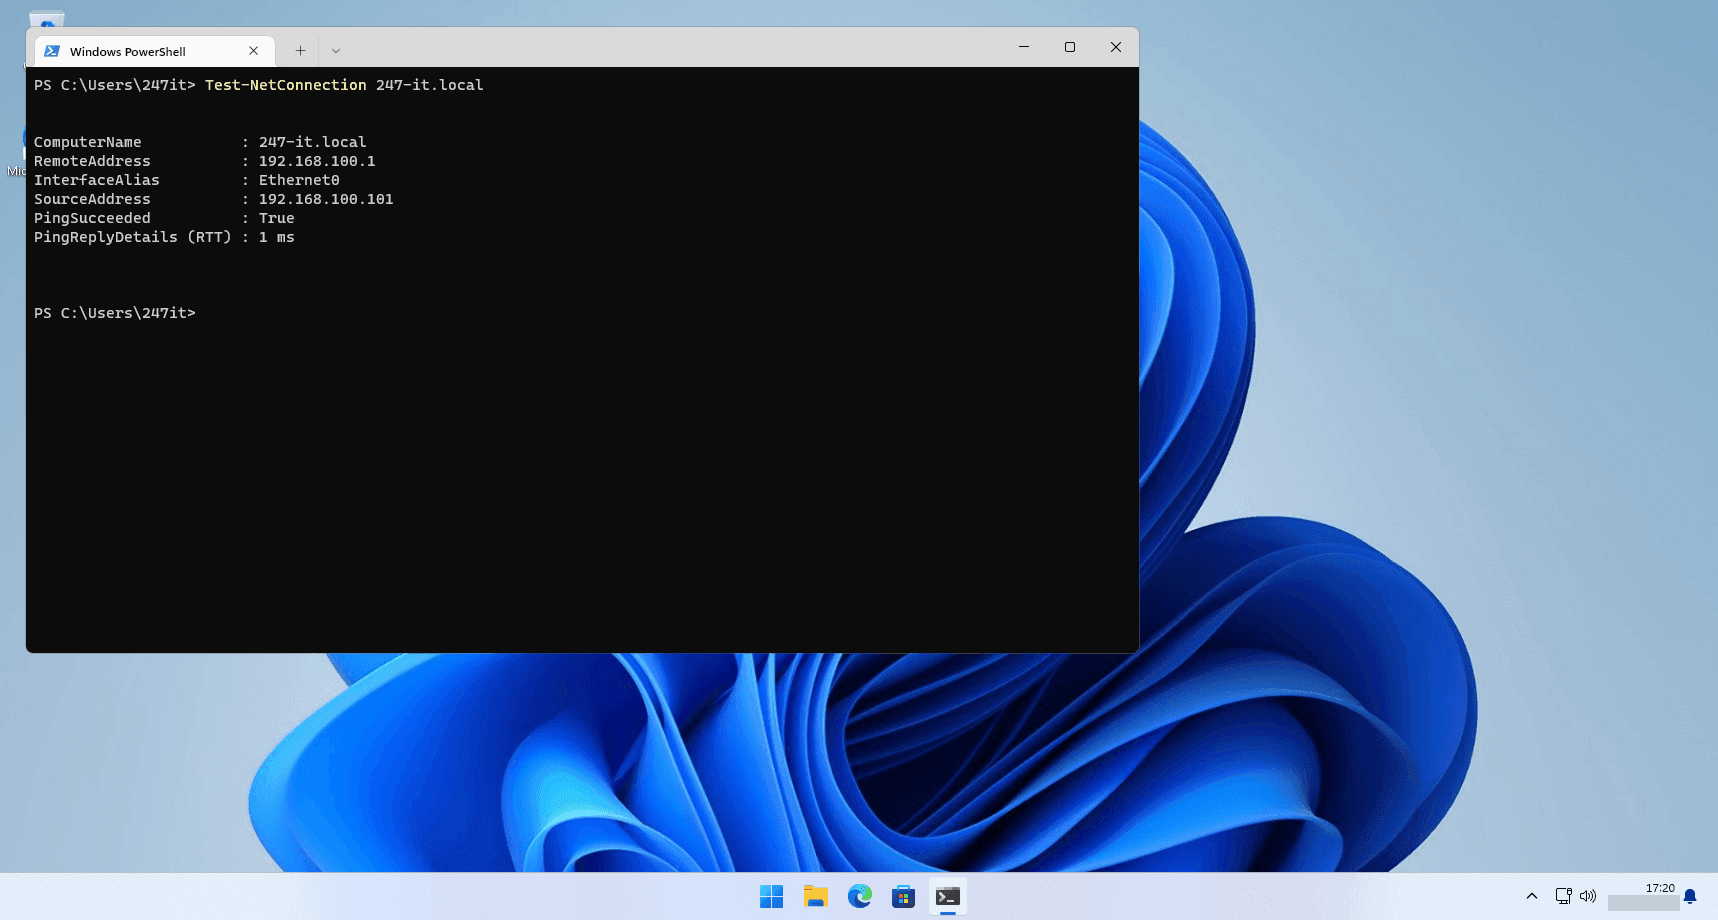
Here, I am able to successfully contact the domain 247-it.local
Joining Windows 11 to the domain Active Directory
Active DirectoryThere are several ways to join a computer to a domain; in this tutorial, I’ll show you two:
- Using Add-Computer in PowerShell
- From the graphical interface
Joining the domainActive Directorywith PowerShell
Open a PowerShell prompt as an administrator and enter the following command:
Add-Computer -DomaineName nom-du-domaine-ad
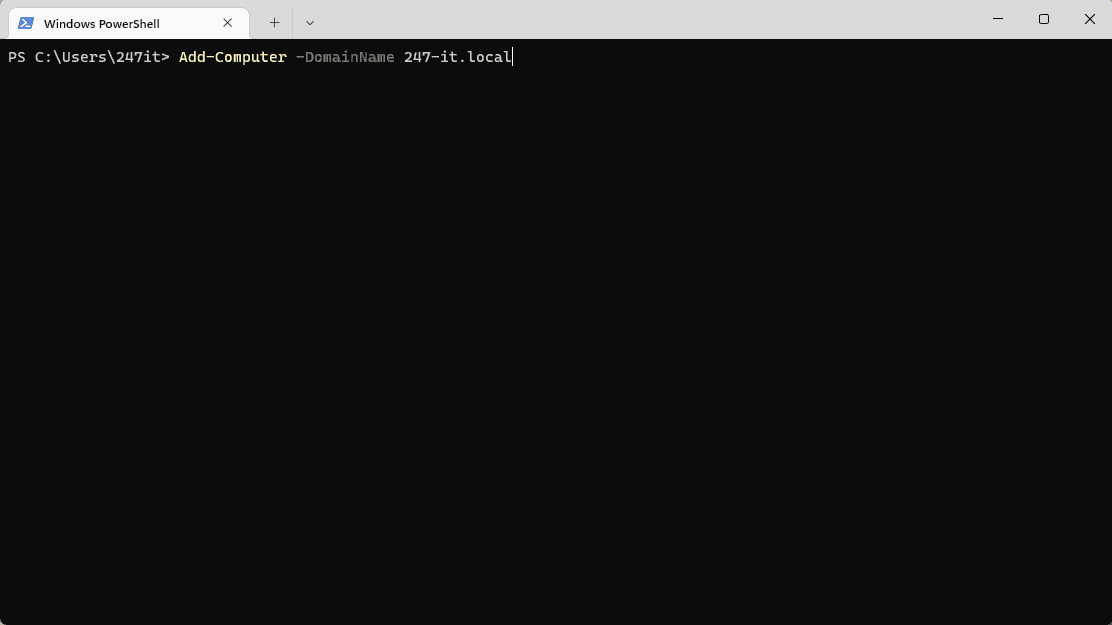
An authentication window will open; enter the username and password for a domain account authorized to join computers.
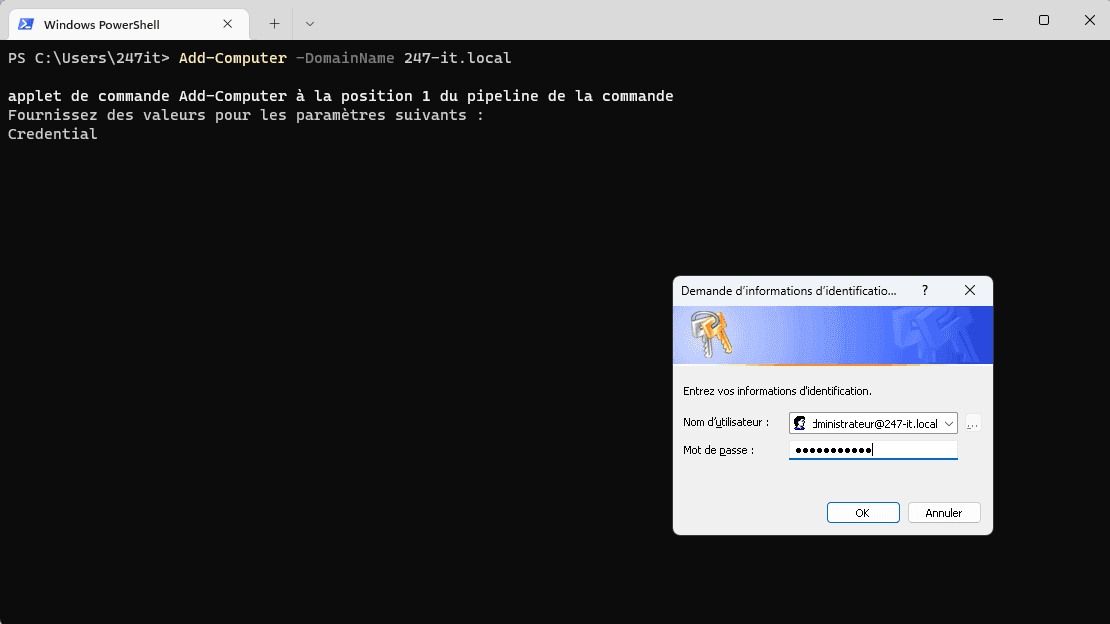
Once the computer has been joined to the domain, restart it:
Restart-Computer
Active DirectoryAfter the restart, the computer is in the domain.
The Add-Computer cmdlet can take several parameters, including the parameter-OUPaththat allows you to specify the OU’s DN and automatically place the computer in that OU; by default, computers are placed in the Computer container.
If you want the computer to be placed in the Computers OU, which is itself located in the Paris OU, you would use the following command:
Add-Computer -DomaineName nom-du-domaine-ad - OUPath "OU=Ordinateurs,OU=Paris,DC=247-it,DC=local"
This command eliminates the need for additional steps after joining the domain.
Joining Windows 11 to a domain using the graphical user interface
The graphical user interface also allows you to join a domain; this is done in System Properties. As you’ll see, this process requires more steps than doing it in PowerShell.
There are several ways to achieve the same result.
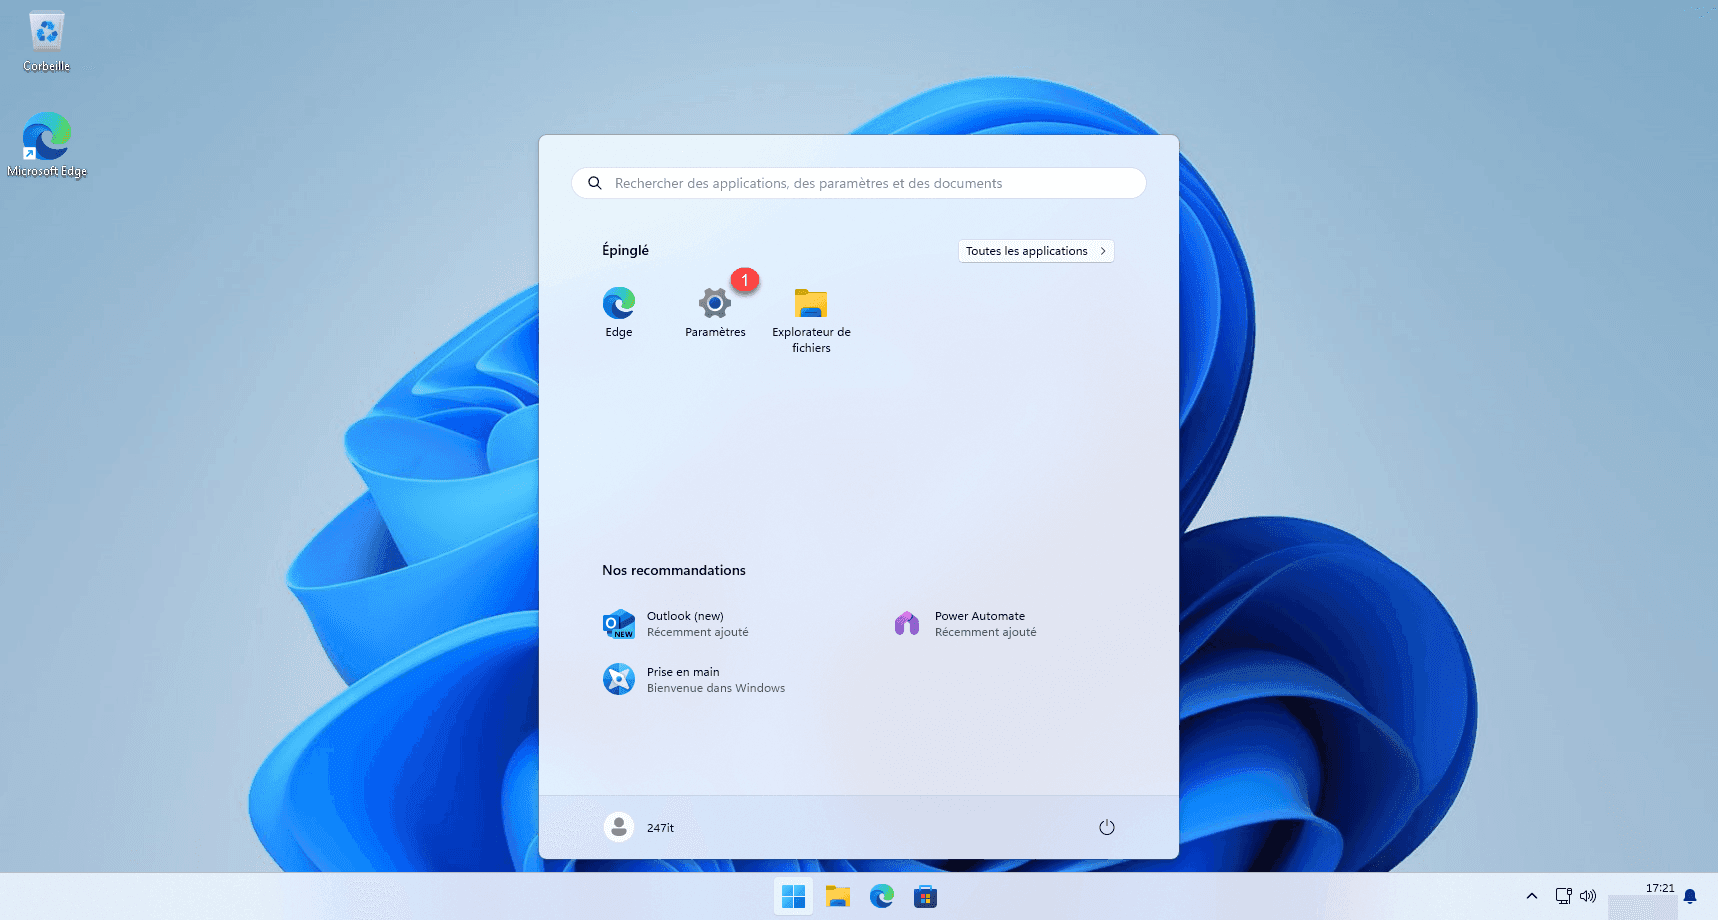
From the Start menu, open Settings 1 .
Next, go to System 1 .
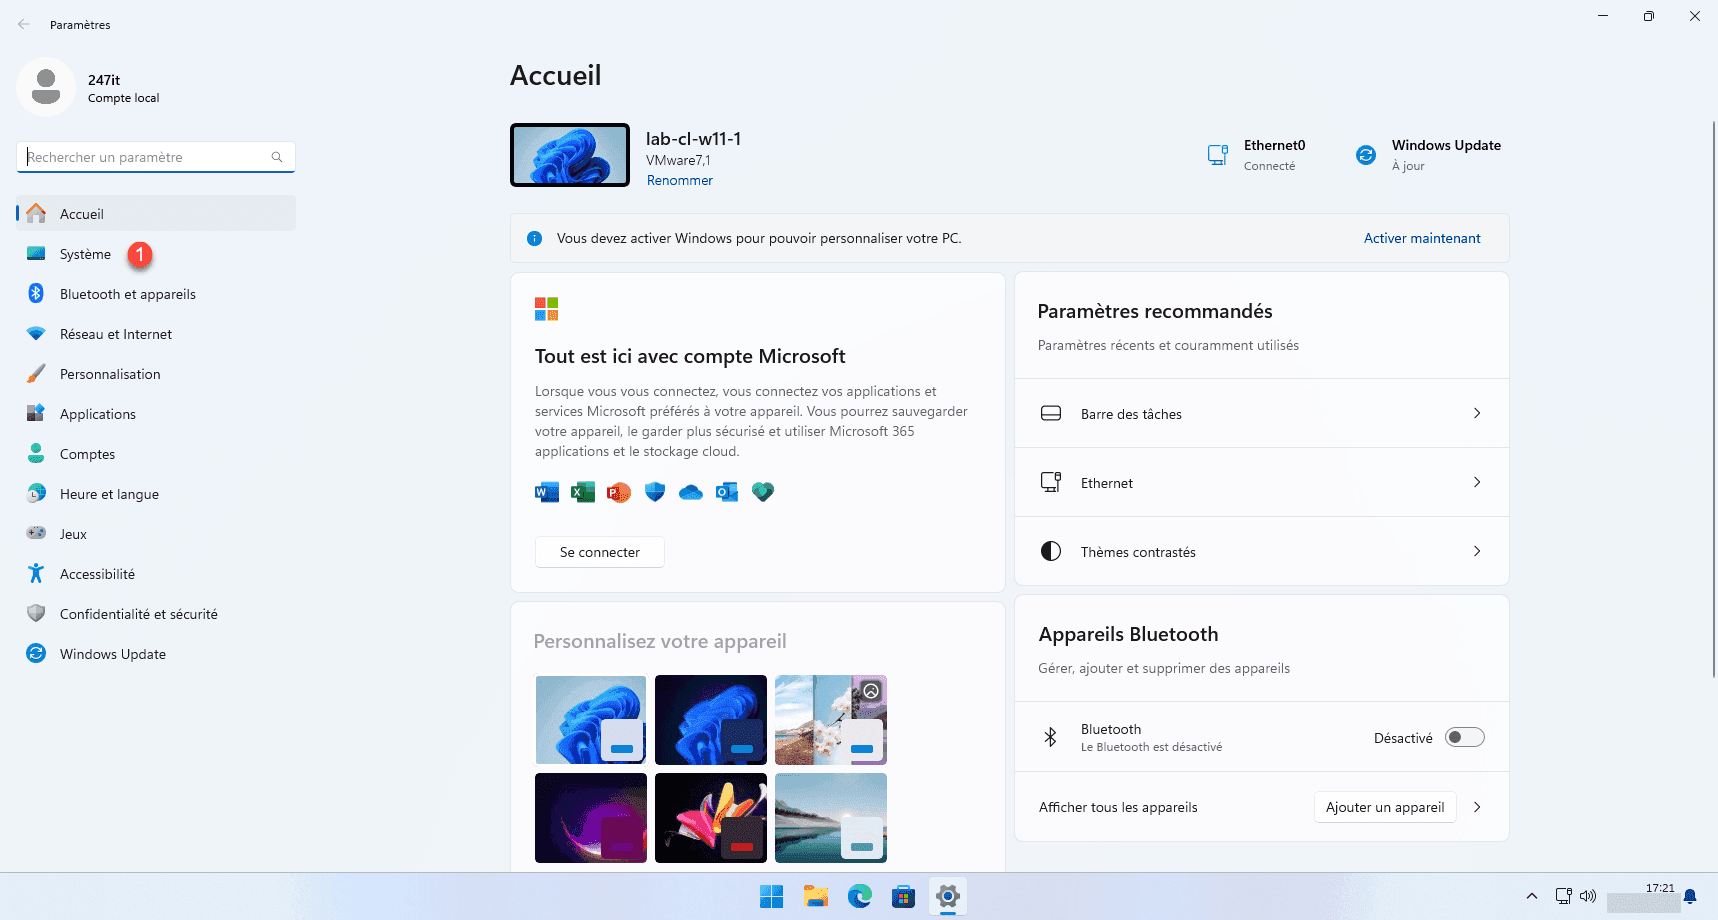
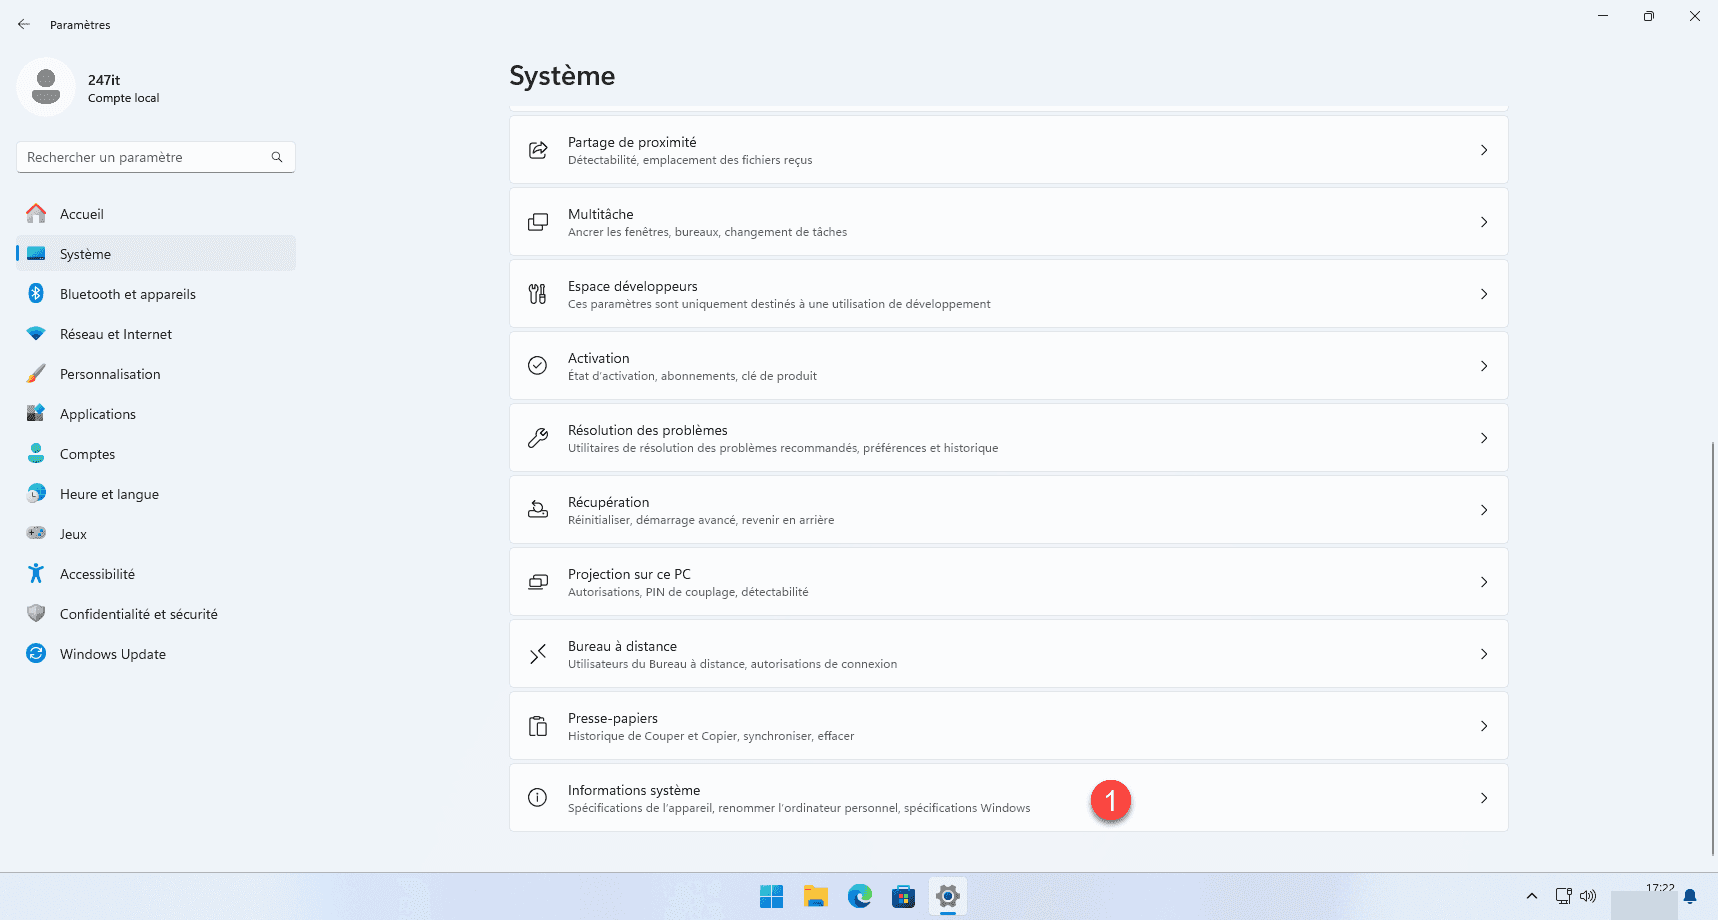
In the System section, find and click System Information 1 at the bottom.
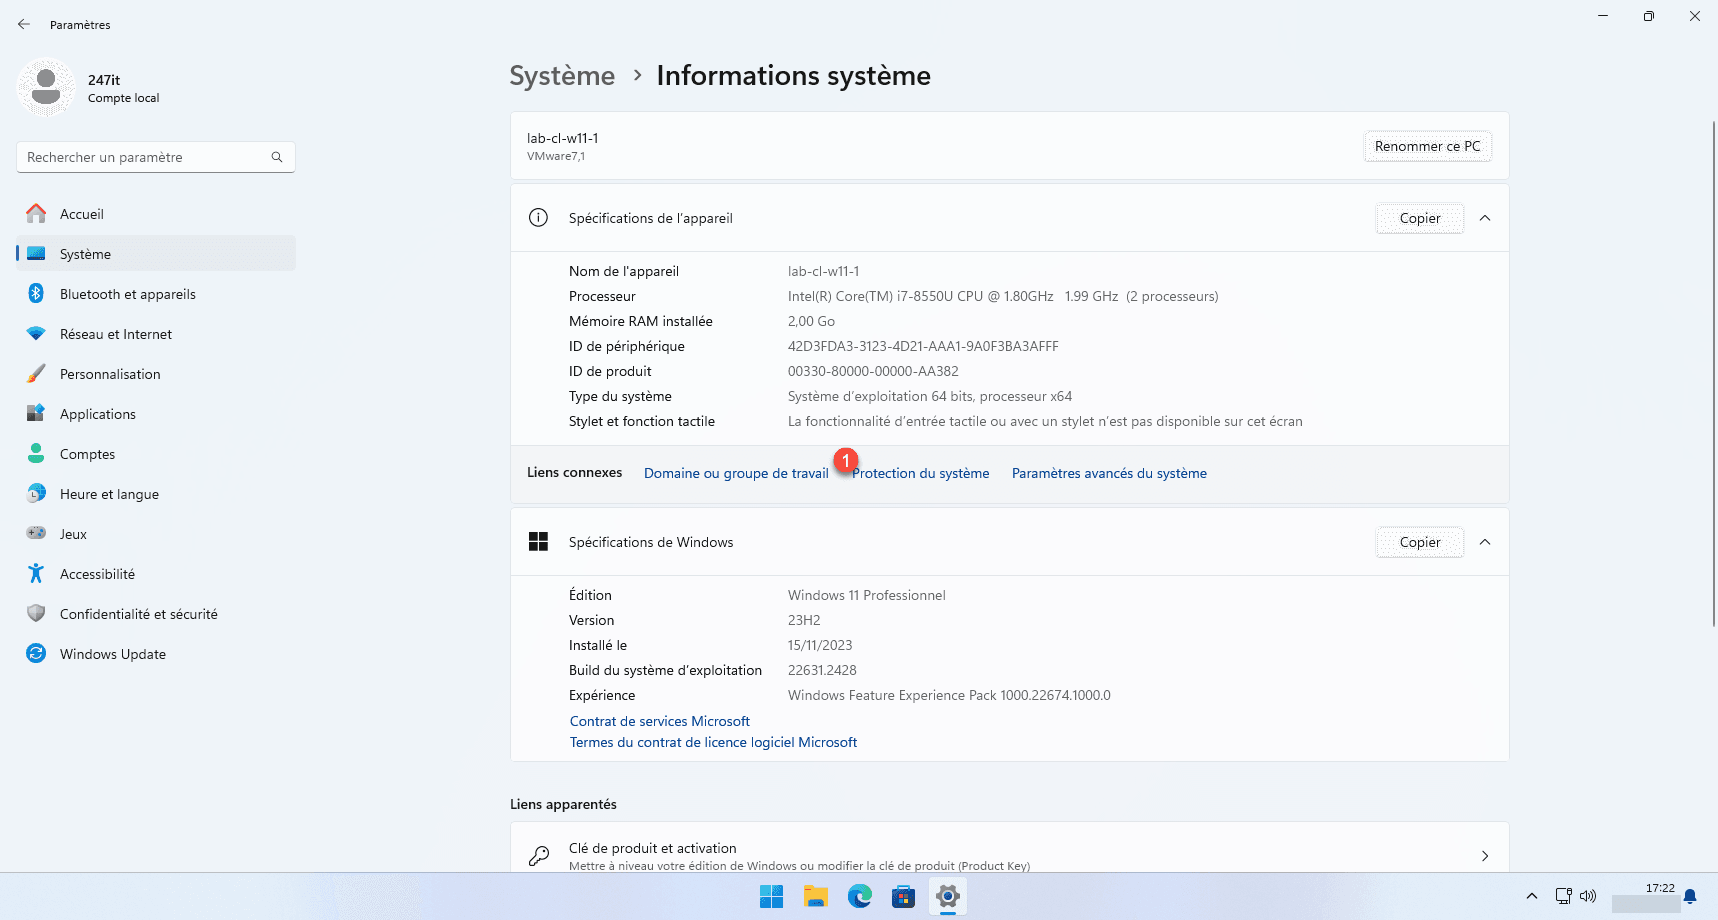
Next, click on “Domain or Workgroup” 1 .
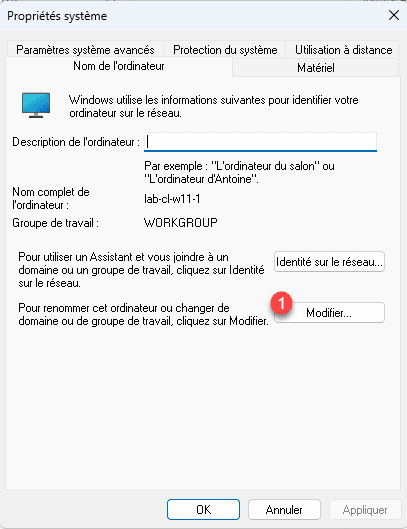
This will open the System Properties window. (There are many ways to open this window; if your keyboard has a Pause key, here’s the shortcut: Windows+Pause or Ctrl+Alt+Pause.) You can also open File Explorer, right-click on “This PC,” and select “Properties.”
In the System Properties window, click the Change button 1 .
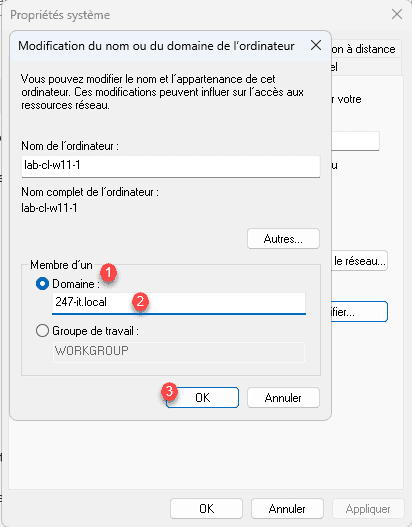
Select “Domain” 1 , enter the domainActive Directory name 2 , and click “OK” 3 .
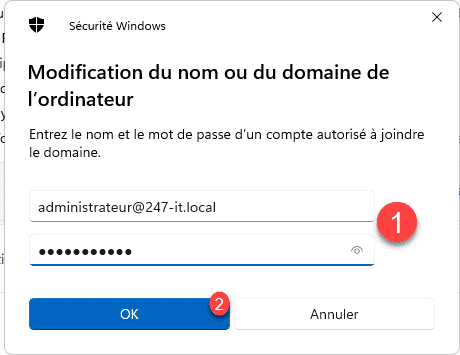
Enter the credentials 1 for a domain user account that has access to the computer, and click OK 2 .
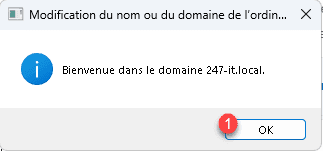
If the join is successful, a “Welcome to the Domain” window will open; click OK 1 to close it.
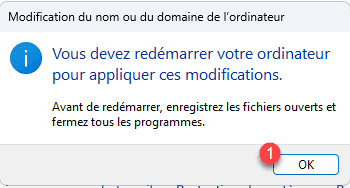
A window indicating that the computer must be restarted will open; close it by clicking OK 1 .
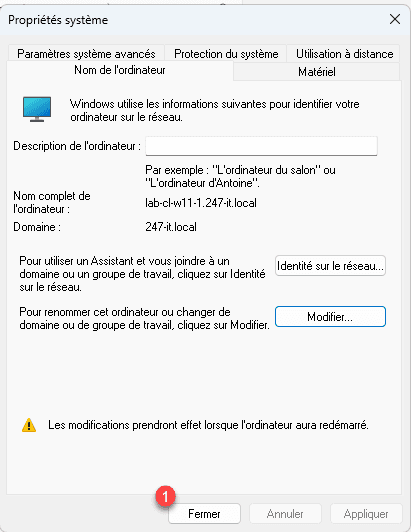
Click Close 1 to exit System Properties.
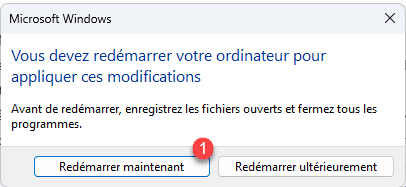
Complete the domain join by clicking Restart Now 1 .
Verify the Windows 11 computer’s domain join
From the Users and ComputersActive Directory console on the domain controller, you can see the Computer object in the Computers container.

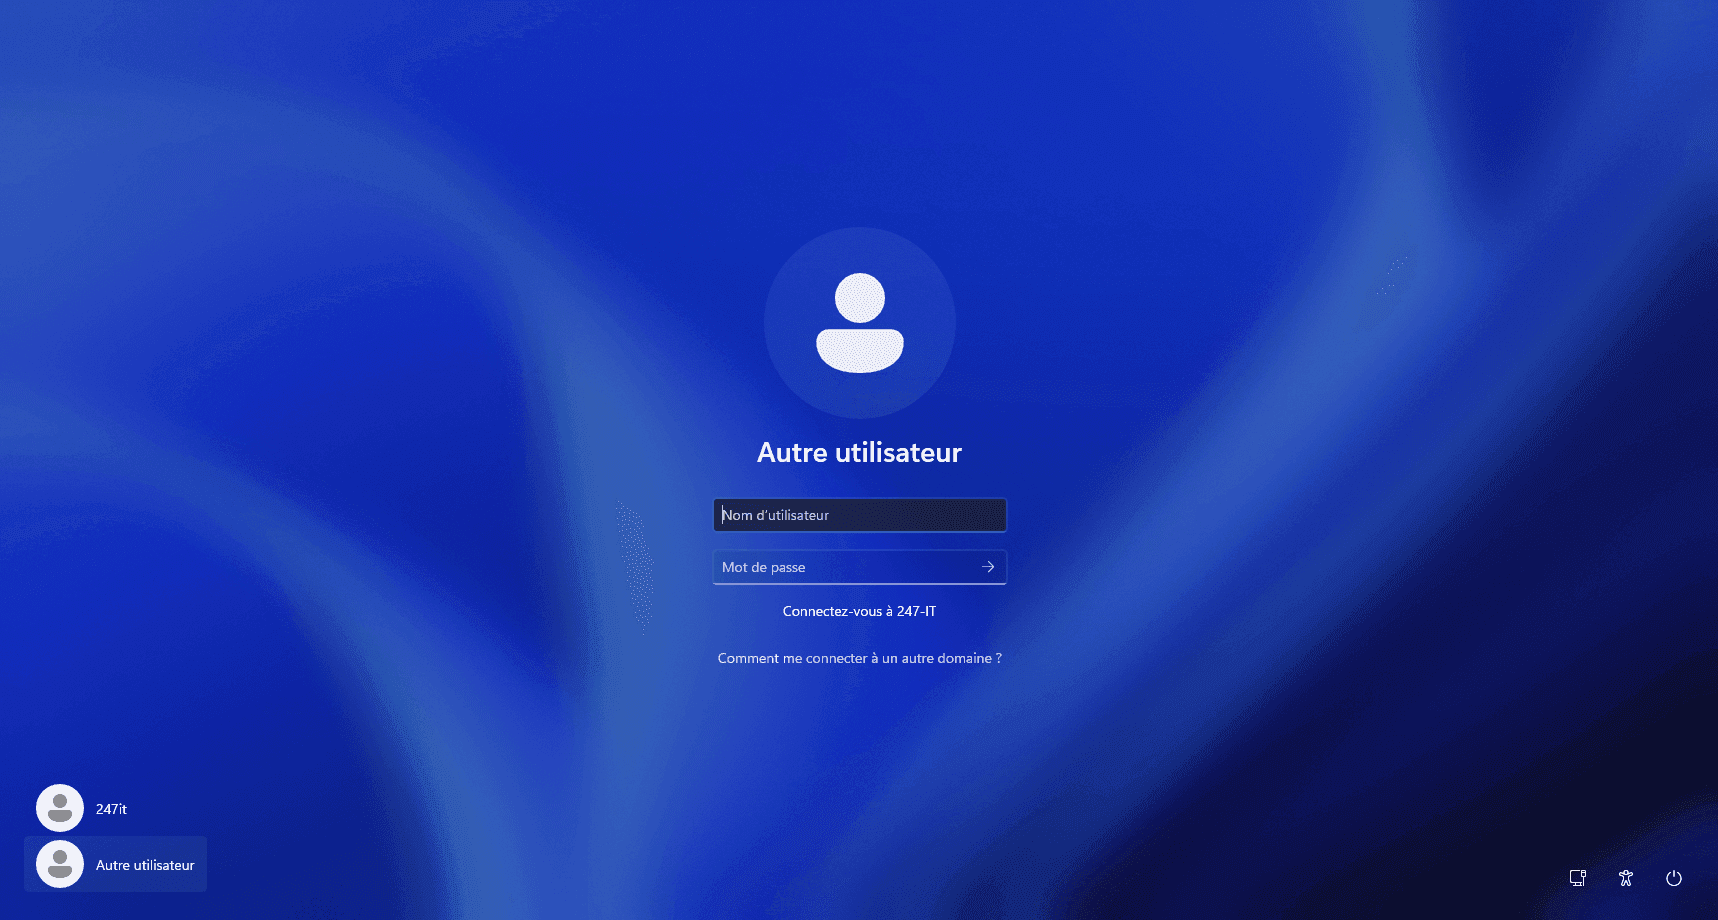
On the computer, in the login window, click “Another user,” and you’ll see “Log on to domain-name-ad” under the Password field.
Active DirectoryYou now know how to join a Windows 11 computer to a domain.