In this tutorial, we will see how in place Windows Deployment Services (WDS).
WDS is role included with Windows Server that allows to put a TFTP server for PXE boot and installation of images.
With these services you can deploy computers (physical or virtual) directly through the network. It is possible to provide an XML response file to automate the deployment as much as possible.
Environment use in this tutorial
- A domain controller server (AD) with the addition of the DHCP role.
- A server dedicated to WDS with a partition dedicated to the role.
- A virtual machine for deployment
It is also necessary to have a Windows ISO (in the tutorial I used that of Windows 2016) for the creation of the boot and installation images. For the creation of the response file, it is also necessary to have ADK installed on a computer.
Installing the WDS role
Like all Windows Server roles, it is possible to use Powershell commands or the GUI to install WDS.
Installation with PowerShell
Open a PowerShell command window as an administrator and enter the following command:
Install-WindowsFeature -Name WDS -IncludeManagementTools
Installation through the GUI
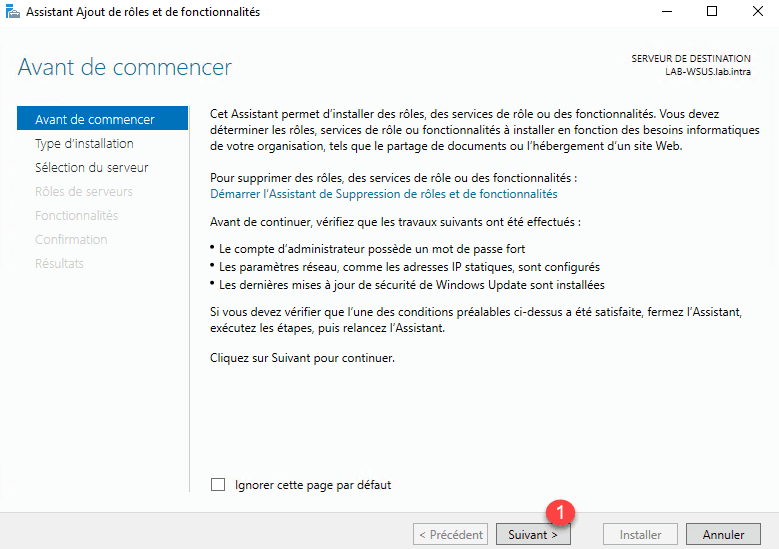
From Server Manager, click Add Roles and Features 1 to open the installation wizard.

When launching the wizard, click the Next 1 button.
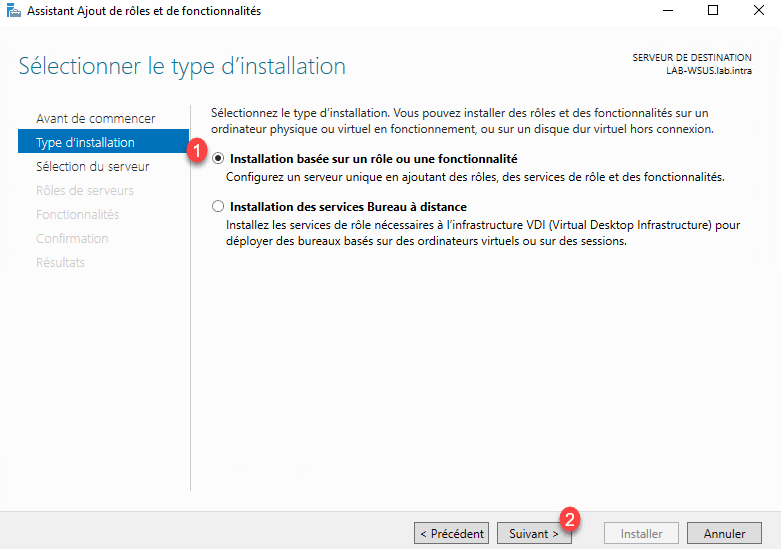
Select Role Based Installation or 1 Functionality and click Next 2 .
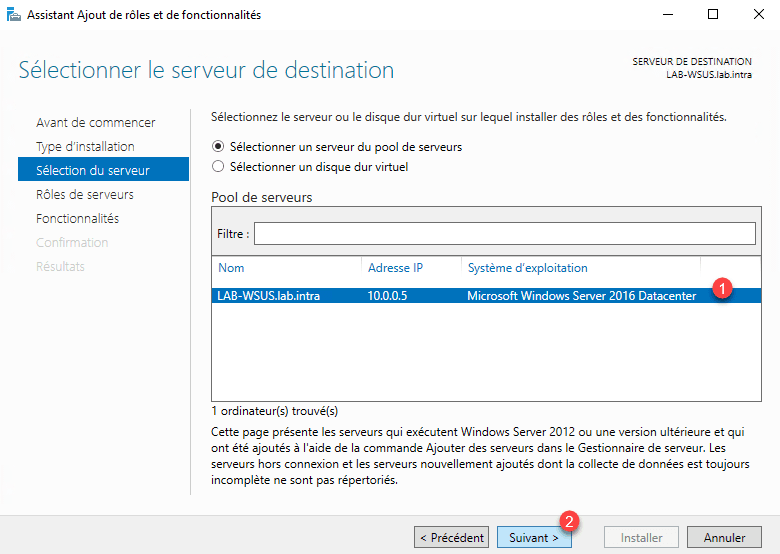
Select the server where WDS will be installed 1 and click Next 2 .
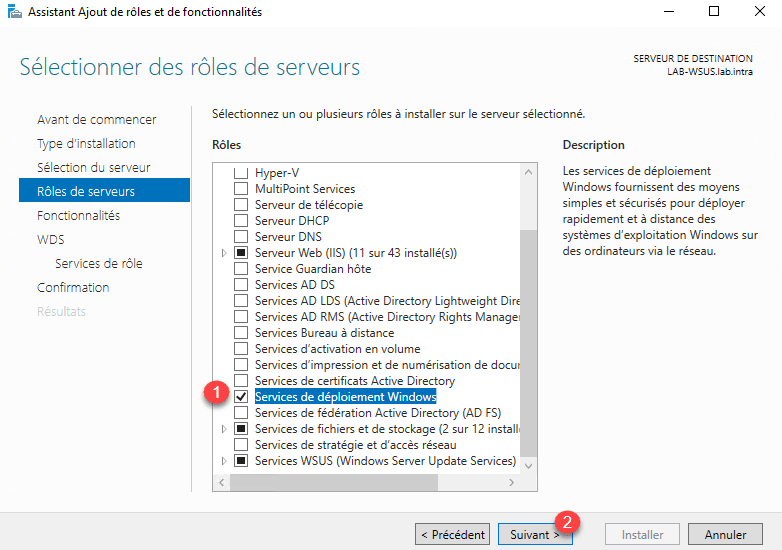
In the list of roles, check the box for Windows Deployment Services 1 .

Click Add Features 1 .

Now that the Windows Deployment Services role is ticked 1 , click Next 2 .
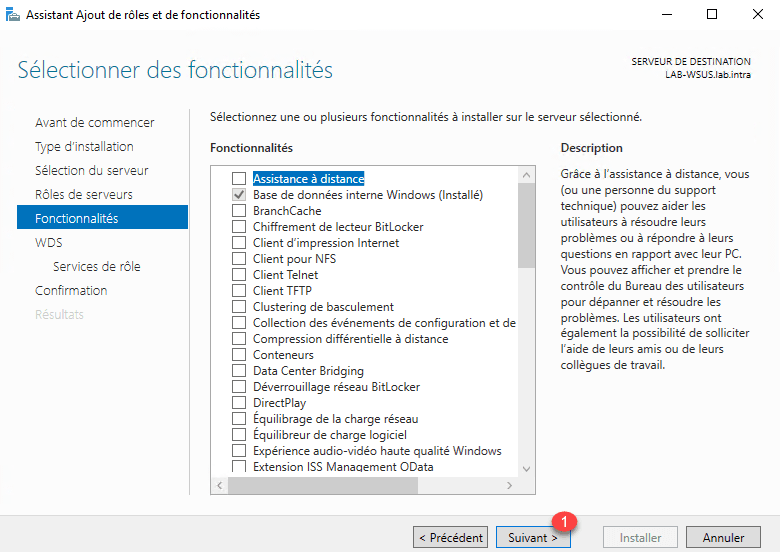
Skip the list of features by clicking Next 1 .
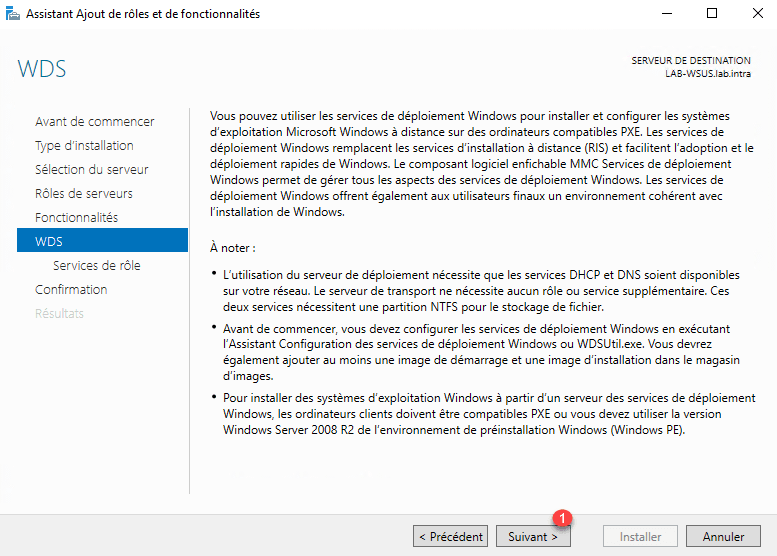
A summary of the WDS role is displayed with the necessary prerequisites for operation, how the requirement is for a DHCP server. Click Next 1 .
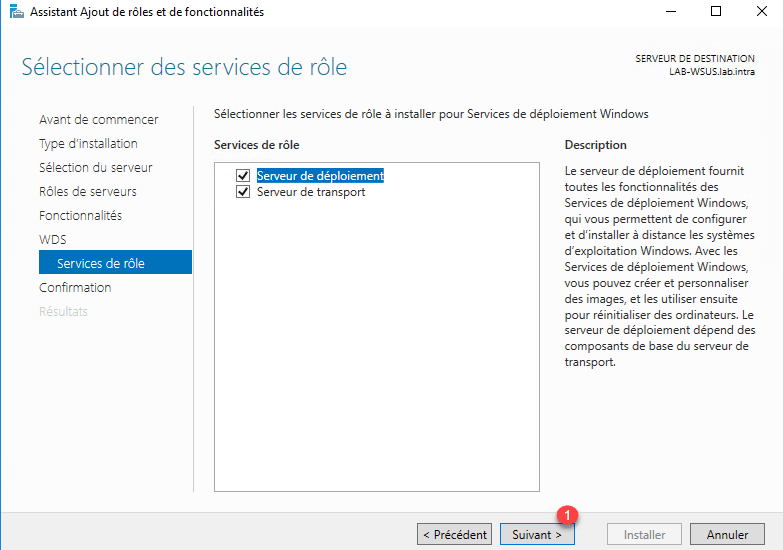
Leave both services checked, click Next 1 .
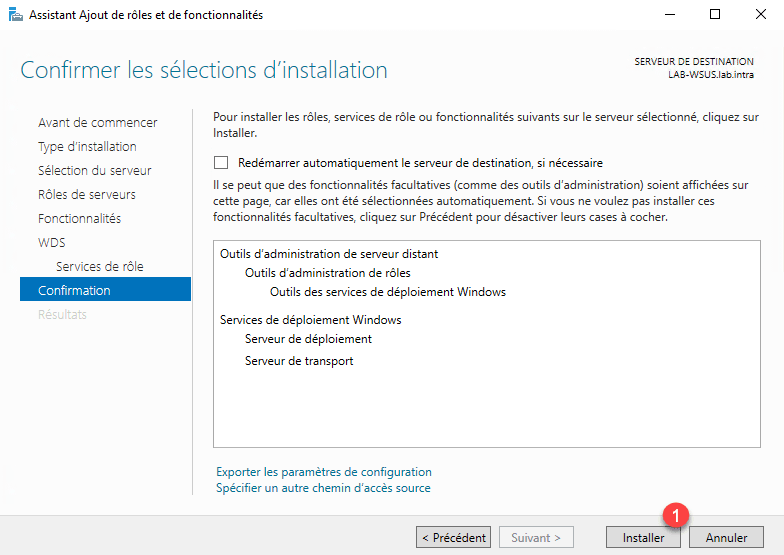
Click on Install 1 .
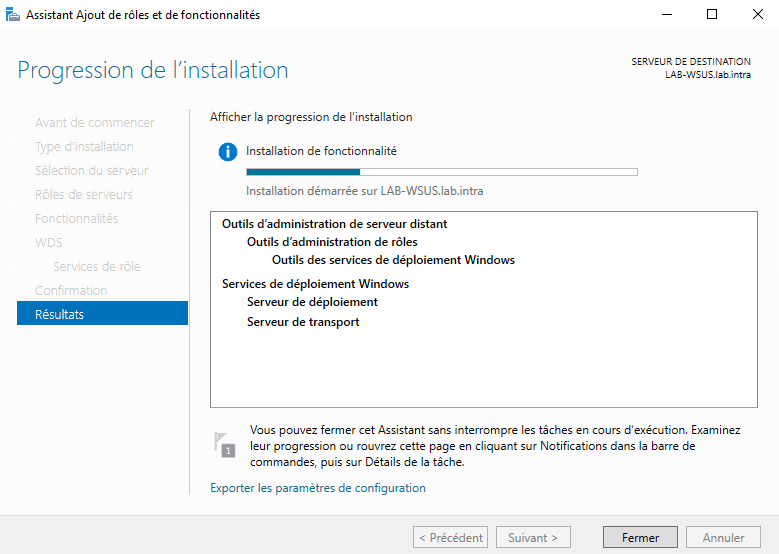
Wait during the installation …
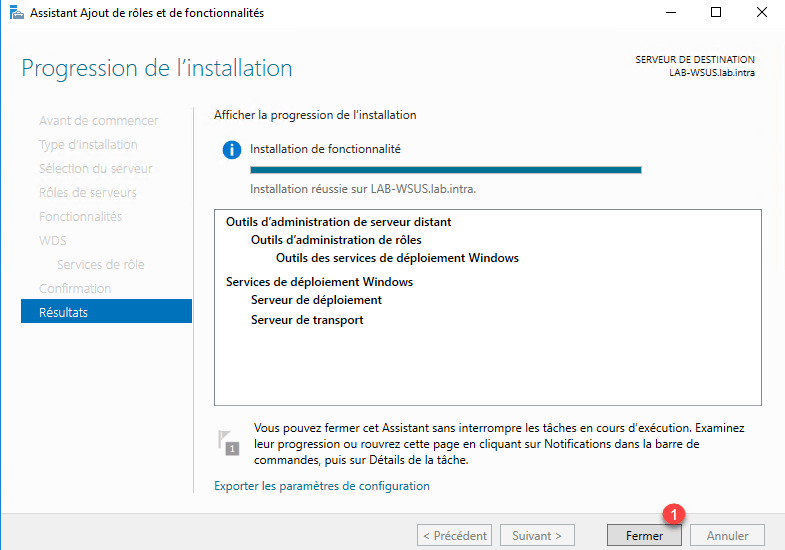
When the installation is complete, exit the wizard by clicking Close 1 .
Initializing WDS
Now that the WDS role is installed, it must be initialized (configured) with its working directory.
Open the Windows Deployment Services Administration Console.

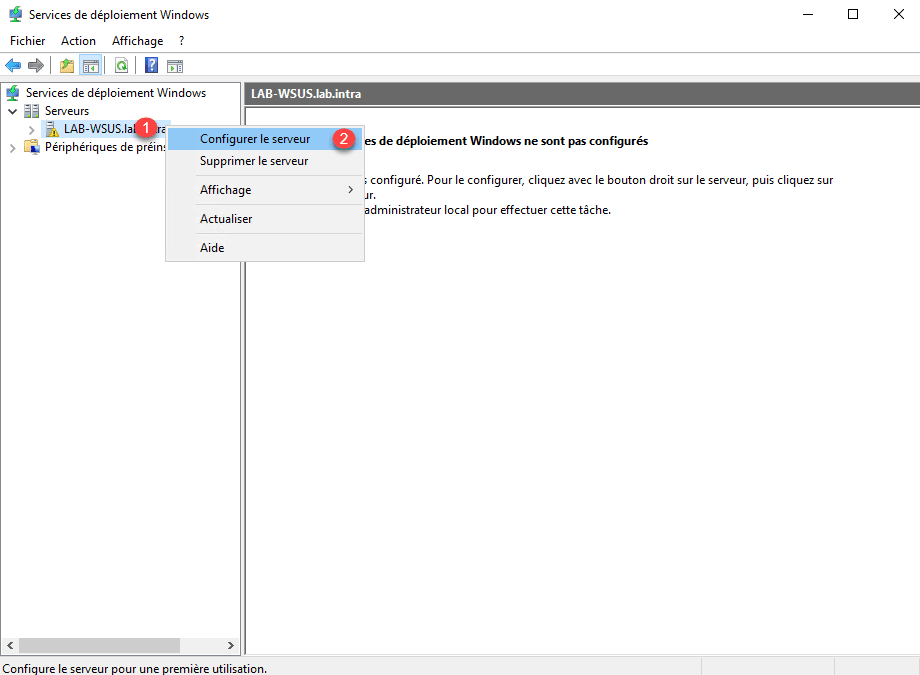
From the console, we see that warning pictogram on the server because it is not configured. Right-click on 1 and click on Configure Server 2 .
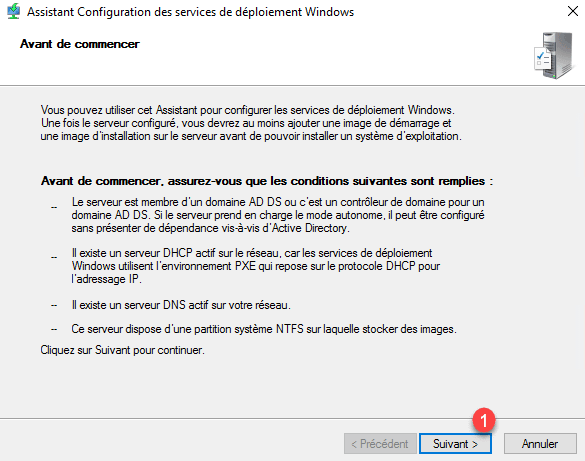
The configuration wizard, the first window reminds you of the prerequisites required to operate the services, click Next 1 .
Select the integration option in the environment, in the tutorial we will choose Integrated to Active Directory 1 and click Next 2 .
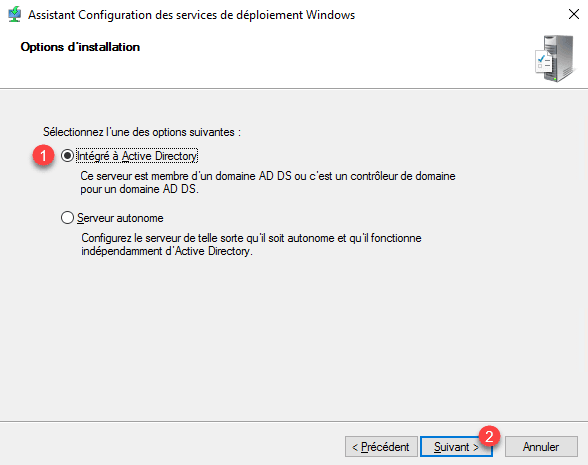
Since Windows 2016, it is possible to install the WDS service out of Active Directory.
Enter the path to create the necessary 1 folder for WDS to work properly and click Next 2 .
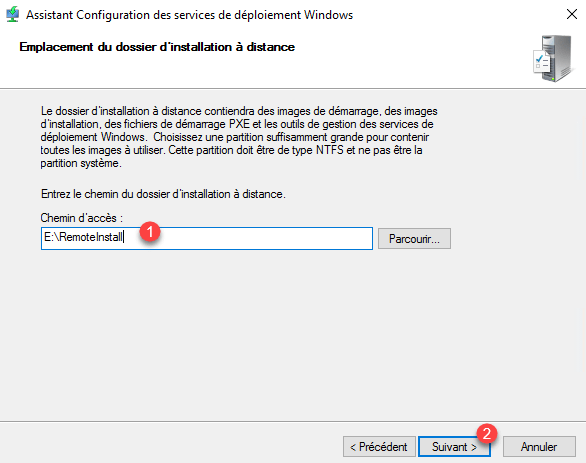
This directory will contain all the items distributable by the WDS services (Startup image, Driver installation images …).
Choose Reply to all client computers (known and unknown) 1 and click Next 2 .
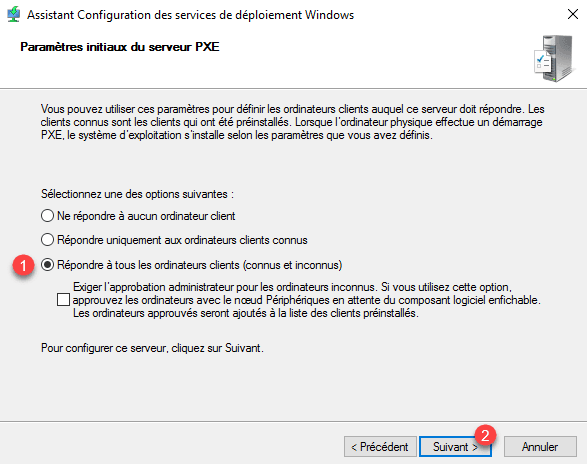
If the Reply only to known client computers option is selected, you must first inform the computers in the WDS interface, otherwise the computers will not receive an IP address at boot PXE.
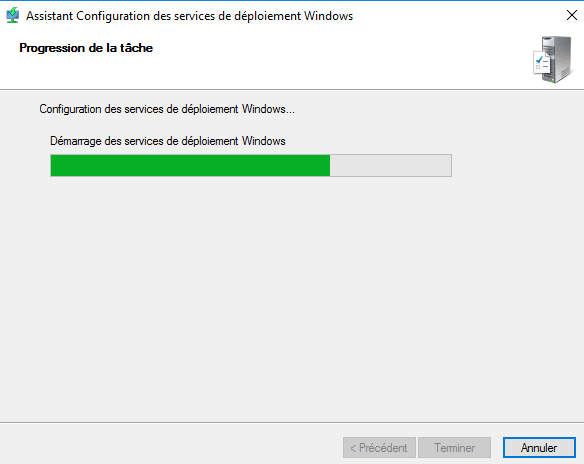
Wait while configuring WDS services …
The configuration is finished, uncheck Add images to server now 1 box and click Finish 2 .
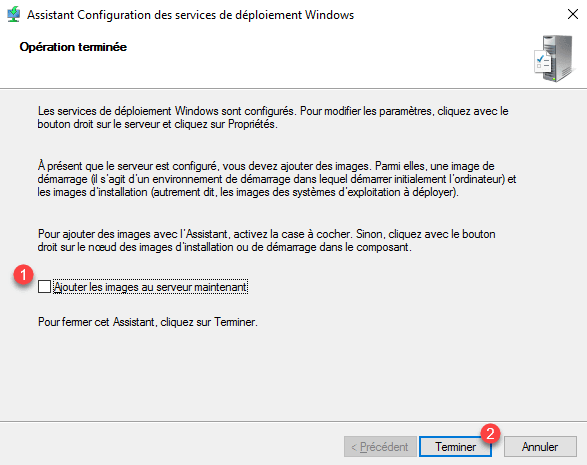
WDS services are now ready to be administered to add images.
Add a boot image
Boot images are WinPE environments that allow the installation of Windows. To add the boot image, you have to have access to a Windows ISO, we will use the boot.wim which is in it.
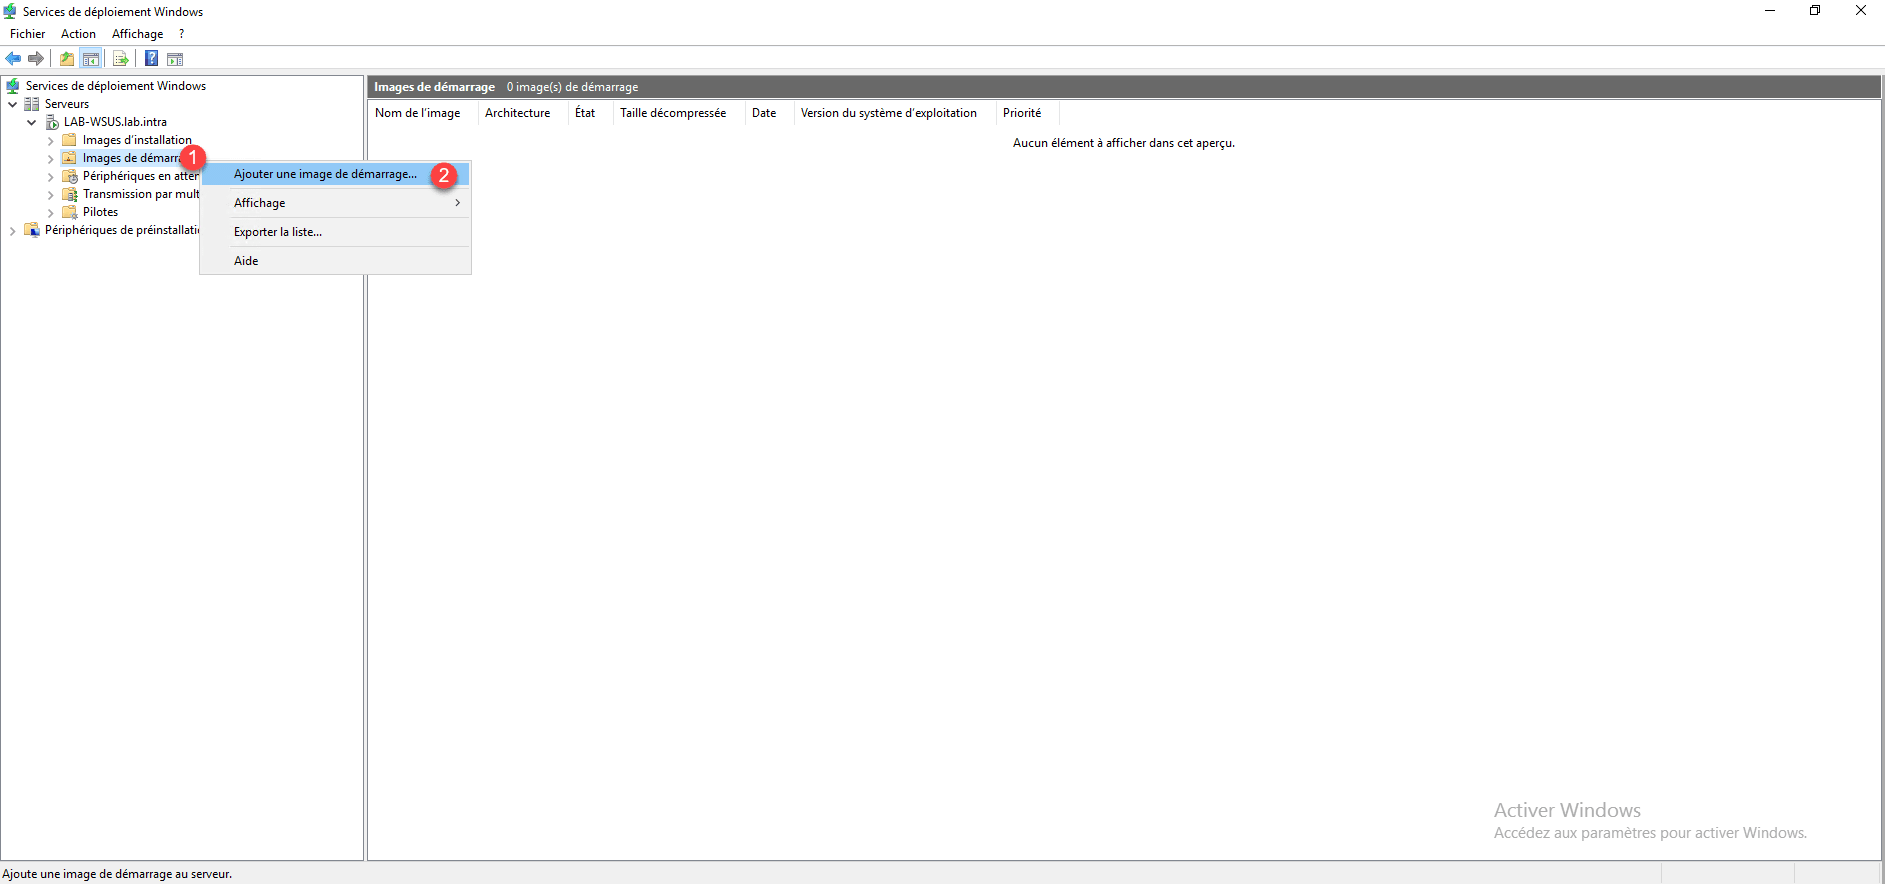
On the WDS console, right-click on the Boot Image 1 folder and click Add boot image 2 .
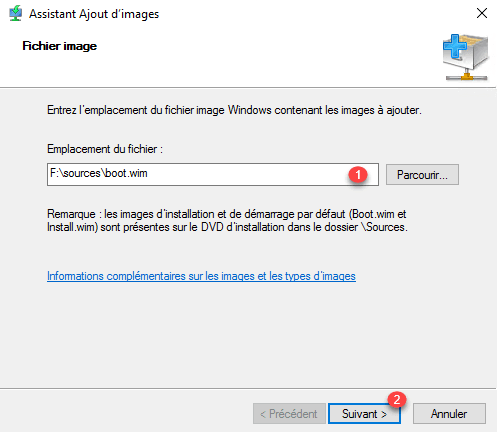
Get the boot.wim file 1 on a Windows support then click Next 2 .
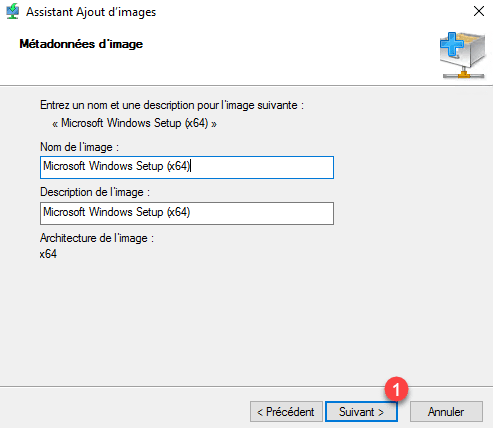
If necessary change the name of the image, click Next 1 .
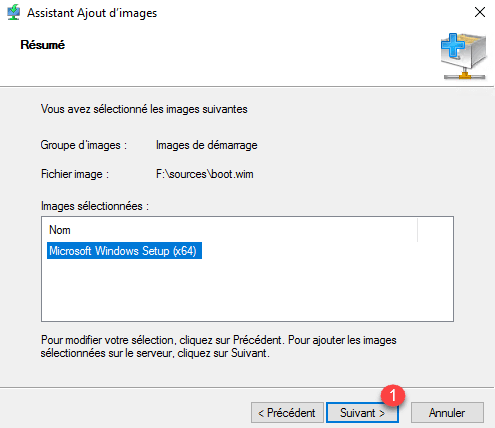
Click Next 1 to confirm the addition.
Wait while adding the image …
Once the image has been added, exit the wizard by clicking on Finish 1 .
The image is available in the Startup Images folder.
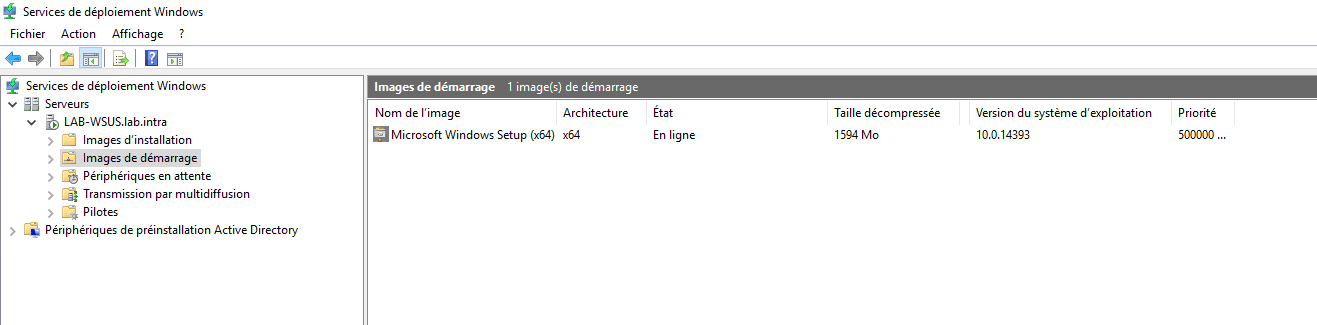
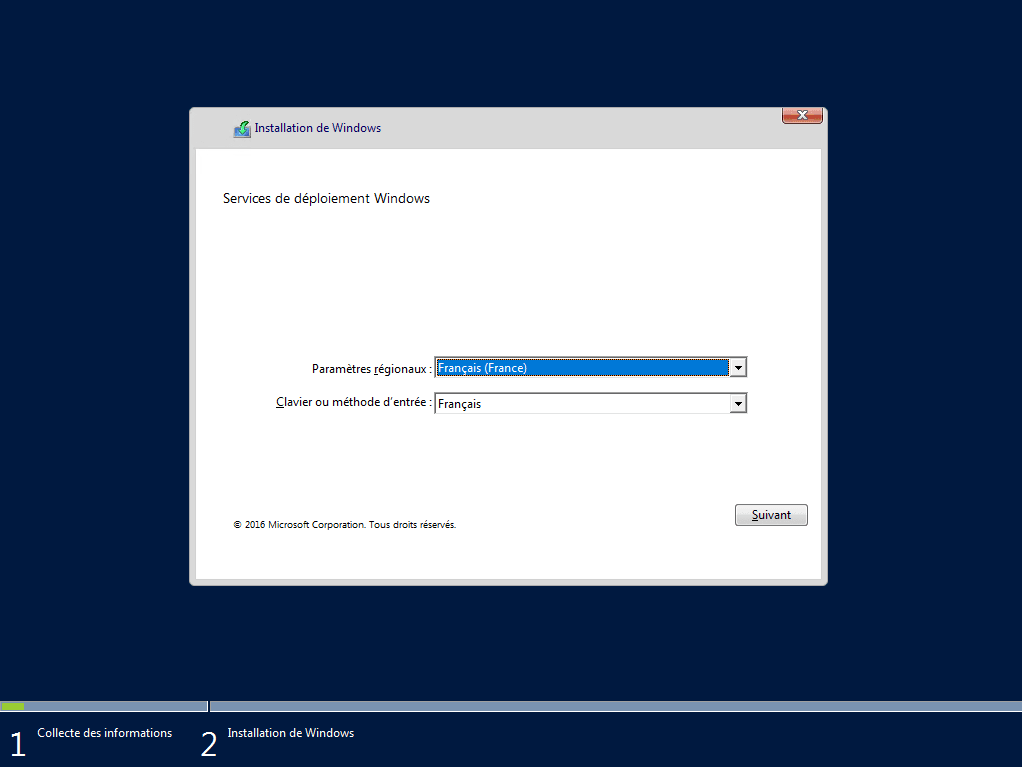
We can now test the proper functioning of the WDS services by starting on the network a computer and see if the WDS server responds. At the choice of language, shut down the computer. The boot image has loaded, it will not be possible to go further because there is no installation image.
If you are using a physical machine, it is possible that the boot image does not load due to a driver error, we will see later in the tutorial how to add drivers to WDS services and how to integrate them into the boot images and capture.
Add an installation image
The installation images are the Windows operating systems that can be distributed by the WDS services. Images can either be retrieved from a Windows DVD or captured from a reference station. In the WDS console, they are stored in groups of images that are represented by subfolders.
Create an image group
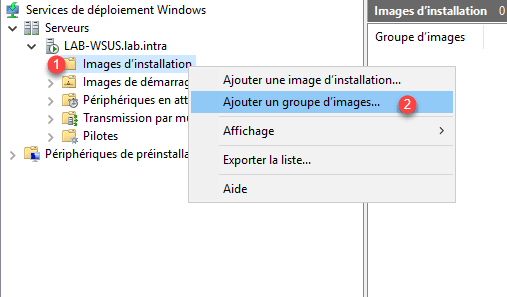
From the WDS Administration Console, right-click on Installation Images 1 and click Add Image Group 2 .
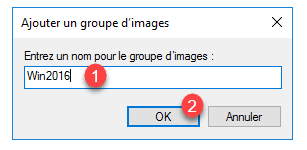
Enter the name of the new group 1 and click OK 2 .
The group is now added to the Installation Image folder.
Add a Windows image
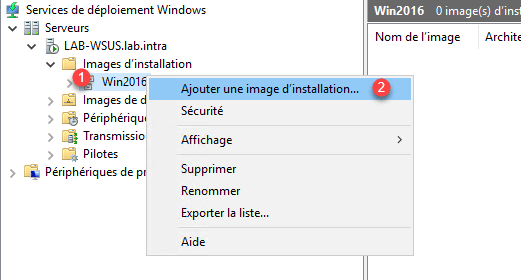
Right-click on group 1 and click on Add an installation image 2 .
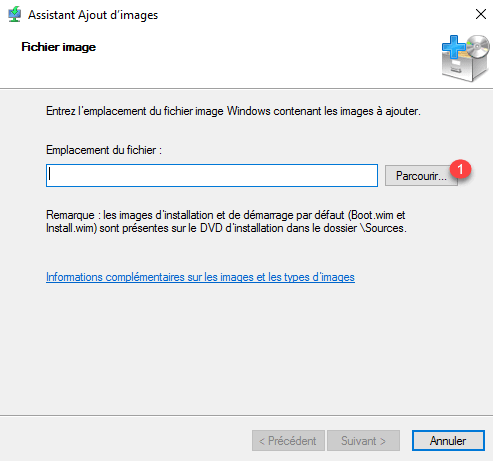
When launching the wizard, click on Browse 1 to get the image in Wim format.
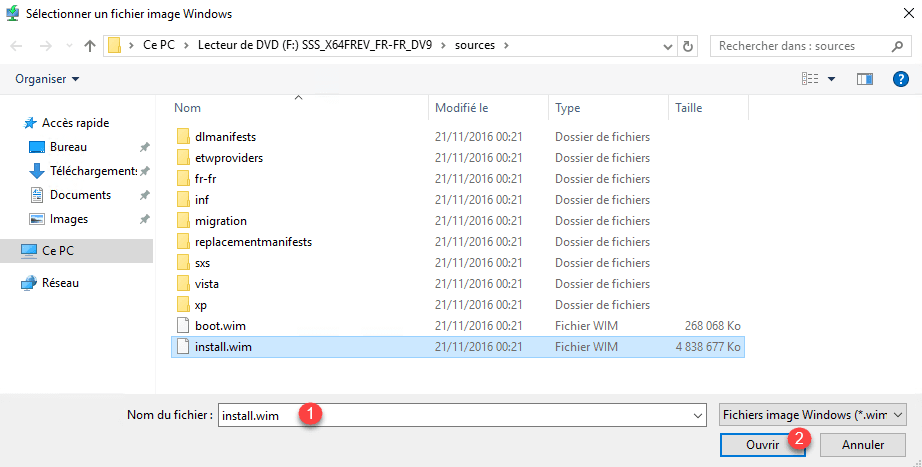
Select the image in wim 1 format and click on Open 2 .
The selected image, click Next 1 .

On ISO Windows, there are often several versions, check the versions to import 1 and click Next 2 .
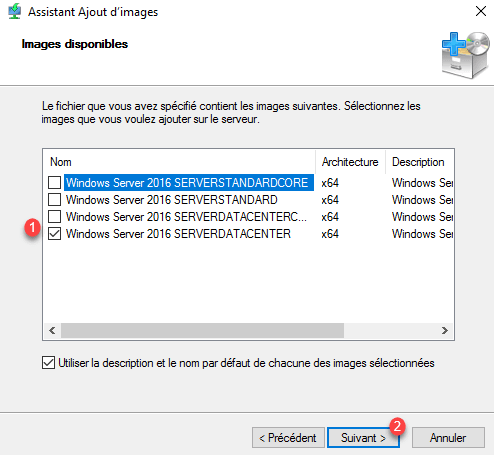
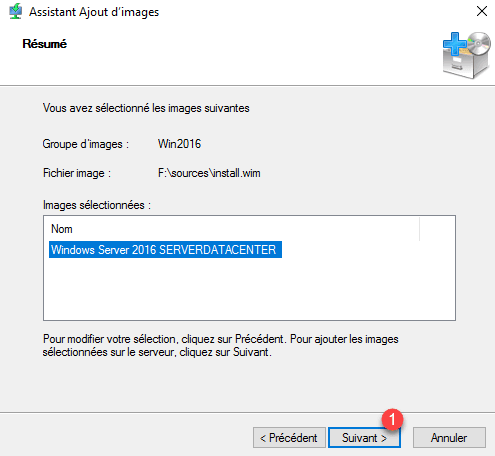
Click Next 1 to confirm adding the image to WDS.
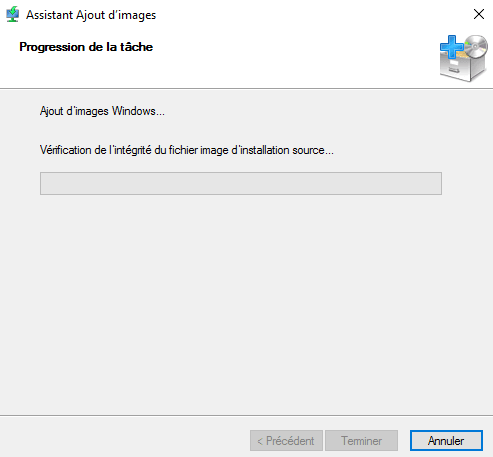
Wait while adding the image …
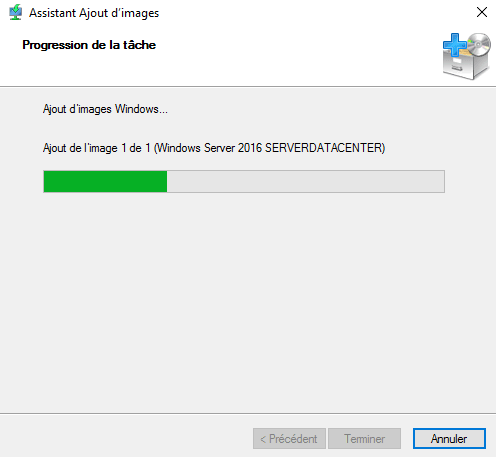
Once the image is added to the WDS service, click Finish 1 to close the wizard.
The installation image is now available in the group.

Deploying Windows through WDS services
The server is now ready to deploy Windows over the network.
To test the WDS services, I recommend for the moment to do it from a virtual machine, because we have not yet seen the addition of driver.
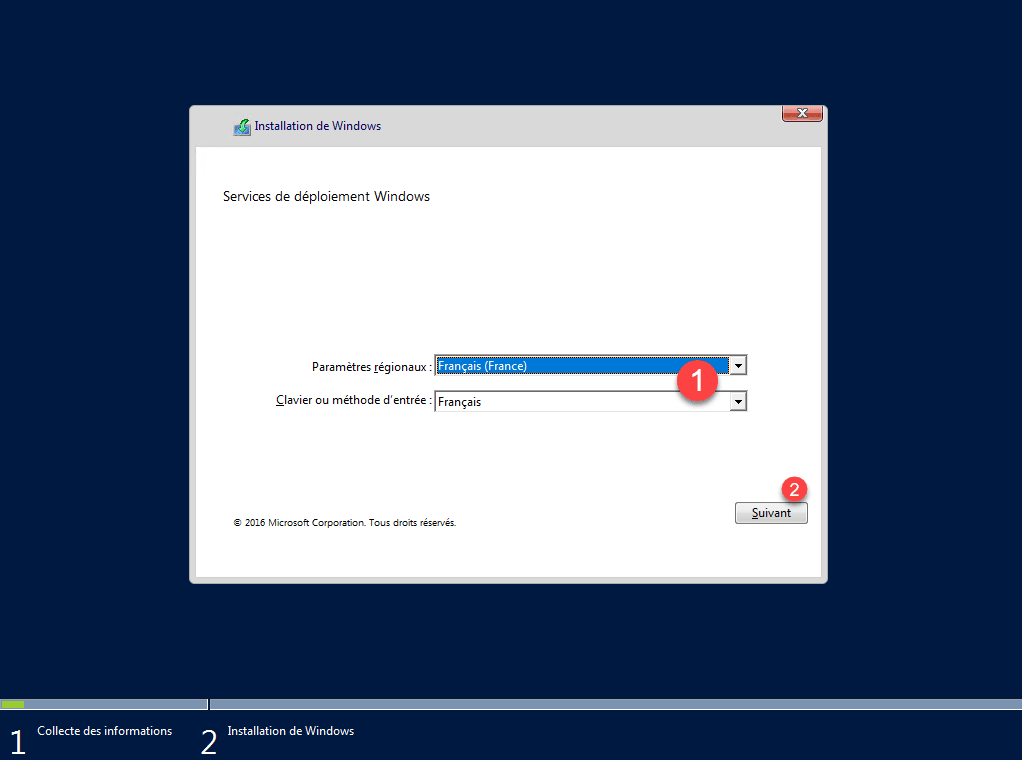
Start on the network a computer, loading the image, choose the language and the keyboard 1 and click Next 2 .
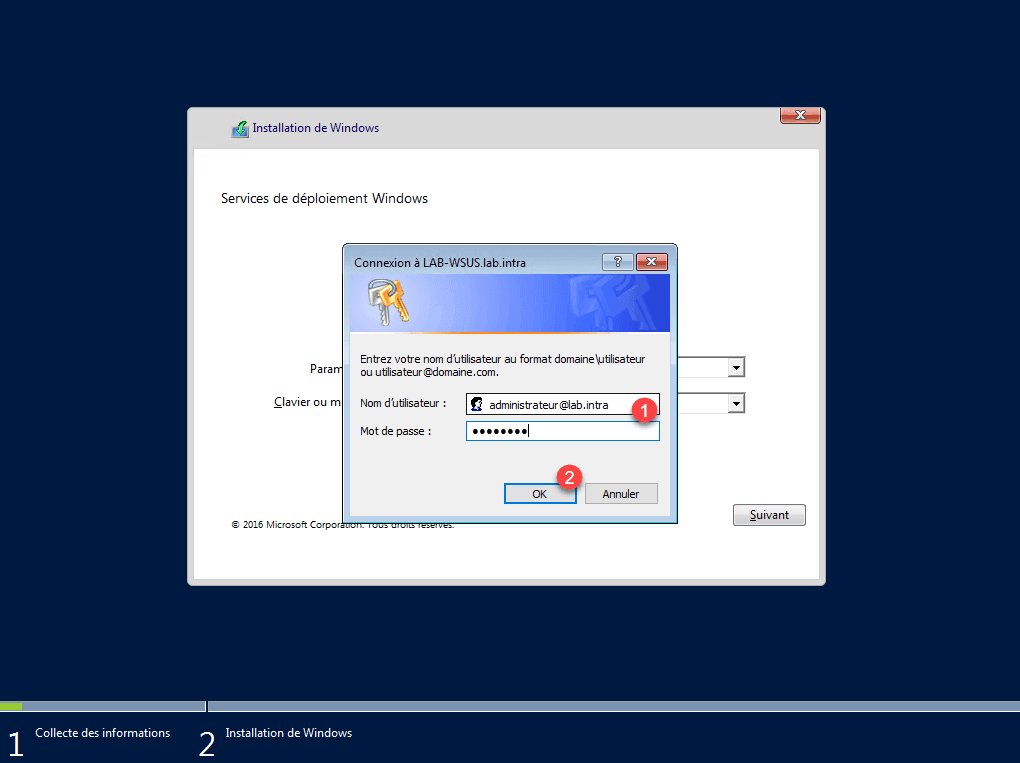
An authentication window opens, enter the credentials of a 1 administrator account and click on OK 2 .
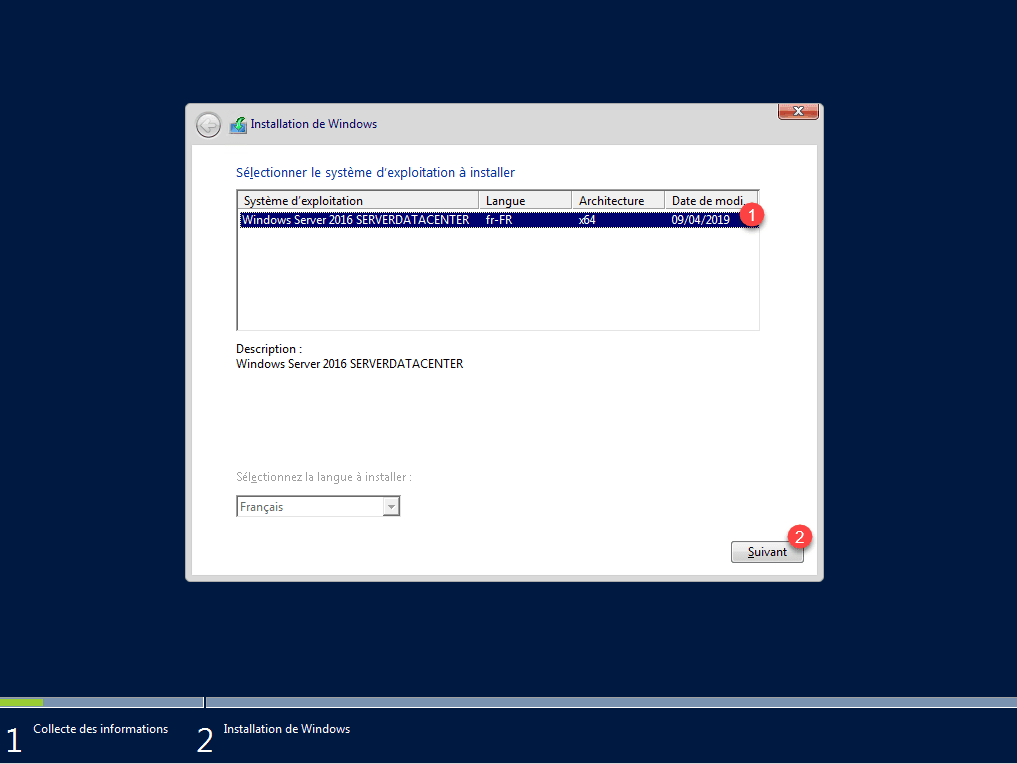
Select image installed 1 then click Next 2 .
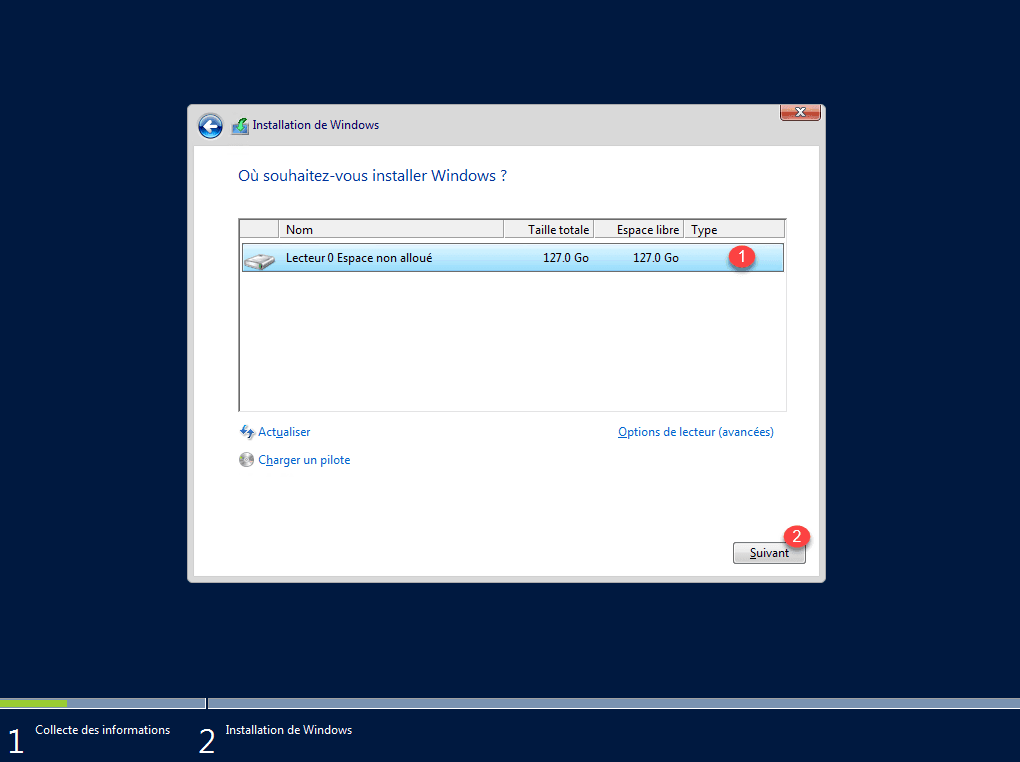
Choose the disk for Windows installation 1 and click Next 2 .
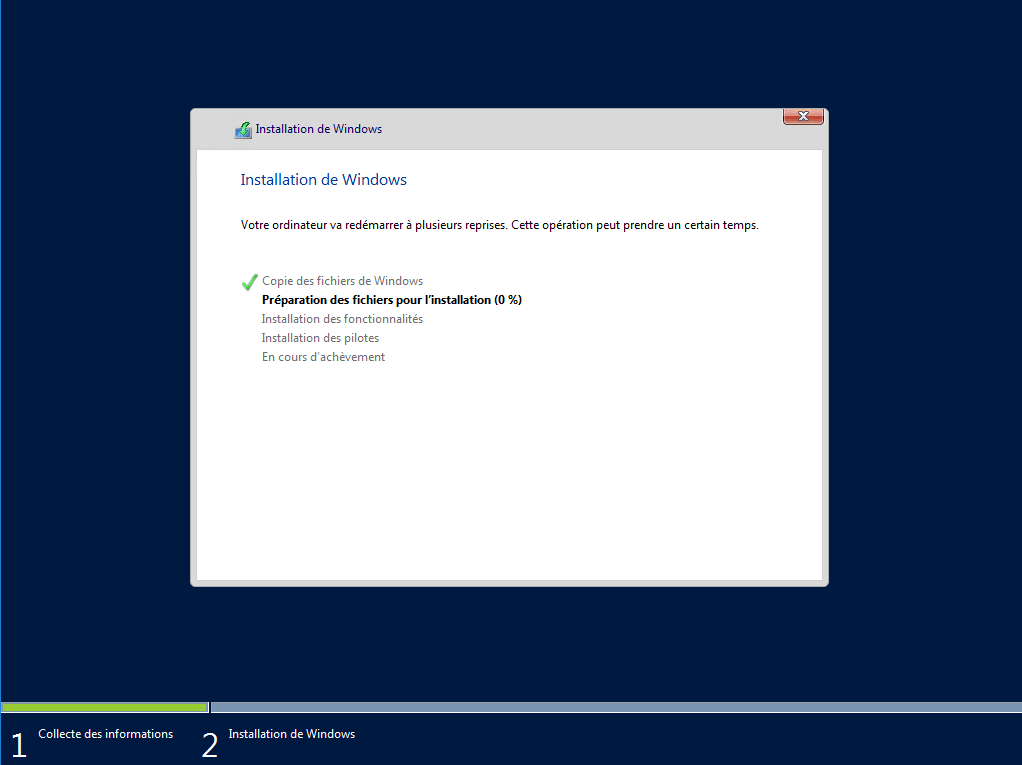
Wait while deploying Windows on the computer …
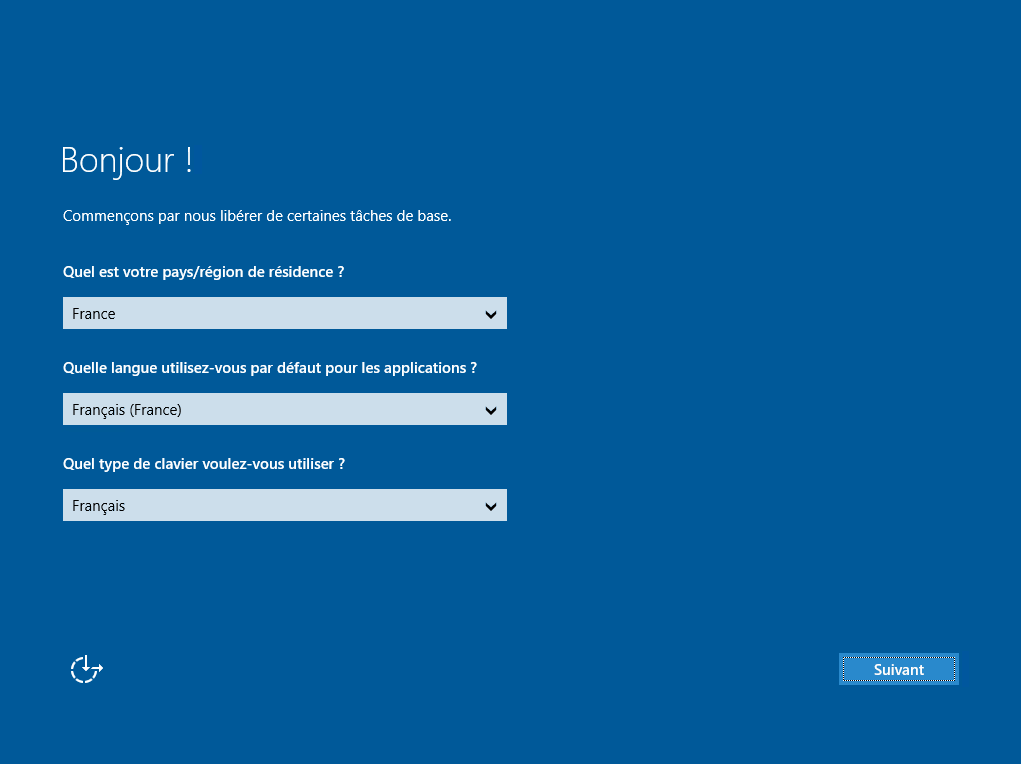
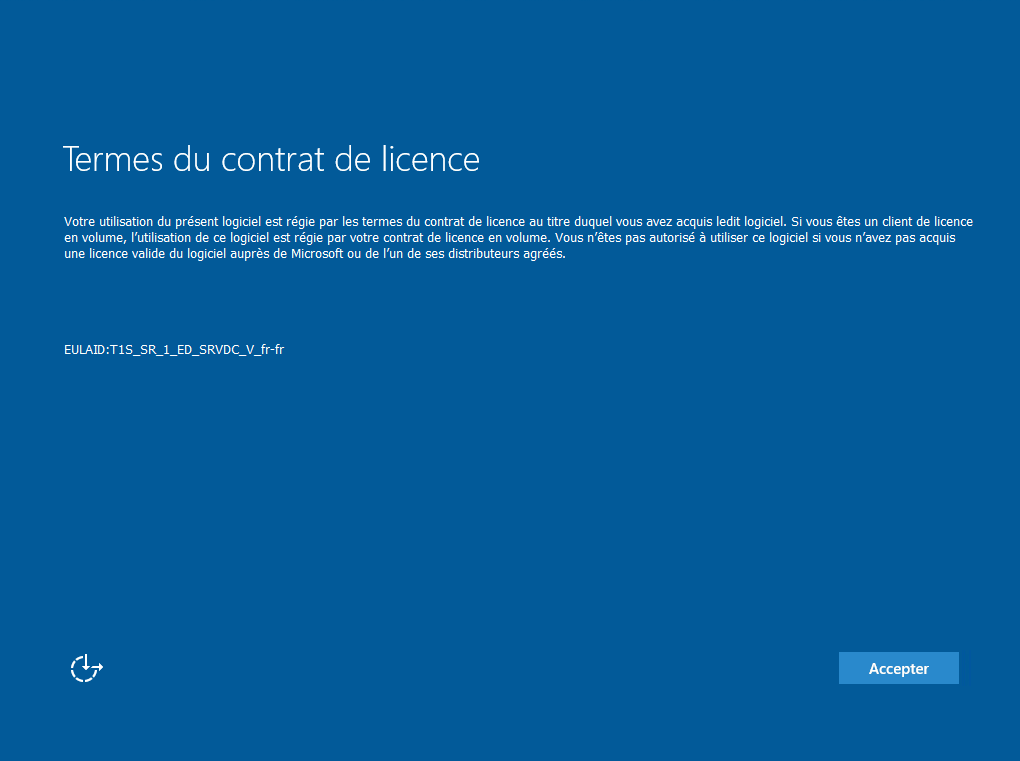
Windows is now installed, all you have to do is follow the post-installation wizard …
Now that the WDS services are functional, we will see how to optimize the deployment of Windows with a response file to limit the number of interventions and optimize the installation.
Unattend.xml response file
In order to create an XML response file, you must:
- Windows System Image Manager (SIM) available during ADK installation
- Copy the install.wim file from the Windows ISO to the computer.
The answer file that we will do will be given to the WinPE environment to avoid choosing the language and to enter the login and installation of Windows to avoid having to follow the post installation wizard. .
Open SIM also called Installation Management Wizard.

The first step is to generate a catalog of parameters, right-click on Select a WIndows image or catalog file 1 and click on Select Windows image 2 .

Select the file install.wim 1 (this must be a writable folder) then click on Open 2 .

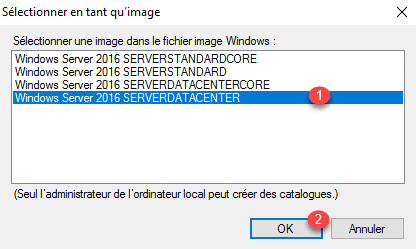
Choose a version of Windows 1 and click OK 2 .
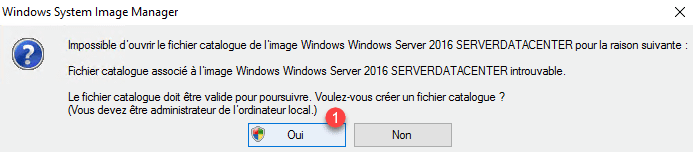
Click Yes 1 to generate the catalog …
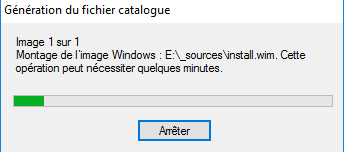
Wait during the generation …
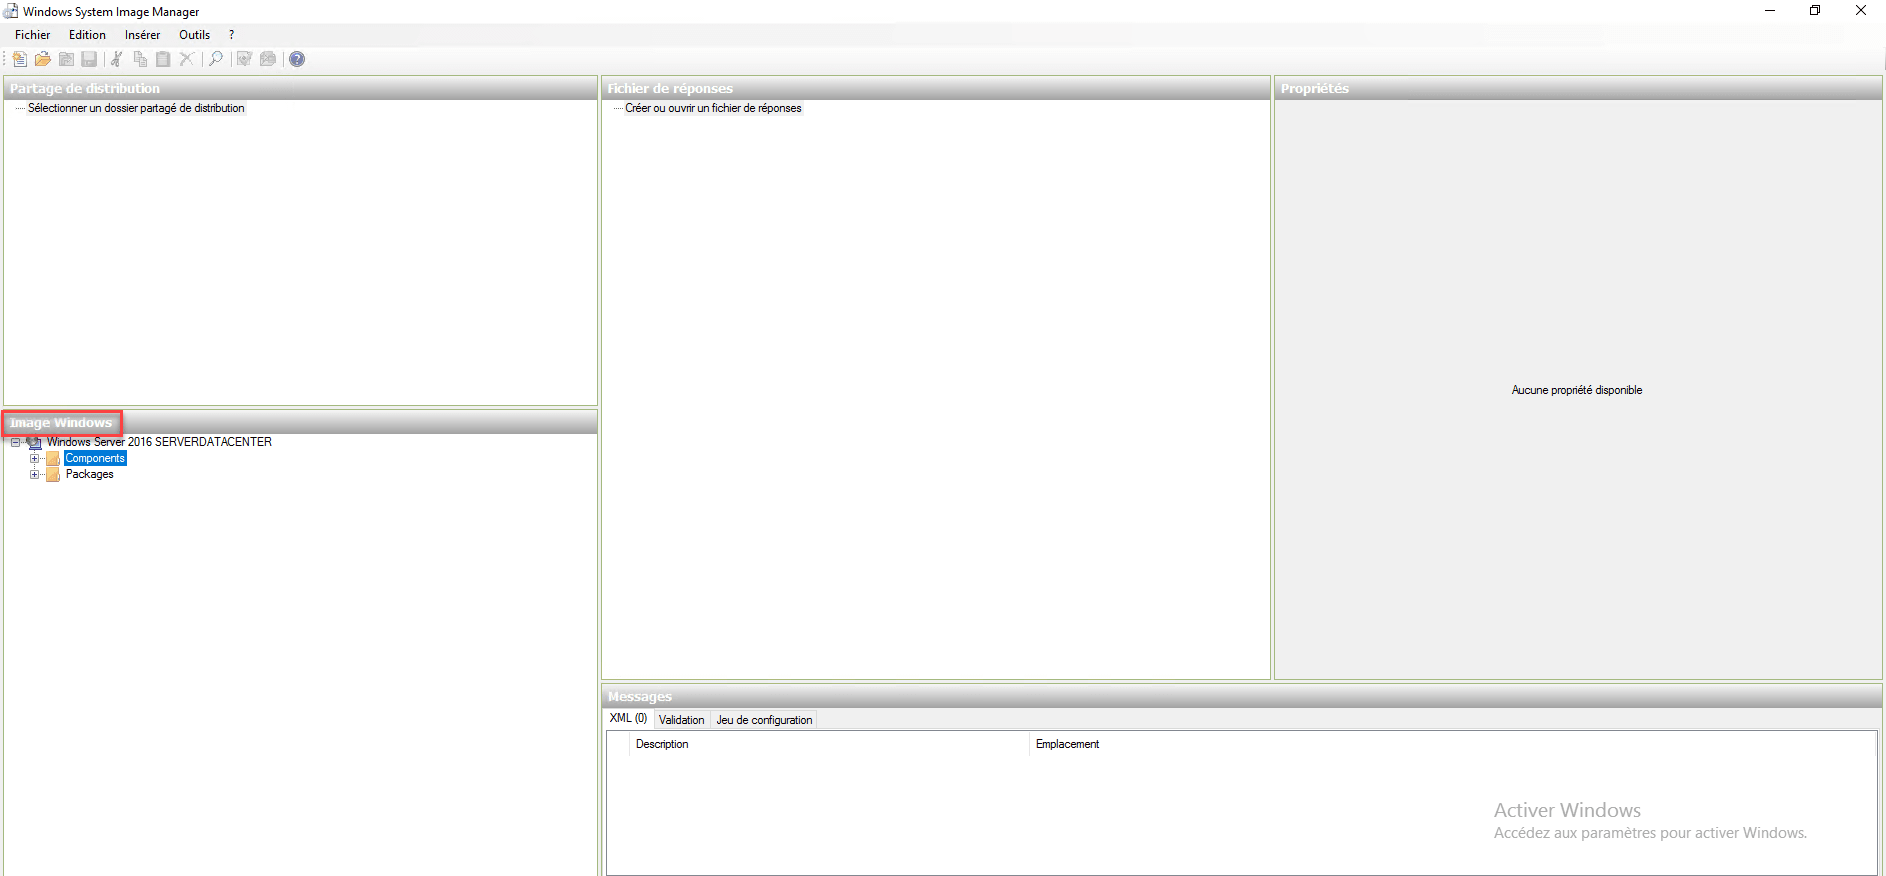
Once the catalog is generated, the elements are available in the Windows Image section.
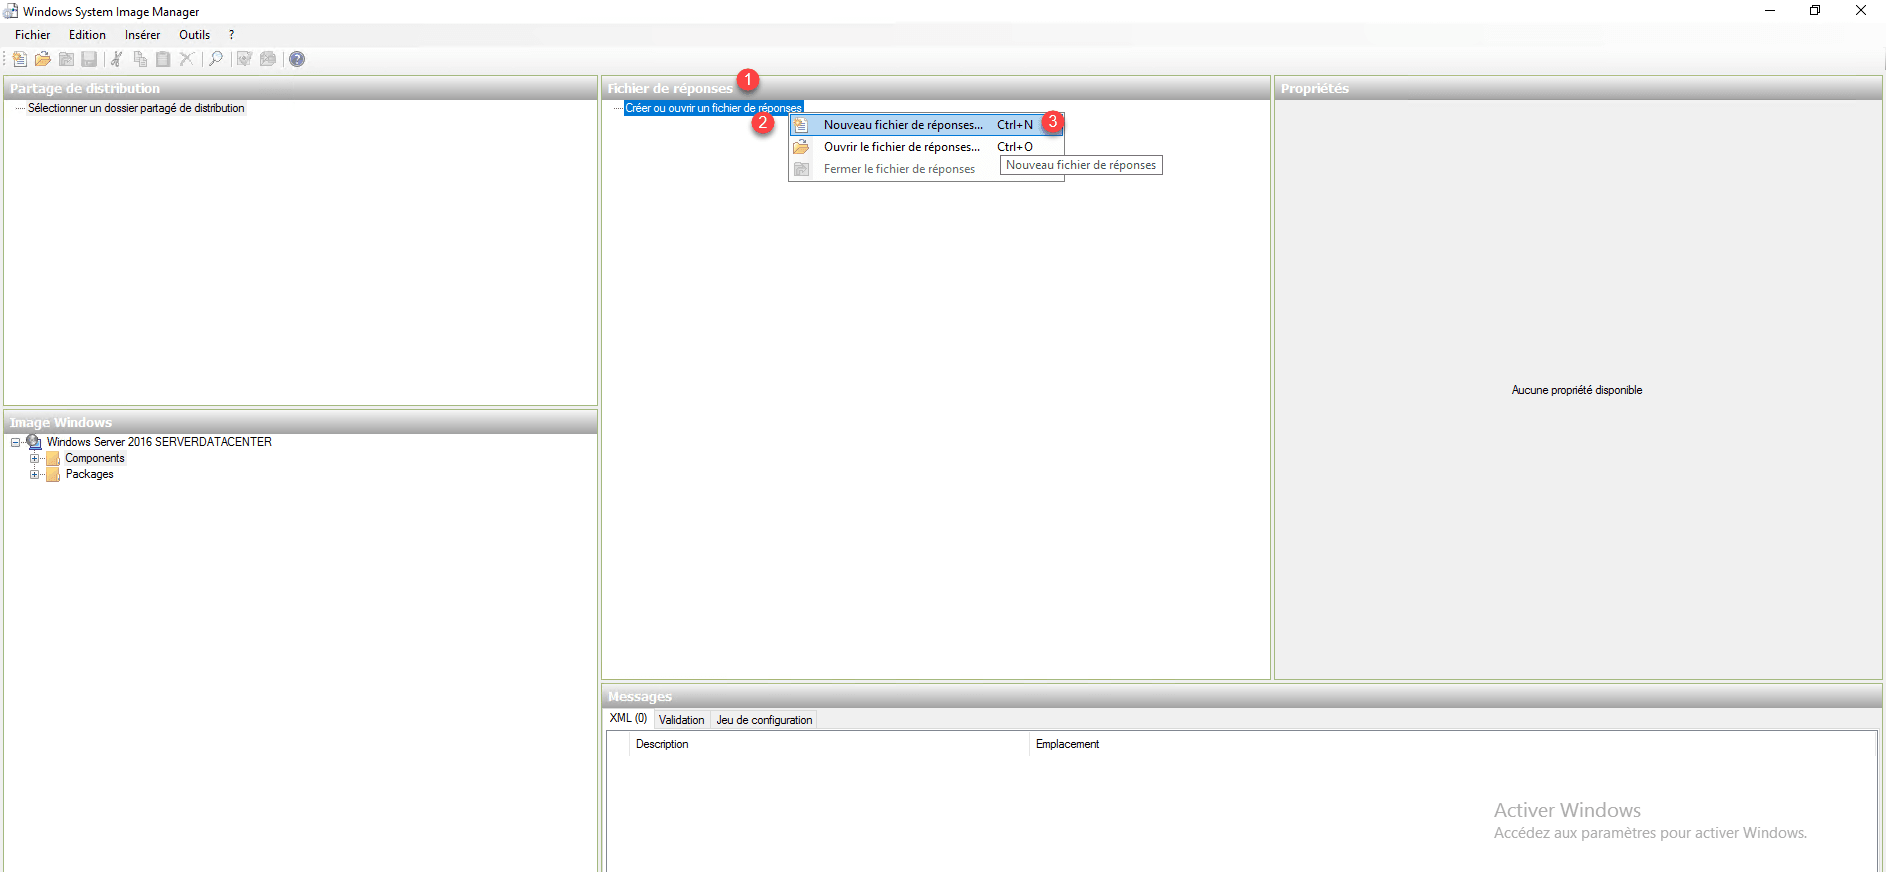
Now that the environment is ready, we can start the creation of the answer file, in the part Answer file 1 right click on Create or open a response file 2 and click on New answer file 3 .
Remember to save your file regularly.
The file is now ready to receive settings.
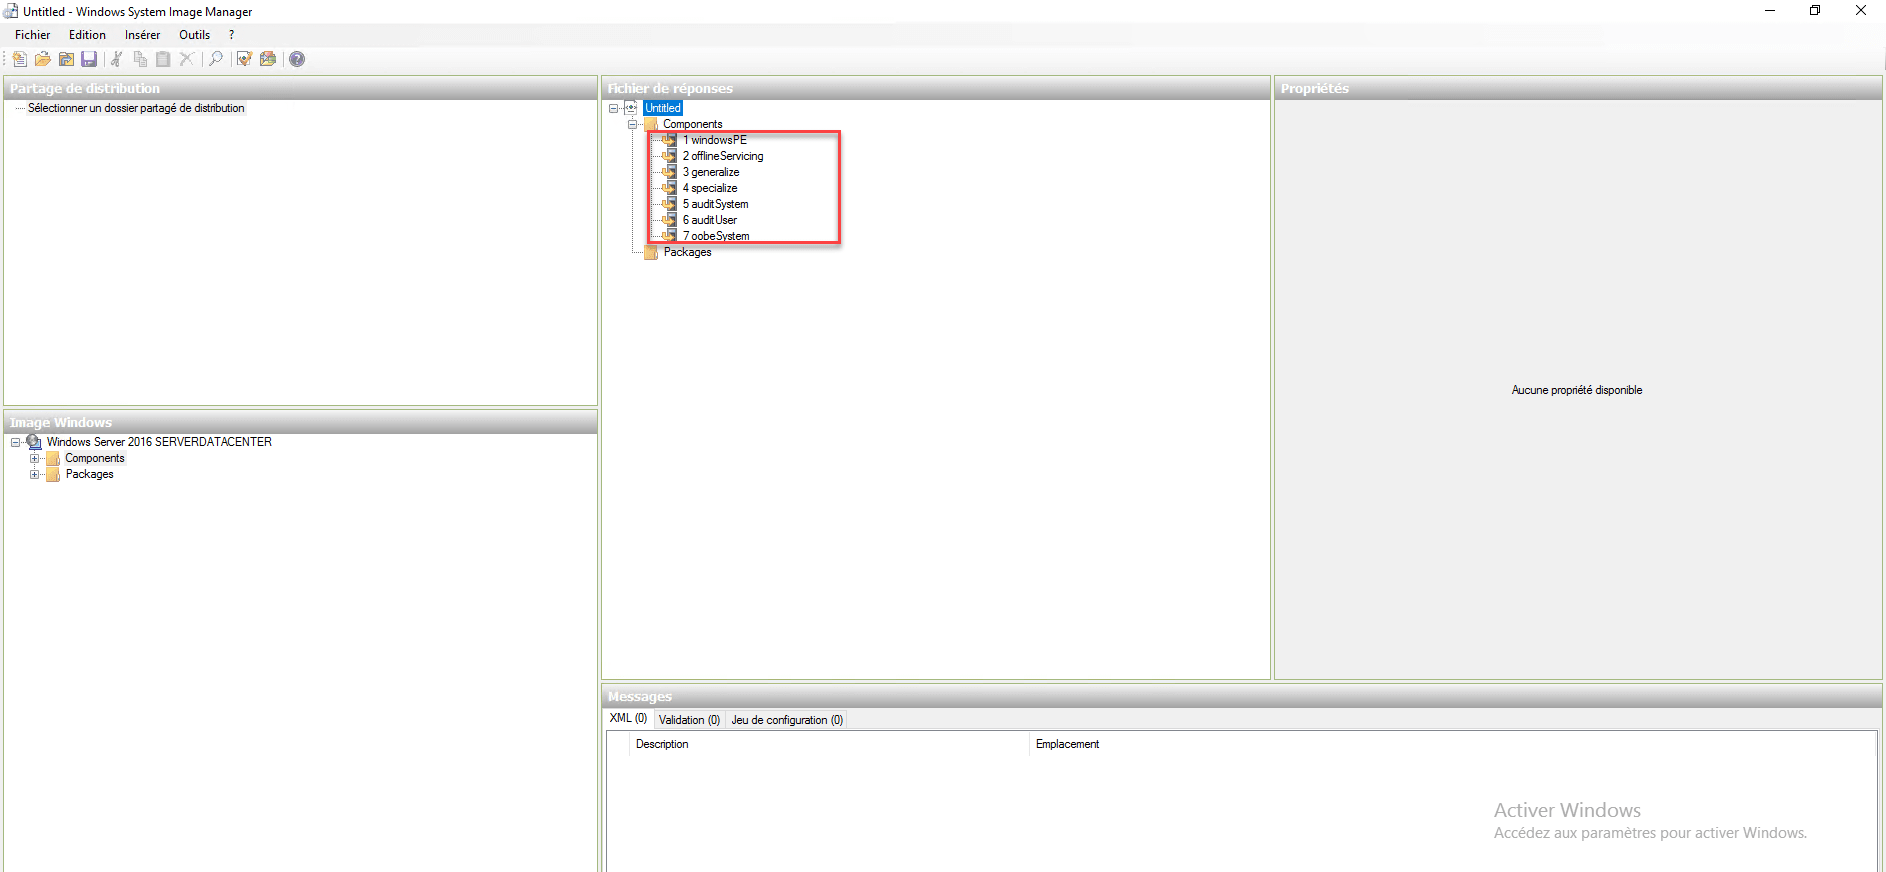
Add a parameter
For each element that we will add to our answer file we must recover the component in the Windows image, right click on 1 and click on Add parameter in step X 2 
The parameter is added to the response file 1 and it remains only to customize it in the 2 Properties part.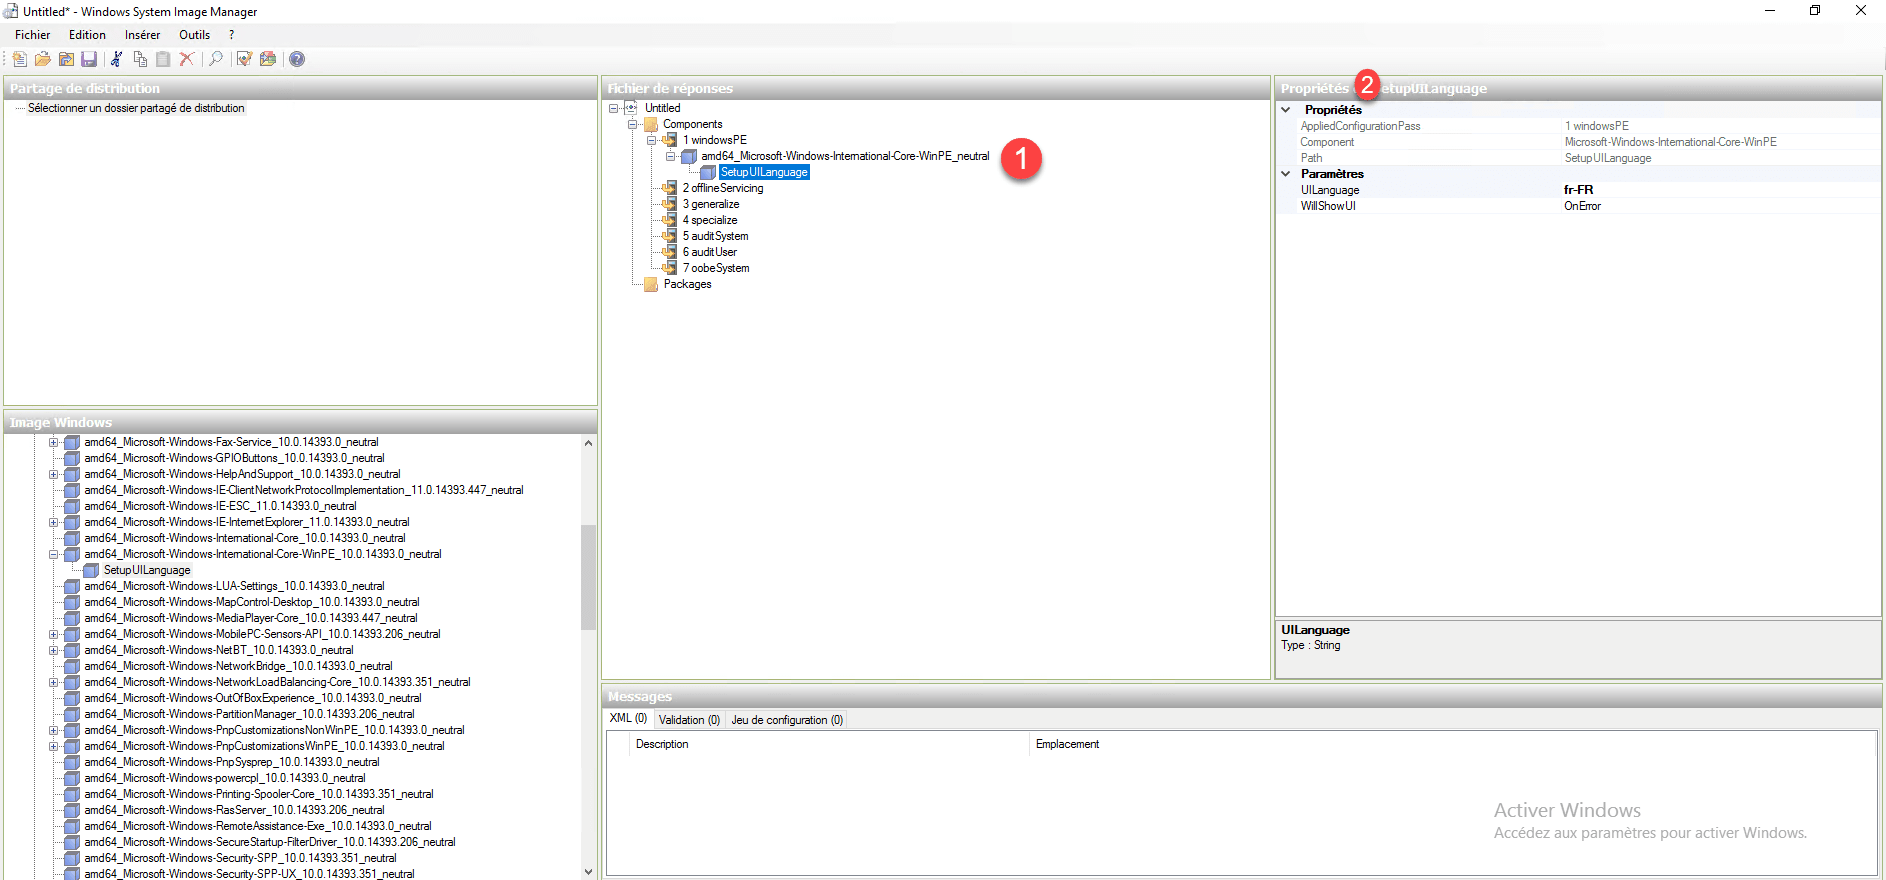
WinPE
Locales
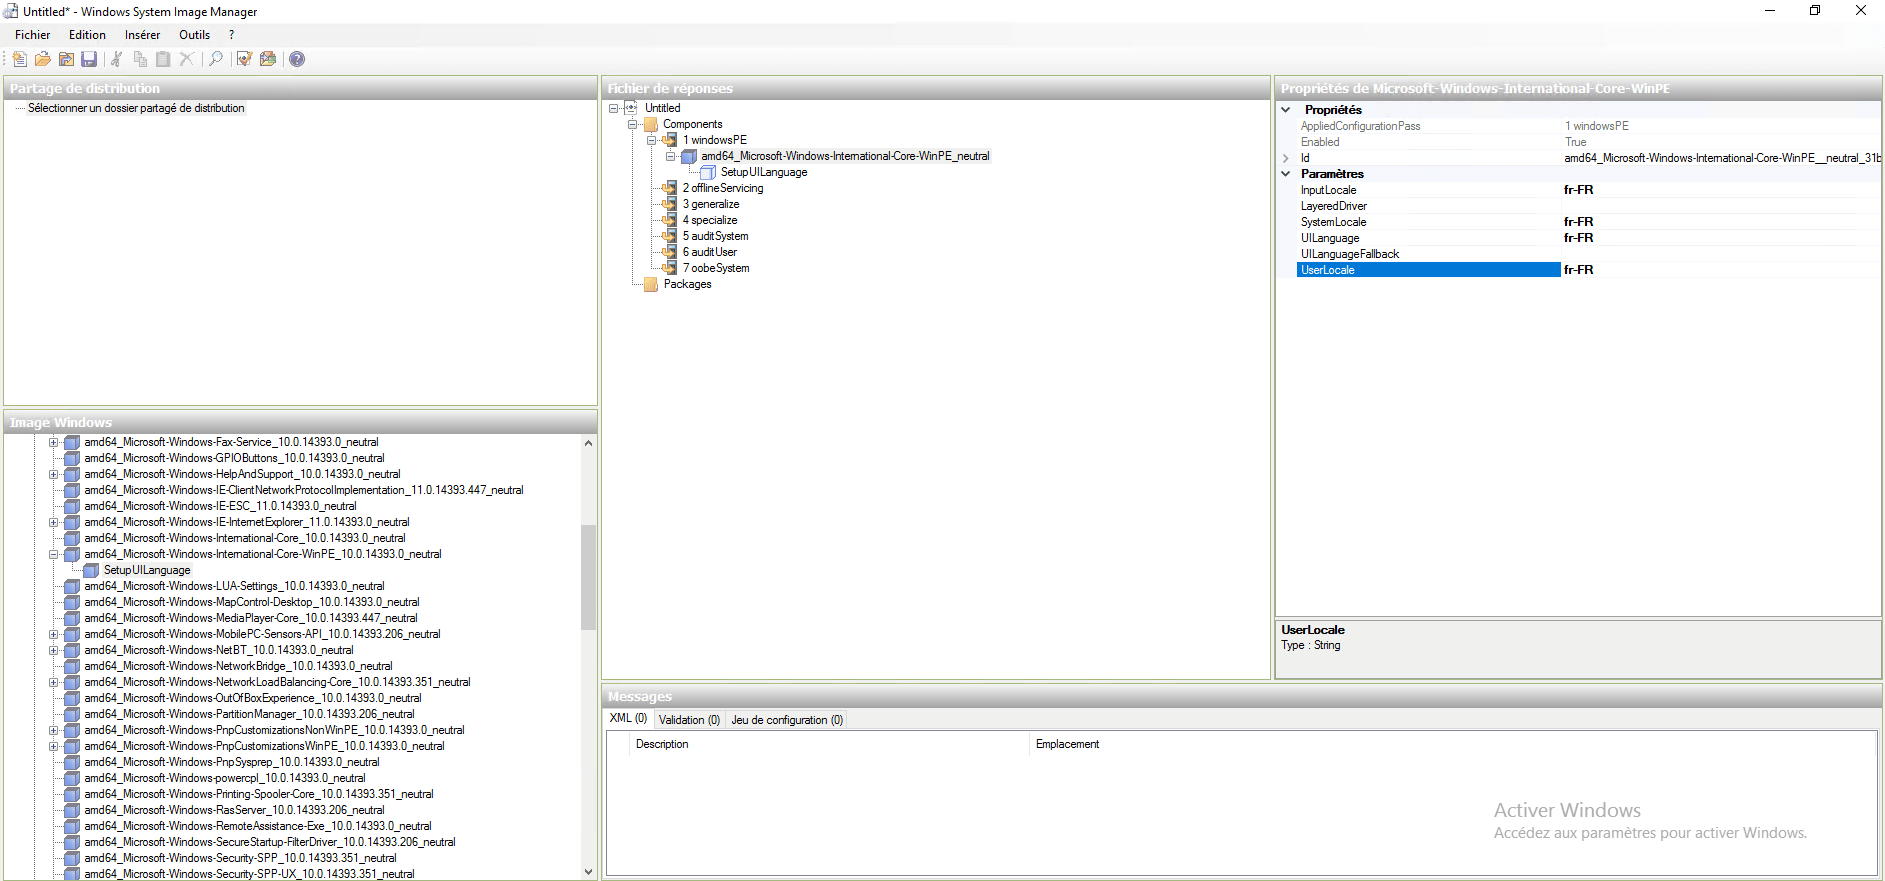
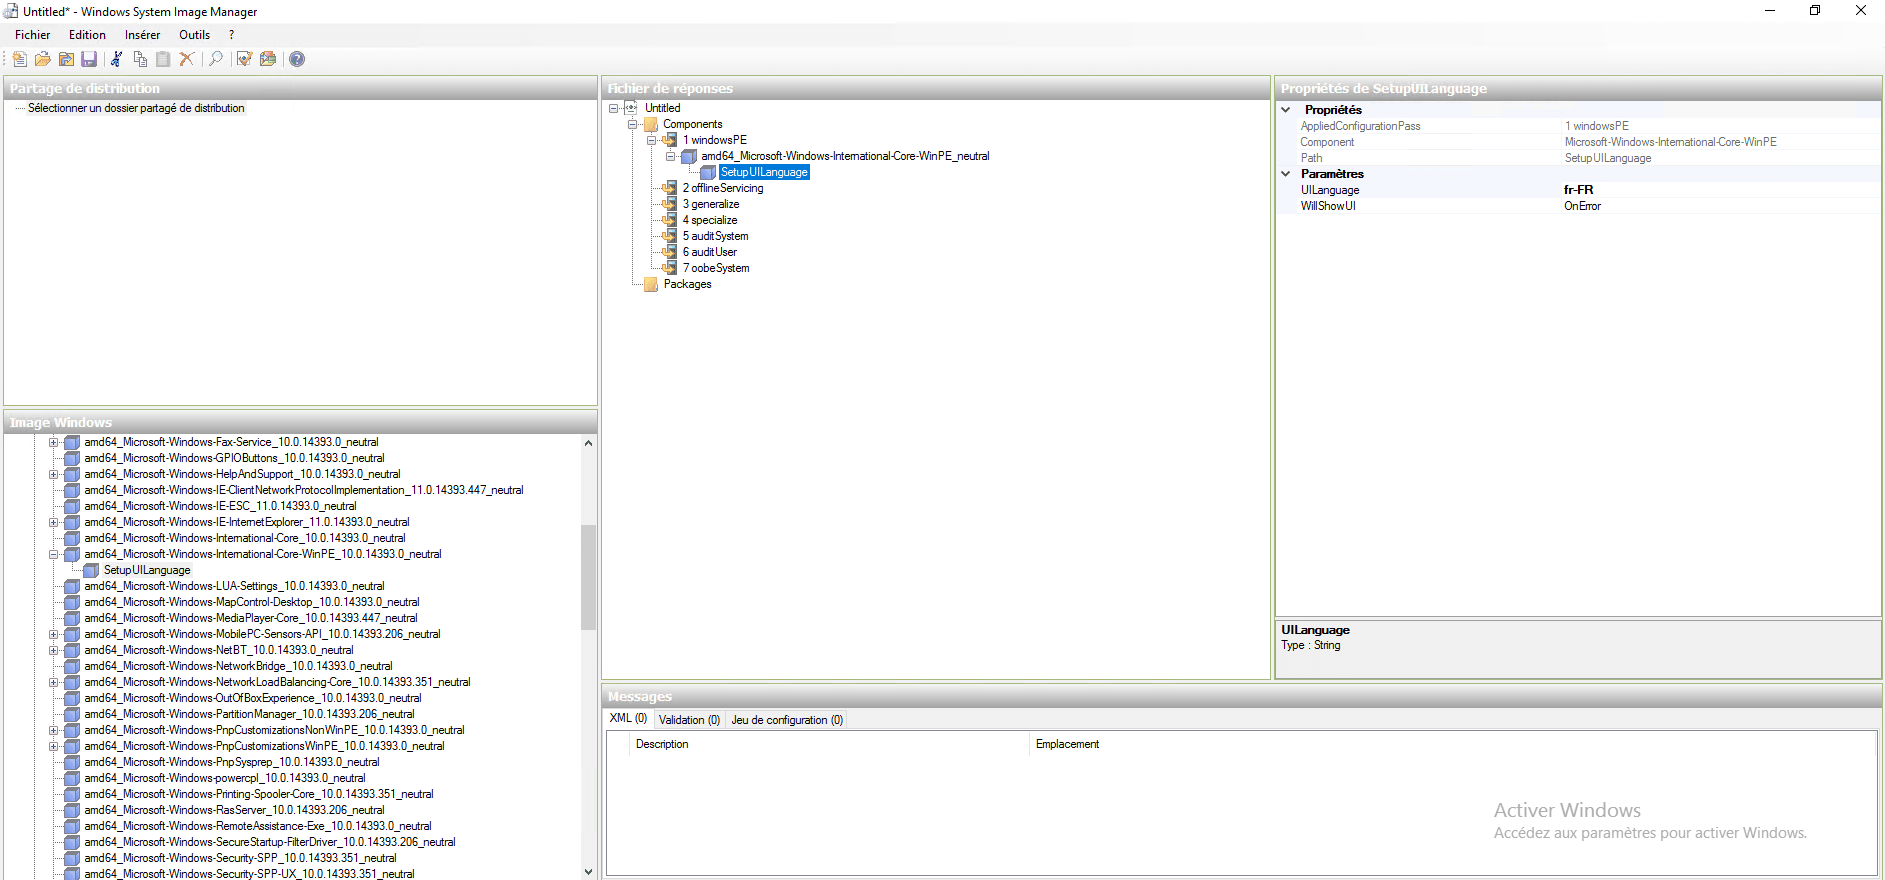
Add amd64_Microsoft-Windows-International-Core-WinPE settings and configure the following properties:
- InputLocale : us-US
- SystemLocale : us-US
- UILanguage : us-US
- UserLocale : us-US
- SeteupUILanguage / UILanguage : us-US
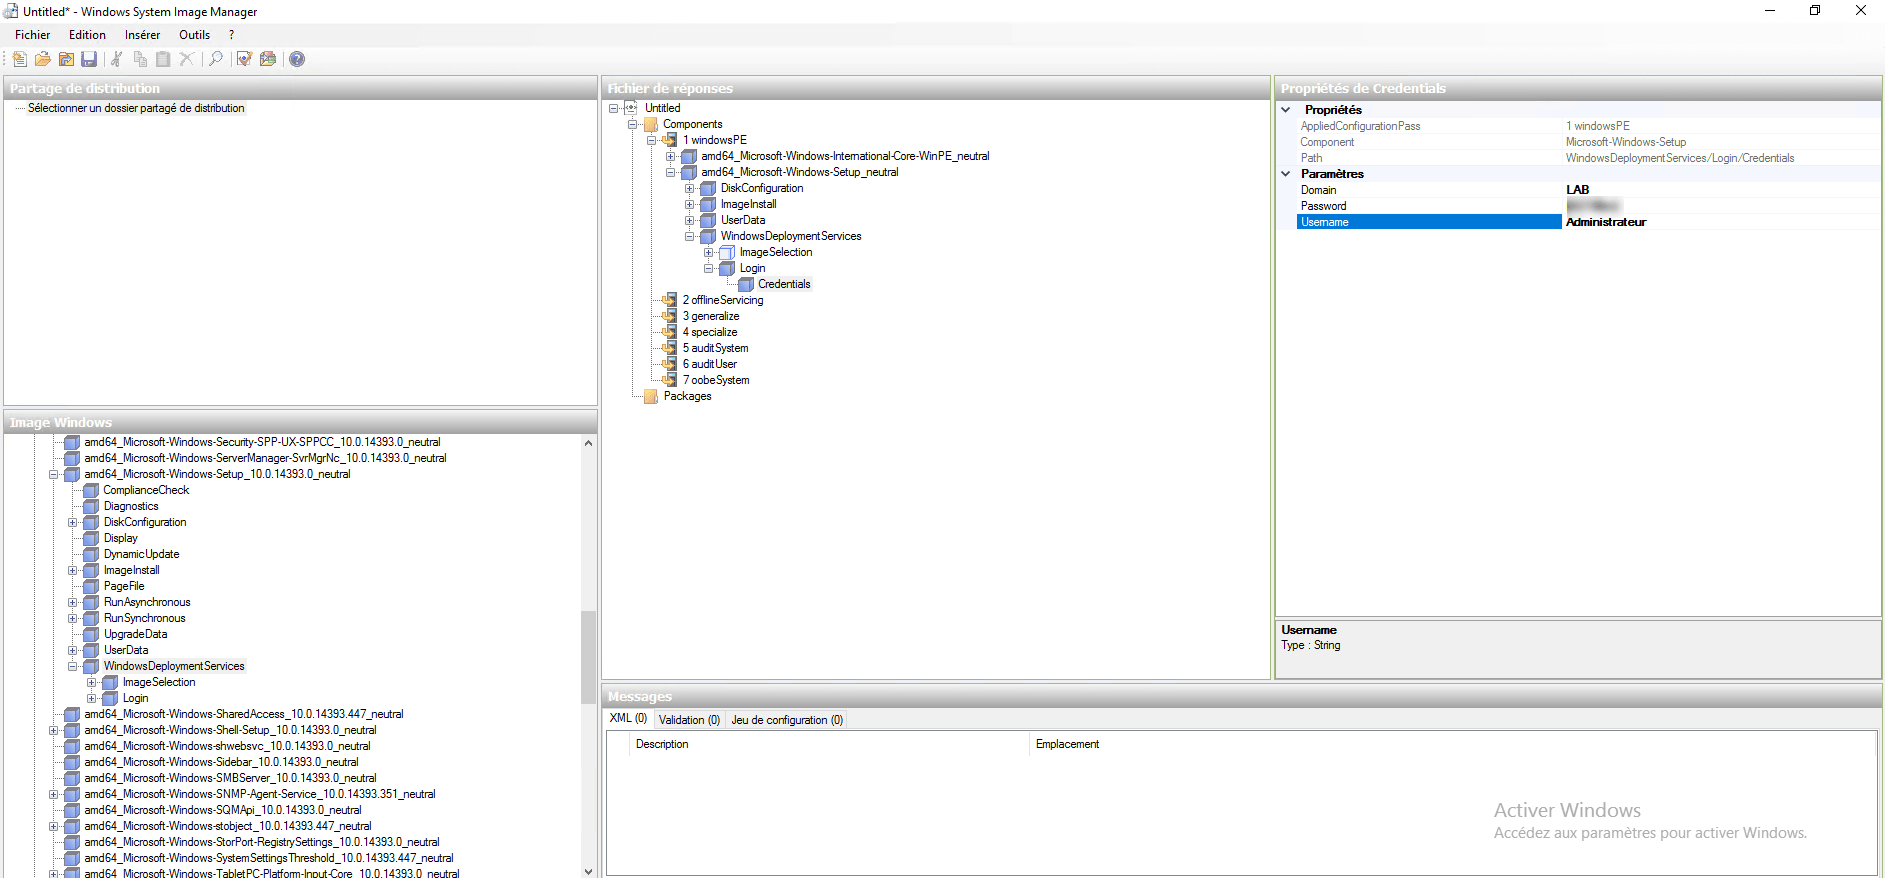
Identification on the WDS server
Here we will indicate the credentials requested when loading the WinPE environment for connection to the WDS server.
Passing credentials can be dangerous because this will allow users to reinstall an image on their post if they do not arrive error on it. The identifiers are also stored in clear in the response file.
Add the WindowsDeploymentServices parameter in amd64_Microsoft-Windows-Setup and configure the following properties:
- Login / Credentials / Domain
- Login / Credentials / Password
- Login / Credentials / username
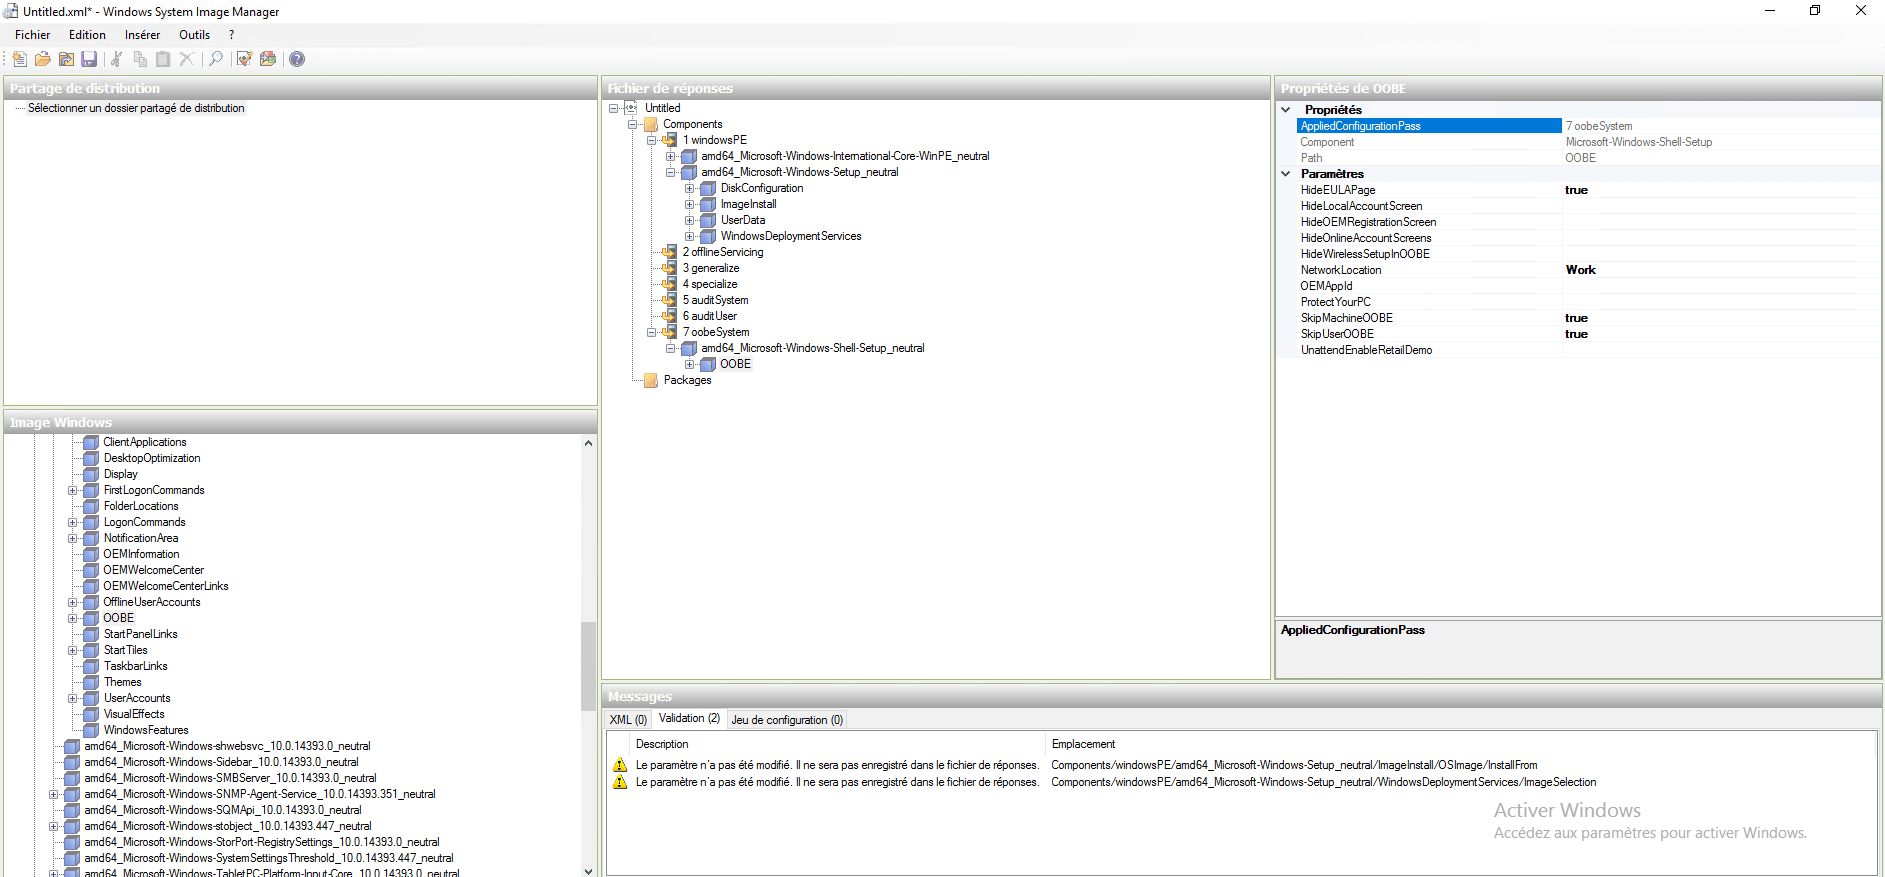
Windows Configuration
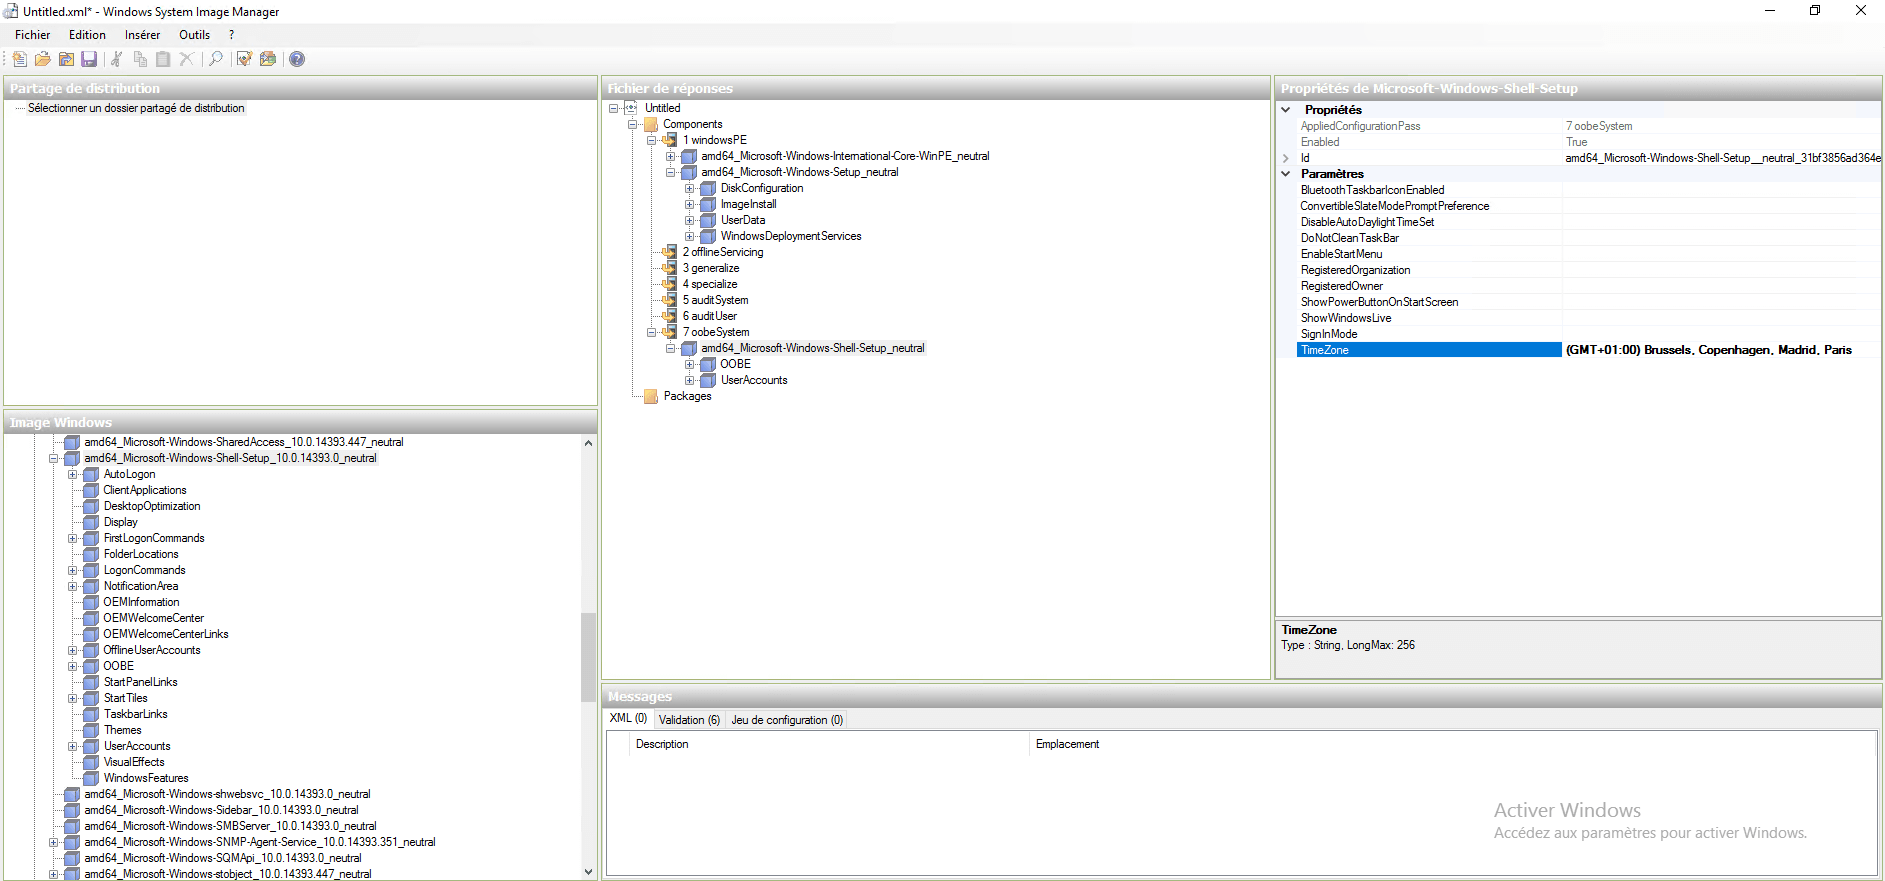
License and time zone
Add the WindowsDeploymentServices parameter in amd64_Microsoft-Windows-Shell-Setup and configure the following properties:
- TimeZone : (GMT+01:00) Brussels, Copenhagen, Madrid, Paris
- OOBE / HideEULAPage : true
- OOBE / NetworkLocation : Work
- OOBE / SkipMachineOOBE : true
- OOBE / SkipUserOOBE : true
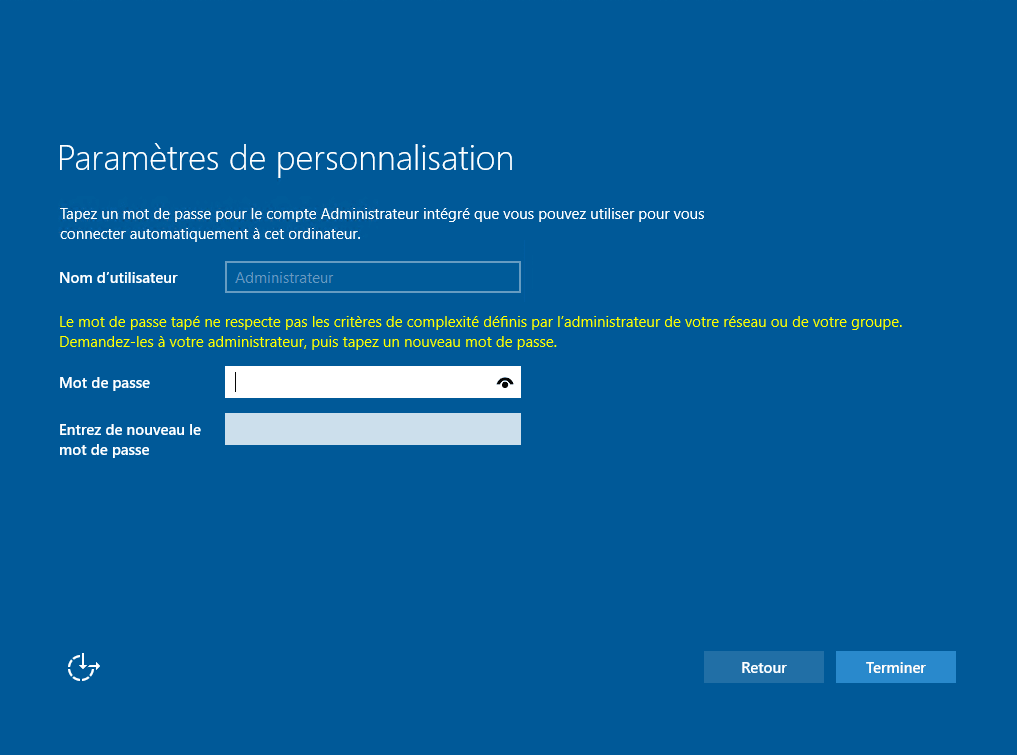
Password of the local administrator
Add the UserAccounts settings that is located in amd64_Microsoft-Windows-Shell-Setup and configure the following properties:
- AdministratorPassword / Value : mot de passe
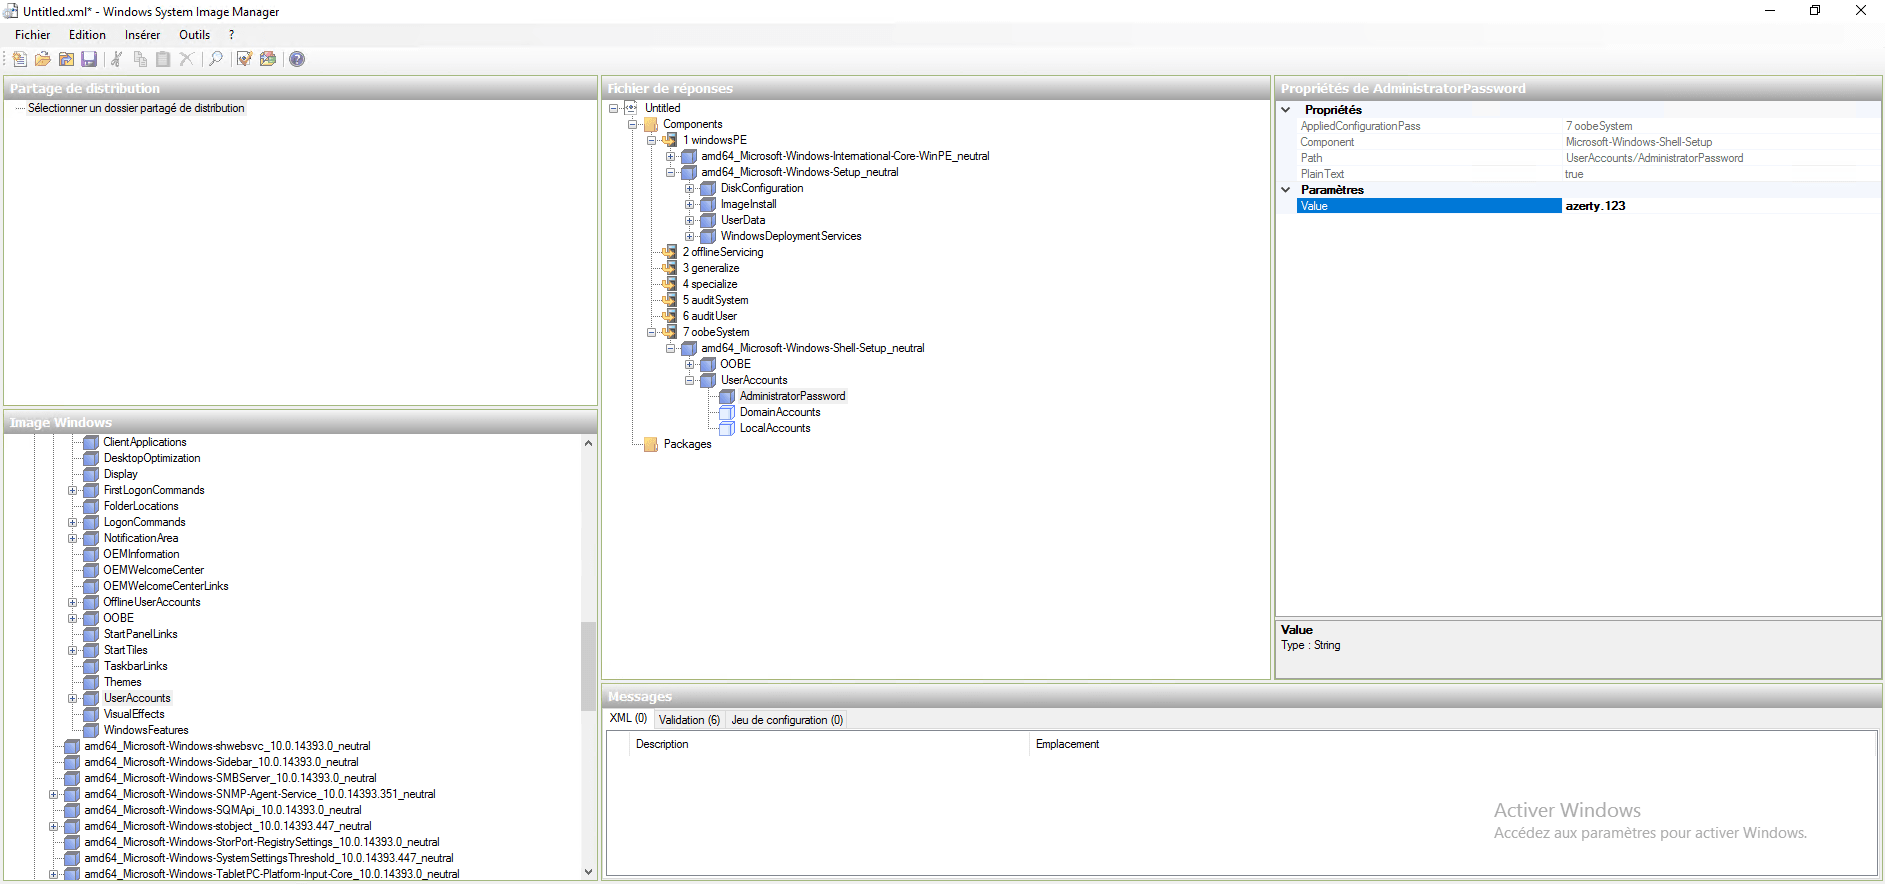
Save the response file.
Below the answer file:
<?xml version="1.0" encoding="utf-8"?>
<unattend xmlns="urn:schemas-microsoft-com:unattend">
    <settings pass="windowsPE">
        <component name="Microsoft-Windows-International-Core-WinPE" processorArchitecture="amd64" publicKeyToken="31bf3856ad364e35" language="neutral" versionScope="nonSxS" xmlns:wcm="http://schemas.microsoft.com/WMIConfig/2002/State" xmlns:xsi="http://www.w3.org/2001/XMLSchema-instance">
            <SetupUILanguage>
                <UILanguage>fr-FR</UILanguage>
            </SetupUILanguage>
            <InputLocale>fr-FR</InputLocale>
            <SystemLocale>fr-FR</SystemLocale>
            <UILanguage>fr-FR</UILanguage>
            <UserLocale>fr-FR</UserLocale>
        </component>
        <component name="Microsoft-Windows-Setup" processorArchitecture="amd64" publicKeyToken="31bf3856ad364e35" language="neutral" versionScope="nonSxS" xmlns:wcm="http://schemas.microsoft.com/WMIConfig/2002/State" xmlns:xsi="http://www.w3.org/2001/XMLSchema-instance">
            <UserData>
                <ProductKey>
                    <WillShowUI>Never</WillShowUI>
                </ProductKey>
                <AcceptEula>true</AcceptEula>
                <FullName>LAB</FullName>
                <Organization>LAB</Organization>
            </UserData>
            <WindowsDeploymentServices>
                <Login>
                    <Credentials>
                        <Domain>LAB</Domain>
                        <Password>P@$w0rd</Password>
                        <Username>Administrateur</Username>
                    </Credentials>
                </Login>
            </WindowsDeploymentServices>
        </component>
    </settings>
    <settings pass="oobeSystem">
        <component name="Microsoft-Windows-Shell-Setup" processorArchitecture="amd64" publicKeyToken="31bf3856ad364e35" language="neutral" versionScope="nonSxS" xmlns:wcm="http://schemas.microsoft.com/WMIConfig/2002/State" xmlns:xsi="http://www.w3.org/2001/XMLSchema-instance">
            <OOBE>
                <HideEULAPage>true</HideEULAPage>
                <NetworkLocation>Work</NetworkLocation>
                <SkipMachineOOBE>true</SkipMachineOOBE>
                <SkipUserOOBE>true</SkipUserOOBE>
            </OOBE>
            <UserAccounts>
                <AdministratorPassword>
                    <Value>YQB6AGUAcgB0AHkALgAxADIAMwBBAGQAbQBpAG4AaQBzAHQAcgBhAHQAbwByAFAAYQBzAHMAdwBvAHIAZAA=</Value>
                    <PlainText>false</PlainText>
                </AdministratorPassword>
            </UserAccounts>
            <TimeZone>(GMT+01:00) Brussels, Copenhagen, Madrid, Paris</TimeZone>
        </component>
    </settings>
    <cpi:offlineImage cpi:source="wim:e:/_sources/install.wim#Windows Server 2016 SERVERDATACENTER" xmlns:cpi="urn:schemas-microsoft-com:cpi" />
</unattend>
Declare the answer file in the images
Now that we have the answer file, we will see how to declare it to the different images.
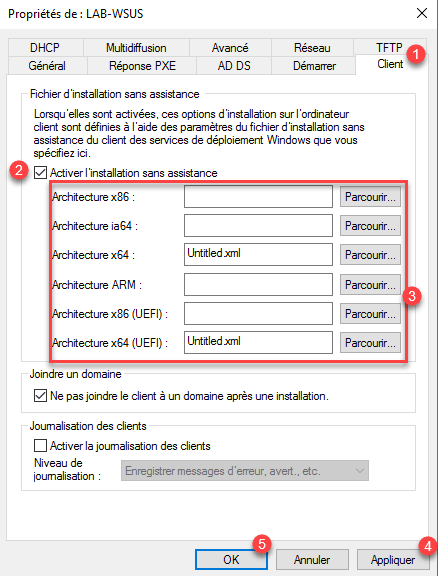
Startup image
For boot images, the response file is common to all images of the same architecture (x86 / x64 …) and declare in the properties of the WDS server.
Copier le fichier dans le dossier RemoteInstall du serveur WDS. Depuis la console faire un clic droit sur le serveur 1 et cliquer sur Propriétés 2.

Go to the Client tab 1 , check the box Enable unattended installation 2 . Add the file to the image using the Browse button 3 then click Apply 4 and OK 5 .
Installation image
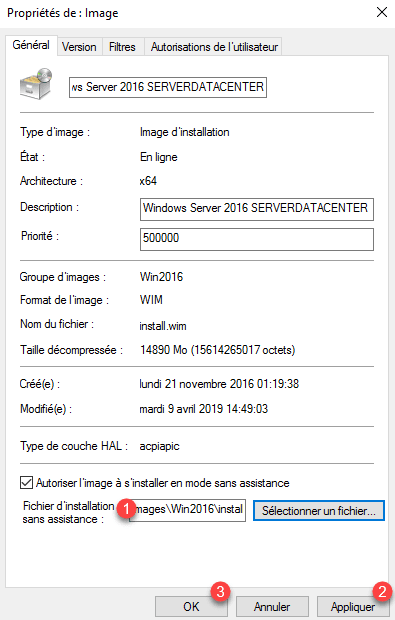
Select the image, right click on 1 then click on Properties 2 .

On the General tab, select the Allow image to install in unattended 1 check box and click Select a 2 file.
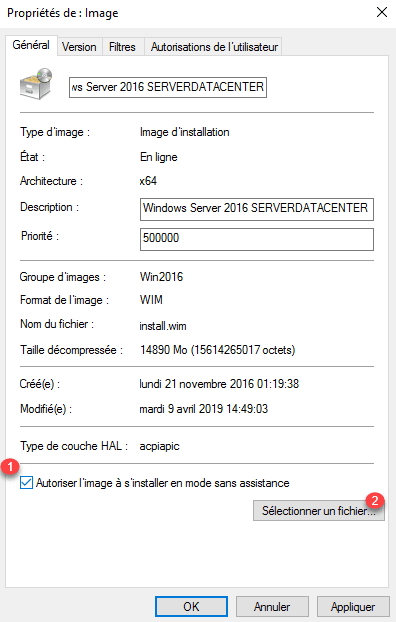
Get the 1 file and click OK 2 .
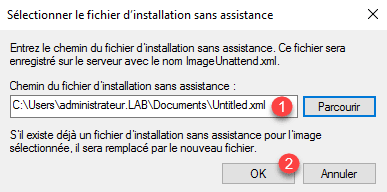
The response file is declared 1 , click on Apply 2 and OK 3 .
Now that the answer files have been added to the WDS services, you can re-run the deployment test. Normally you should just need to choose the image to install and configure the volume. If the response file has been correctly applied, you should just need to login to Windows without the need to answer post-installation questions.
Add drivers to WDS services
In this part, we’ll see how to add WDS drivers to install during Windows deployment and how to add drivers to the boot image so that you can access the network from the machine. in progress deployment.
Add drivers for deployment
As with installation images, drivers can be assigned to a group.
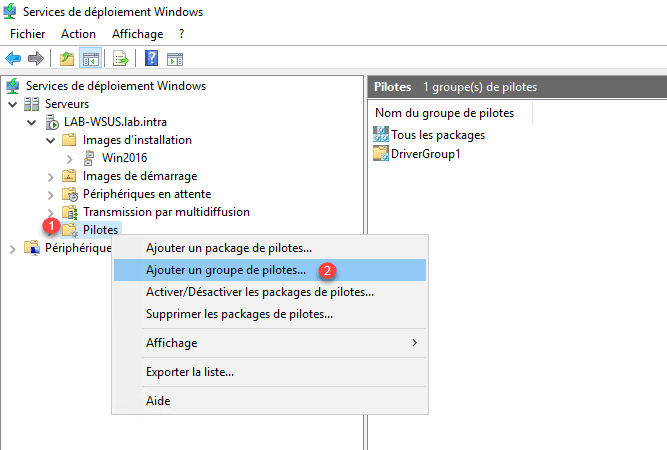
From the admin console, right-click on Drivers 1 and click on Add Driver Group 2 .
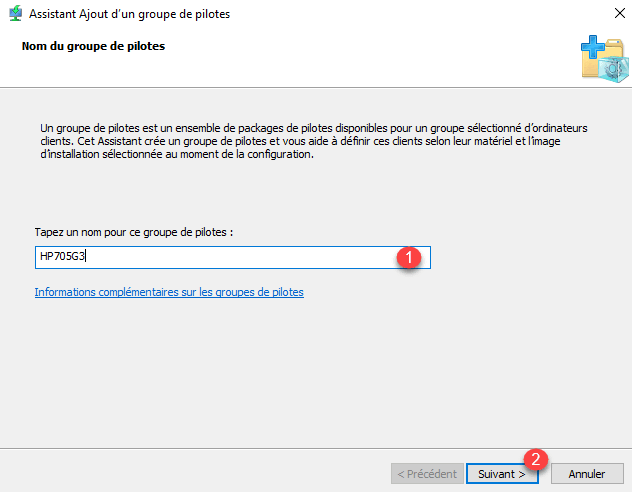
Enter the name of the group 1 then click Next 1 .
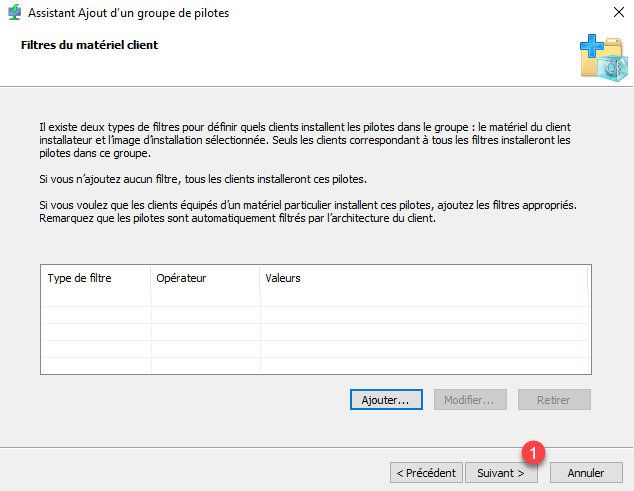
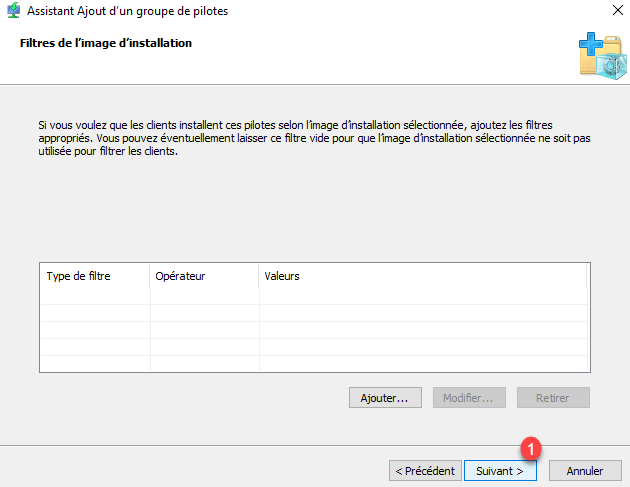
Skip both filter pages by clicking Next 1 .
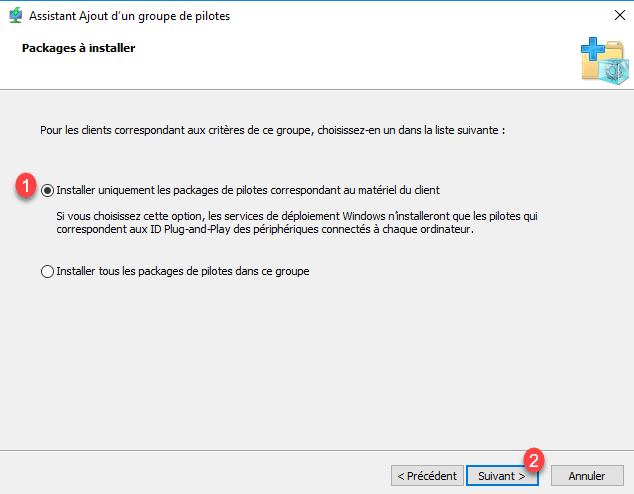
Select the option Install only driver packages for client hardware 1 and click Next 2 .
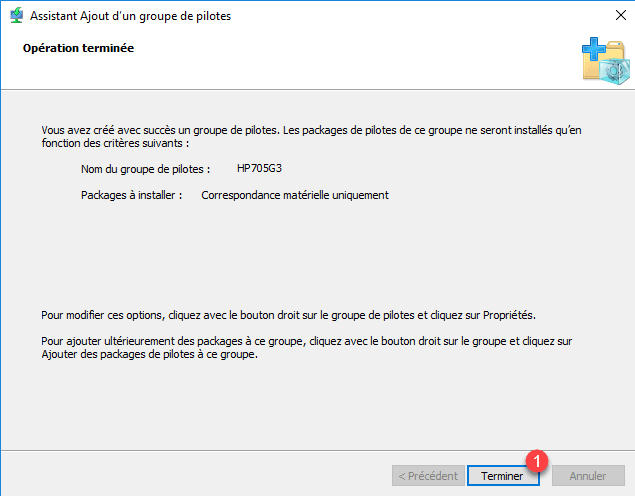
Click Finish 1 to add the group.
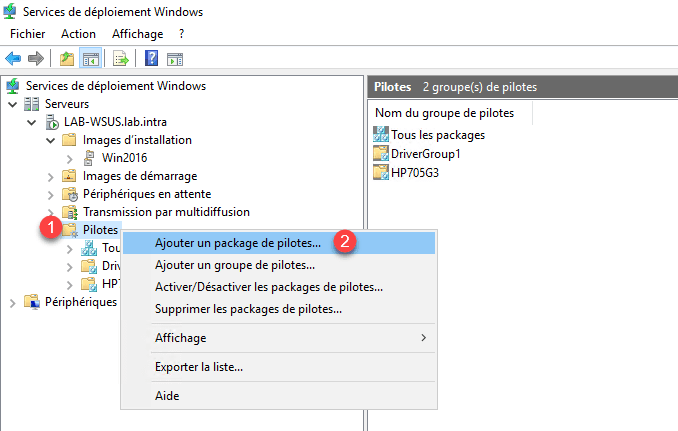
Right-click on Drivers 1 and click Add Driver Package 2 .
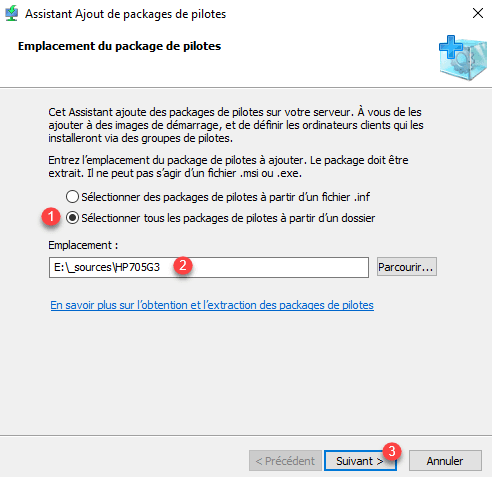
Select the option Select all driver packages from a folder 1 , indicate the location of drivers 2 and click Next 3 .
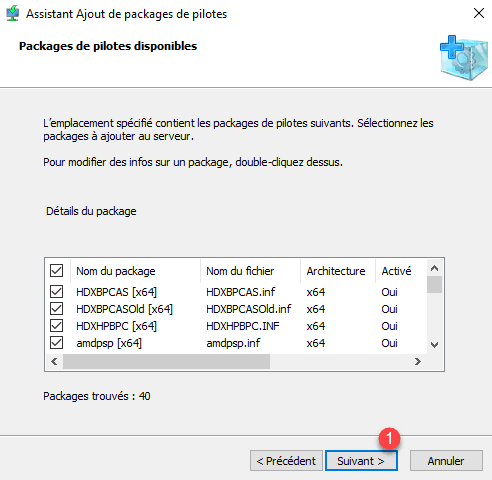
The list of found drivers appears, click Next 1 .
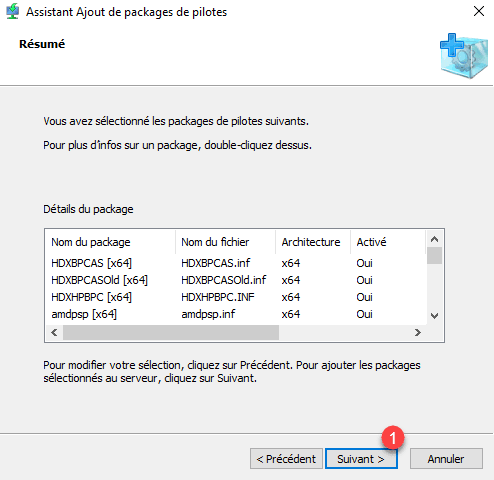
Confirm the import by clicking Next 1 again.
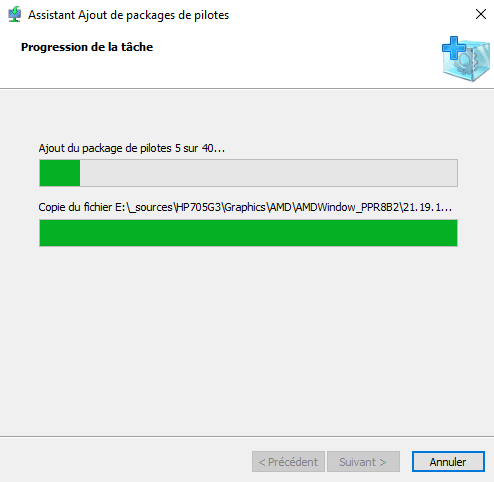
Wait while adding the drivers …
Once the import is complete, click Next 1 .
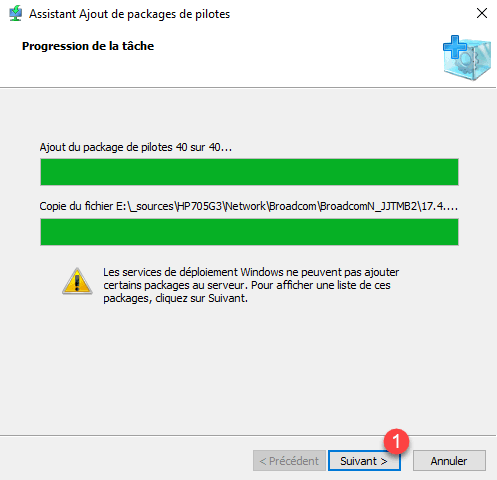
If packages have not been added, they are displayed here, click Next 1 .
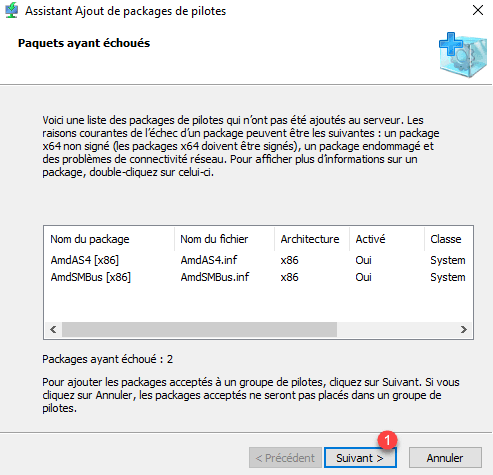
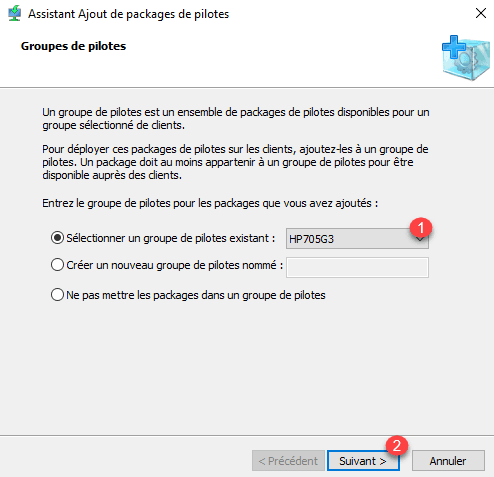
Choose the driver group 1 and click Next 2 .
The drivers have been added, close the wizard by clicking Finish 1 .
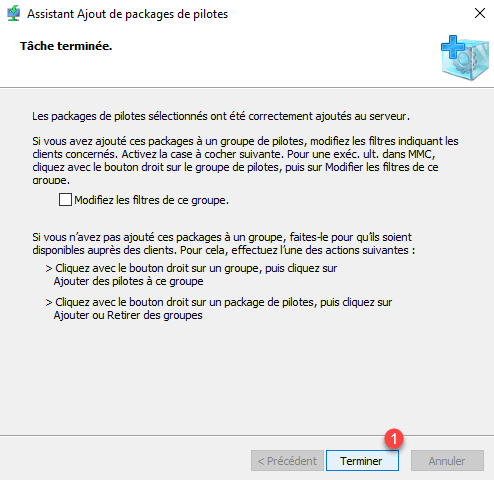
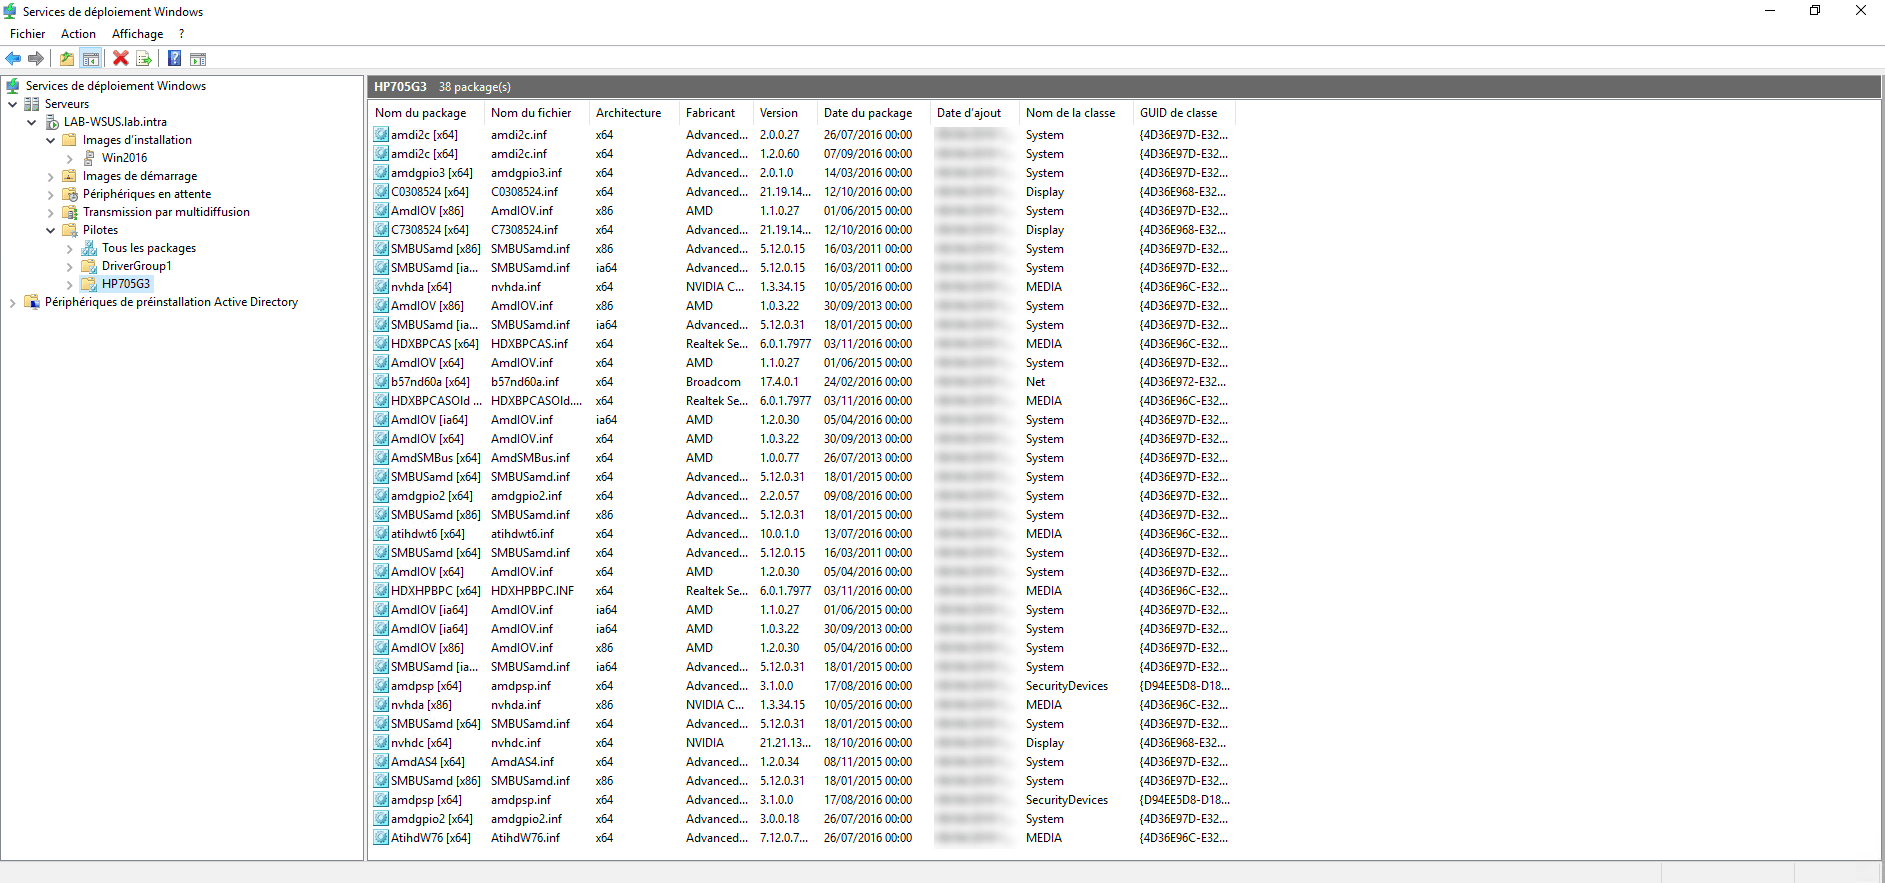
By placing on the group, we can see the pilots.
Add drivers to boot and capture images
For some post model, it is necessary to add network and storage controller drivers for the WinPE image to access the network and install Windows.
It is only possible to add drivers that are already present in the WDS services.
In the Admin Console, go to the Boot Images folder, right-click on image 1 and click Add Driver Packages to image 2 .

When launching the wizard, click Next 1 .

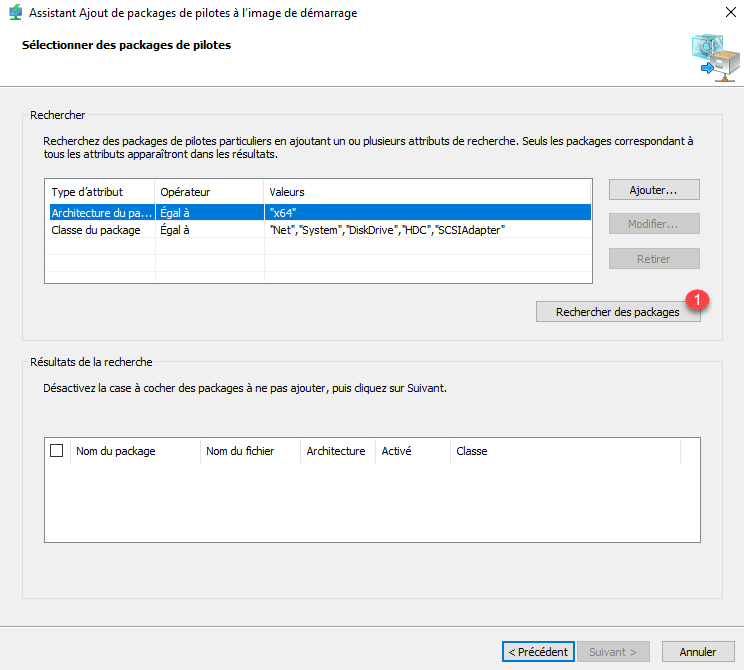
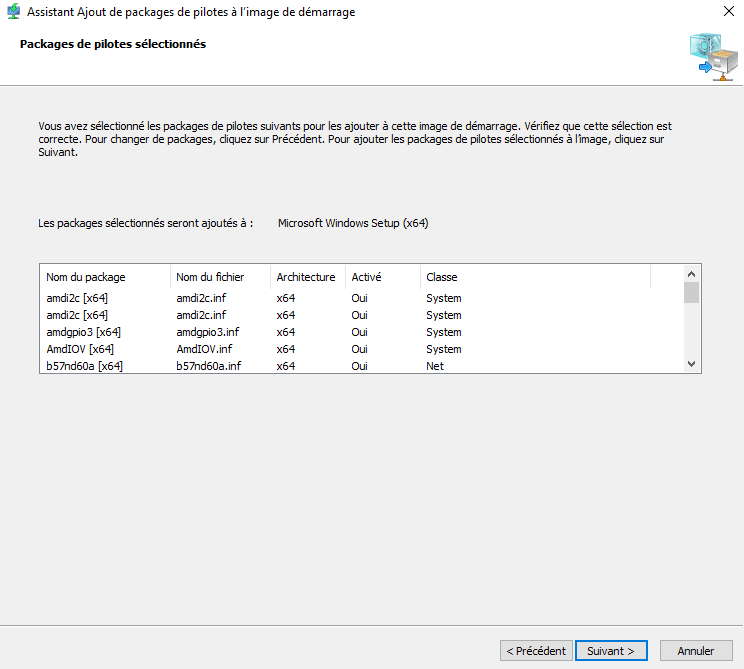
A page is displayed with pre-filled filters to select only the necessary drivers (Network / storage controller …). Click the Find Packages 1 button.
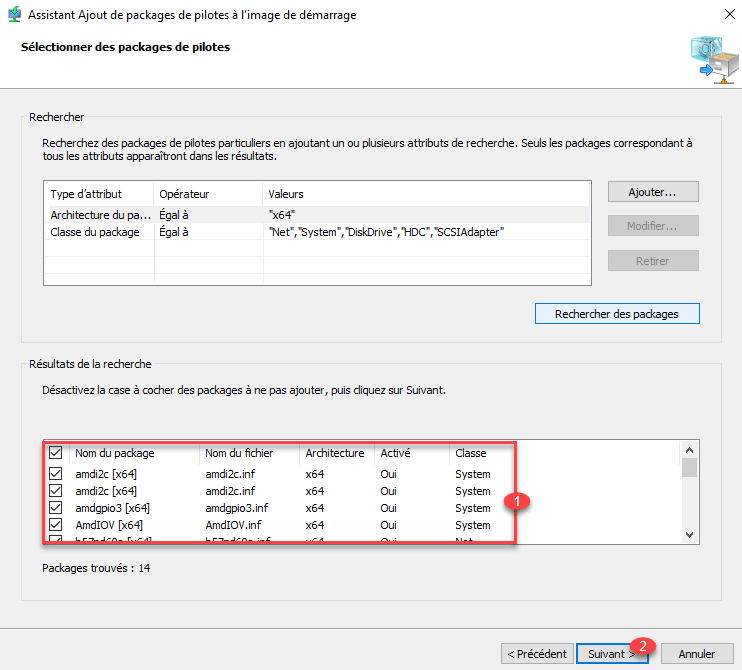
Once the pilots found 1 , click Next 2 .
Confirm the action by clicking Next 1 .
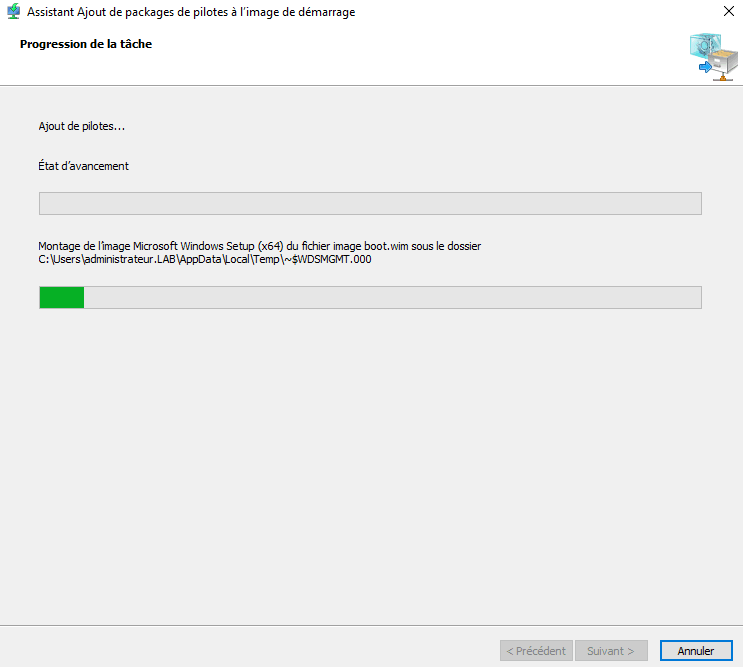
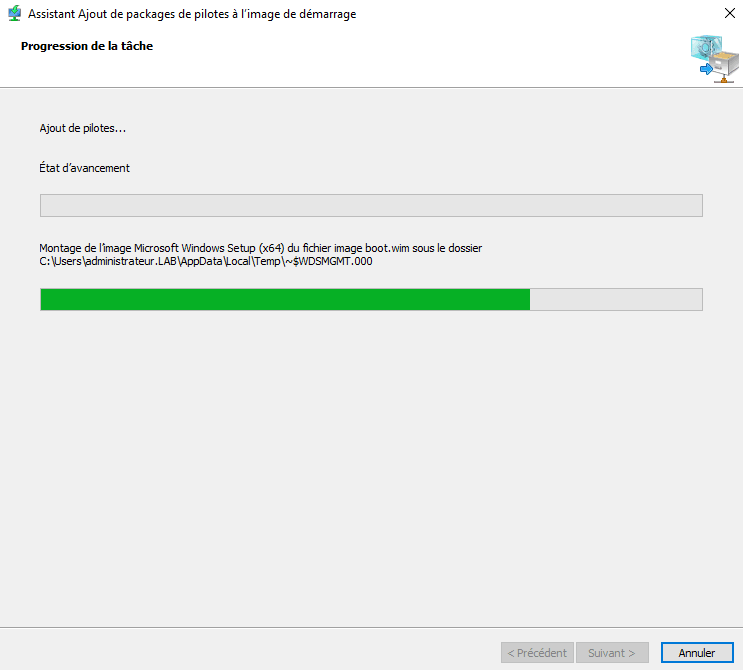
Wait while injecting the drivers into the image …
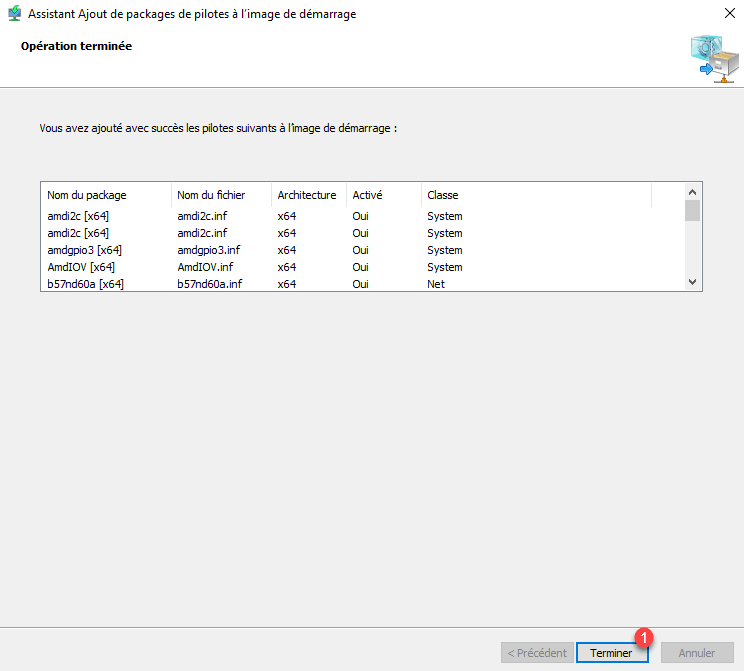
Once the drivers are added to the image, close the wizard by clicking on the button Finish 1 .
Create a capture image
A capture image is a WinPE environment that allows the capture of a Windows ready to be reinstalled.
The article: WDS: capture an image of Windows, explains you how.
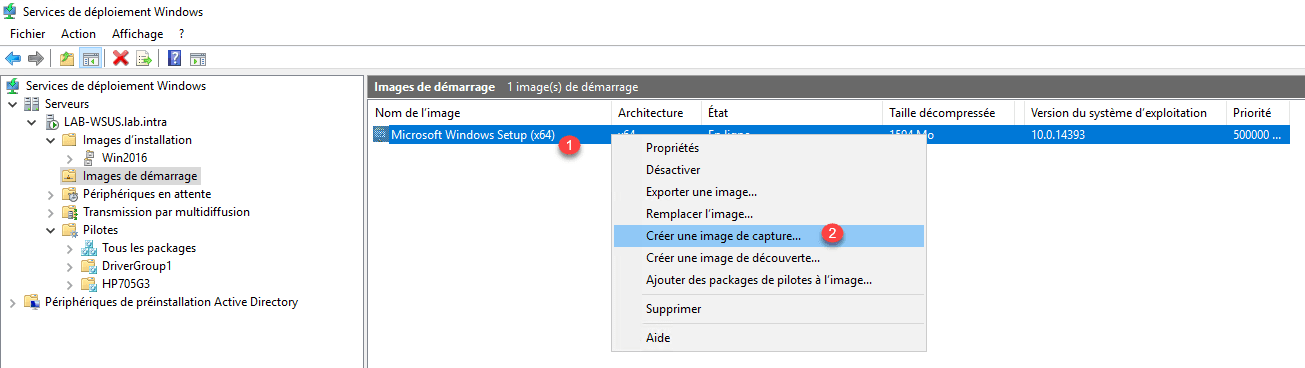
From a boot image, right click on 1 and click on Create Capture Image 2 .
An assistant starts to create the image, name the image 1 , change the description 2 . Indicate the location and name of the file (.wim) where the image 3 will be saved and click Next 4 .
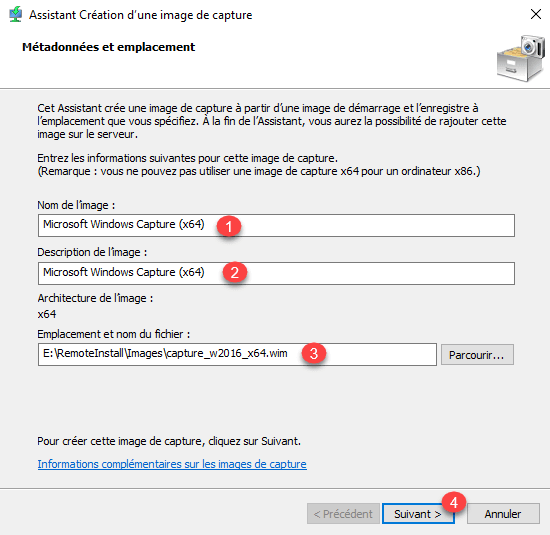
If you click browse to indicate the location and file name, the explorer button says Open, read rather than save.
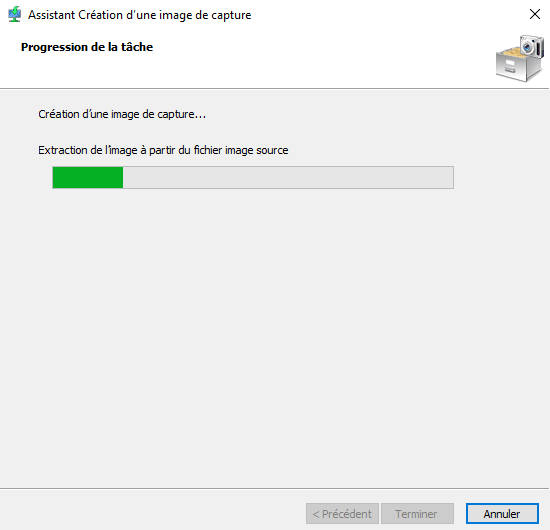
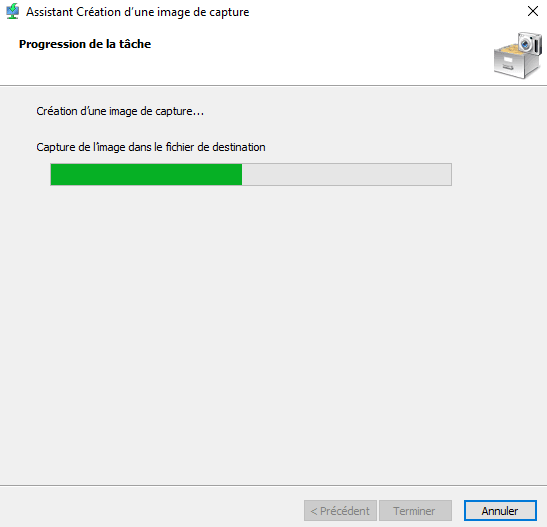
Wait during the generation …
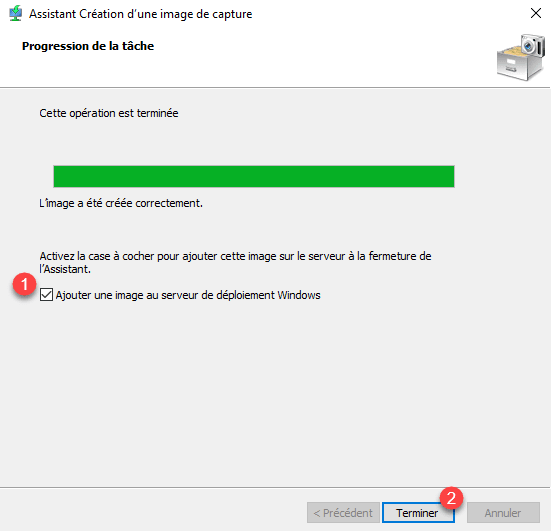
The capture image is created, check the box Add an image to Deployment Server 1 and click Finish 2 .
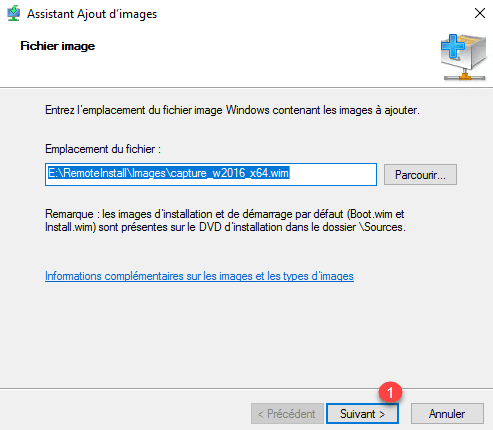
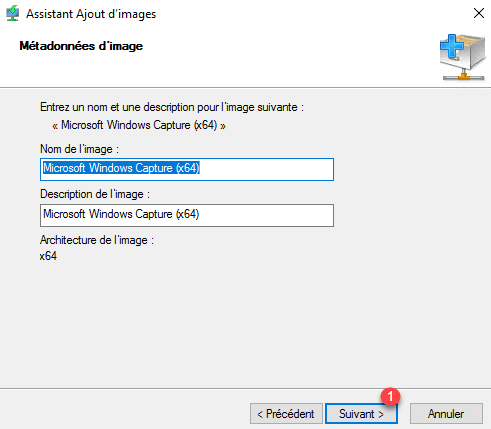
The Add Image Wizard opens, click Next 1 for each window.
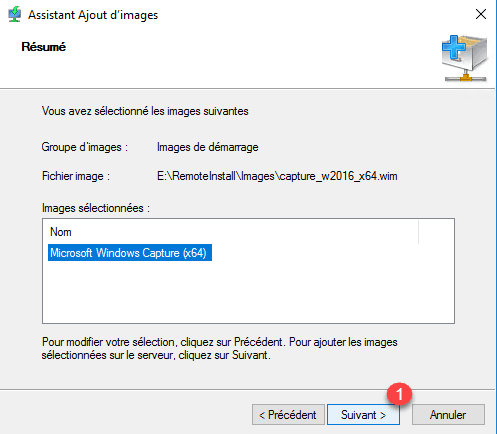
Wait while adding the image …

The capture image is added, close the wizard by clicking Finish 1 .
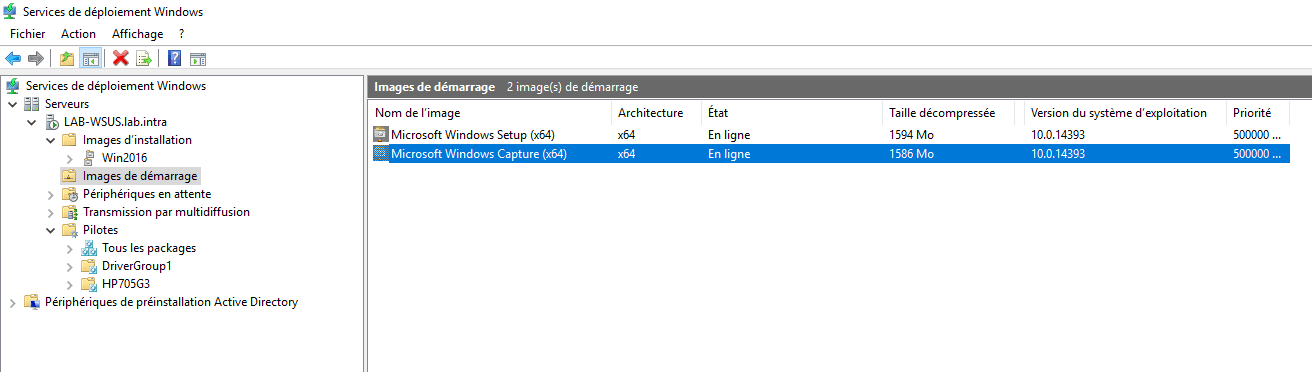
The image is added to the Boot Images.
Conclusion
This tutorial on WDS stops here. As you may have seen, WDS provides a powerful tool for deploying workstations over the network with maximum automation.
Many aspects have not been addressed in this tutorial like:
- Post approval
- Pre-installation
- Configuration in a DHCP environment outside Active Directory
- Multicast
- …
WDS with MDT allows industrialization and deployment of workstations with a minimum of intervention.