The Veeam Agent allows physical or virtual computer backup directly from Windows unlike Veeam Backup & Replication which manages the backup of virtual machines from the Hypervisor (VMware, Hyper-V).
Version 3 of the agent is available since January 2019 with the following new features:
- Change of the interface (even more sober).
- Optimized backup management
- Supports multiple jobs (workstation and server license).
- Ability to make full backups.
- Ability to make an independent backup (out of retention).
- Ability to make a backup to another location.
Prerequisites:
- Have a version of Windows higher than 2008R2 SP1 or Windows 7SP1.
- Get the Veeam agent from the website Veeam.
Installing the Veeam Agent
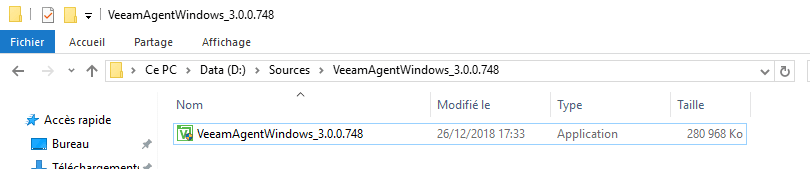
Unzip and execute the agent file.
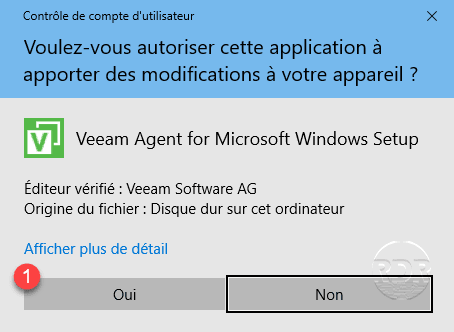
If the UAC is enabled, click YES 1 to launch the installer.
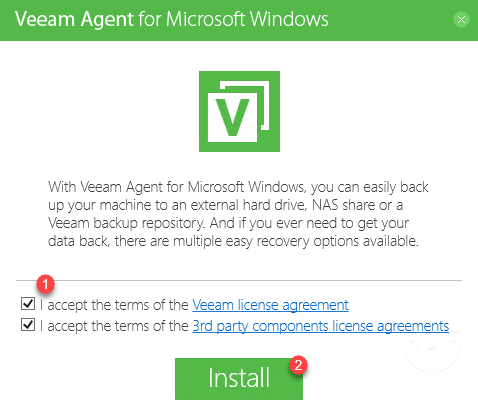
Check the boxes to accept licenses 1 and click on Install 2 .
Wait during the installation …

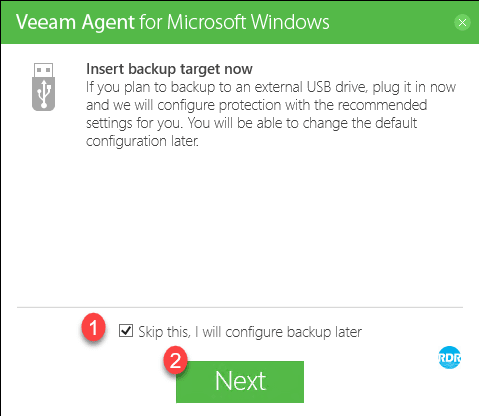
Check the Skip this, I will configure backup later 1 box and click Next 2 .
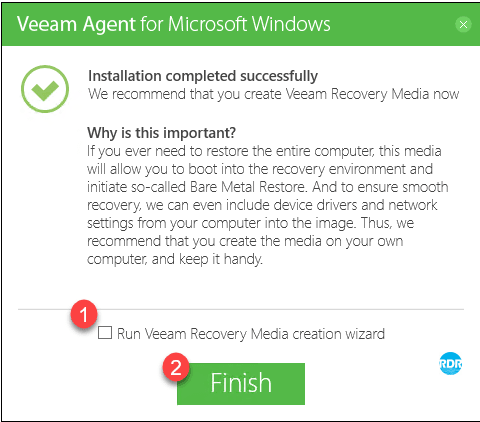
Uncheck the Run Veeam Recovery Media creation wizard 1 box to pass the restore ISO generation and click Finish 2 .
Open the agent.
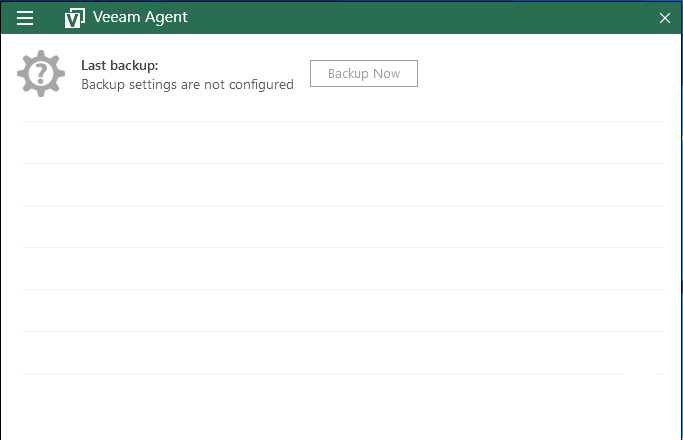
The color of the interface is dark green and we can see that the interface is even more “sober”.
Now that the agent is installed, we will proceed to the configuration of a backup job.
Configuring a backup job
In this part, we will see how to configure a job to send the backup to a network share.
If you want to send the backup to Veeam repository, it must be in 9.5u4 version.
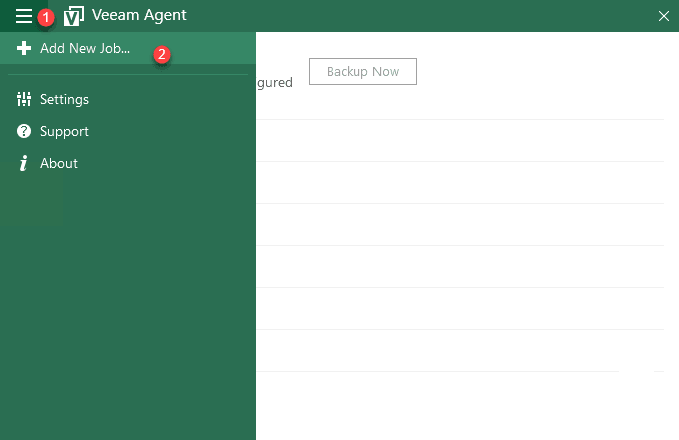
Click on the top right of the interface 1 to access the menu then on Add New Job 2 .
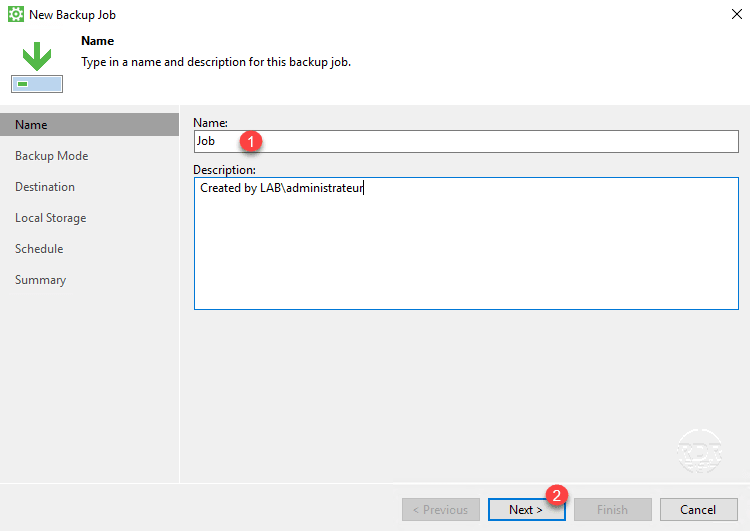
Enter the job name 1 and click Next 2 .
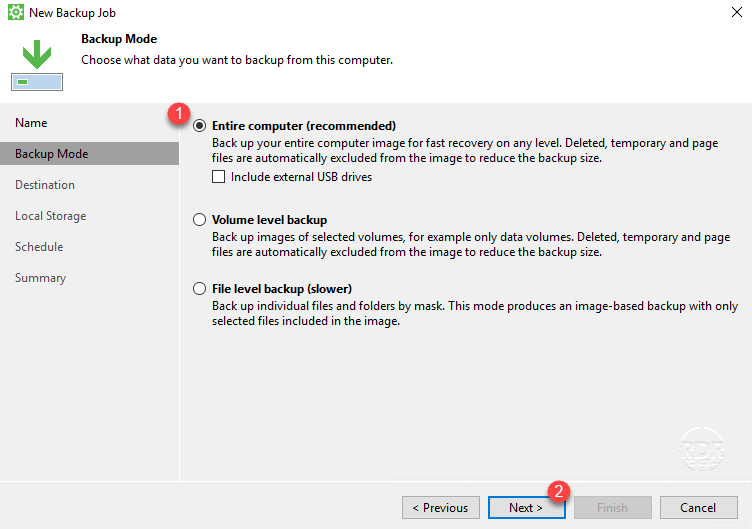
Choose a backup mode, Entire computer 1 to save the entire computer and click Next 2 .
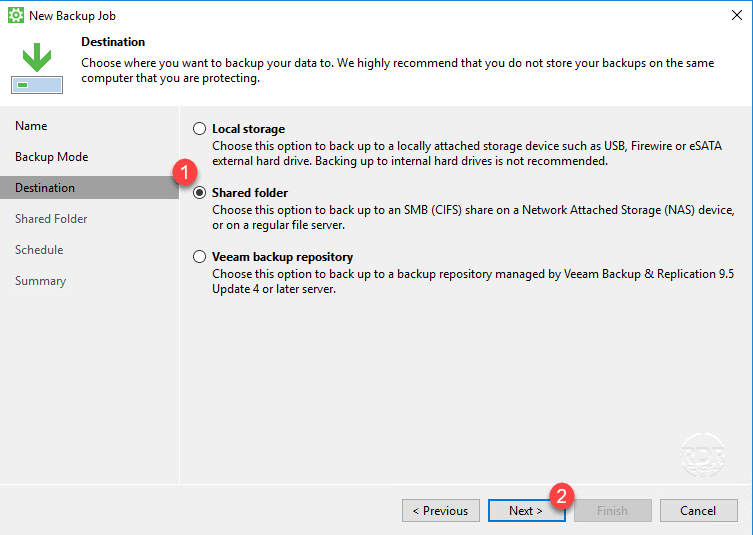
Set destination type, Shared folder 1 to send to network folder and click Next 2 .
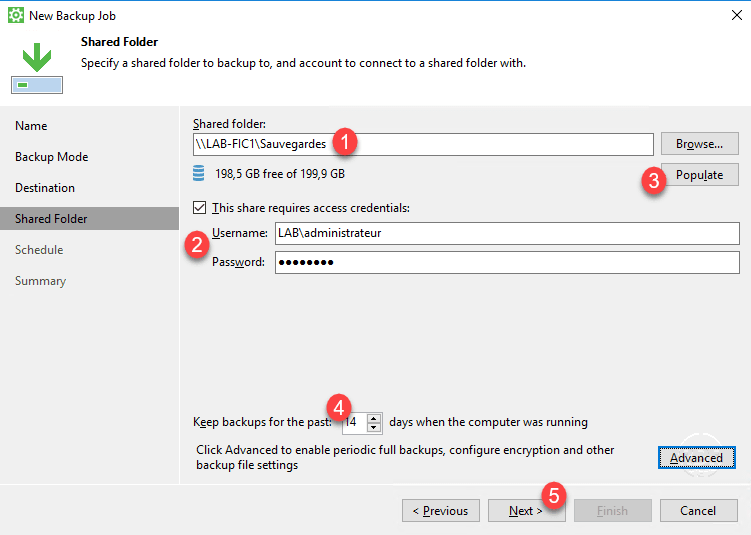
Enter the network share information, the path 1 , the credentials if necessary 2 , click on Populate 3 access. Adjust the backup retention time 4 and click Next 5 .
Configure Schedule 1 and click Apply 2 .

Validate the job by clicking Finish 1 .
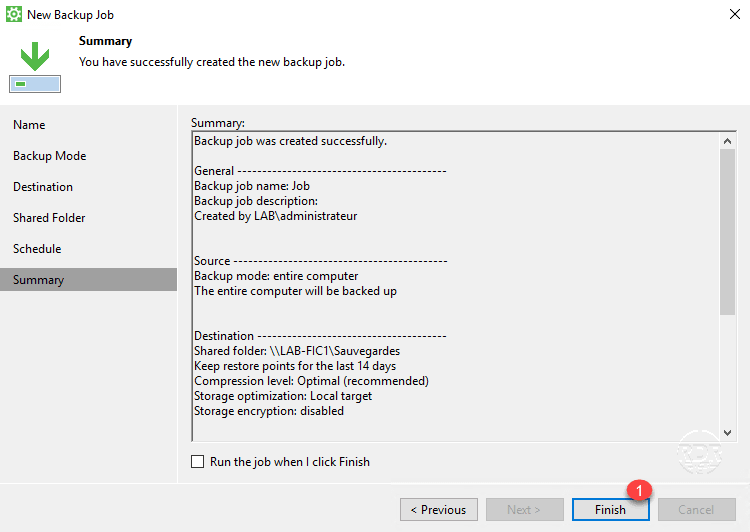
The job is added.

As you can see, new options are available in this version.
- Adding an additional job (license required)
- Standalone full backup : allows you to create an independent backup on the same repository.
- Backup to another location : allows you to create an independent backup on a repository.
Conclusion
This new version brings a lot of novelty and fills a part of the weak Veeam Agent.
The ability to make a backup on another medium is very important especially for the desktop backup, this option allows for example to perform a regular backup on NAS and ad hoc on a USB disk that you can then put in “security”.
The ability to create multiple backup jobs can also allow to set up interesting strategies for a file server for example. The LMMJV week, we save that the partitions where are the documents and the weekend a complete backup of the server.