Introduction
In this tutorial, I’m going to explain how to set up a DHCP server on Ubuntu using KEA (isc-kea).
isc-dhcp-server has not been maintained since the end of 2022 and has been replaced by isc-kea .
In this tutorial, we will focus solely on the IPv4 DHCP server.
As a reminder, a DHCP server is used to dynamically assign network settings to computers that request them; in this configuration, we will find:
- IP address
- DNS server
- Router
- Domain name
- …
Installing the Kea DHCP server on Ubuntu
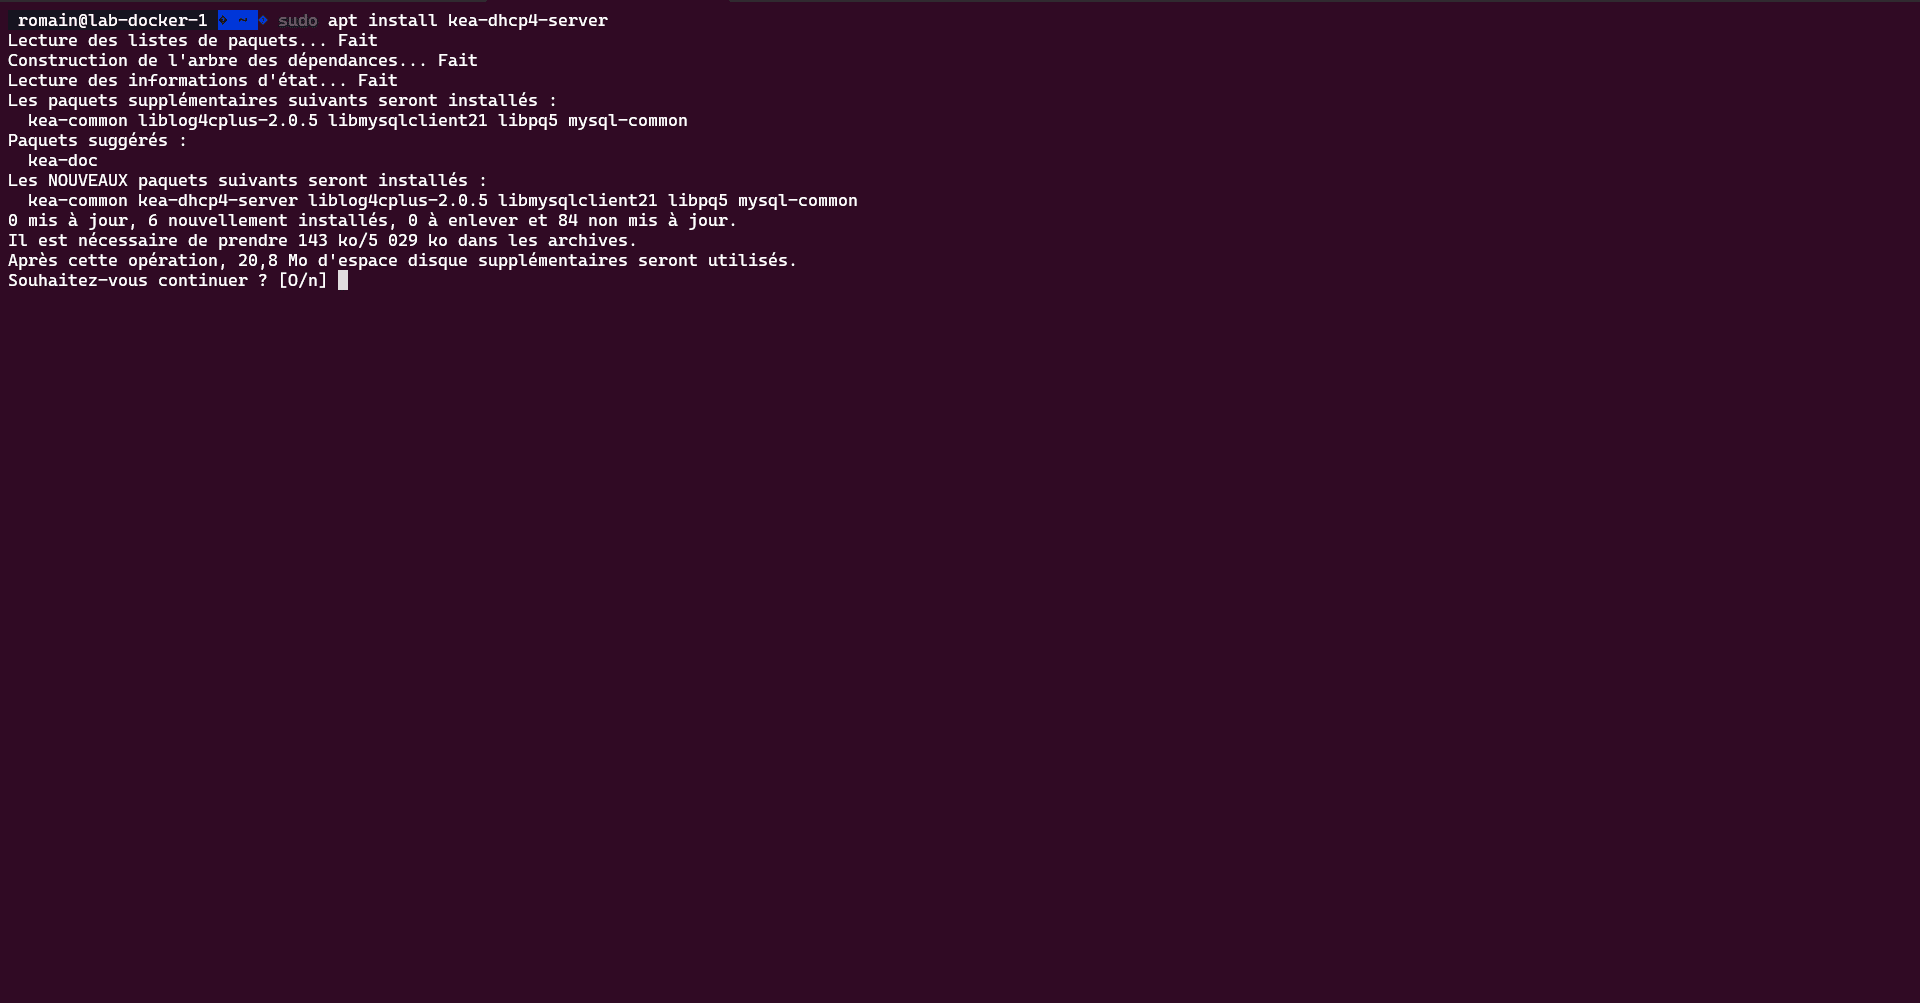
We’re going to install the package: kea-dhcp4-server:
sudo apt install kea-dhcp4-server -y
Please wait whilst the installation is in progress …
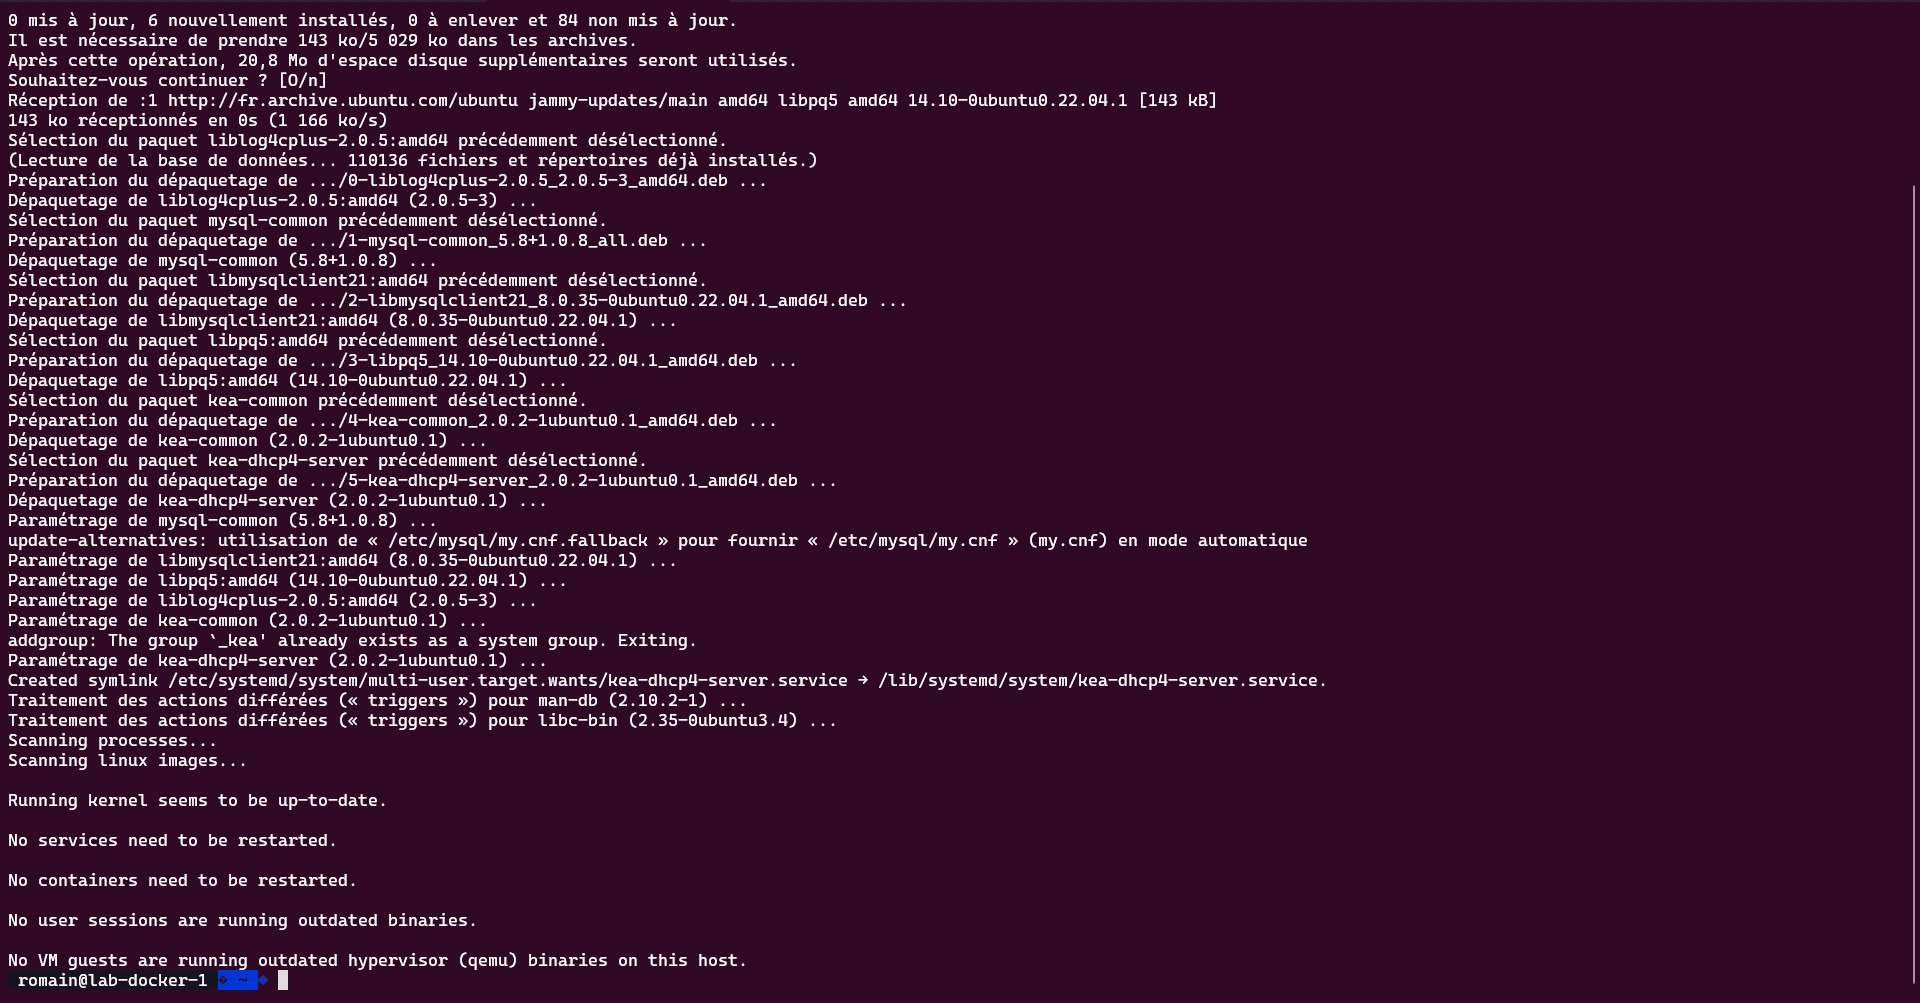
The Kea DHCP server has been installed.
Before proceeding with the configuration, note down the name of the server’s network interface:
ip a
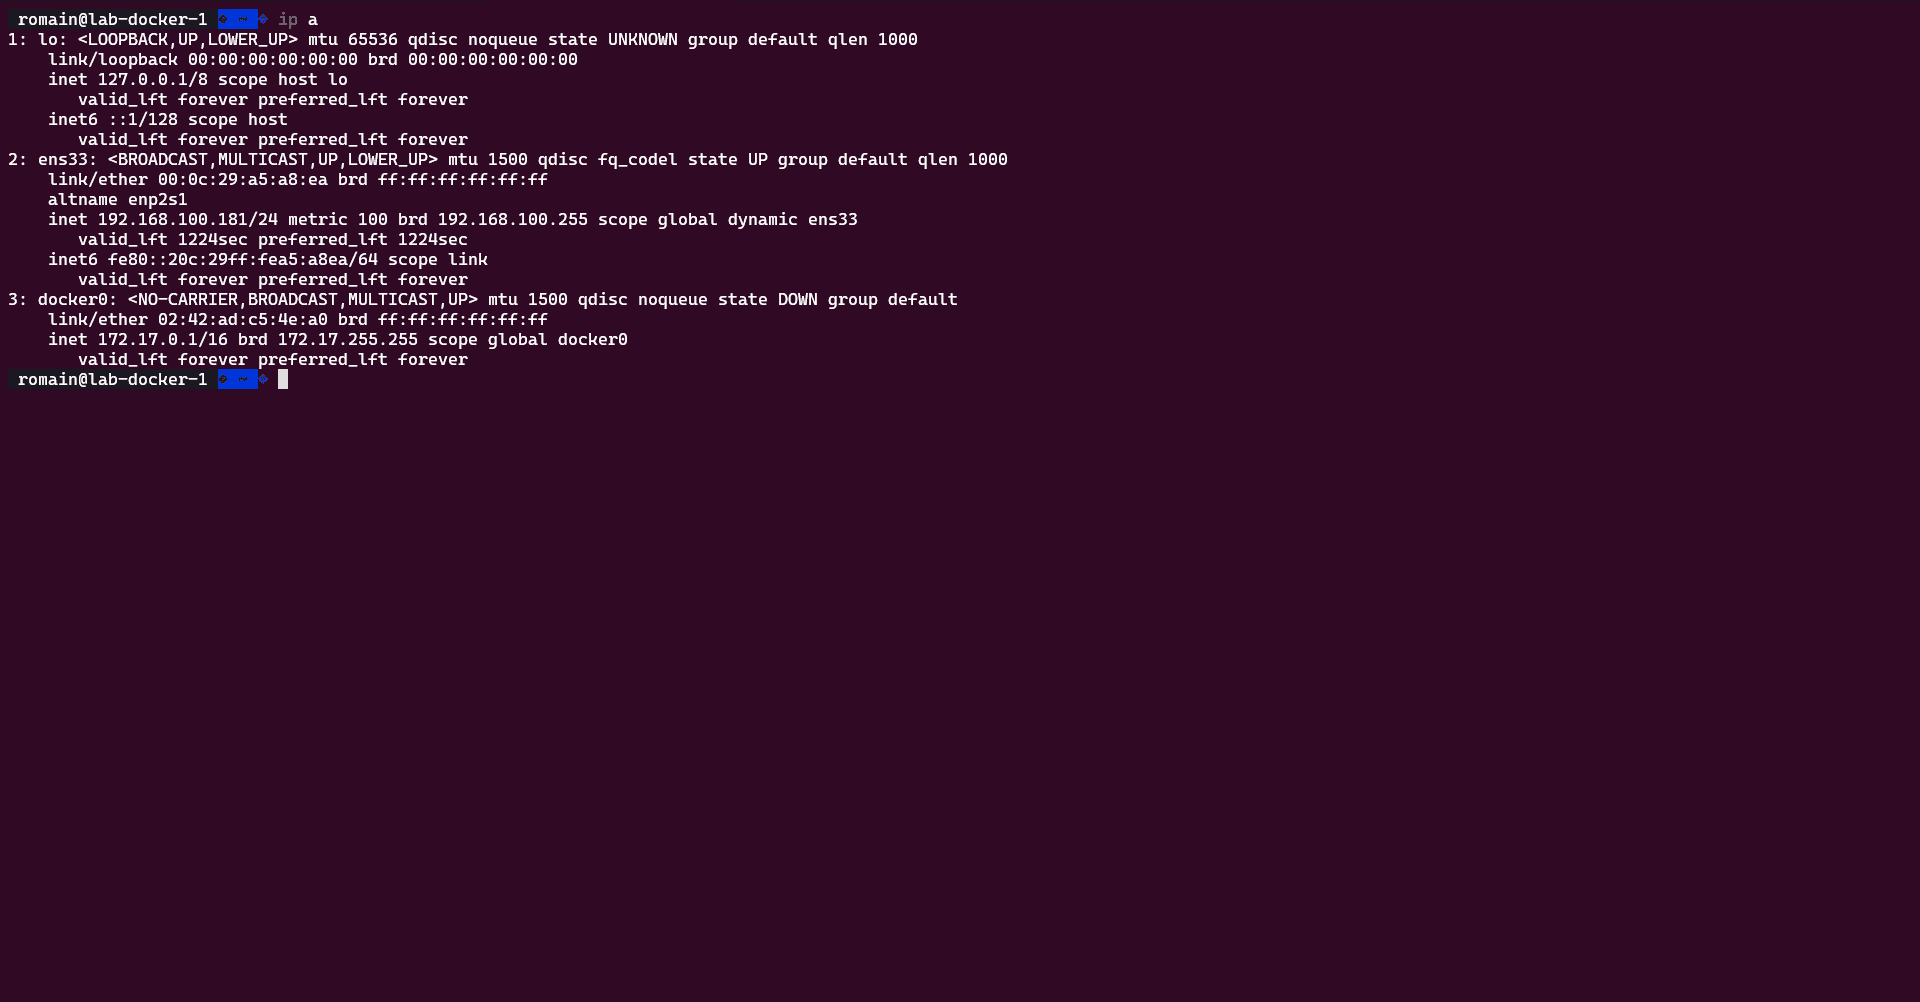
The name of the network interface on which DHCP will listen is ens33.
The configuration files are located in the /etc/kea/ folder, and the one we’ll be looking at in this tutorial is kea-dhcp4.conf.
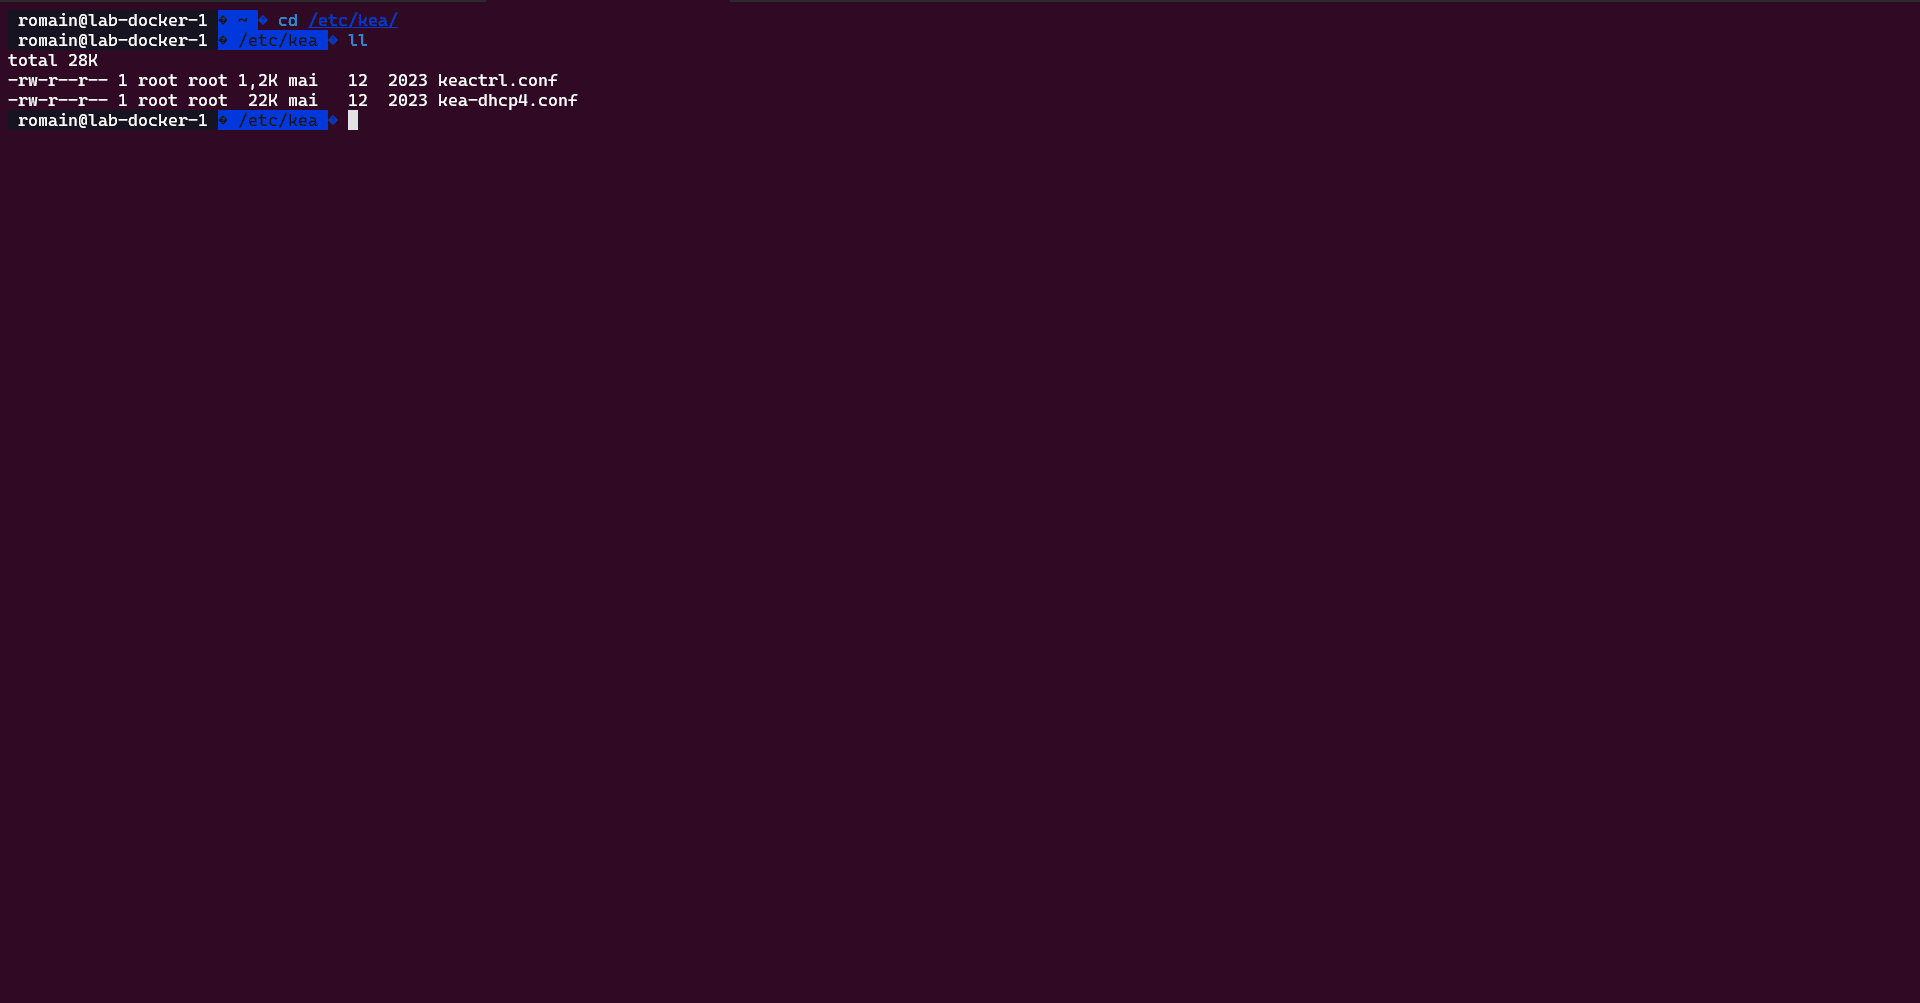
Before we start the configuration, we’ll save the original file.
Go to the /etc/kea/ directory:
cd /etc/kea
Copy the configuration file:
sudo cp kea-dhcp4.conf kea-dhcp4.conf.bak
Configuring the Kea DHCP server
To make this section as easy to understand as possible, we will take a step-by-step approach to configuring the Kea DHCP server.
The DHCP server has the IP address 192.168.100.181 and we are going to configure it to assign addresses on the 192.168.100.0/24 network; its address pool will be: 192.168.100.120 to 192.168.100.130.
For your information, the configuration file is in JSON format.
I’d advise you to work on the configuration in a text editor such as VS Code, as it will be easier to read.
Basic configuration
We’ll start with a simple setup, where we’ll configure a DHCP scope and also set up the router, the DNS servers and the domain name.
Start by opening the configuration file:
sudo nano kea-dhcp.4.conf
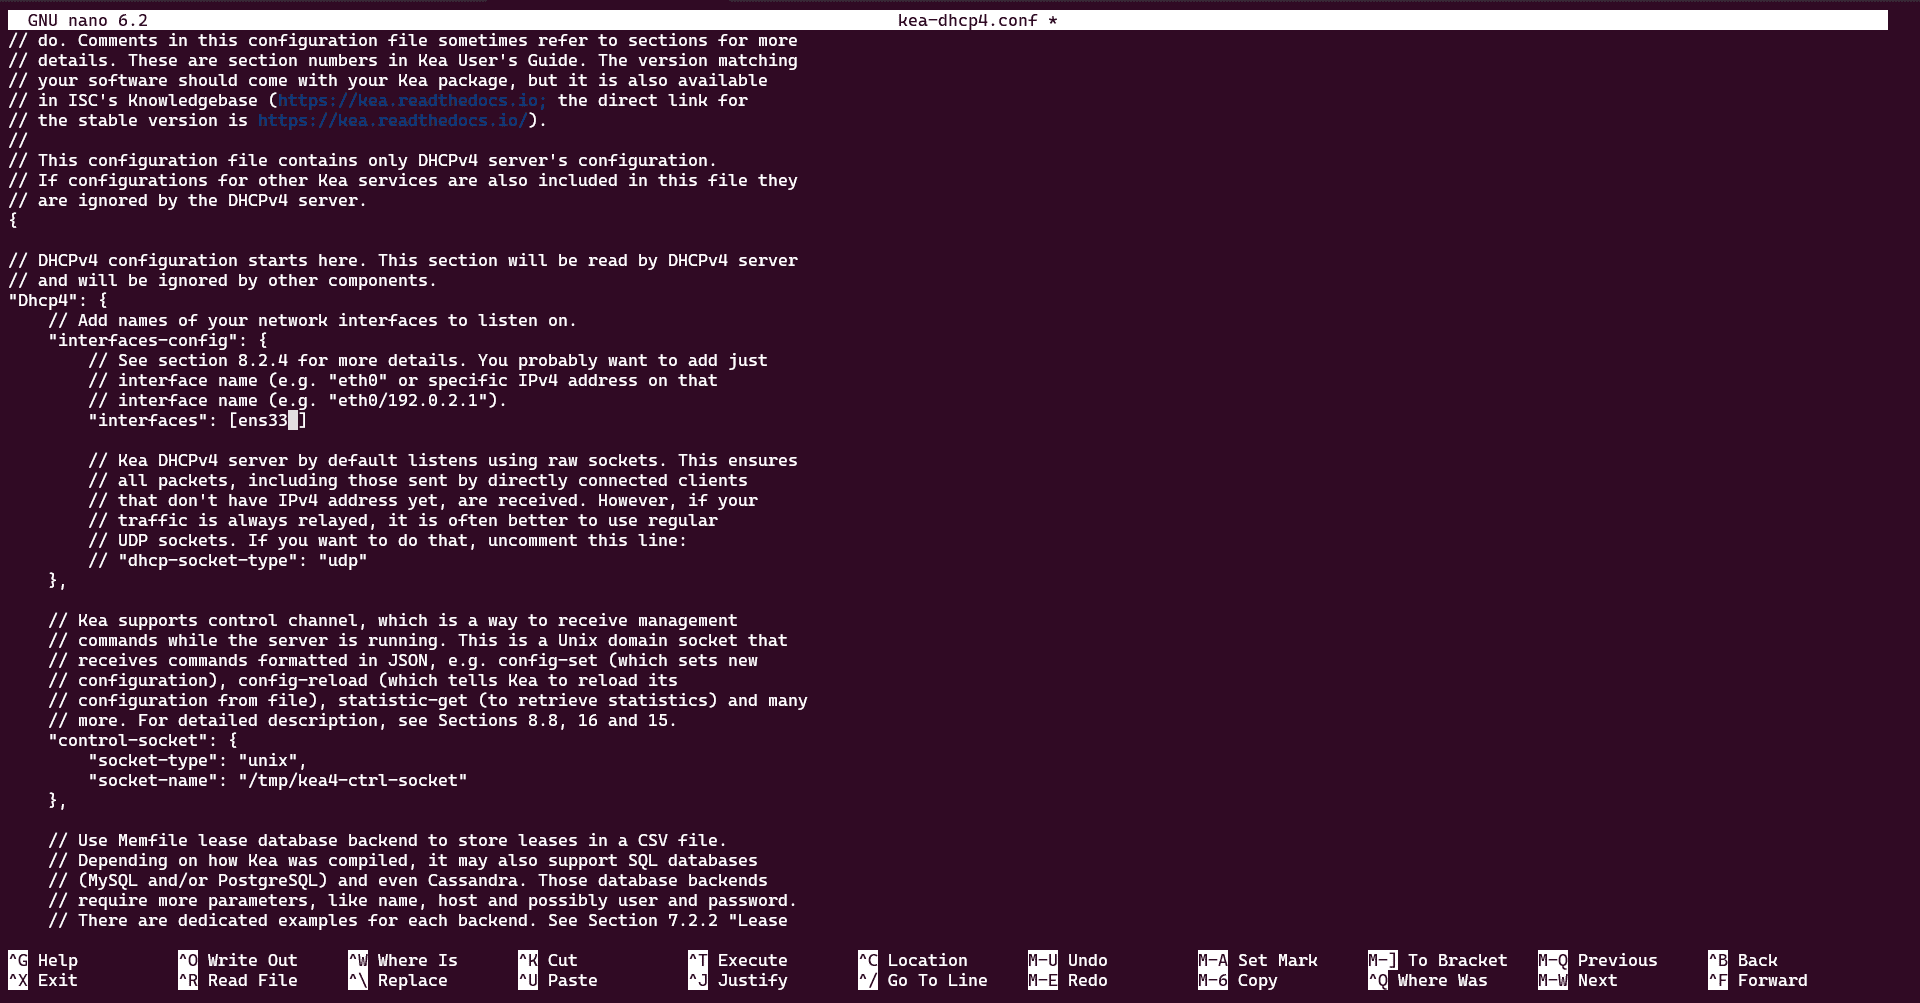
As you can see, the file already contains configuration settings and a lot of comments; clear the file’s contents using Ctrl+K.
To begin with, here is the configuration we’re going to use:
{
	"Dhcp4": {
		"interfaces-config": {
			"interfaces": [ "ens33" ]
		},

		"control-socket": {
			"socket-type": "unix",
			"socket-name": "/run/kea/kea4-ctrl-socket"
		},

		"lease-database": {
			"type": "memfile",
		  	"lfc-interval": 3600
		},

		"valid-lifetime": 600,
		"max-valid-lifetime": 7200,

		"subnet4": [
			{
				"id": 1,
		  		"subnet": "192.168.100.0/24",

				"pools": [
		  			{
						"pool": "192.168.100.120 - 192.168.100.130"
		  			}
		  		],
		  		"option-data": [
					{
						"name": "routers",
						"data": "192.168.100.254"
					},
					{
						"name": "domain-name-servers",
						"data": "1.1.1.1, 8.8.8.8"
					},
					{
						"name": "domain-name",
						"data": "247-it.io"
					}
		  		]
		  	}
		]
	}
}
Adapt the configuration to suit your environment and copy this configuration into the file on the server, which has been cleared.
Save the configuration and restart the service for the changes to take effect:
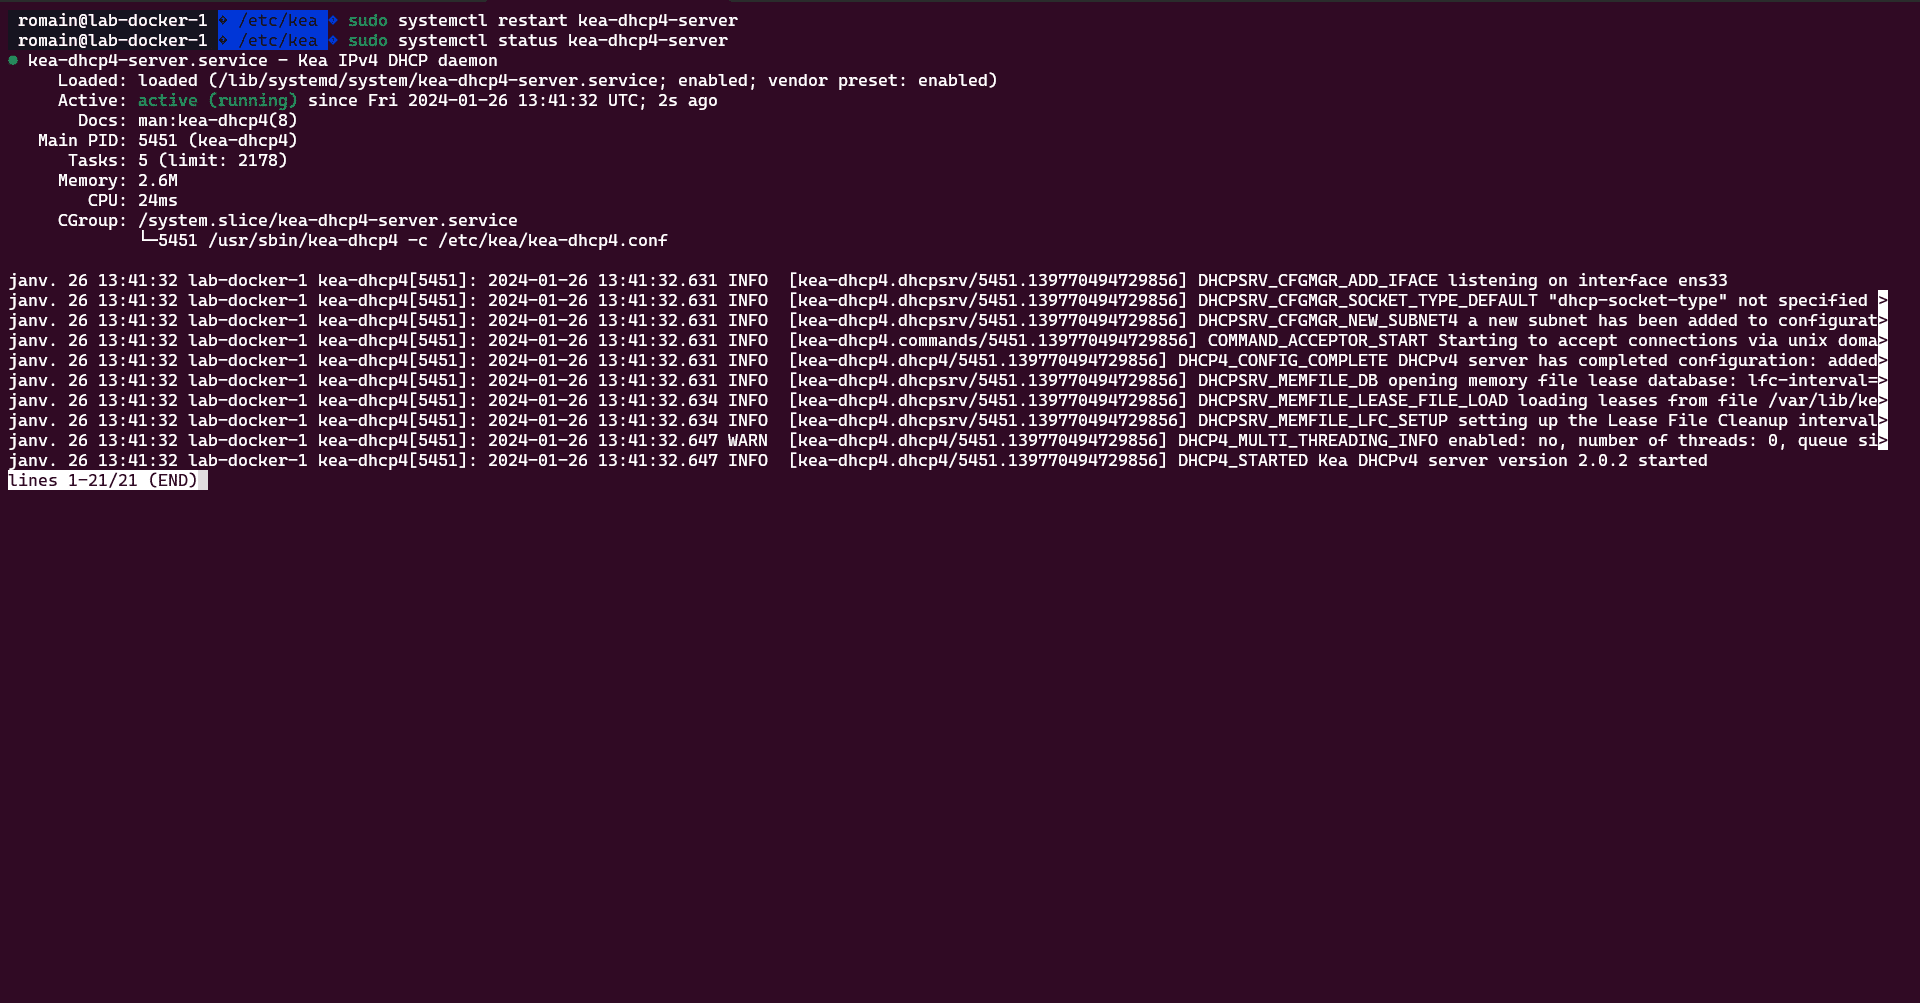
sudo systemctl restart kea-dhcp4-server
Check that the DHCP server has started correctly:
sudo systemctl status kea-dhcp4-server
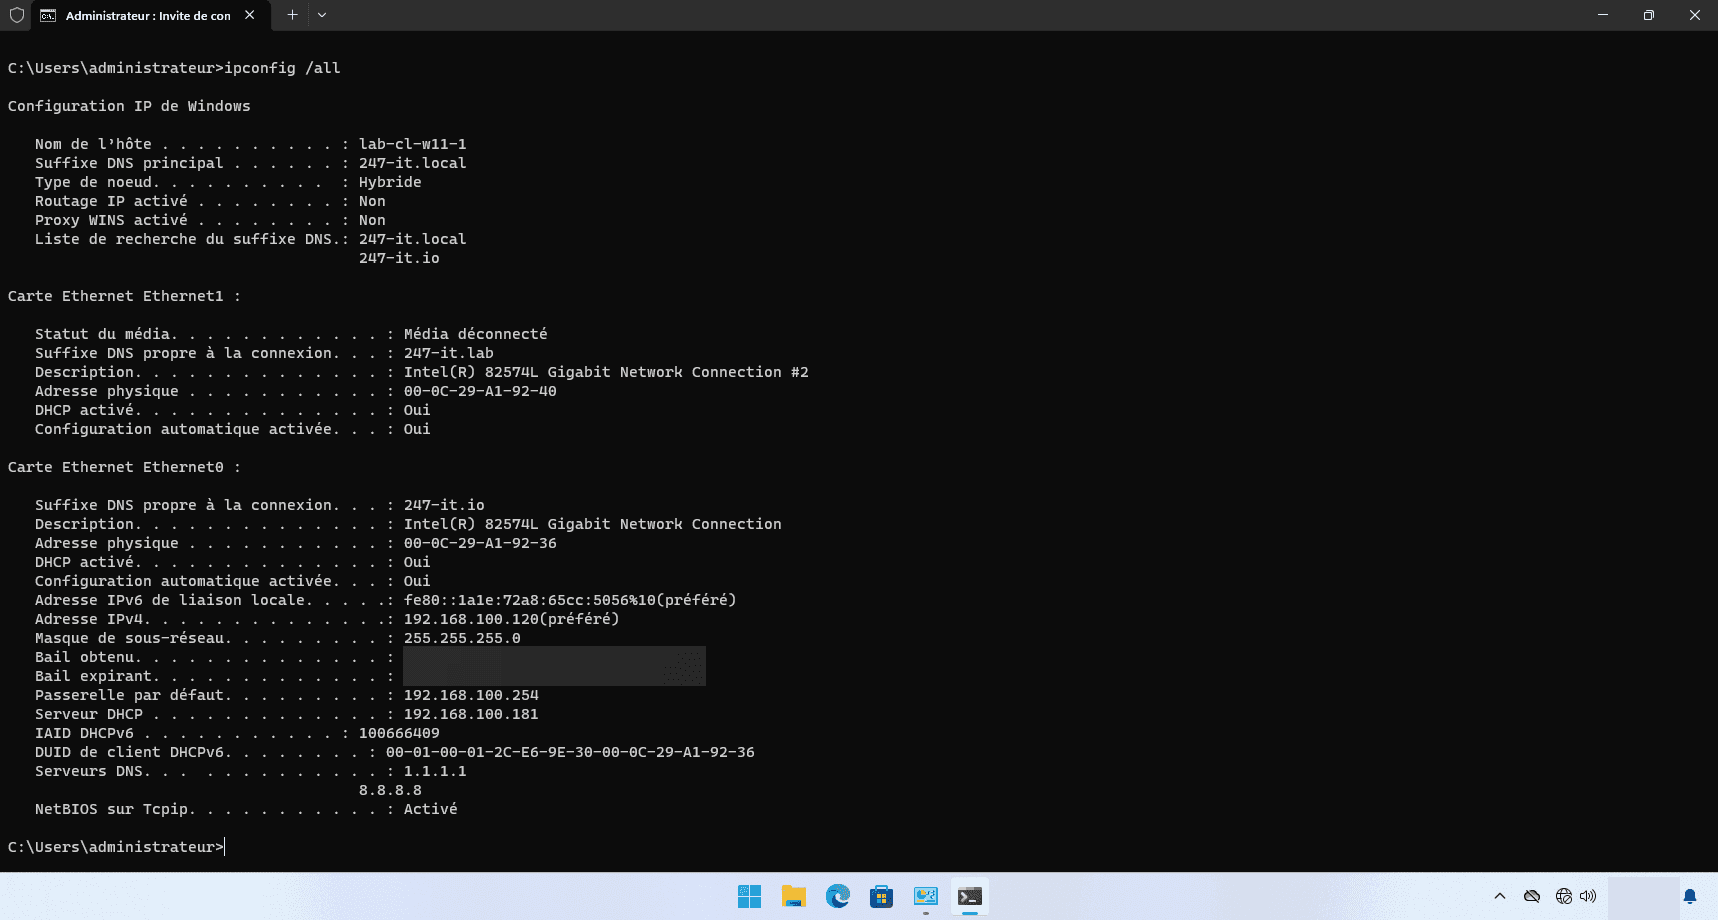
Now, to test the configuration, the simplest way is to carry out the test using a computer on the network. Below is a screenshot taken from a Windows 11 computer, where you can see that I am successfully obtaining an IP address from the DHCP server using this configuration.
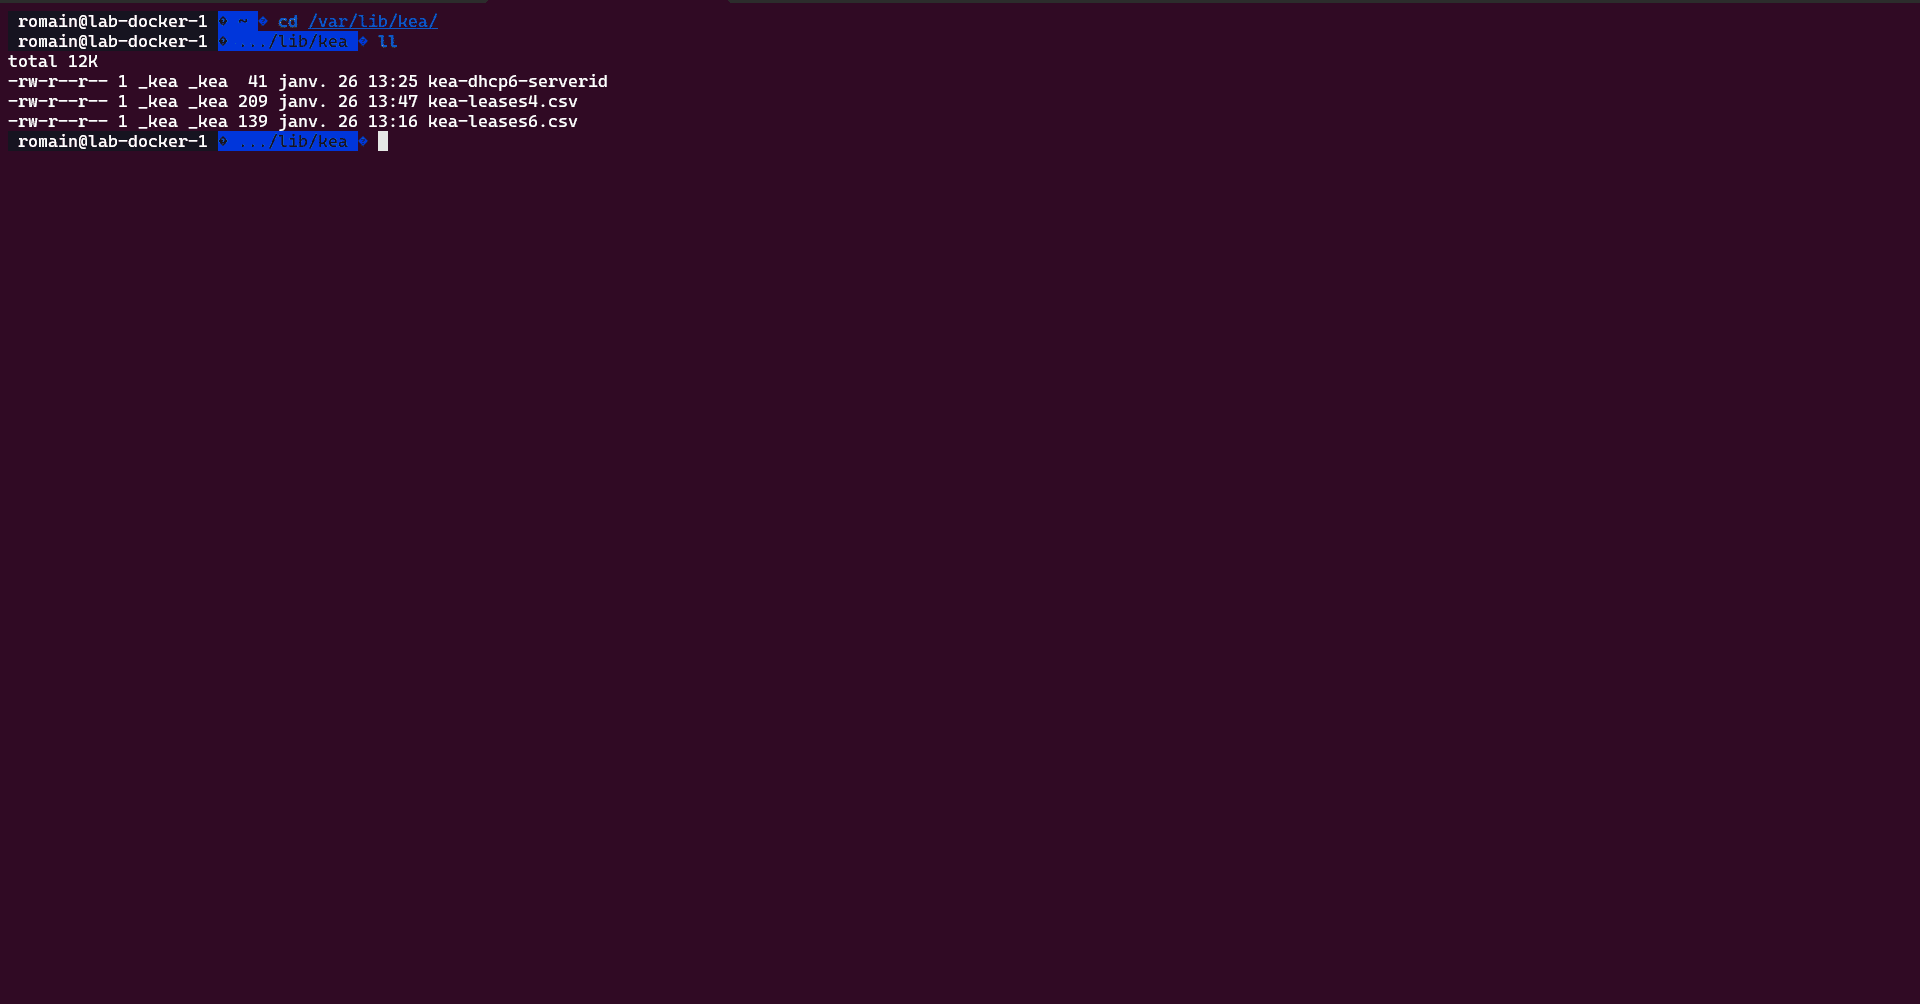
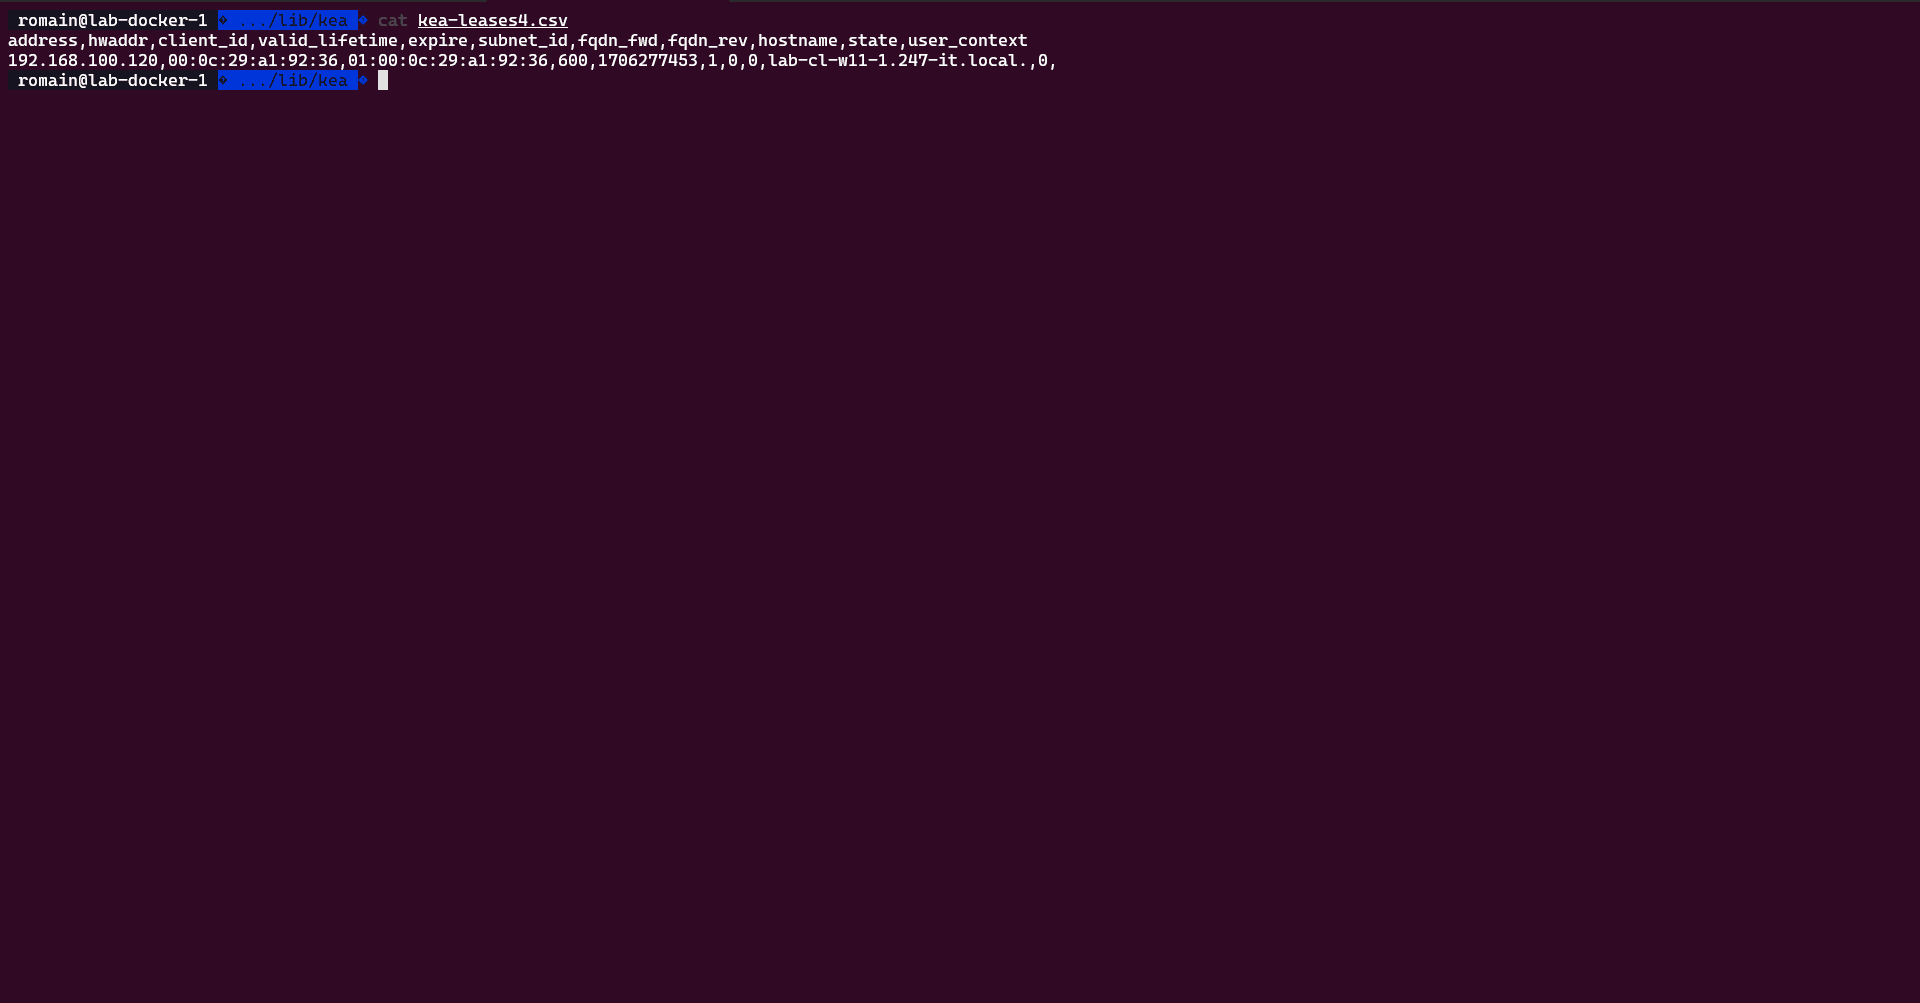
From the server, you can view the DHCP leases; these are stored in a file located at the following path: /var/lib/kea/ and in the file kea-leases4.csv.
Here is the content of the file containing the Windows 11 computer licence agreement.
Configuring options at DHCP server level
In the first example, the DHCP settings have been configured to provide the DNS servers and the domain name at the scope level.
If you are configuring multiple subnets and they all share the same DNS servers and domain name, you can set these options at server level to avoid having to specify them for each DHCP subnet.
It’s also handy because, whenever a change needs to be made, it only needs to be done once.
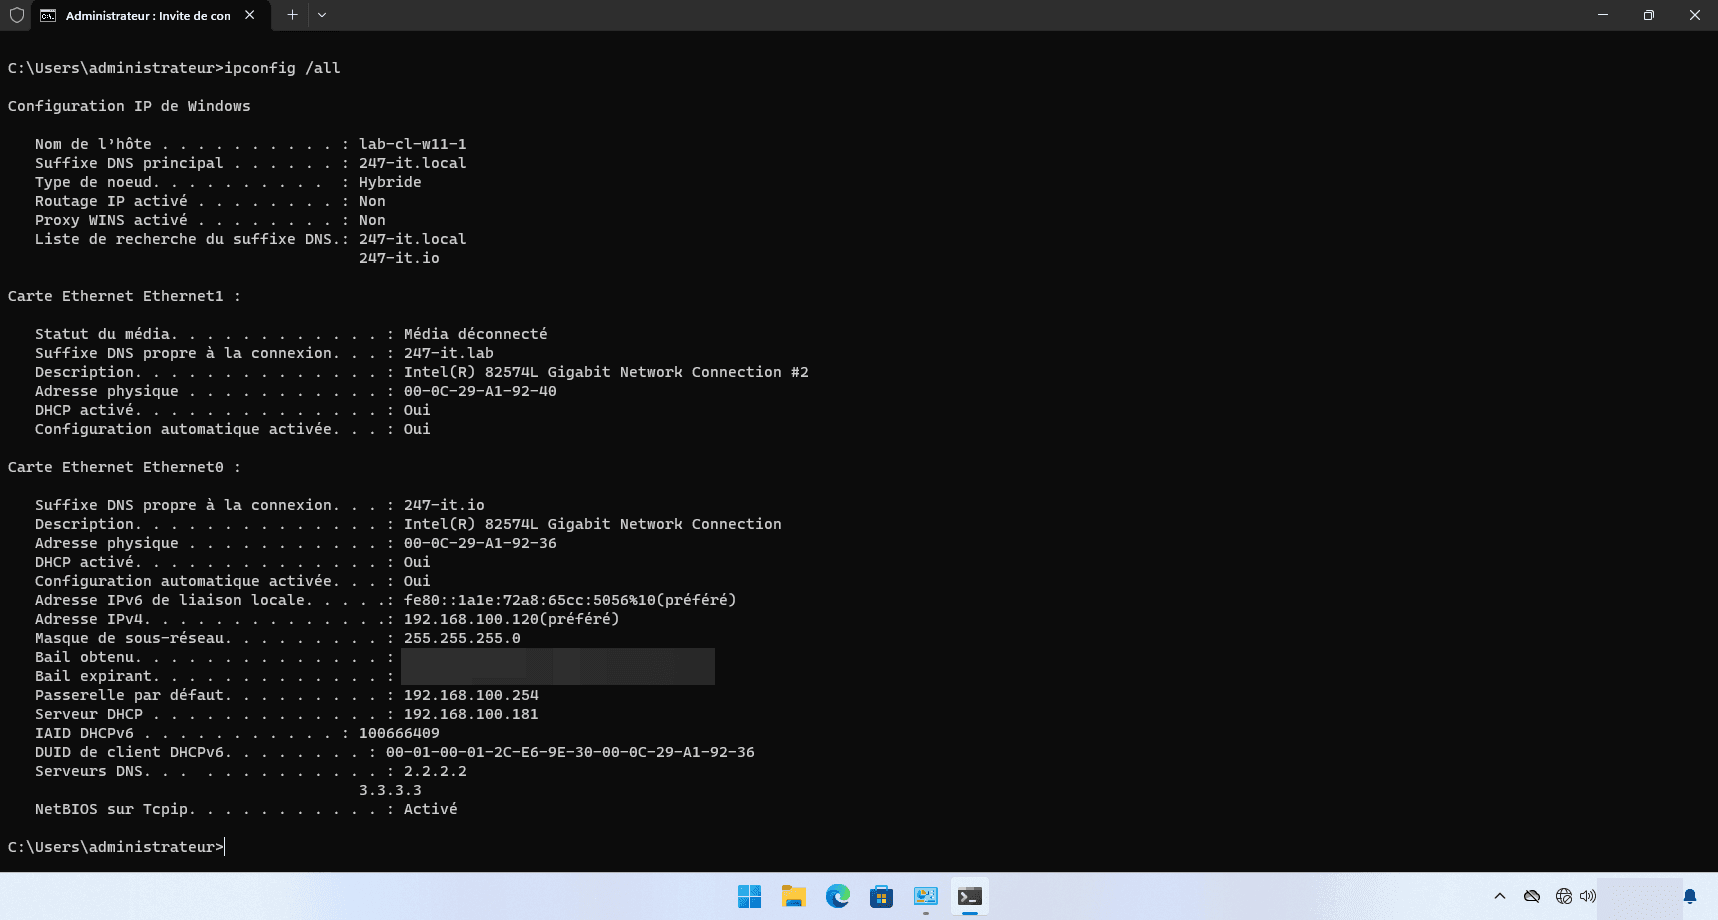
To see the difference, I have changed the DNS servers to 2.2.2.2 and 3.3.3.3.
Here is the configuration file:
{
	"Dhcp4": {
		"interfaces-config": {
			"interfaces": [ "ens33" ]
		},

		"control-socket": {
			"socket-type": "unix",
			"socket-name": "/run/kea/kea4-ctrl-socket"
		},

		"lease-database": {
			"type": "memfile",
		  	"lfc-interval": 3600
		},

		"valid-lifetime": 600,
		"max-valid-lifetime": 7200,

		"option-data": [
			{
				"name": "domain-name-servers",
				"data": "1.1.1.1, 8.8.8.8"
			},
			{
				"name": "domain-name",
				"data": "247-it.io"
			}
		  ],

		"subnet4": [
			{
				"id": 1,
		  		"subnet": "192.168.100.0/24",

				"pools": [
		  			{
						"pool": "192.168.100.120 - 192.168.100.130"
		  			}
		  		],
		  		"option-data": [
					{
						"name": "routers",
						"data": "192.168.100.254"
					}
		  		]
		  	}
		]
	}
}
To apply the changes, restart the kea-dhcp4-server service and check its status.
On my Windows 11 machine, after the update, you can see that the new options have been rolled out.
Set up a DHCP reservation
To round off the configuration section, I’m going to show you how to set up a reservation so that the computer is always assigned the same IP address.
For this reservation, we will use the network card’s MAC address; the reservation must use an IP address that is outside the allocation pool.
Finally, I added some specific options (DNS servers).
Here is the configuration:
{
	"Dhcp4": {
		"interfaces-config": {
			"interfaces": [ "ens33" ]
		},

		"control-socket": {
			"socket-type": "unix",
			"socket-name": "/run/kea/kea4-ctrl-socket"
		},

		"lease-database": {
			"type": "memfile",
		  	"lfc-interval": 3600
		},

		"valid-lifetime": 600,
		"max-valid-lifetime": 7200,

		"option-data": [
			{
				"name": "domain-name-servers",
				"data": "2.2.2.2, 3.3.3.3"
			},
			{
				"name": "domain-name",
				"data": "247-it.io"
			}
		  ],

		  "subnet4": [
		  {
		  	"id": 1,
		  	"subnet": "192.168.100.0/24",

			"reservations-global": false,
			"reservations-in-subnet": true,
			"reservations-out-of-pool": false,
			"reservations": [
				{
					"hw-address": "00:0c:29:a1:92:36",
					"ip-address": "192.168.100.135",
					"hostname": "lab-cl-w11",
					"option-data": [
						{
							"name": "domain-name-servers",
							"data": "1.1.1.1, 8.8.8.8"
						}
					]
				}
			],

		  	"pools": [
		  		{
					"pool": "192.168.100.120 - 192.168.100.130"
		  		}
		  	],
		  	"option-data": [
				{
					"name": "routers",
					"data": "192.168.100.254"
				}
		  	]
		  }
		]
	}
}
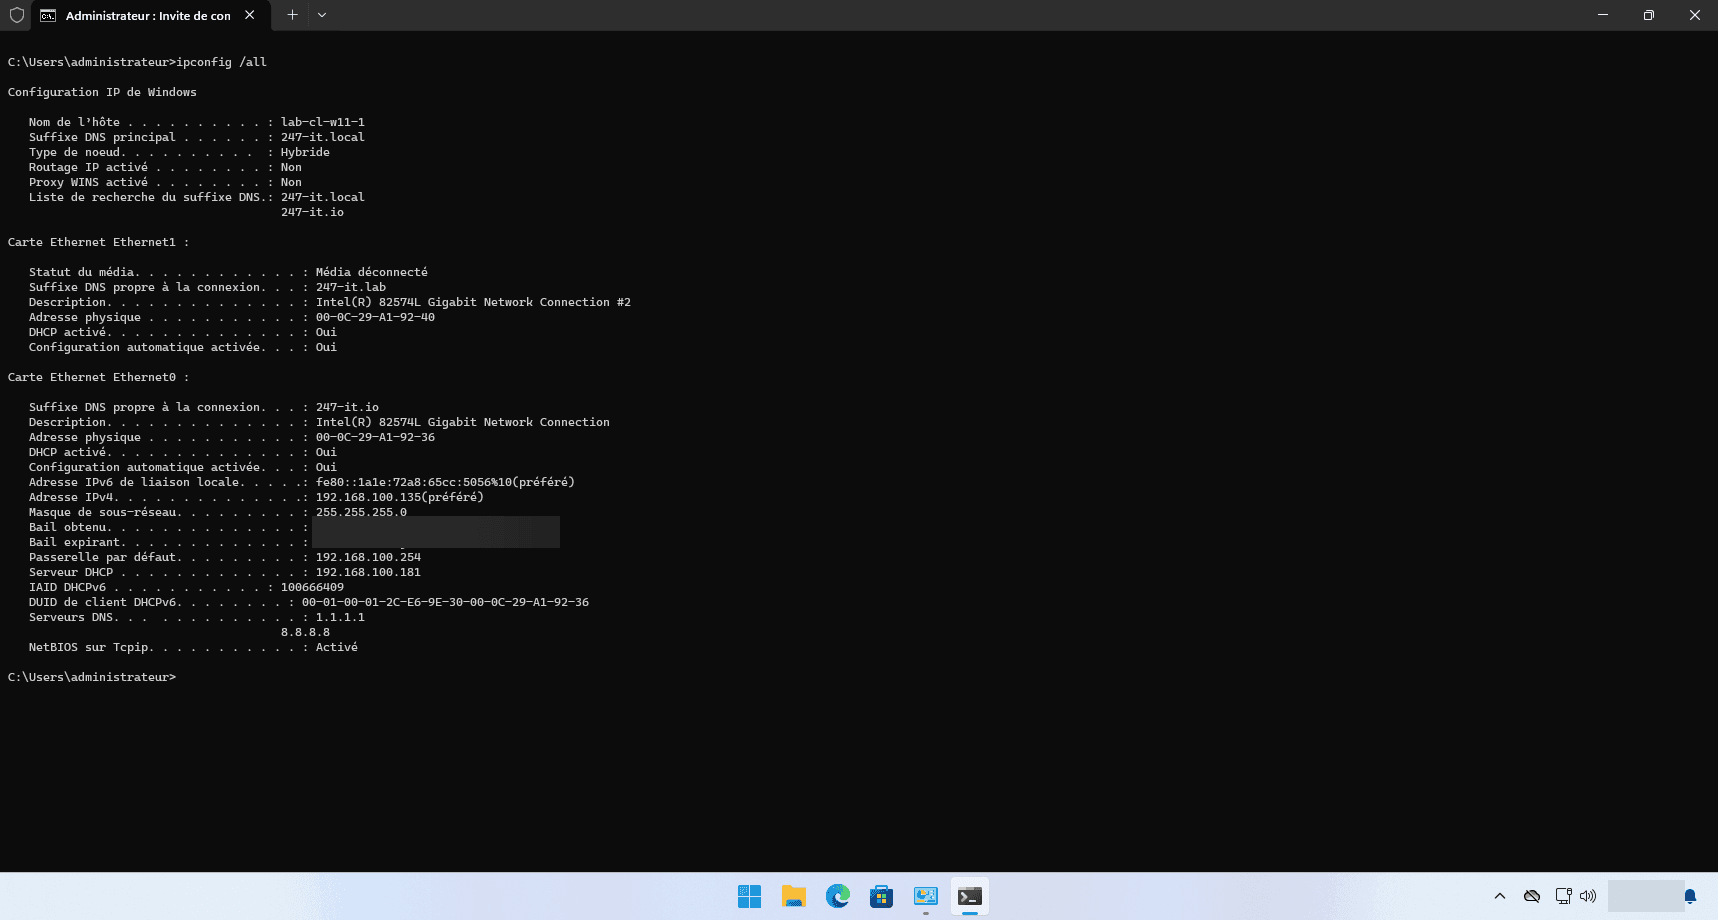
The Windows 11 computer will always have the IP address 192.168.100.135
To apply the changes, restart the kea-dhcp4-server service and check its status.
It can be seen from the Windows 11 computer’s IP settings that it has indeed received the reserved address with its specific options.
A bit more information
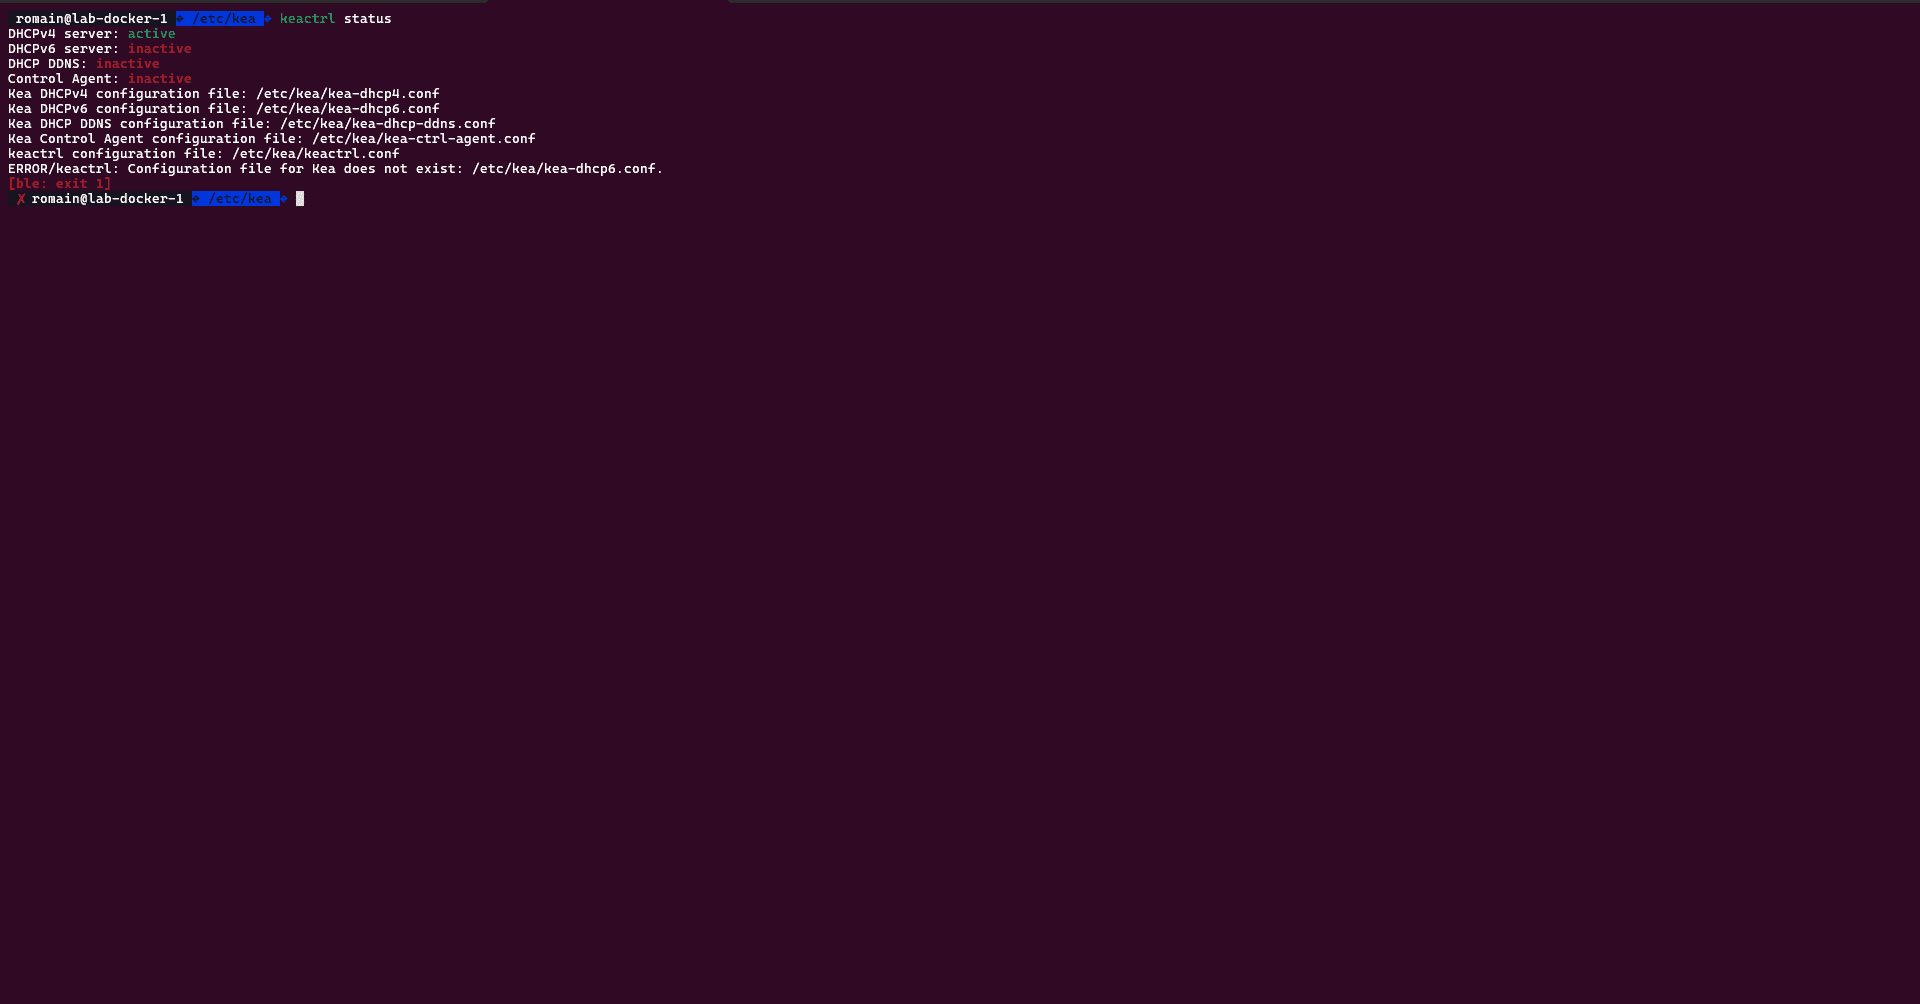
You can check the status of the DHCP service using the following command:
keactrl status
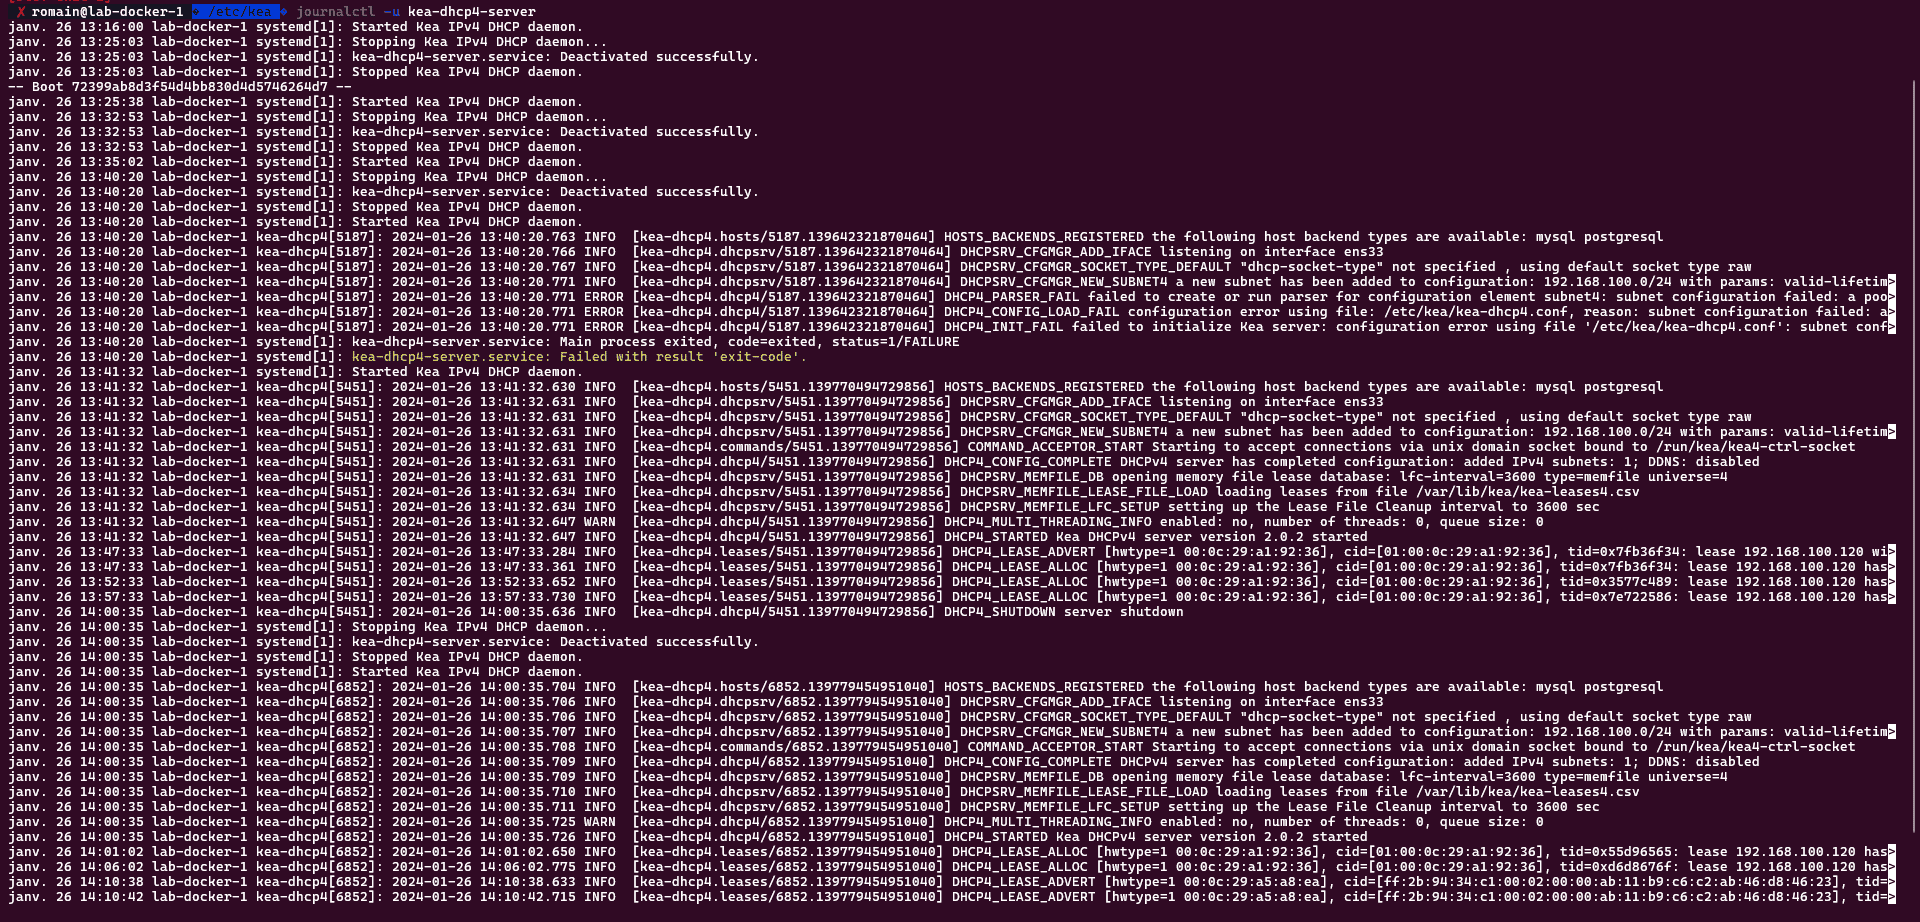
View the Kea DHCP server logs:
journalctl -u kea-dhcp4-server
Link to the official documentation: https://kea.readthedocs.io/en/latest/
This first tutorial on the Kea DHCP server comes to an end and should help you set up a DHCP service on Ubuntu.
I think I’ll be doing another tutorial on Kea’s services, which offer a whole host of possibilities.