In this tutorial, I will explain how to change the network profile of the firewall on Windows.
It happens that after a restart, the profile of the firewall goes private, we will see how to change it back to the domain profile.
The connection profile on a network adapter is especially useful when different firewall rules are applied.
Force the profile in PowerShell
1. Open a PowerShell window as administrator.
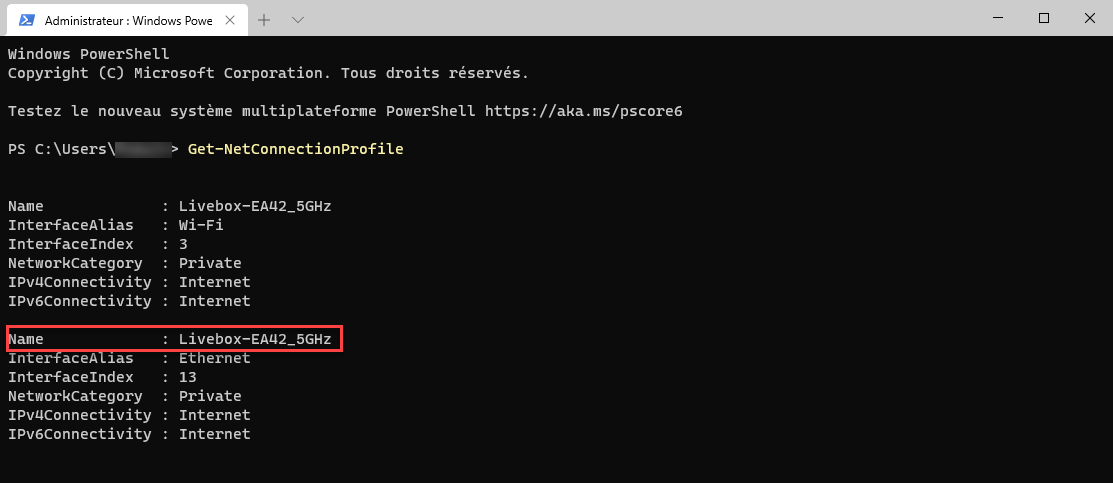
2. Enter the Get-NetConnectionProfile command in order to retrieve the name of the connection.
Get-NetConnectionProfileRemember the name of the connection
3. Force Login Domain Profile Using Cmdlet Set-NetConnectionProfile.
Set-NetConnectionProfile -Name "Connction-Name" -NetworkCategory DomainAuthenticatedIn our example :
Set-NetConnectionProfile -Name "Livebox-EA42_5GHz" -NetworkCategory DomainAuthenticatedThe other options available for the parameter -NetworkCategory :
– Private
– Public
Force profile in registry
It is also to force the profile of a connection going through the registry.
1. Open the registry editor by launching regedit.
2. Go to the next location : HKEY_LOCAL_MACHINE\SOFTWARE\Microsoft\Windows NT\CurrentVersion\NetworkList\Profiles
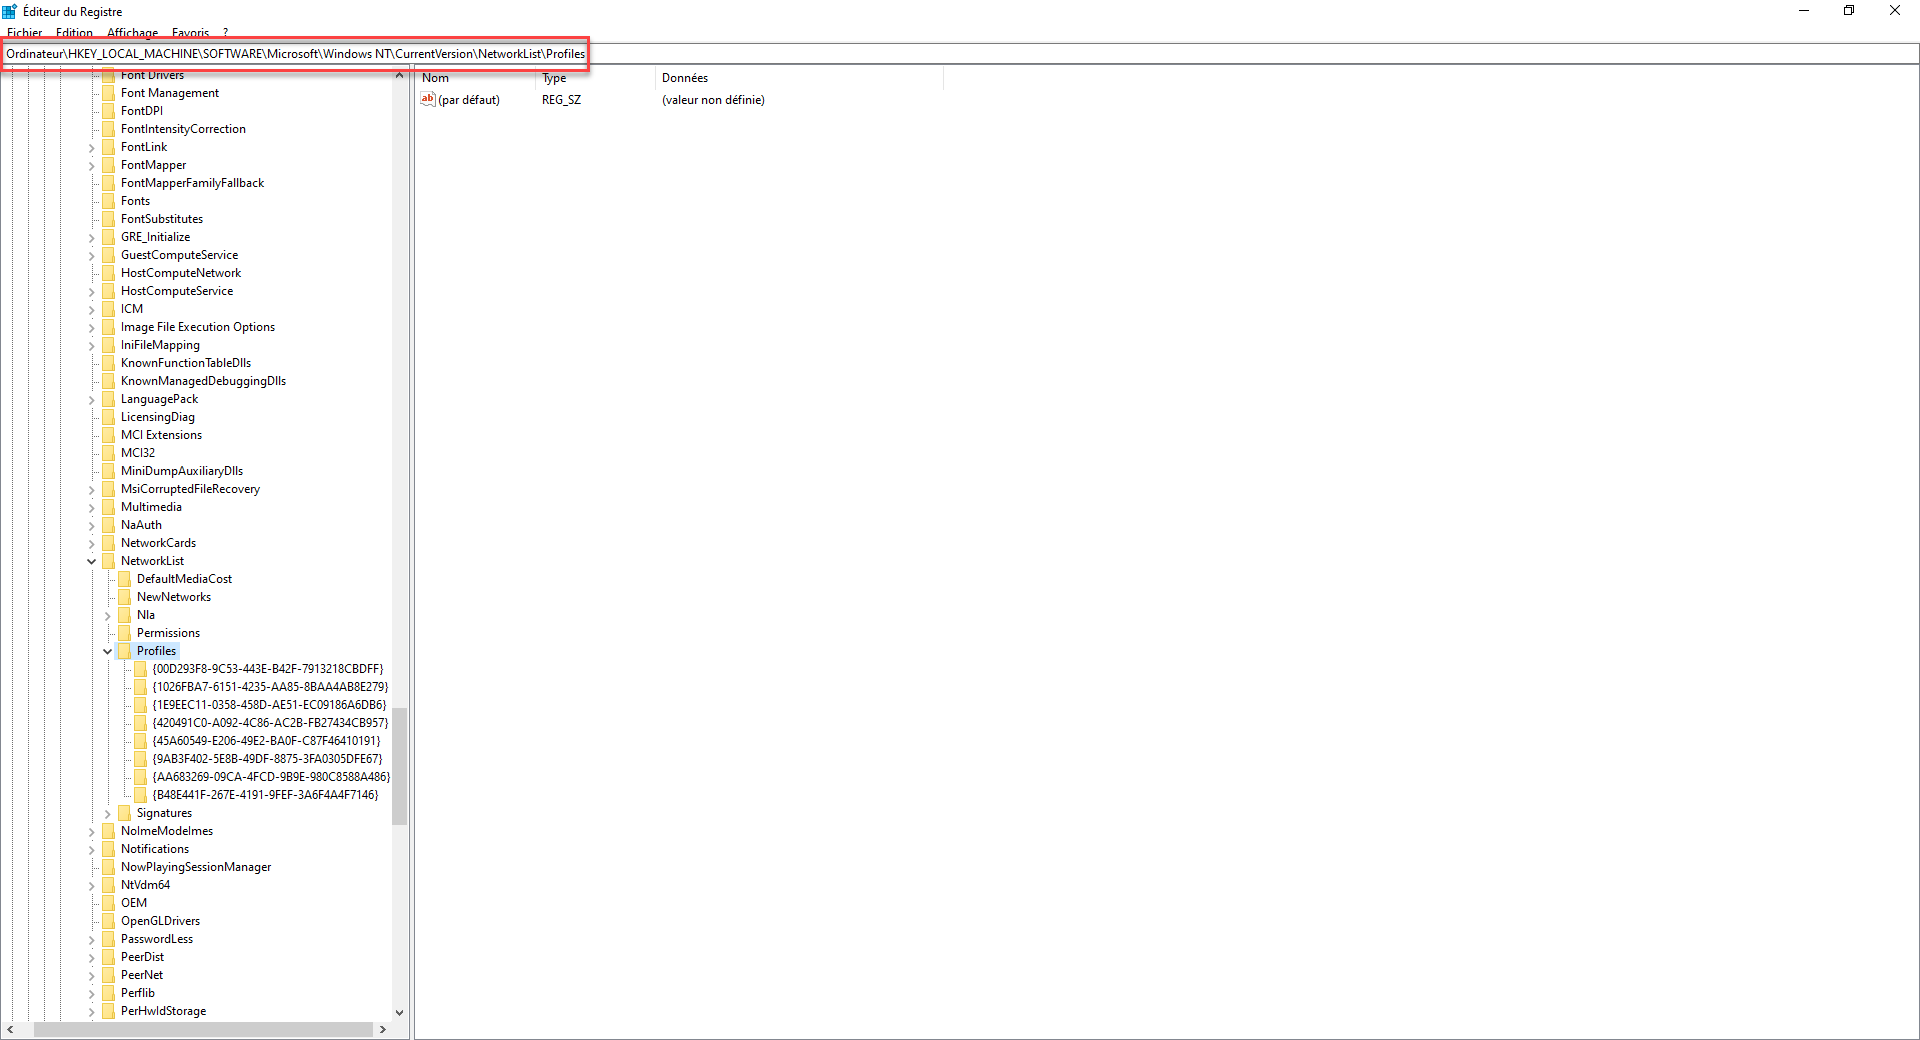
3. Find the network profile you want to modify.
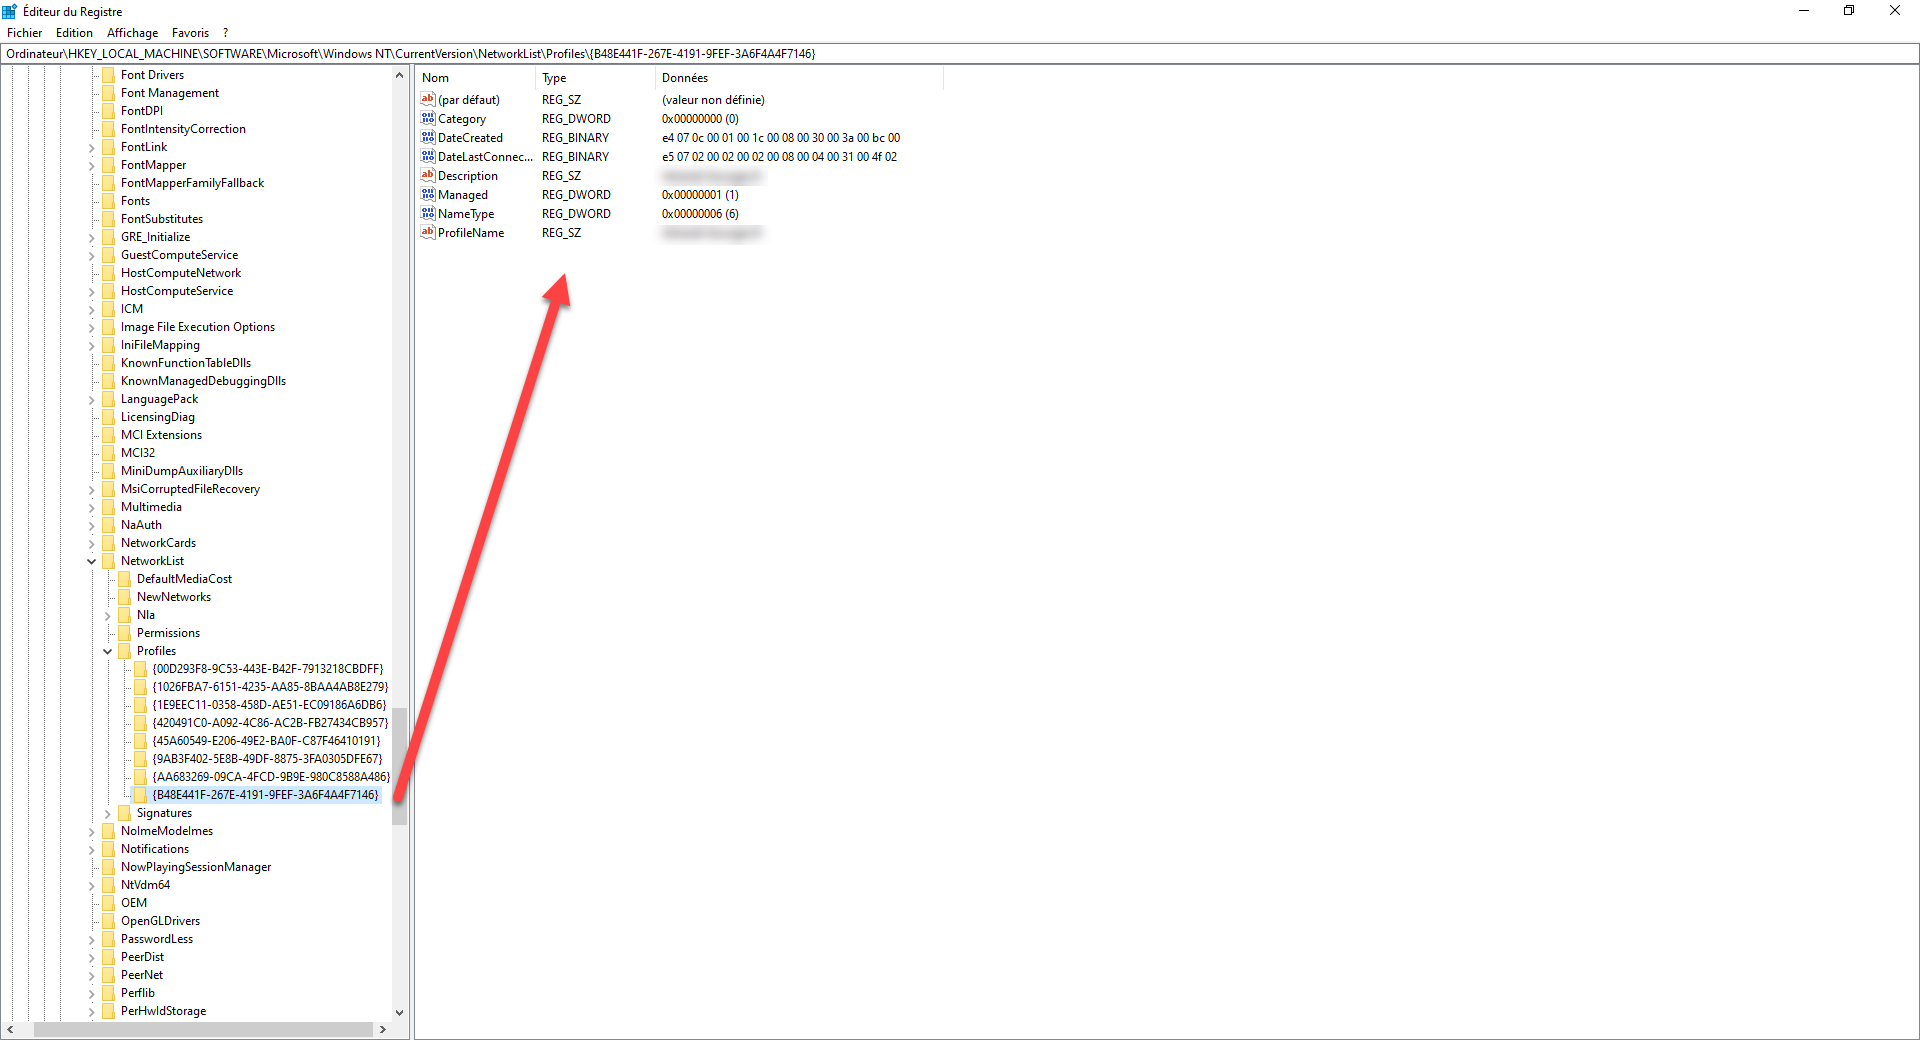
4. Change the DWORD Category value according to the desired profile.
| Profil réseau | Valeur |
|---|---|
| Public | 0 |
| Privé | 1 |
| Domaine | 2 |
The Domain network profile is available only for computers that are a member of an Active Directory domain.
You now know how to change the network profile of a connection.
