Remote Desktop Gateway – Gateway RDS
To summarize, the Remote Desktop Gateway allows access to resources (servers / computers) accessible from outside the enterprise on port 443 (https) without the need to establish a VPN connection and applying security strategies.
Remote Desktop Services Gateway Installation
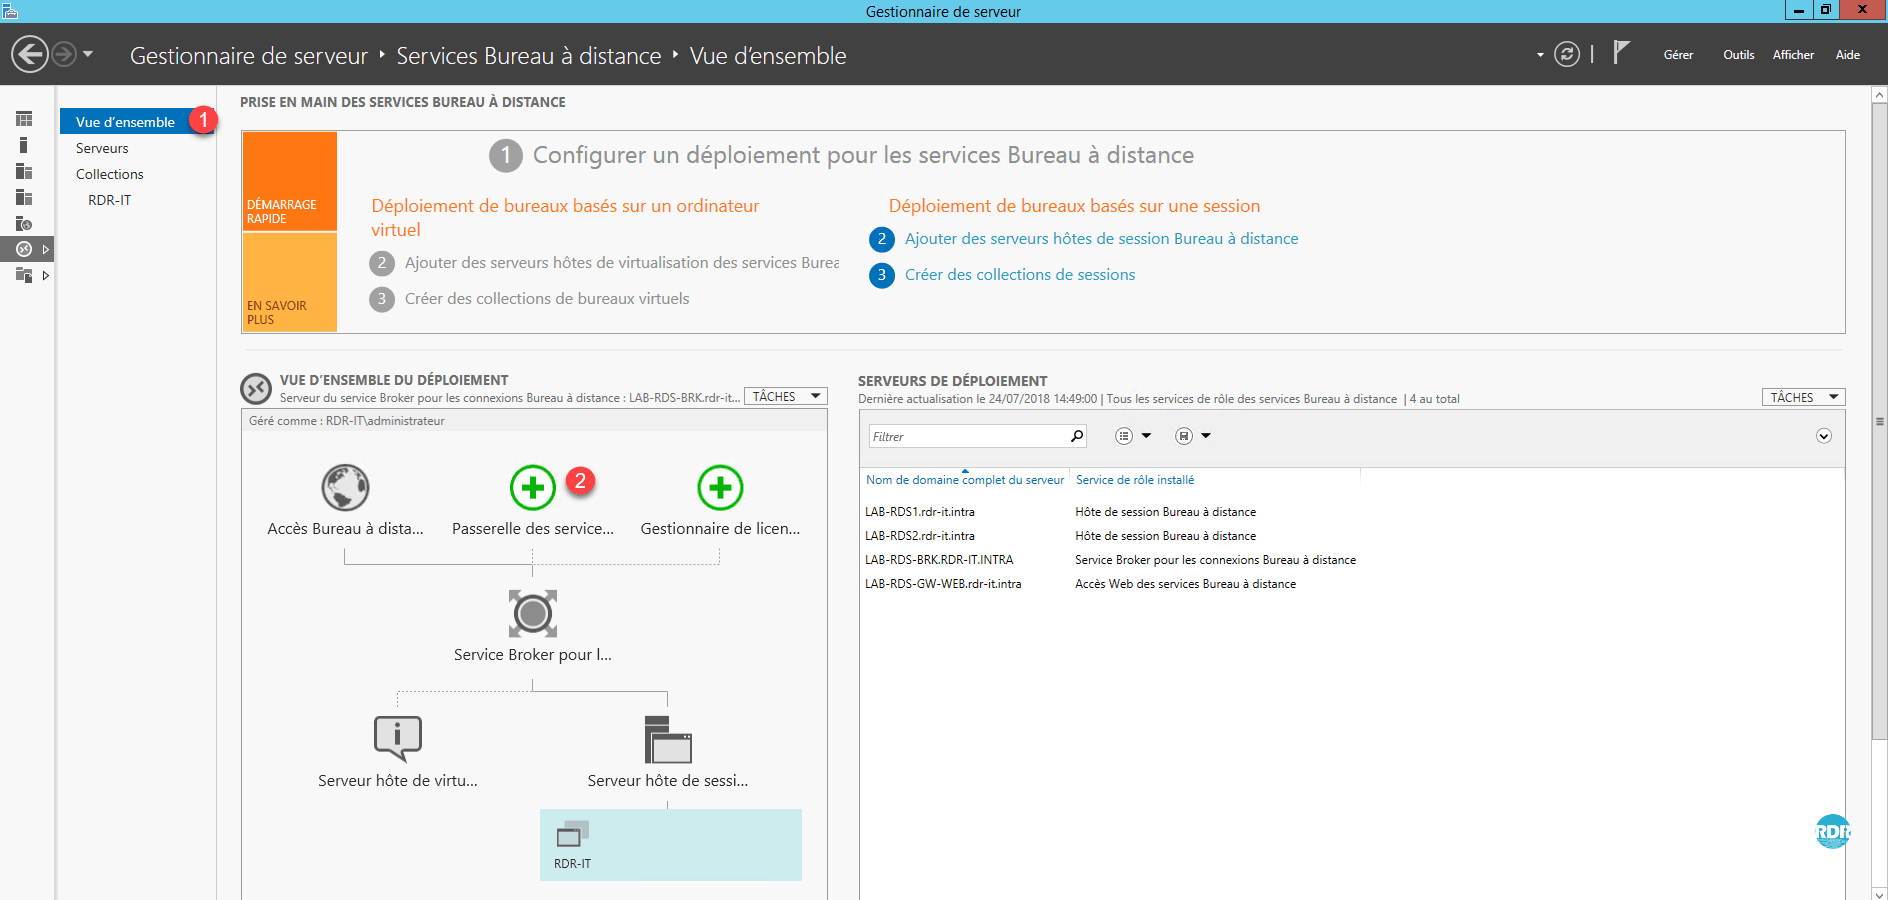
1. Go to Overview 1 of Remote Desktop Services and click on Service Gateway … 2 . This will open the role installation wizard for the RDS farm.
2. Select server 1 where the role is to be installed and click Next 2 .

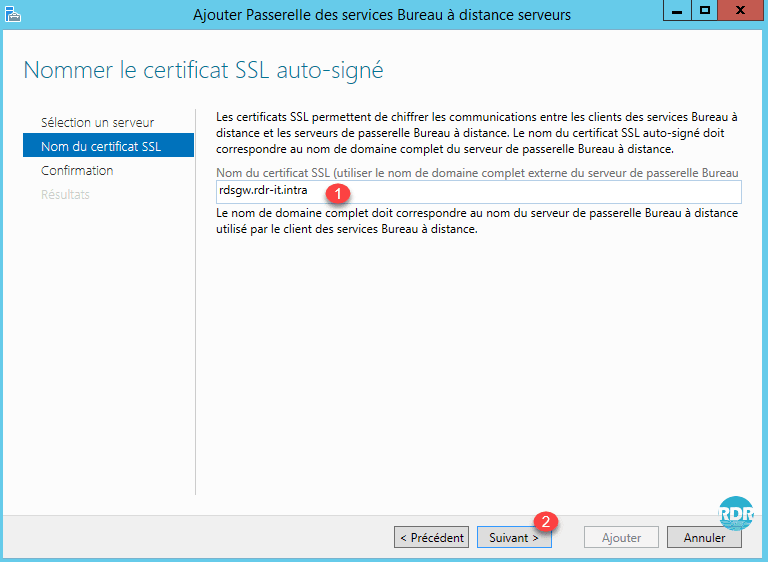
3. Enter the name of the SSL certificate 1 (usually the publication name on the internet) and click Next 2 .
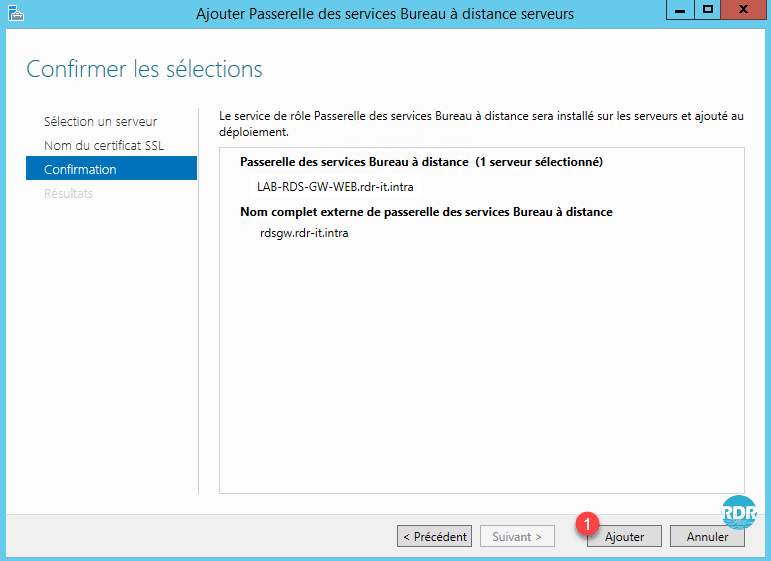
4. Click Add 1 to start the installation.
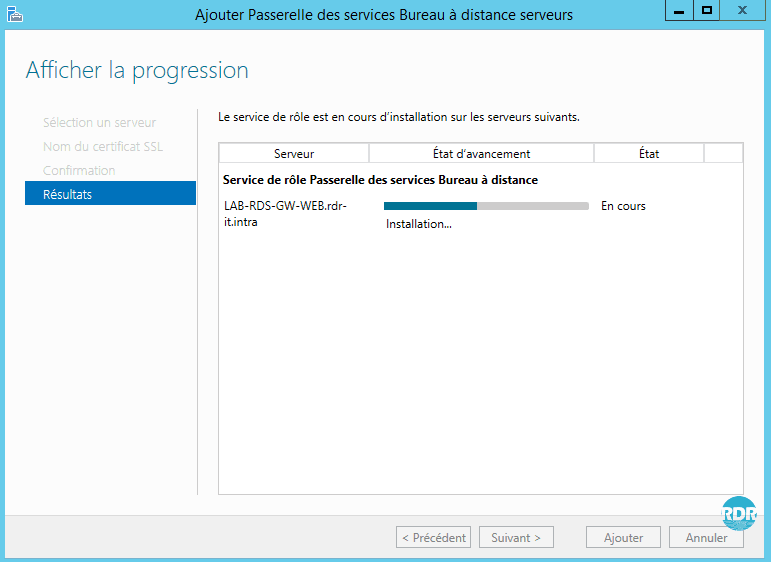
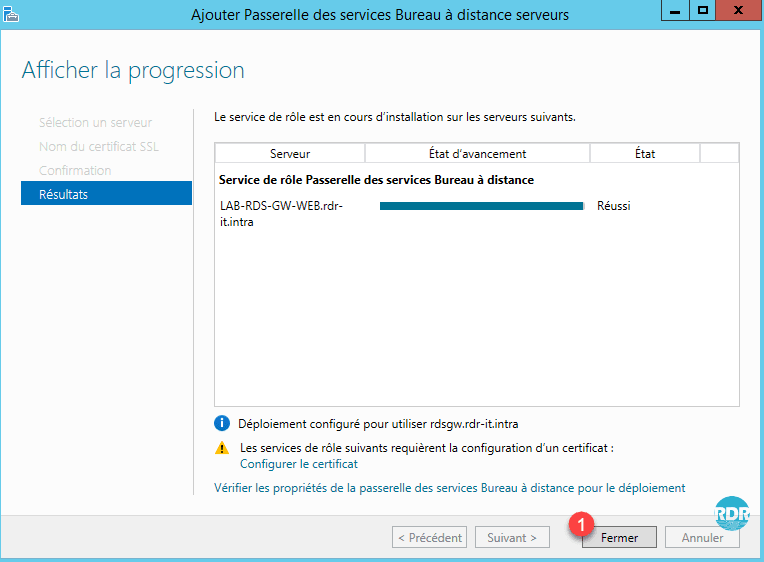
5. Wait during the installation …
6. Installation completed, click Close 1 .
Installing RD Gateway Manager on the Broker Server
Reminder : all the manipulations are carried out from the broker server. When installing the RDS Gateway the management console was installed on the target server.
1. Open a PowerShell command prompt as an administrator.
2. Enter the following line to install the console:
Install-WindowsFeature RSAT-RDS-GATEWAYRemote Desktop Gateway role overview
To use the RDS gateway with a self-signed certificate, it must be deployed to the endpoints as a Trusted Root Certification Authority.
To work the Remote Desktop Gateway uses 2 types of policies:
- Connection authorization policies: These define who can connect to the gateway (users and extensions), which devices are redirected, and the timeout of the sessions.
- Resource Access Authorization Policies: They define who can connect to what.
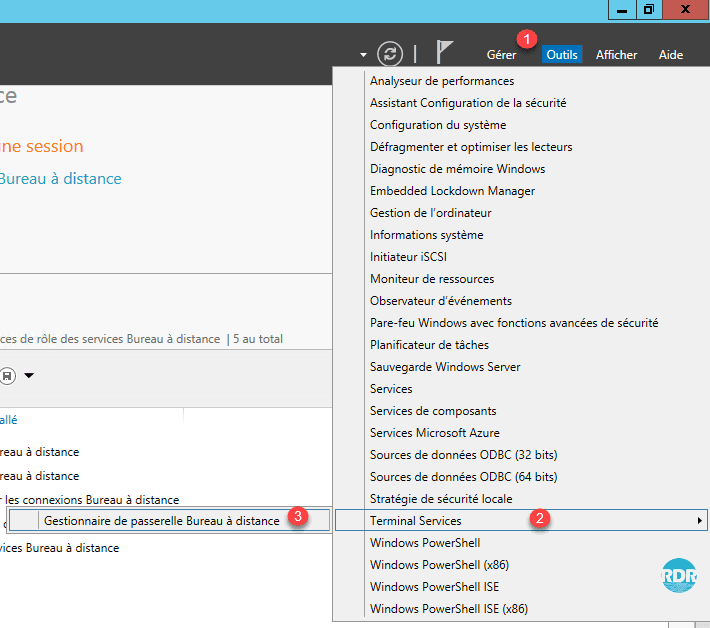
1. Open the console from Server Manager, Tools 1 / Terminal Services 2 / Remote Desktop Gateway Manager 3 .
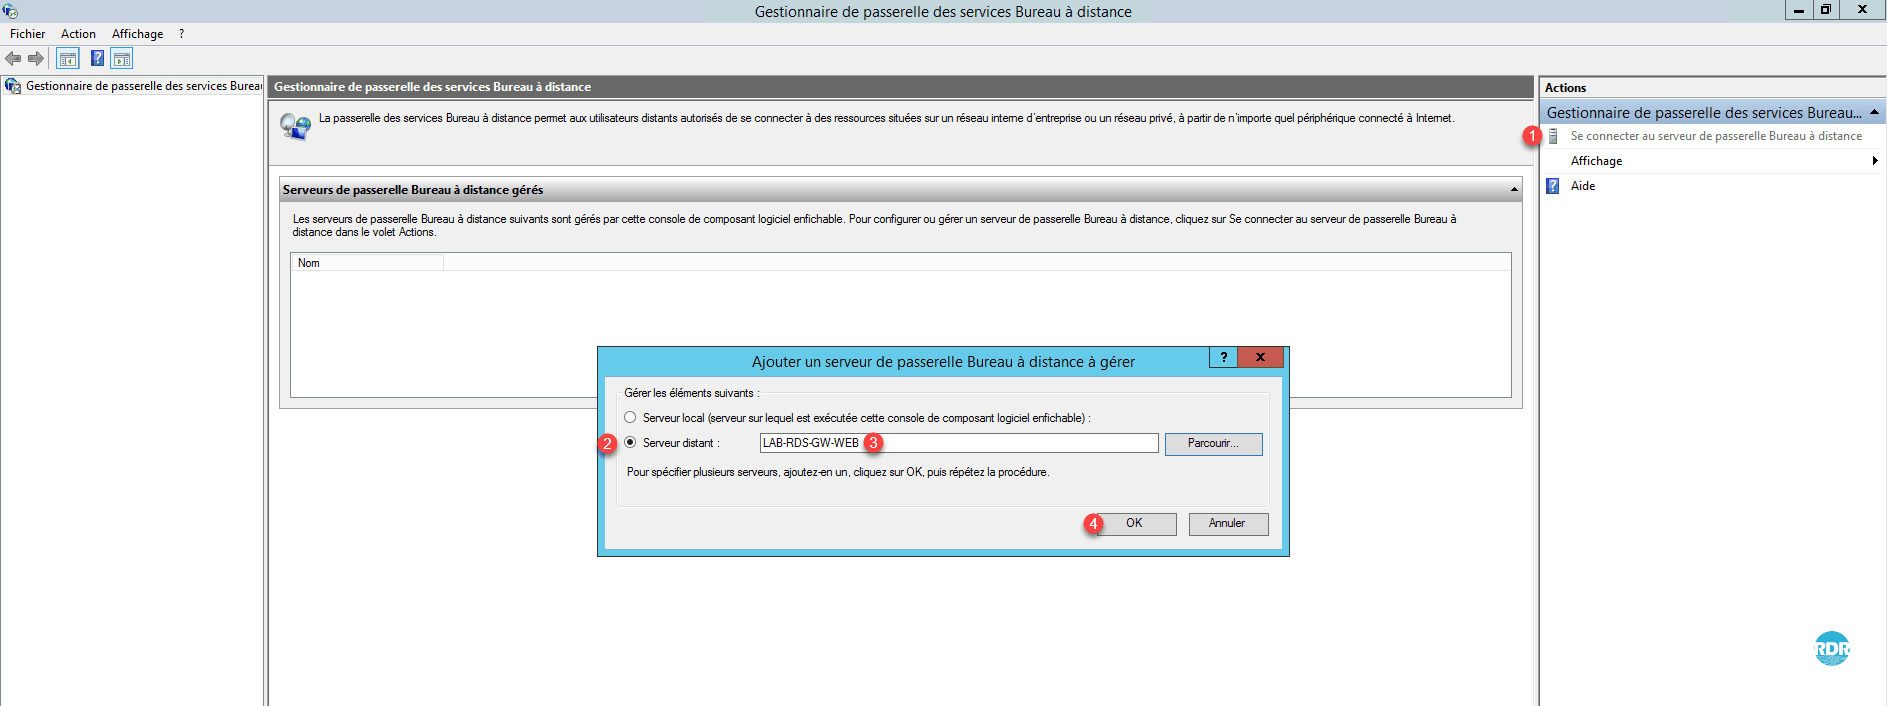
2. Click Connect to Remote Desktop Gateway Server 1 . In the new Remote Server 2 check box, enter the name of the server where the role is installed 3 and click OK 4 .
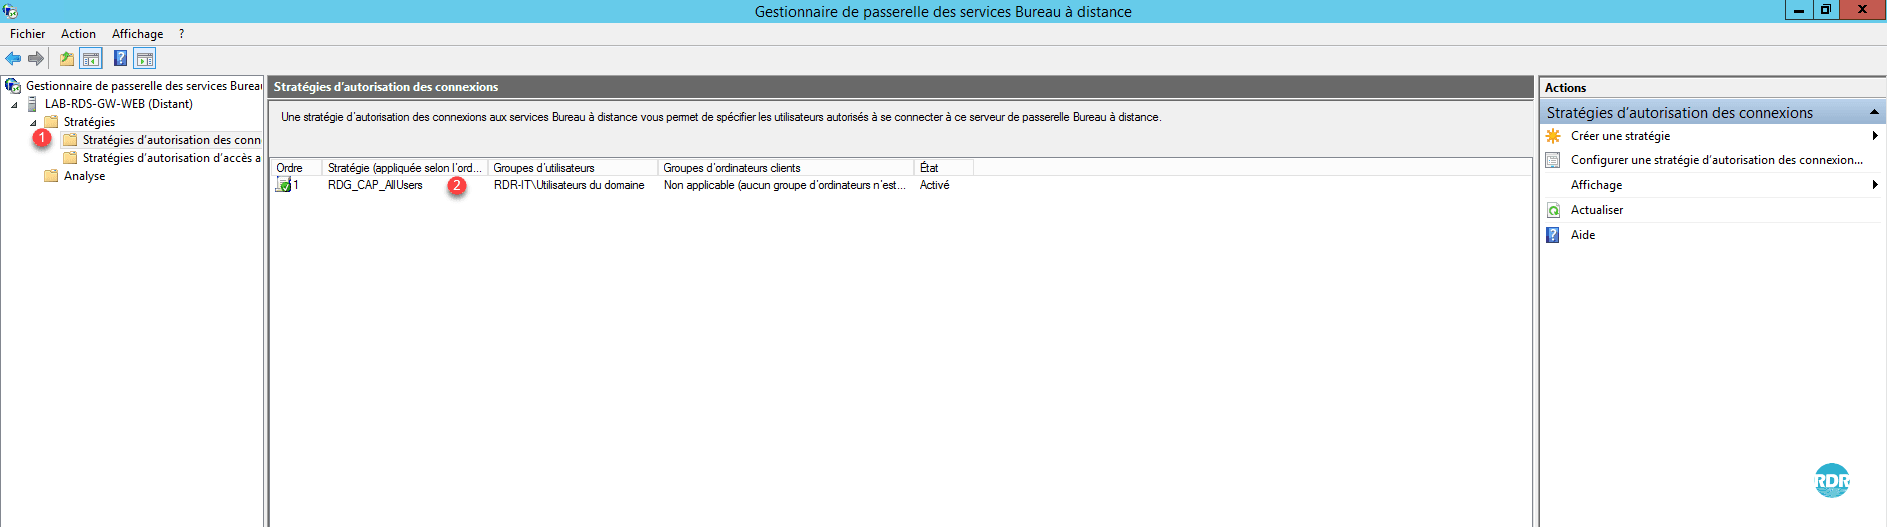
3. When installing the role, the wizard created two 1 strategies, which makes the gateway normally usable.
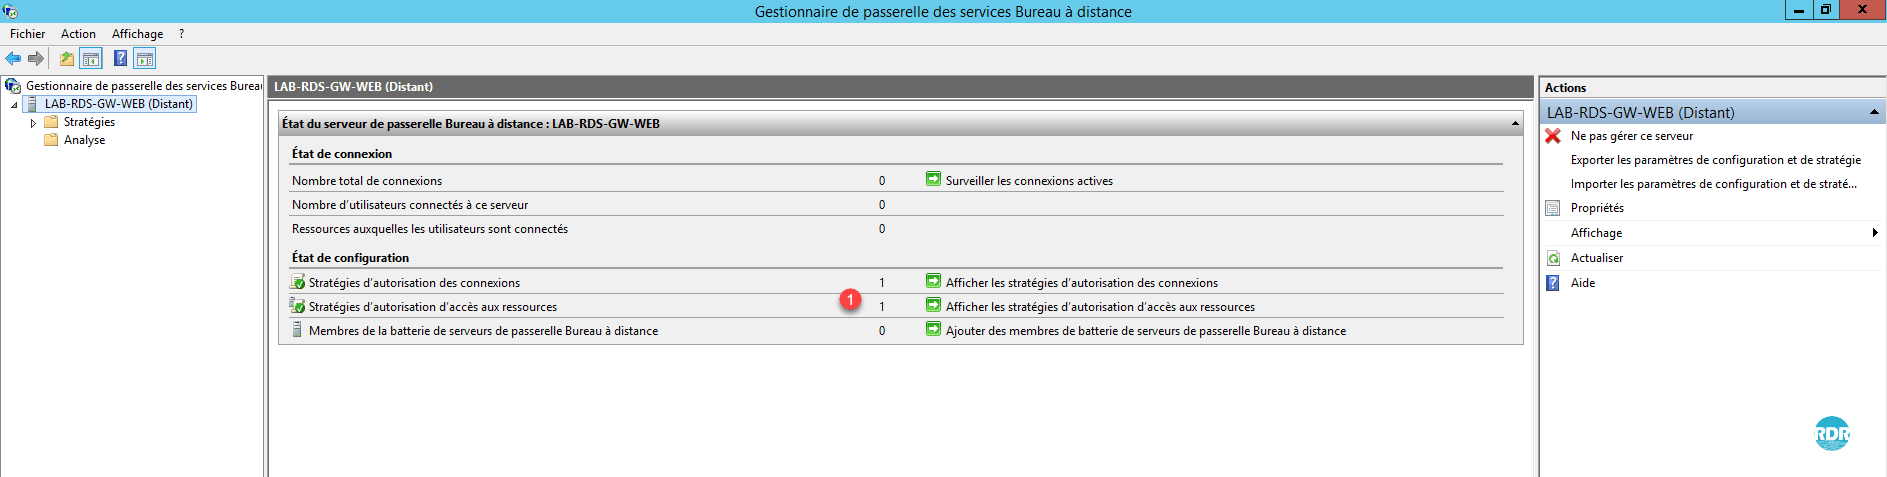
Having added a DNS record for the RDS farm (rds.rdr-it.intra) and configuring client access with this record, it is necessary to modify the resource access policy or add a computer in the Active Directory with that name.
4. In the Actions menu click Properties 1 . A window opens with different tabs available to change the options and behavior of the Remote Desktop Gateway service.
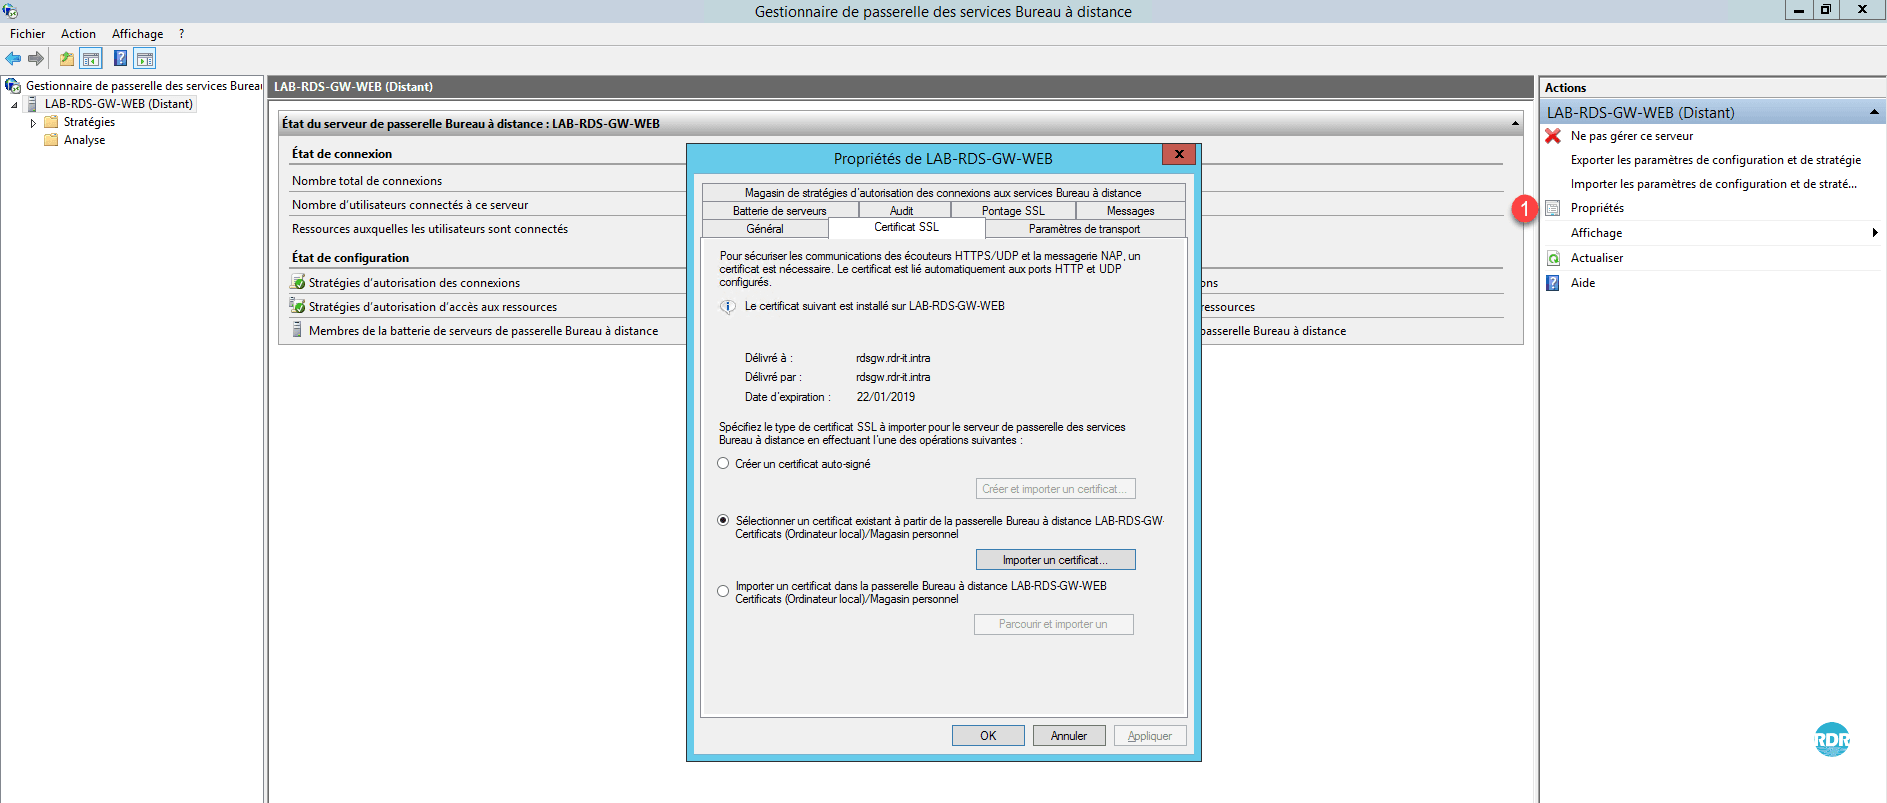
By default when installing a self-signed SSL certificate is created, it can be changed from the SSL Certificate tab or from the Server Manager in the Remote Desktop Services section.
Connection Authorization Policies
1. From the left menu, go to the Connection Authorization Policy 1 folder. From here, it is possible to see and manage the strategies in place. Double click on the strategy RDG_CAP_AllUsers 2 .
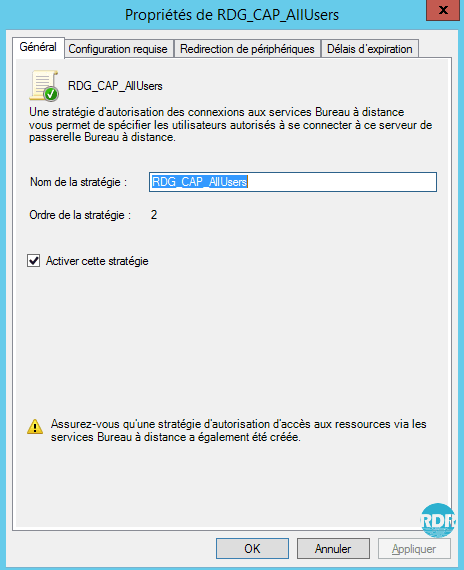
2. General tab: from here it is possible to change the name of the strategy and the activated or not by ticking the box Enable this strategy.
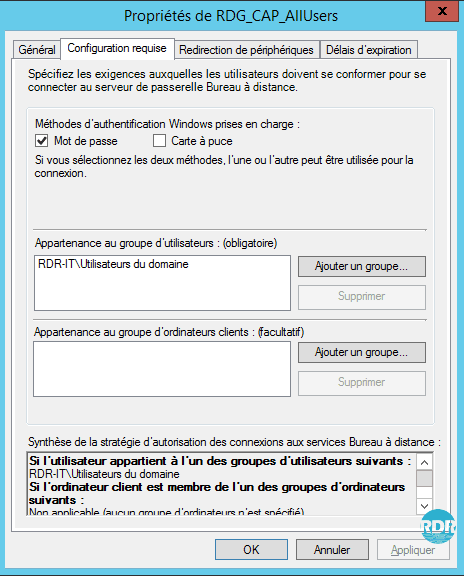
3. Requirements tab: Define the user configuration to connect to the gateway services. Belonging to a group for the user, this parameter is mandatory. The other optional but very useful parameter to increase the security level is the group membership for the computer. By setting this option it is possible for example to prevent an employee from logging in from his personal computer.
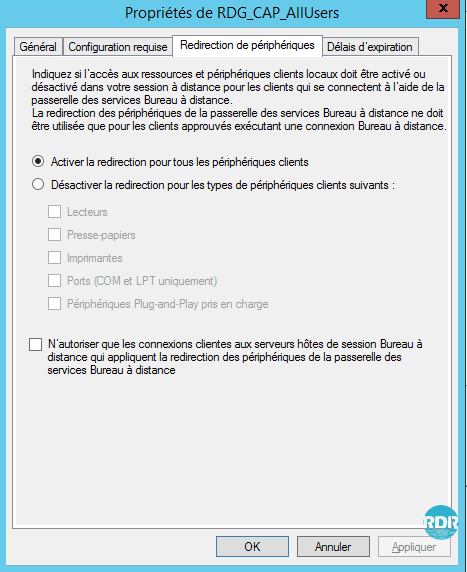
4. Device Redirection tab: How to configure the collection, it is possible to define which devices are redirected through the gateway. The settings in the policy take precedence over the settings in the collection. That is, if the printers are allowed in the collection and not allowed by the gateway, during a connection through the gateway the user will not have the printers.
Resource Access Authorization Strategies
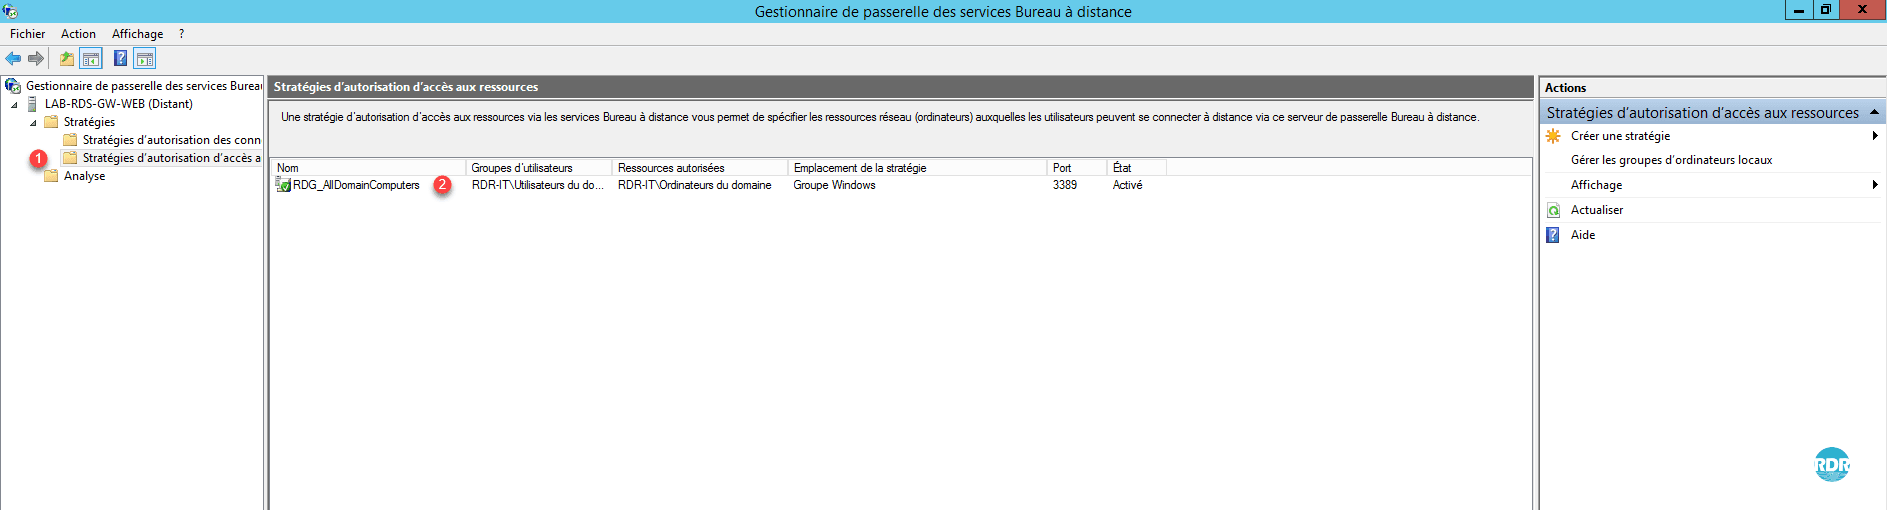
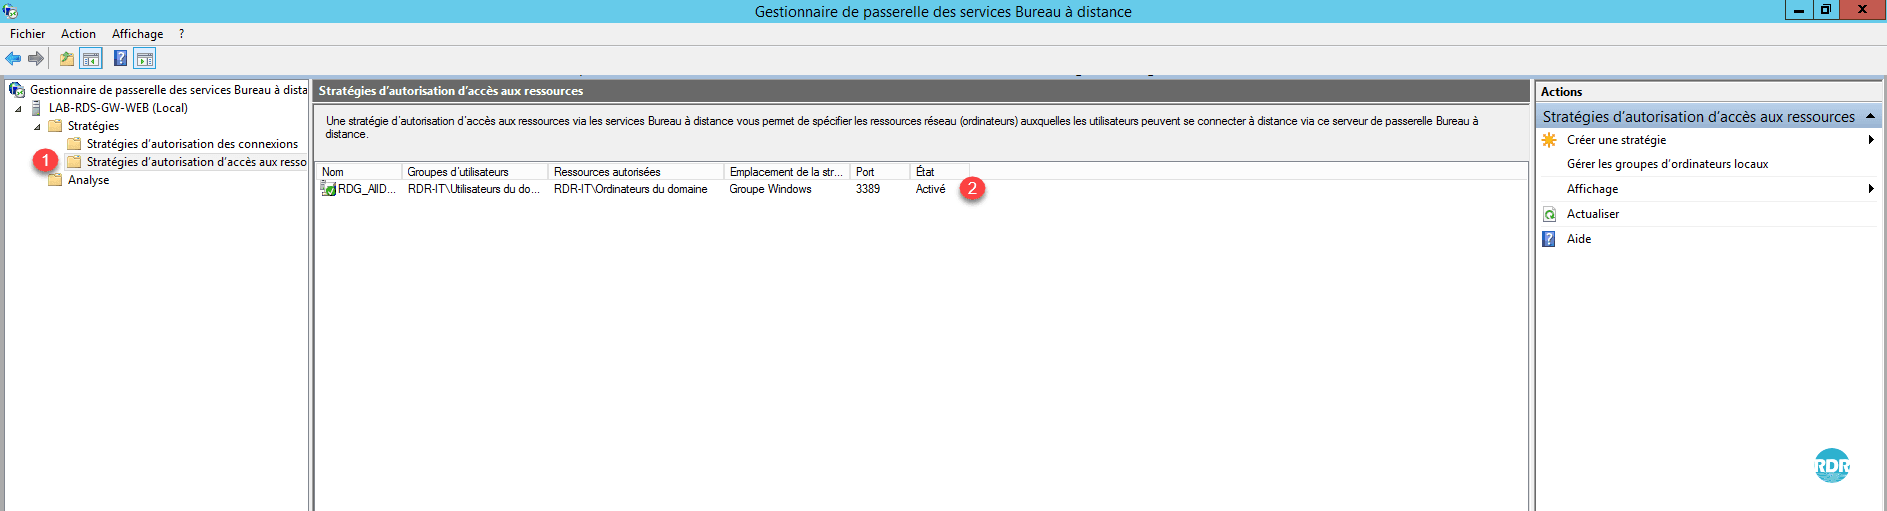
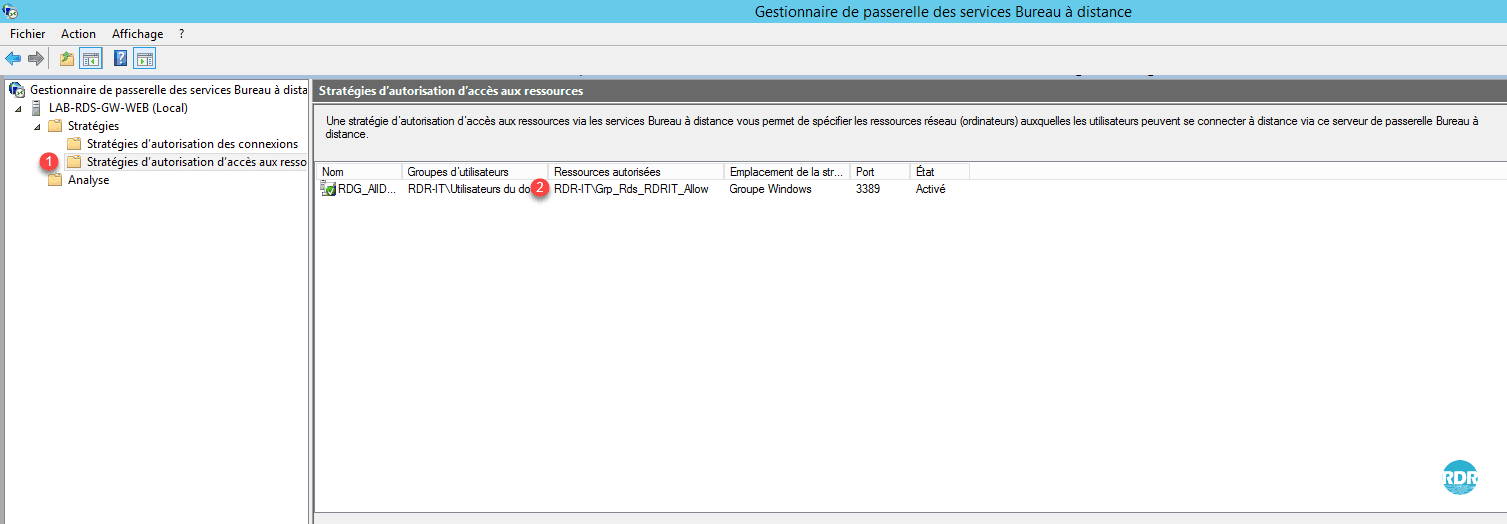
1. From the left menu, go to the Resource Access Permit Policies 1 folder. From here, it is possible to see and manage the strategies in place. Double click on the strategy RDG_AllDomainComputers 2 .
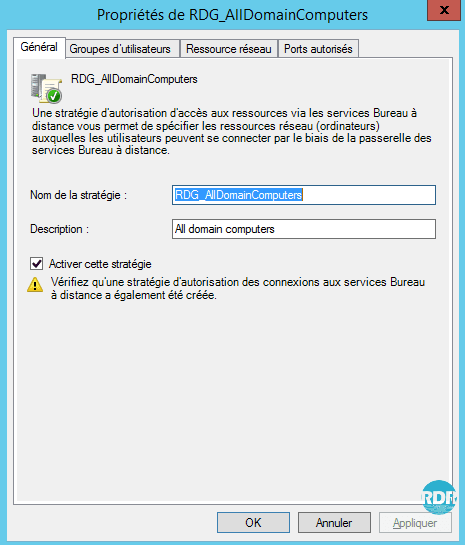
2. General tab: from here it is possible to change the name of the strategy and the activated or not by ticking the box Enable this strategy.
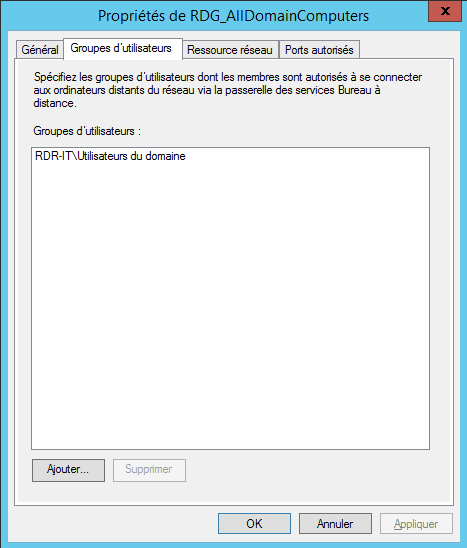
3. User Groups tab: Define who can use this policy.
4. Network Resource tab: What this policy can access.
5. Ports Allowed tab: If remote desktop access has been configured on a port other than 3389, you must configure it here.
Configuration
In this part, we will see how to make the gateway usable for the RDS farm. Several methods and solutions are available. Choose the best solution for your environment and the desired level of security.
- Method 1 : allow access to all resources (deprecated)
- Method 2 : use the default configuration
- Method 3 : allow access to an Active Directory group limited to the RDS farm
- Method 4 : use of groups managed by the gateway
Method 1: Allow access to all resources (deprecated)
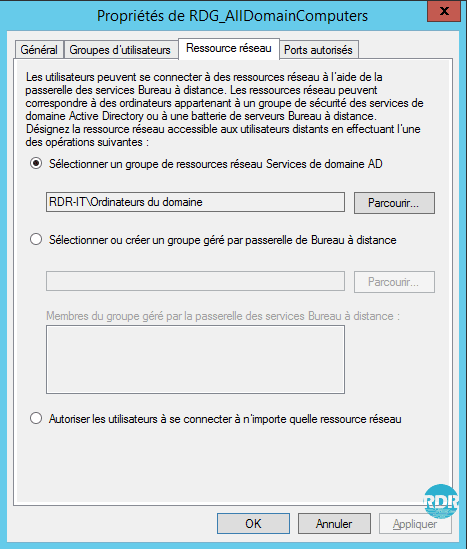
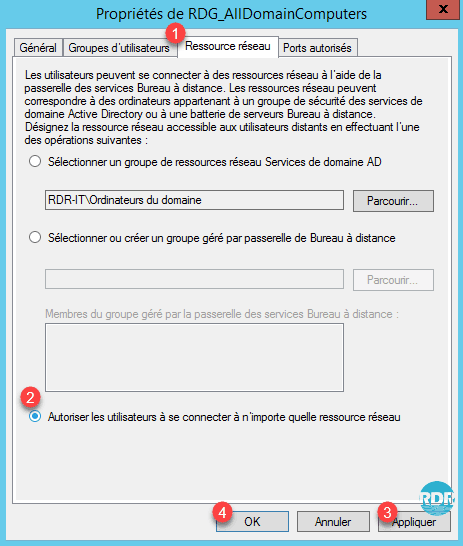
Open the RDG_AllDomainComputers strategy and go to the Network Resource 1 tab, check Allow users to connect to any 2 network resource. Click on the Apply 3 and OK 4 buttons.
Explanation : This method allows access to all computers (even off-domain) that have Remote Desktop enabled. In production it is not advisable to use this solution.
Method 2: Use the default configuration
As explained at the beginning of this tutorial, using a DNS alias for host servers prevents the connection to the RDS shutdown because the RDS computer (AD object) does not exist.
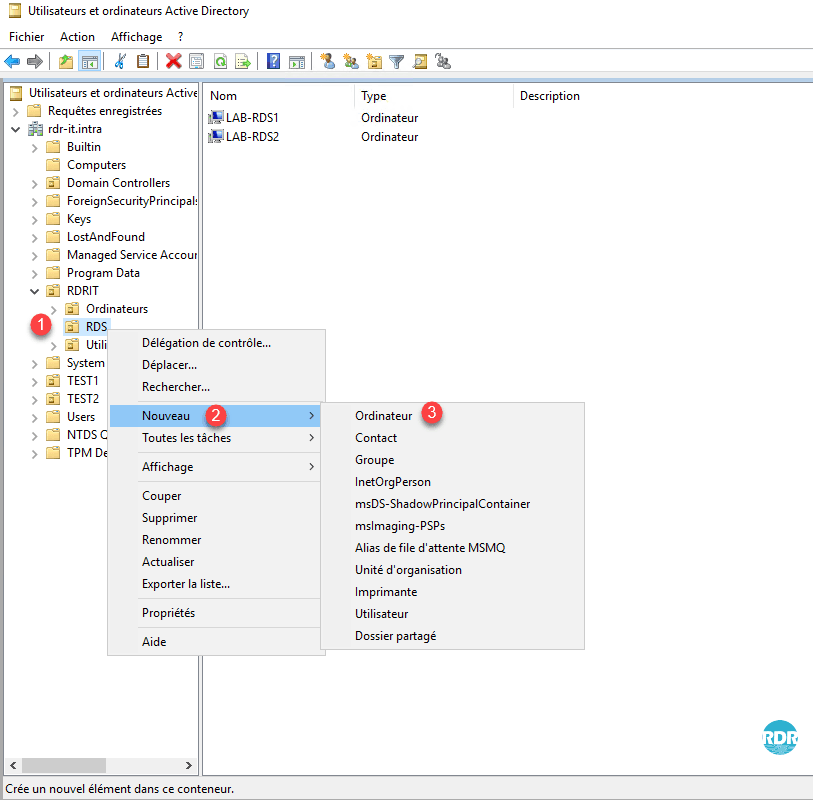
1. Go to the domain controller and open the Active Directory Users and Computers console and go to OR RDS 1 .

2. Right-click on OR 1 , go to New 2 and click on Computer 3 .
3. Enter the Computer Name 1 that corresponds to your alias and click OK 2 .
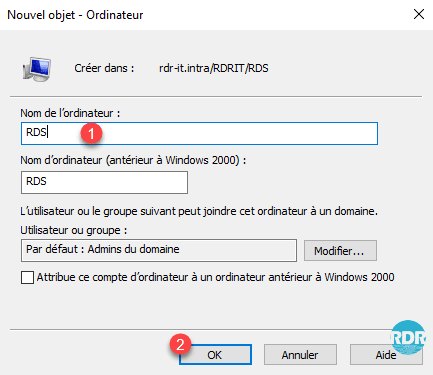
4. The computer is created 1 and is a member of the group: Computer Domain 2 .
With this method, the default rules work with the RDS farm.
Explanation : This method allows access to all computers in the domain. Adding a fictitious computer allows the gateway to validate that the rds.rdr-it.intra computer is part of the AD group and allows access.
Method 3: Allow Access to a Restricted Active Directory Group on the RDS Farm
Prerequisites: have done the method 2 procedure.
This method consists of creating a group, in which we will put the RDS servers and declare it in the resource access strategy.
1. Return to the Active Directory Users and Computers console and go to OR RDS 1 .
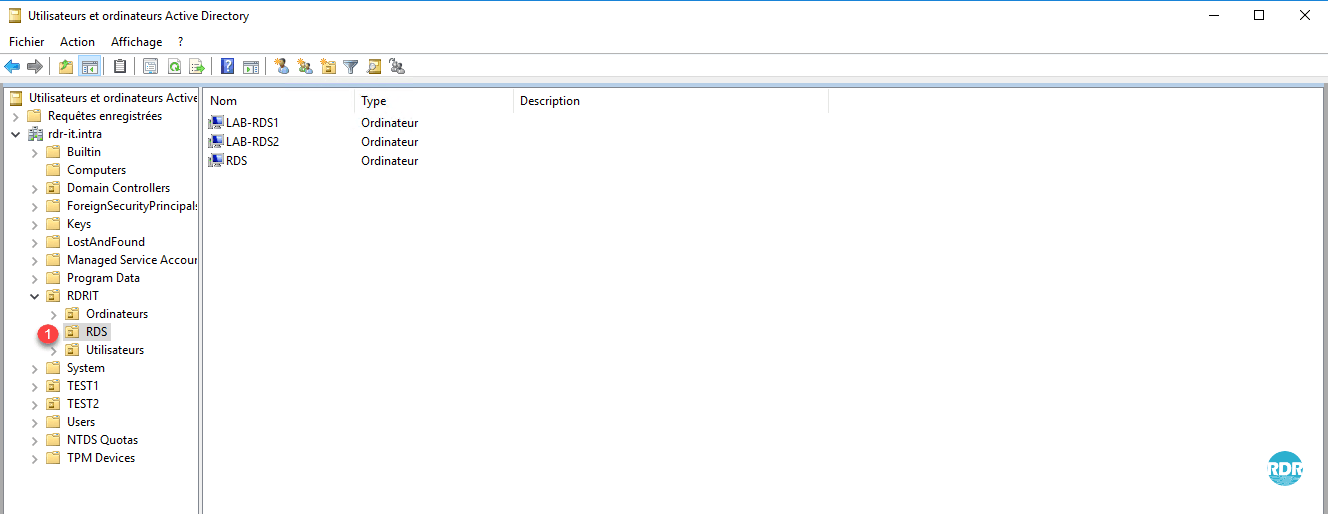
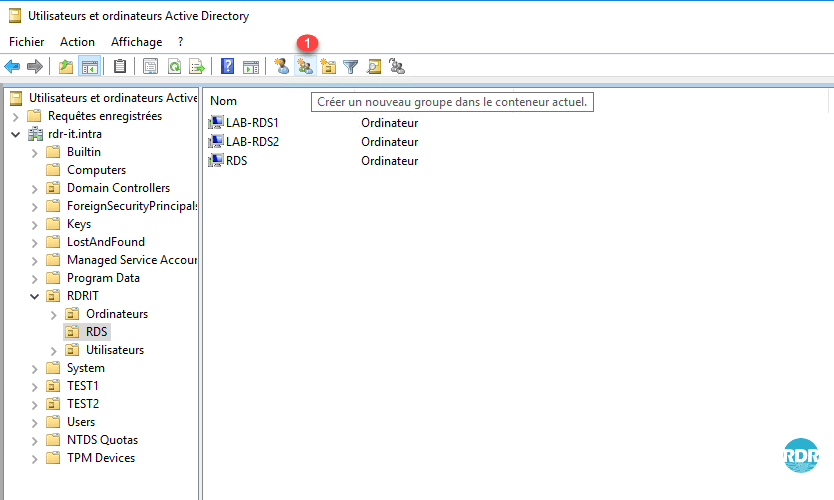
2. Click the 1 icon to create a group in the container.
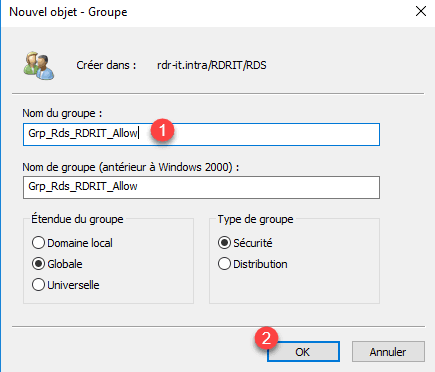
3. Enter Group Name 1 and click OK 2 .
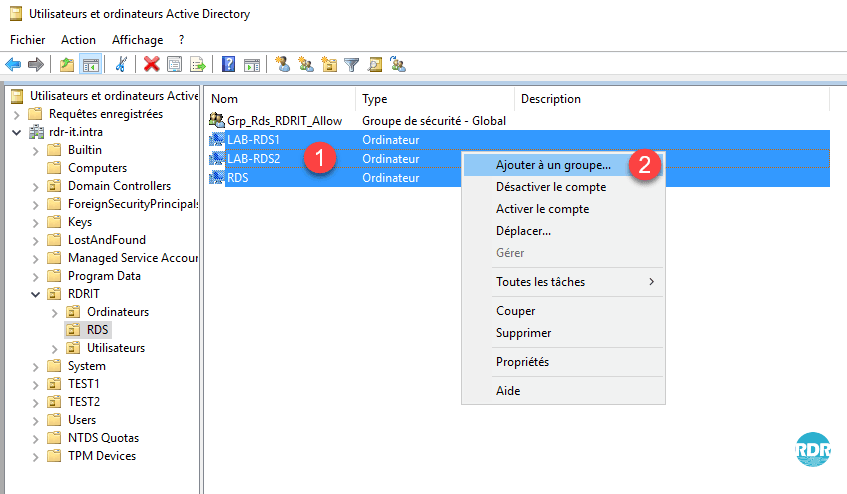
4. Select Computer objects 1 to be added to the group, right-click and click Add to a 2 group.
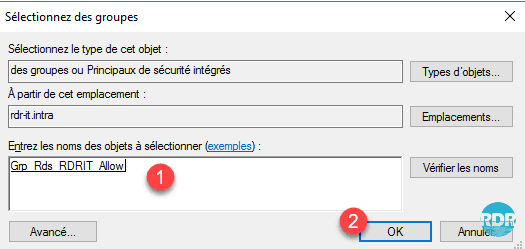
5. Enter the name of the 1 group that has just been created and click on OK 2 .
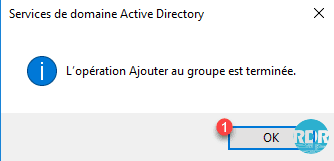
6. Click OK 1 to close the confirmation window.
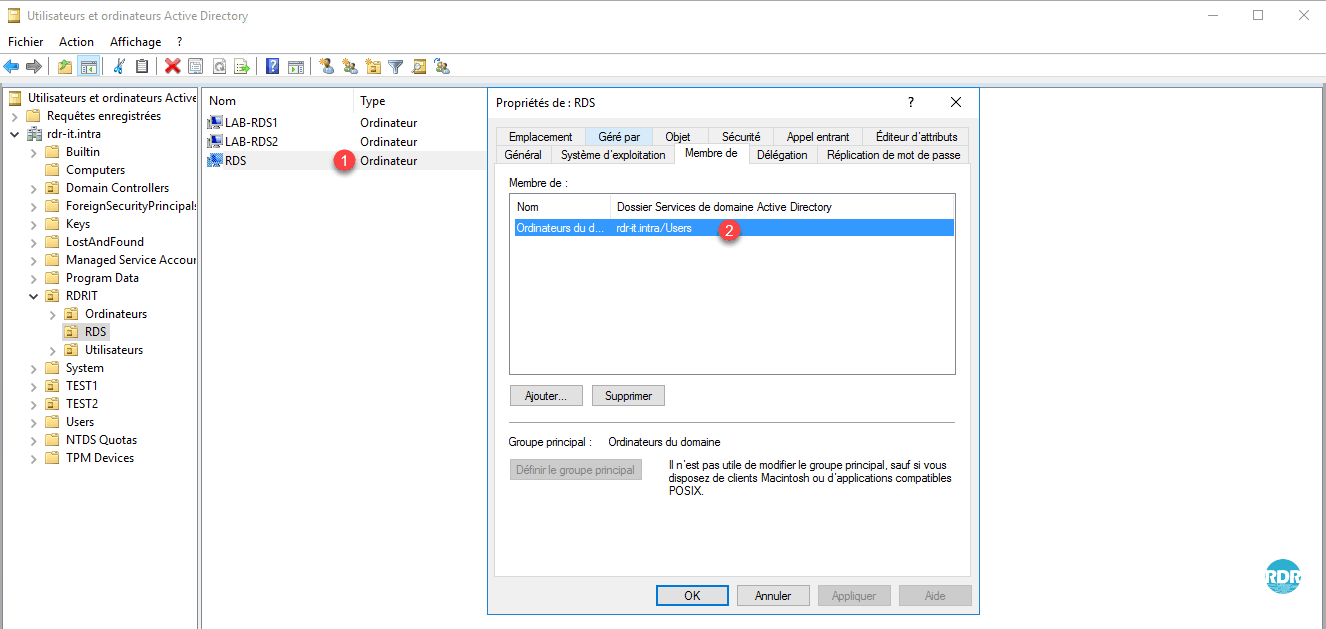
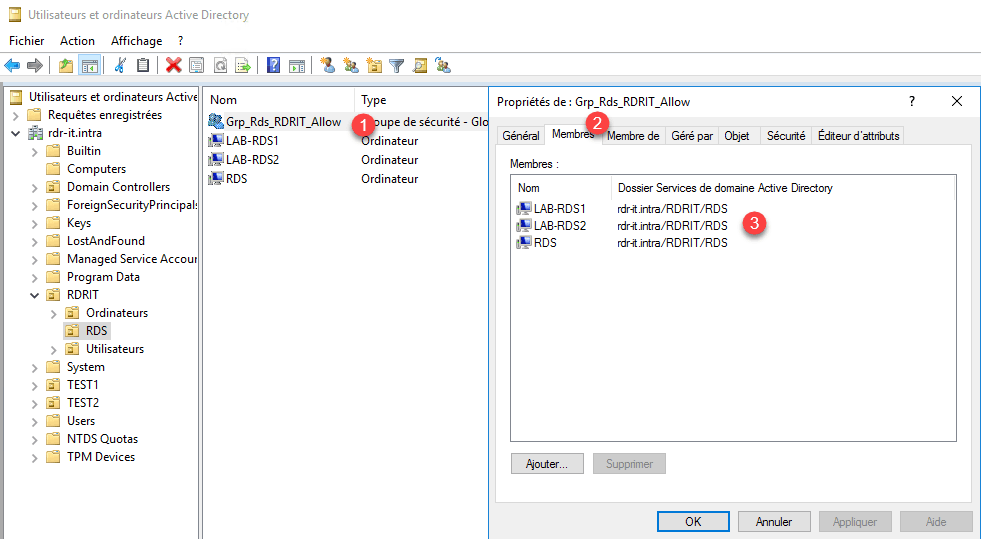
7. Double-click on group 1 , go to Members tab 2 and check that Computers 3 have been added.
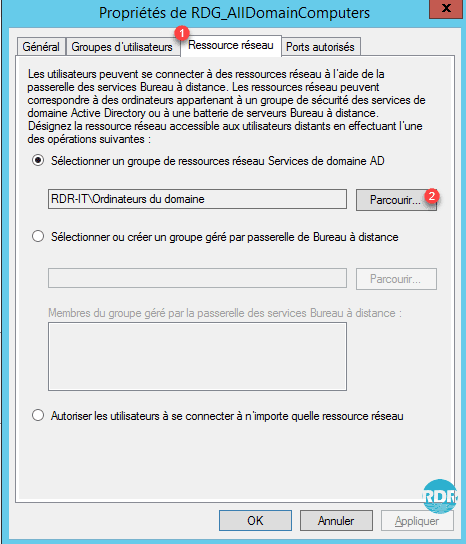
8. Go back to the Gateway Management Console, go to the Resource Access Permit Policies 1 folder and double-click on the default 2 strategy.
9. Go to the Network Resources 1 tab and click Browse … 2 .
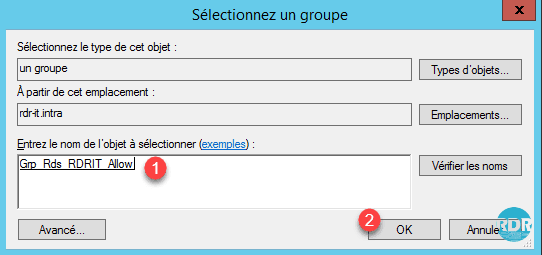
10. Enter the name of the group 1 and click OK 2 .
11. Click Apply 1 and OK 2 .
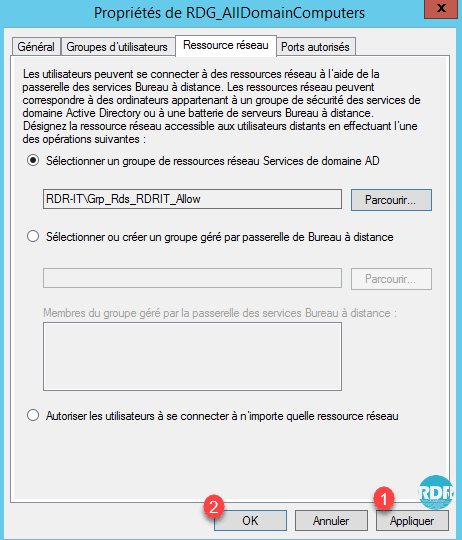
12. The group change 1 is visible in the overview of the strategy.
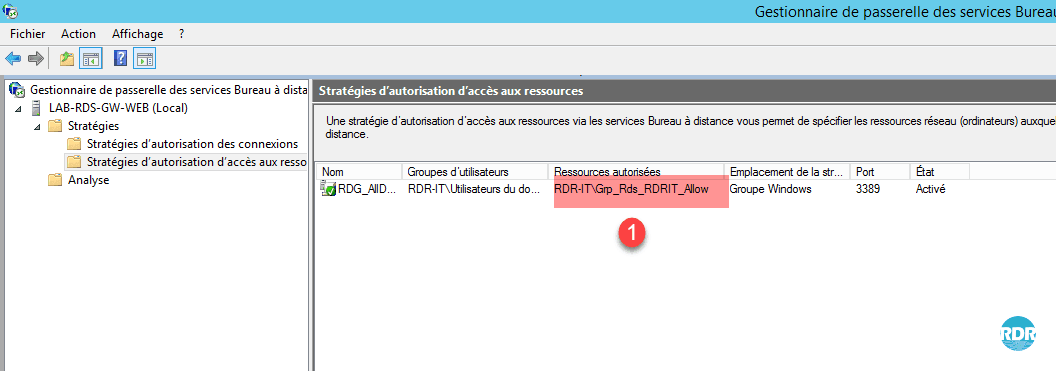
To use RemoteApps from outside the network (Internet), you have to add the broker server to the group.
Method 4: Using the Gateway Managed Groups
This method is equivalent to method 3 unlike the groups used for the permissions are managed directly by the gateway, which allows to add computers out of domain or another domain without approval relationship.
1. On the gateway management console, go to the Resource Access Permission Policies 1 folder and double-click on the default 2 strategy.
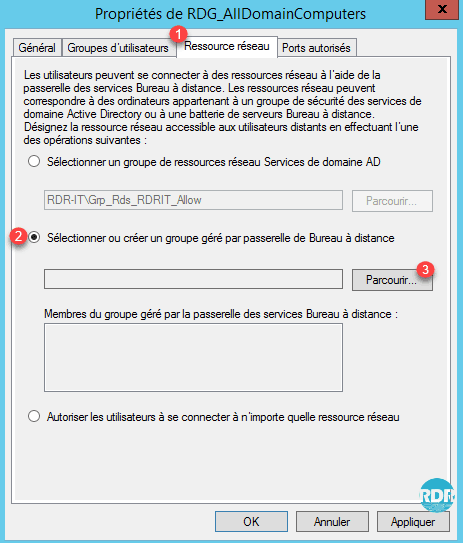
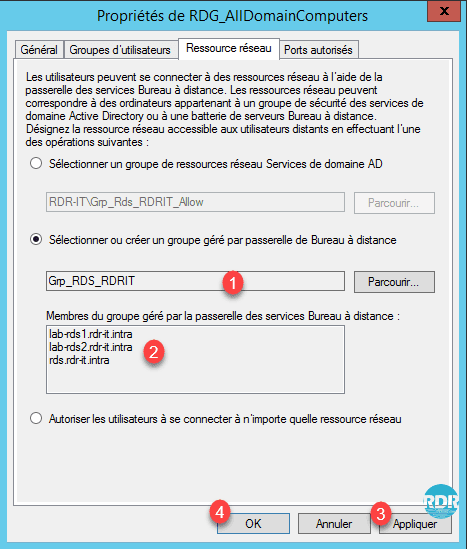
2. Go to the Network Resources 1 tab, select the option Select or create Remote Desktop Gateway managed group 2 and click Browse … 3 .
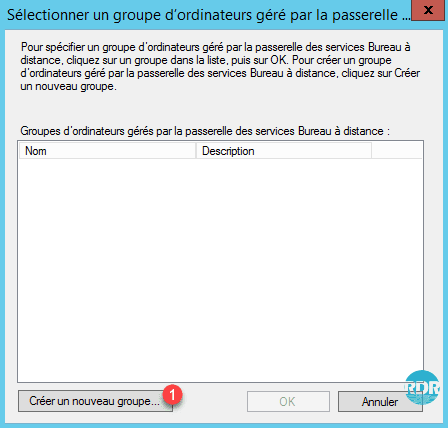
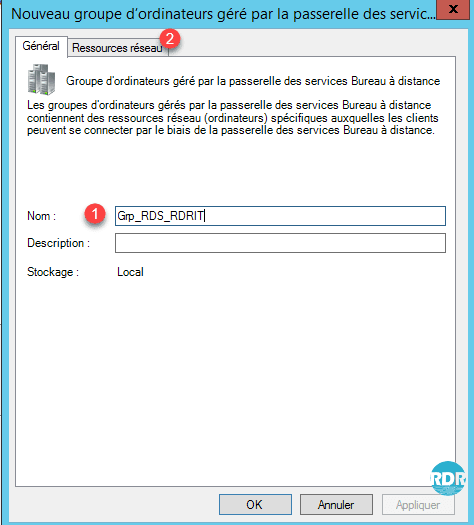
3. Click Create a new group … 1 .
4. Enter the Group Name 1 and go to the Network Resources 2 tab.
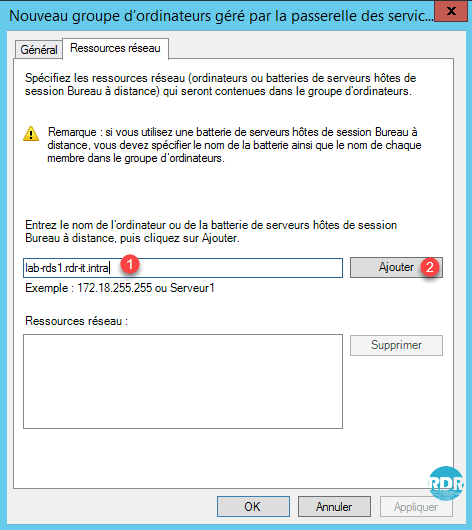
5. Enter the server fqdn server name 1 and click Add 2 .
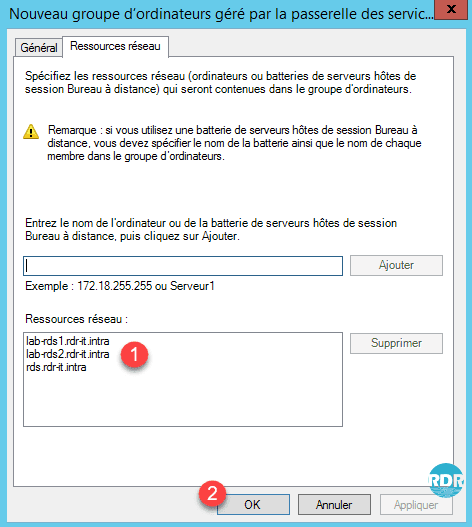
6. Add all host servers that make up the RDS farm and the alias 1 and click OK 2 .
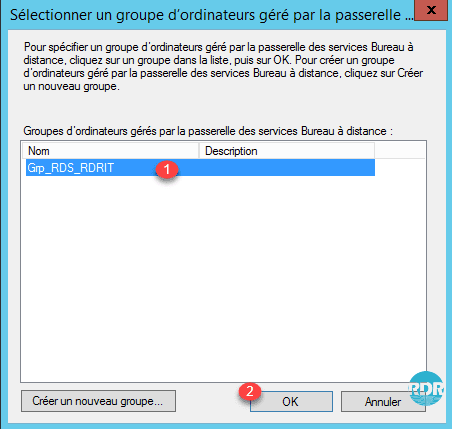
7. Select the 1 group that has just been created and click on OK 2 .
8. Check that the group is selected 1 , validate the servers that compose it 2 then click on Apply 3 and OK 4 .
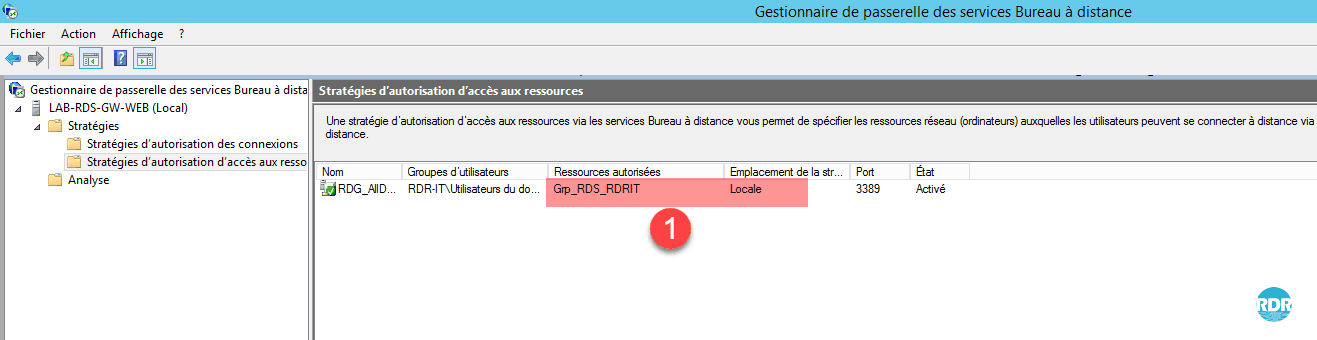
9. The group change 1 is visible in the overview of the strategy.
As for method 3, if you want to use RemoteApps from outside your network, you have to add the broker server to the group.
More with the Remote Desktop Gateway
Now we will put in place the necessary strategies to allow administrators to access all resources
For the creation of strategies, there are two methods:
- Creation using the wizard that will guide us in setting up the connections and resources strategies.
- Create the two strategies separately.
In this tutorial, we will use the wizard.
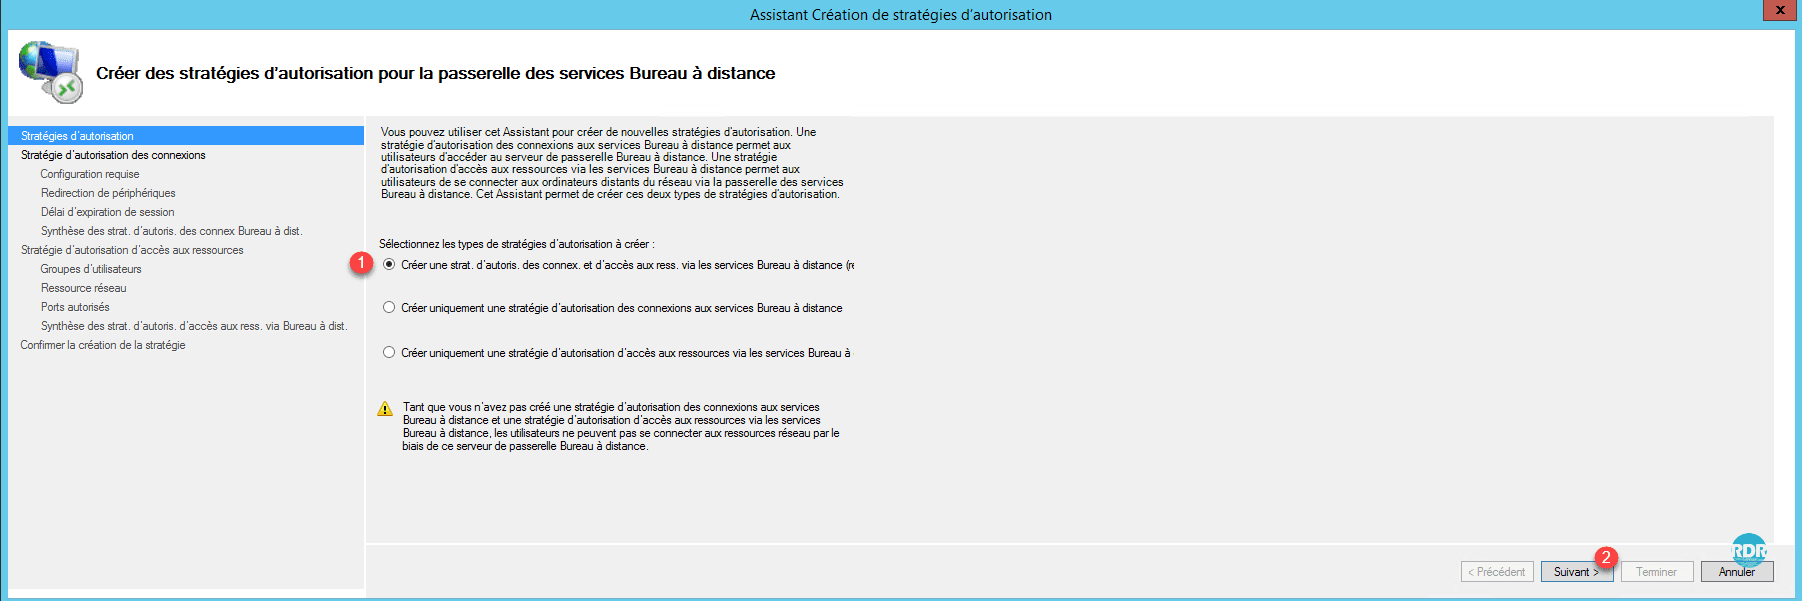
1. From the Management Console, go to Strategies 1 and click Create Authorization Policies 2 .

2. Check the first option 1 to create the two rules and click Next 2 .
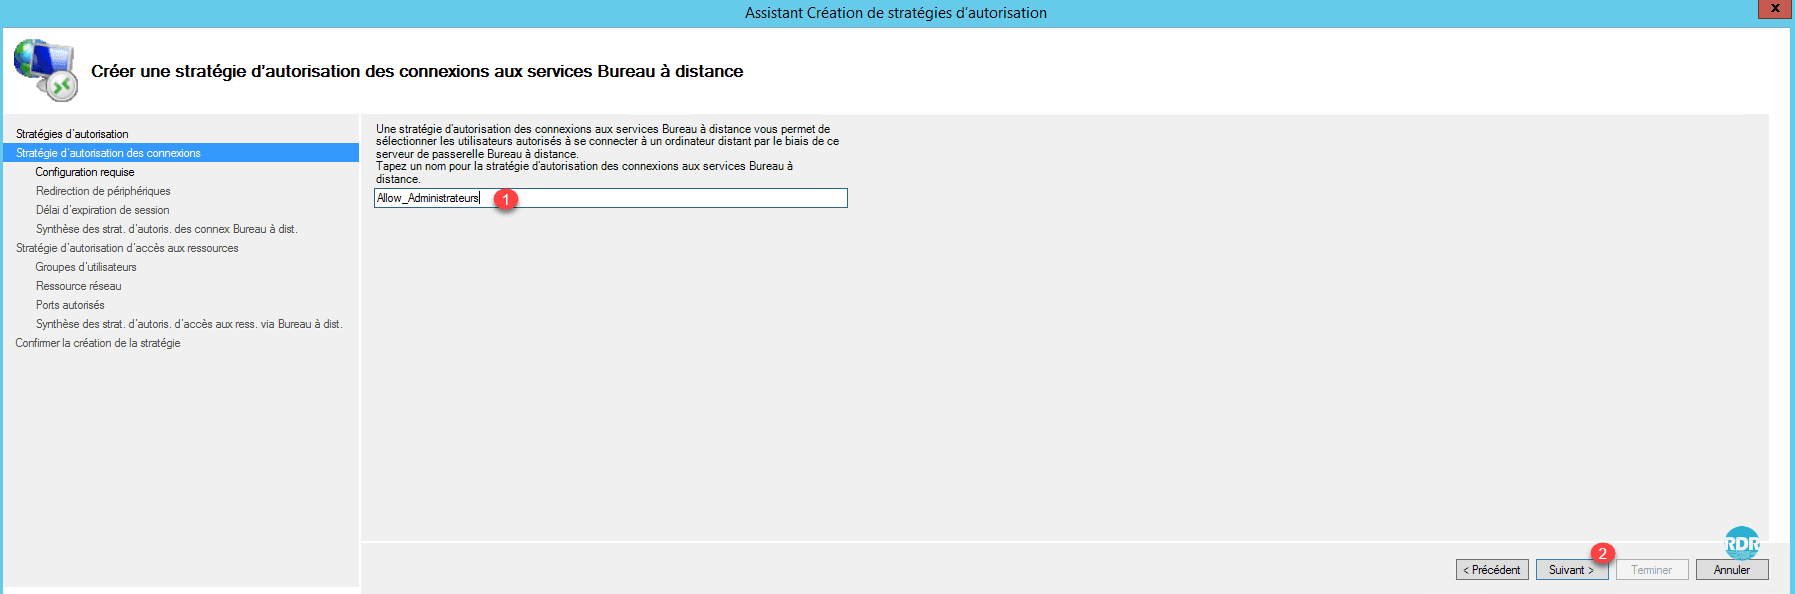
3. Give a name of 1 for the connection authorization policy and click Next 2 .
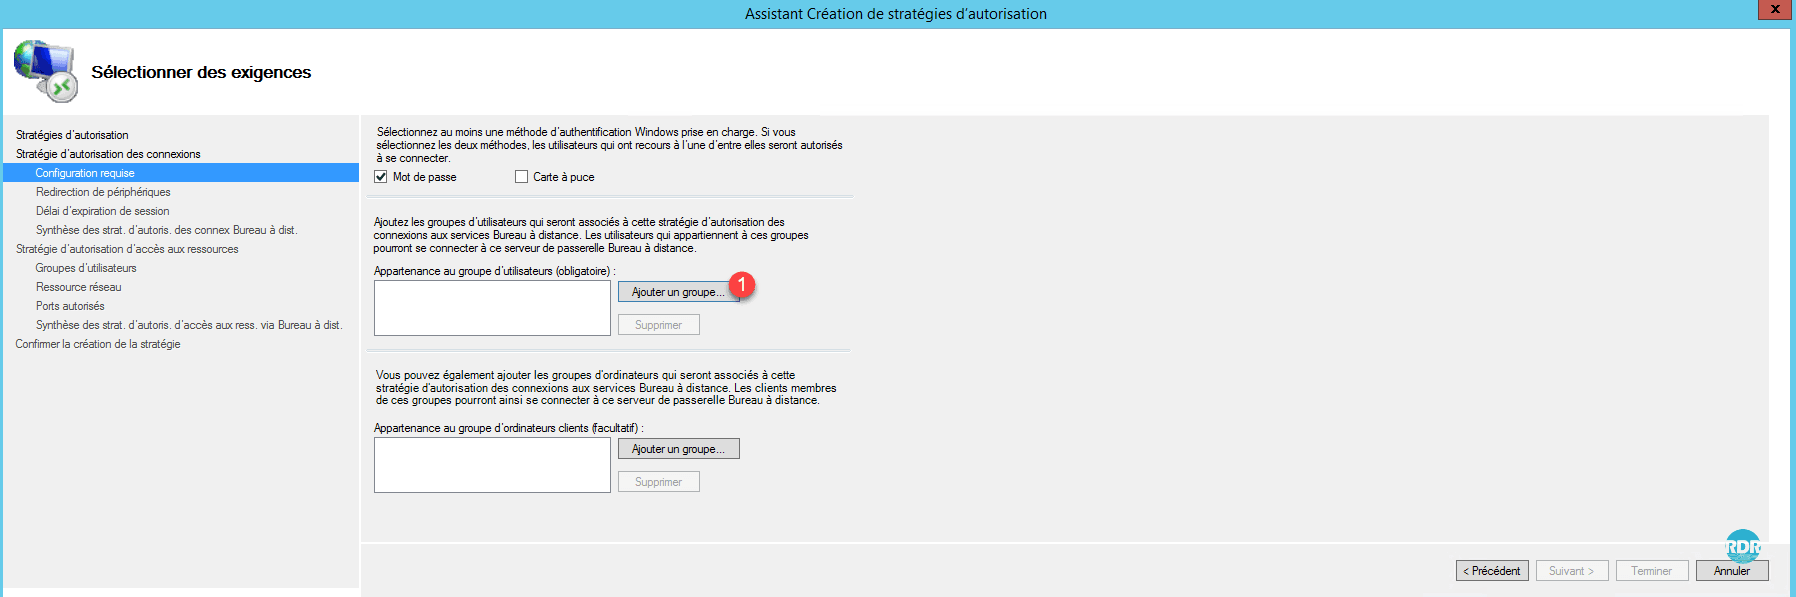
4. Click Add 1 for one group settings.
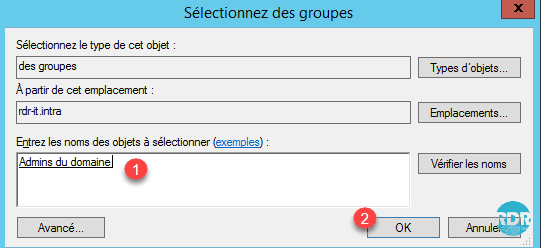
5. Select the Domain Admins group 1 and click OK 2 .
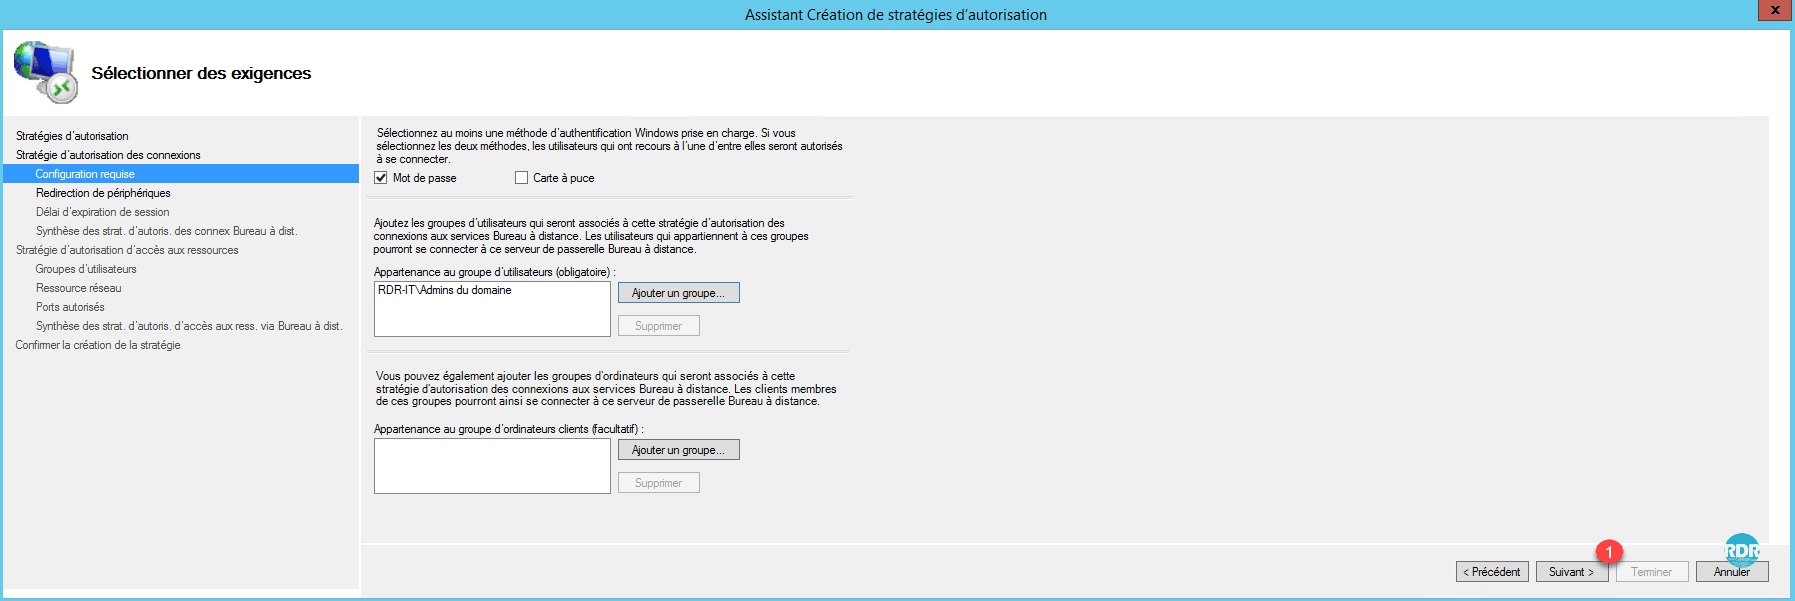
6. To increase the security level, it is possible to add a computer group. Click Next 1 .
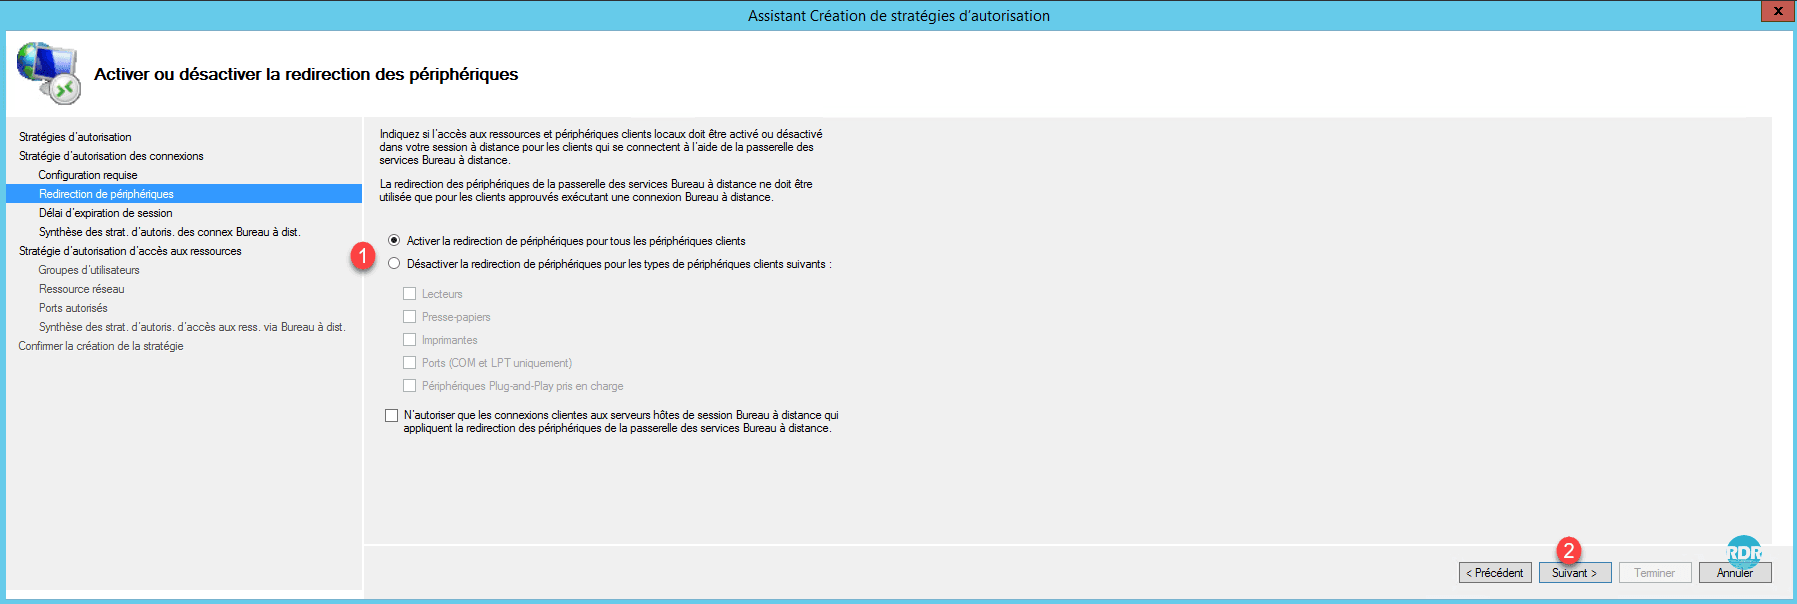
7. Enable or disable Device Redirection 1 and click Next 2 .
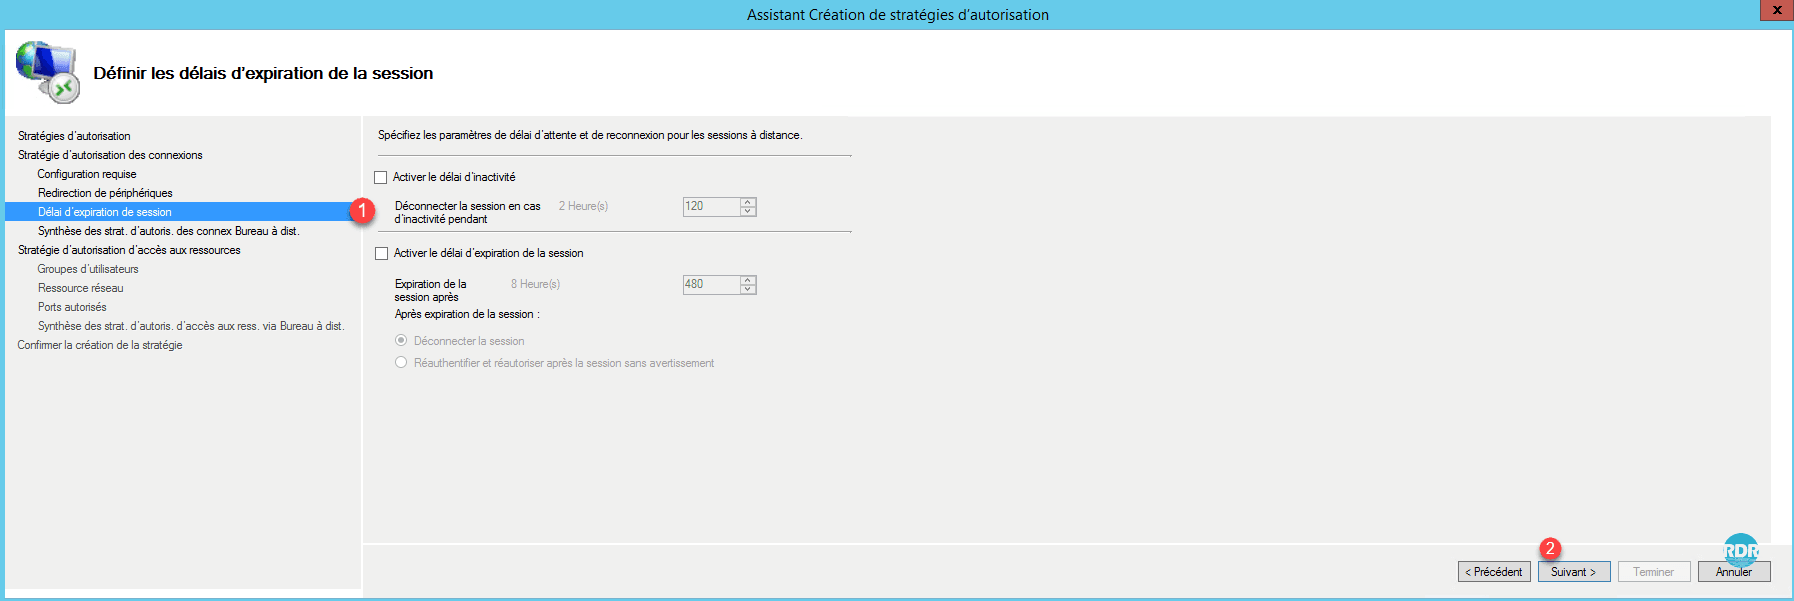
8. Set session times 1 and click Next 2 .
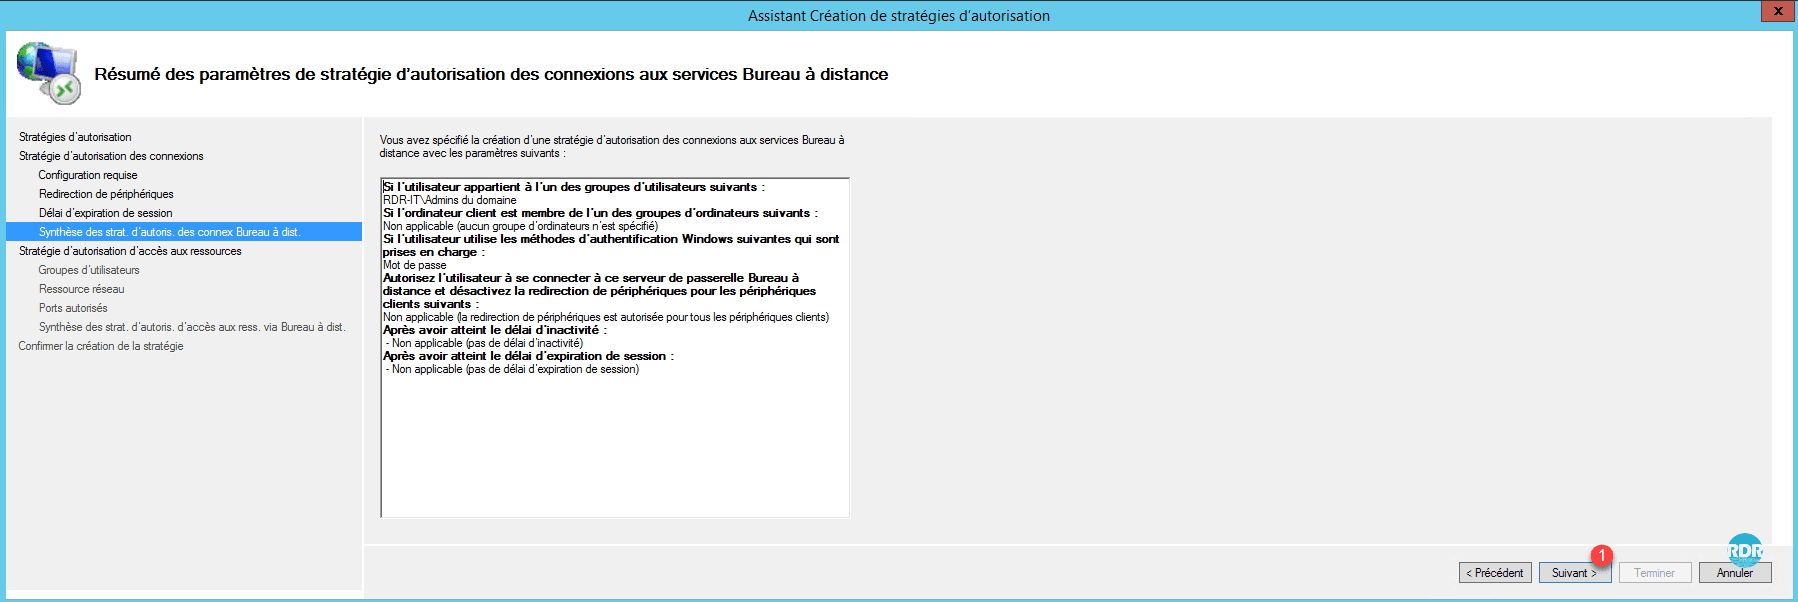
9. A summary of the strategy is displayed, click Next 1 to move to the resource access strategy.
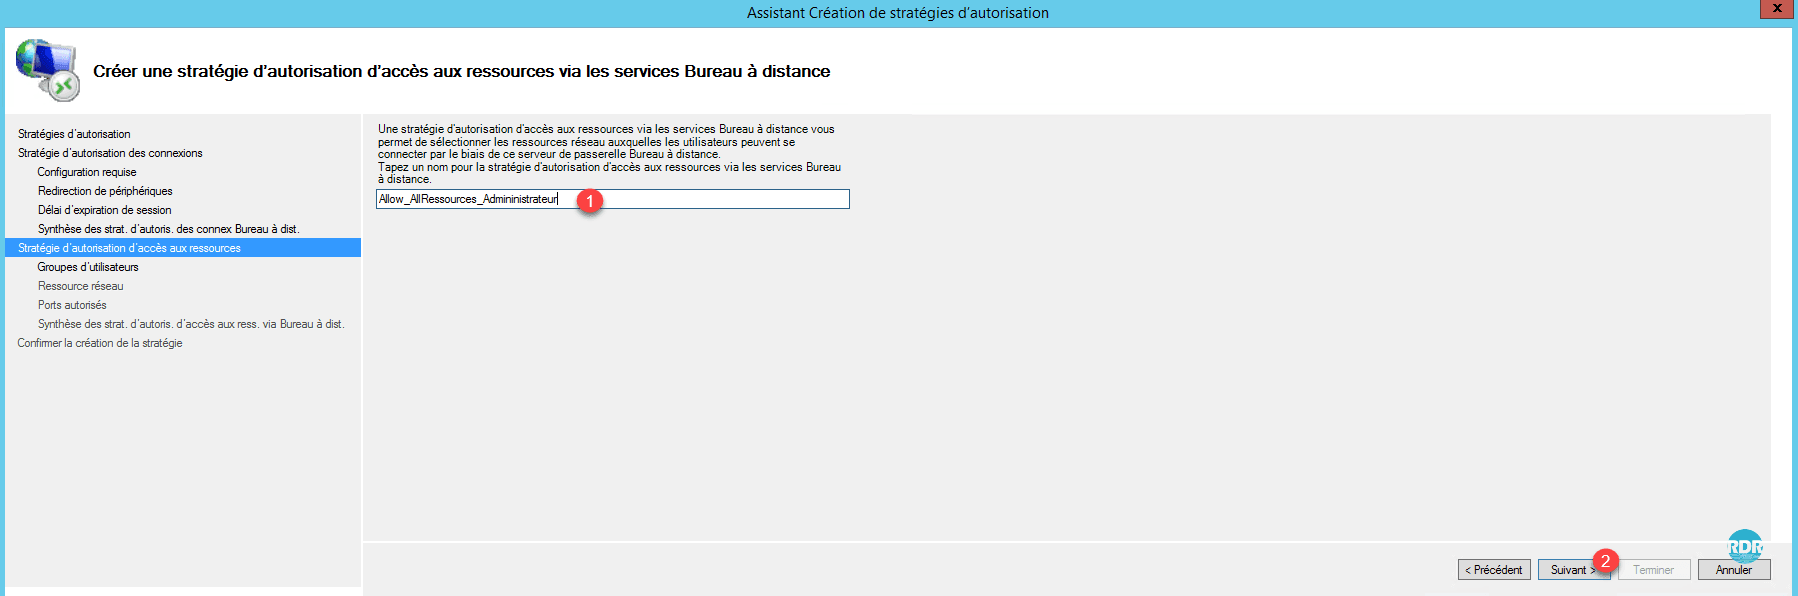
10. Name strategy 1 and click Next 2 .
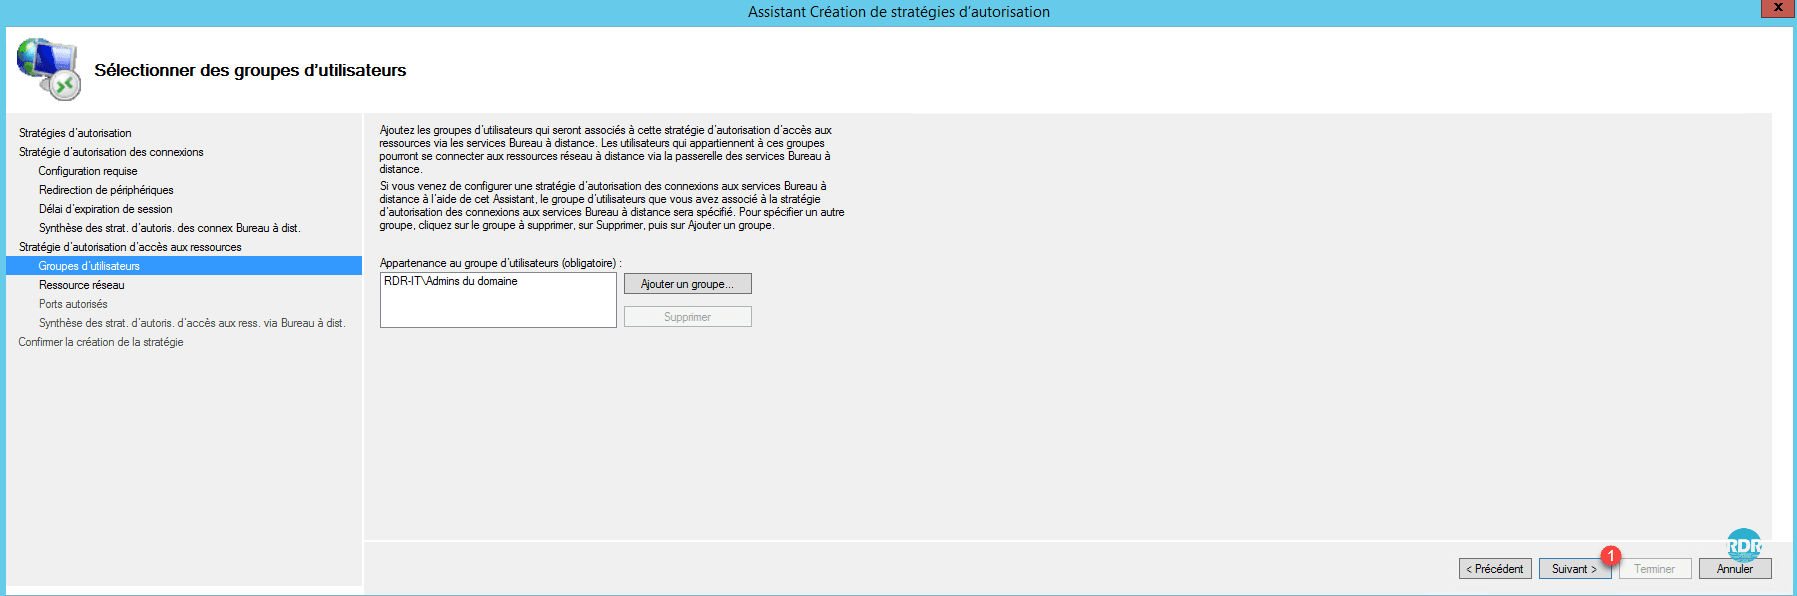
11. The home group is already defined, click Next 1 .
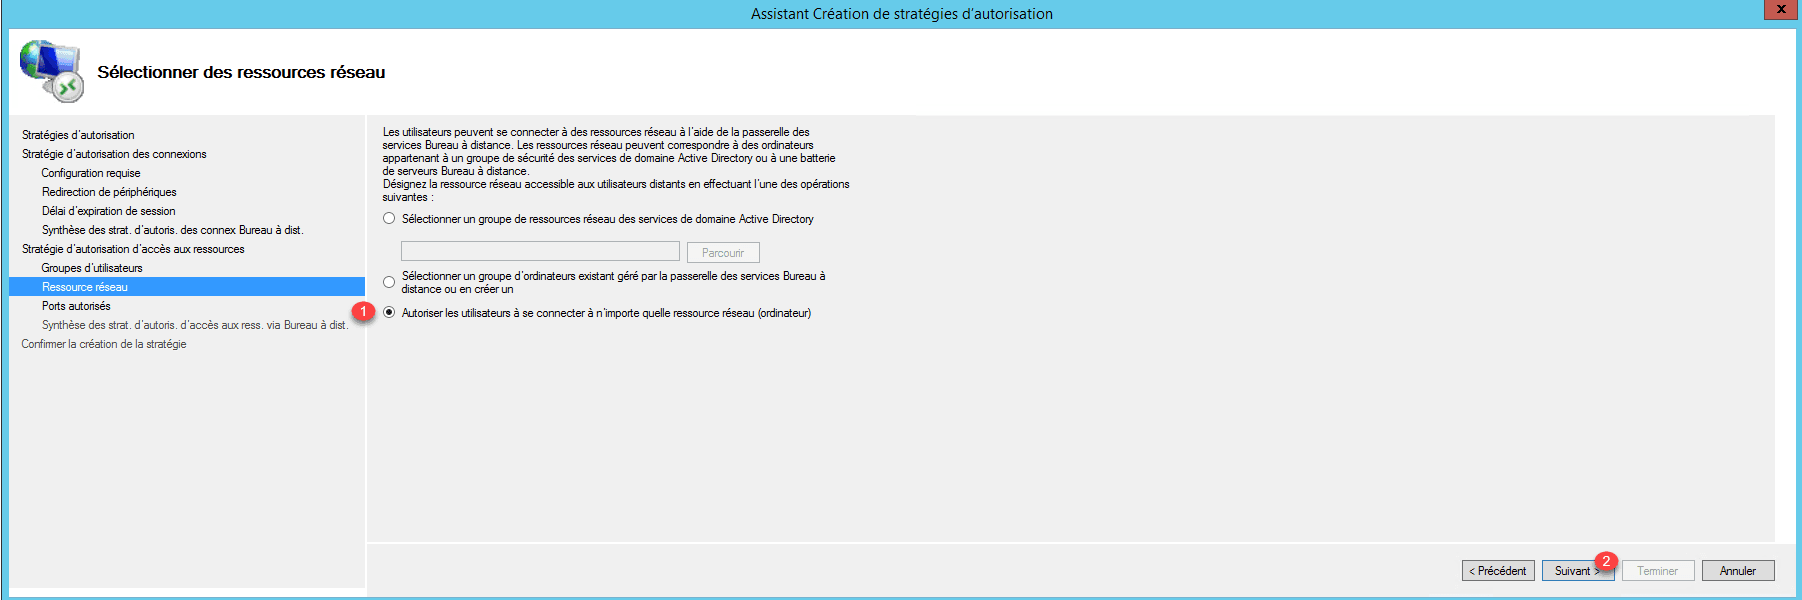
12. Select the Allow users to connect to any network resource (computer) 1 option and click Next 2 .
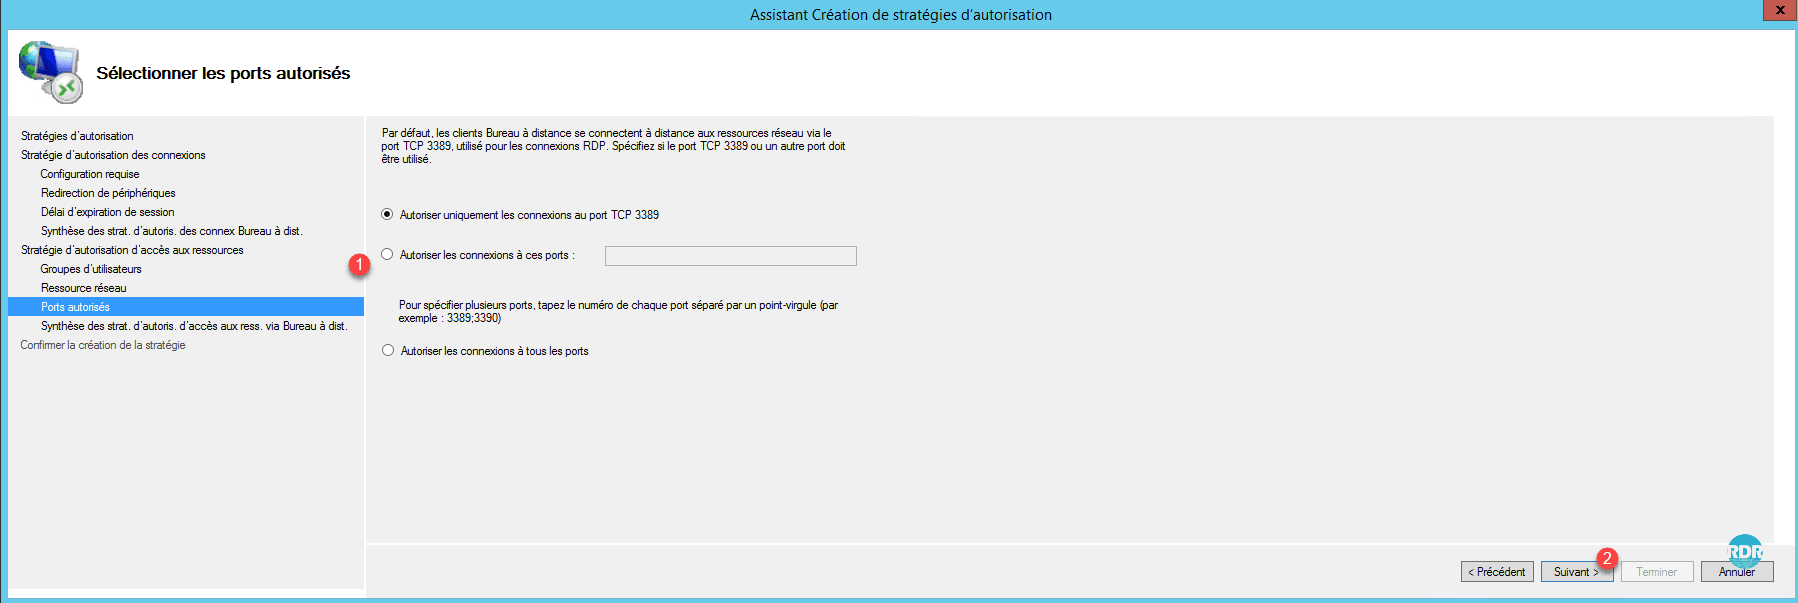
13. Depending on the ports used adjust the parameters 1 and click Next 2 .
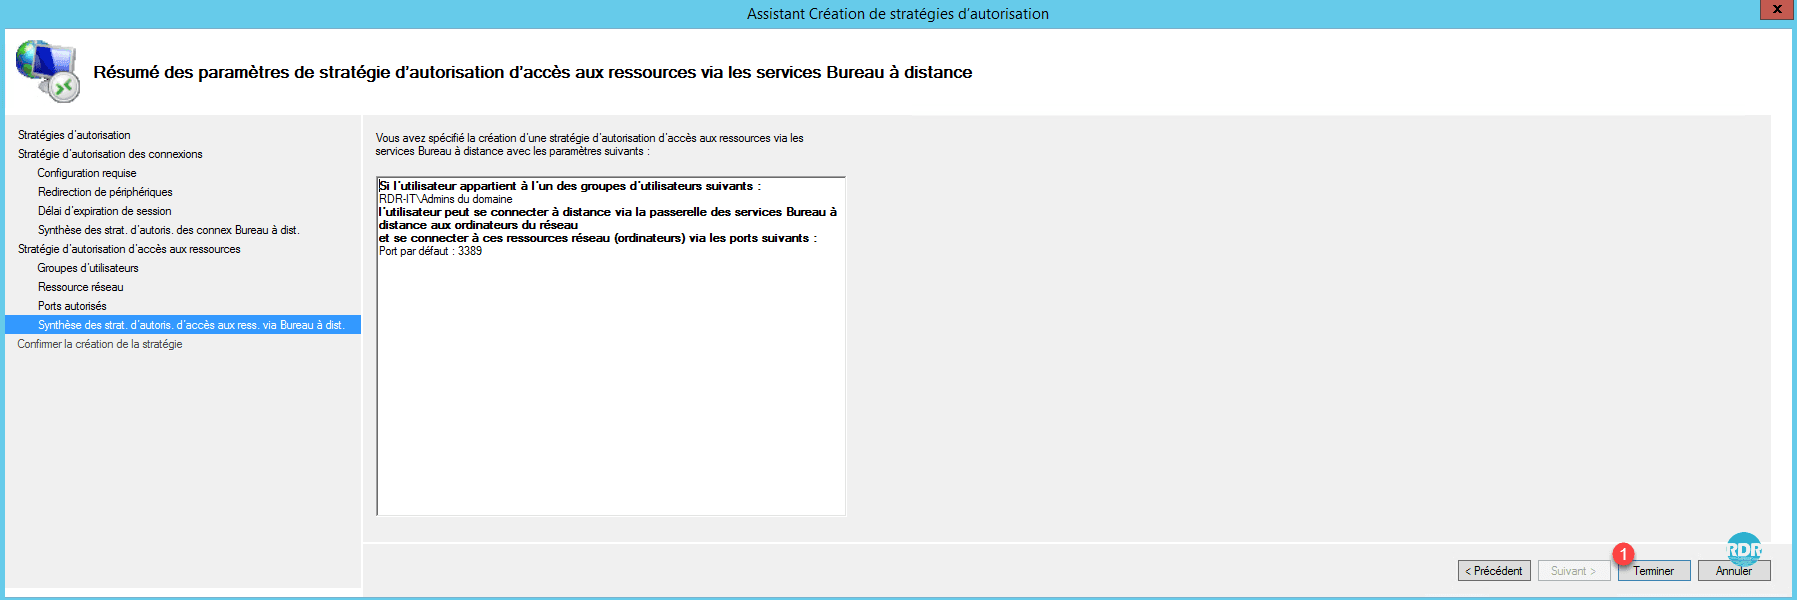
14. A summary of the strategy is displayed, click Finish 1 .
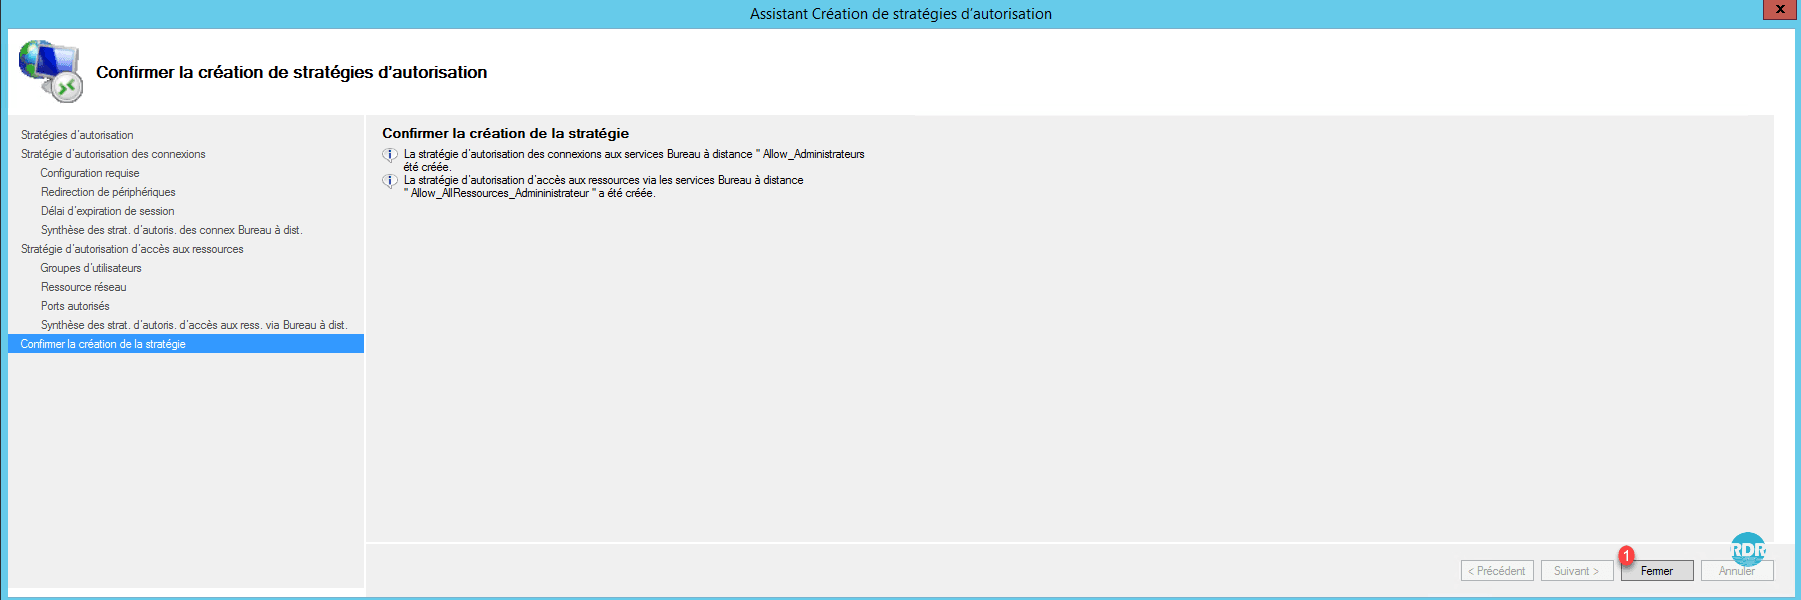
15. Strategies are created, click Close 1 .
16. Go to the folder containing the connection authorization strategies 1 and select the new strategy 2 .
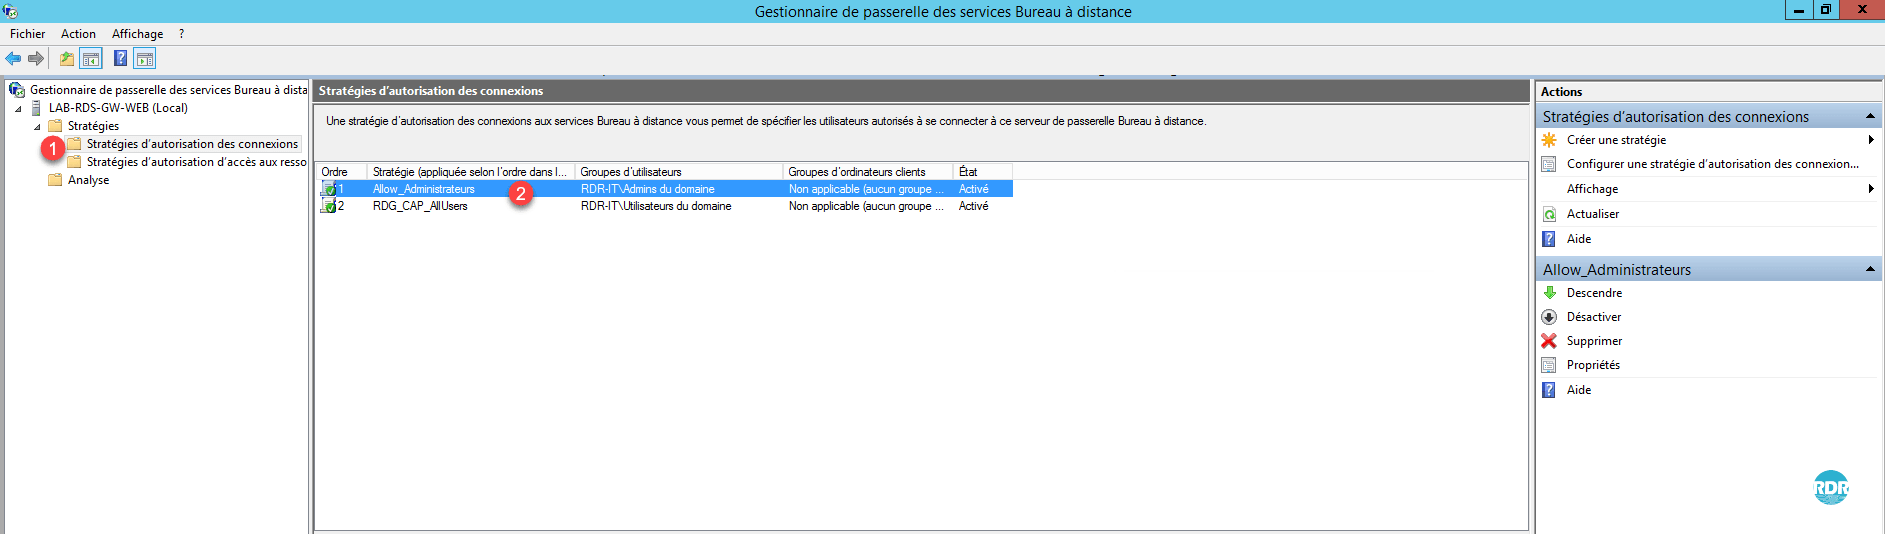
Connection policies are read as the rules of a firewall from top to bottom (Order). By selecting a strategy, it is possible to modify its order by the Actions menu on the right of the console.
We are done with the Remote Desktop Gateway role. We will now see the Remote Desktop Services License Manager.
Great resources here. I am designing almost the same setup for a 500 users base.