In this tutorial, I will explain how to add an SMB share to storage in Proxmox which you can then use to:
- Store ISOs and images
- Virtual disks of VMs
- Backup
I’m assuming you’ve already configured your sharing, which may be on a windows server or on a NAS.
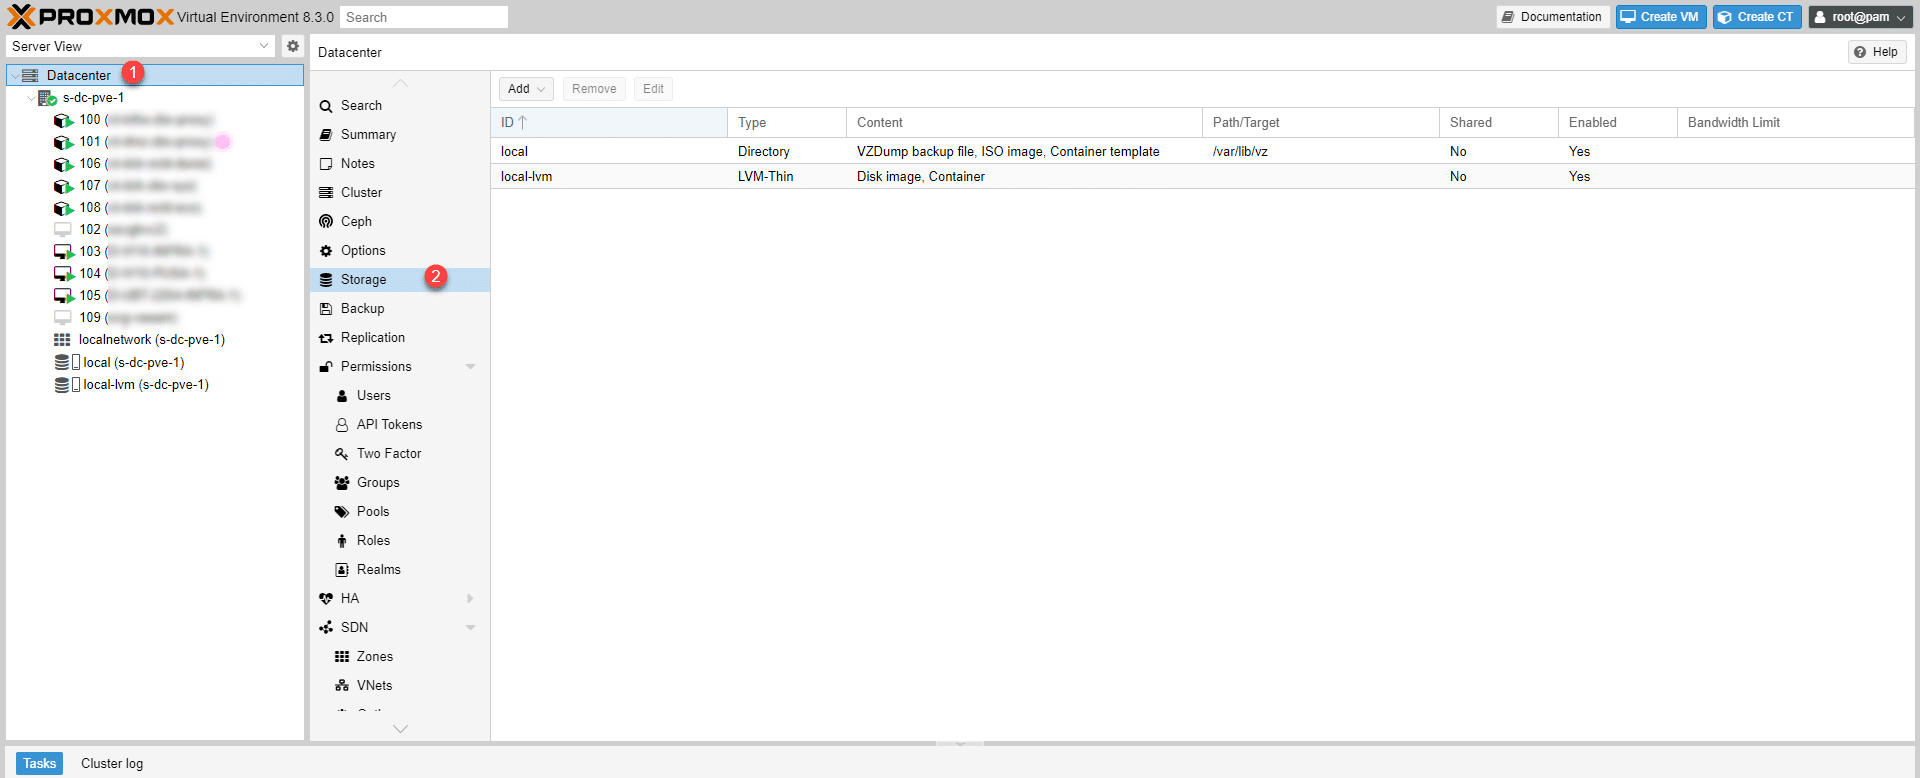
From the Proxmox web interface, go to Datacenter 1 then Storage 2 .
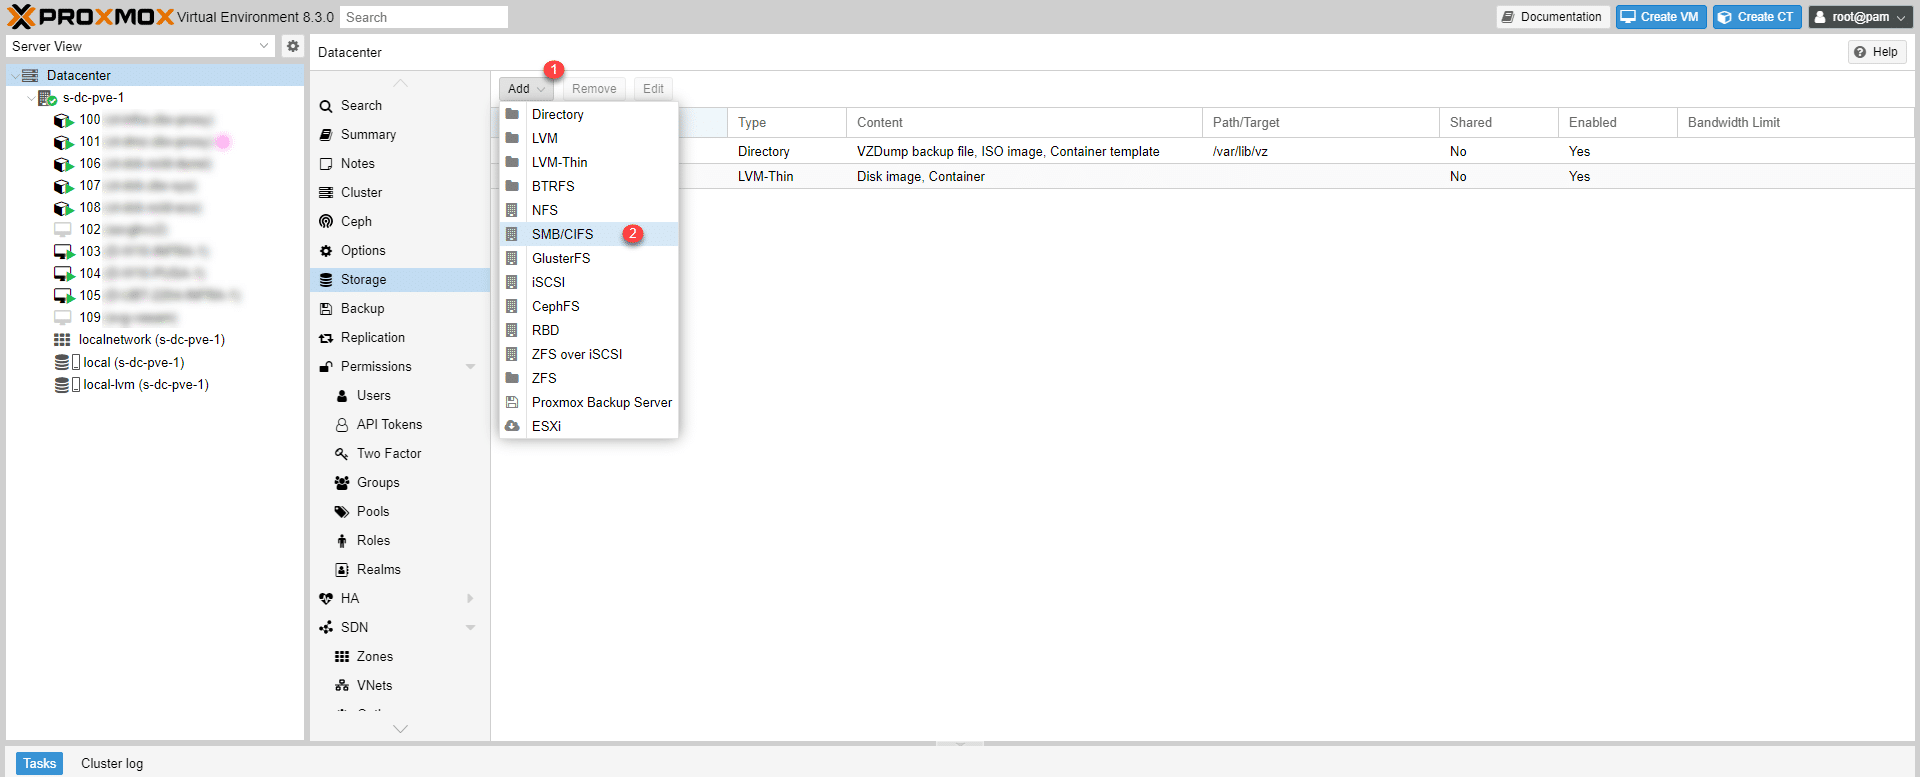
Click on the Add button 1 then on SMB/CIFS 2 .
Enter an ID (name) 1 , then the server’s IP address 2 , followed by the username 3 and password of the account 4 that grants access to the share. Next, enter the share name 5 and then select what it will contain 6 . Finally, click the Add button 7 .
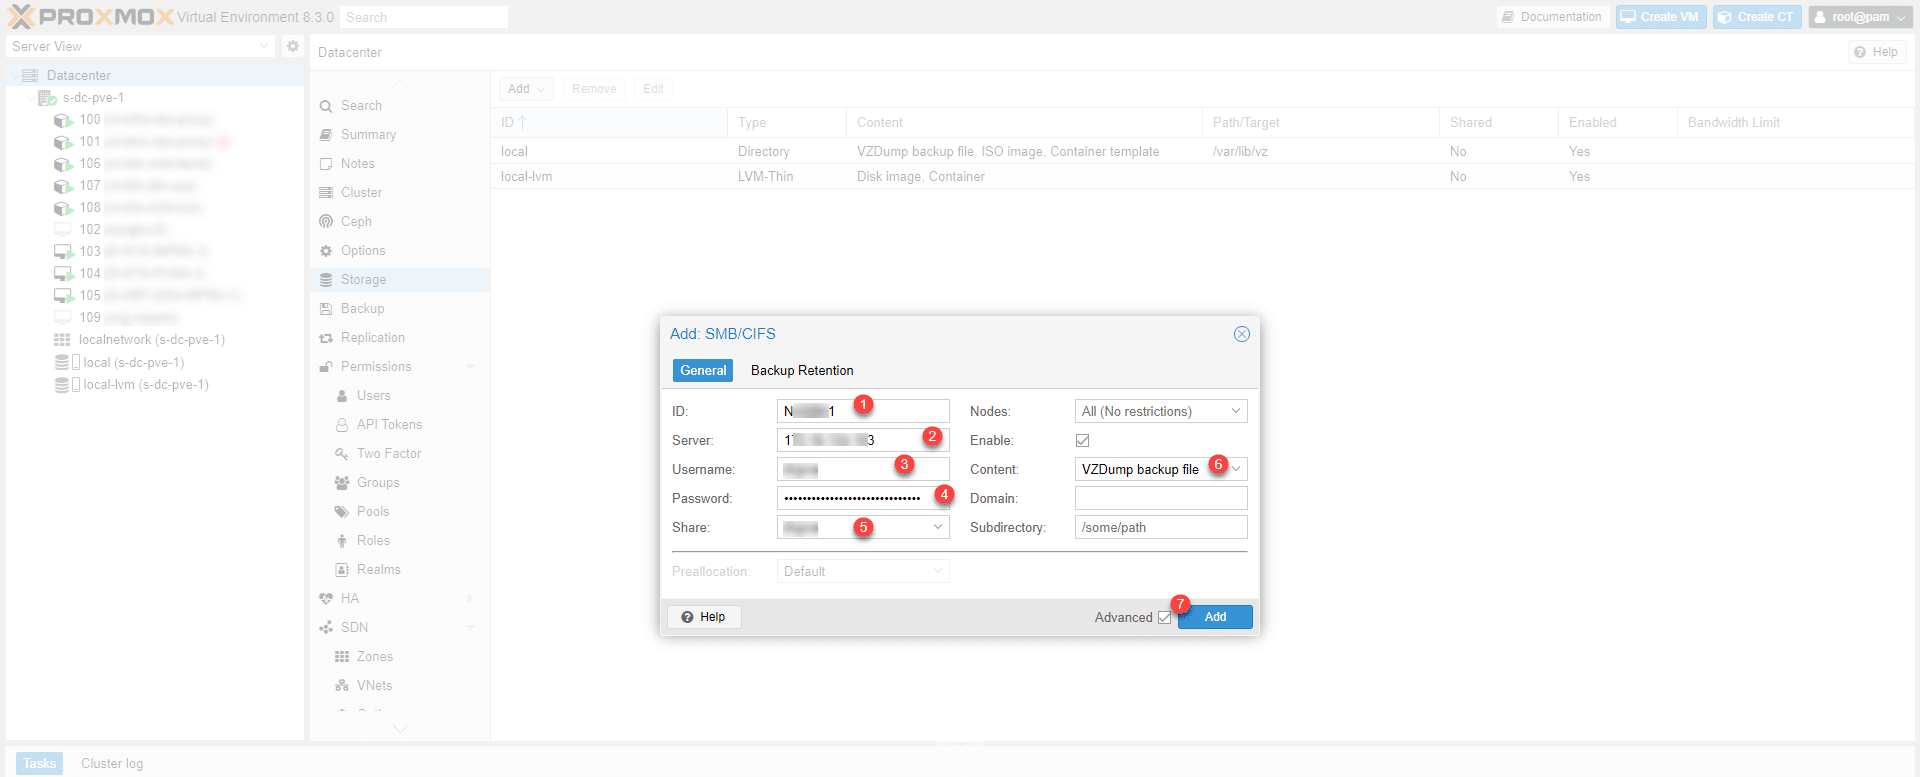
As you can see from the screenshot, the SMB share will only be used for storing backups.
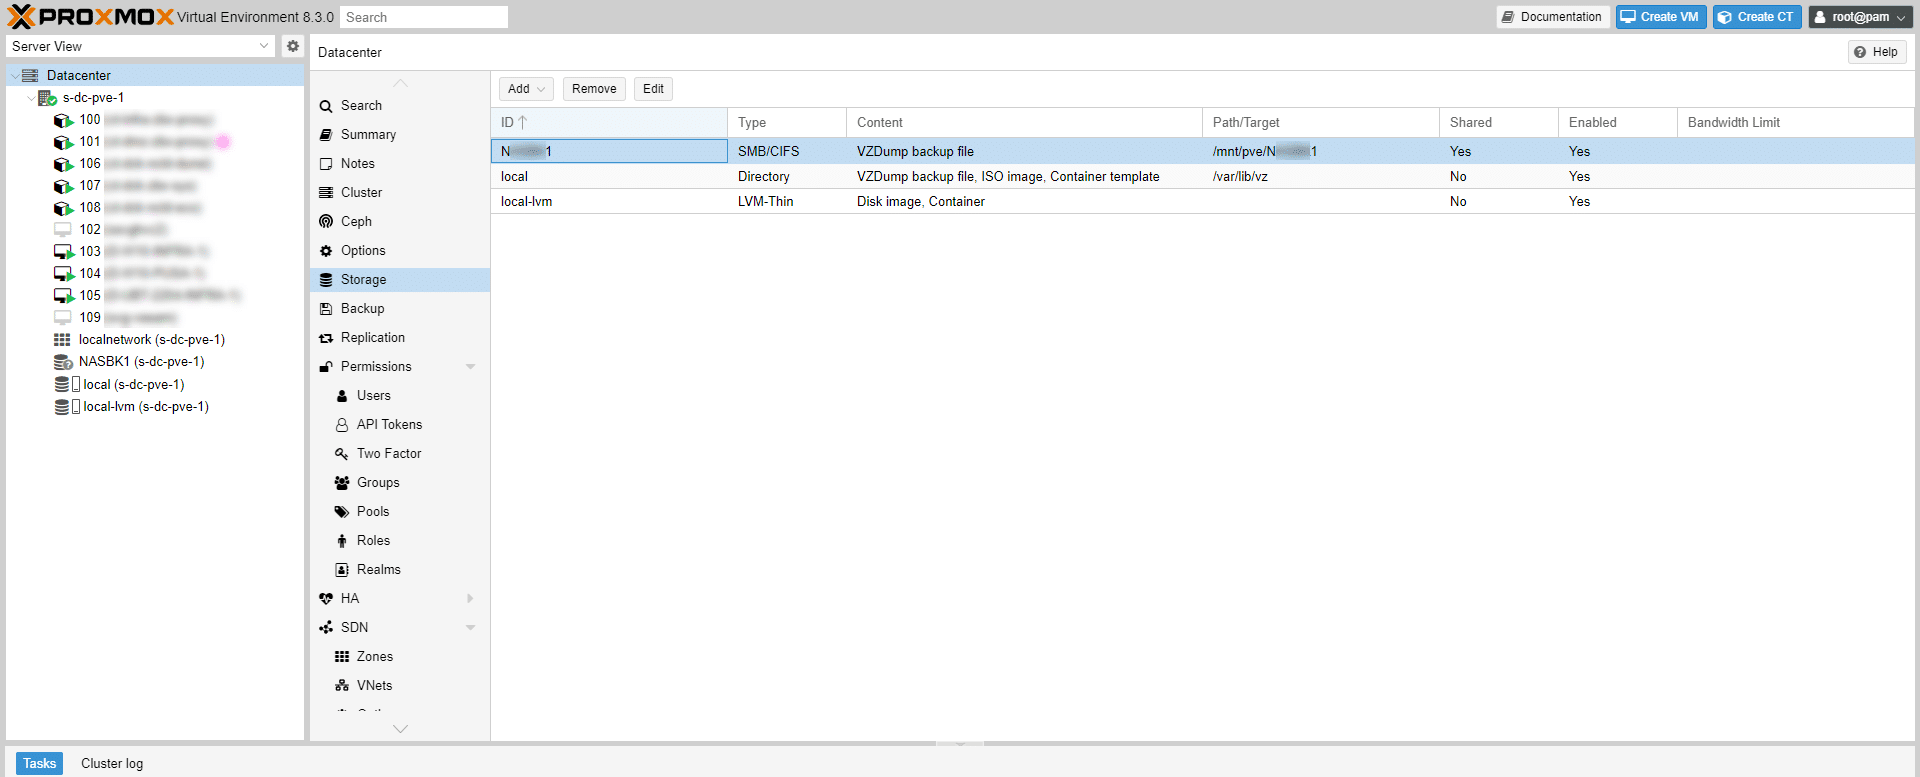
The SMB share is added to the Proxmox storage; you can also see the mount point on the Proxmox server, which uses ID as the mount point folder.
Since SMB is a Microsoft protocol, for storing virtual disks in Proxmox, I recommend using NFS After the tests I was able to do on the same NAS, the NFS protocol allowed me to have superior performance in terms of I/O.