The MSA 1040/1050 and MSA 2040/2050 arrays are entry-level SANs that enable high-performance storage at a great price.
The MSA arrays are equipped with a dual controller available in iSCSI, FC and SAS. On the MSA 2040/2050 series, it is possible to mix controllers to have two storage access technologies.
MSA 2040/2050 default information
By default, the IP addresses are:
- Controller A: 10.0.0.2/24
- Controller B: 10.0.0.3/24
Login :
- Login : manage
- Password : !manage
Access to the administration is done in https.
1. Launch a browser and go to one of the two controllers and enter the credentials of the manage account.

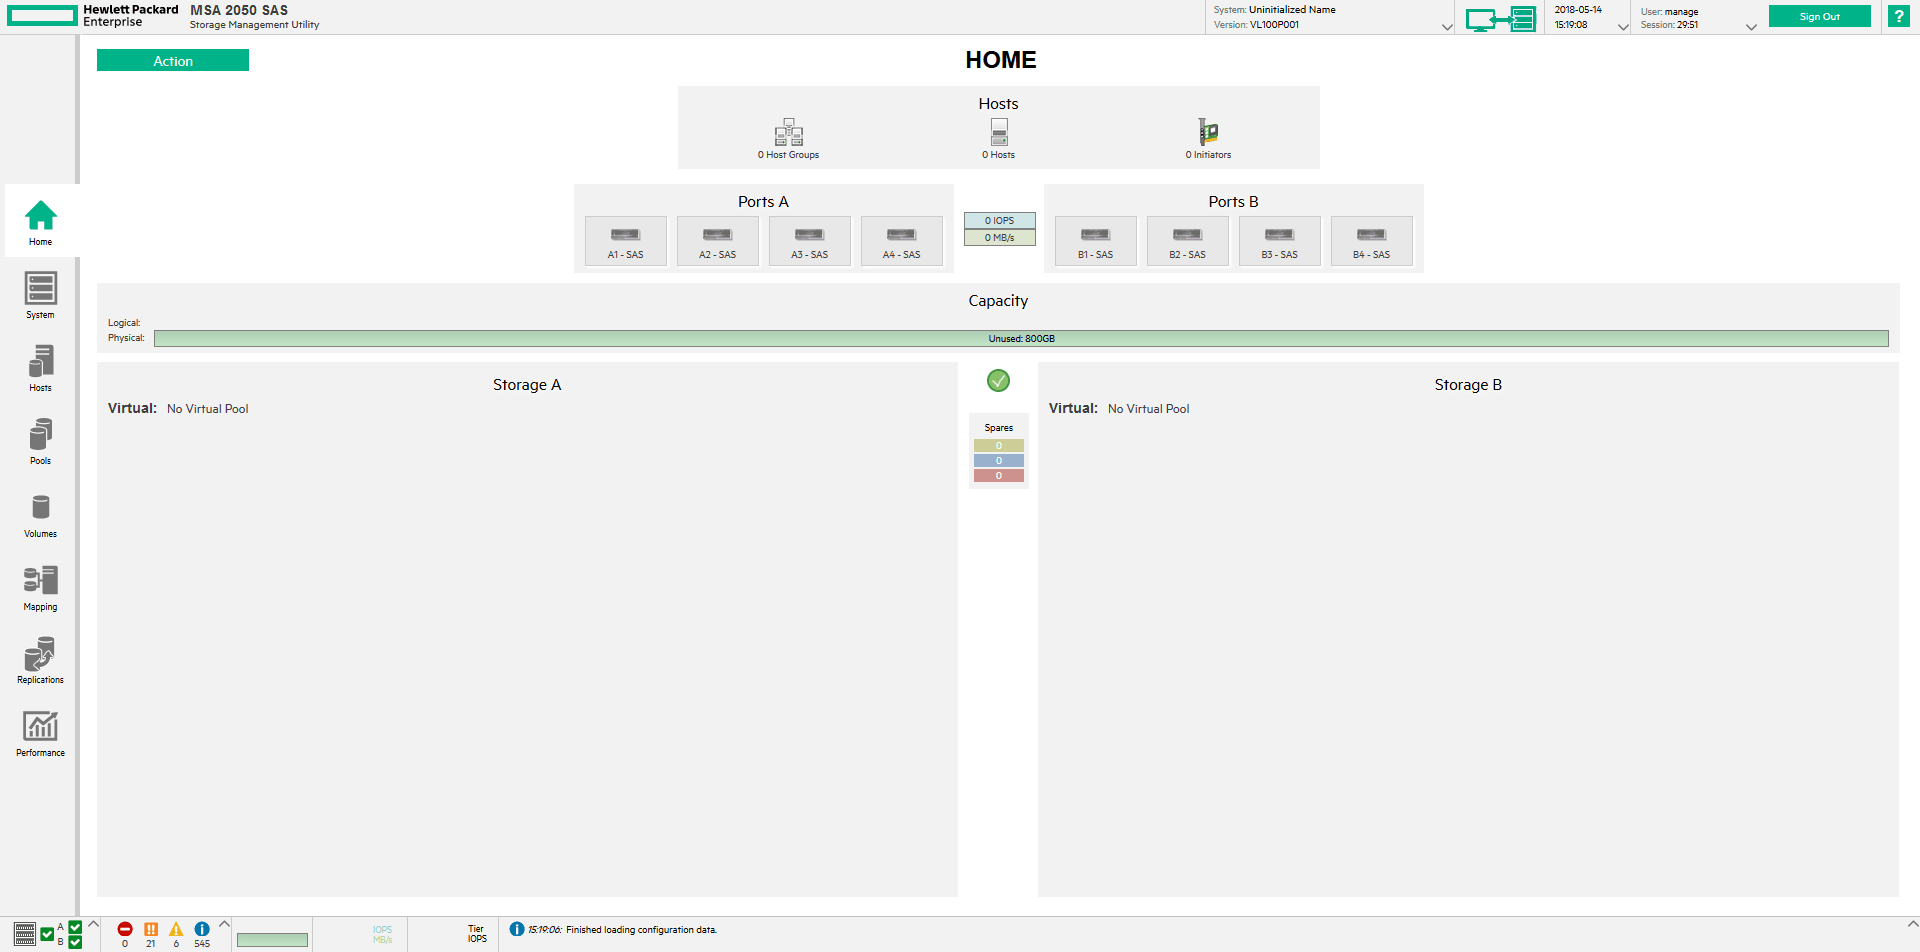
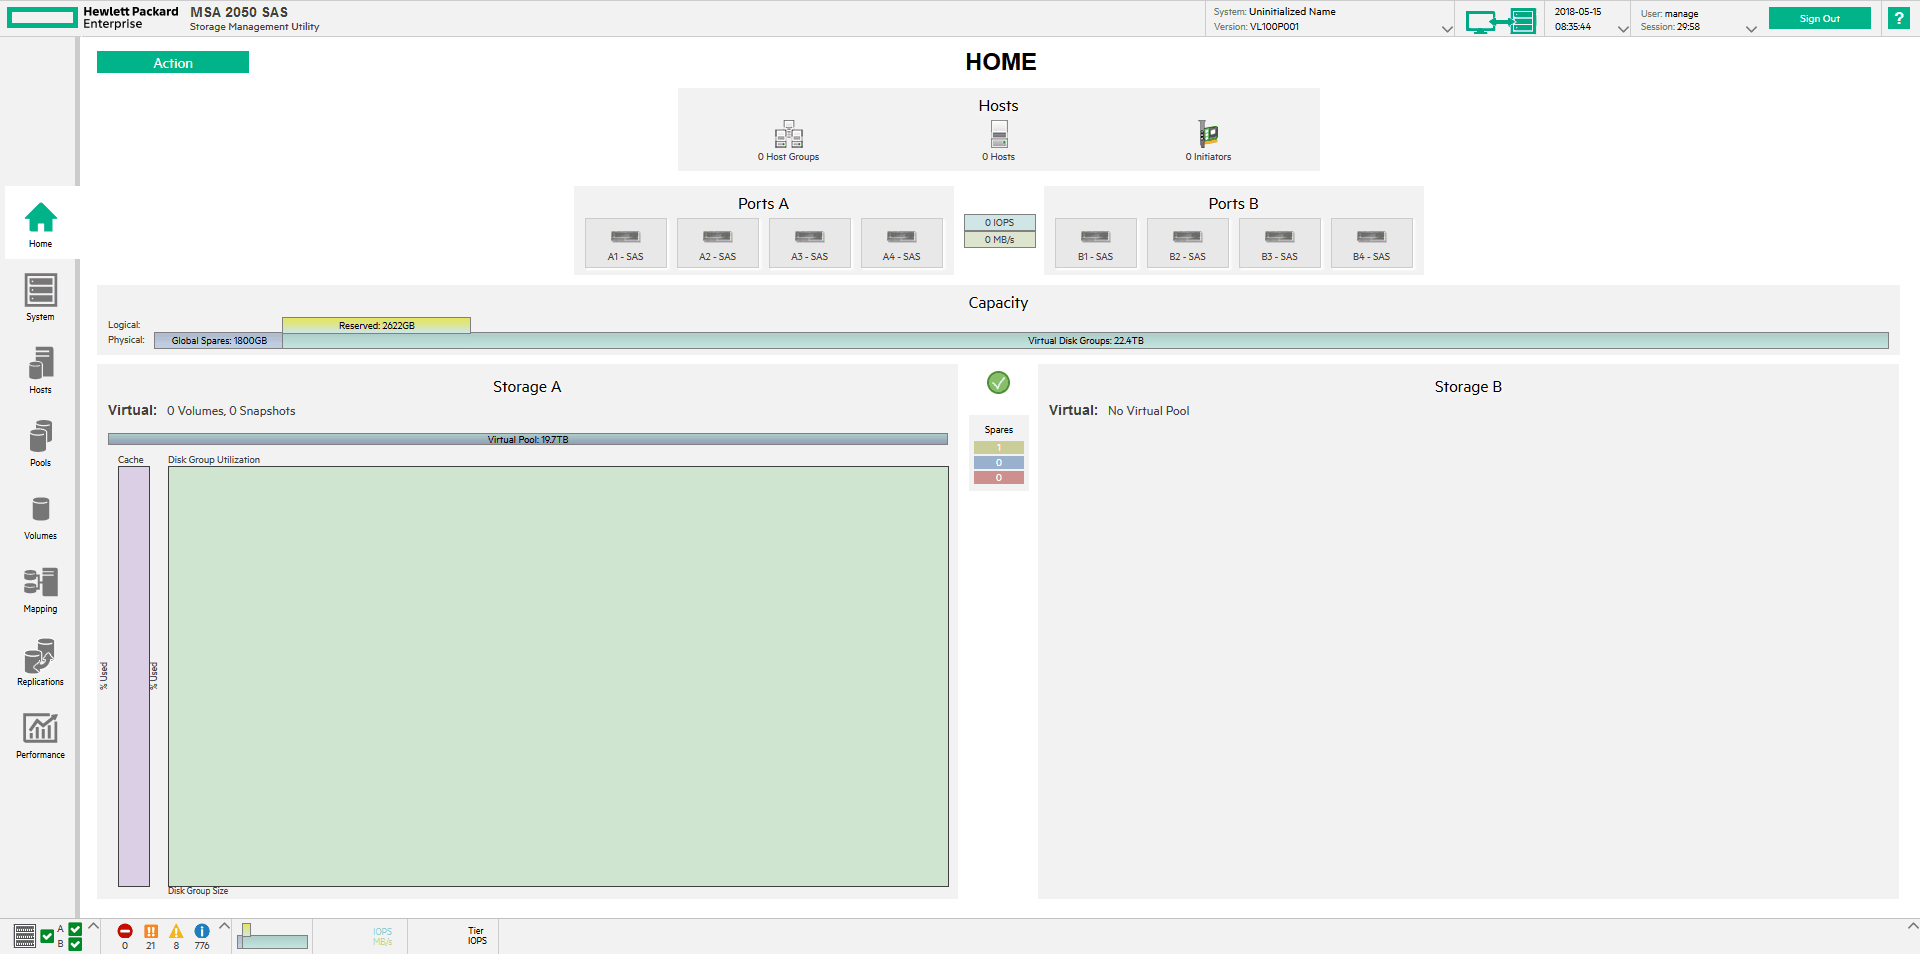
2. Home screen :
System configuration
In this part we will see how to configure the basic information of an MSA 2040/2050 disk array using the wizard and manually.
With the Wizard
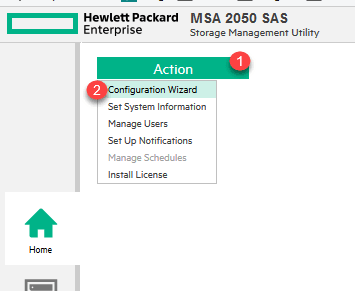
1. From the Home screen, click Action 1 Configuration Wizard 2.
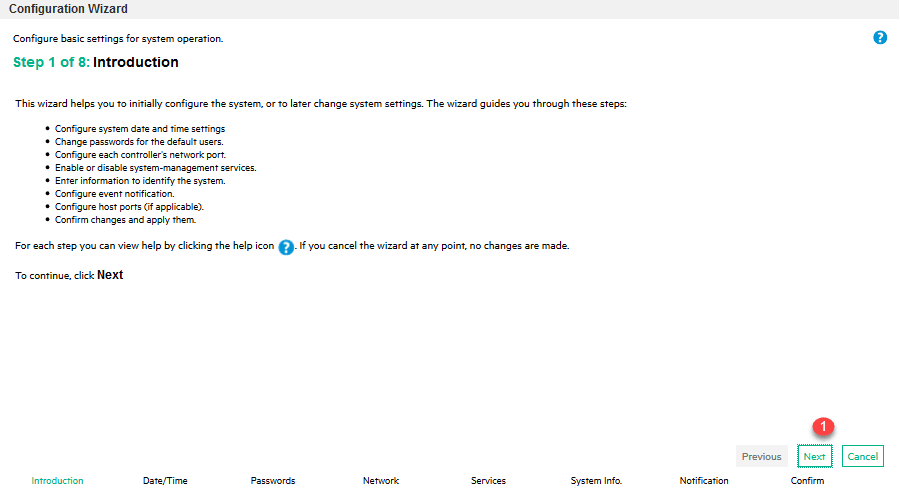
2. The first page shows the elements that will be configured. Click on Next 1.
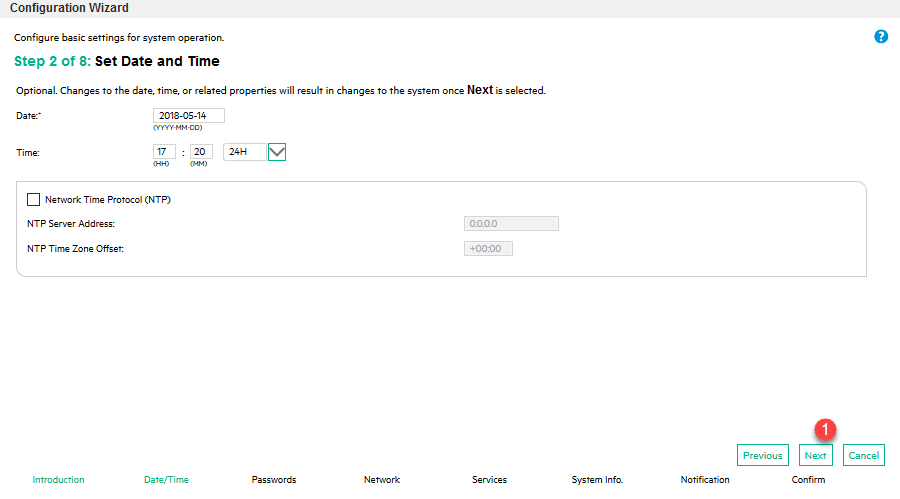
3. Configure the date / time and an NTP server if you have one and click Next 1.
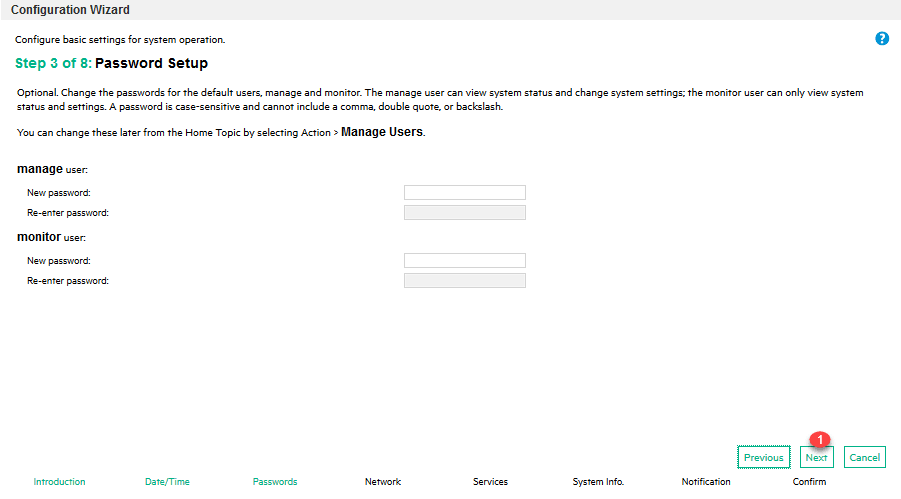
4. Change the default account passwords (optional) and click Next 1.
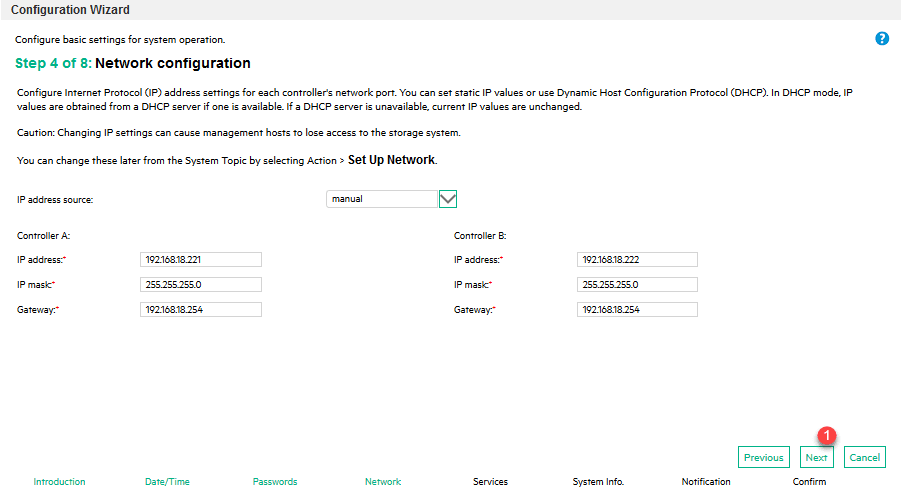
5. Network setting of both controllers, click Next 1.
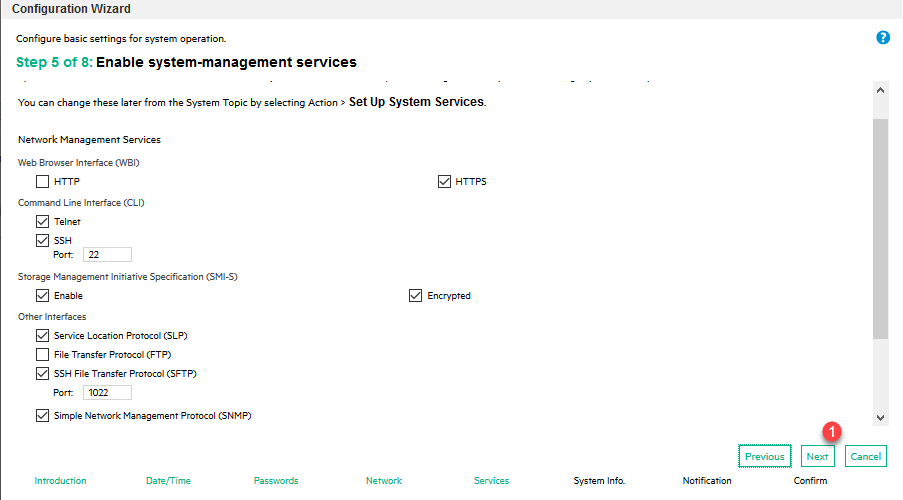
6. Select the different modes of administration and click on Next 1.
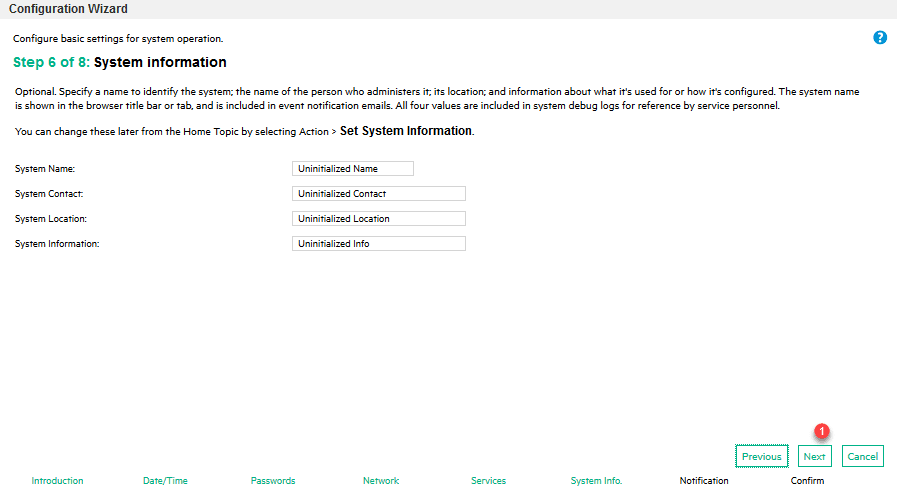
7. Enter the credentials for the array and click Next 1.
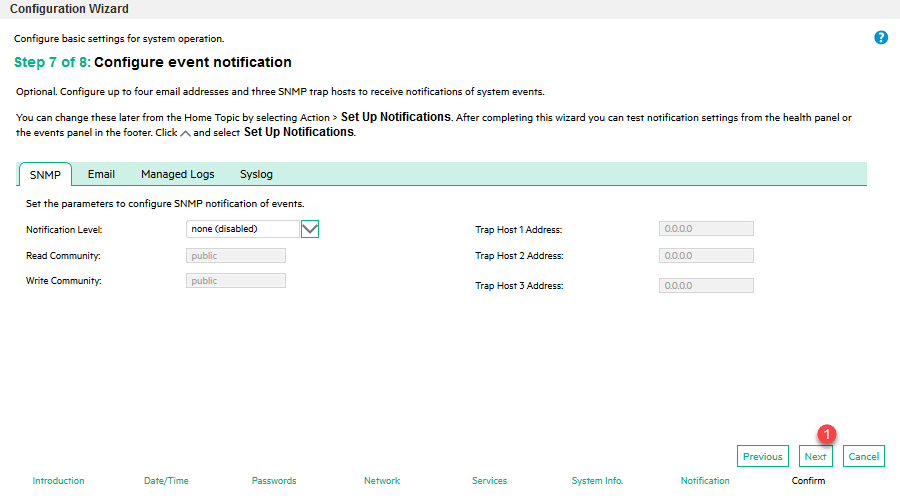
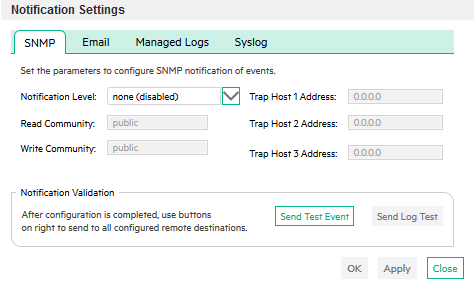
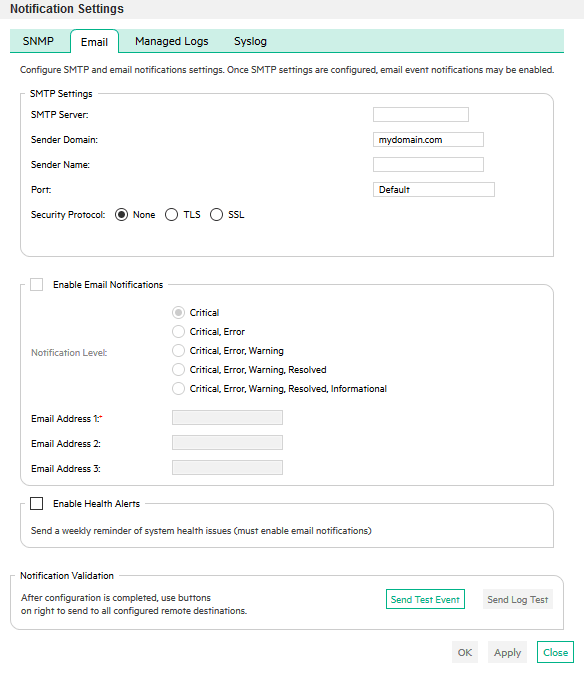
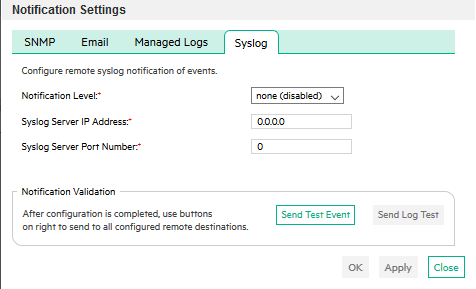
8. Configure the notifications and click Next 1.
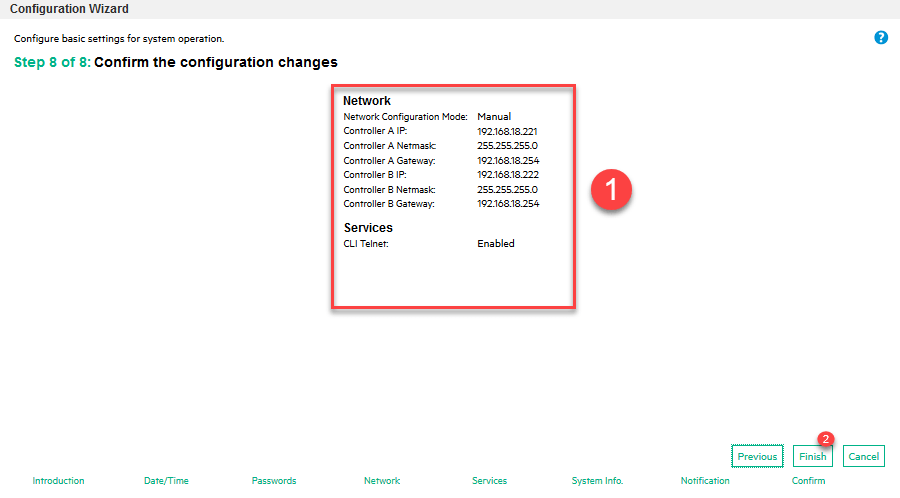
9. Check the 1 settings that will be changed and click Finish 2.
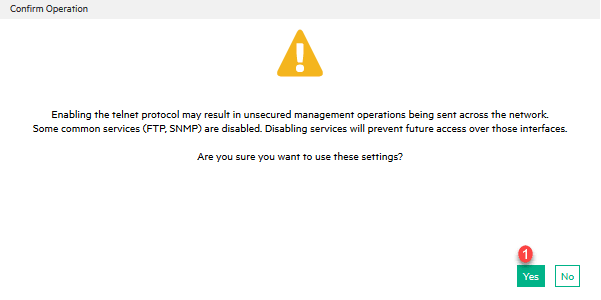
10. Click Yes 1 to confirm your action.
Manual
Network configuration
1. Go to System 1, click on Action 2 and then Configure Network 3.

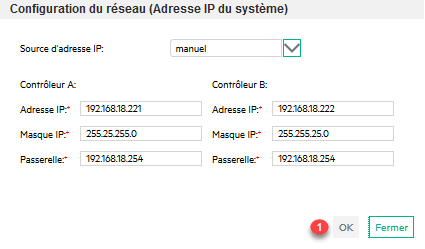
2. Set the controller addresses and click OK 1.
If you have changed the IP address, you must change the URL in your browser.
Administration mode
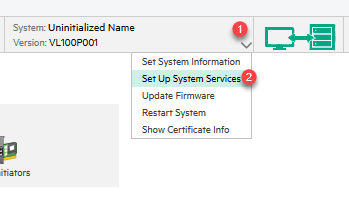
1. At the bay name at the top of the administration, click on chevron 1 and then Set Up System Services 2.
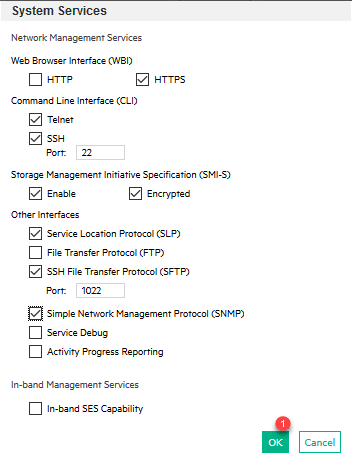
2. Select the modes to activate and click OK 1.
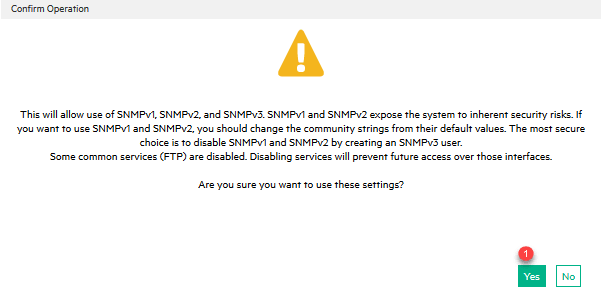
3. Confirm the change by clicking Yes 1.
System informations
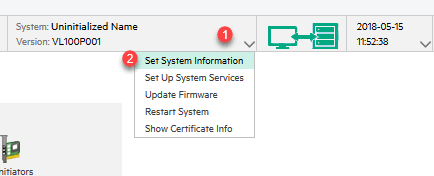
1. At the bay name at the top of the administration, click on chevron 1 and then Set System Information 2.
2. Edit your information and click OK 1.

Date and Time
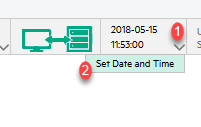
1. In the upper part of the hour click on chevron 1 and then Set Date and Time 2.
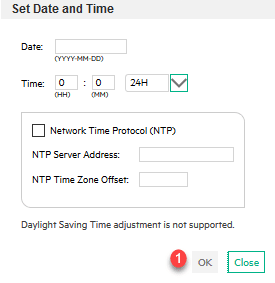
2. Edit the form and click OK 1.
User Management
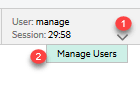
1. In the upper part, click on the chevron 1 at the current user level and then on Manage Users 2.
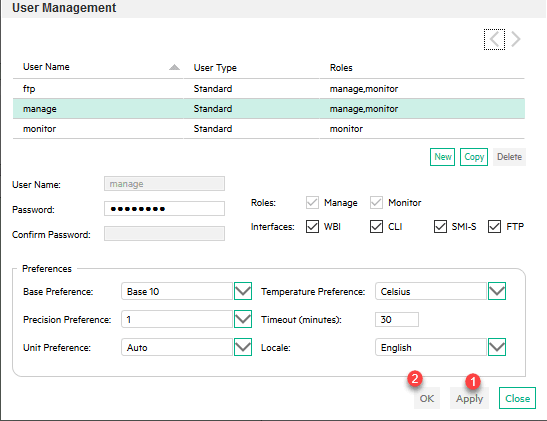
2. Select the user you wish to edit, edit the settings and click Apply 1 and OK 2 to close the window.
Notification Management
1. In the base part of the administration, click on chevron 1 and Set Up Notification 2.
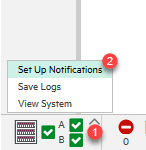
2. Edit modes and notifications.
Storage configuration
Pool and disk group
In this part of the tutorial on MSA arrays, we will see how to configure storage.
A pool consists of one or more groups of disks. MSA arrays support two storage pools A and B.
A disk group is a physical disk set that has a type of: Virtual or Read Cache.
- The virtual type groups physical disks in a RAID 1/5/6/10 array and must consist of disks of the same capacity and speed (SSD / 7.2 / 10/15).
- The Read Cache type consists of one or more SSDs. This group has the role of increasing the speed of reading data.
Before you can create a drive cache type disk group, you must define a storage group.
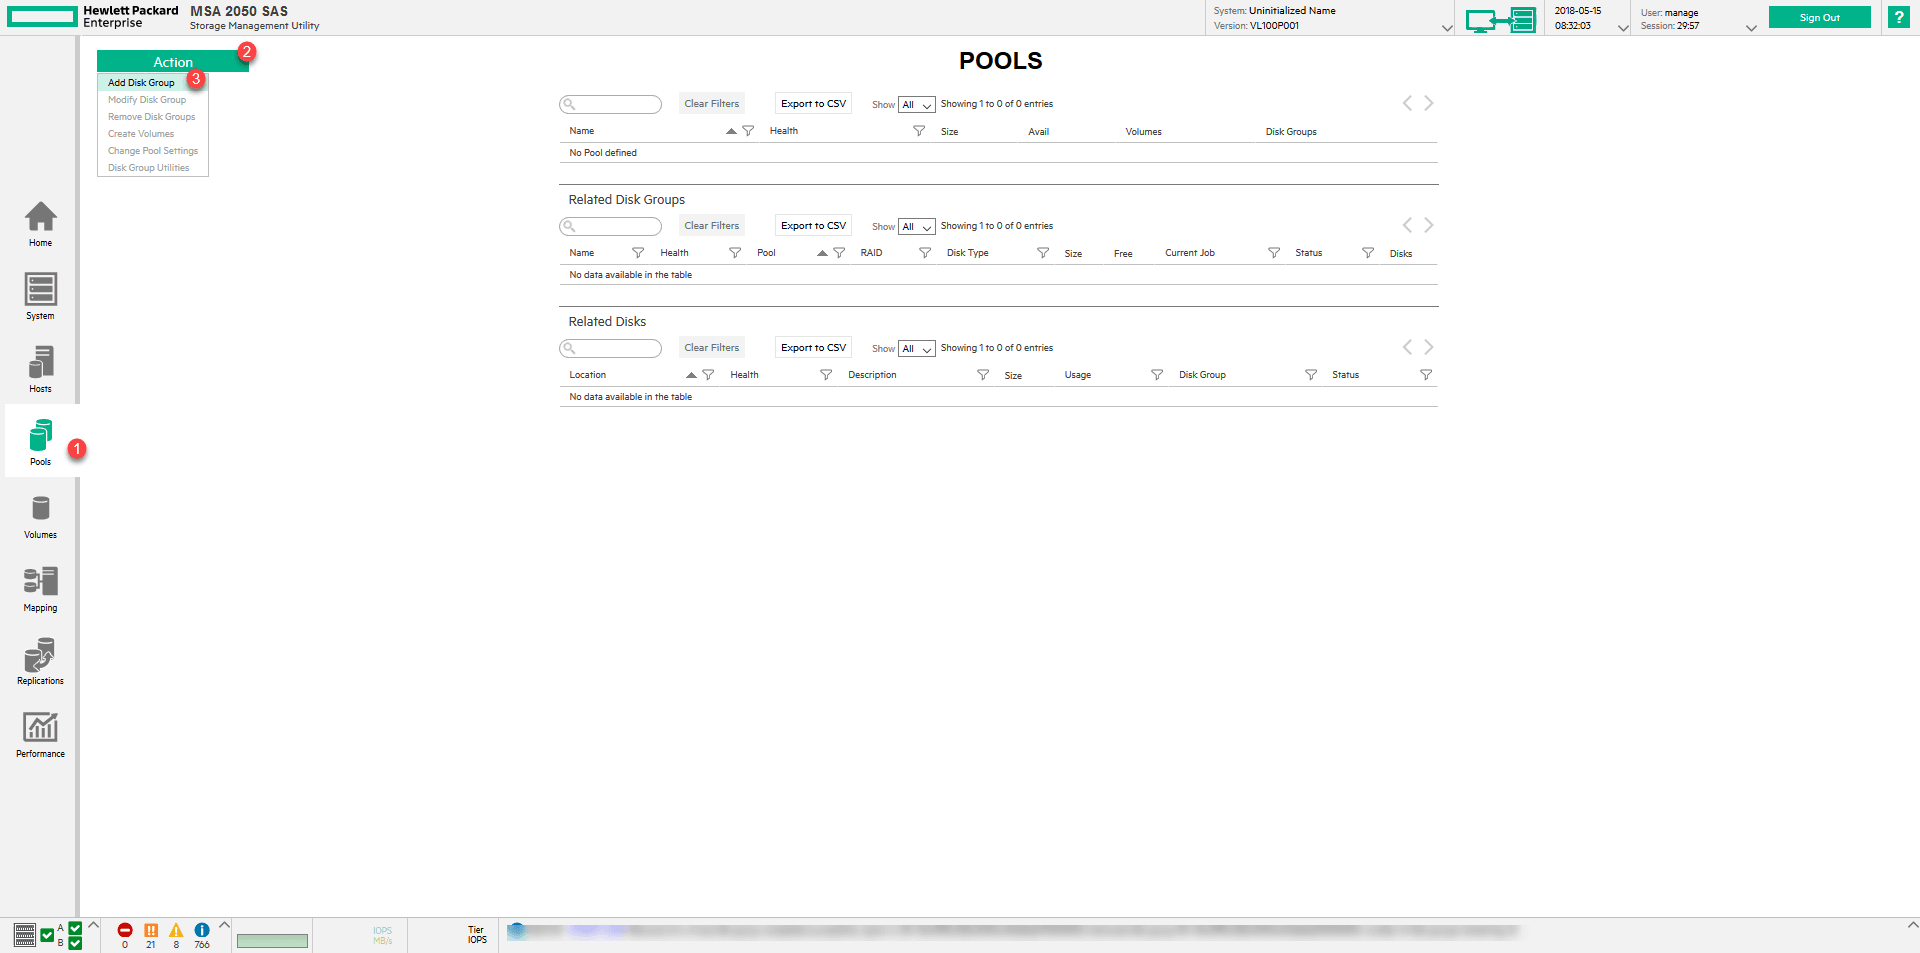
The access to the creation of a storage pool and to the disk group is done by the menu on the left Pools 1, click on the button Action 2 then Add disk Group 3.
Disk group: storage
1. Select the type Virtual, choose the desired level of raid then check the disks to put in the group. Select pool A 1 and click on Add 2.
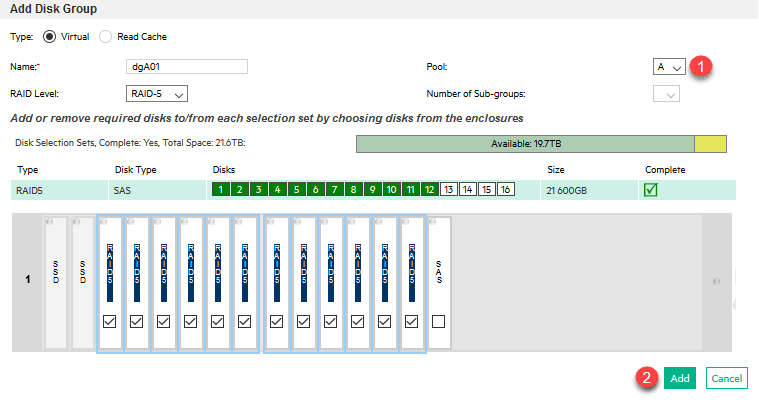
A disk was not included in the group because it will be defined as a spare.
A disk group consists of disk of the same speed and capacity.
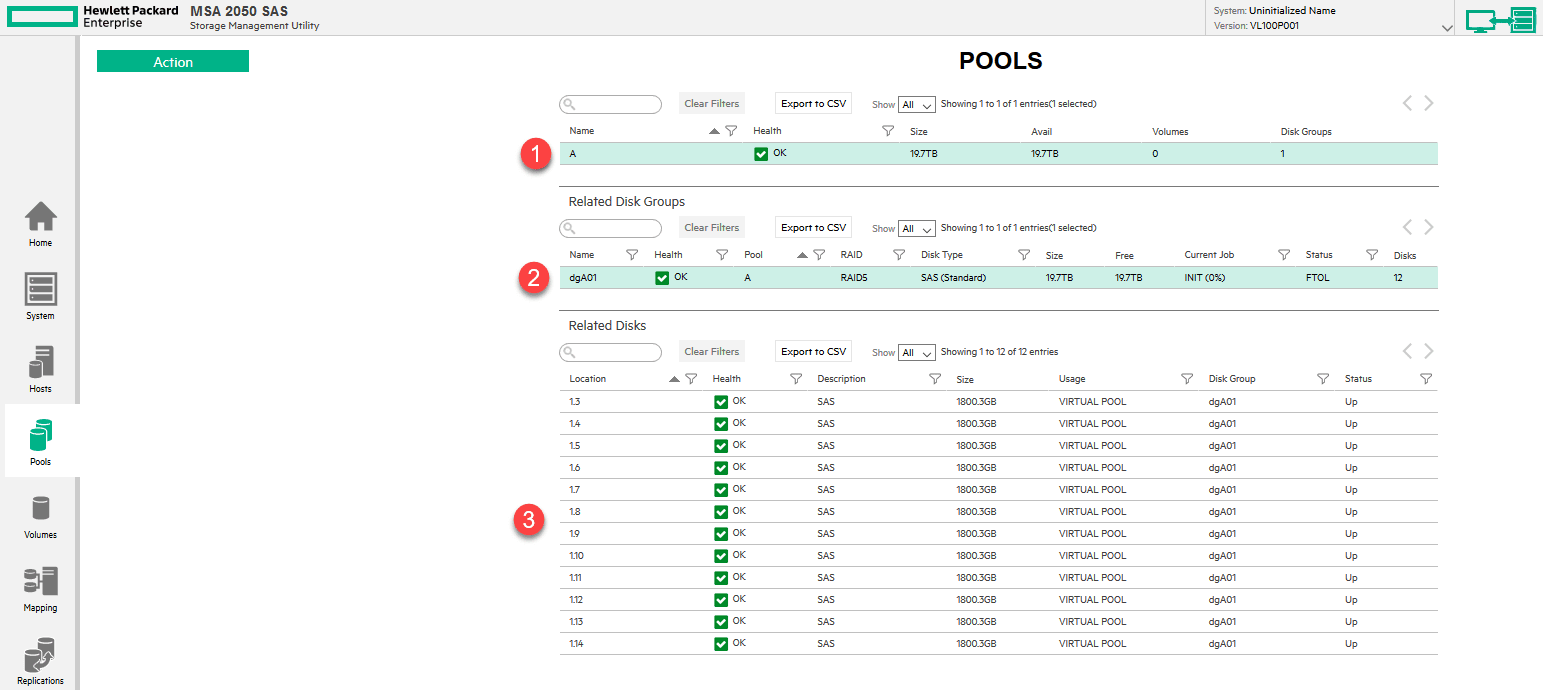
2. The disk group is visible in the pools page. We see that the pool A 1 was created, that this one contains the group of disk dgA01 2 and that it is composed of the disks 1.3 to 1.14 3.
Disk group: cache
1. Access the Add Group Group form.
2. Select the type Read Cache 1, check the SSD 2 to put in it. Check pool 3 and press Add 4.
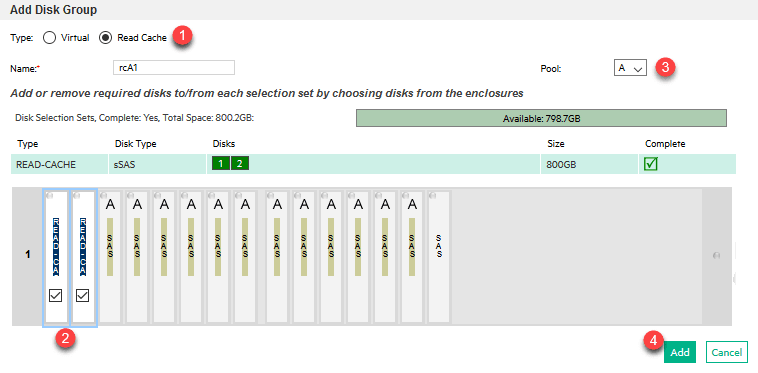
A read cache disk group consists of one or more solid state drives.
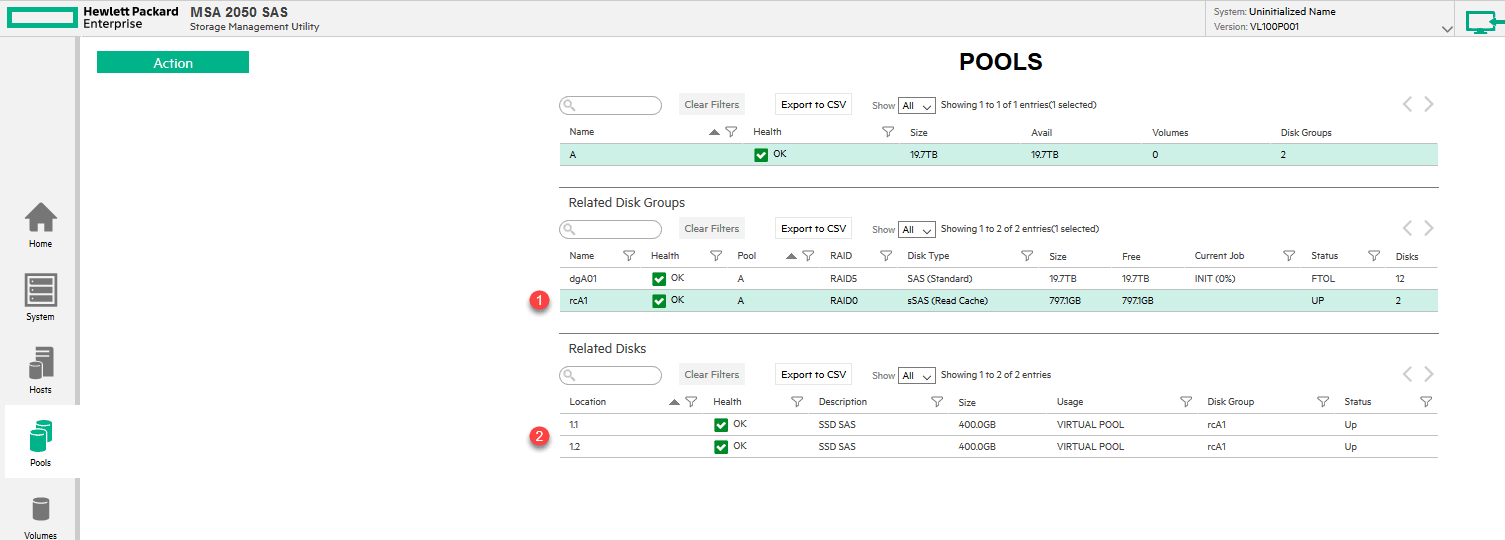
3. On the pools page you should see disk group 1 and its physical disk composition.
Define a spare disk
1. Go to System 1 and click on Action 2 and Change Global Spare 3.
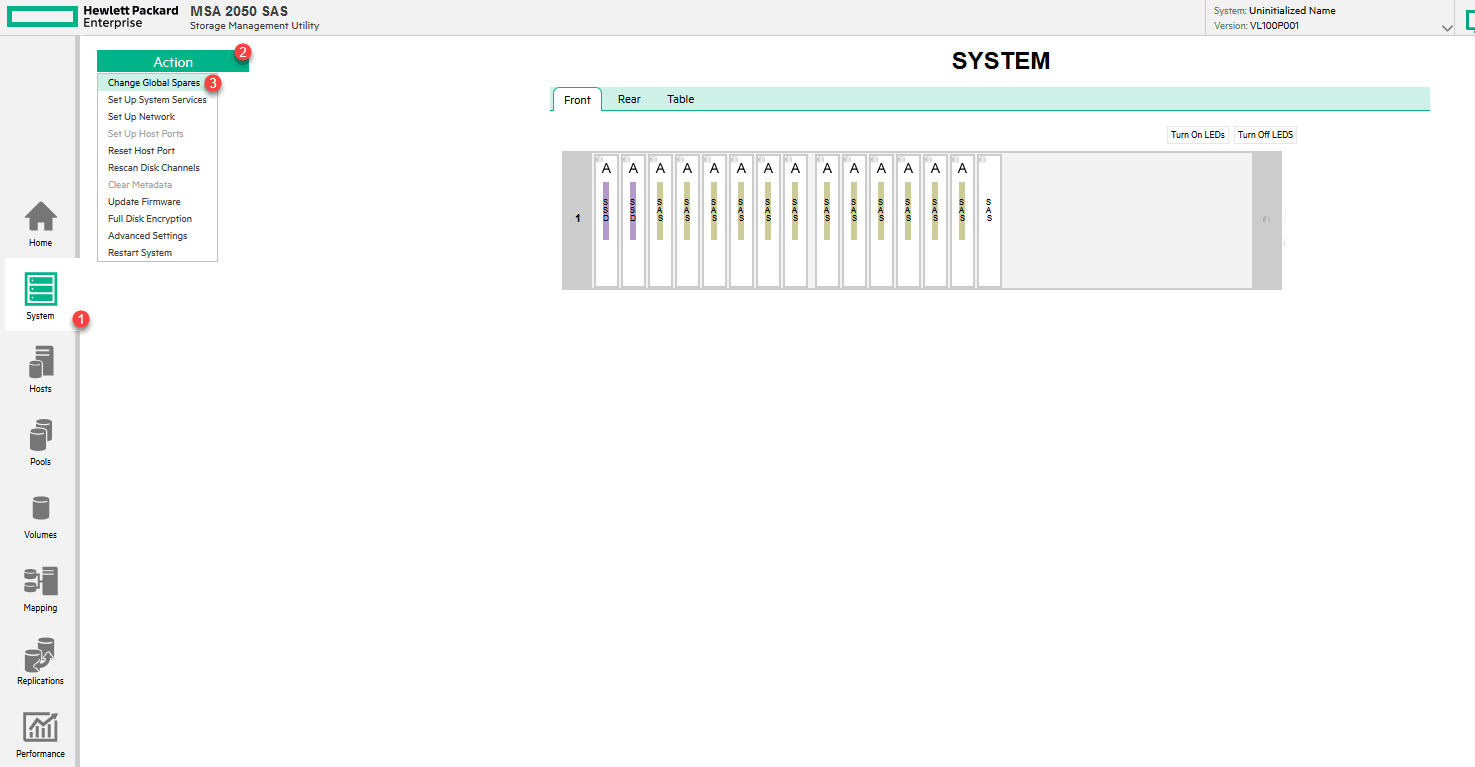
2. Check the disk (s) 1 to spare and click on Change 2.

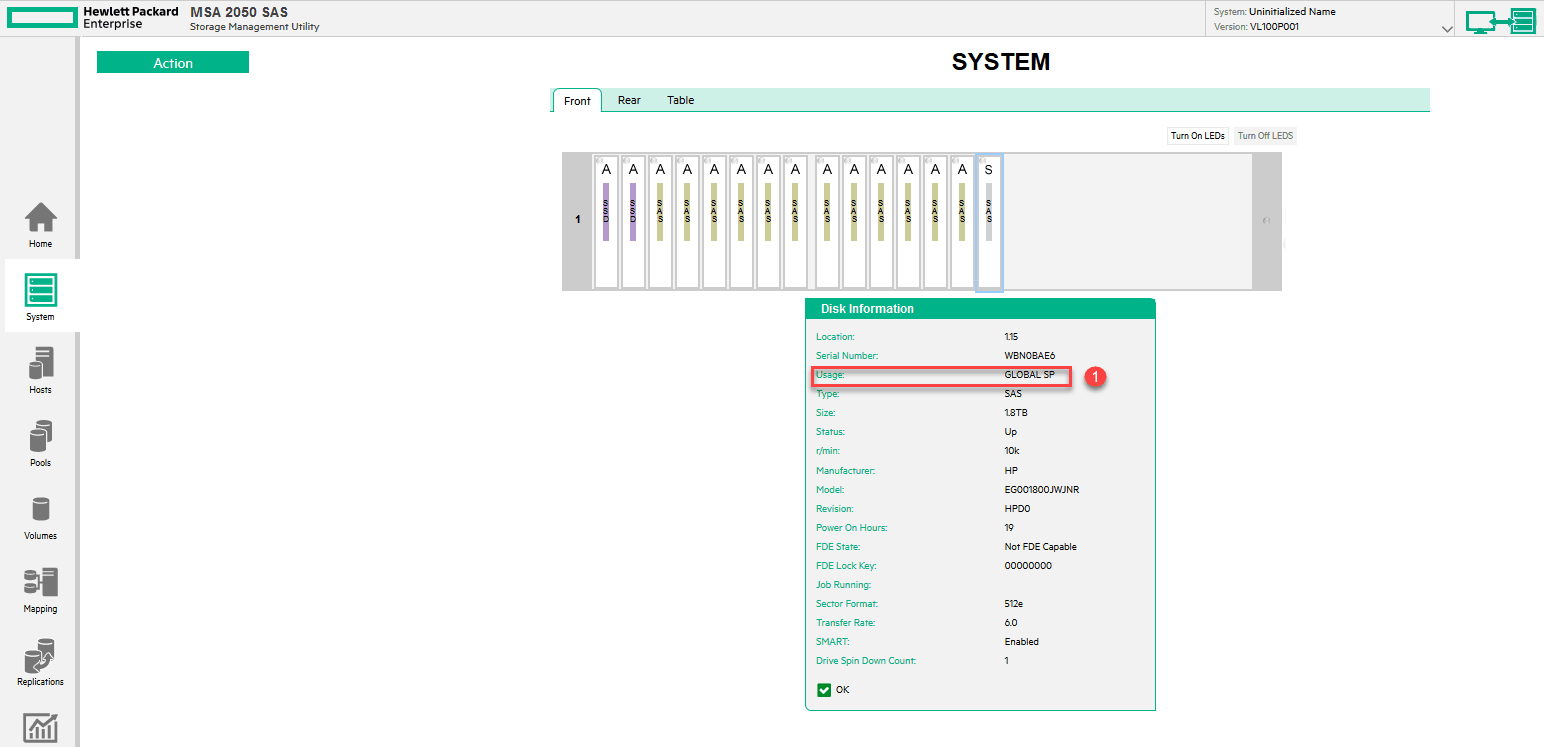
3. From the System page, by hovering over the disc, it is possible to see the use 1 provided for it.
Summary of the configuration
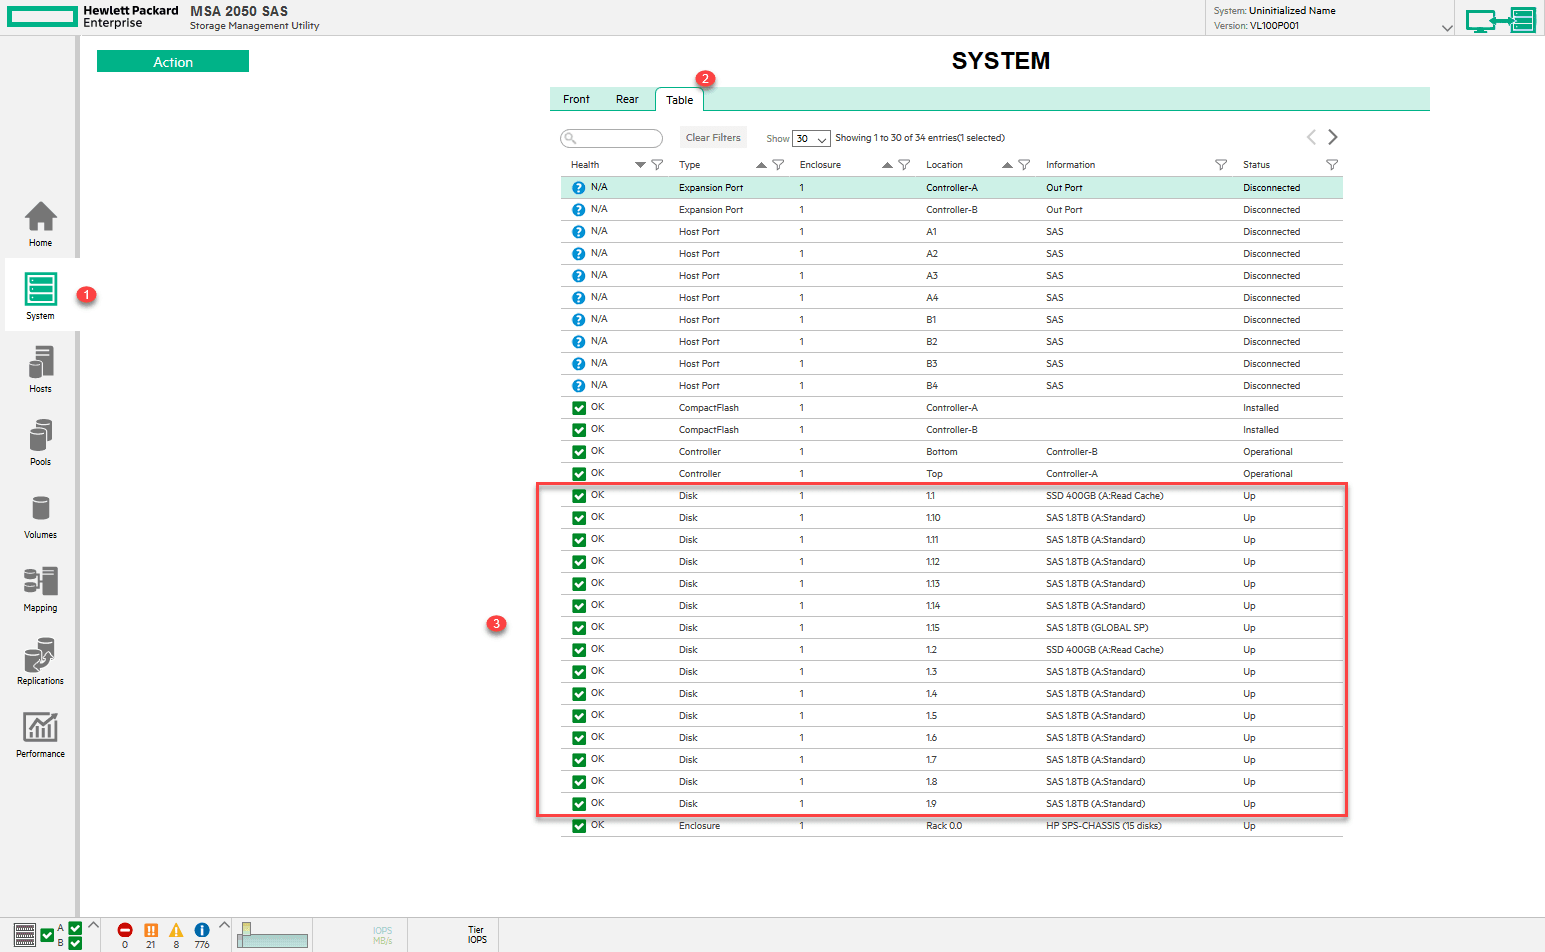
You can access a summary of the configuration of disks and storage pools in two places:
1. From the System 1 > Table 2 part, we can see the state of each disk 3 with its allocation pool and its function.
2. From the home page, you can see the two storage pools with the size of the affected disk groups.
Volumes
A volume is a virtual disk created on a storage pool that is presented to a server as storage.
Add a volume
1. Go to the Volumes 1 section and click on Action 2 and Create Virtual Volumes 3.

2. Enter the volume capabilities and click OK 1.

You can create multiple volumes at once by clicking Add Row.
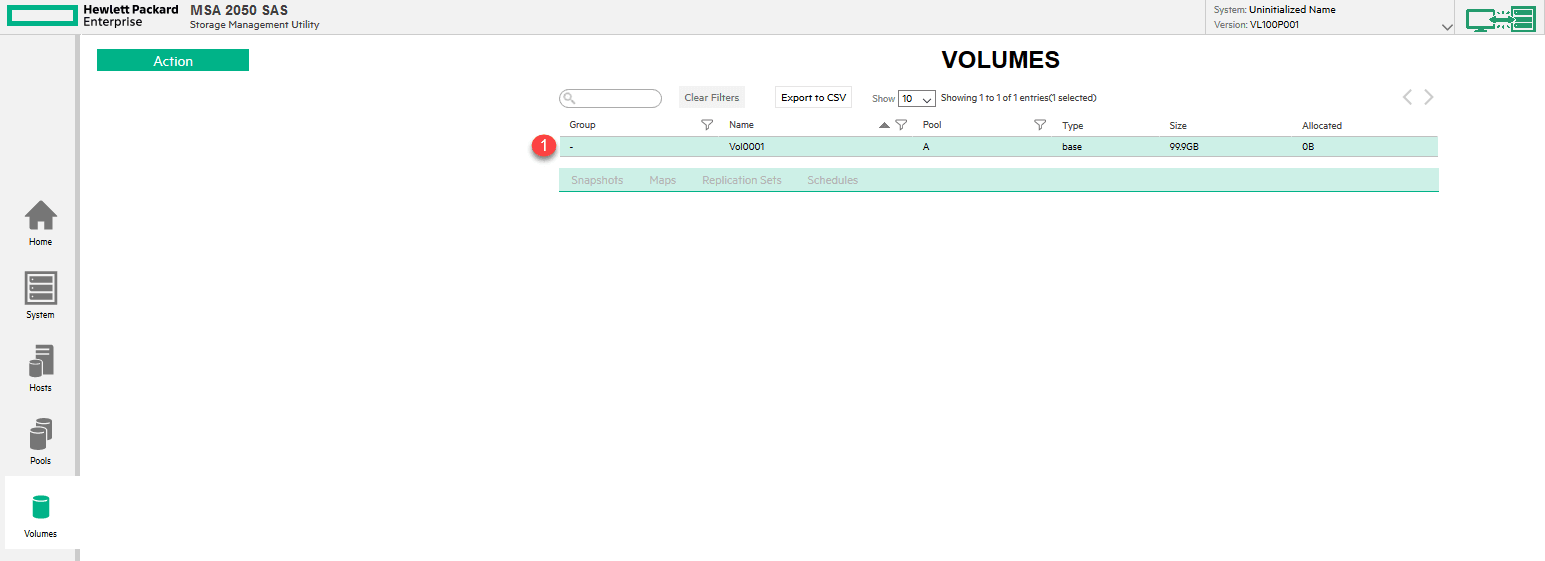
3. Volume 1 is now visible in the list.
Link :