Installing the FSRM role
In this ‘how to’ tutorial, we will see how to install the File Server Resource Manager role which provides additional functionality to file management such as:
– Quota
– Storage report
– Classification
– …
Open the wizard for adding roles and features

From the server manager, click on Add roles and features.
Skip the “Before you begin” section

Click on Next at the first wizard window.
Installation type: Role-based or feature-based installation

Choose Role-based or feature-based installation and click Next.
Server selection: choose the server where to install the FSRM role

Choose the option Select a server from the server pool, click on the server in the pool and click on Next.
Server roles: check File server resource manager
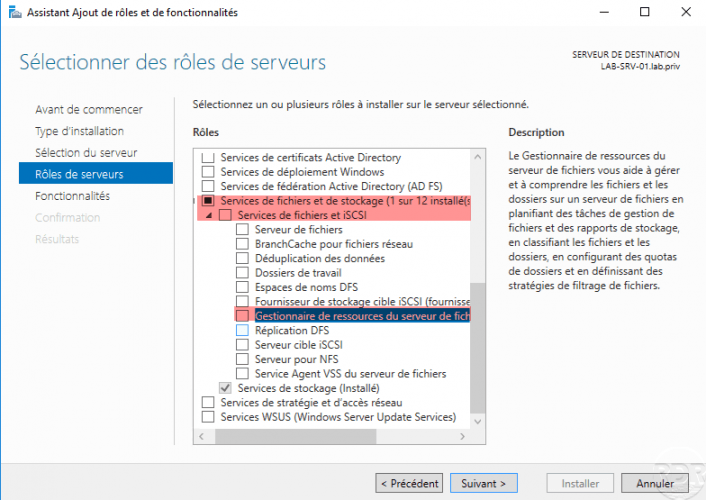
Unfold File and Storage Services then File and iSCSI Services and check the File Server Resource Manager box.
Validate the addition of required additional features
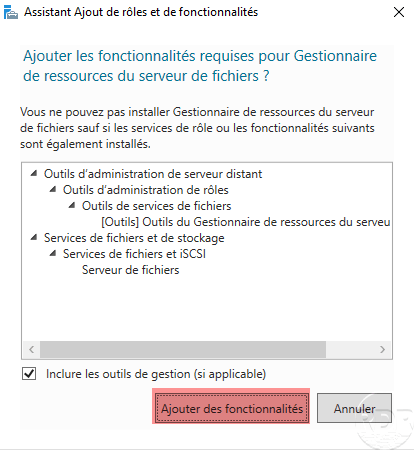
Click on the Add Features button.
Validate role selection

The role is selected, click on Next.
Features: click on Next

Skip the list of features by clicking Next.
Confirm installation

Click on the Install button.
Wait during installation

Wait while the role is installed …
Close the wizard once the installation is complete

Once the installation is complete, click on Close to exit the wizard.
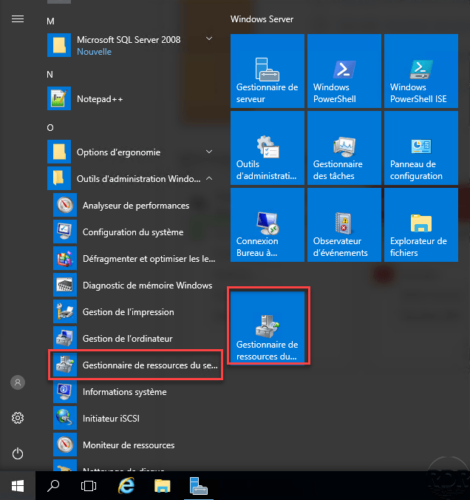
The administration console is available in the start menu.
Tutorials are available on the site with the #frsm tag.
