In this “how” tutorial I will explain how to rename a computer in PowerShell.
Using PowerShell allows you to go more empty than going through the graphical interface which requires going through several configuration windows.
Rename a computer with PowerShell
In a PowerShell prompt use: Rename-Computer
The PowerShell command to rename a computer is Rename-Computer.
Enter the following command to rename a computer:
Rename-Computer -NewName "New_Computer_Name"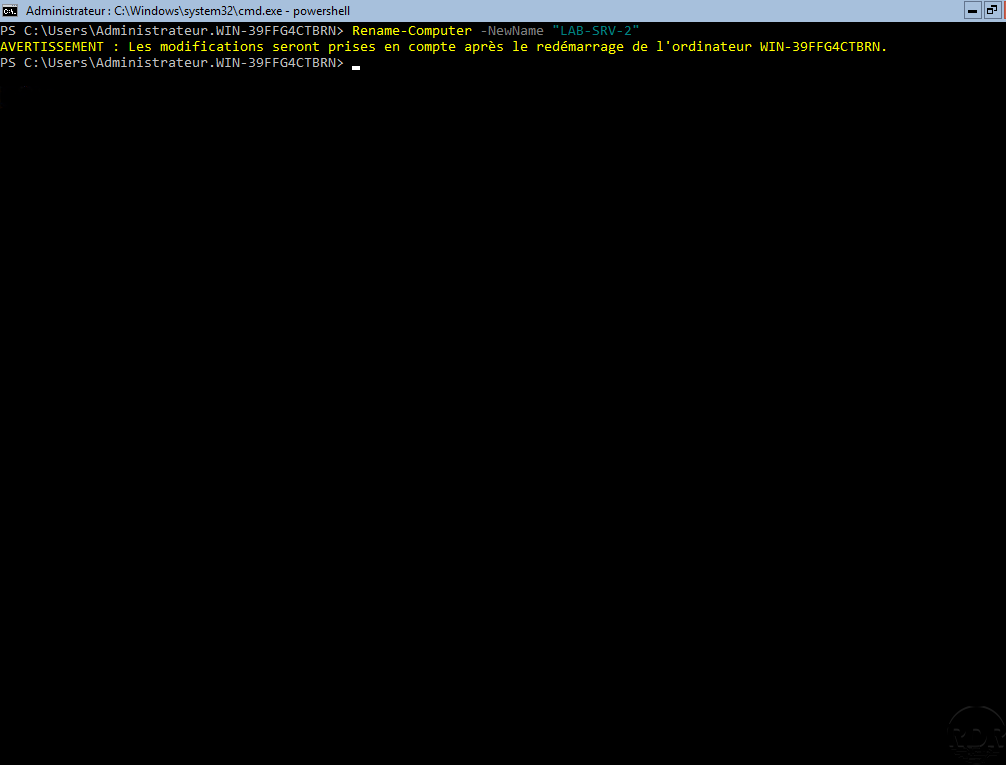
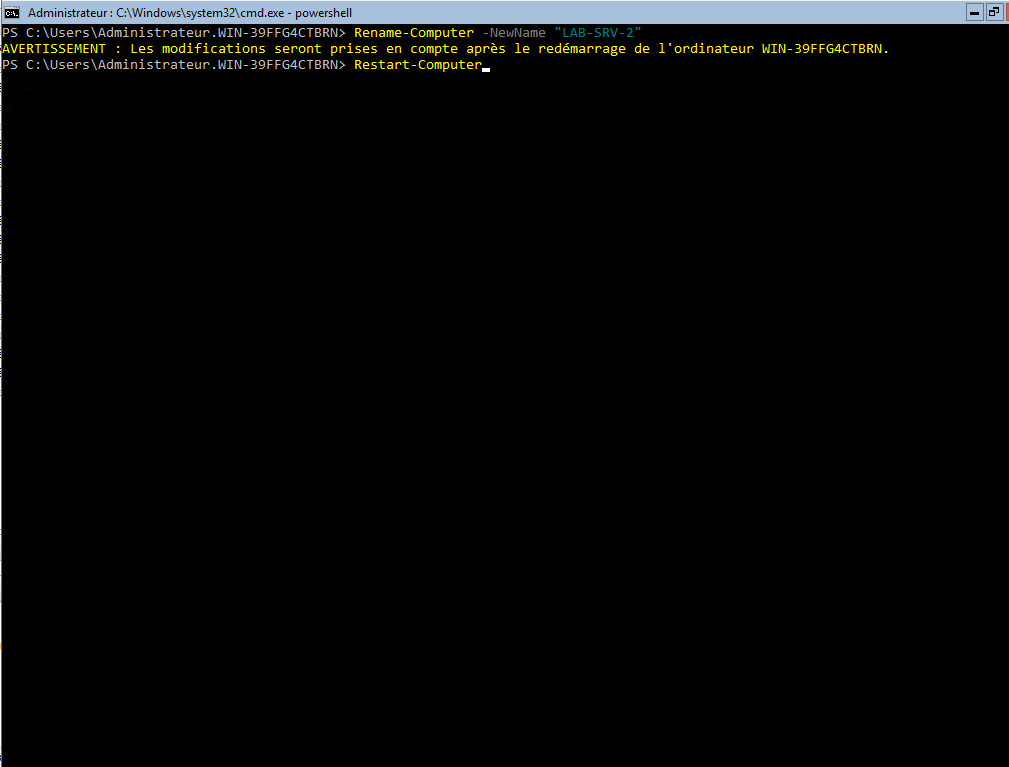
Restart the computer
In consideration of the new name, restart the computer. Use the Restart-Computer command in PowerShell
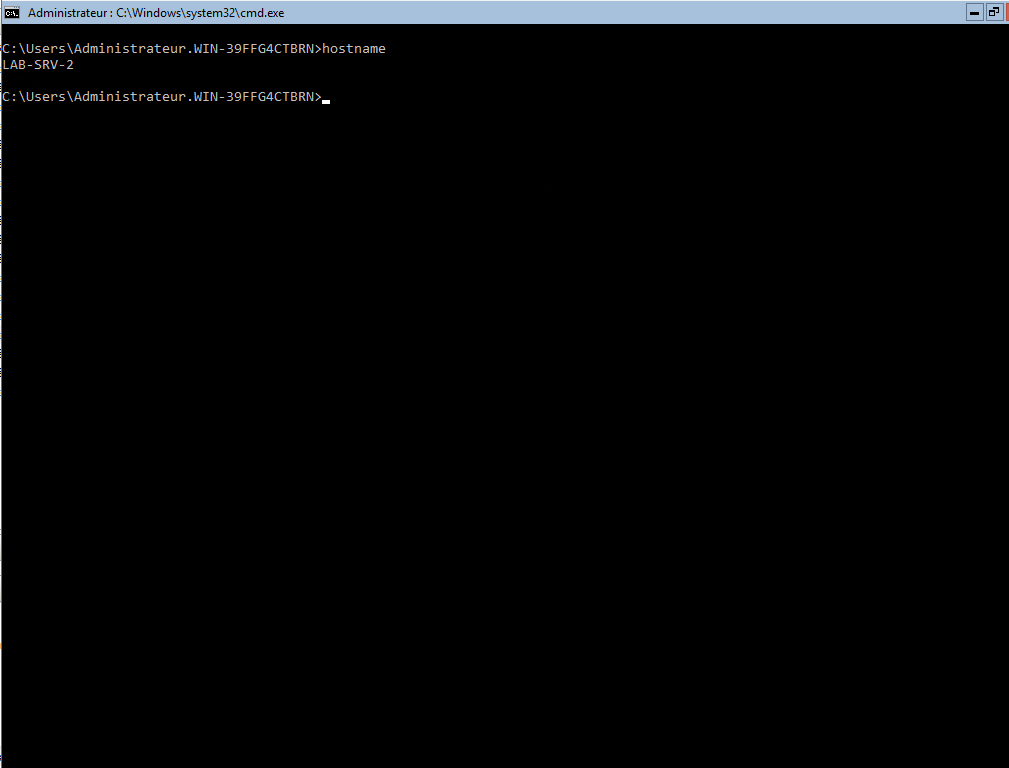
Check the name change with the command: hostname
After reboot in a command prompt use: hostname to display the computer name.