In this “How To” tutorial, I will explain how to delete a DNS record on Windows Server with the DNS Manager console.
Delete a DNS record
Open the DNS Manager console
On a server where the DNS Manager console is installed, open it and go to the zone where you want to delete the record.
Select record
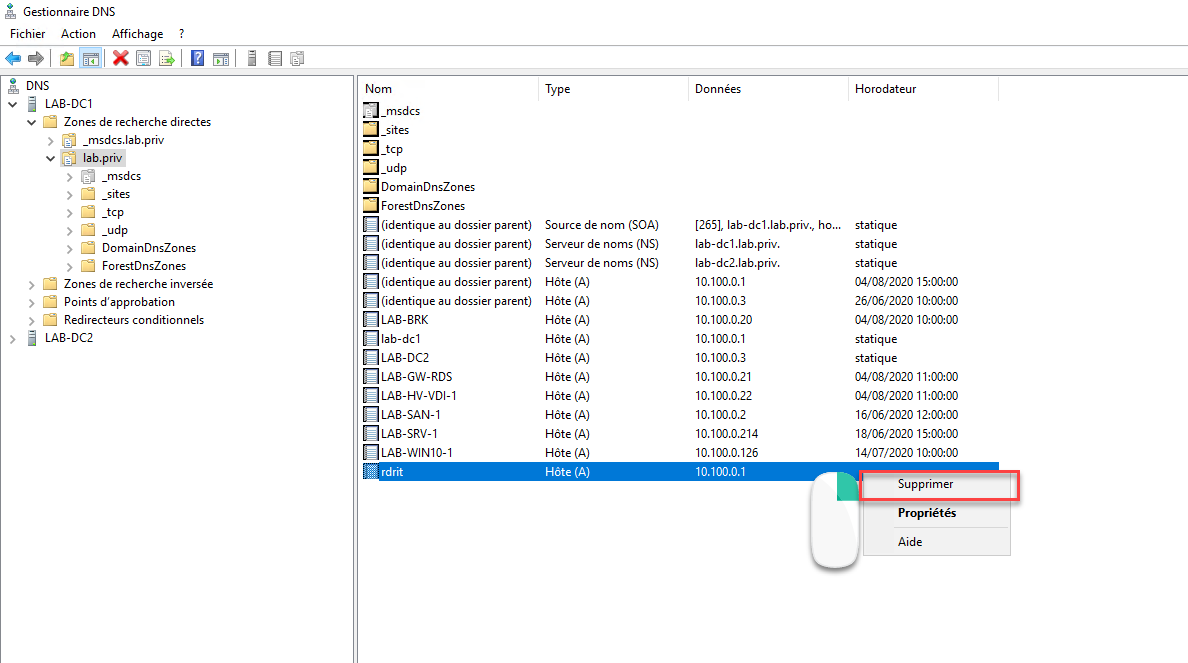
Select the DNS record to delete by clicking on it, then right-click on it and click on Delete.
Confirm delete record
A confirmation window is displayed, click on Yes to delete the recording.

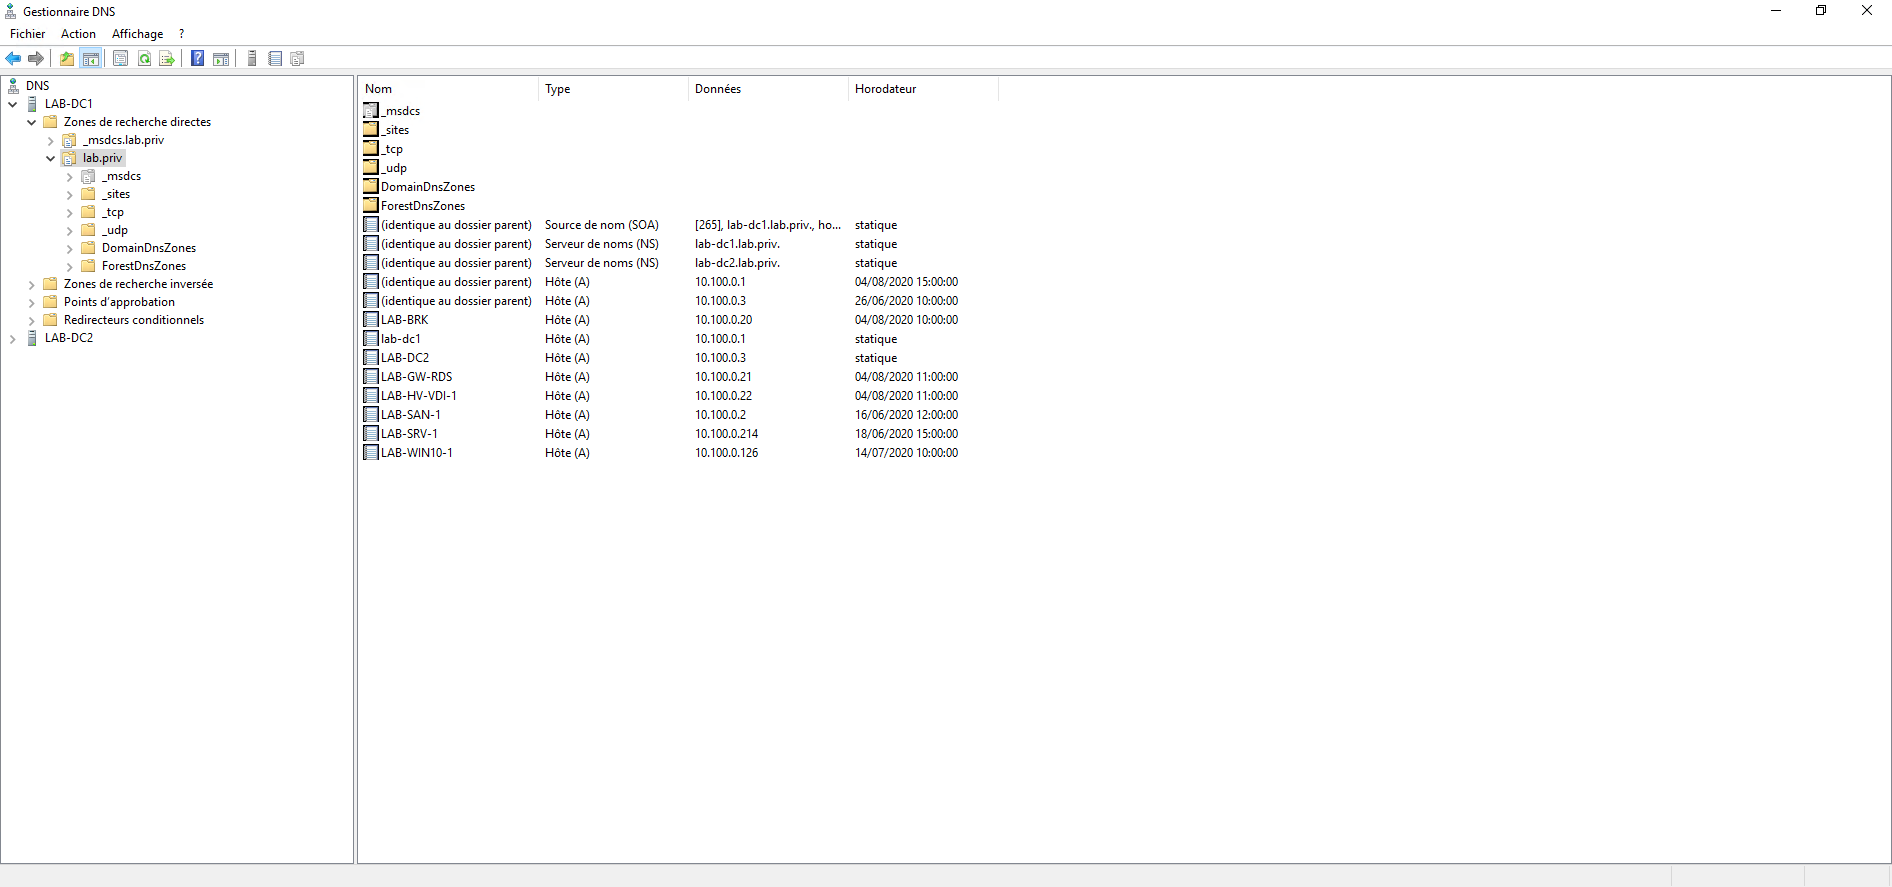
The record is deleted
The record is deleted from the DNS zone. It may be that for some time yet, the name is still resolved by clients due to DNS caching and propagation delay to other servers so that it removes the DNS record.
For the DNS zones linked to the Active Directory, there is no point in deleting the registration on all the controllers, you have to wait for the replication to take place.