In this tutorial, I will explain how to delete a DNS zone on Windows Server.
Open the DNS administration console
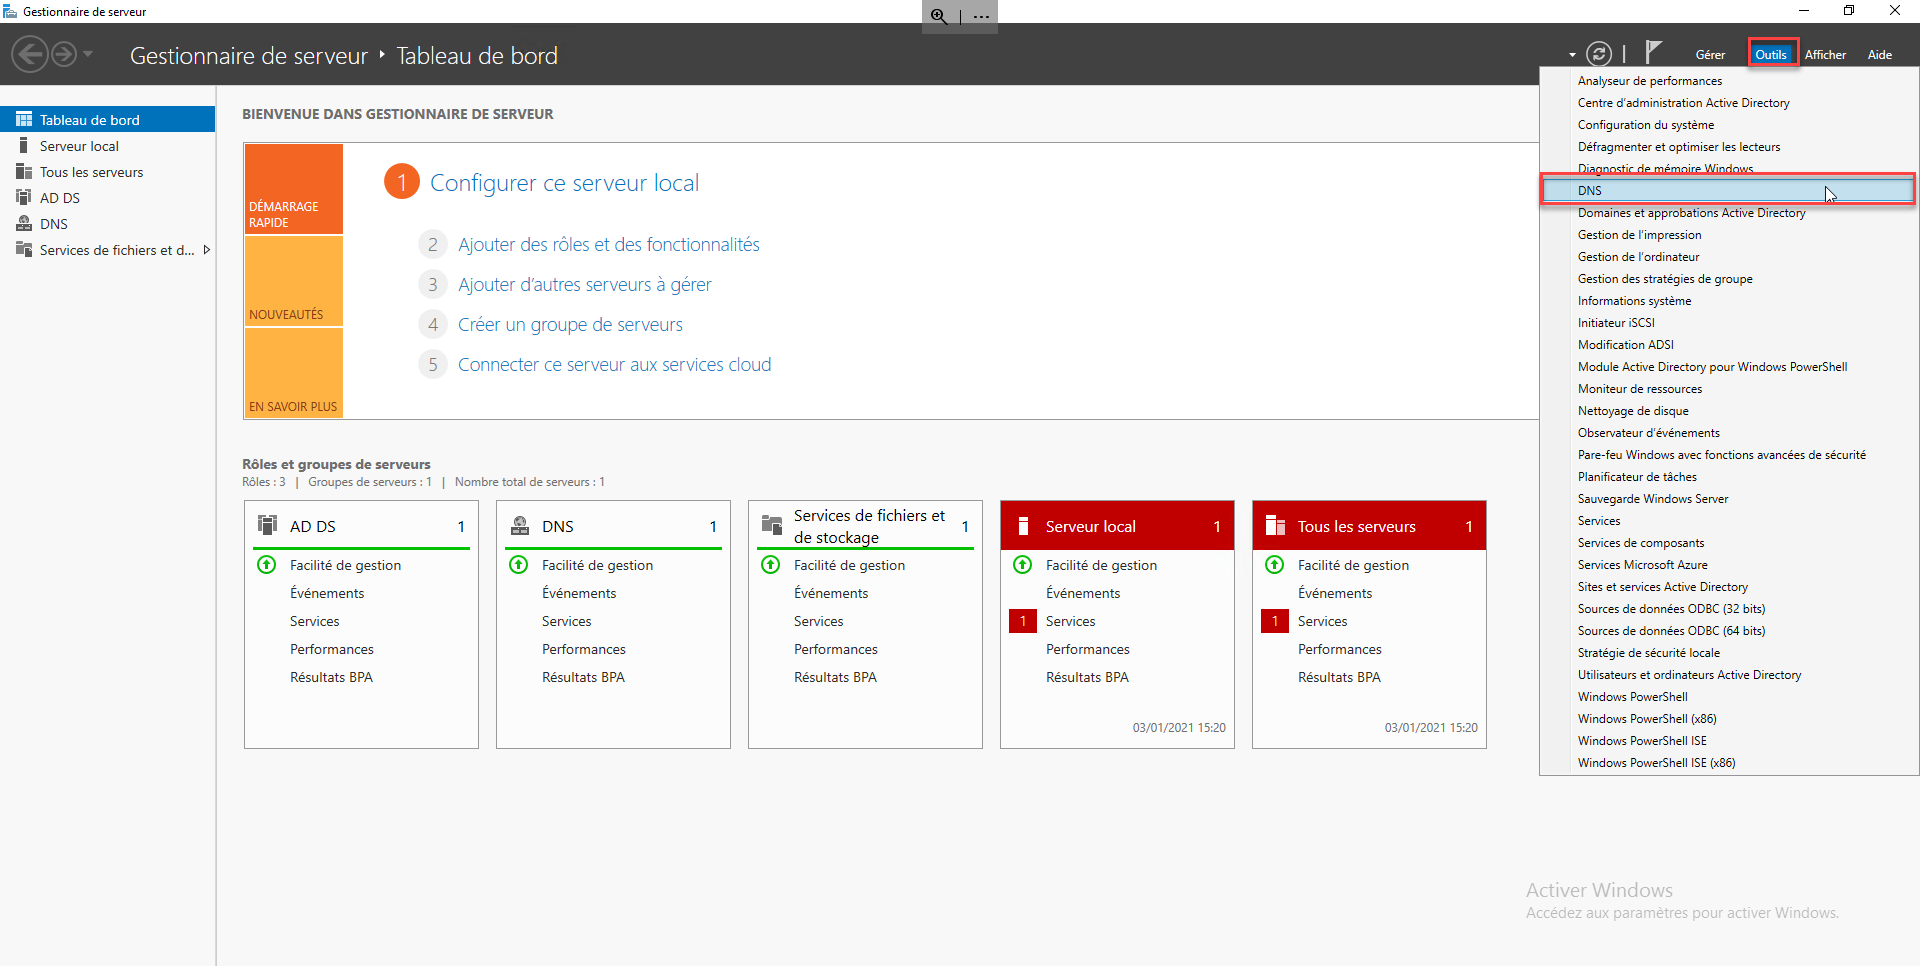
On the Windows server, open the DNS administration console, it is accessible by the server manager by clicking on Tools then on DNS.
View DNS Zones
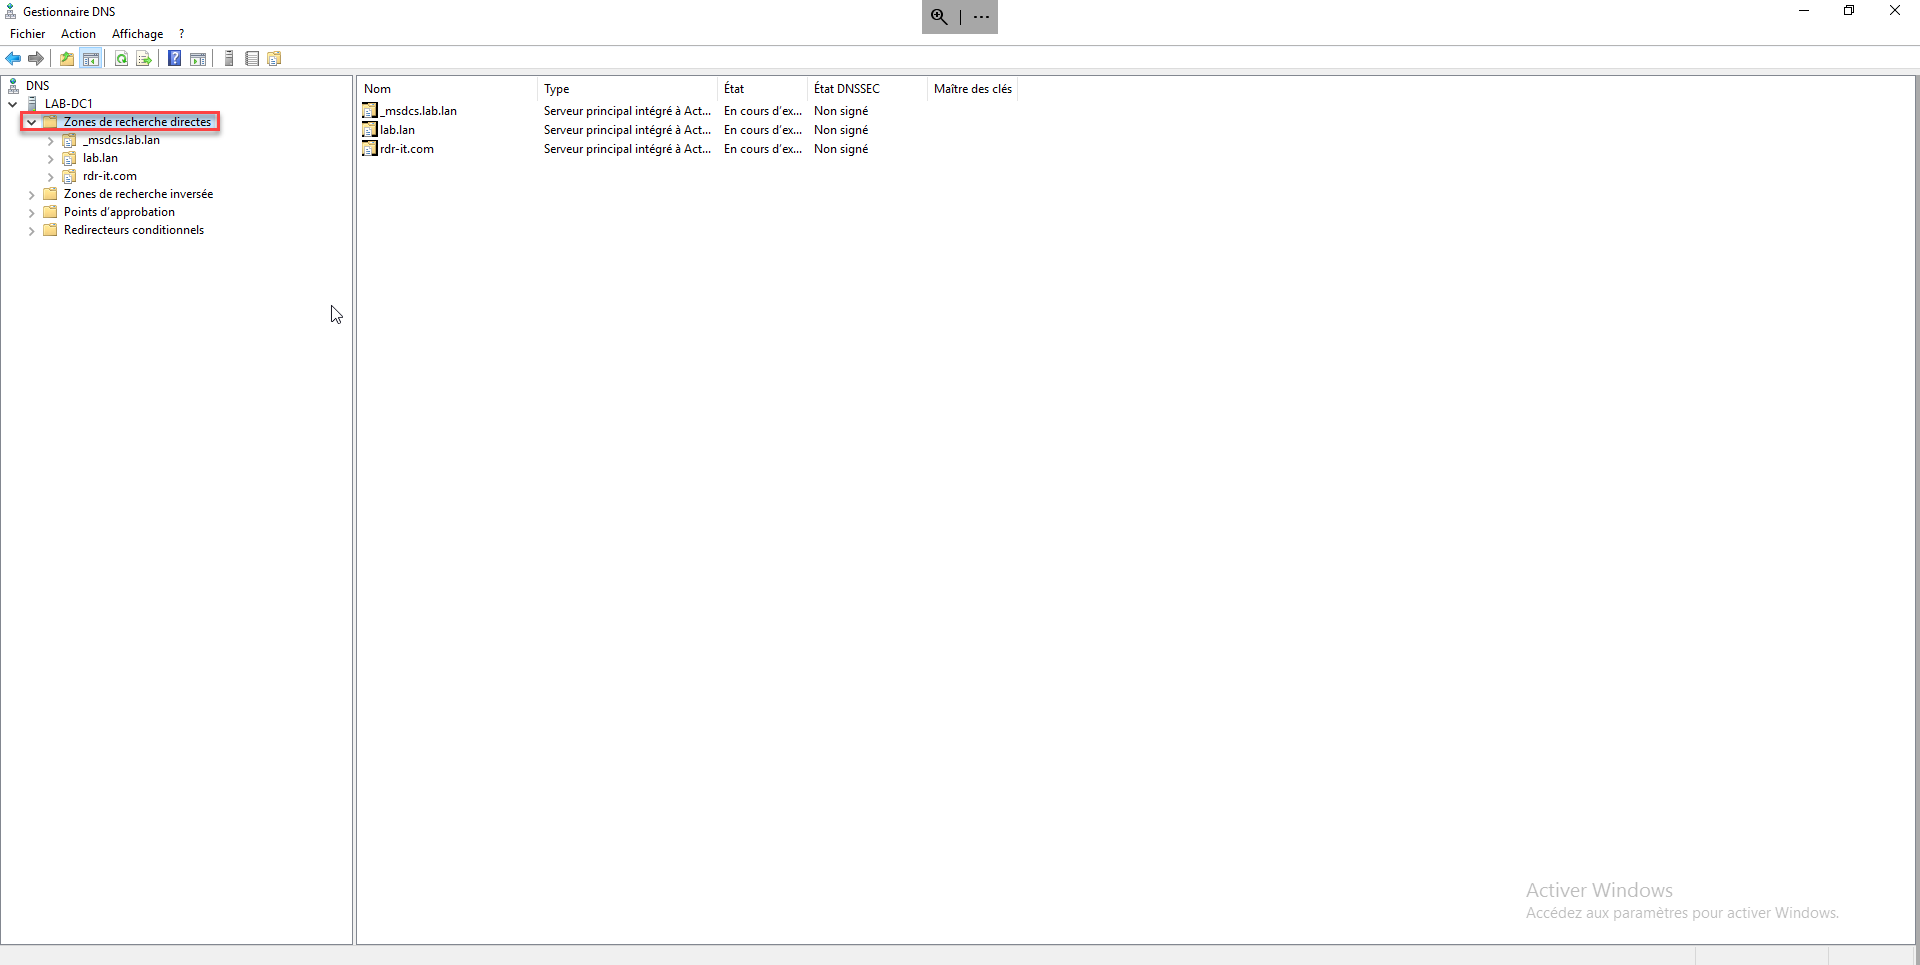
In the administration console, expand the Forward lookup zones folder to display the list of DNS zones.
Delete DNS zone
On the area to be deleted, right-click and click on Delete.

Confirm deletion of DNS zone
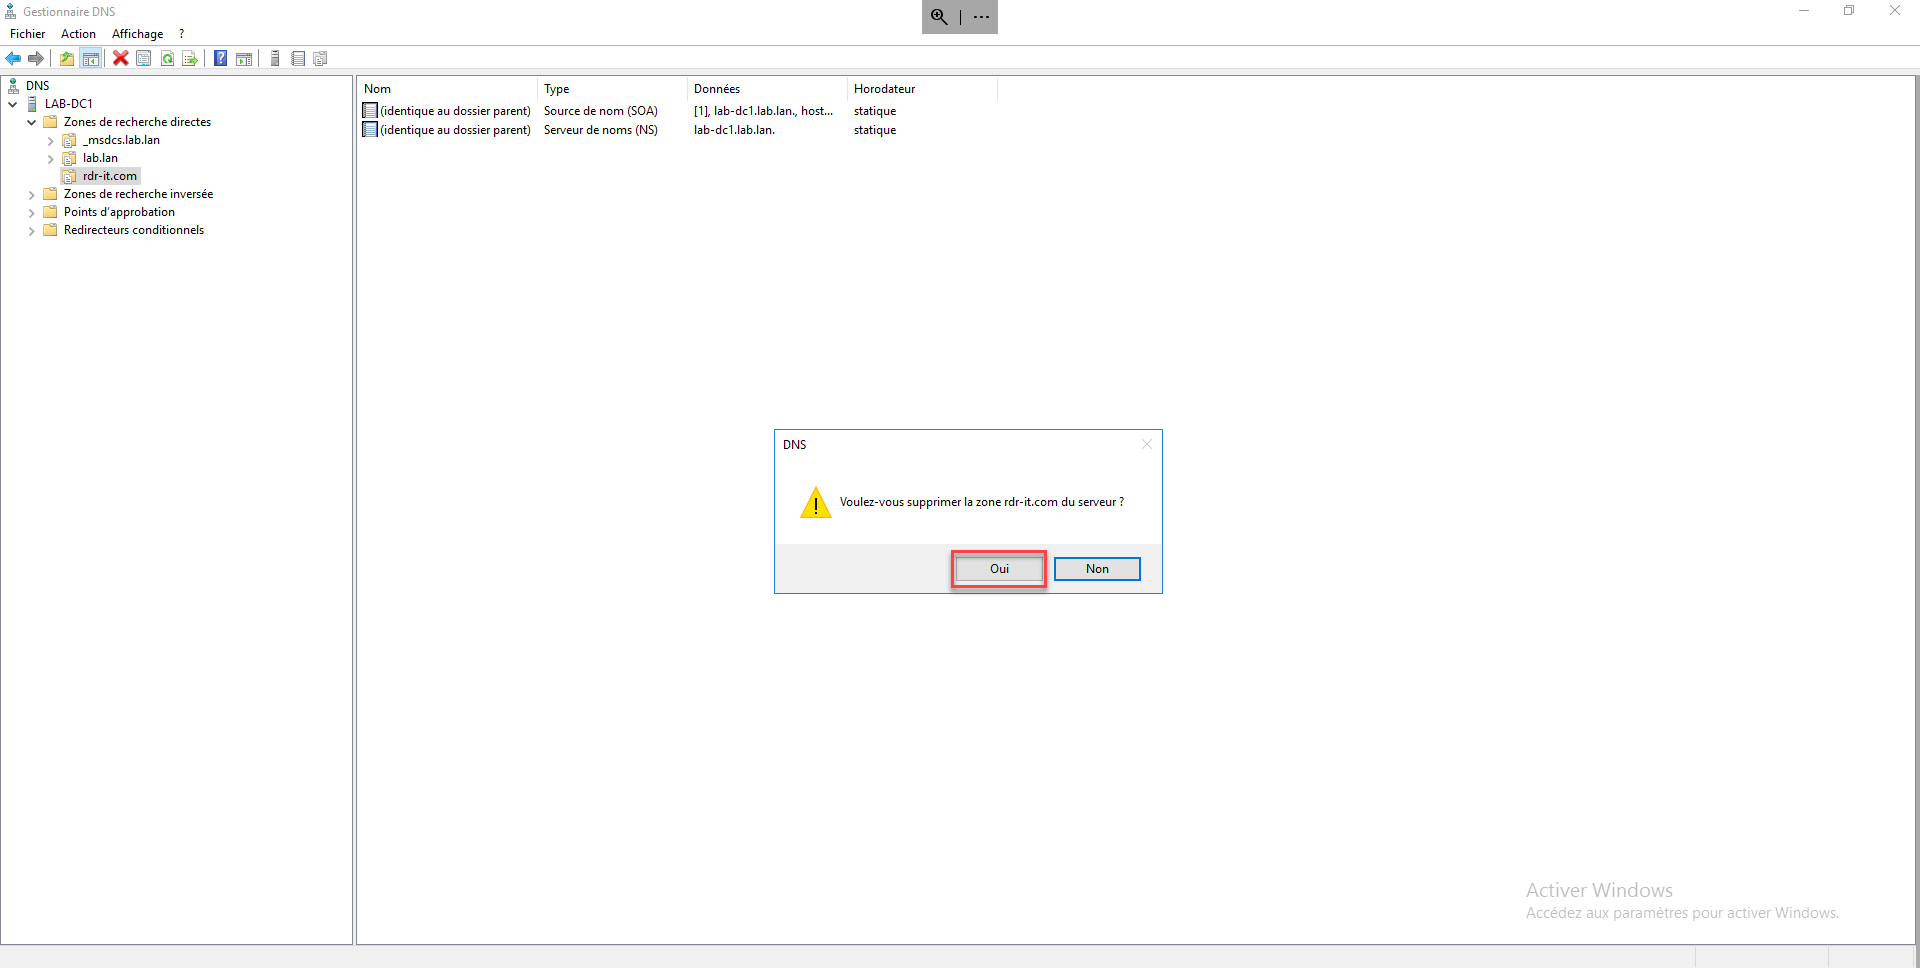
Confirm deletion of the DNS zone by clicking Yes.
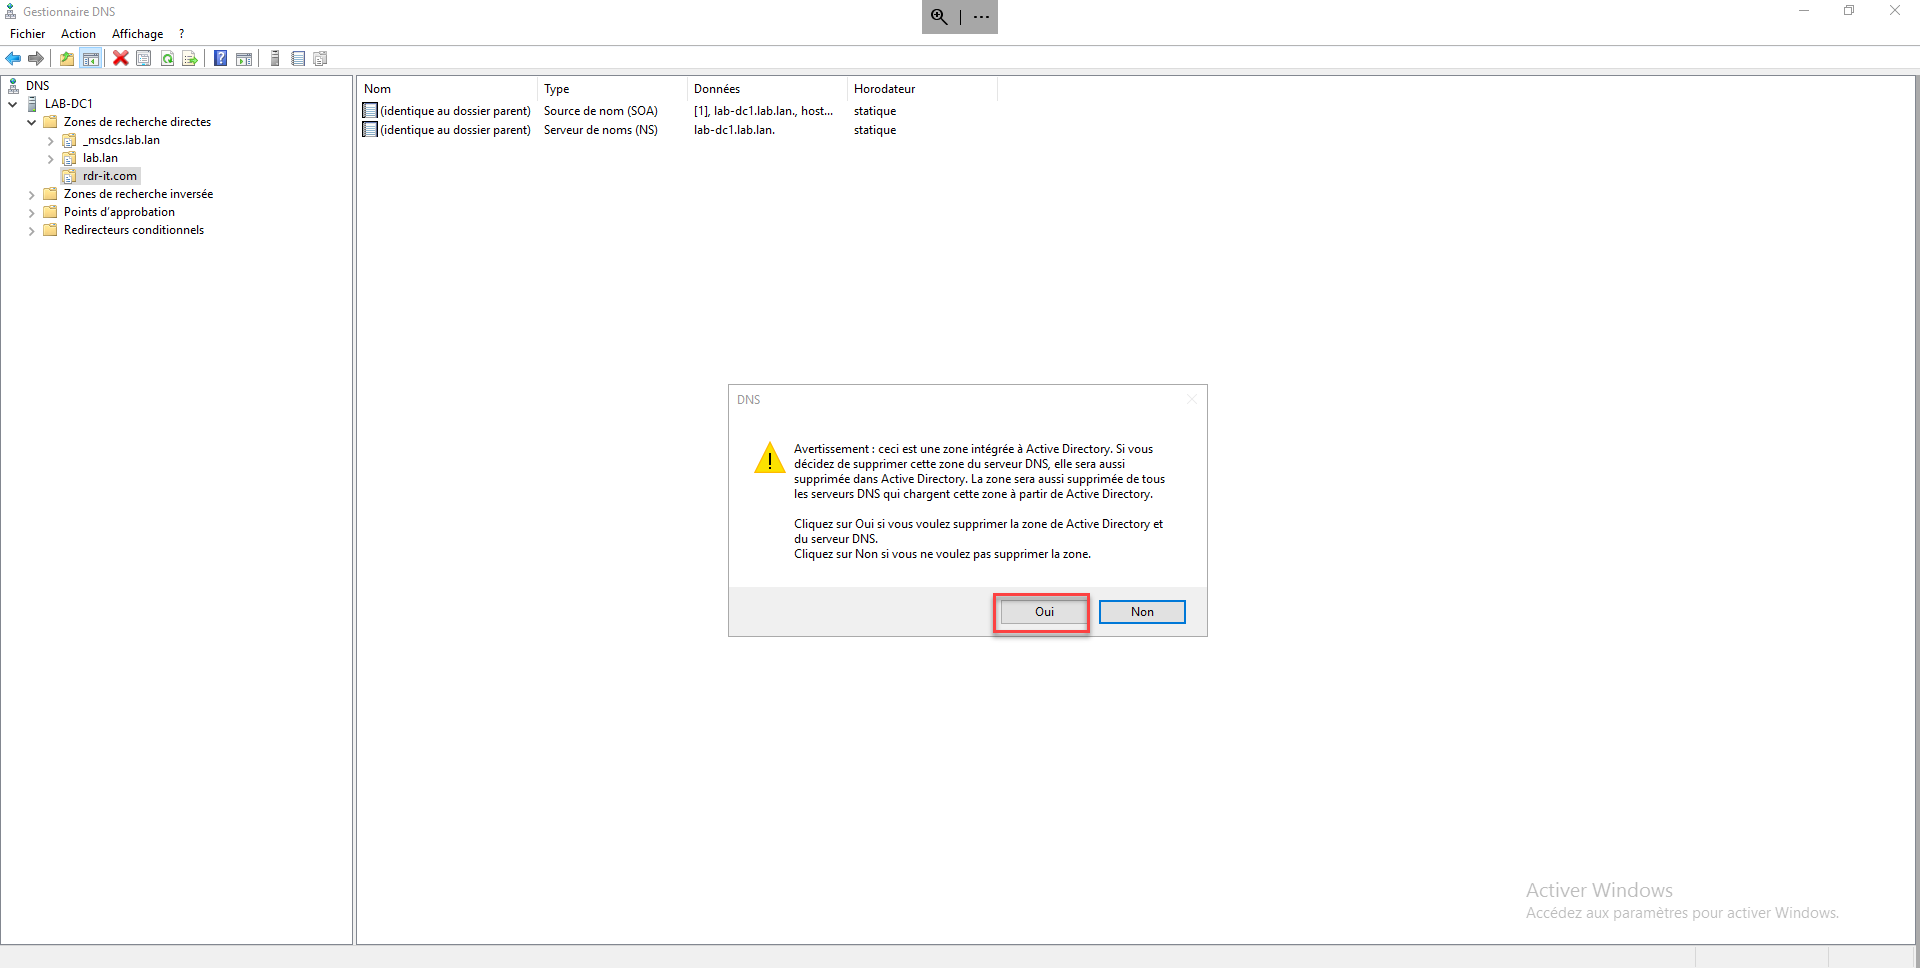
Confirm deletion a second time for Active Directory-integrated DNS zones
If the DNS zone is linked to the Active Directory, the deletion must be confirmed a second time. Click Yes again.
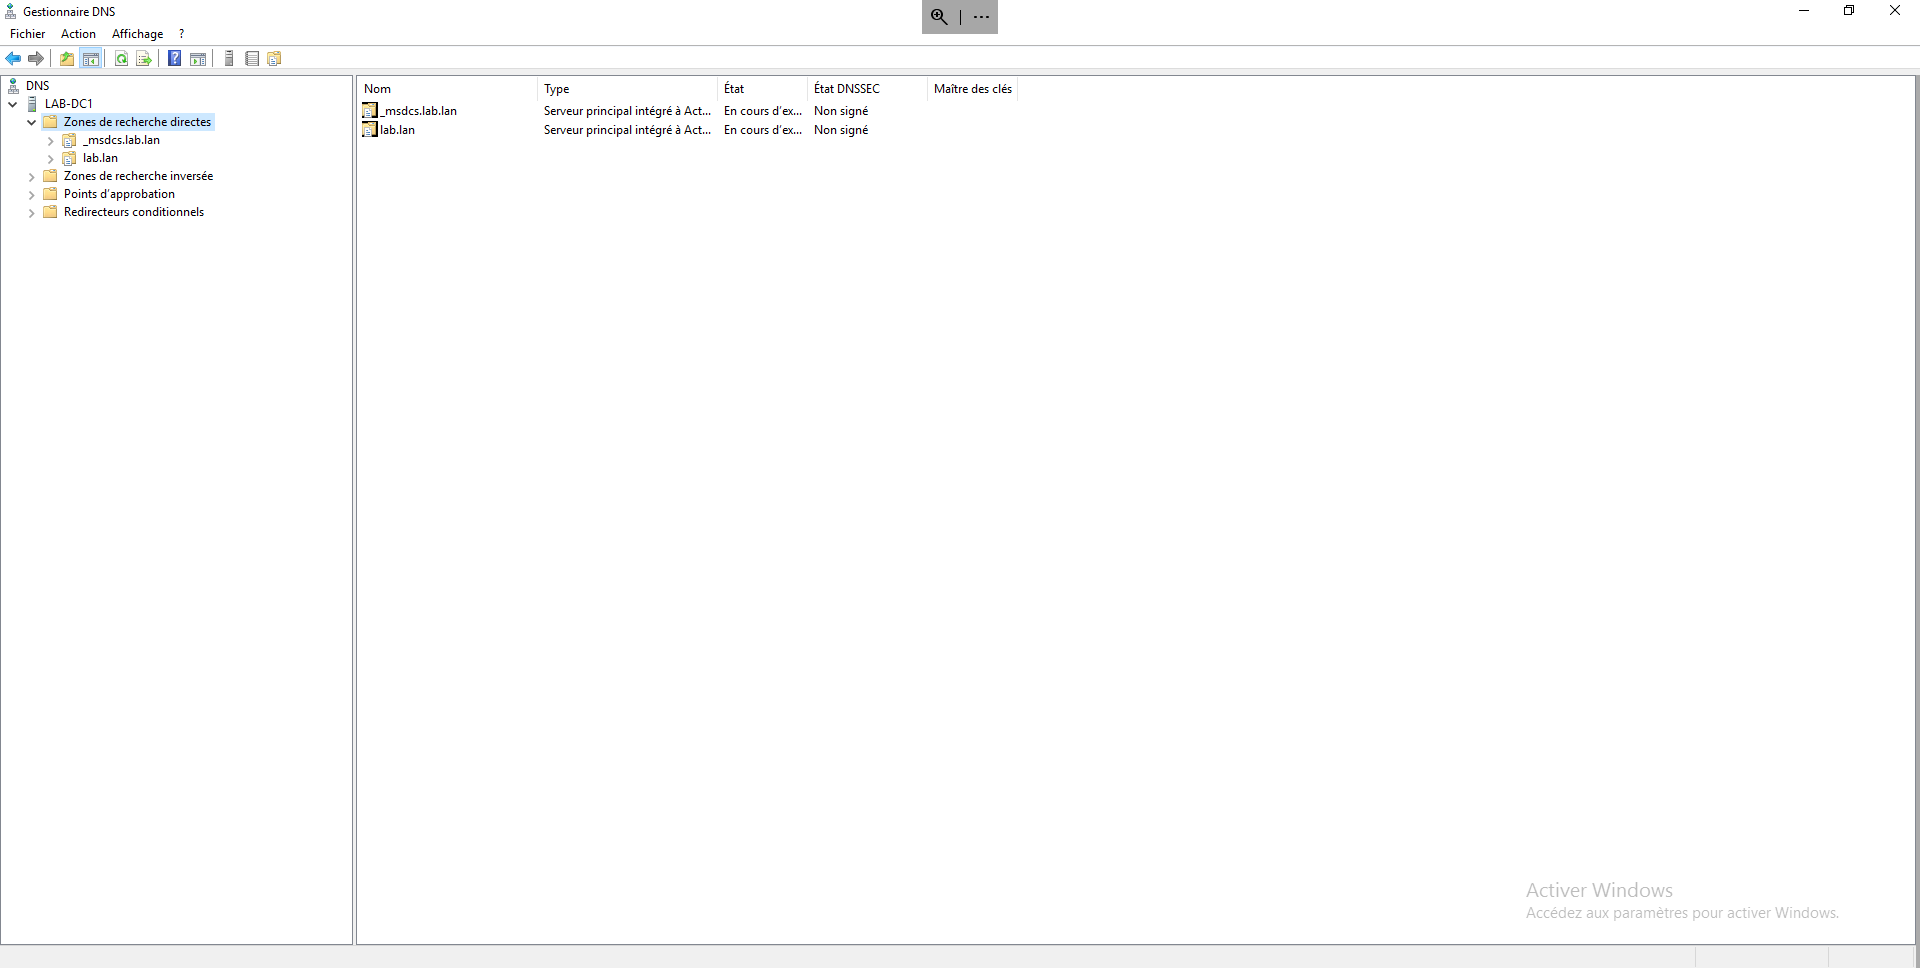
The DNS zone is deleted from the Windows server
The DNS zone is deleted from the Windows server, it is no longer on the list.