Setting up a collection
Setting up a collection
A collection allows remote desktop configuration by specifying the hosts that make up the collection and who can access it.
It is at the collection level that the use of User Profile Disks (UPDs) and applications published in RemoteApp via Web Access is configured.
Create a collection
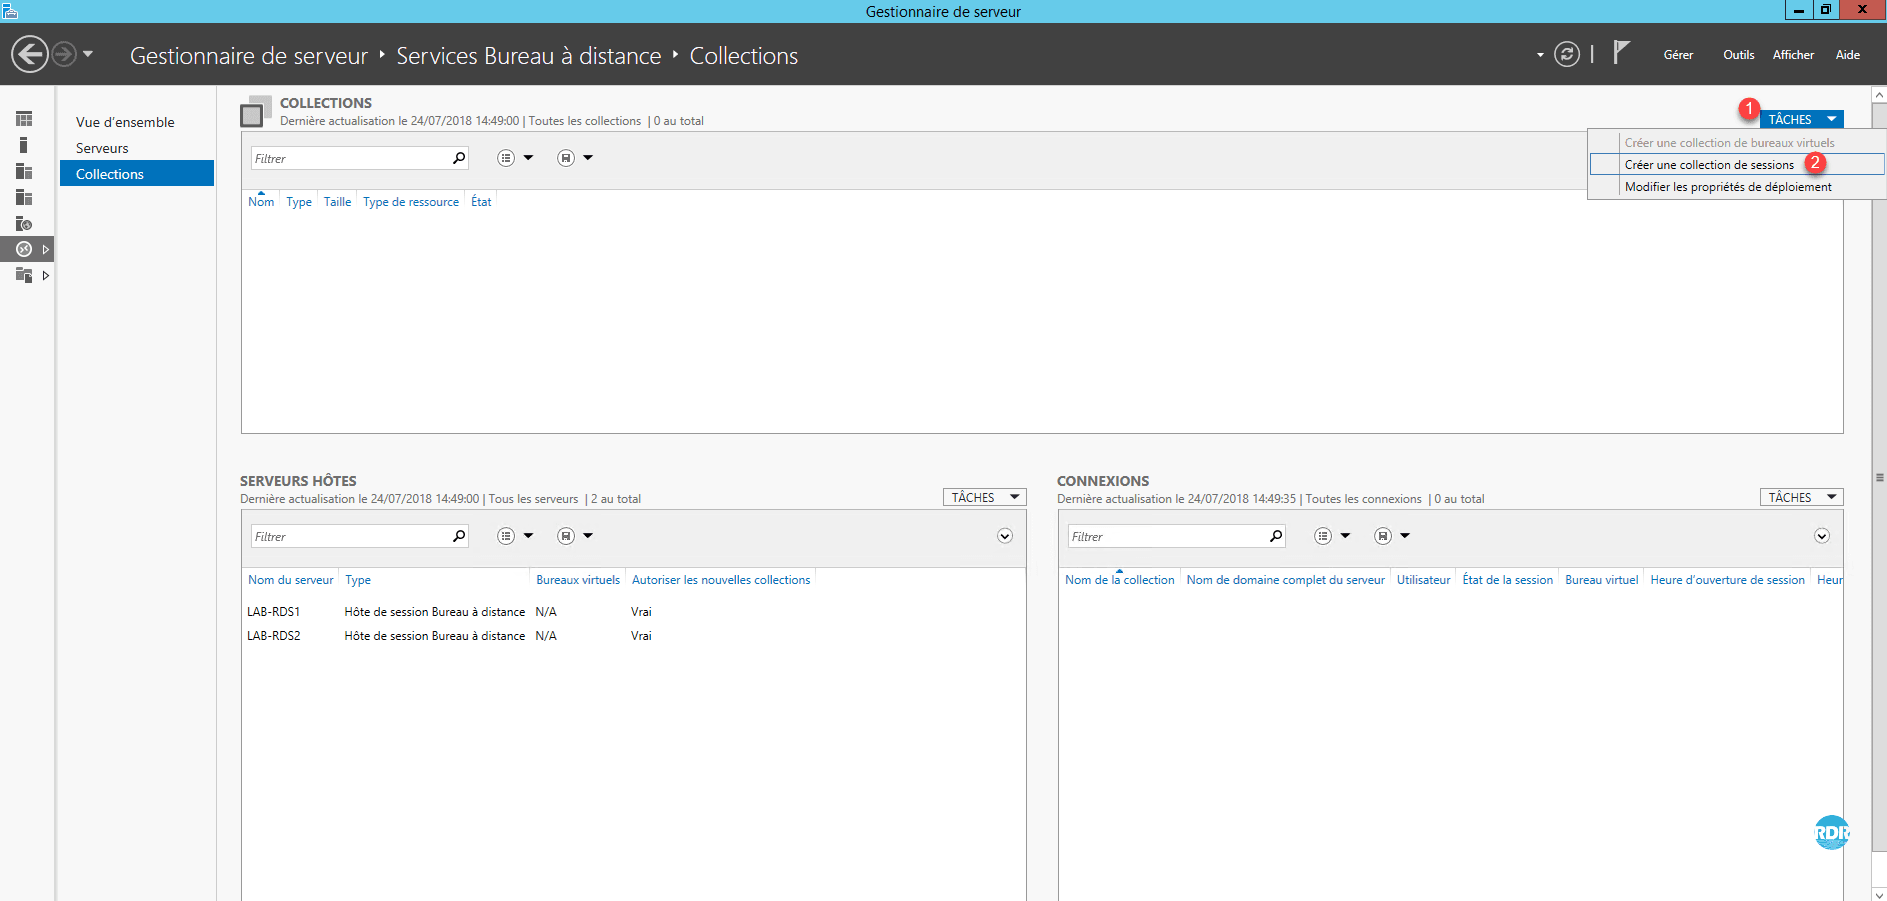
1. From the Server Manager on the collections management page, click on TASKS 1 and Create a collection of 2 sessions.
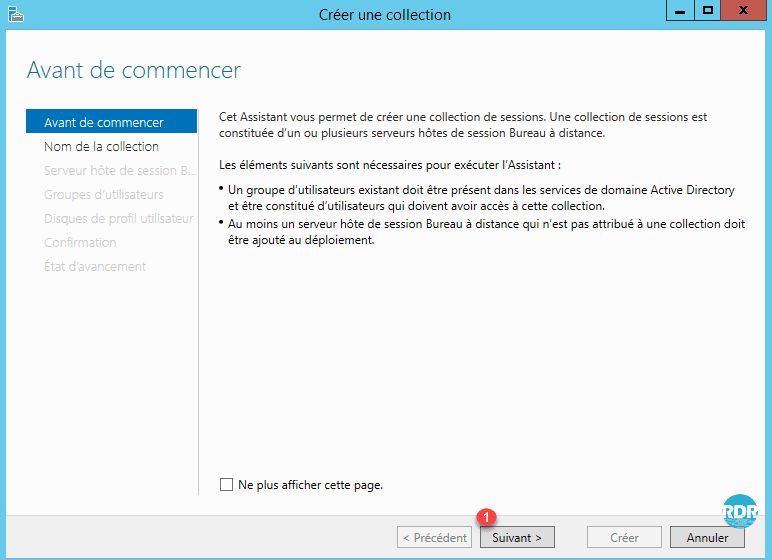
2. When starting the RDS Collection Creation wizard, click Next 1 .
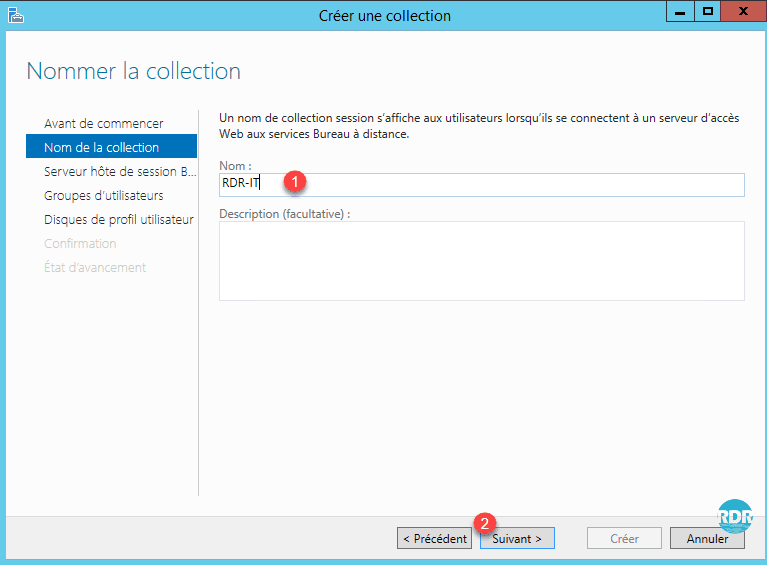
3. Enter the name of the collection 1 and click Next 2 .
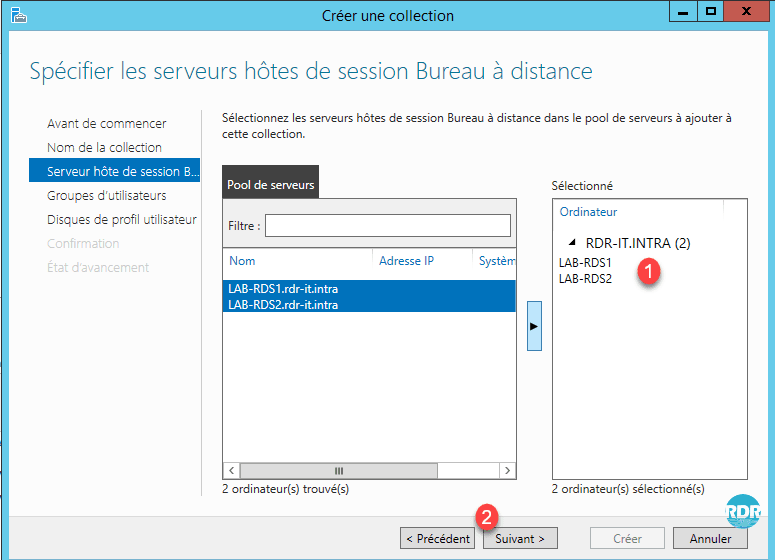
4. Add the Remote Desktop Session Host servers from the 1 collection and click Next 2 .
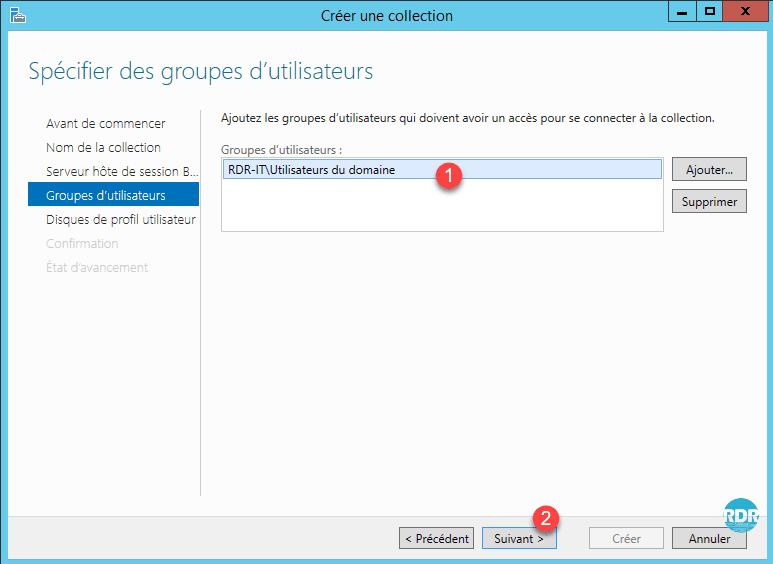
5. Specify the allowed user group (s) 1 to connect to the collection and click Next 2 .
6. Check the Enable user profile disks 1 box, specify the share for storing UPD 2 , enter the maximum size of a disk 3 and click Next 4.
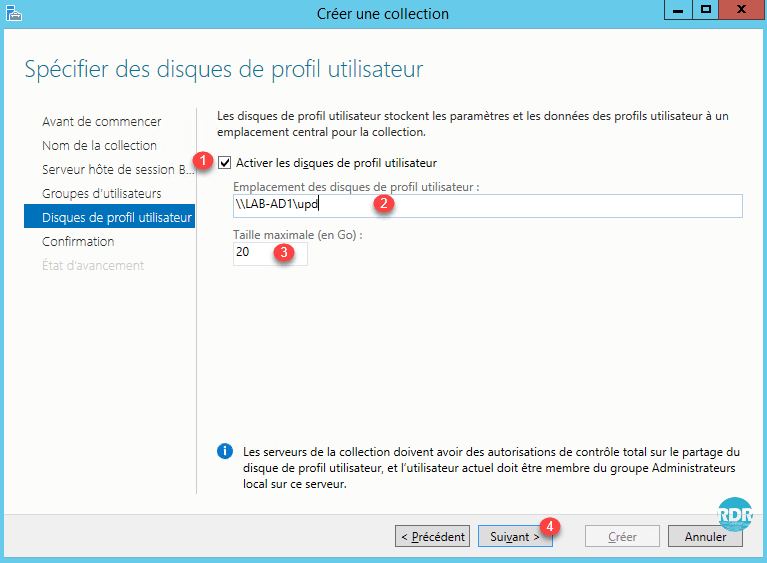
By default, user disks store the entire profile (appdata / desktop / documents / …).
It is important to evaluate the size to configure.
Once the disk is created (log on to the collection), resizing the vhd is “complicated”.
Changing the size will only affect new disks created after applying the setting.
I invite you to read this article on my feedback from the UPD.
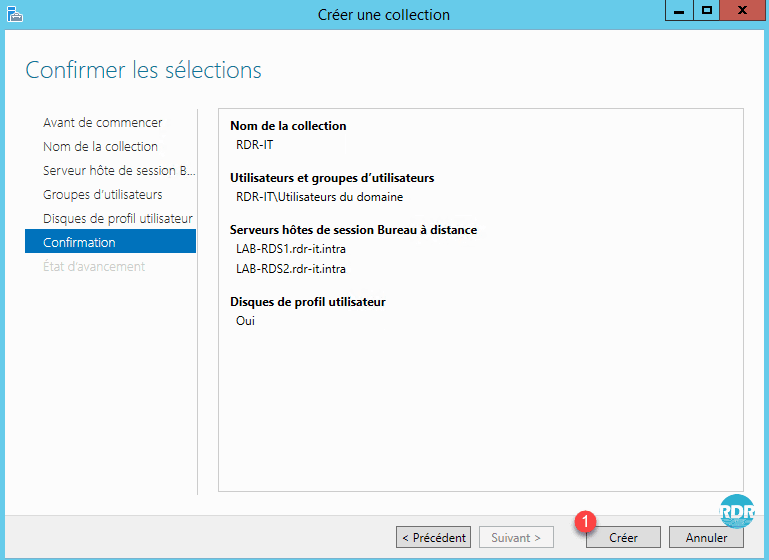
7. Click Create 1 .
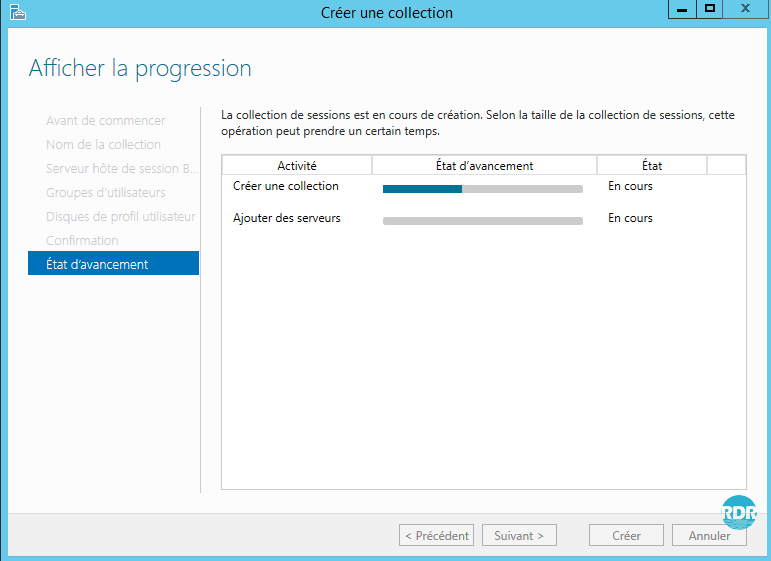
8. Wait while creating the collection …
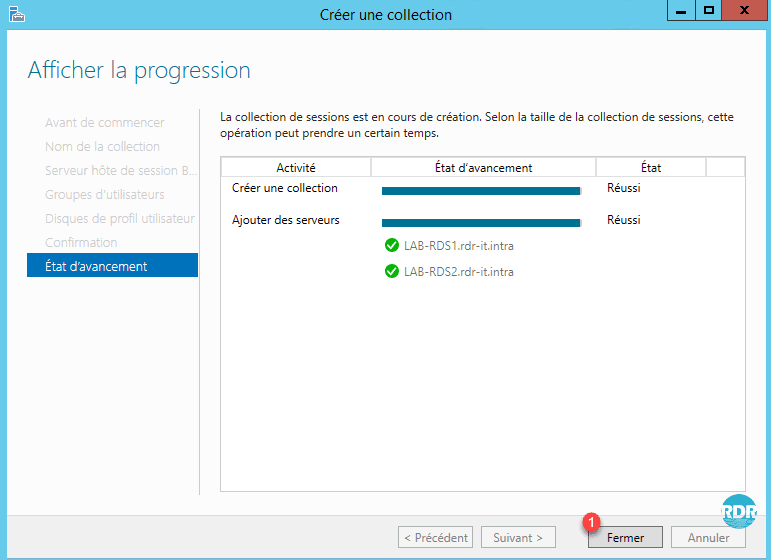
9. The collection is ready, click on Close 1 .
10. On the Server Manager, the collection is visible 1 .
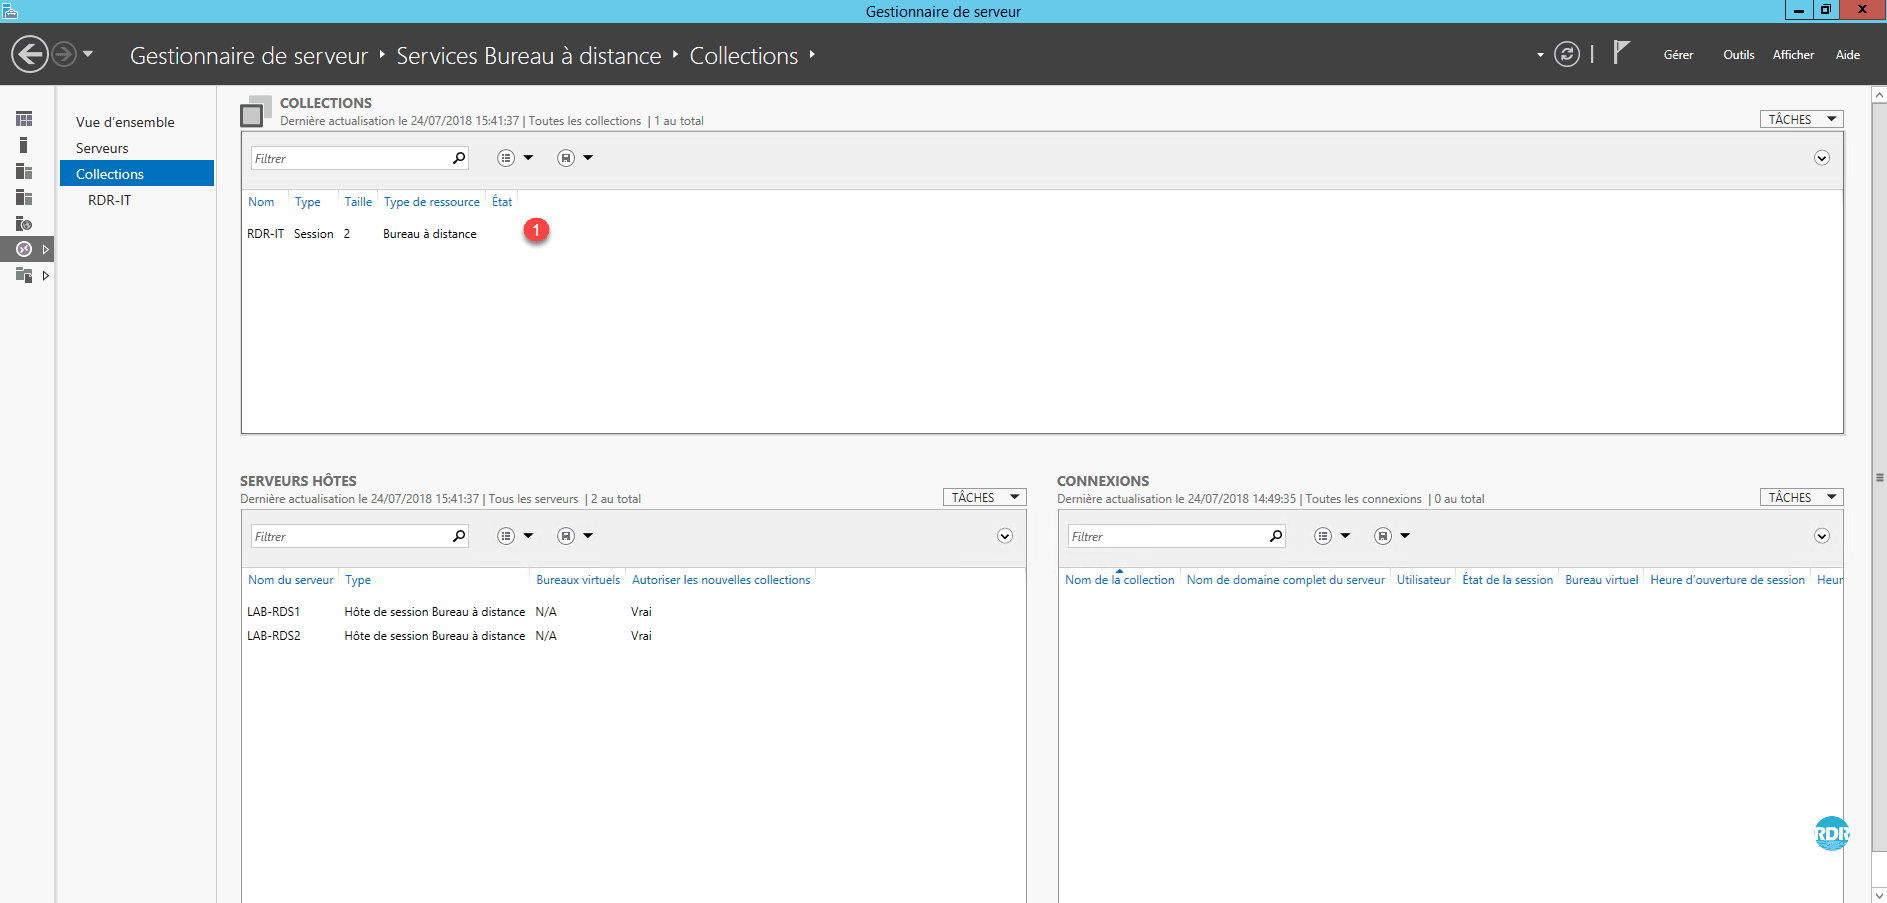
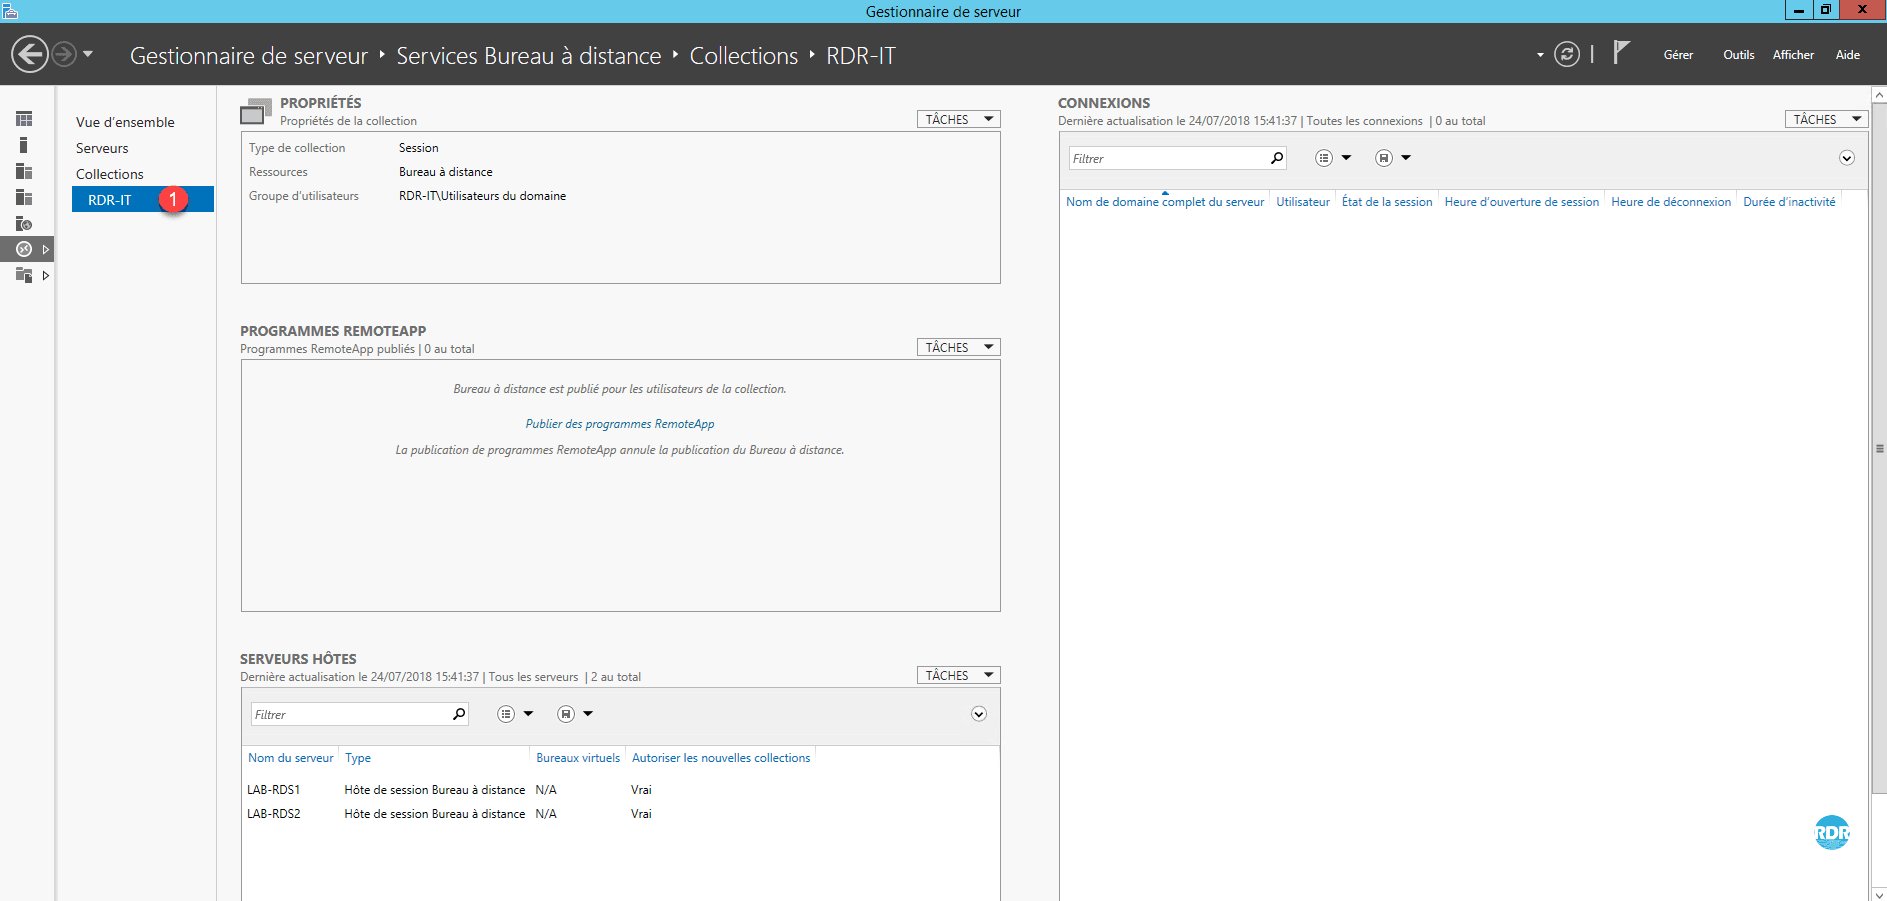
11. Click on the name of the 1 collection to access the details.
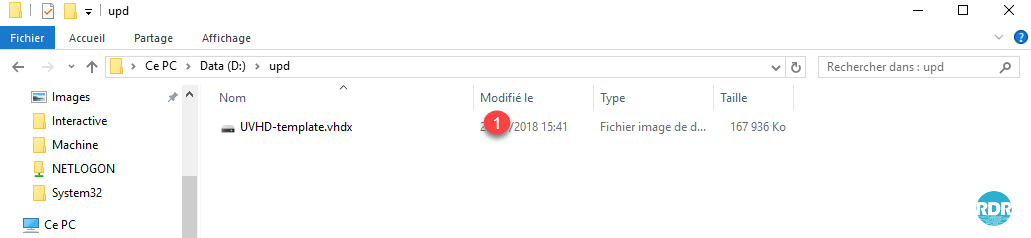
12. Open the parameter folder for storing upd, a disk named UVHD-template.vhdx 1 is created. It corresponds to the Default Profile folder on a computer.
Edit a collection
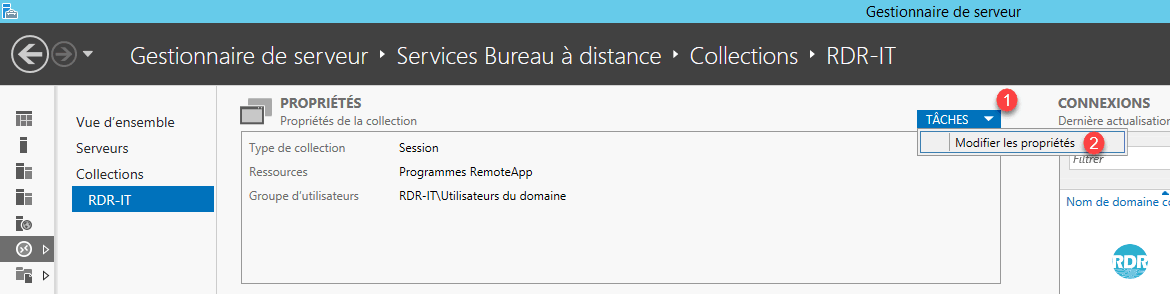
1. From the page of the collection, on the page PROPRIETES insert click on TASKS 1 / Modify the properties 2 .
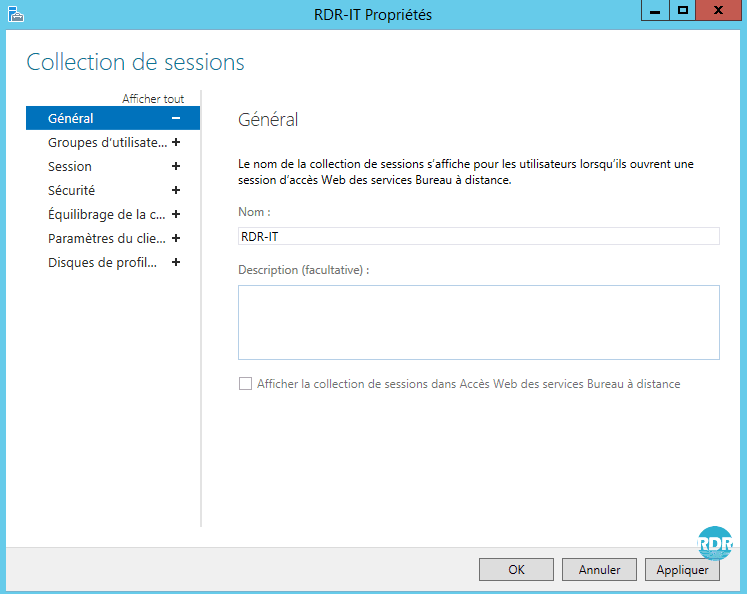
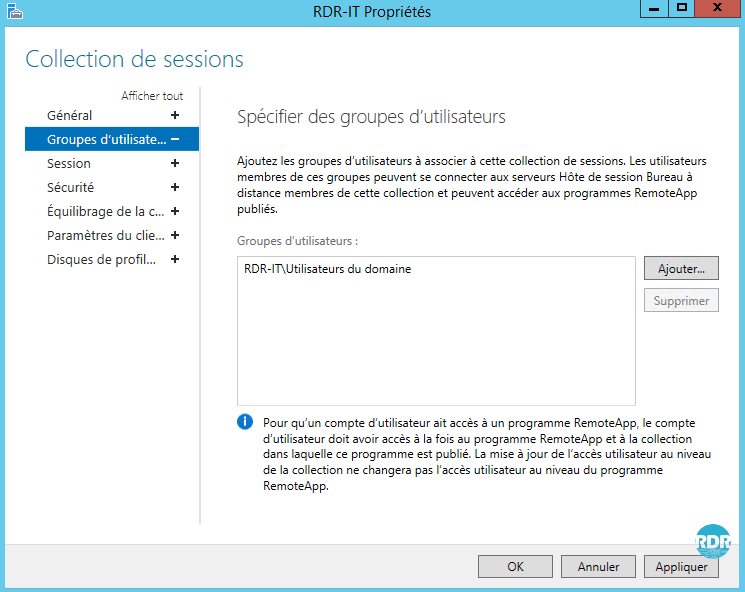
2. It is possible to change the name, the user groups allowed to connect.
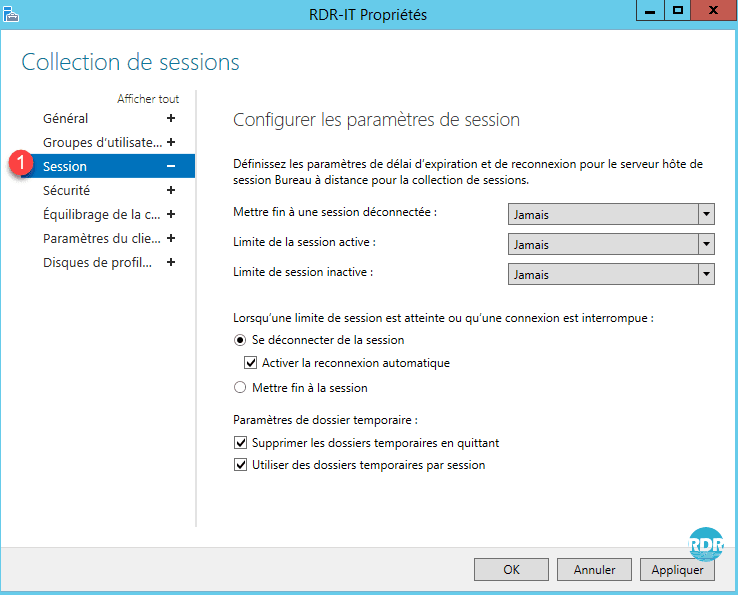
3. Session Section 1 : Setting the Expiration and Reconnection Time on Collection Hosts, Setting Temporary Folder Behavior.
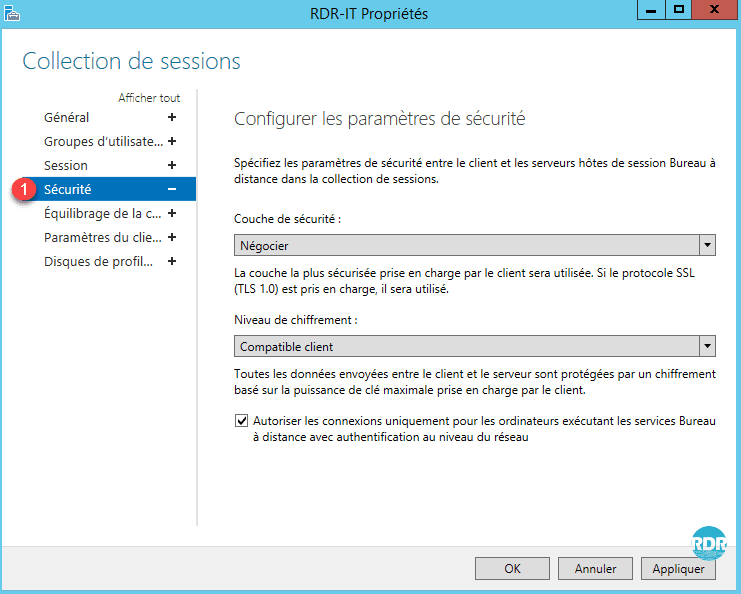
4. Security Section 1 : Configuration of security layers between the RDP client and the servers.
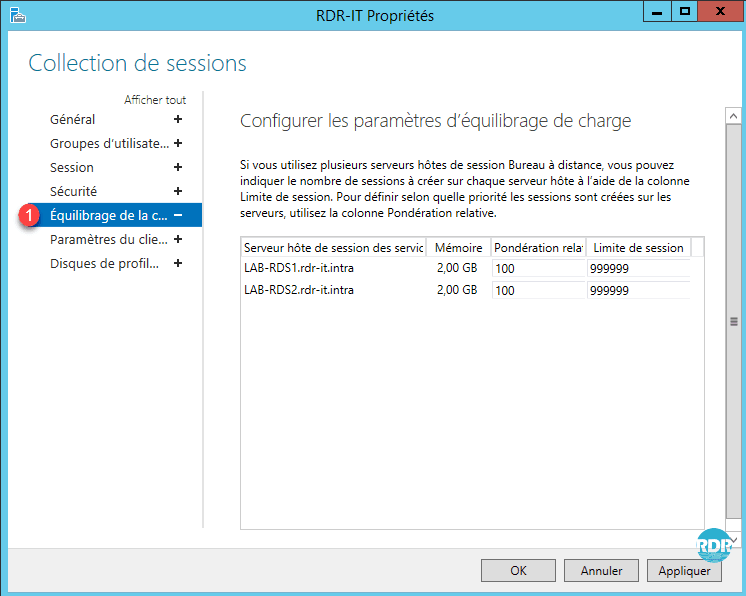
5. Load Balancing Section 1 : In case of different power server usage, it is possible to prioritize a server and set a session limit.
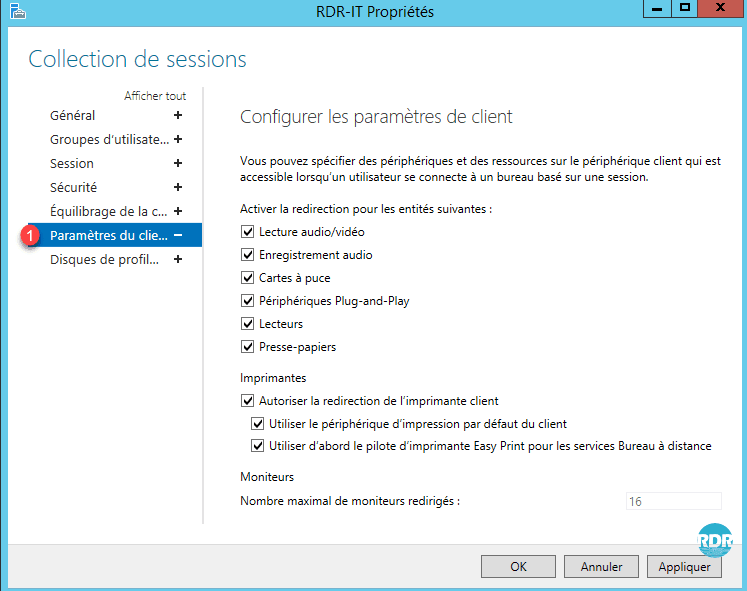
6. Client Setting Section 1 : Configuring Device and Printer Redirection.
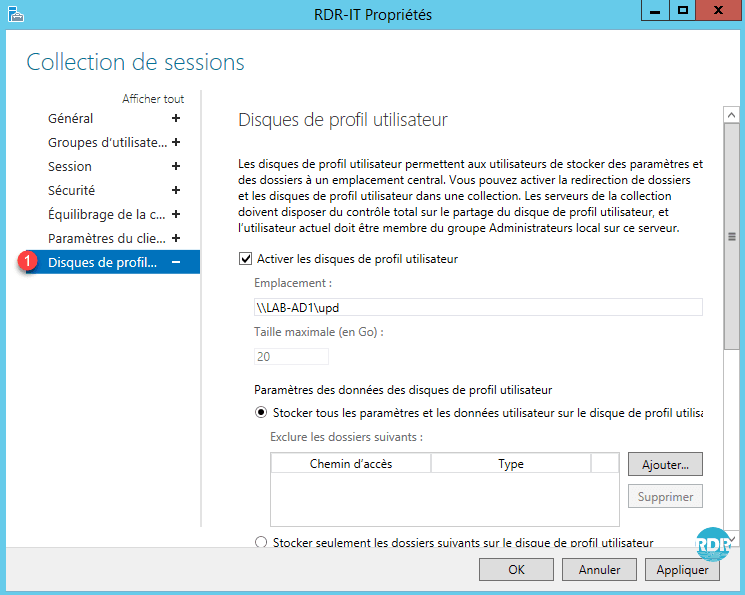
7. User Profile Discs Section 1 : Configuring UPDs (Size, Folder Exclusions, Location …).
The collections have no secrets. The RDS farm is now usable.
It is possible to deploy several collections on the same RDS deployment, which allows pooling broker services, web access. The remote desktop session hosts are dedicated to a collection.
Now we’ll see how to publish RemoteApp applications accessible through the RDS farm web access.
Great resources here. I am designing almost the same setup for a 500 users base.