In this tutorial, I will explain how to force DNS registration of computers by Group Policy (GPO) in an Active Directory environment.
Maintaining a clean, up-to-date DNS (Active Directory) zone is not easy, especially with dynamic computer registration.
The first step is the activation of automatic cleaning, but it happens that once this is activated, it is difficult to resolve the names of the computers, it is regularly necessary to force the computers to register again at using the command: ipconfig /registerdns.
To solve this dynamic registration problem, which is quite random, it is possible to configure it by group policy by configuring the Windows DNS client settings.
Table of Contents
Configure dynamic DNS registration of computers
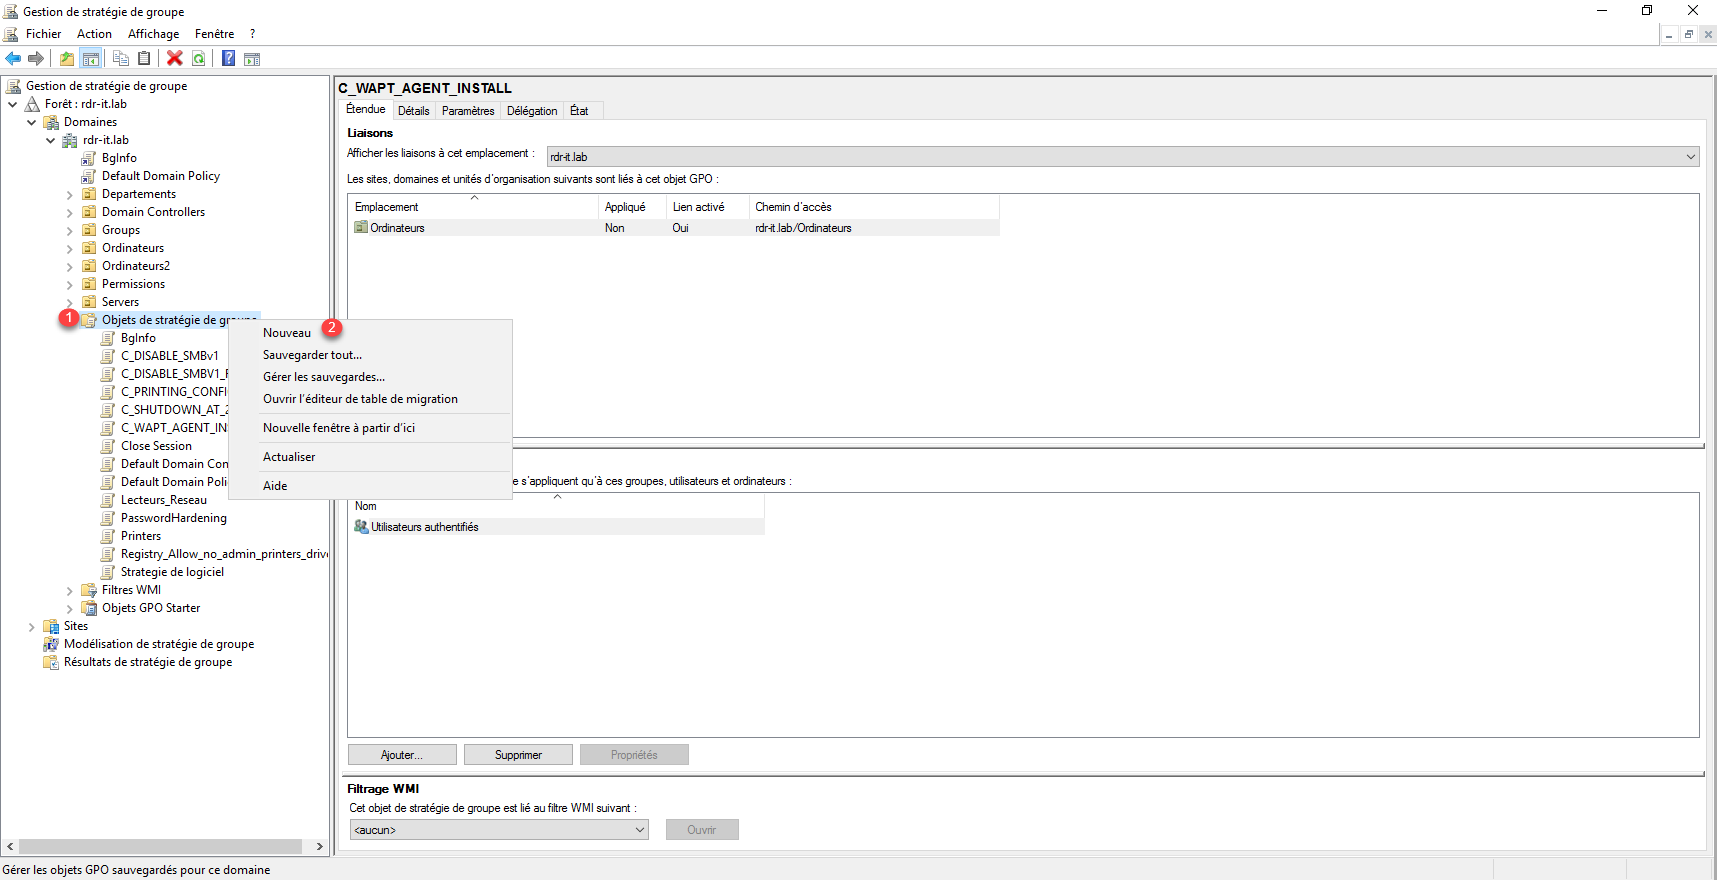
On a domain controller, open the Group Policy Management console.
Right-click on Group Policy Objects 1 and click on New 2.
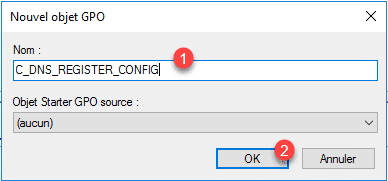
Name the Group Policy 1 and click OK 2 to create the object.
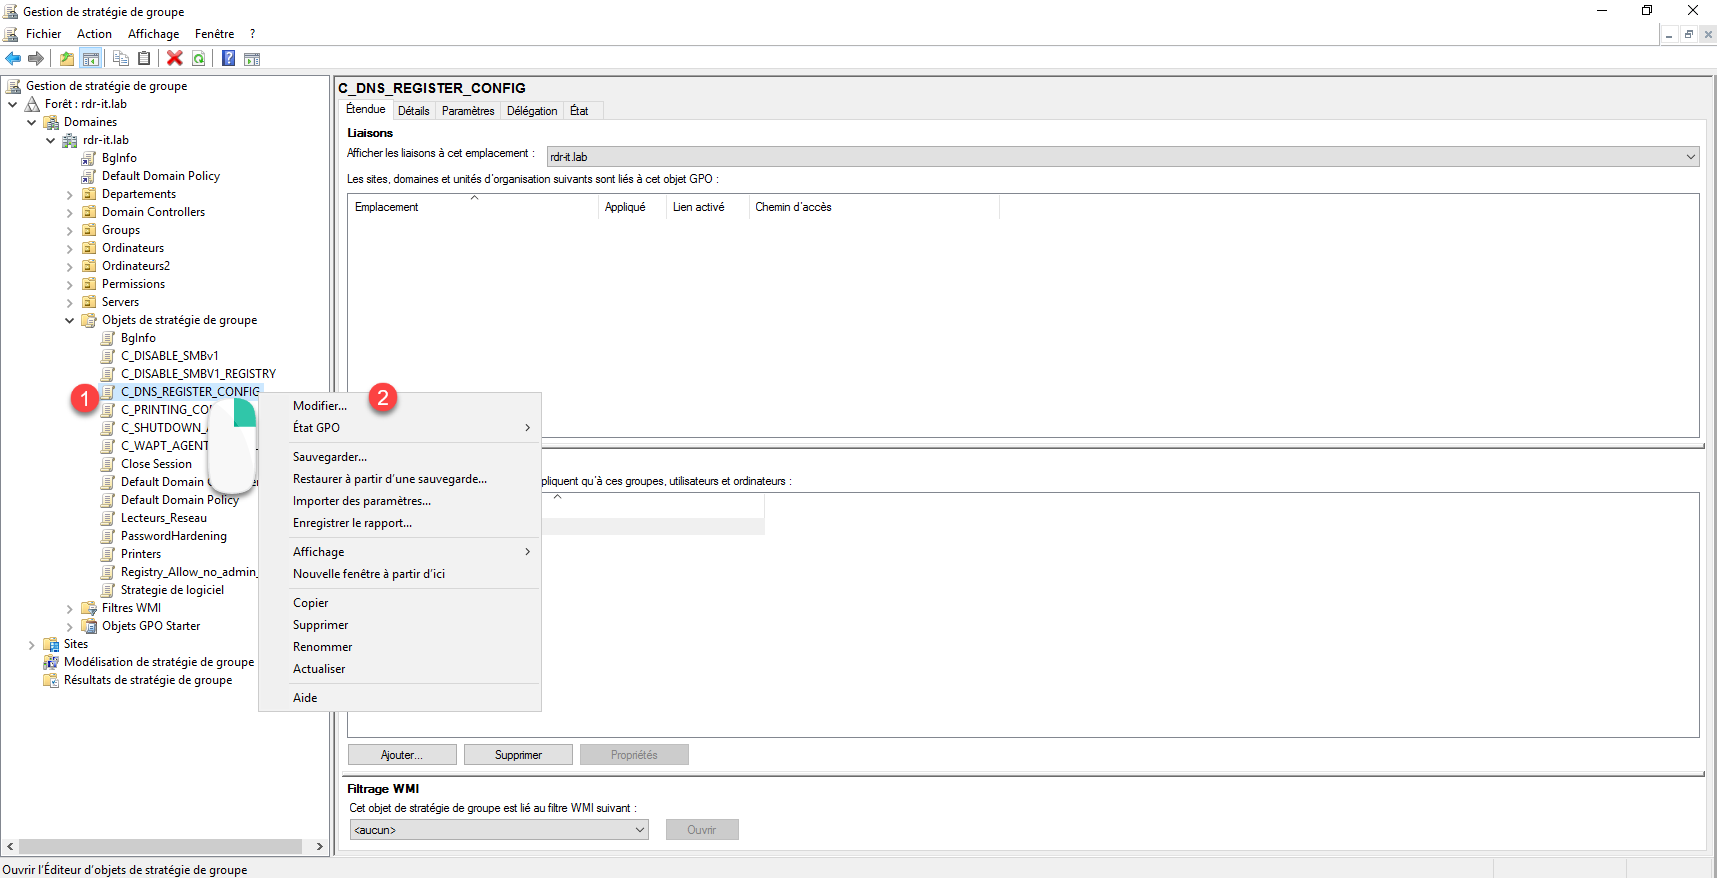
The GPO is created, right click on it 1 and click Edit 2.
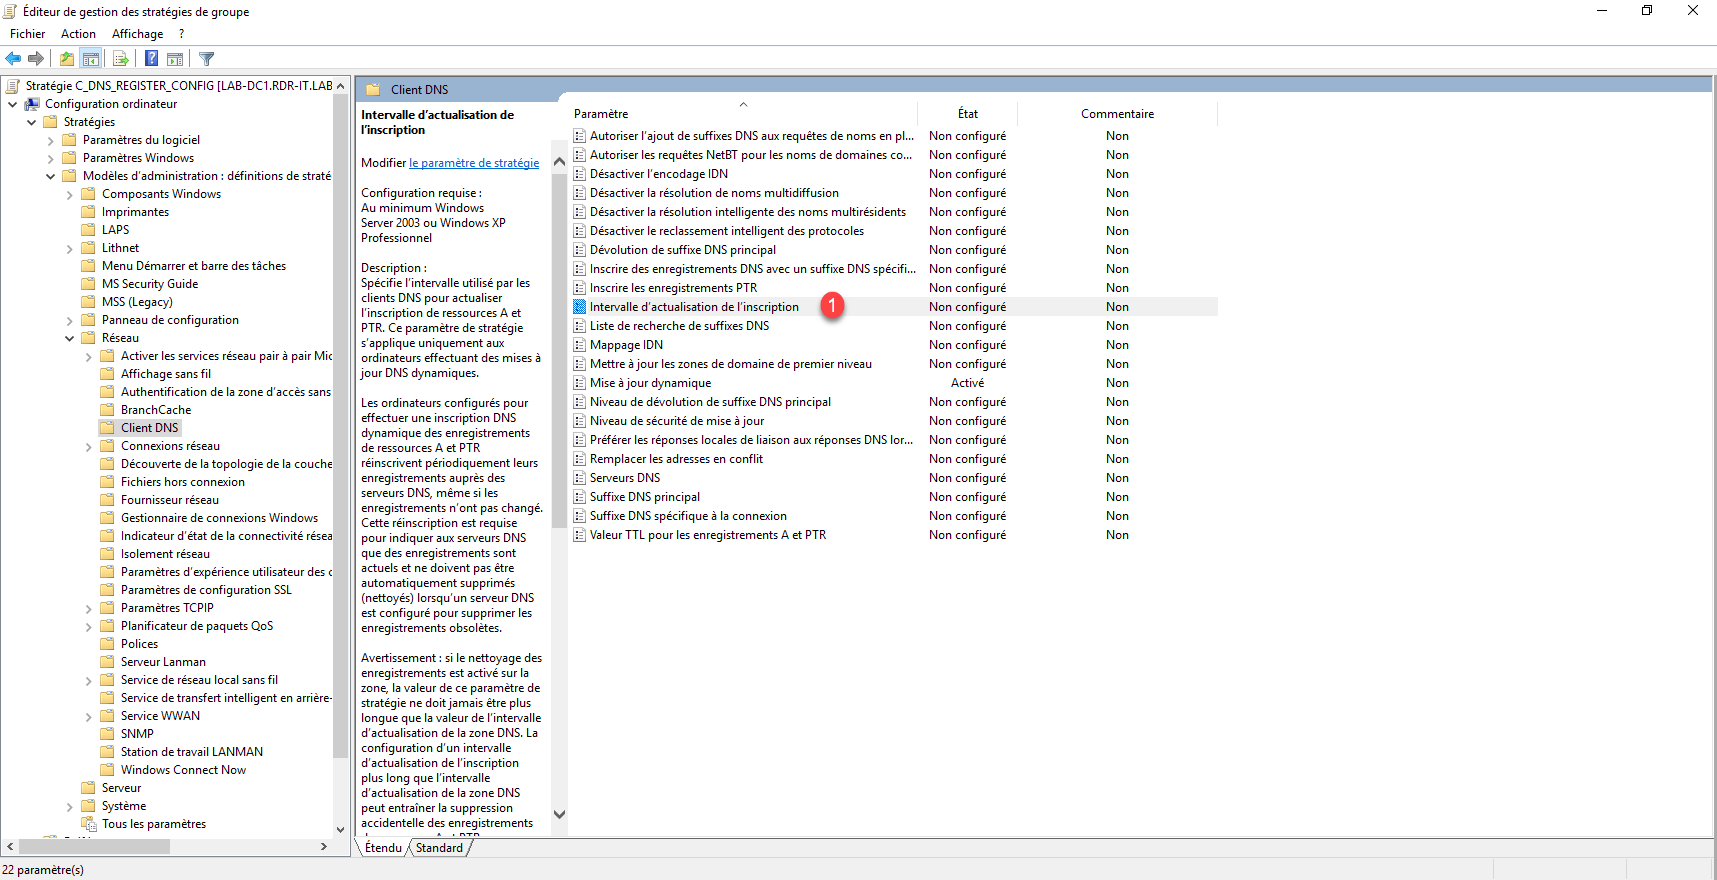
Go to the following location to access DNS client settings: Computer Configuration / Policies / Administrative Templates / Network / DNS Client.
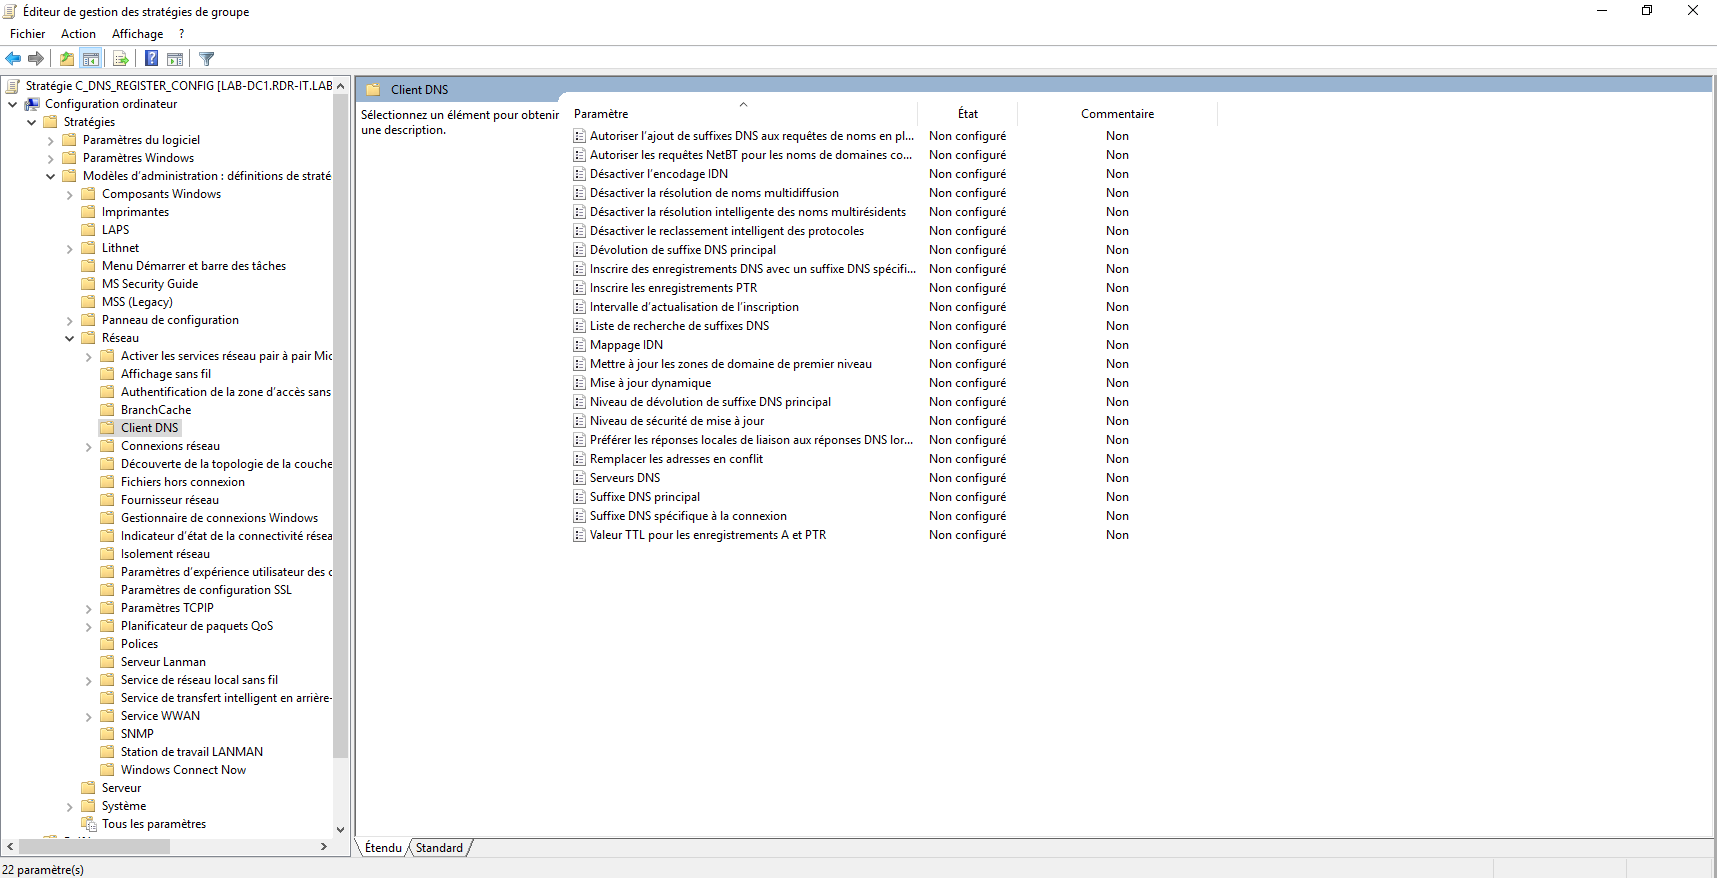
Two parameters must be configured:
- Dynamic update that we will activate
- Registration refresh interval: which is the duration in seconds between two refreshes of the client’s DNS record.
Click Dynamic Update 1.

Select Enabled 1 then click Apply 2 and OK 3.

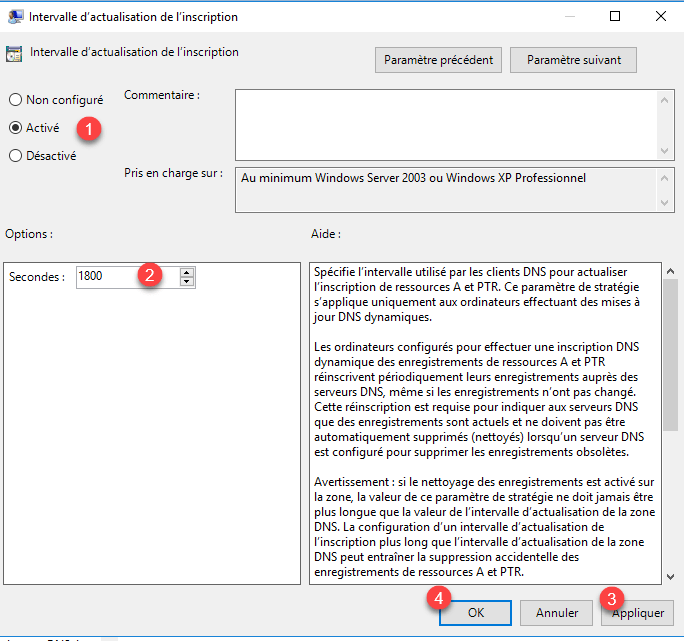
The dynamic update is activated, we will now configure the interval, click on the parameter Refresh interval of the inscription 1.
Activate the parameter 1 then set the interval in seconds 2 (by default 30 minutes). Then click on the Apply button 3 and OK 4.
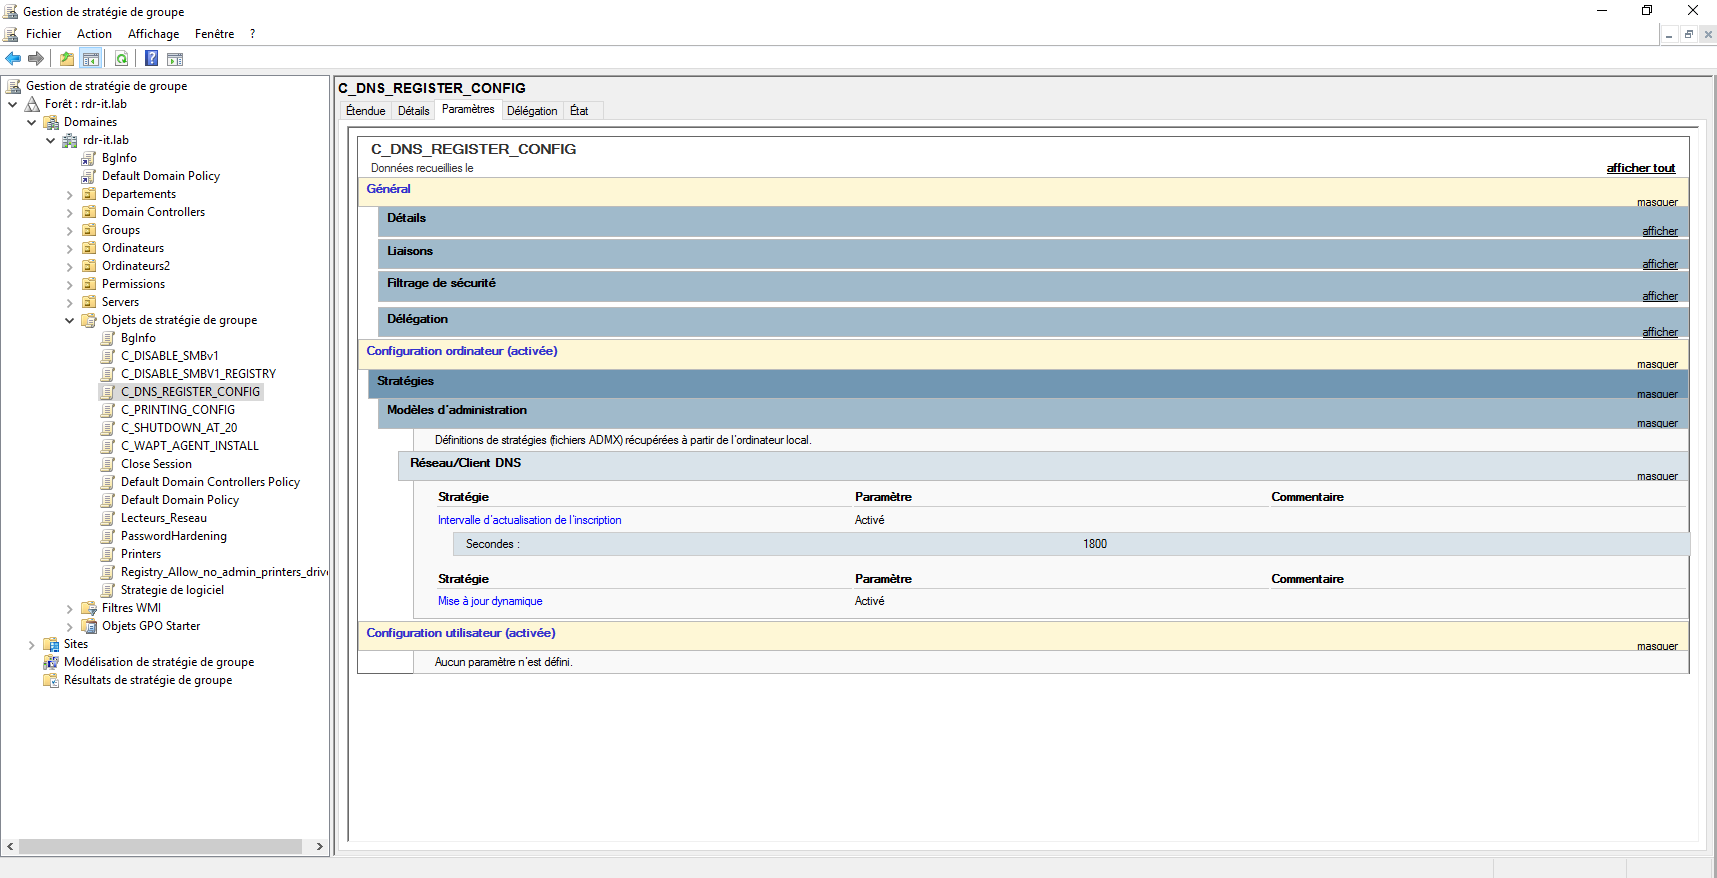
Both DNS client settings are configured.
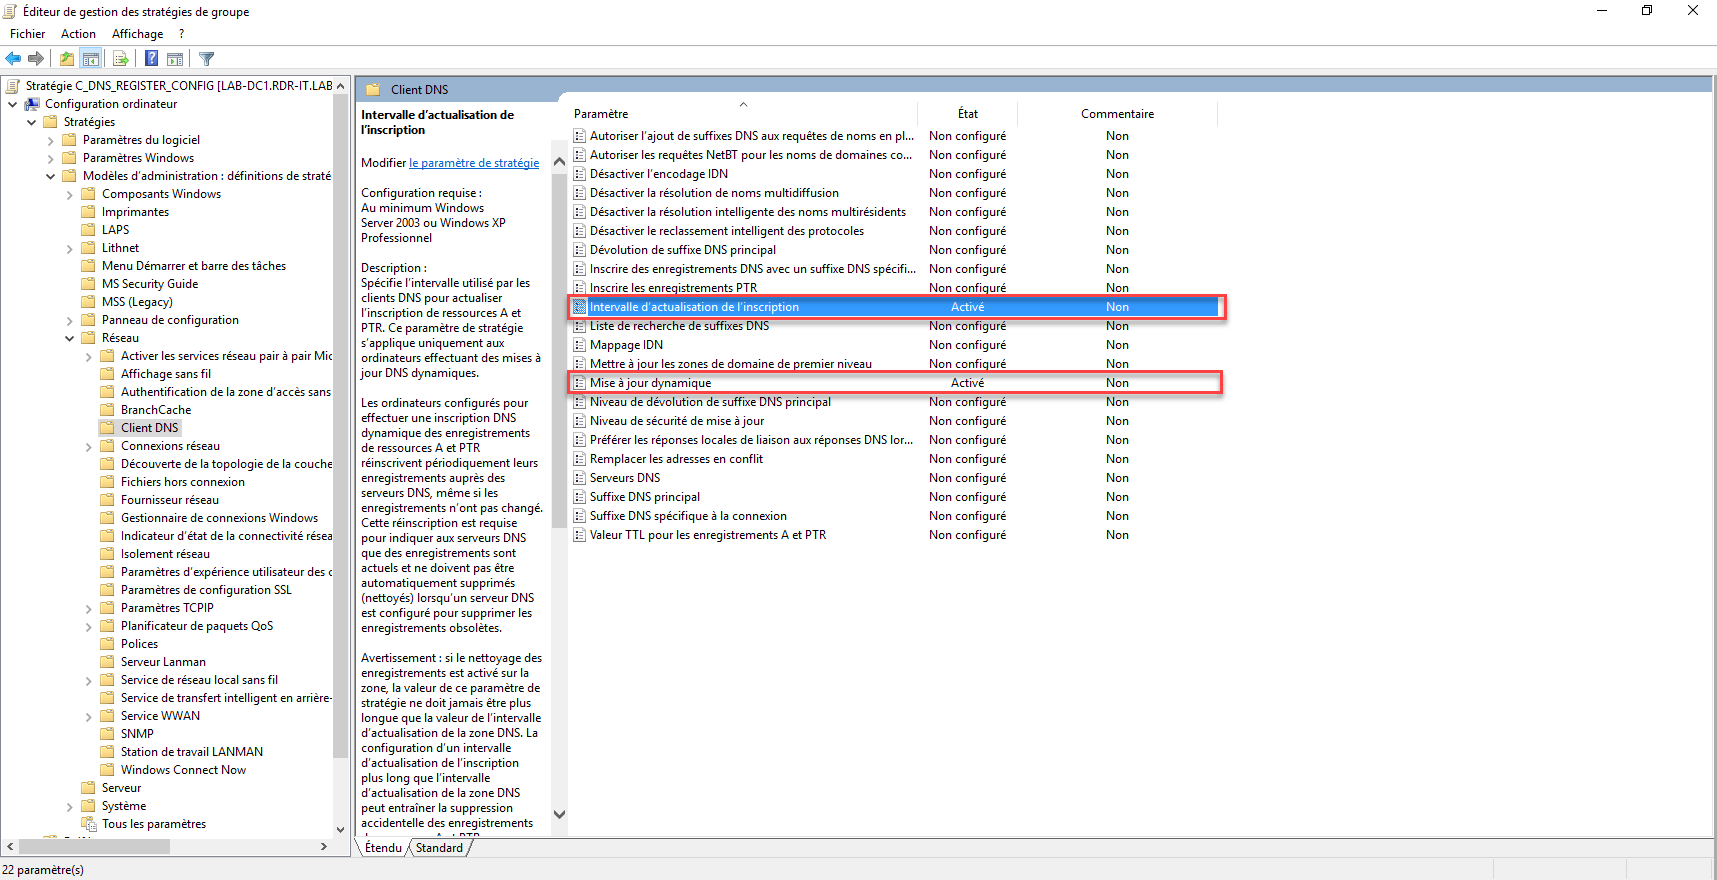
Here is a summary of the settings:
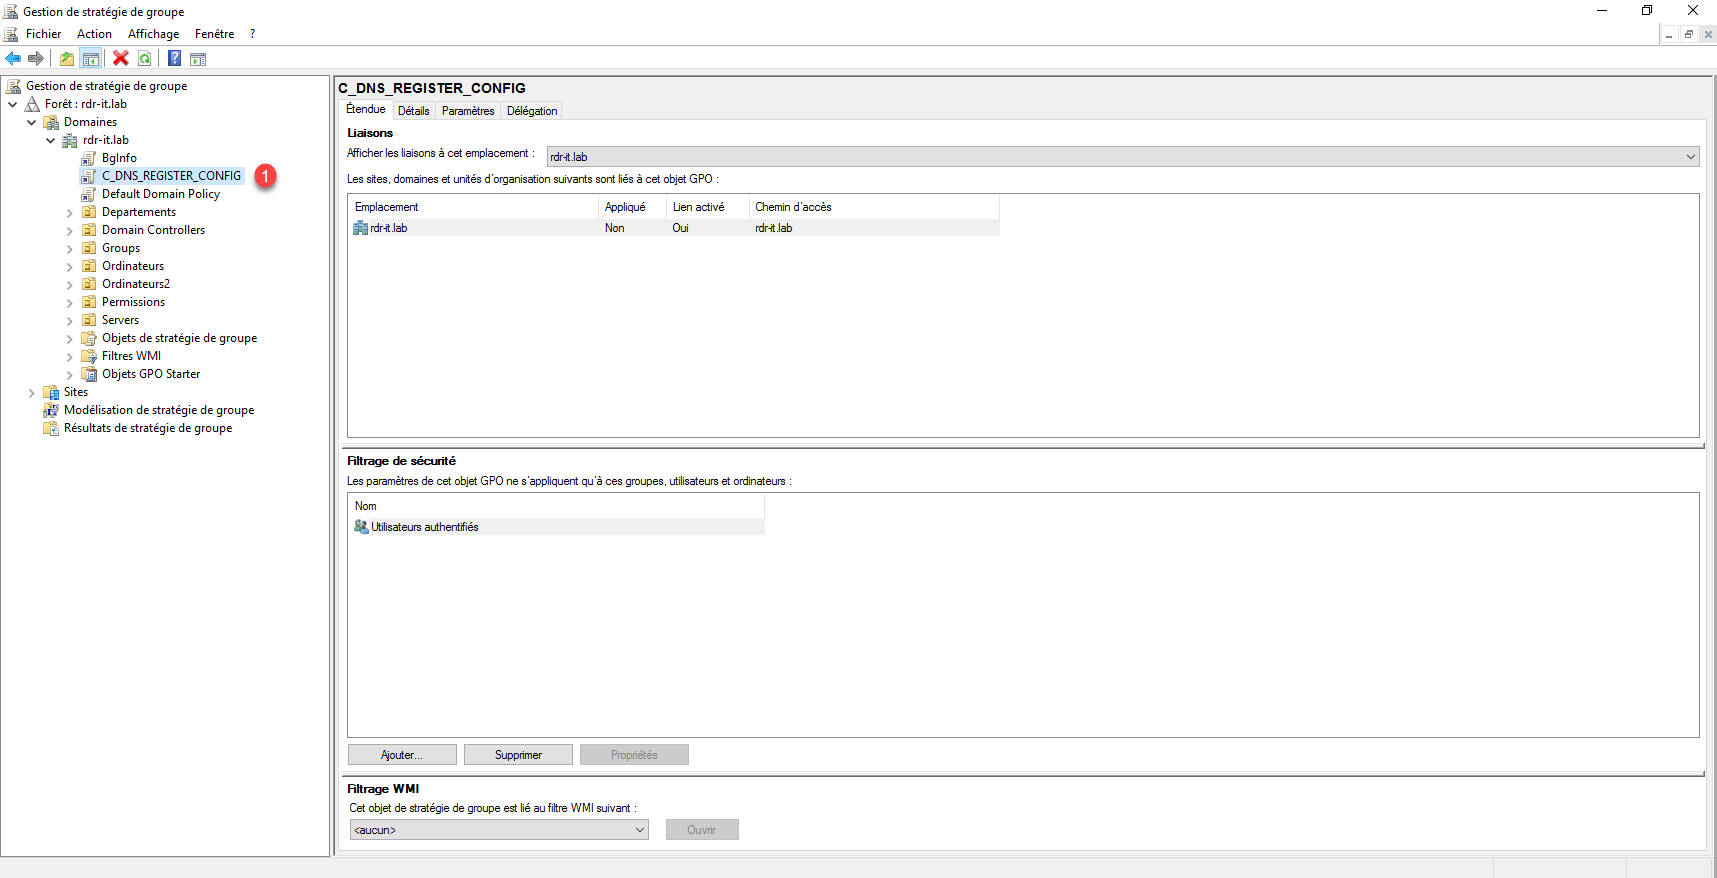
Maintenant, il faut lier la stratégie de groupe, cette stratégie peut être liée à la racine du domaine afin qu’elle soit appliquée à tous les ordinateurs.
Right-click in the desired location and click on Link an existing GPO 1.

Select Group Policy 1 and click OK 2.

Group Policy 1 is bound to the domain.
Verify group policy application
From a computer member of the domain where the group policy applies, open a command prompt as Administrator and enter the command gpresult /r and check that the policy is applied to the computer

The command prompt must be launched as an administrator in order to have the computer settings.
If Group Policy is not applied (visible), enter gpupdate /force and check again. It may be necessary to restart the computer.
If Group Policy should resolve dynamic registration issues.
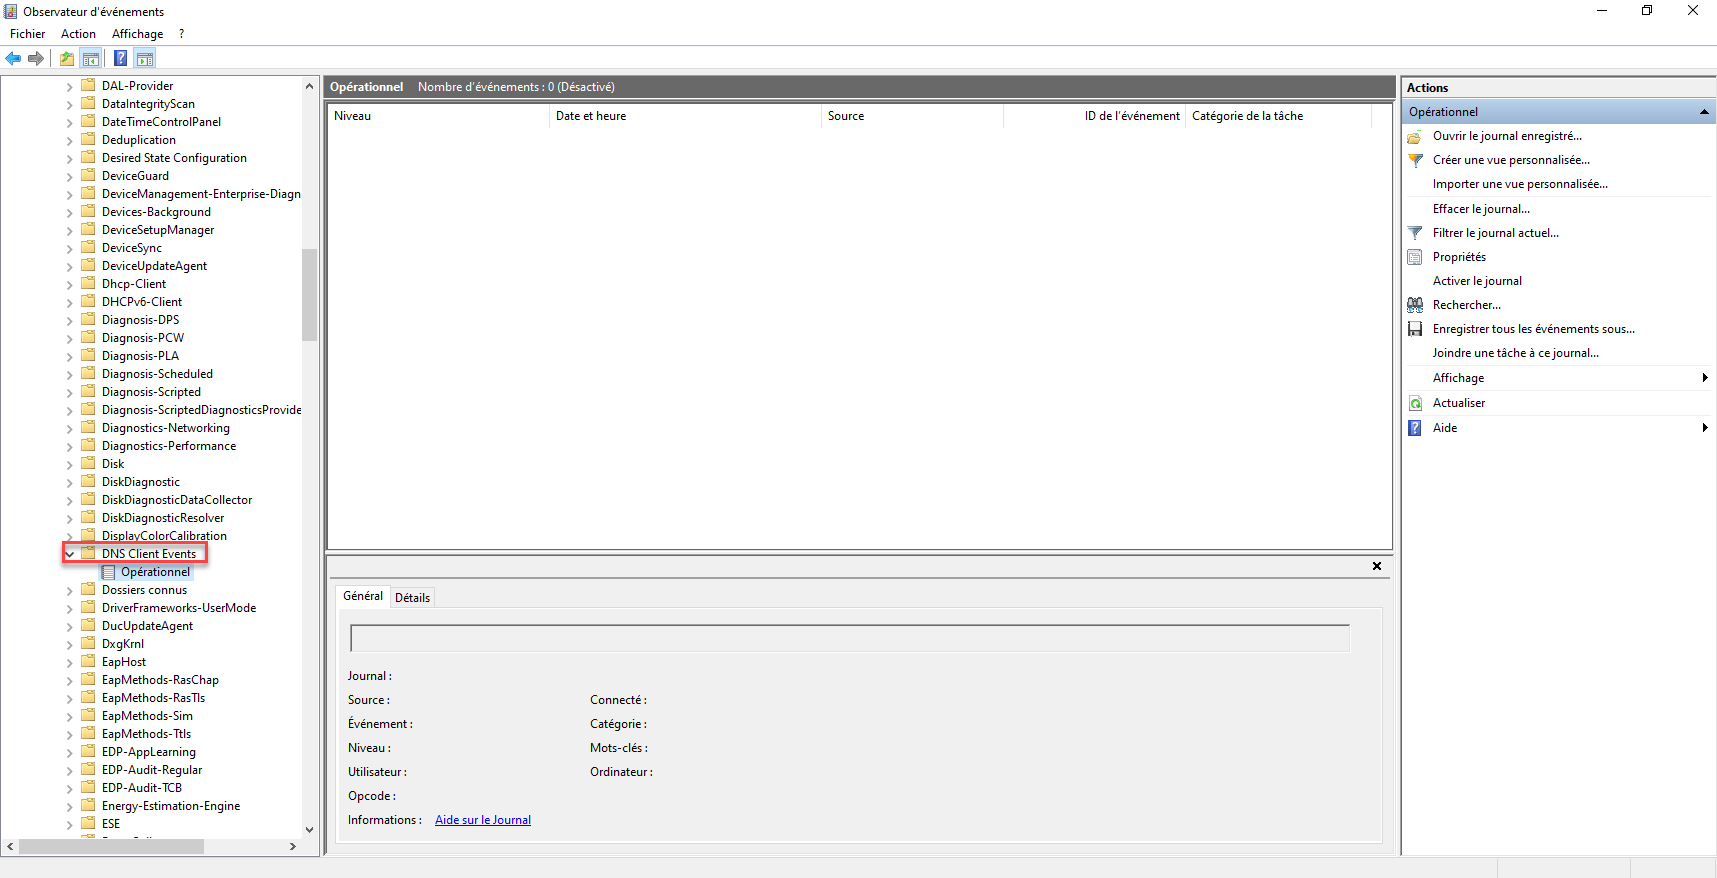
Use DNS Client Events log
If DNS problems persist on your network, in addition to events on the DNS server(s), it is possible to enable the Windows DNS client log.
Open Windows Event Viewer and look for the DNS Client Events folder at: Applications and Services Logs / Microsoft / Windows.
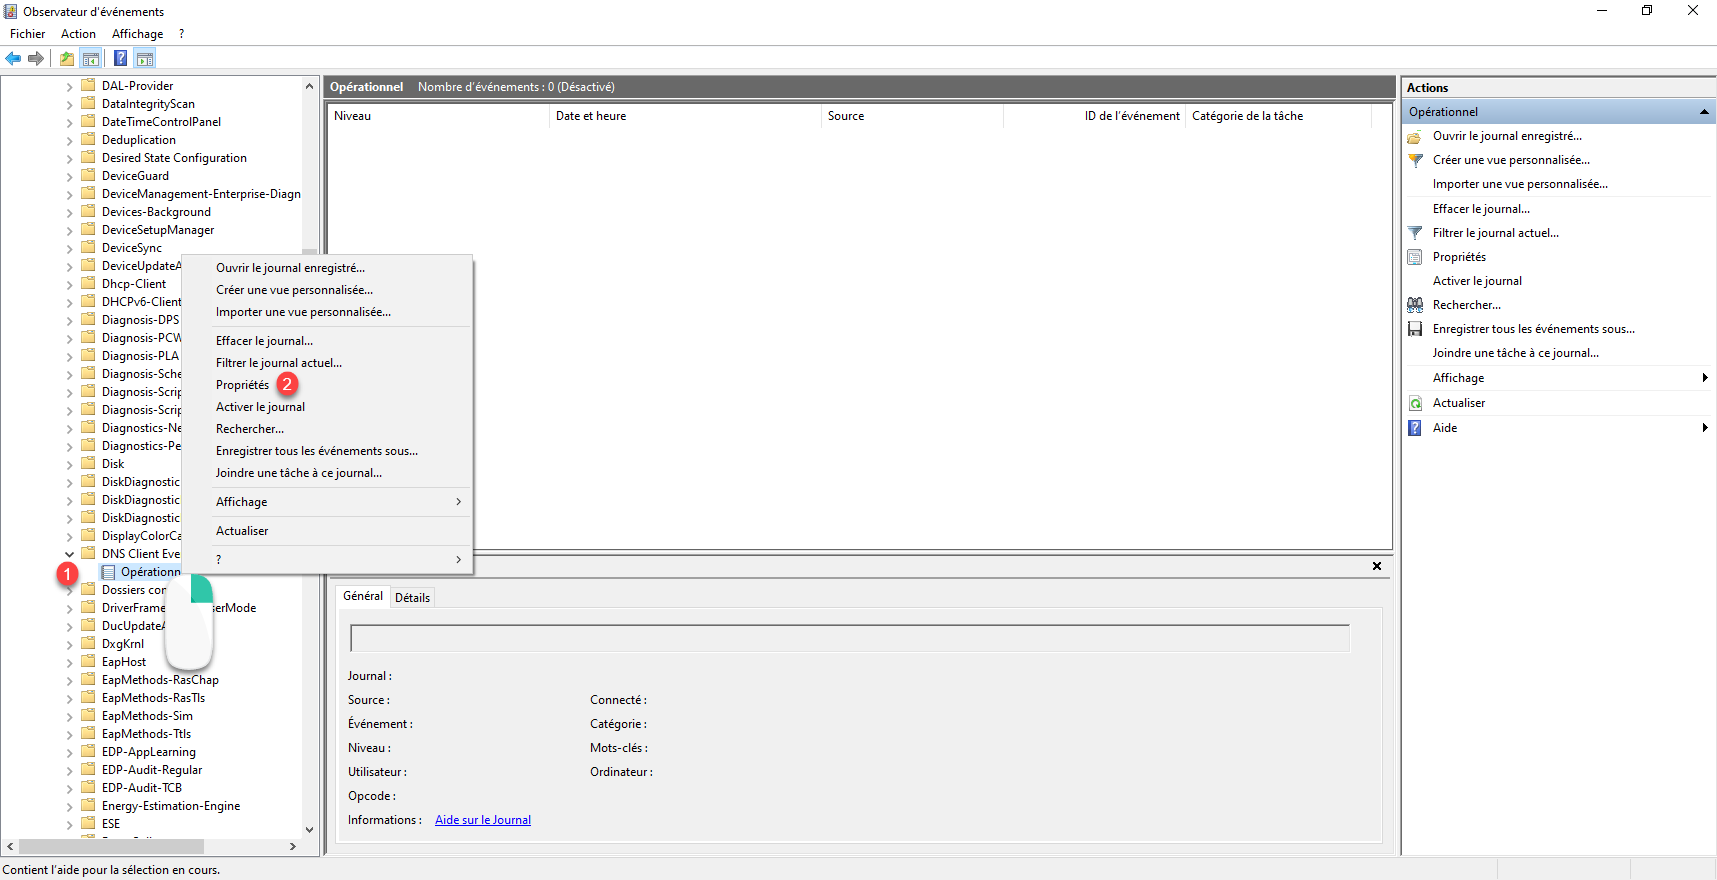
Right click on Operational 1 and click on Properties 2.
Check the 1 box to activate the log then click on the Apply 2 and OK 3 buttons.
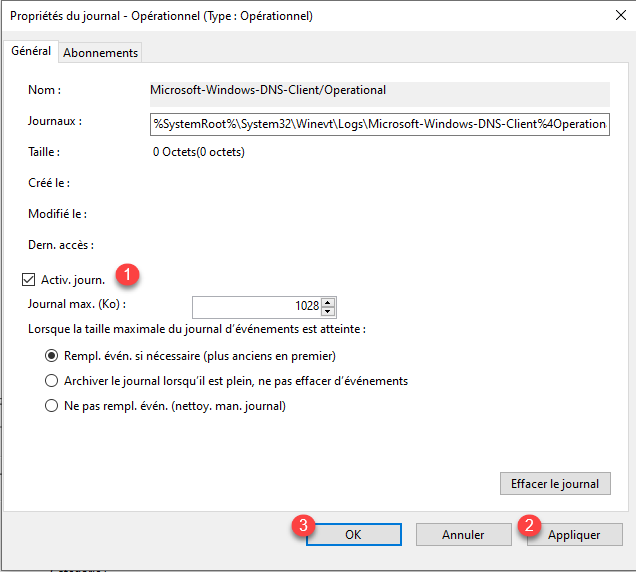
DNS client events are now logged.

On the screenshot above, we can see event 3009, which corresponds to an ipconfig /registerdns.
This log is very verbose, I advise you to activate it only on a limited number of computers for problem solving purposes and then to deactivate it.
