Through this tutorial, I am going to try to explain you how works FusionInventory and the tasks of network discovery and inventory SNMP in fusioninventory.
If you think of be able to inventory the set of the equipment of your network without needing to intervene on GLPI. It is necessary to remove you this idea of the head.
During a discovery of your network, the agent must be able to have a point of reliable connection to be able to import the equipment. By default fusioninventory leans on the serial number, this one does not go back up systematically.
It is possible to activate the connection by address MAC.
Prerequisites
You must have a GLPI installation with the Fusioninventory plugin installed and the scheduled tasks configured.
Your equipment (switches, nas, copiers …) must have the snmp service activated with a community to configure.
SNMP setting
The first step is to define SNMP communities if you are using a non-public community.
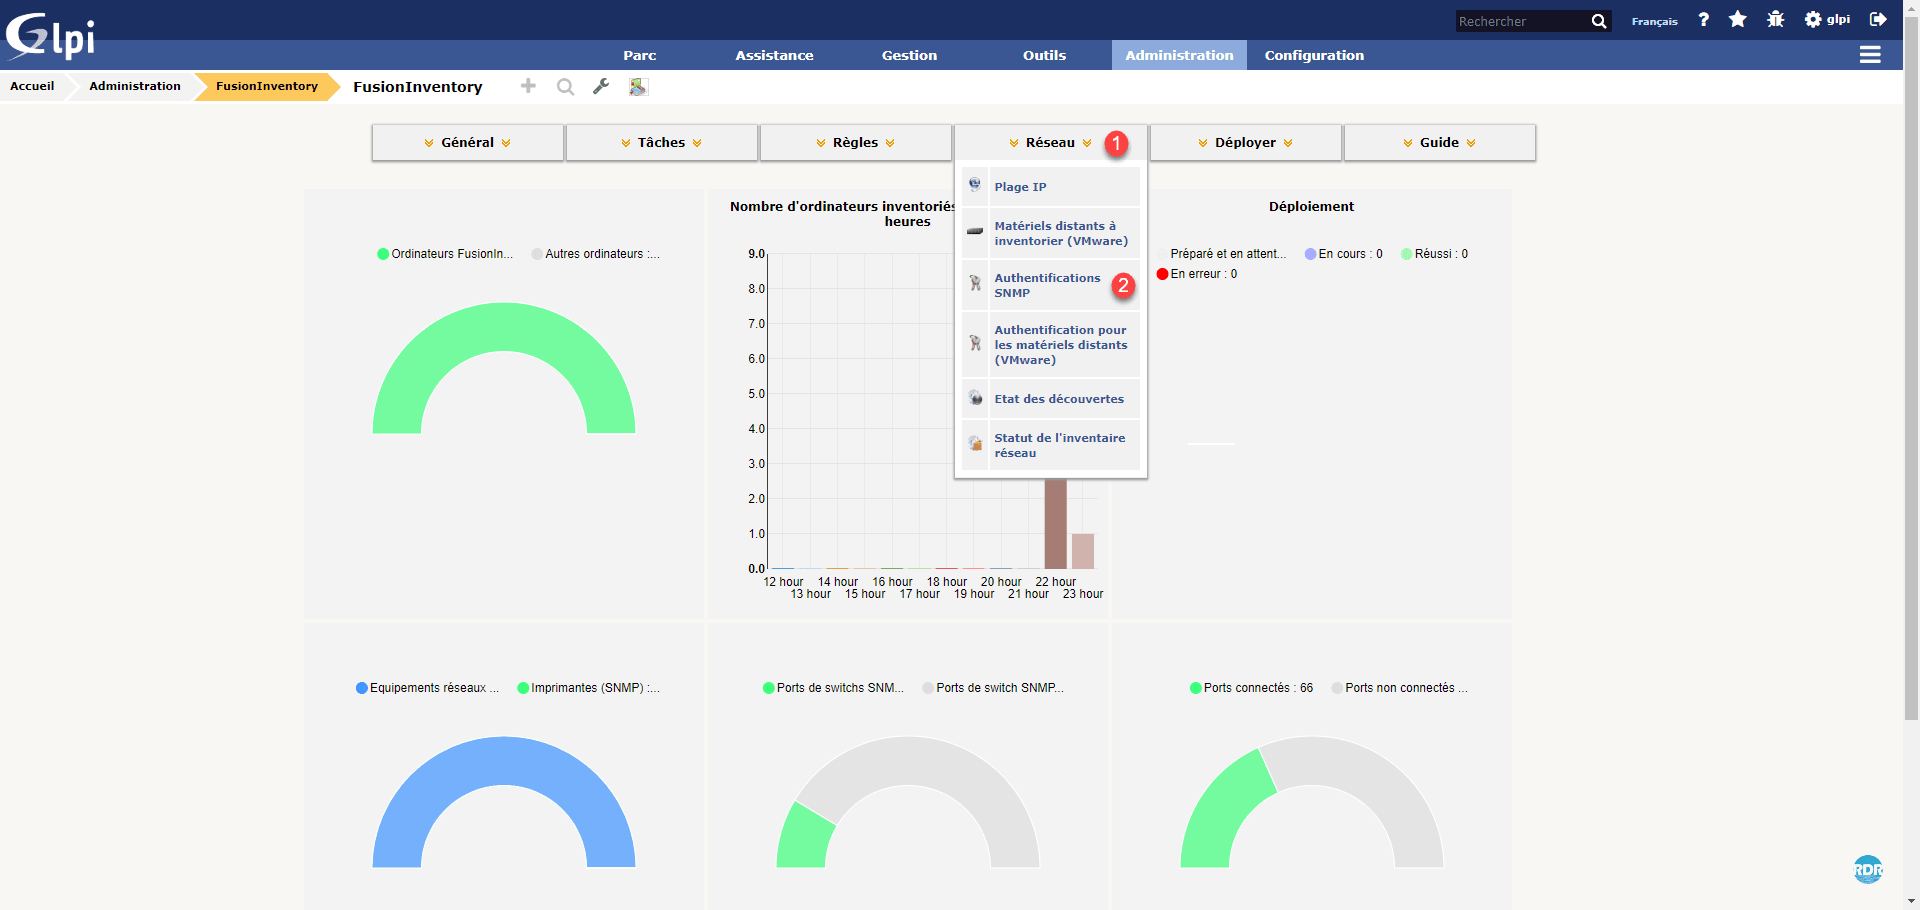
1. From the FusionInventory interface in GLPI, click Network 1 then SNMP Authentication 2.
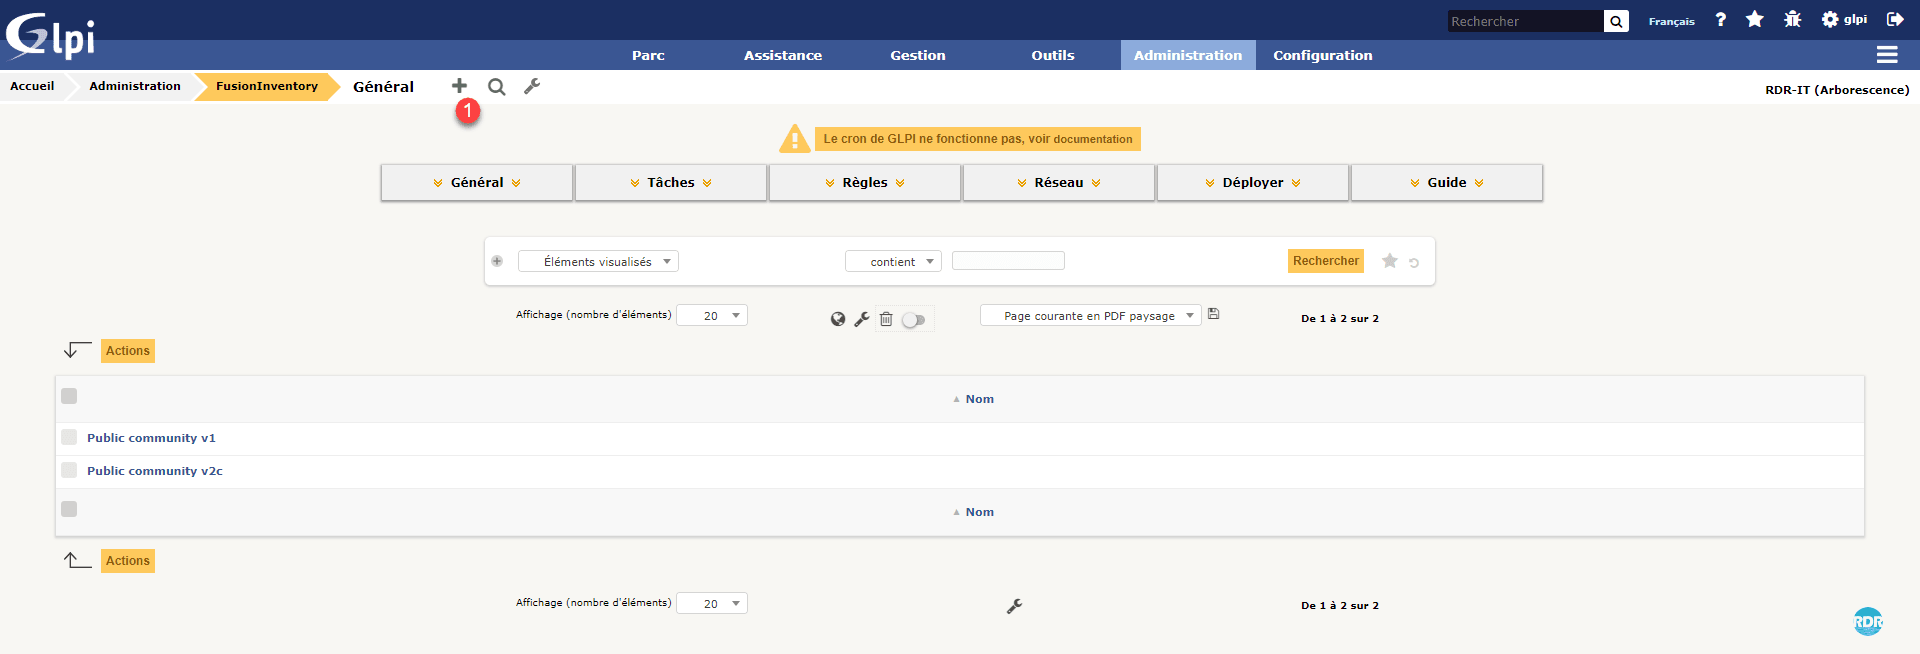
2. Click + 1 to declare a community.
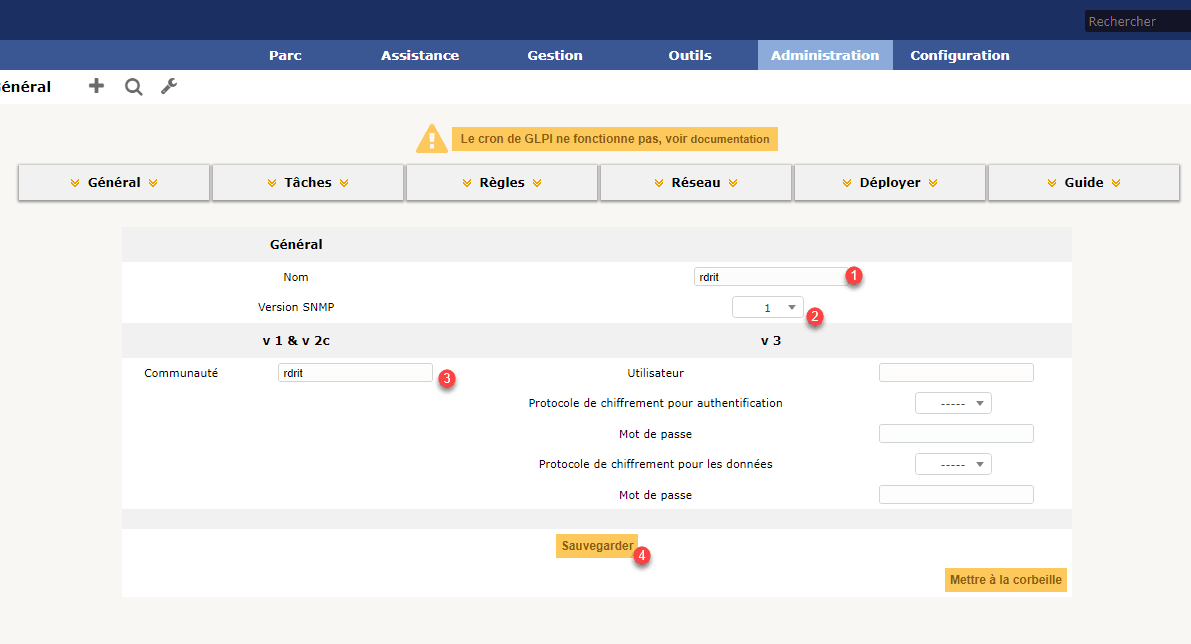
3. Give a name to the switch 1, select the version 2 then enter the name of your community 3 and click on Add 4.
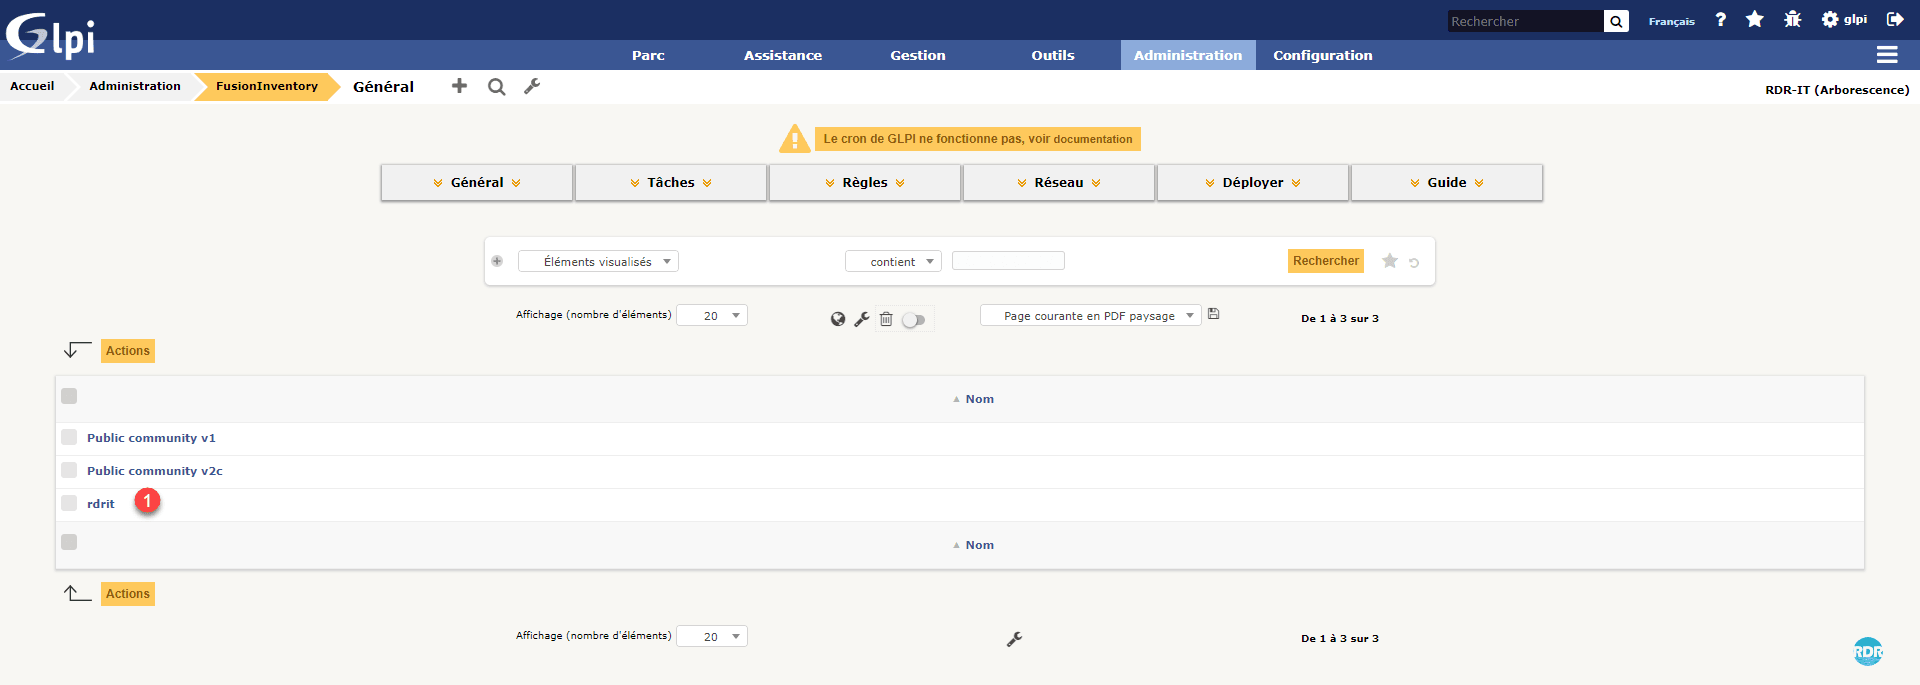
4. The community is added 1.
Configuring IP ranges
The second step is to configure the IP address ranges for network discovery.
1. From the FusionInventory interface in GLPI, click Network 1 and then IP Ranges 2.
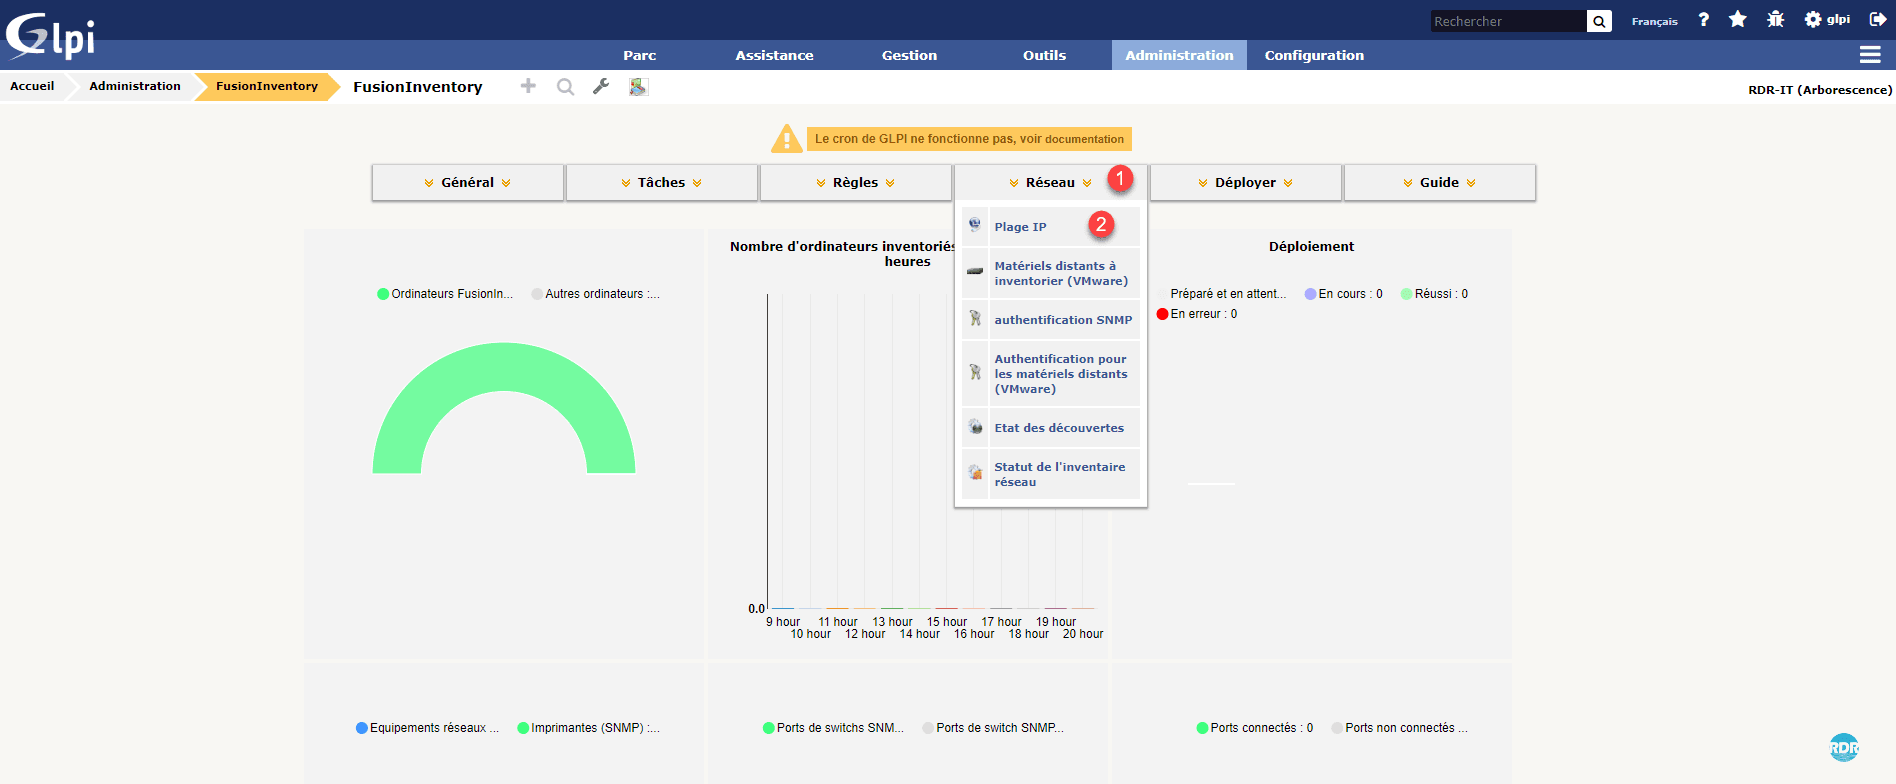
2. Click + 1 to declare a range.

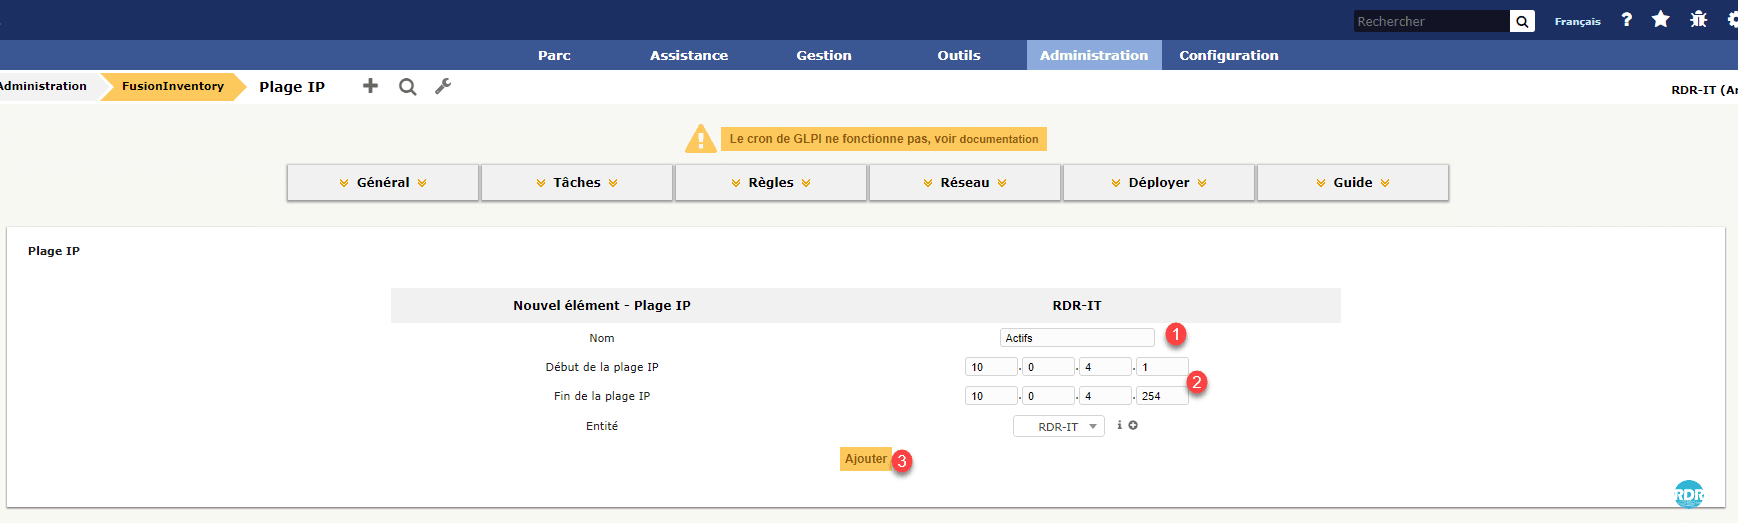
3. Enter a name for the range 1 then give the start and end IP address 2 and click on Add 3.
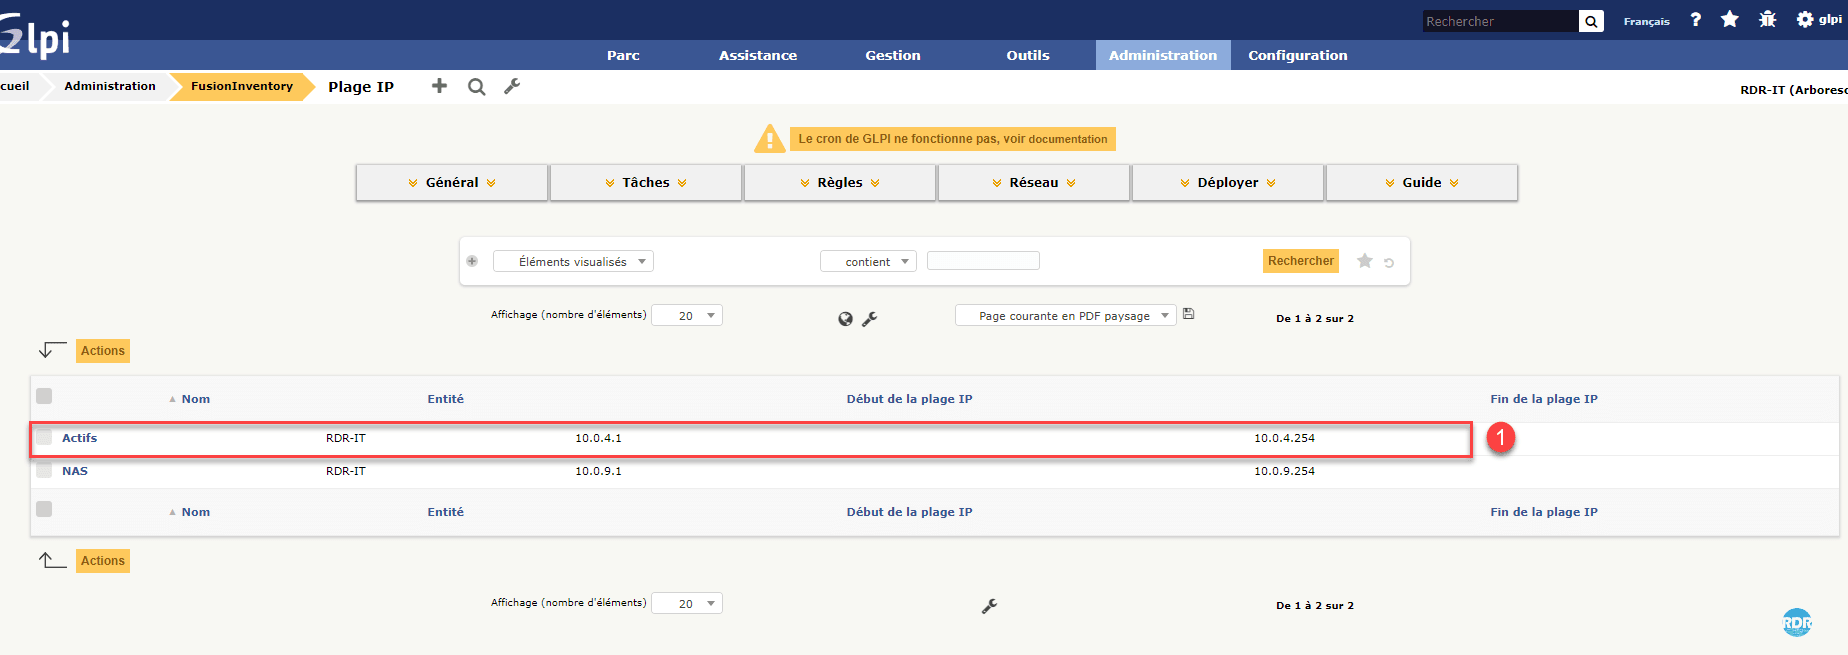
4. Click on the range just added 1.
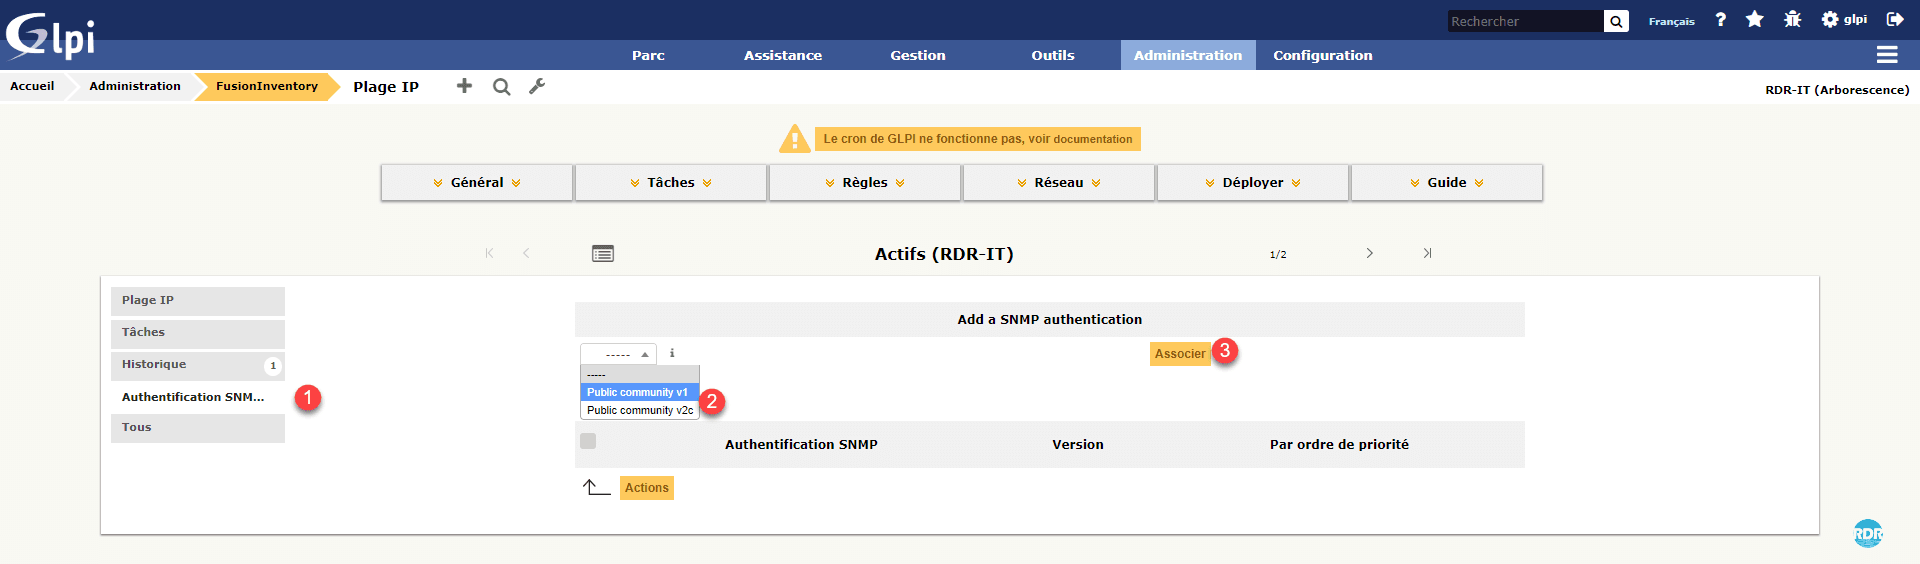
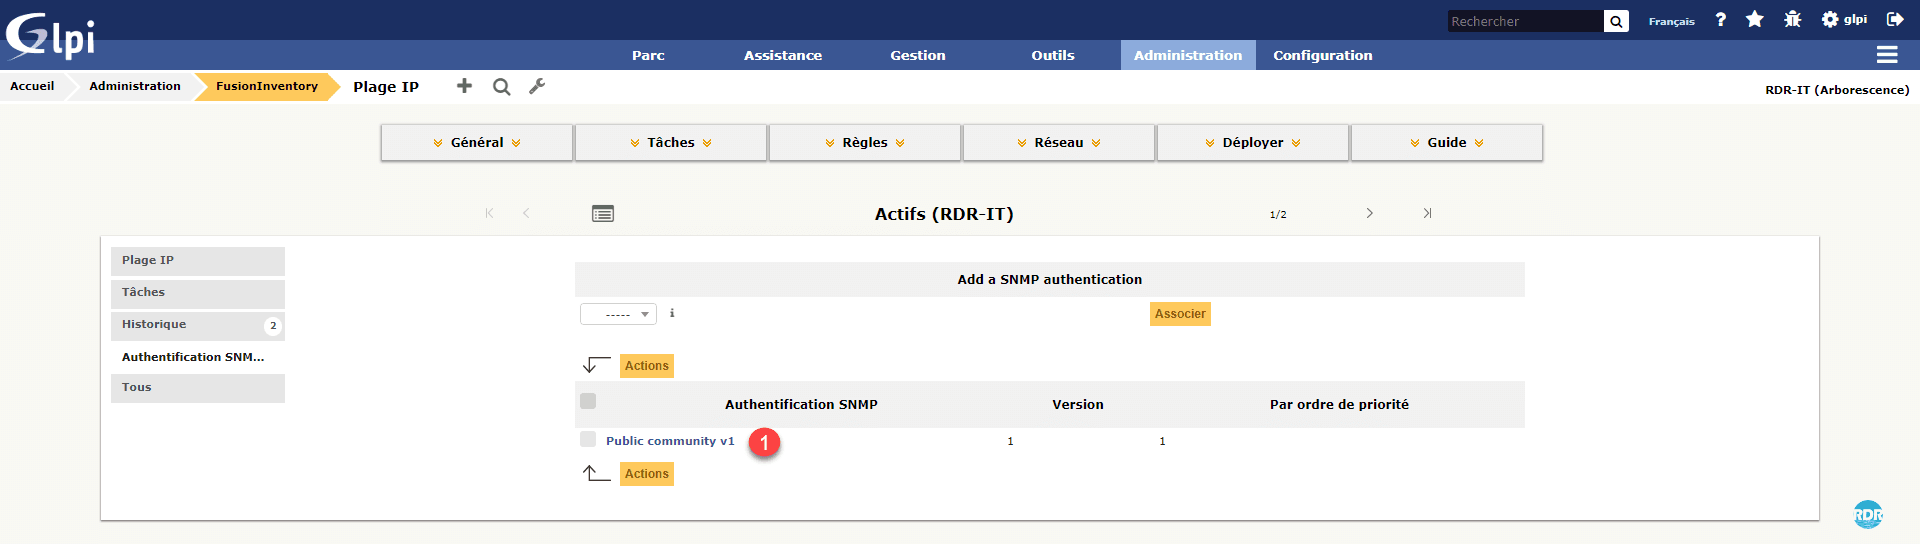
5. Go to the SNMP Authentication 1 menu, select your community 2 and click on Associate 3.
6. We can see the community add to IP range 1.
Agent FusionInventory
Installation
To be able to perform discovery and network inventory tasks, you must install the NetDiscovery and NetInventory components. I advise you to install the modules on a server. For ease of administration, I advise you to install as a Windows task and not a service.
1. Get the latest version of the agent on the github.
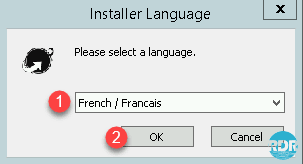
2. Launch the executable, select your language 1 and click OK 2.
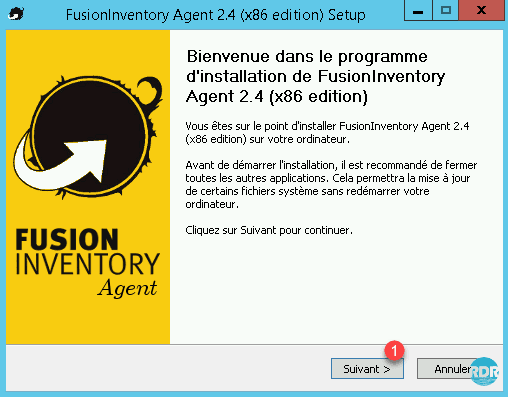
3. Click the Next> 1 button.
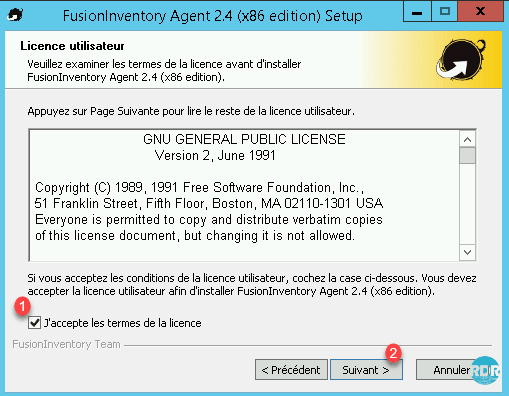
4. Check the box to accept the terms of license 1 and click Next 2.
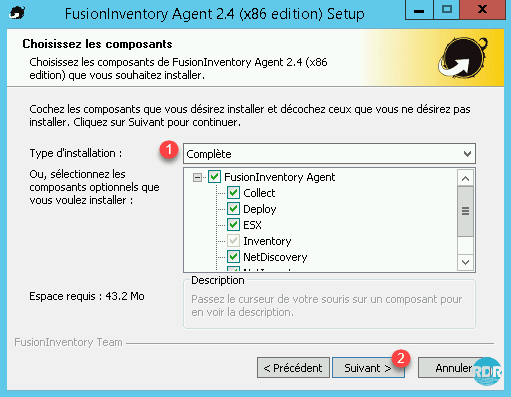
5. Select the Complete Installation Type 1 and click Next 2.
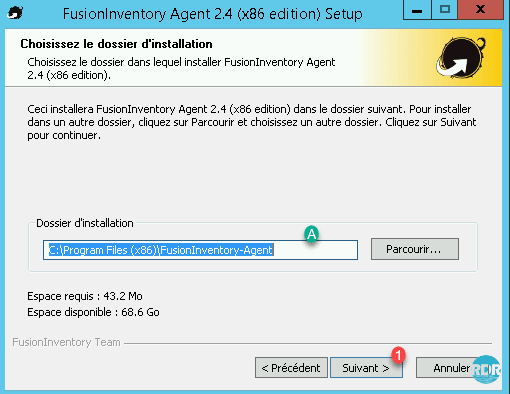
6. Customize the installation folder if needed A and click Next 1.
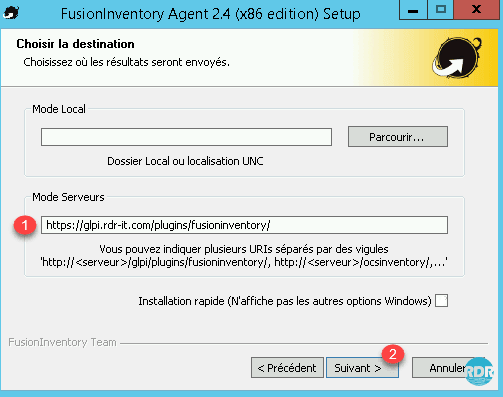
7. Enter the FusionInventory 1 plugin url and click Next 2.
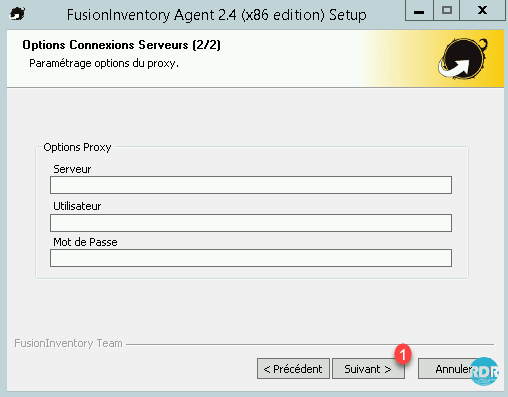
8. In the next two steps click Next 1.

9. Select Execution Mode As a Windows Task 1 and click Next 2.

10. Set the execution frequency for task 1 and click Next 2.
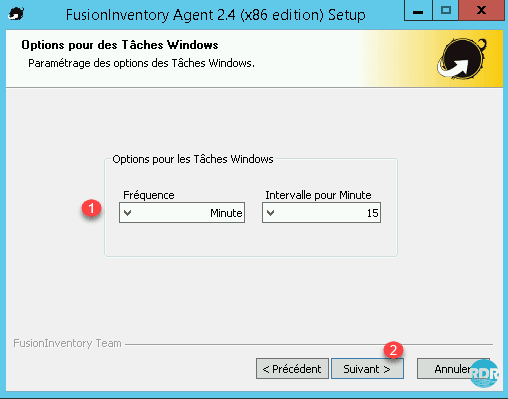
The duration will be adjusted according to your tasks in FusionInventory, if the agent recontacts the server while it is running a discovery or inventory, you will have errors.
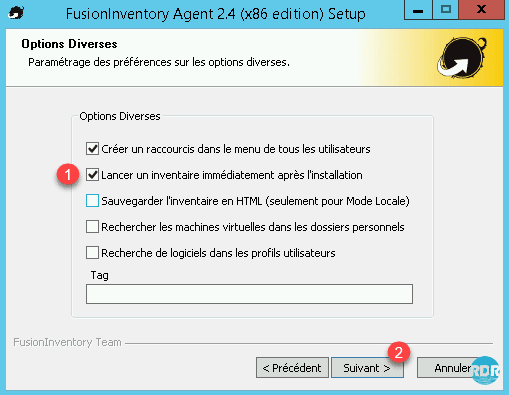
11. Check the box to launch an inventory at the end of installation 1 and click on the button Next> 2.
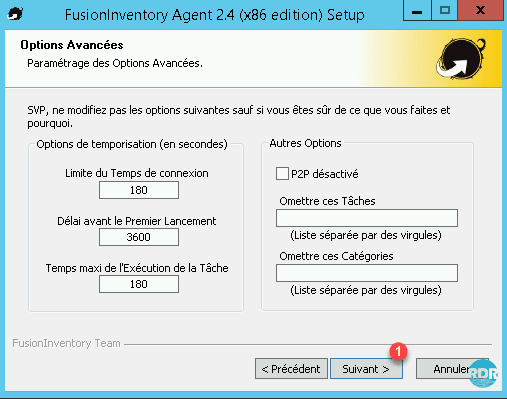
12. Click Next 1.
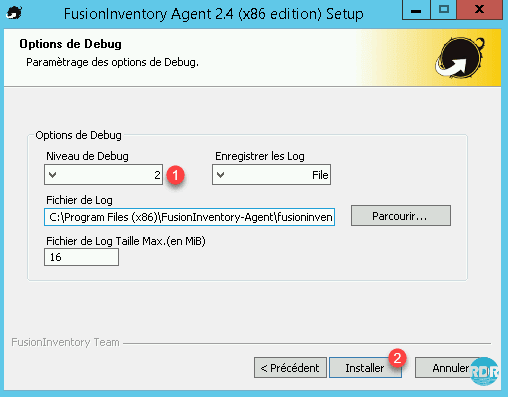
13. Change the debug level to 2 1 and press the Install button 2.
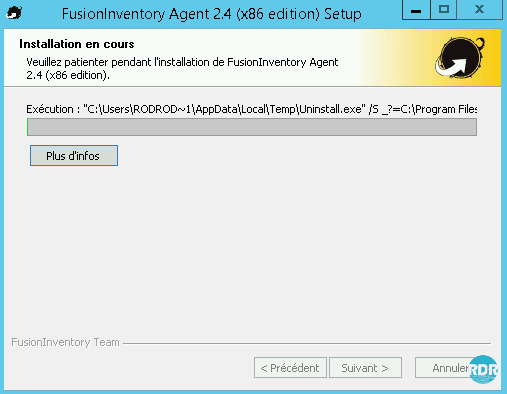
14. Wait during the installation
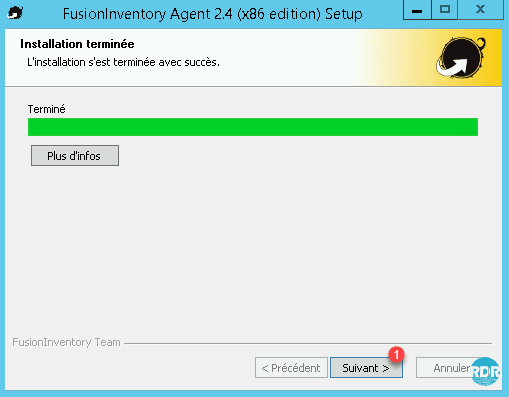
15. The agent installation is complete, click Next 1.
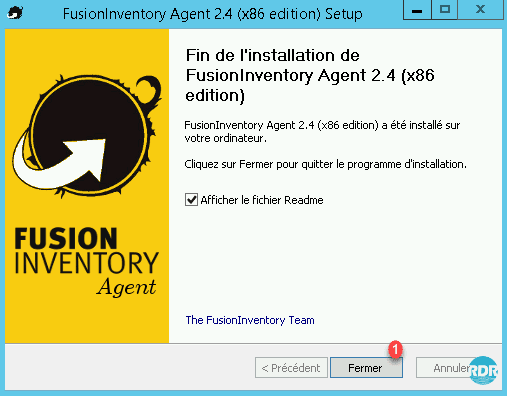
16. Cliquer sur Fermer 1.
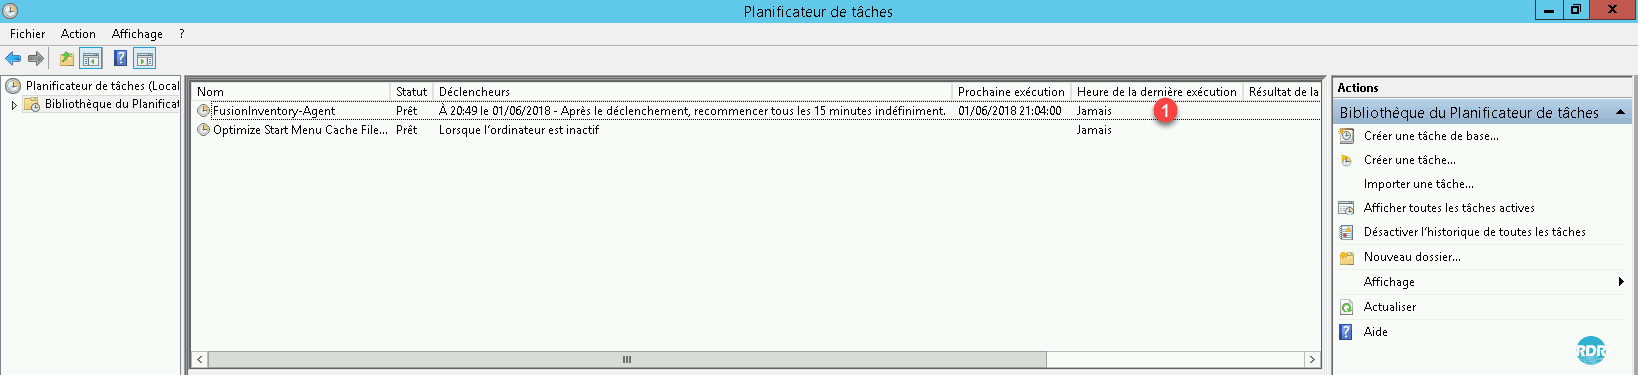
17. Open the task scheduler and check for the presence of the FusionInventory-Agent 1 task.
Agent Configuration FusionInventory plugin
Before starting the configuration of tasks, you must declare in the plugin the modules of the active agent.
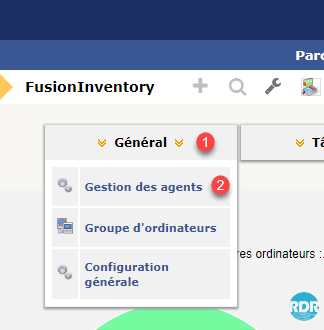
1. From the administration of the FusionInventory in GLPI, click on General 1 > Agent Management 2.
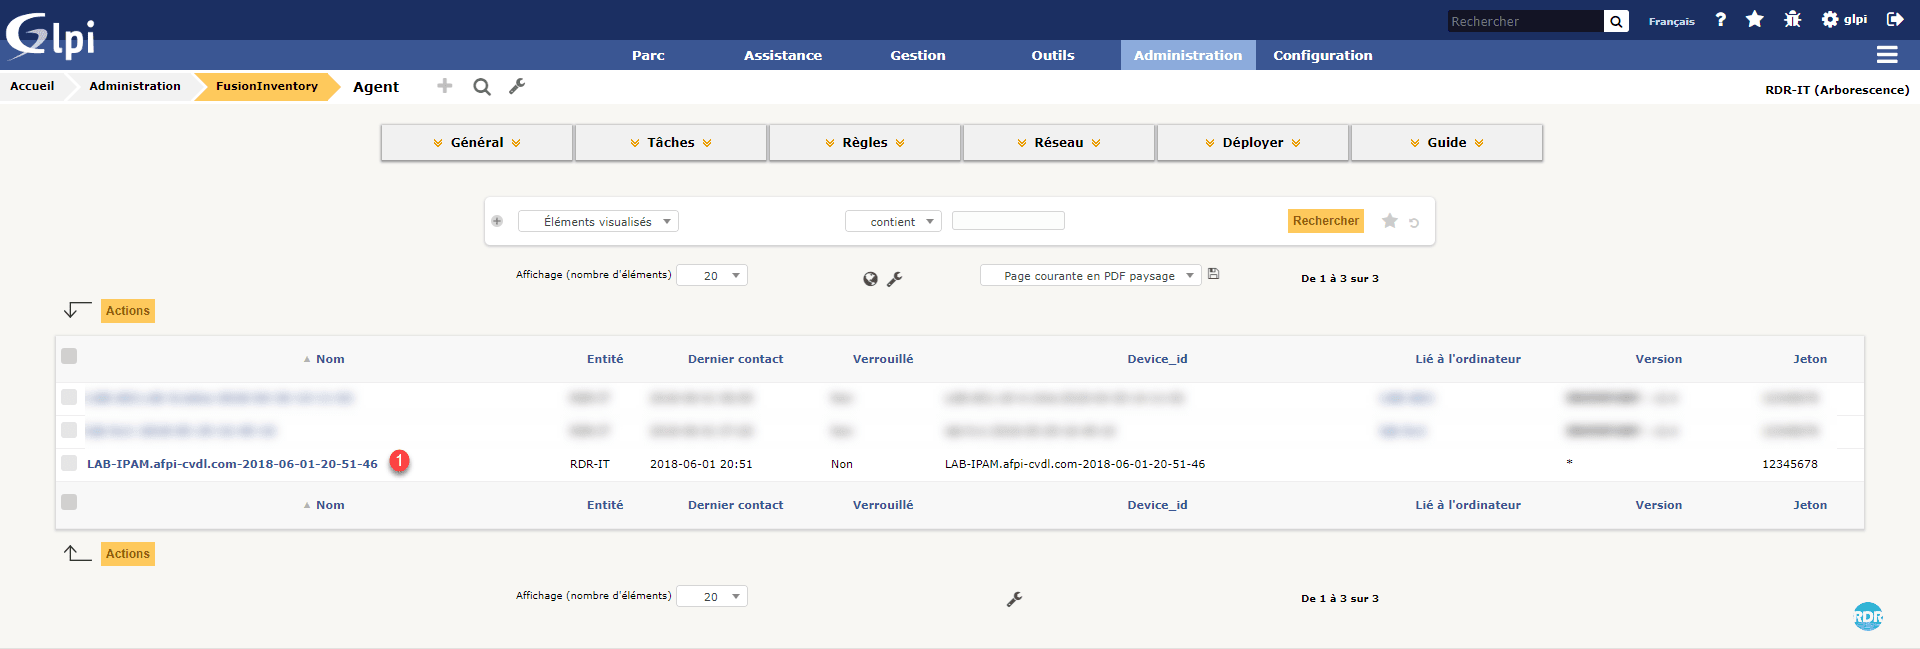
2. Click on your freshly installed agent 1.
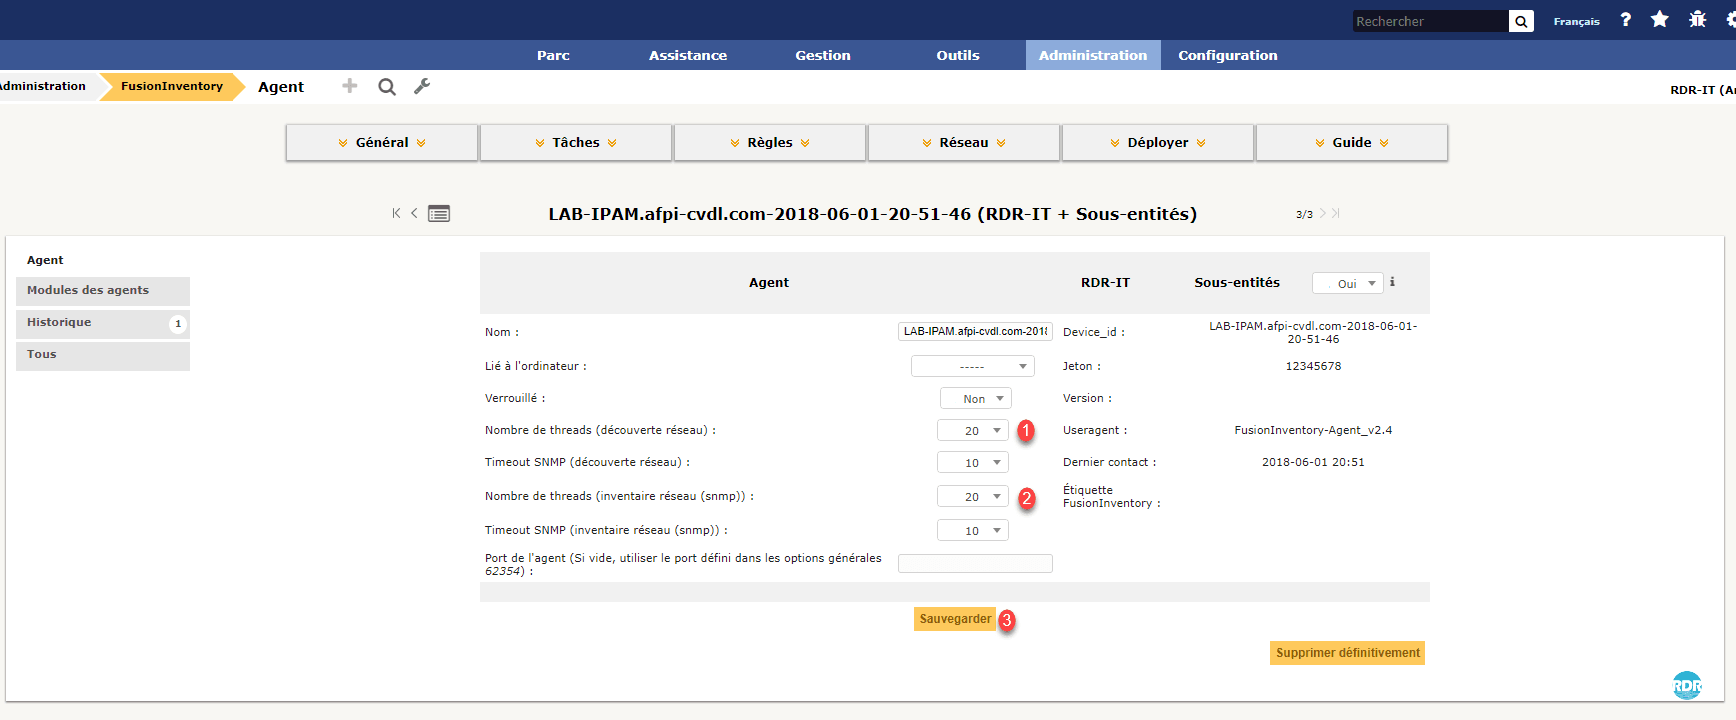
3. Change the number of threads for tasks (1 and2) and click Save 3.
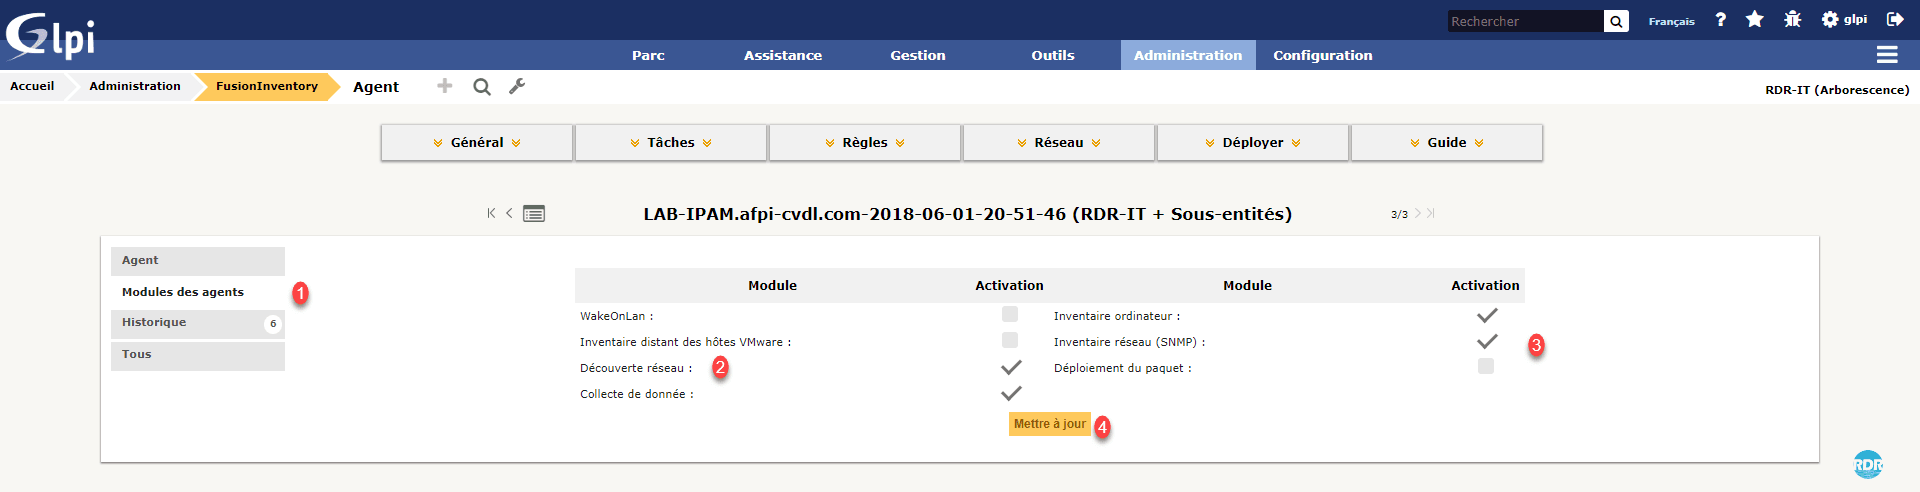
4. Go to the Agent Modules menu 1, activate the Network Discovery 2 module, Network Inventory 3 and click Update 4.
Tasks
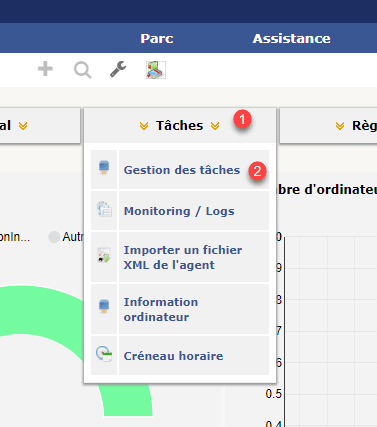
1. From the administration of the FusionInventory in GLPI, click Tasks 1 > Task Management 2.
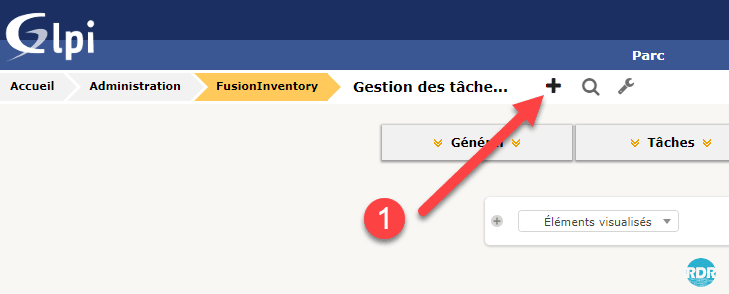
2. Click on the + 1 to add a task.
3. Name your task 1, check the box Prepare a job if the previous run was successful 2 and click Add 3.

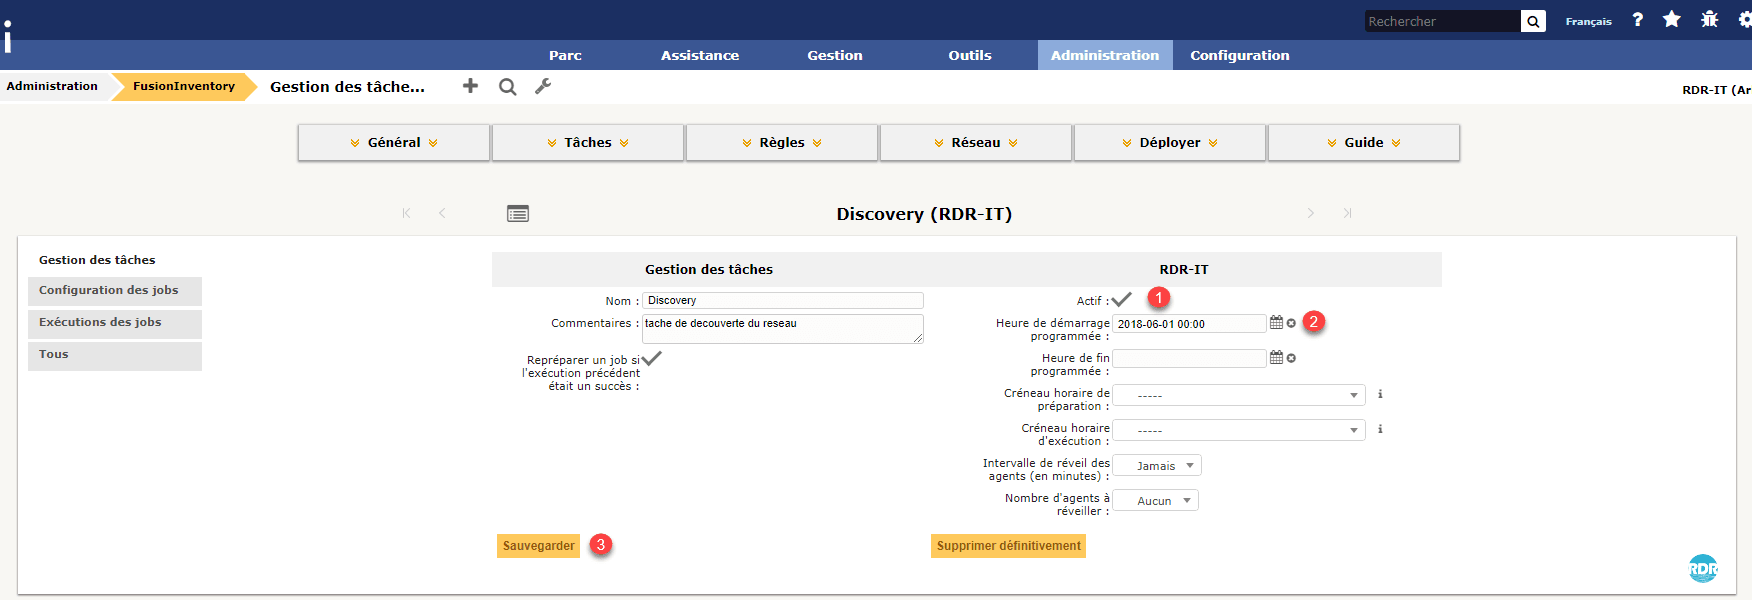
4. Activate task 1 and enter a programmed start start date 2 and click Save 3.
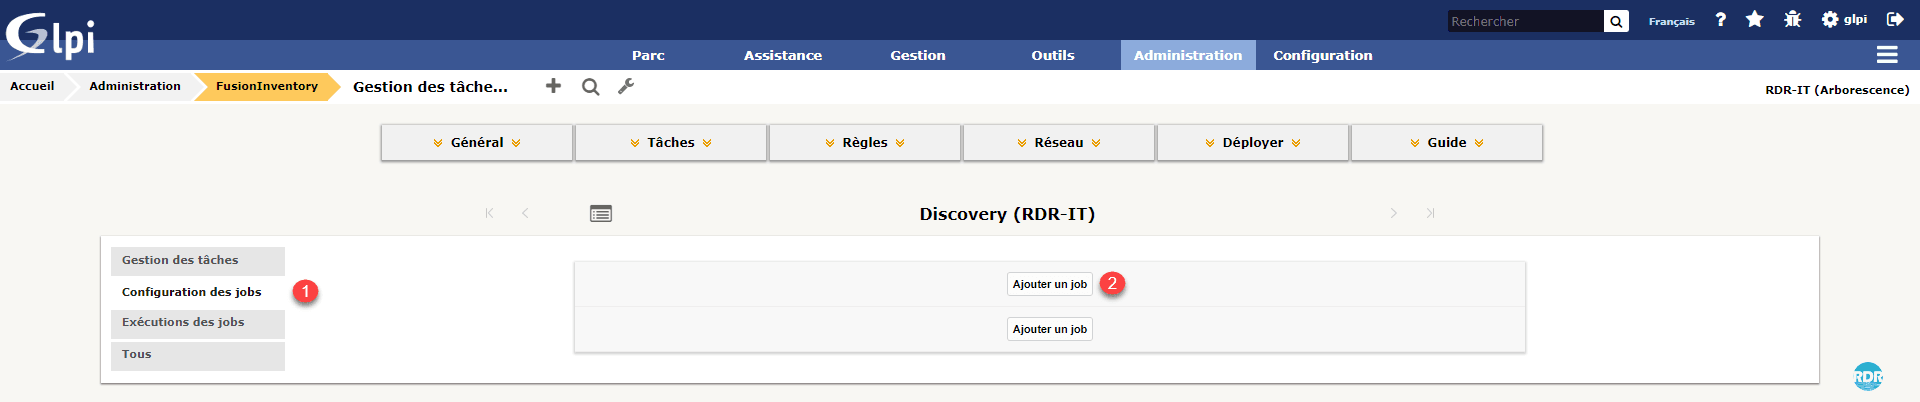
5. Go to Job Configuration 1 and click on the Add Job 2 button.
This part is common for all job types
Prior to FusionInventory 9.2, it was possible to create a job with multiple jobs
Job discovery network
The network discovery job (task) will attempt to trace the devices present in the IP ranges configured at the beginning.
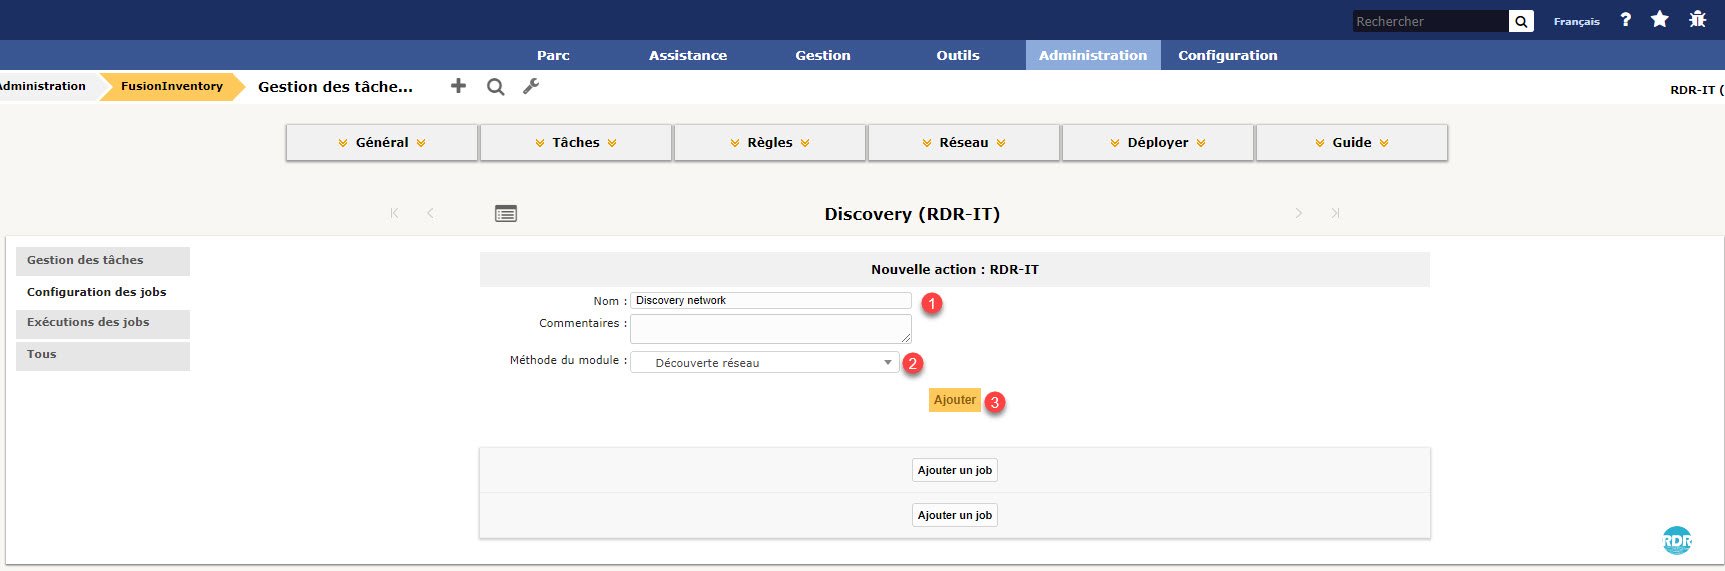
1. Give the task a name 1, select the Network Discovery 2 module and click Add 3.
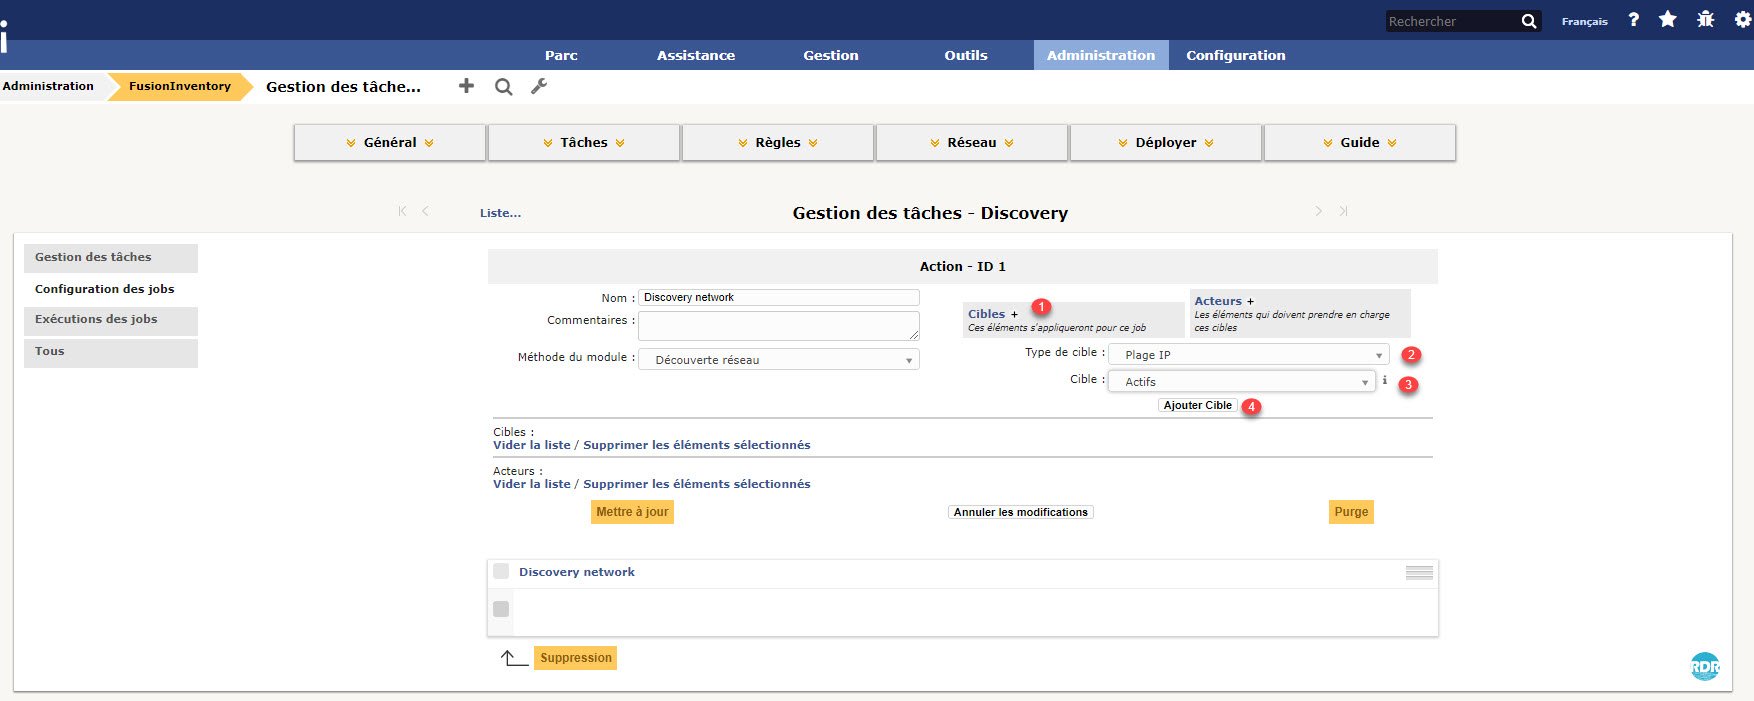
2. We must now add a target to the task, we will select the IP ranges that we created at the beginning. Click on the + 1, Target Type: IP Range 2, Target: Active 3 and click the Add Target 4 button.
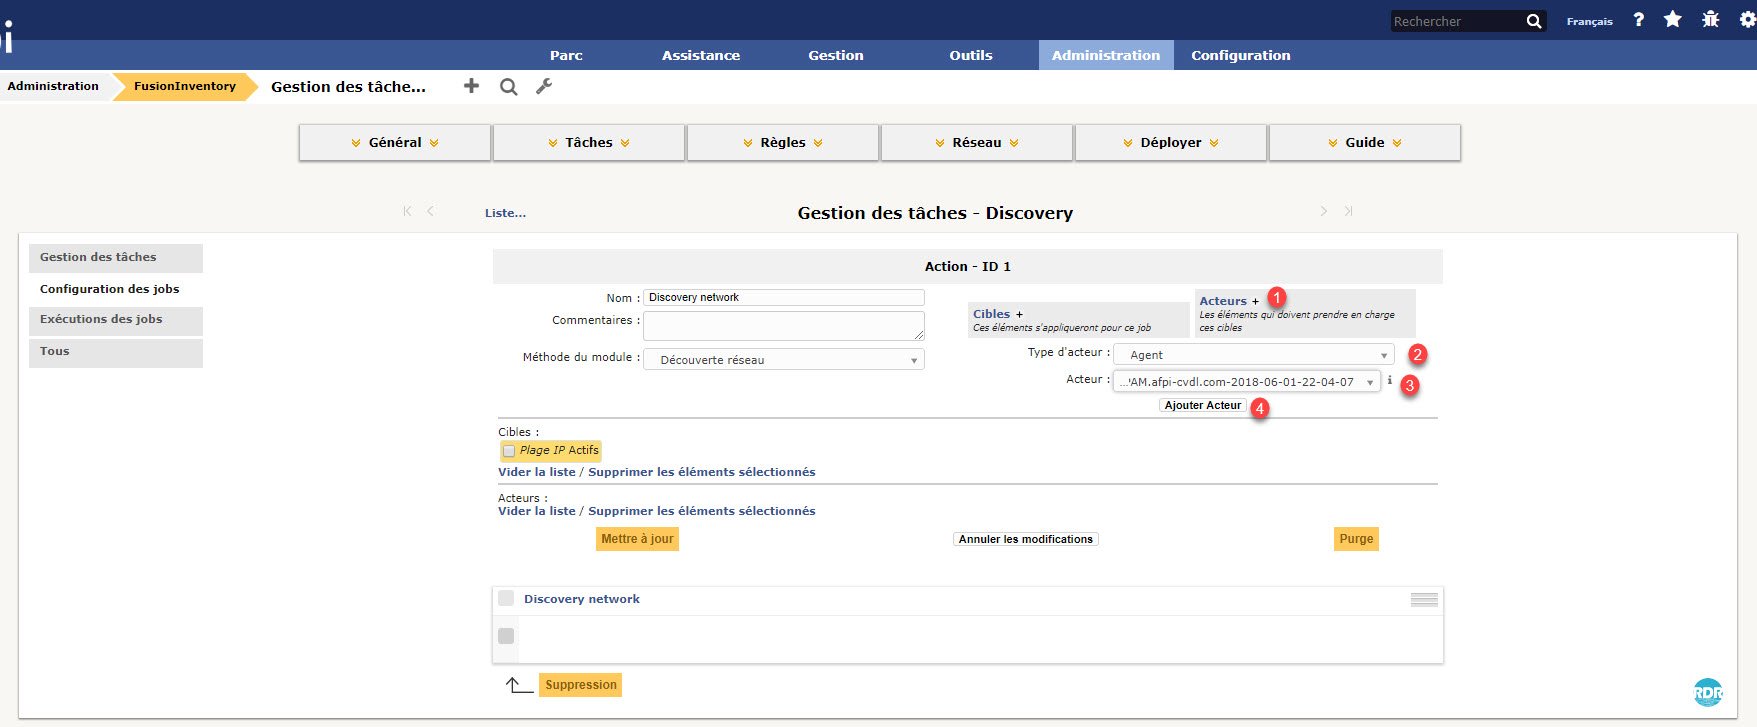
3. Now, we will select the Actors (agents) who will execute the job. Click on the + 1, Actor type: Agent 2, Actor: choose an agent from the list 3 and click on the button Add Actor 4.
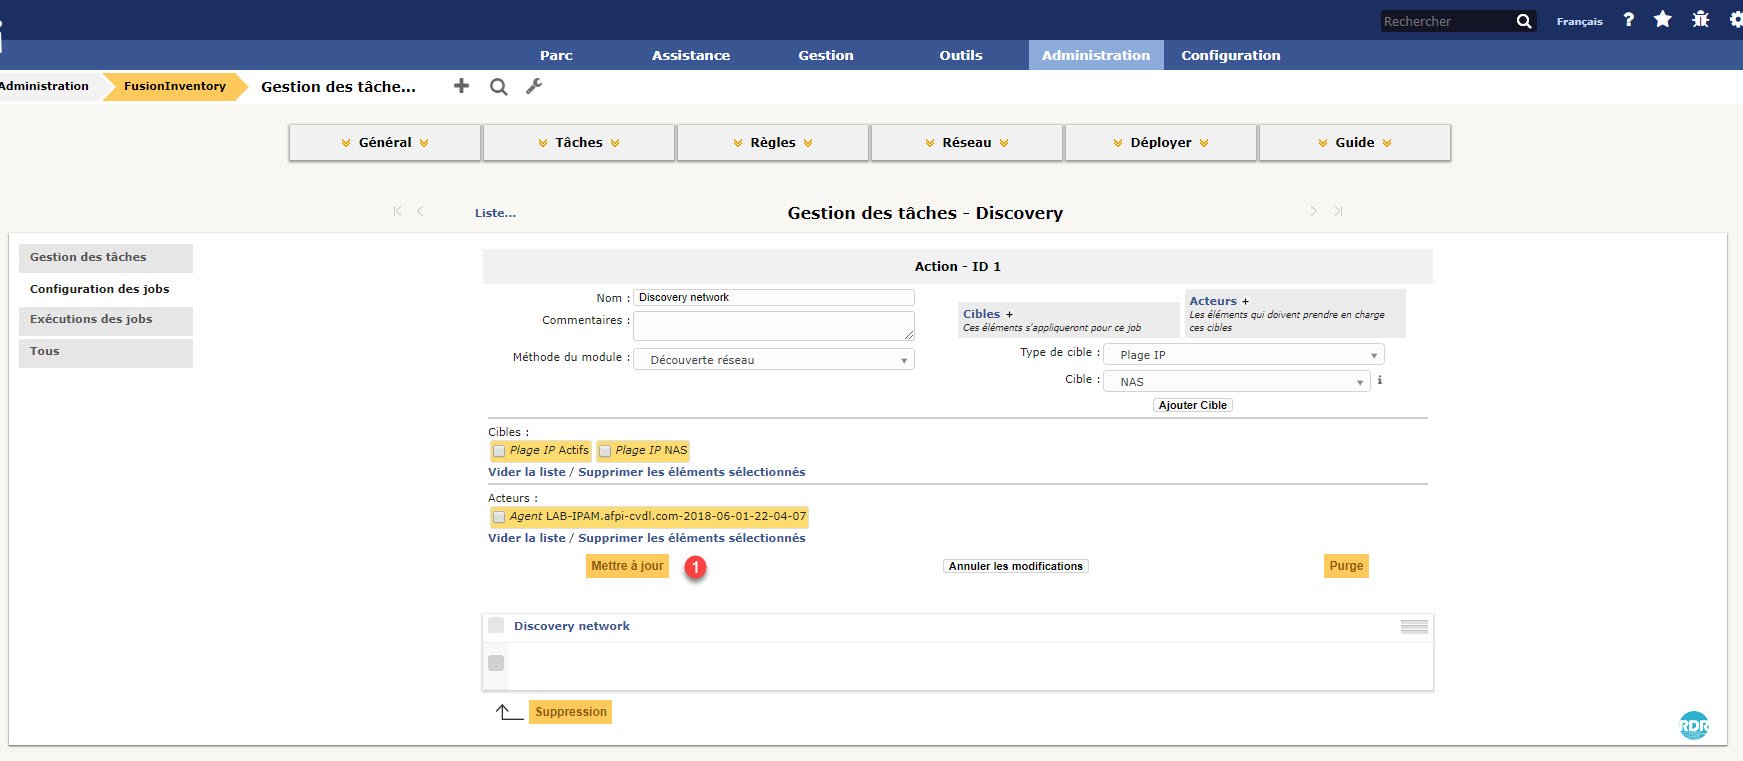
4. Click Update 1 to save the changes.
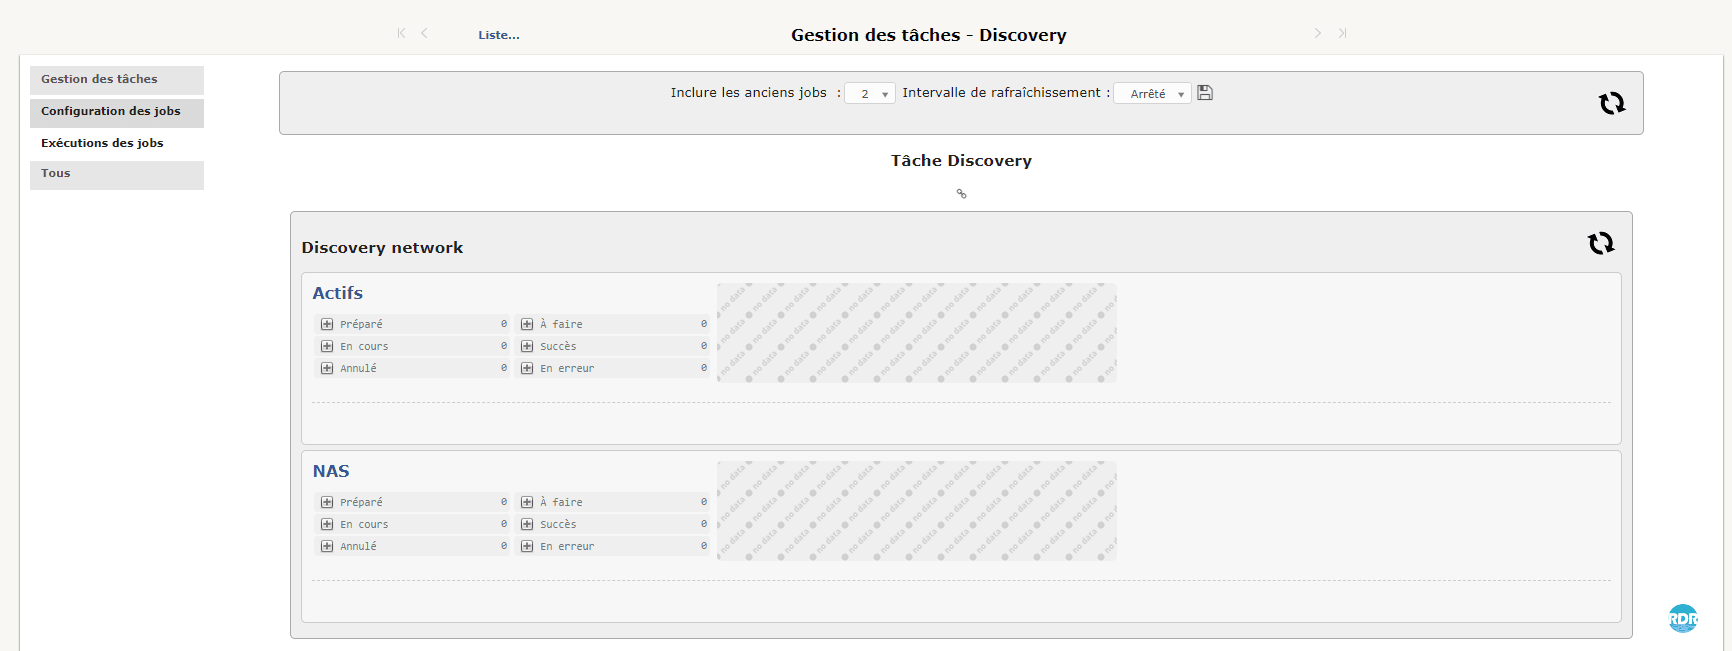
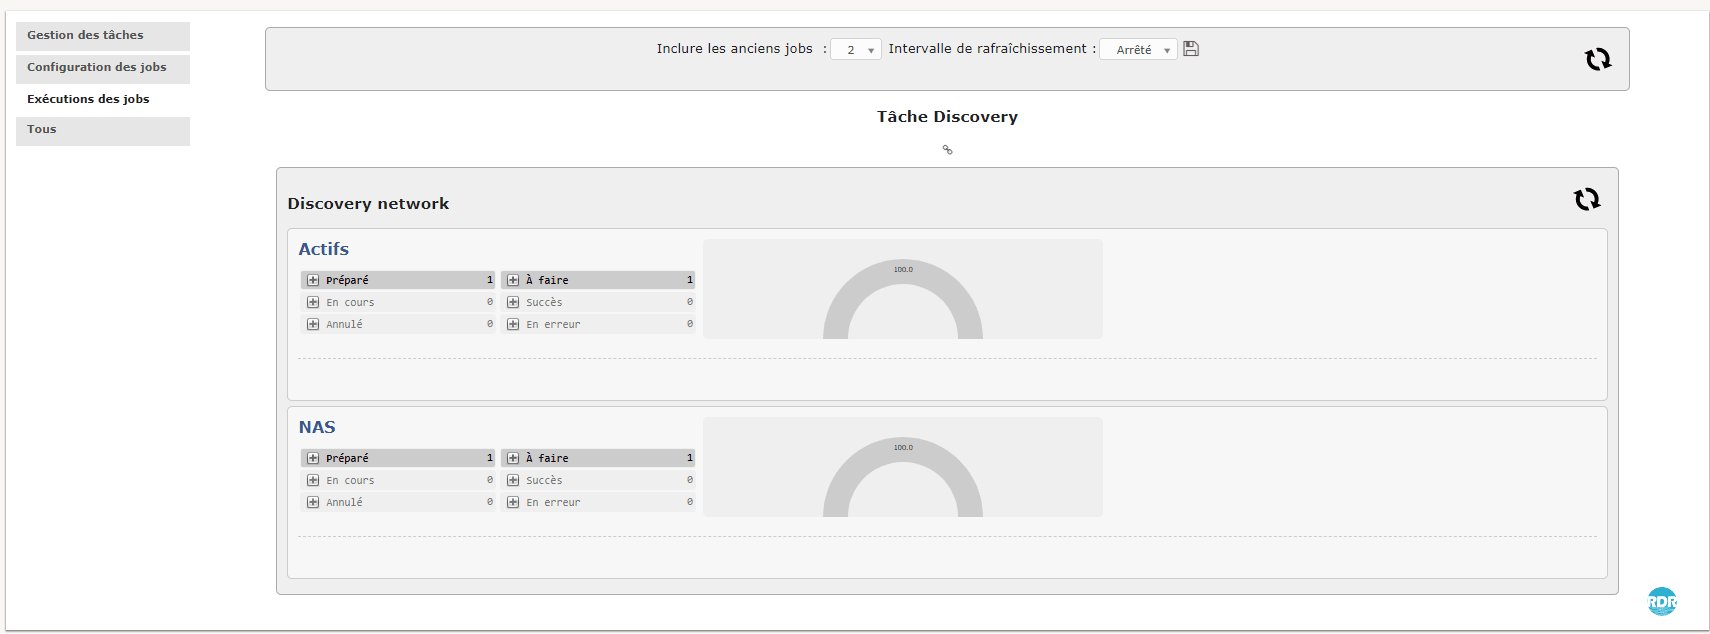
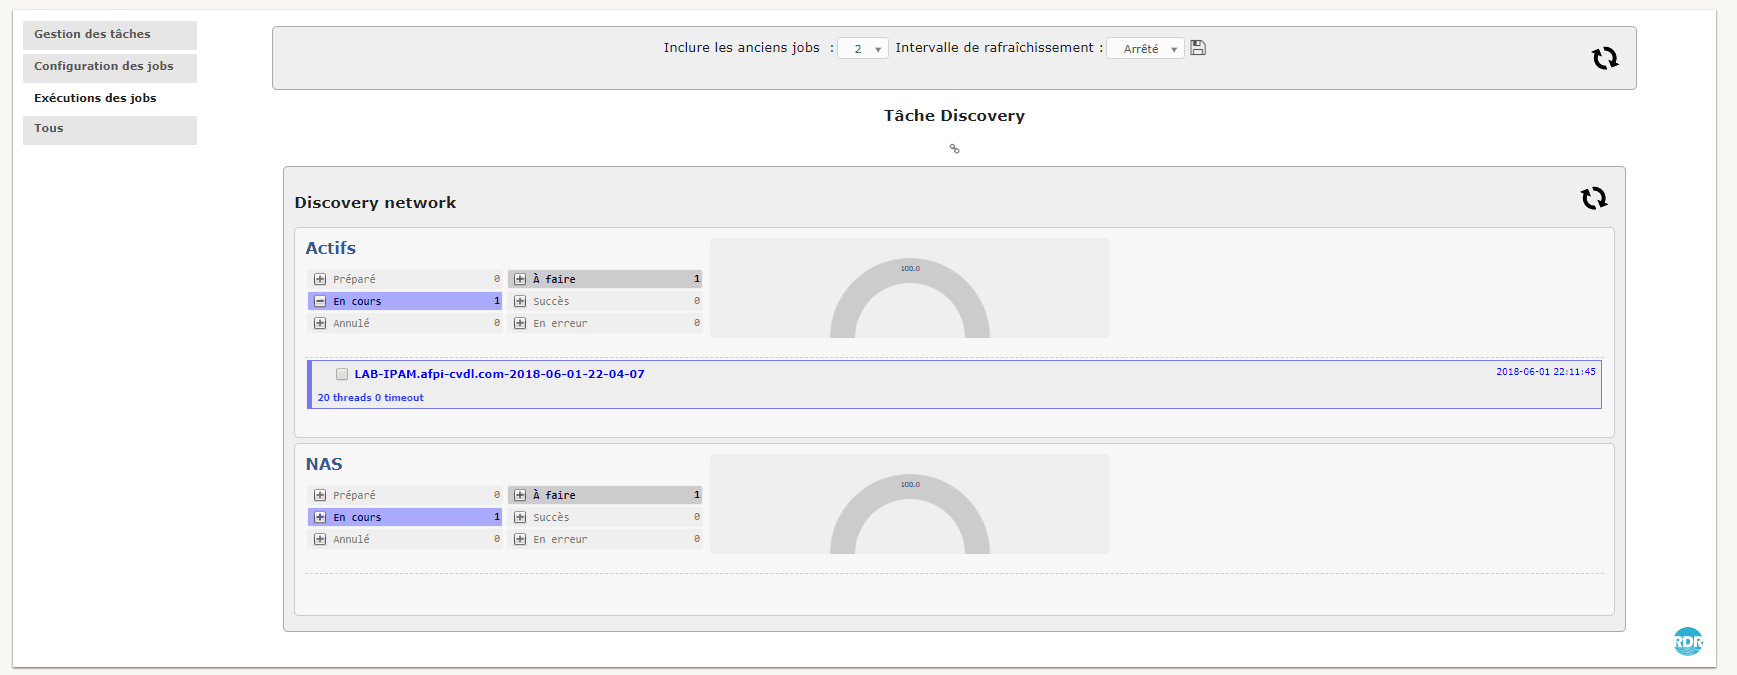
5. Left-click on Job Runs 1 to track progress.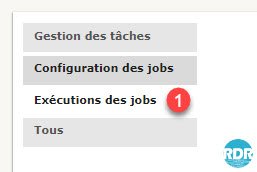
Job execution changes based on GLPI crones and agents when they contact the server.
Job developments:
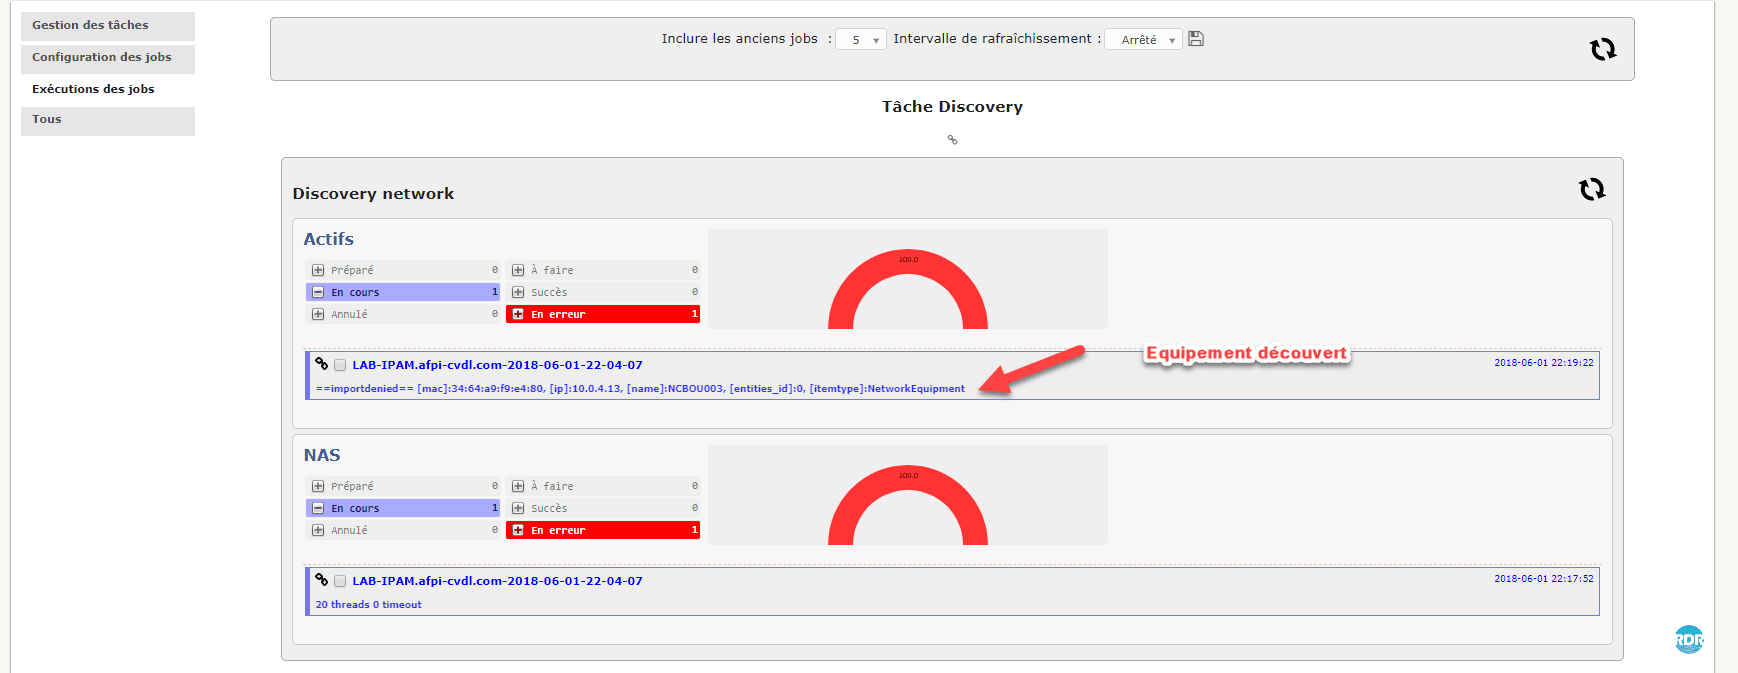
Logs of the job
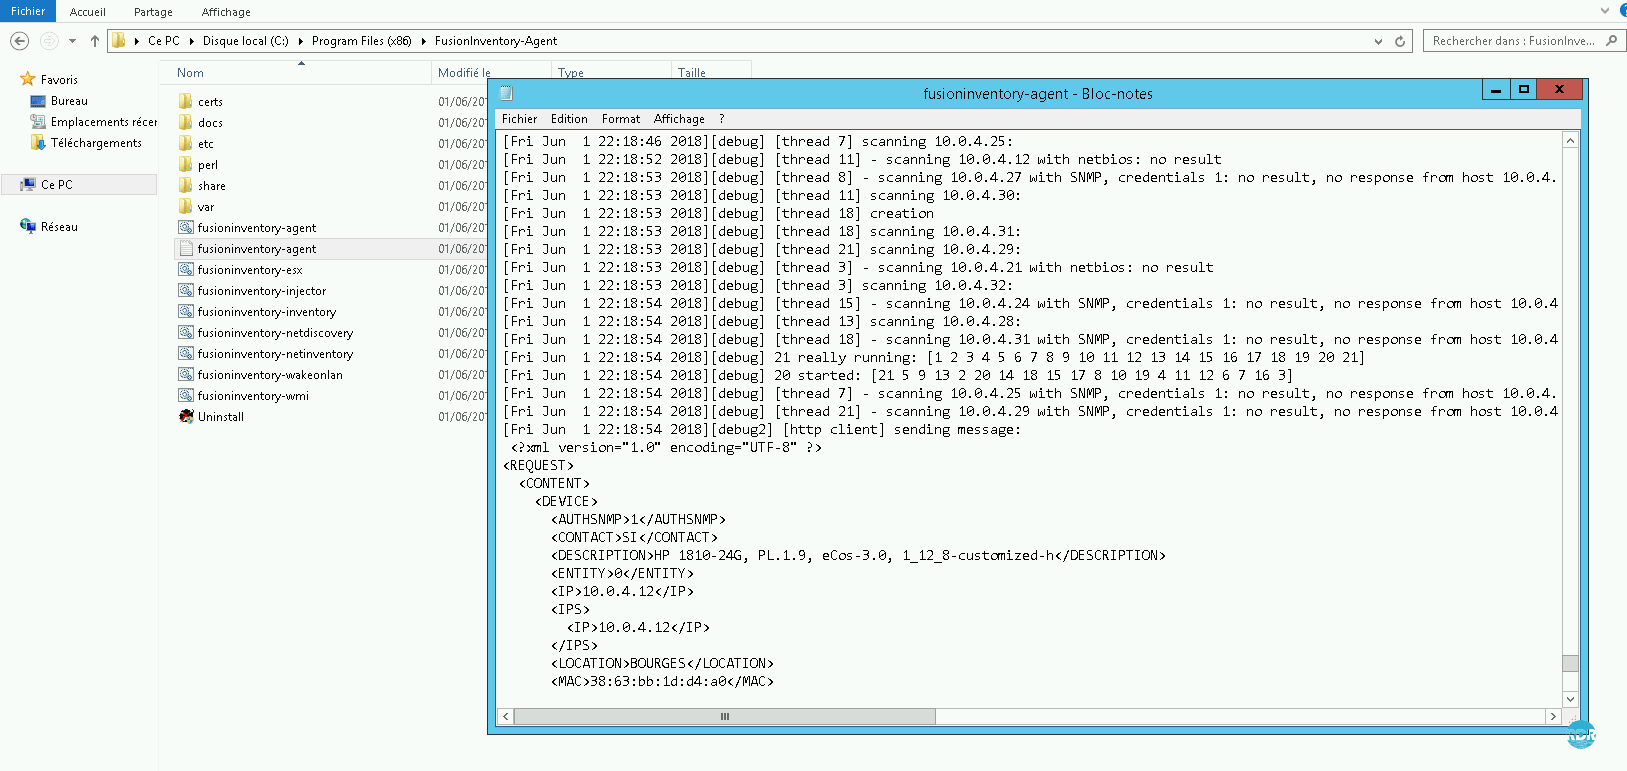
If in doubt about the proper functioning of the task, you can check the agent logs.
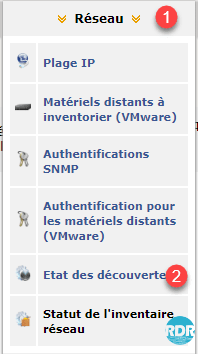
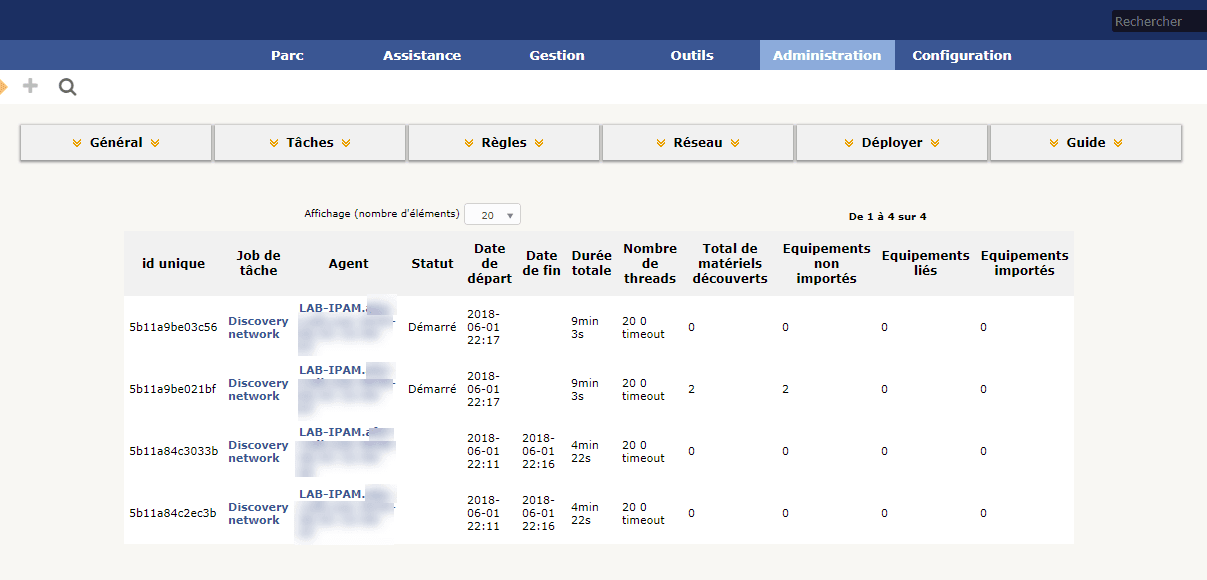
You can also follow the logs in GLPI, in the FusionInventory menu Network 1 > Discovery Status 2.
The list of executions is displayed with the result.
Forcing the import of ignored material
During discovery networks, it is possible that equipment is ignored. By default only equipment discovered with their serial number is imported into the Park at unmanaged equipment level.
Here is an example of a log with rejected equipment:

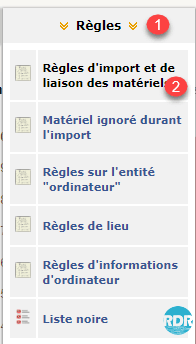
1. In the FusionInventory menu click on Rules 1 > Important and material binding rules 2.
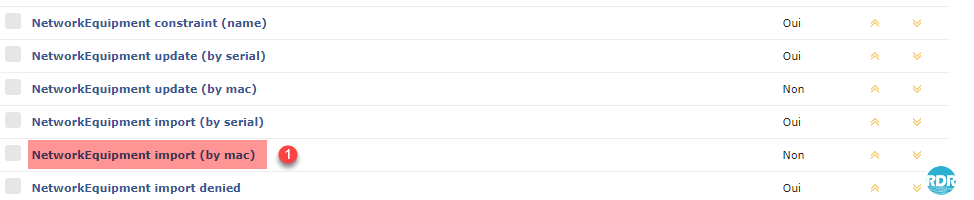
2. In the list of rules find the NetworkEquipment import (by mac) 1 rule and click on it.
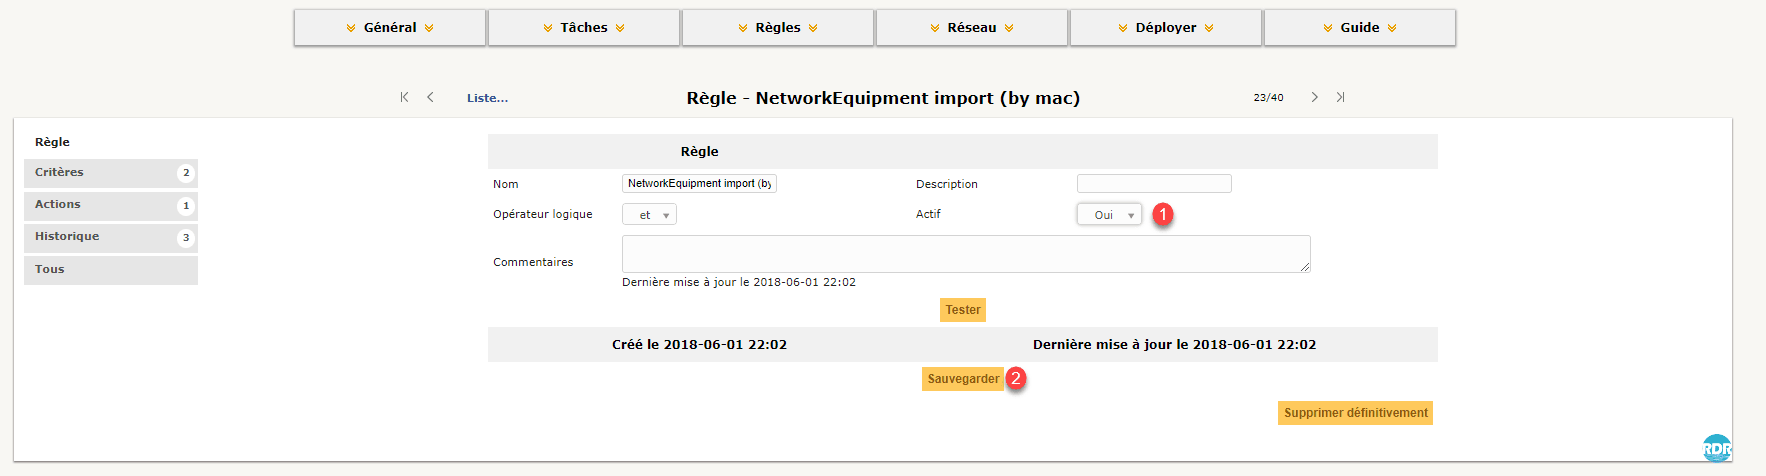
3. Change Active to Yes 1 and click the Save button 2.
4. Do the same thing for the NetworkEquipment update (by mac) rule.
At the next discovery, non-inventoried items that have a mac address will be imported.
Pass unmanaged imported equipment into network equipment.
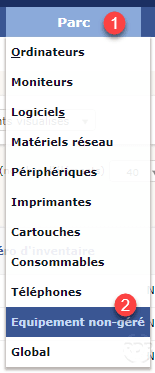
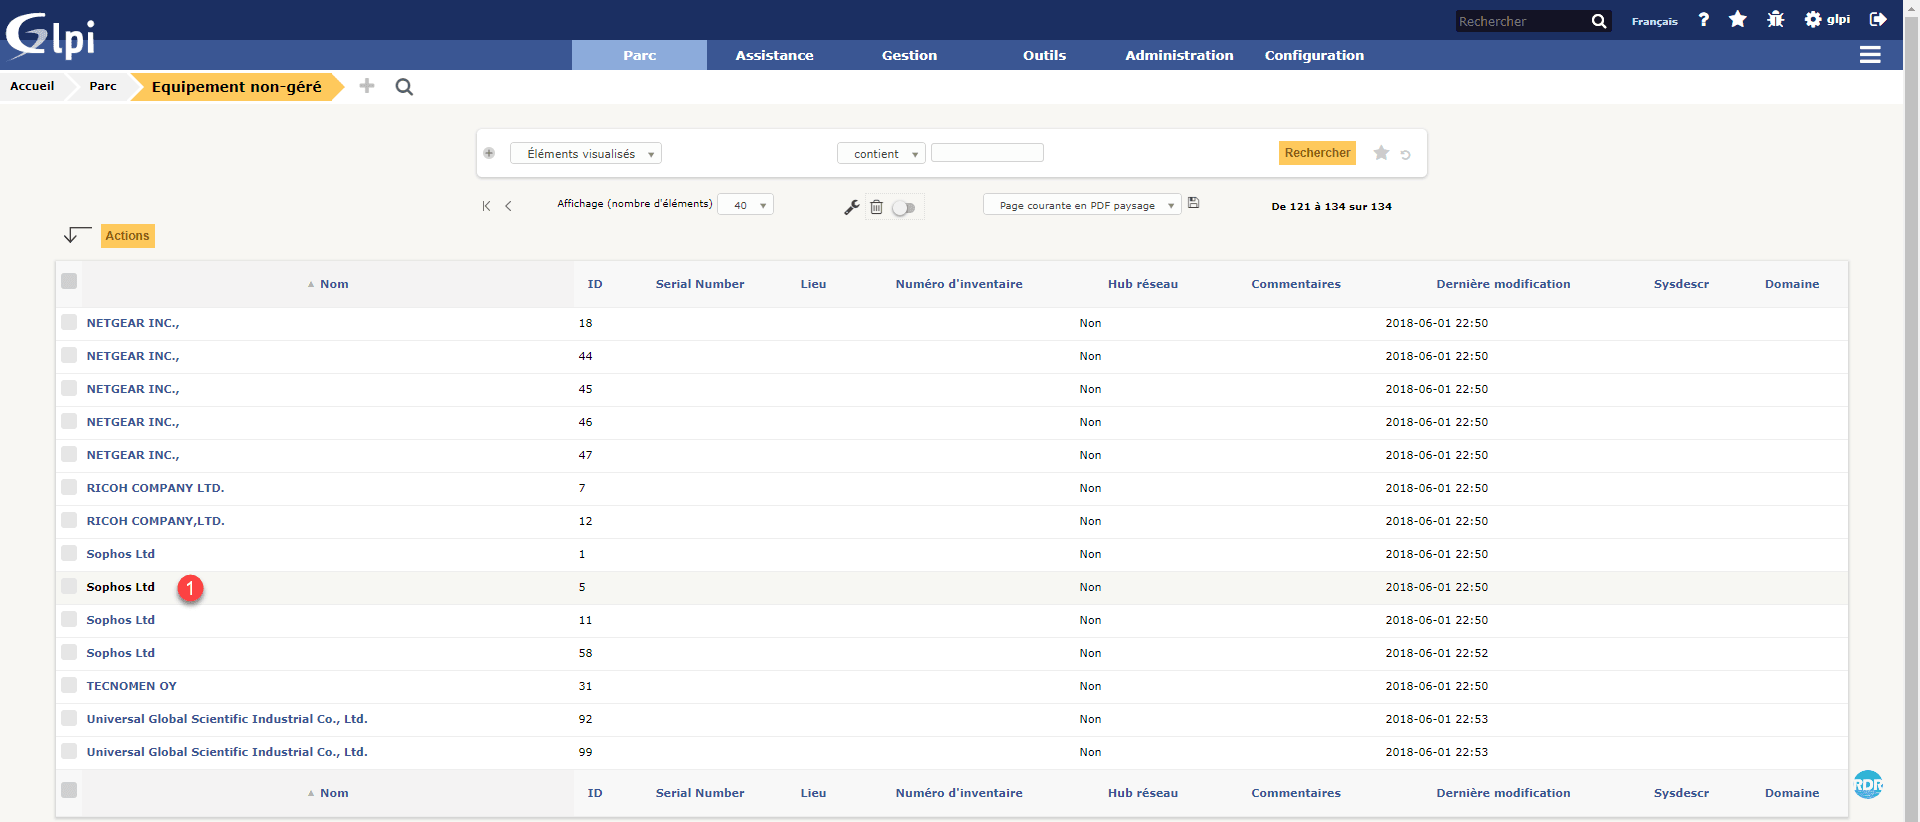
1. In the GLPI navigation menu, switch to Asset 1 and click on Unmanaged Equiepemnt 2.
2. Click on the equipment to import 1.
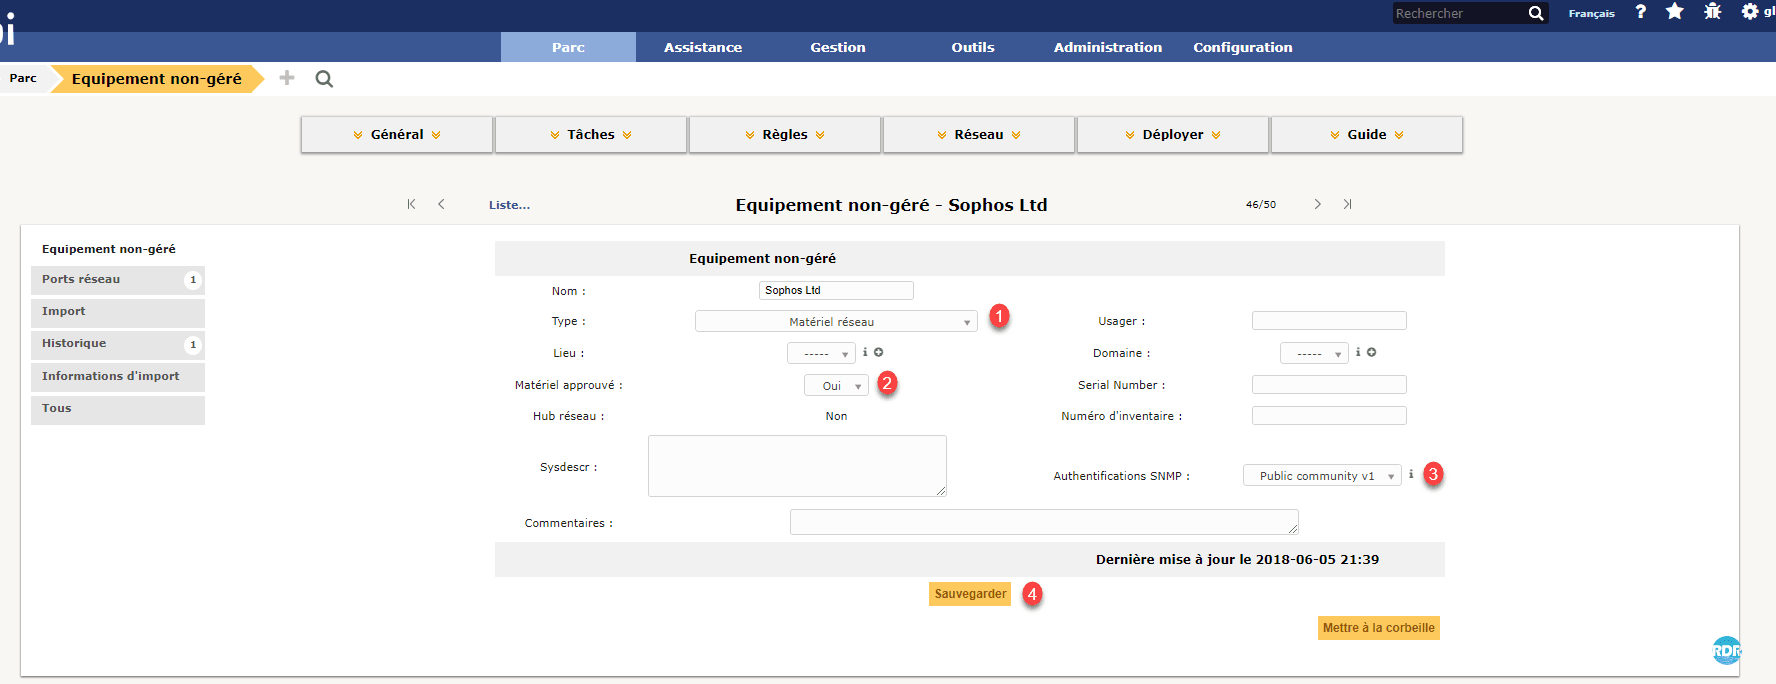
3. Select type 1, in the field Approved hardware put Yes 2, enjoy being on the form to inform your SNMP 3 community then click on Save 4.
4. Then click Import 1 and the Import 2 button.

SNMP inventory job
This job will interrogate the discovered equipment and also the equipments recorded manually in GLPI. To interrogate equipment entered manually, you must inform the snmp community in the form.
To create an SNMP job, you must first create a new job.
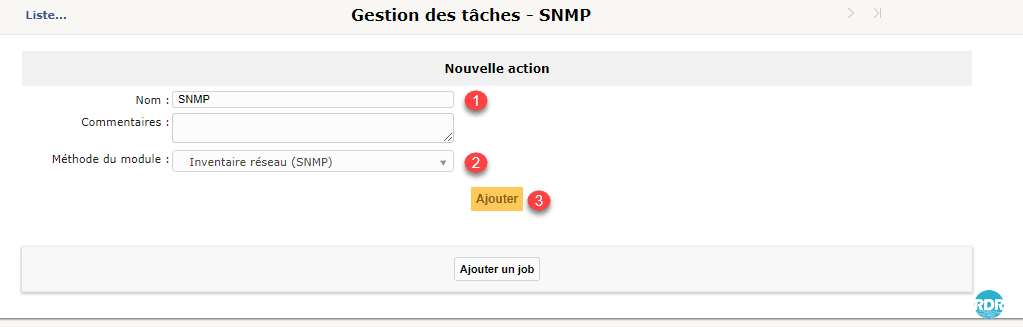
1. Give the task a name 1, select the Network Inventory (SNMP) 2 module and click Add 3.
2. As for the discovery task add the configured IP ranges as well as the agents. In addition, you can add a manually entered Network Device 1.
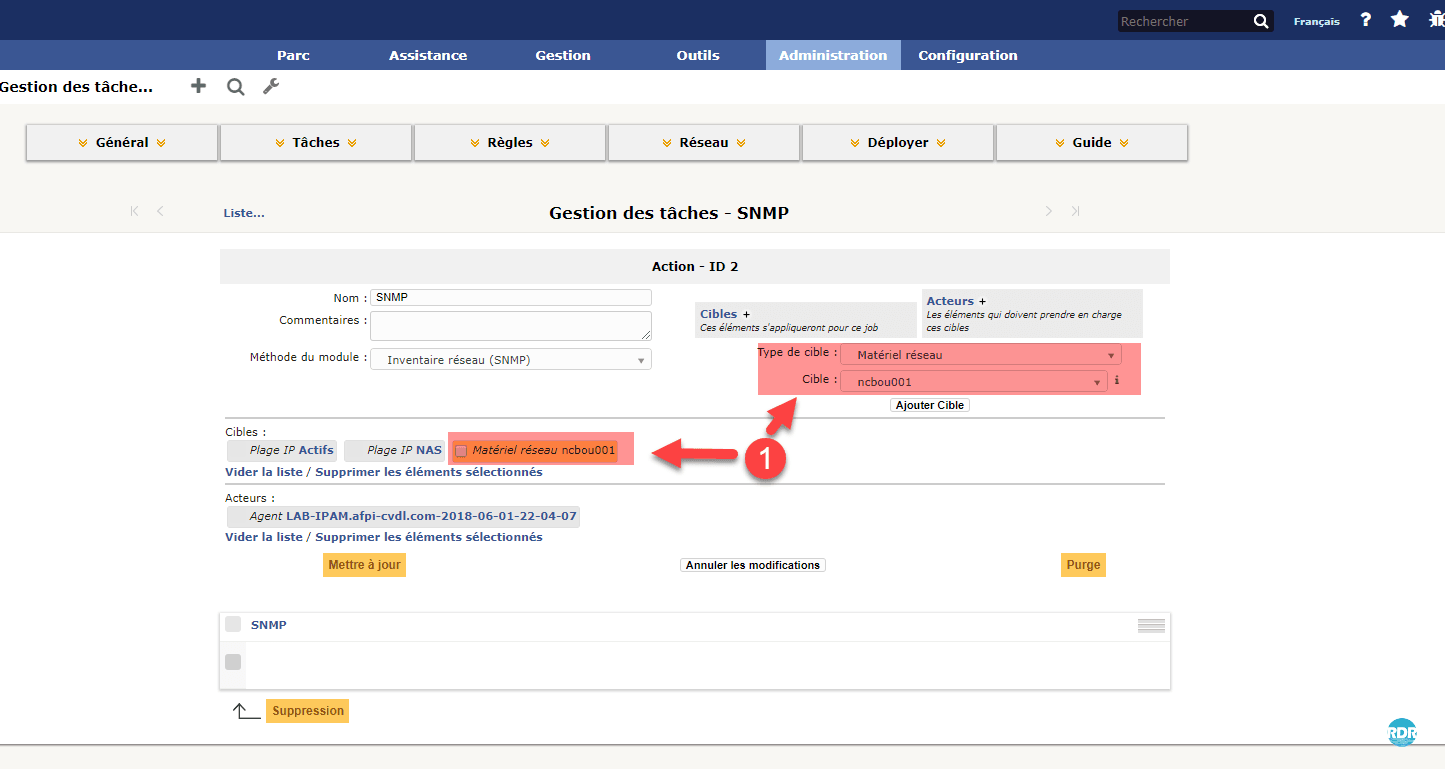
When preparing the job, if an IP range is configured, only known and managed devices will be added. Unlike the discovery job, not all IPs are queried.
As with the inventory job, you just have to wait for the agent to do the job.
The inventory logs are available in Network> Network Inventory Status.
I hope this tutorial will help you in setting up the couple GLPI and FusionInventory.