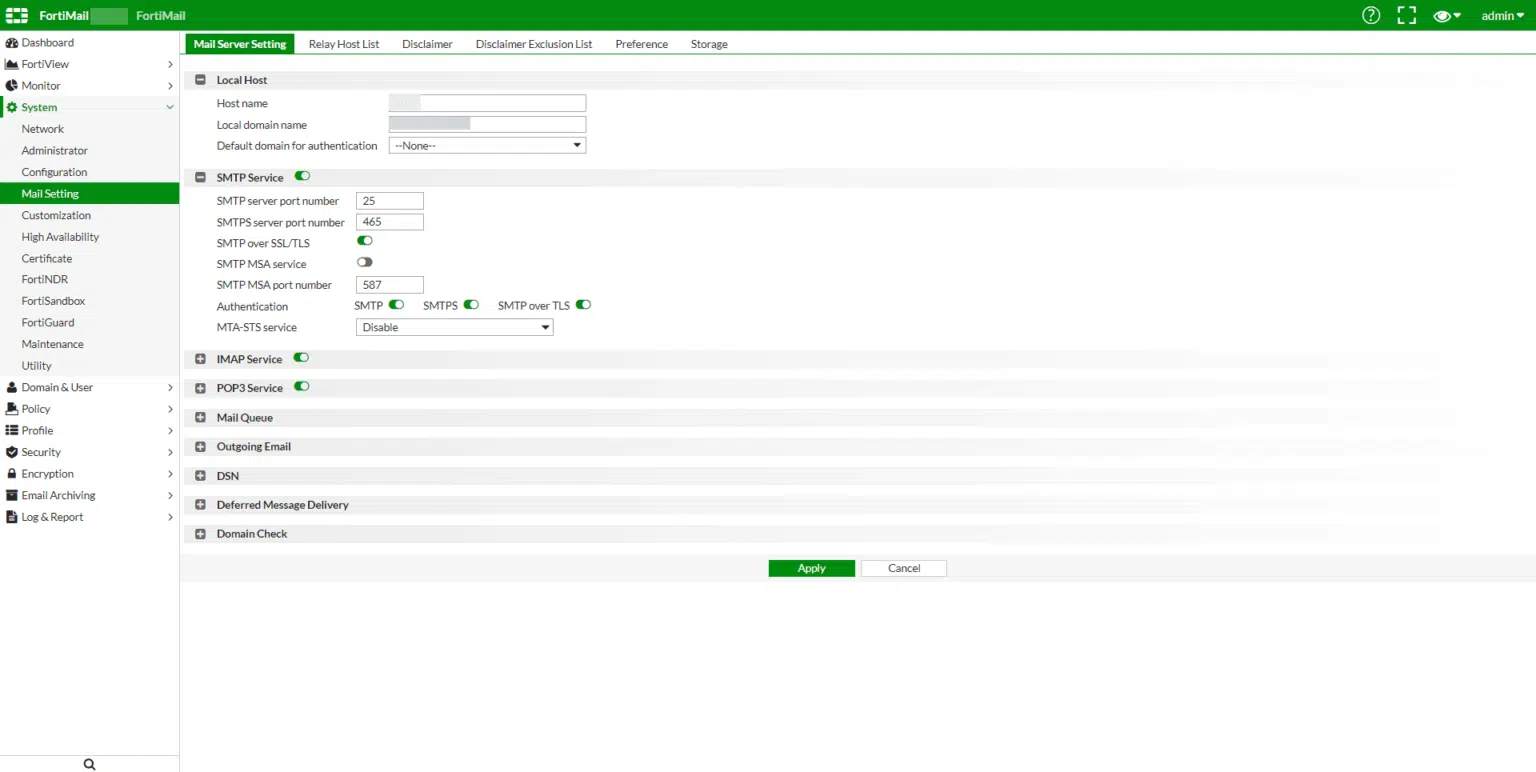
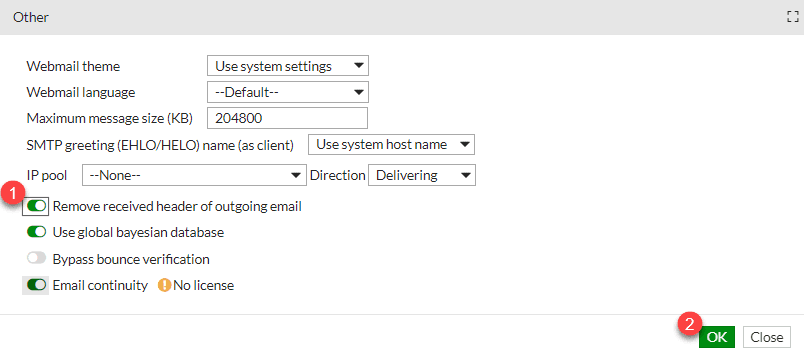
In this tutorial, I’ll explain how to configure DKIM on Fortimail for an email domain for outgoing emails.
To put it simply, DKIM allows you to sign outgoing emails; this signature is then verified by the email server receiving the message using a public key available via a DNS record. This accomplishes two things:
- It authenticates the server that sent the message.
- It verifies that the message has not been tampered with.
Configuring DKIM in Fortimail
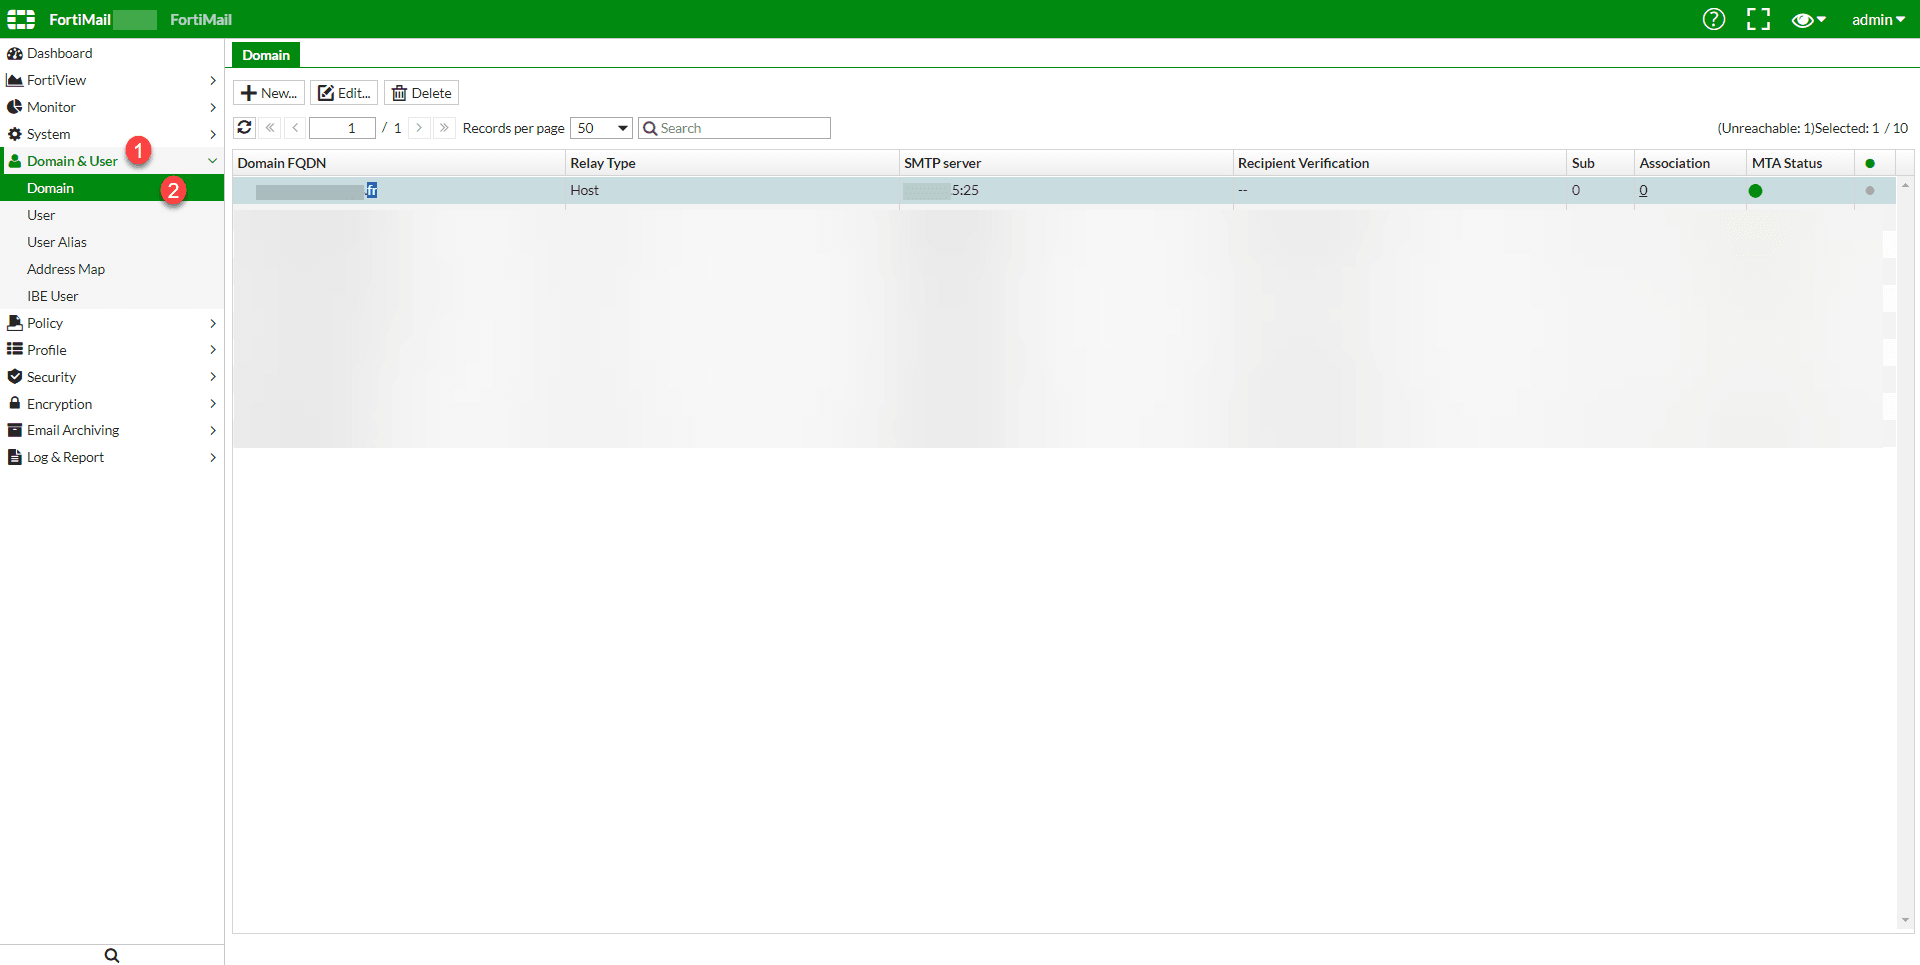
On the Fortimail interface, go to the list of email domains: Domain & User 1 , then Domain 2 .
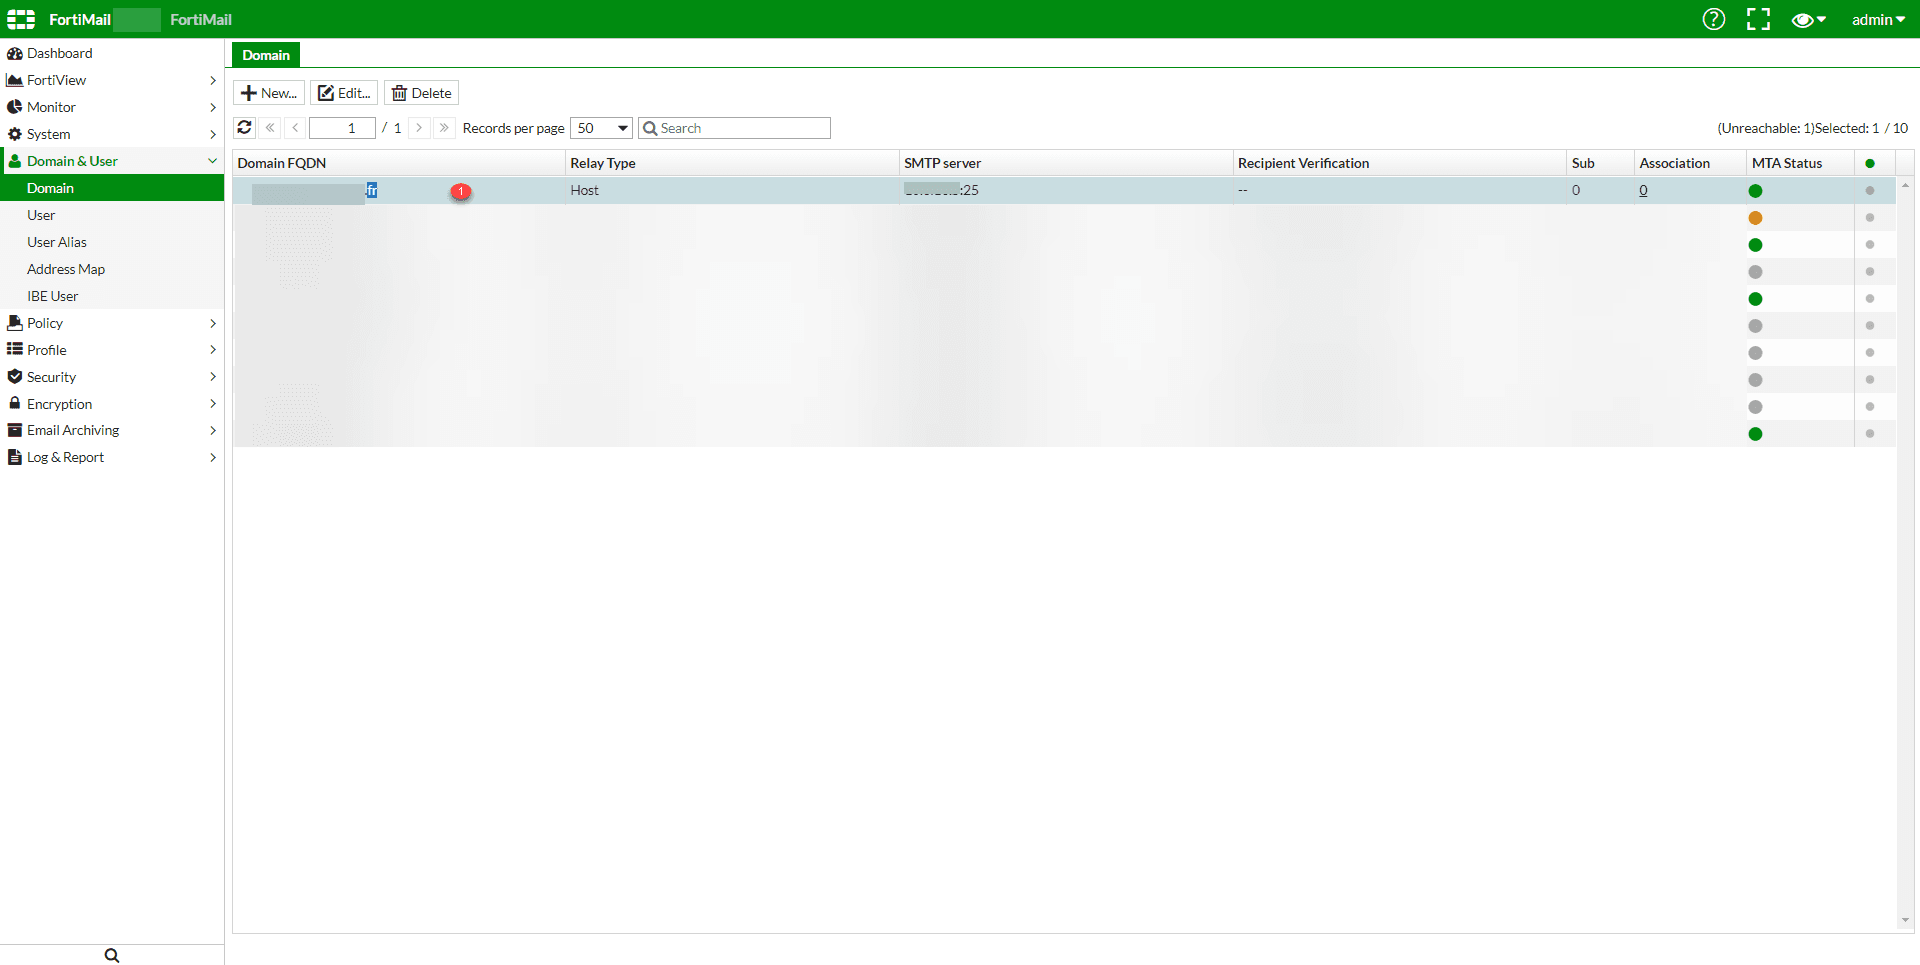
Double-click the domain 1 to open its settings.
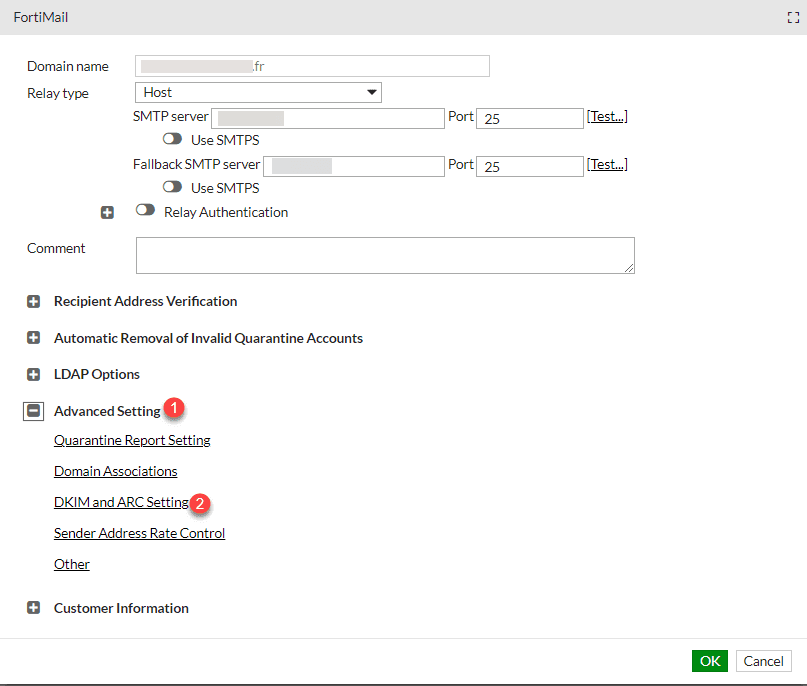
In the properties, expand “Advanced Settings” 1 and click “DKIM and ARC Settings” 2 .
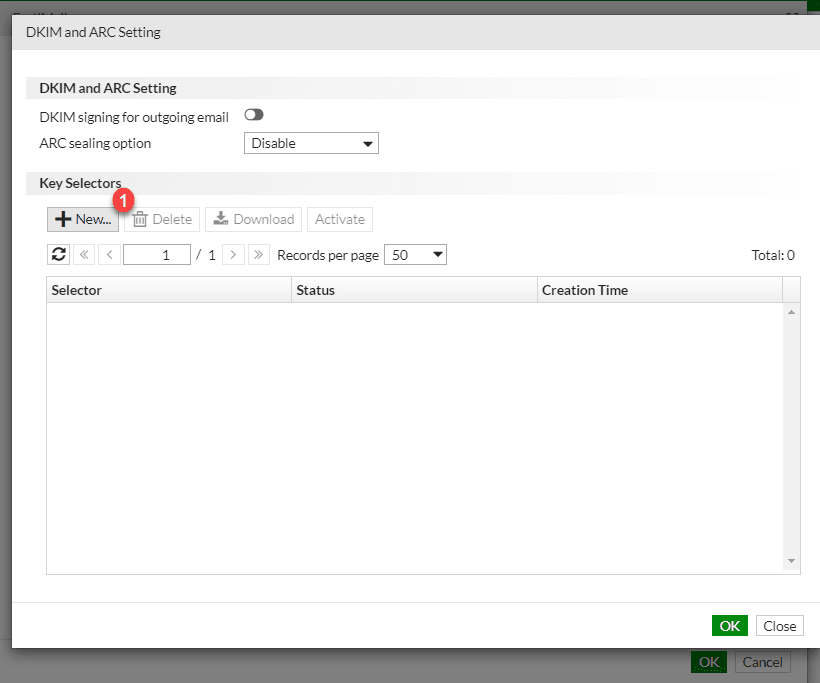
We’ll start by creating a key. In the “Key Selectors” section, click the “New” button 1 .
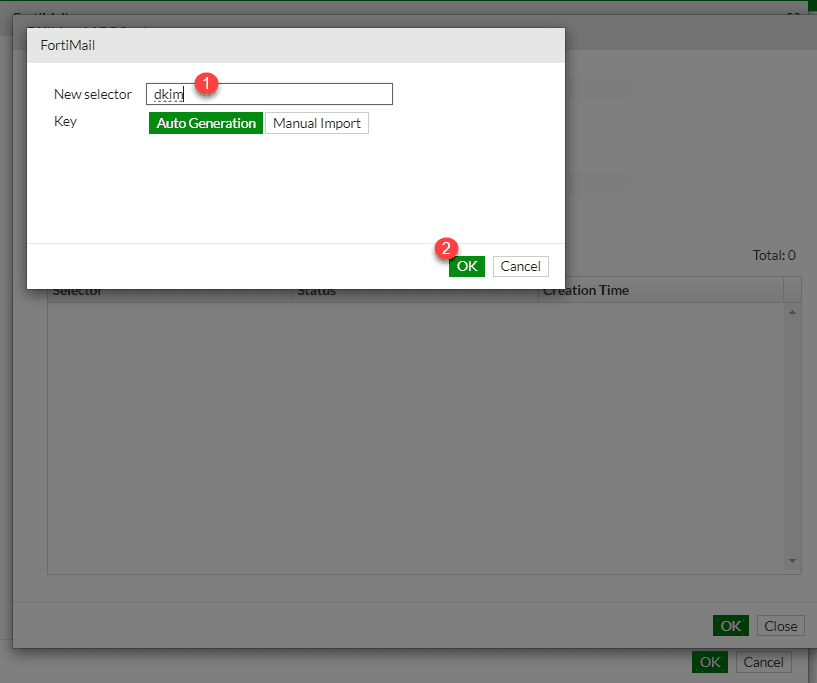
Name the key 1 and click OK 2 to create it.
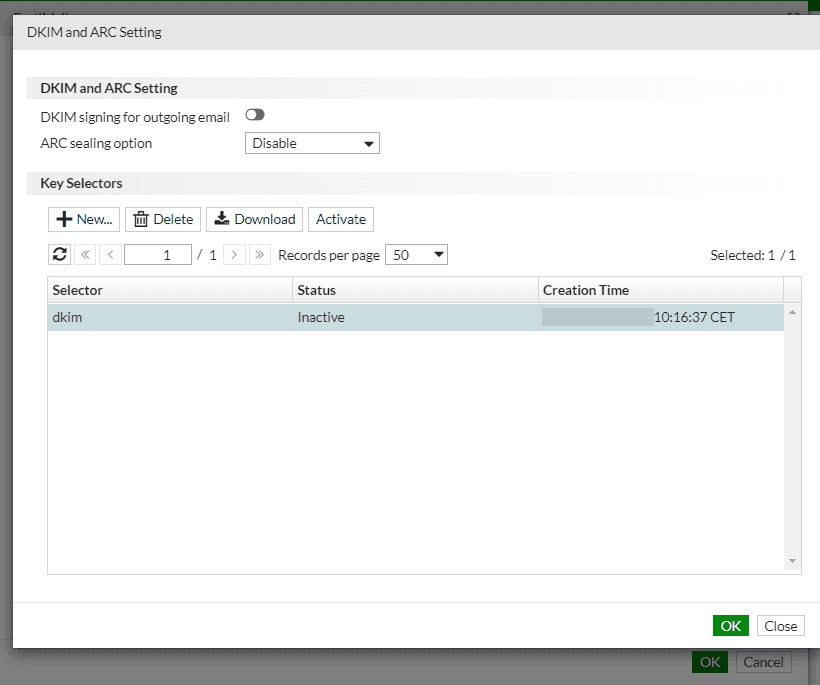
The key has been created, but it is not active yet.
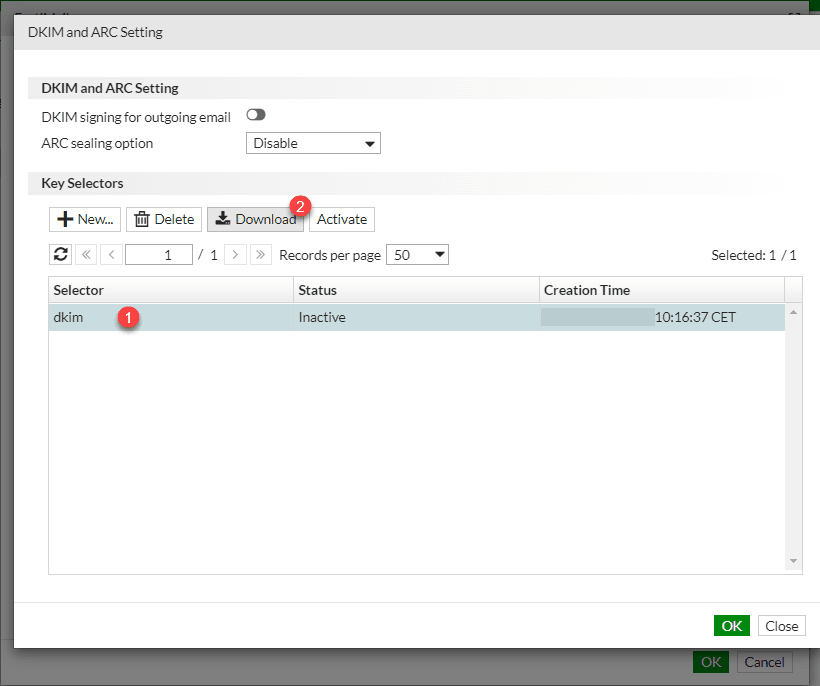
Before activating the key, you must configure the DNS record that will publish the public key. Select the Selector 1 and click the Download button 2 .
The downloaded file contains the record to be created with the public key.
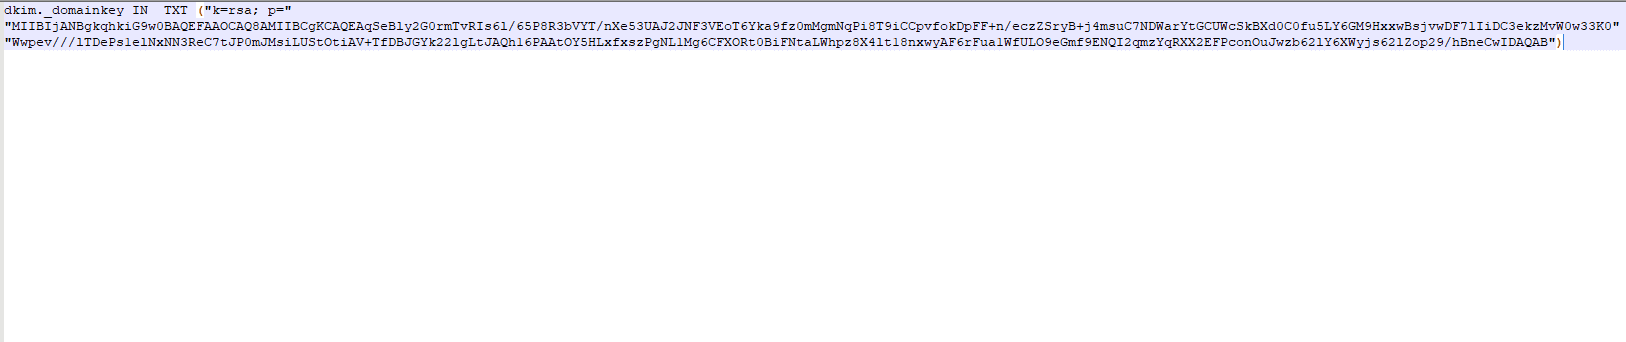
Add the DNS record to the domain; this record must be registered on your public DNS.
Once added, verify that it is correct and that it has propagated across the Internet using a tool such as MXToolbox .
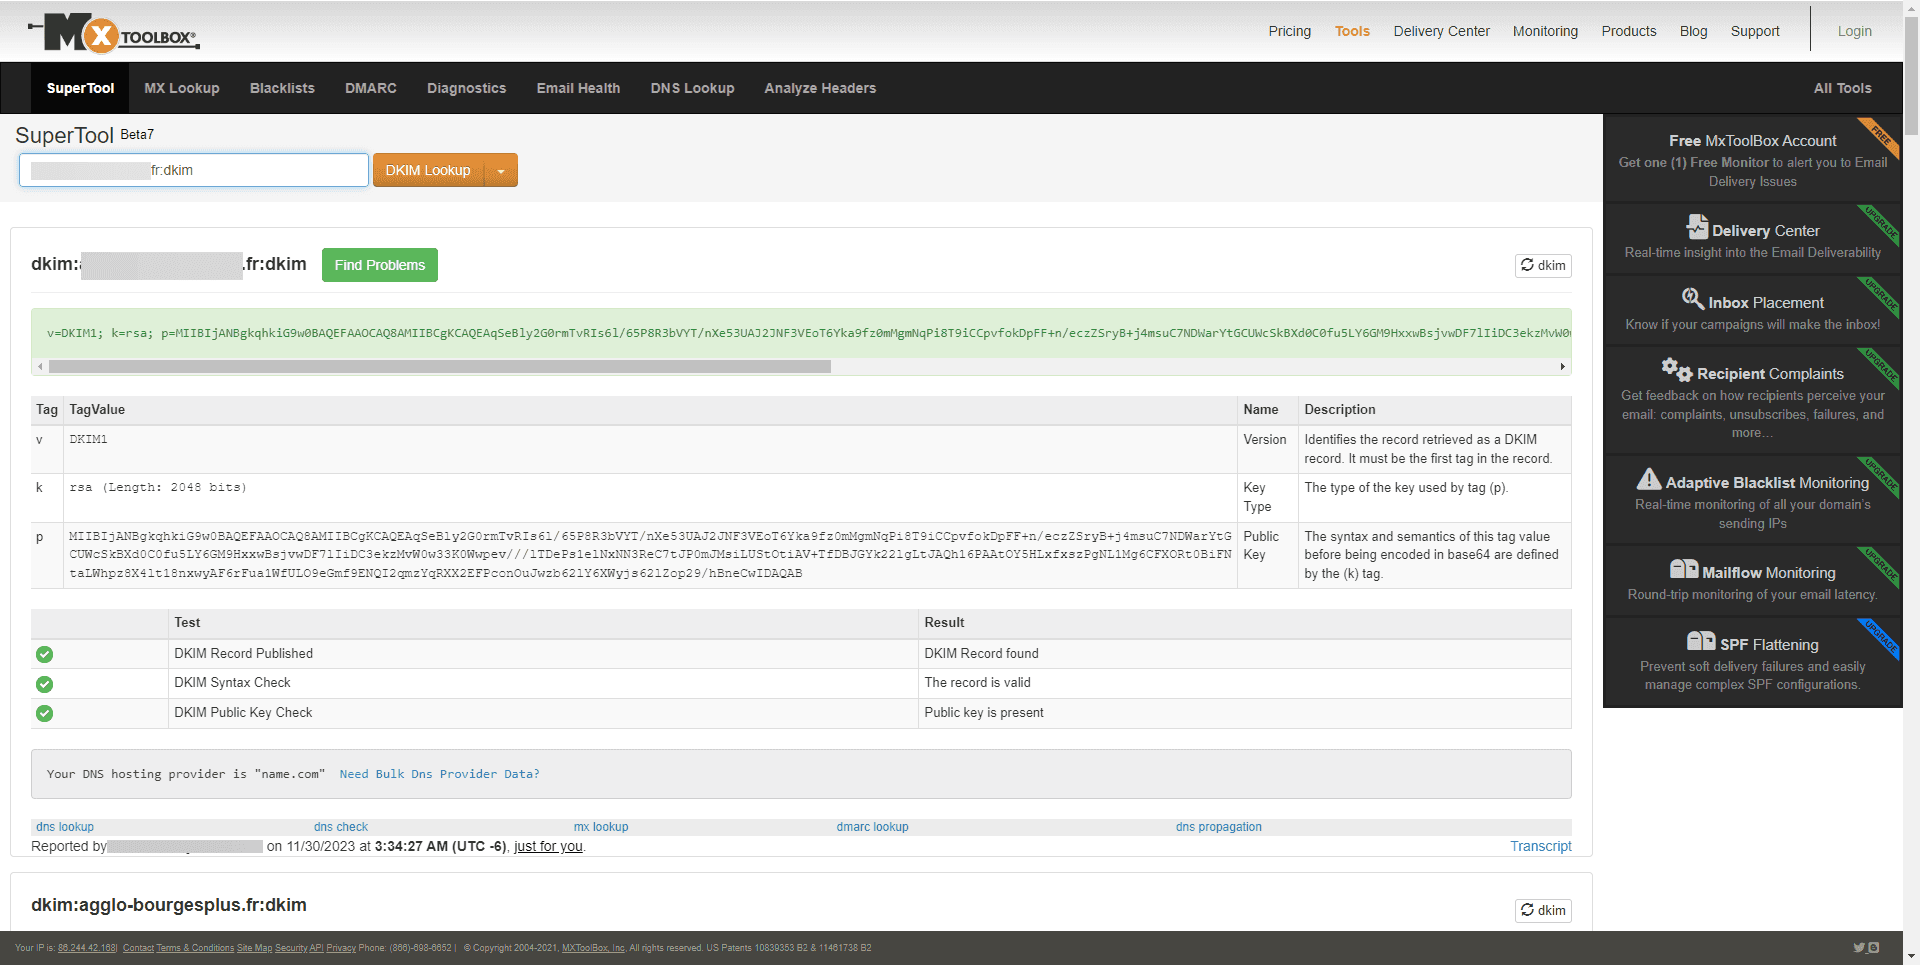
This process may take varying amounts of time depending on your domain name registrar.
Once the record is valid, as shown in the screenshot above, return to Fortimail to enable DKIM signing.
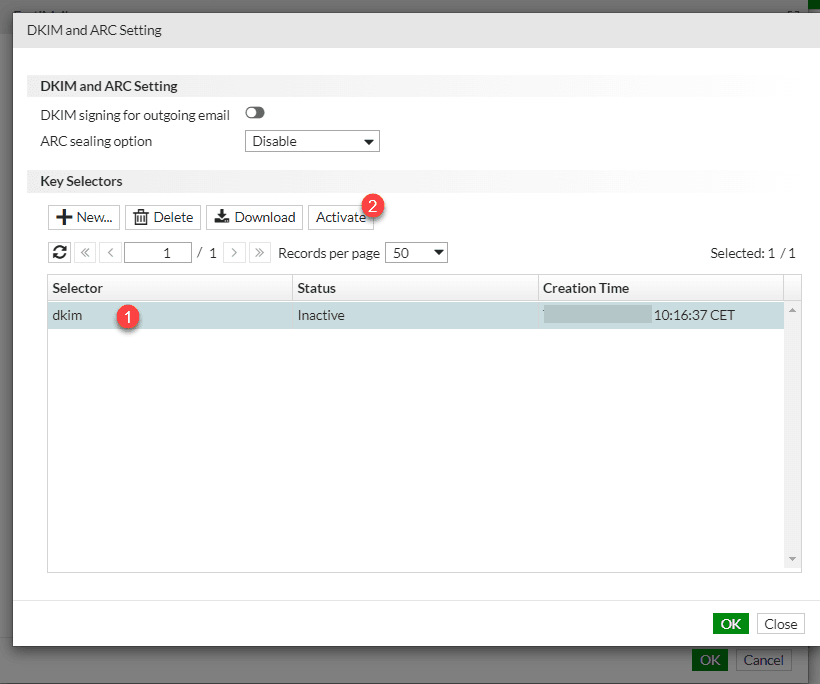
Select the Selector 1 and click Activate 2 .
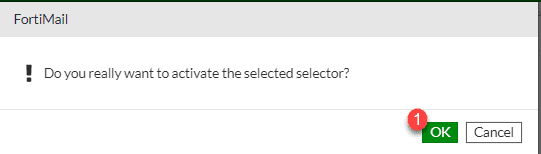
Confirm the activation of DKIM signing by clicking the OK button 1 .
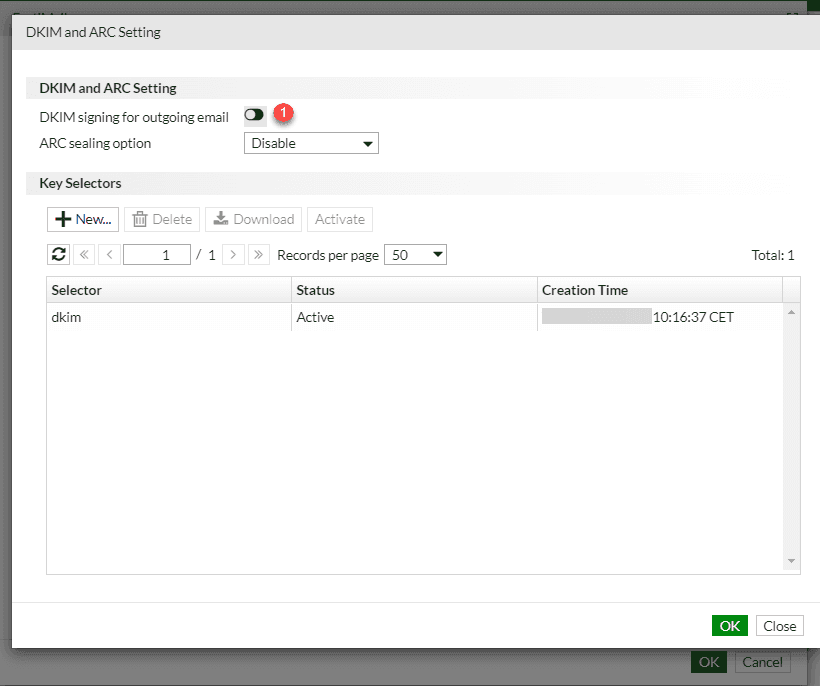
The signature key is now active; you must now enable signing for outgoing messages by clicking the “DKIM signing for outgoing email” selector 1 .
The DKIM configuration is complete.
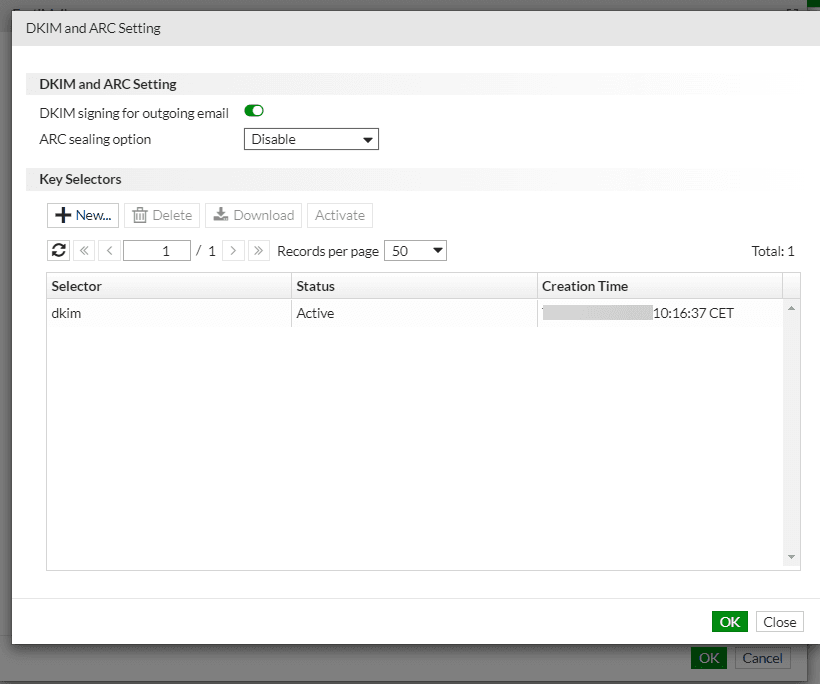
Close both windows by clicking the OK button on each one.
Test the signature
To verify the signature, send a message to an external address.
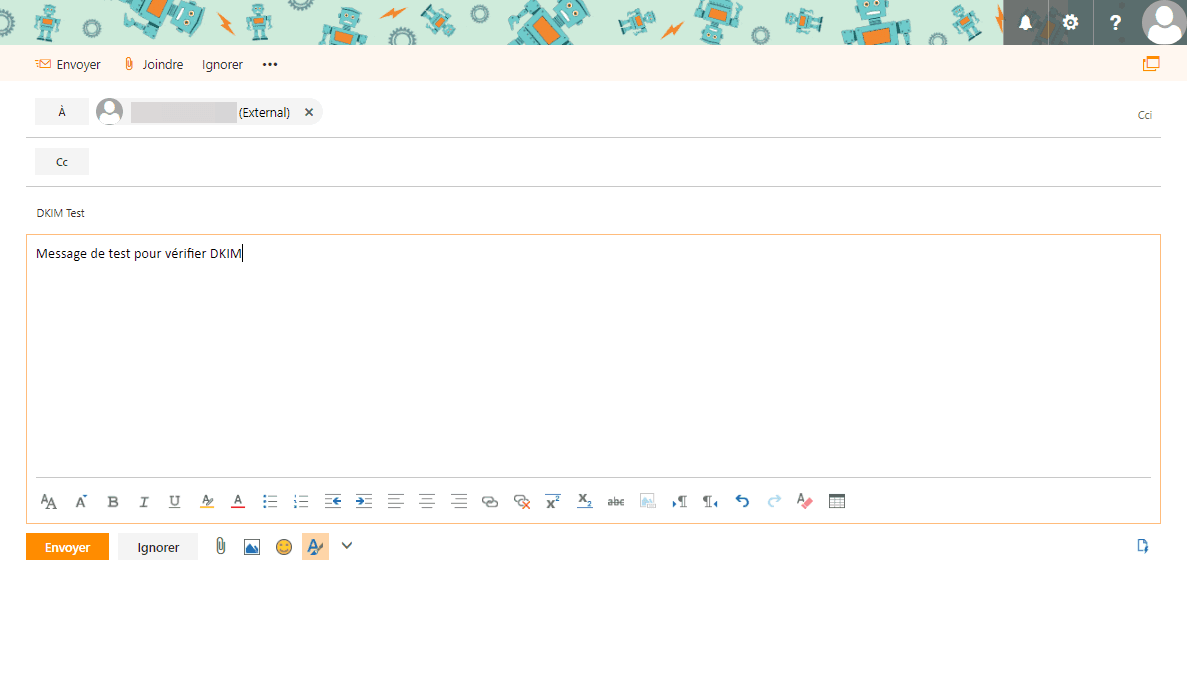
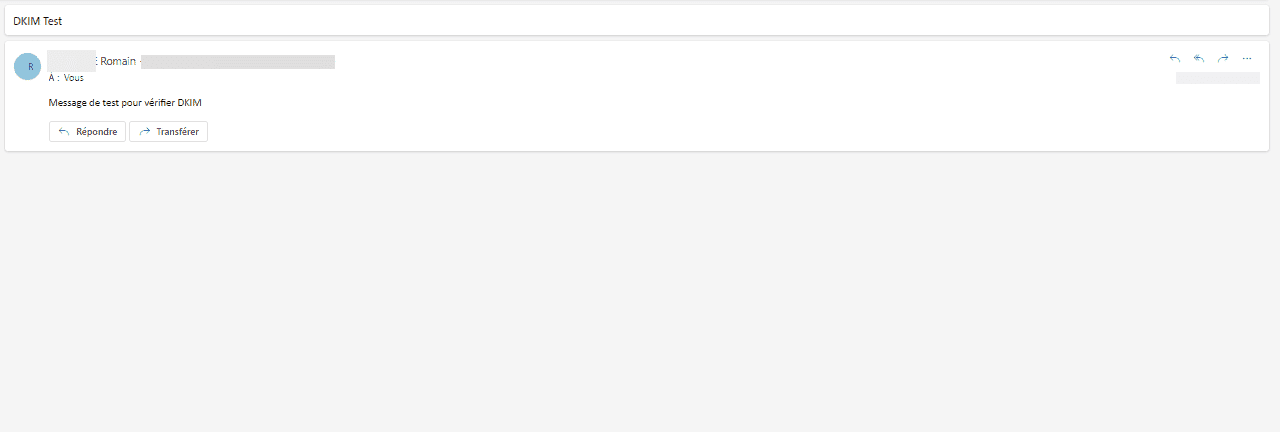
Here, I sent a message from my work email account to my personal email account, which is hosted by Microsoft.
I received the message successfully:
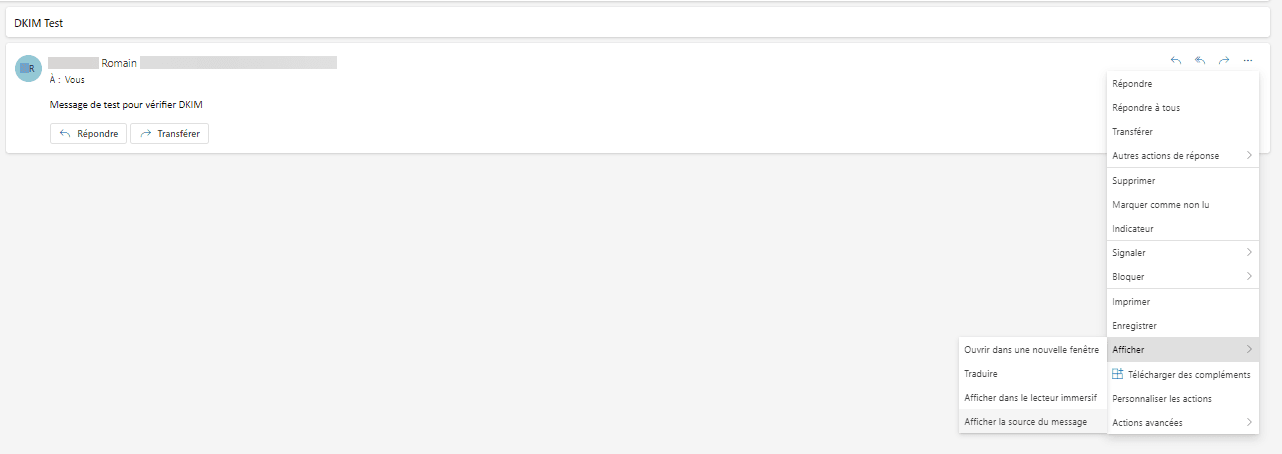
To view the transit information and see the signature, you need to view the message source. In Outlook, click on … then go to View and click View Message Source.
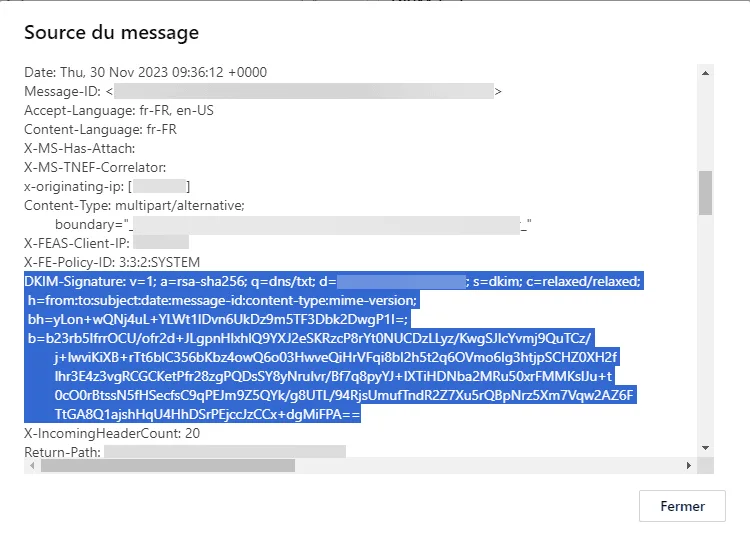
In the source, I can see the DKIM signature:
You now know how to enable DKIM for your outgoing messages using a Fortimail MTA.
Enabling DKIM may become mandatory in the future if you want to be able to send messages to addresses hosted by Google, Microsoft, etc.
DKIM helps combat spam.
Once DKIM is set up and the SPF records are correct, all that’s left is to set up DMARC.