Installing Gitlab with Docker
We will now get into the serious stuff of our tutorial, we will start by installing the Gitlab Docker image.
In fact, there is nothing to complicate, there is just an order to place and yes, it is the whole point of using Docker, but I will explain to you what the order does, because doing it is good, understanding is even better.
Here is the command we are going to place to install our GitLab container:
The first line starts the docker-run container and the –detach or -d parameter lets you launch in the background, without this parameter the container will be linked to the terminal and therefore stop when you close the session.
The second line allows you to specify the hostname –hostname gitlab.rdr-it.local
The third line indicates the publication of the ports with the parameters –publish or -p. In the example I am mapping port 31443 of the host (Ubuntu) to port 443 of the container and so on. In theory, I could access gitlab through https://server_ip: 31443
The fourth line with the –name parameter, indicate the name of the container at the host level.
The fifth line –restart always is used to indicate to always start the container.
From the sixth to the eighth line, we configure folder redirects using the –volume parameter. The first part corresponds to the folder on the host (Ubuntu) and the second after the: the folder of the container image.
The last line gitlab/gitlab-ce: latest is the image we want to retrieve from Docker Hub.
Now that you know what the order does, we can proceed to the installation of our container.
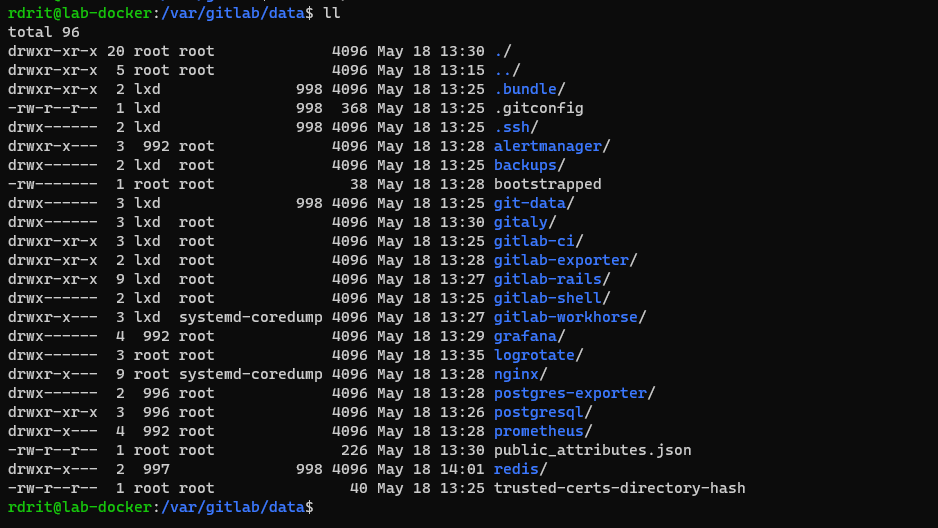
Before, we will create the folders on the server

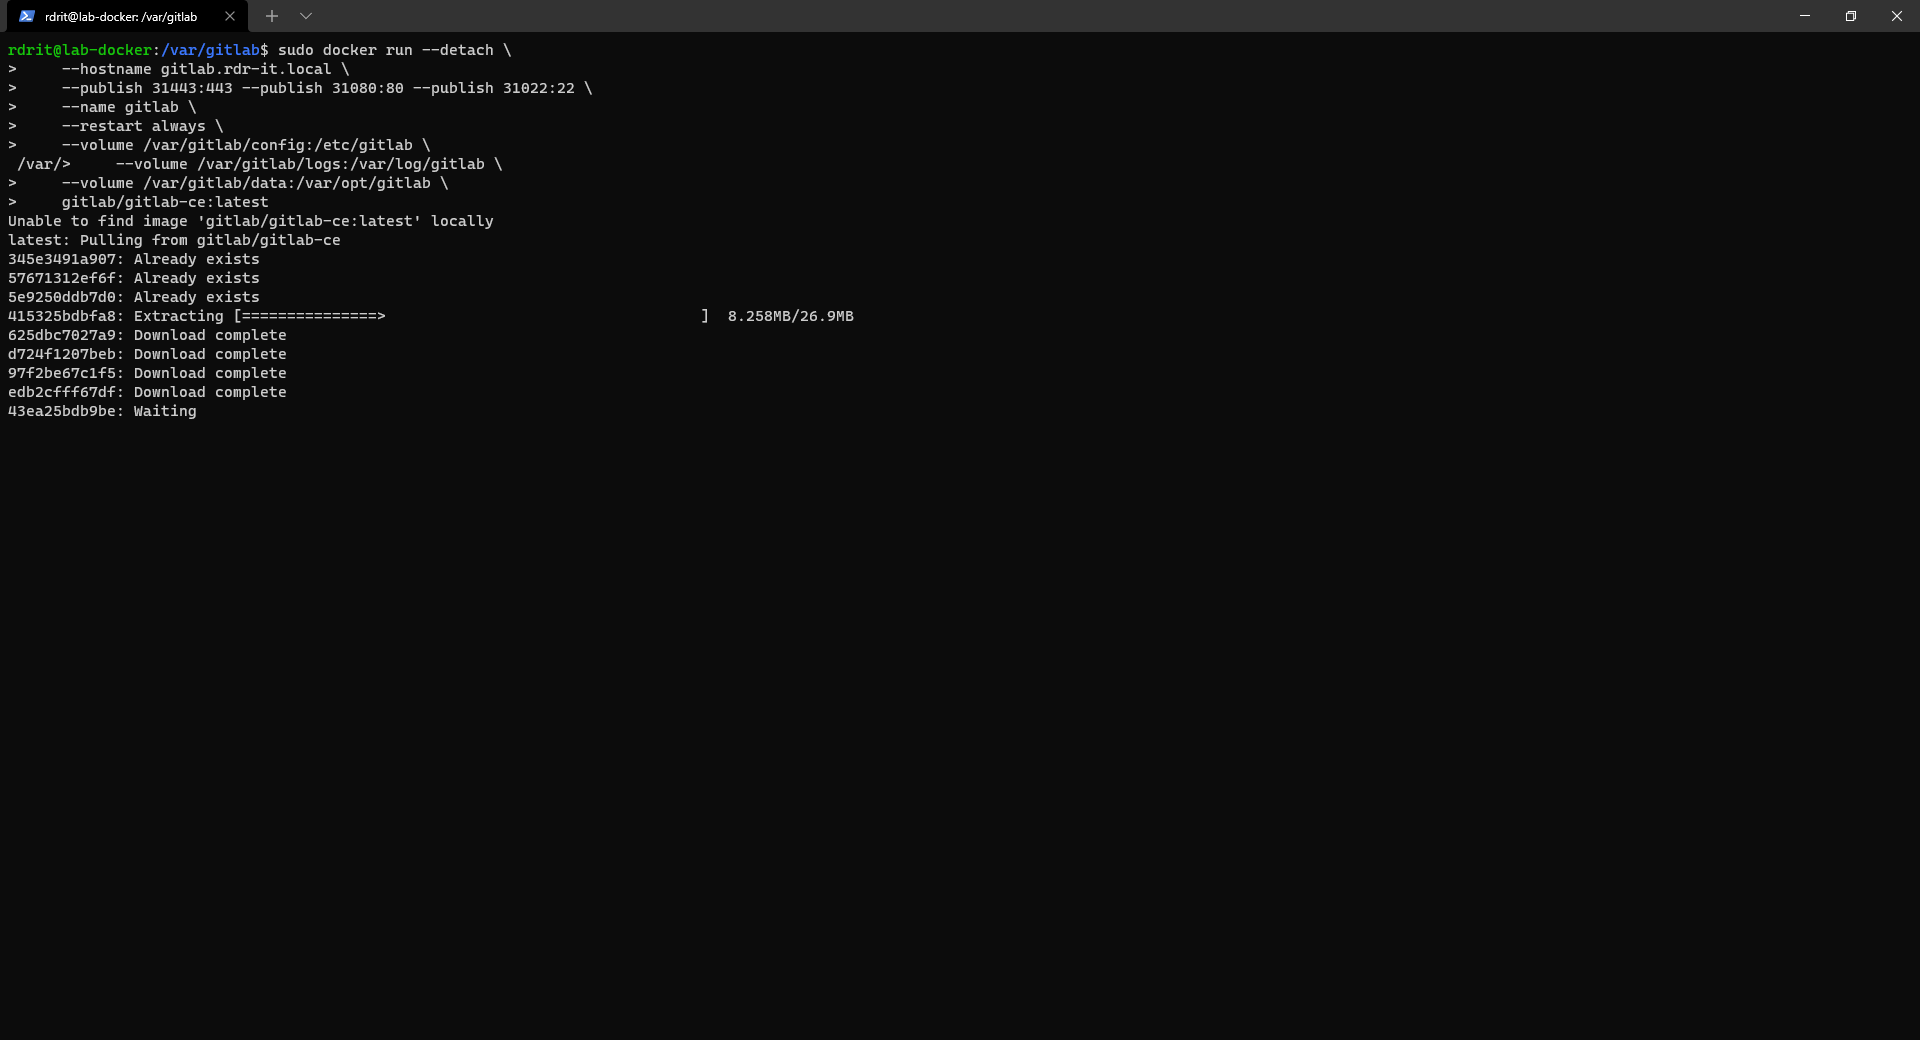
Install the gitlab container, adapt to your environment:
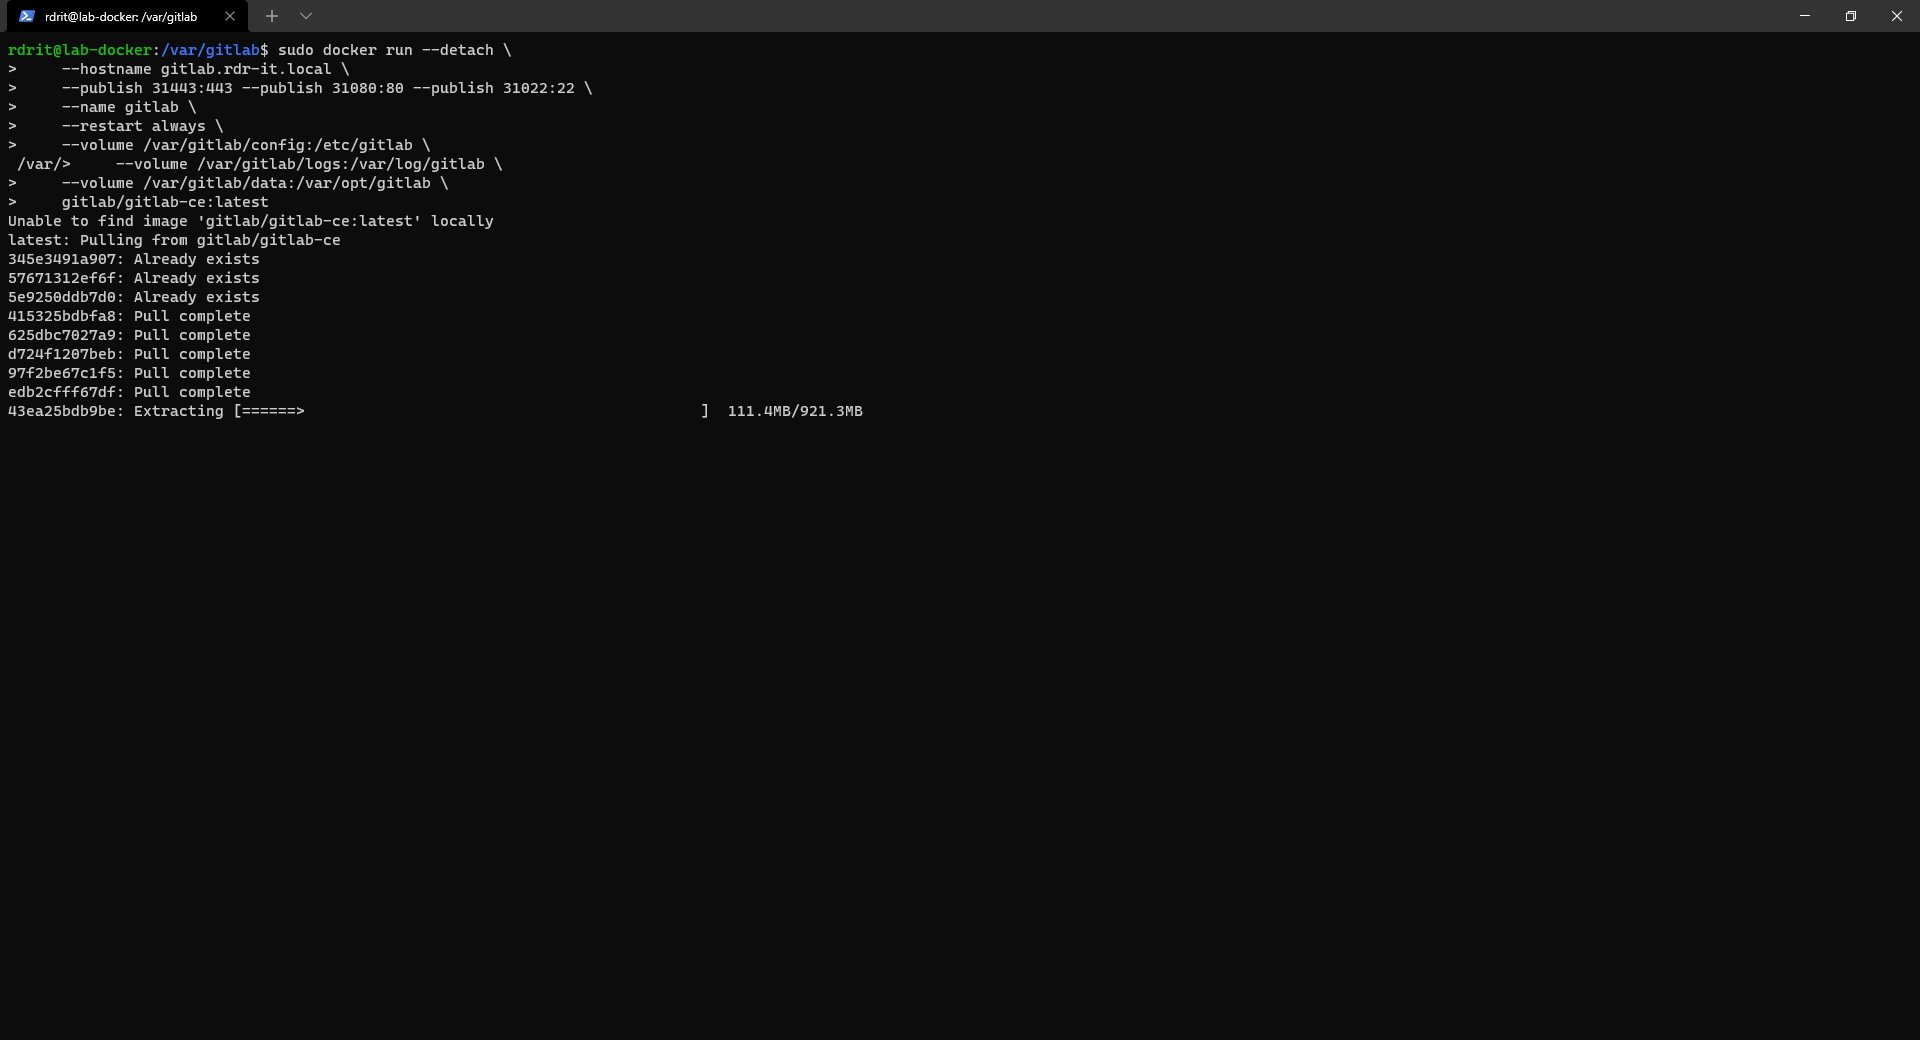
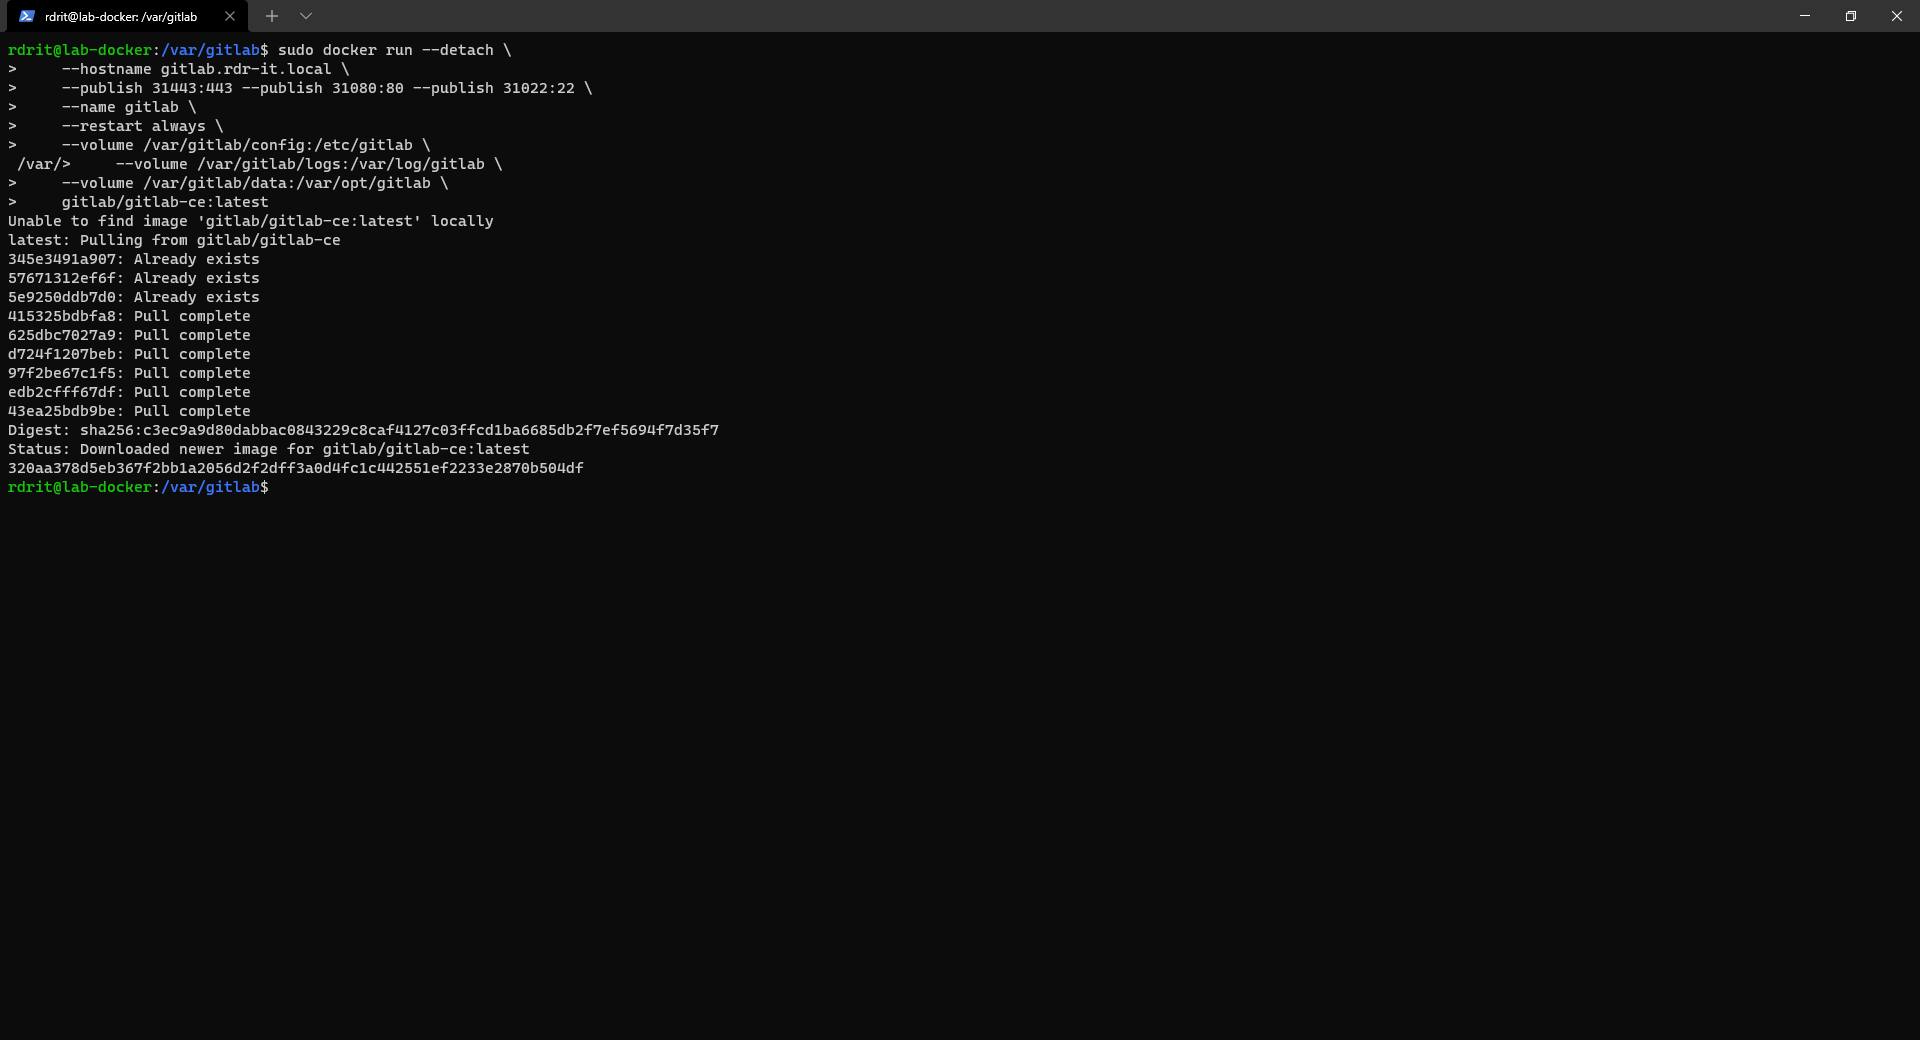
Wait while downloading and configuring the Gitlab container …
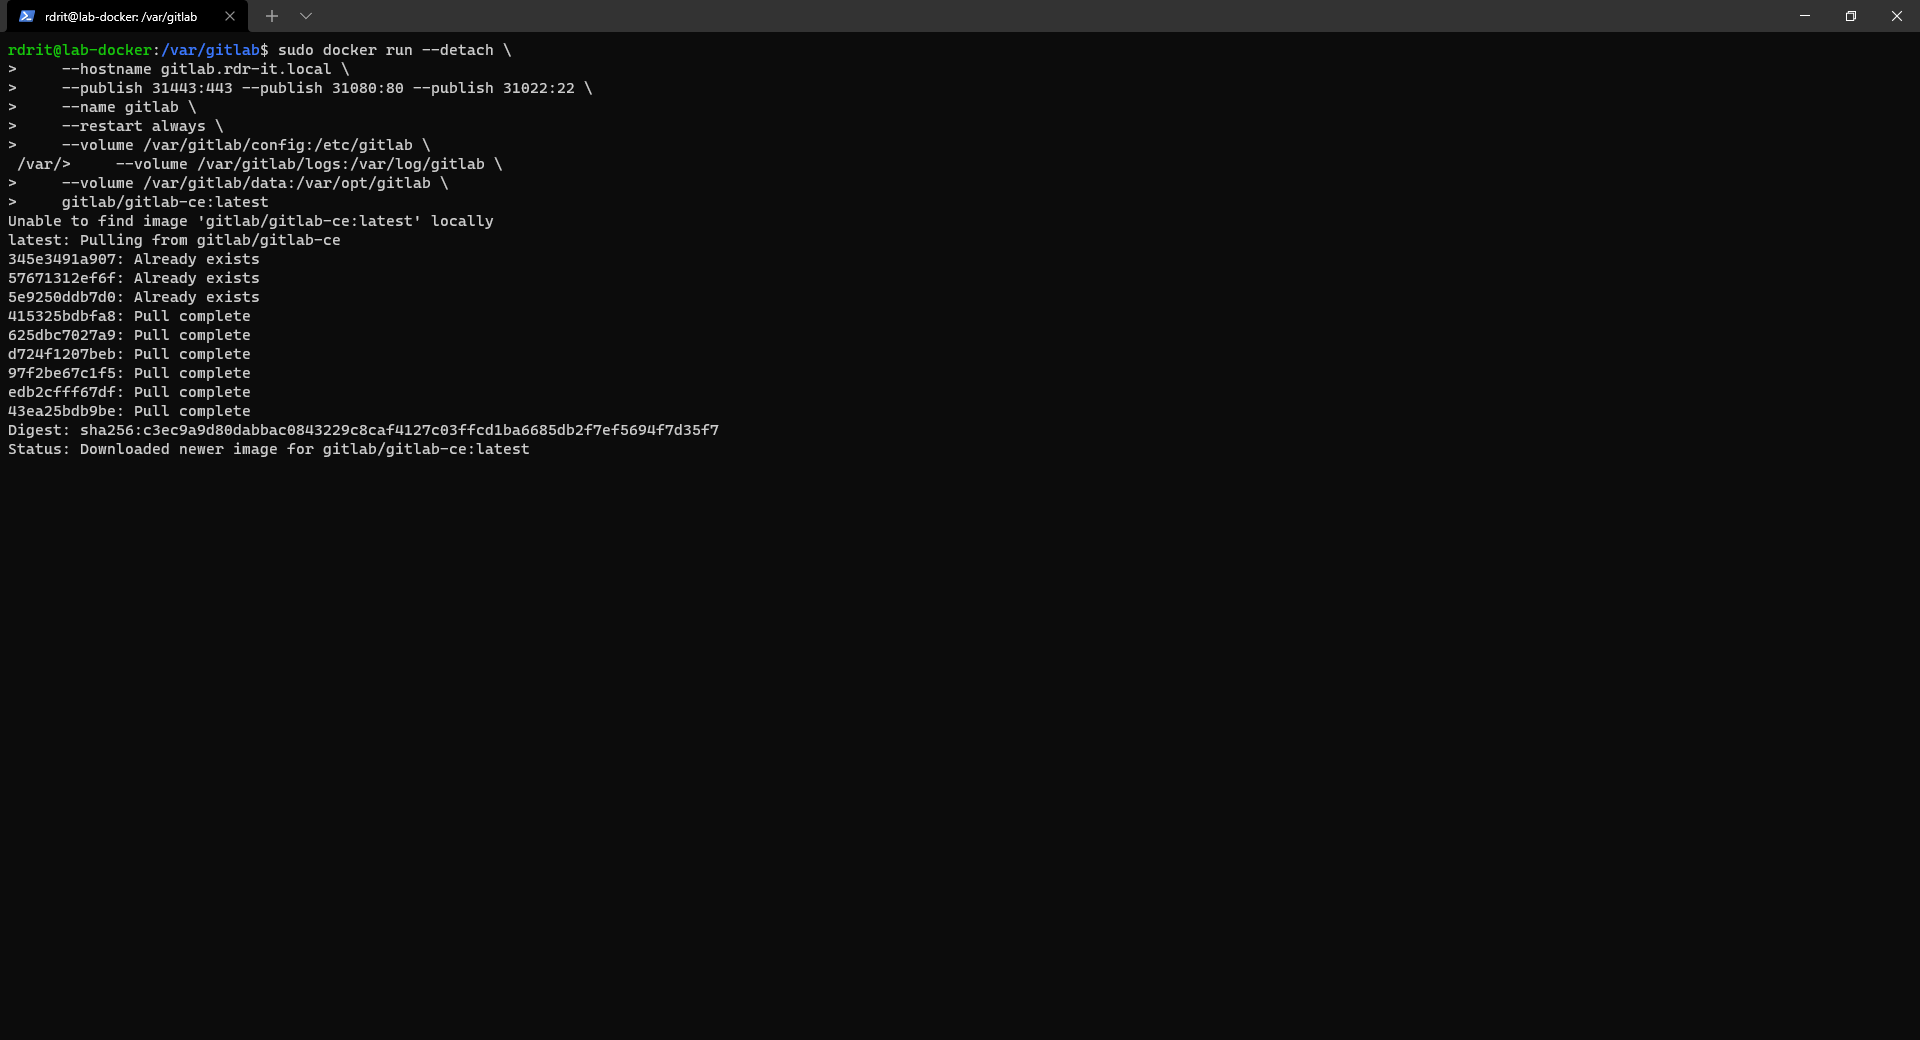
The installation of the image is finished when we recover the hand on the console.
To check that the Gitlab image works, enter the command below:
sudo docker ps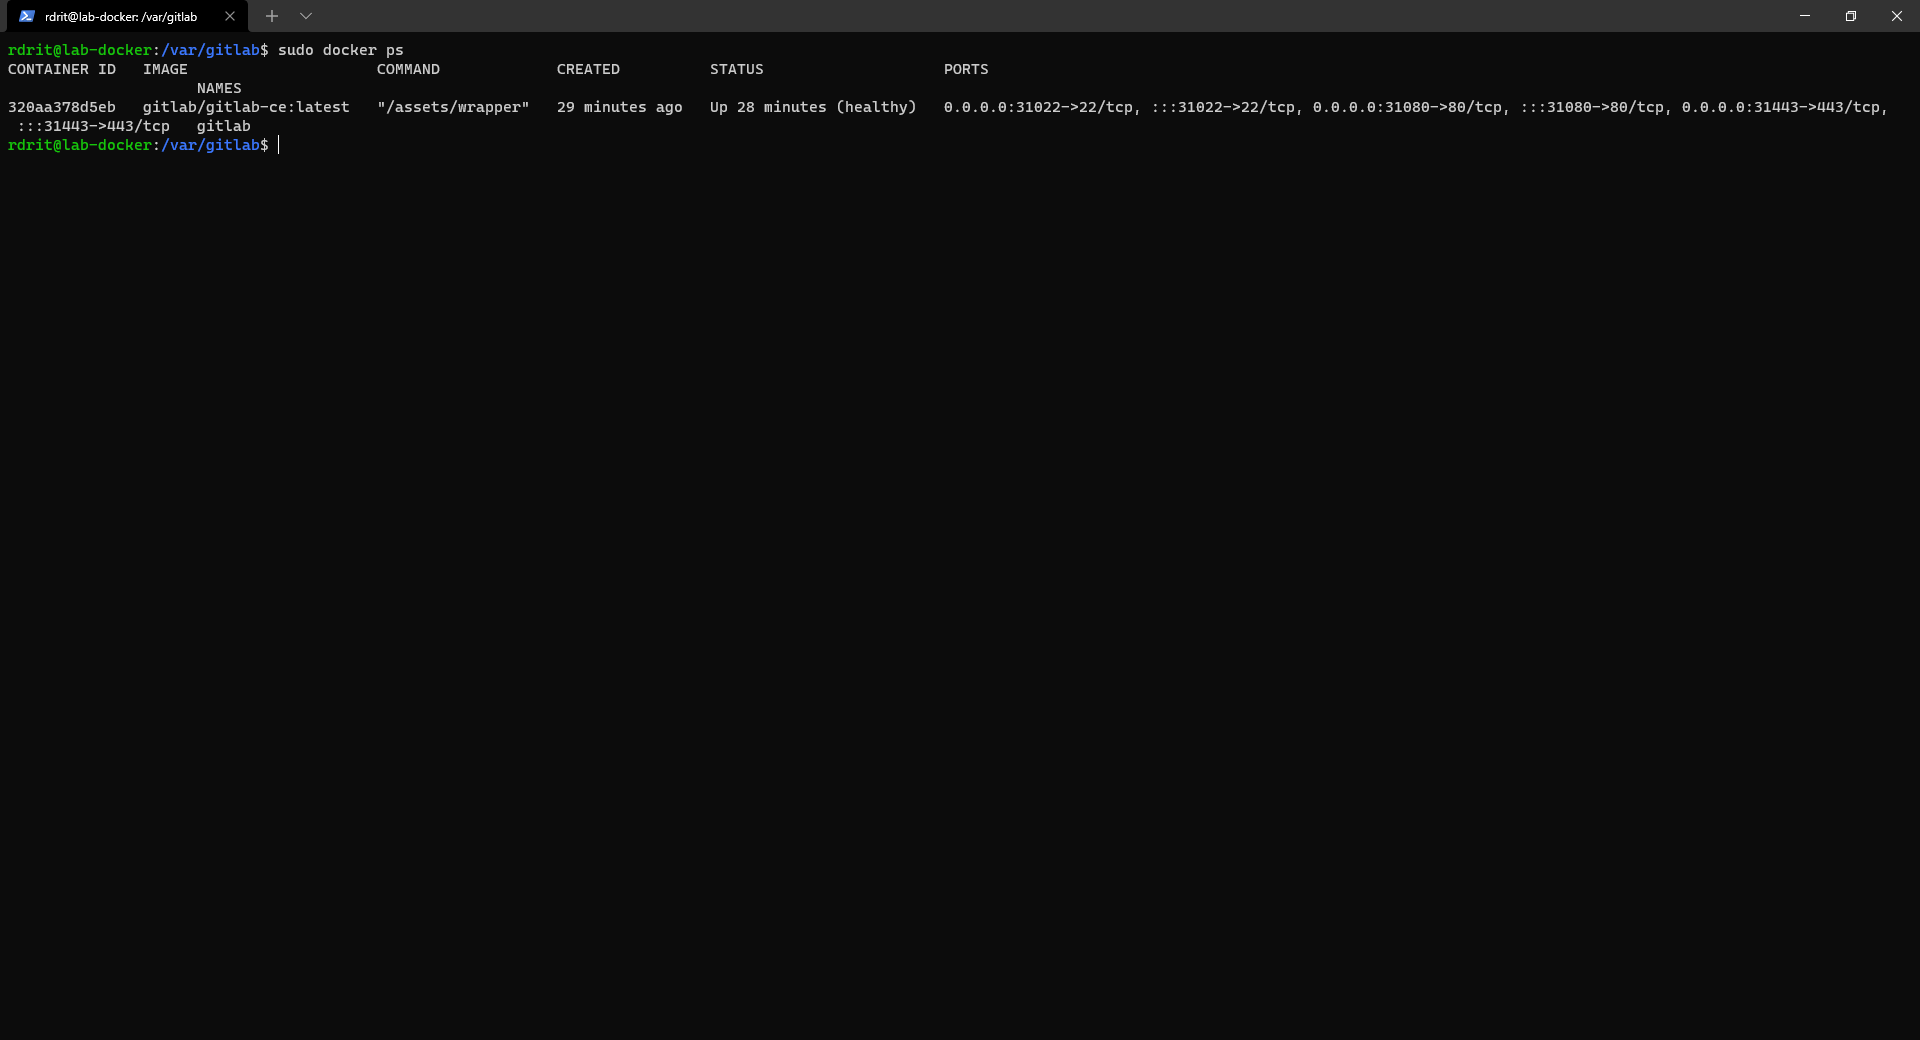
We can clearly see the container with the status UP and we can also see the port mapping.
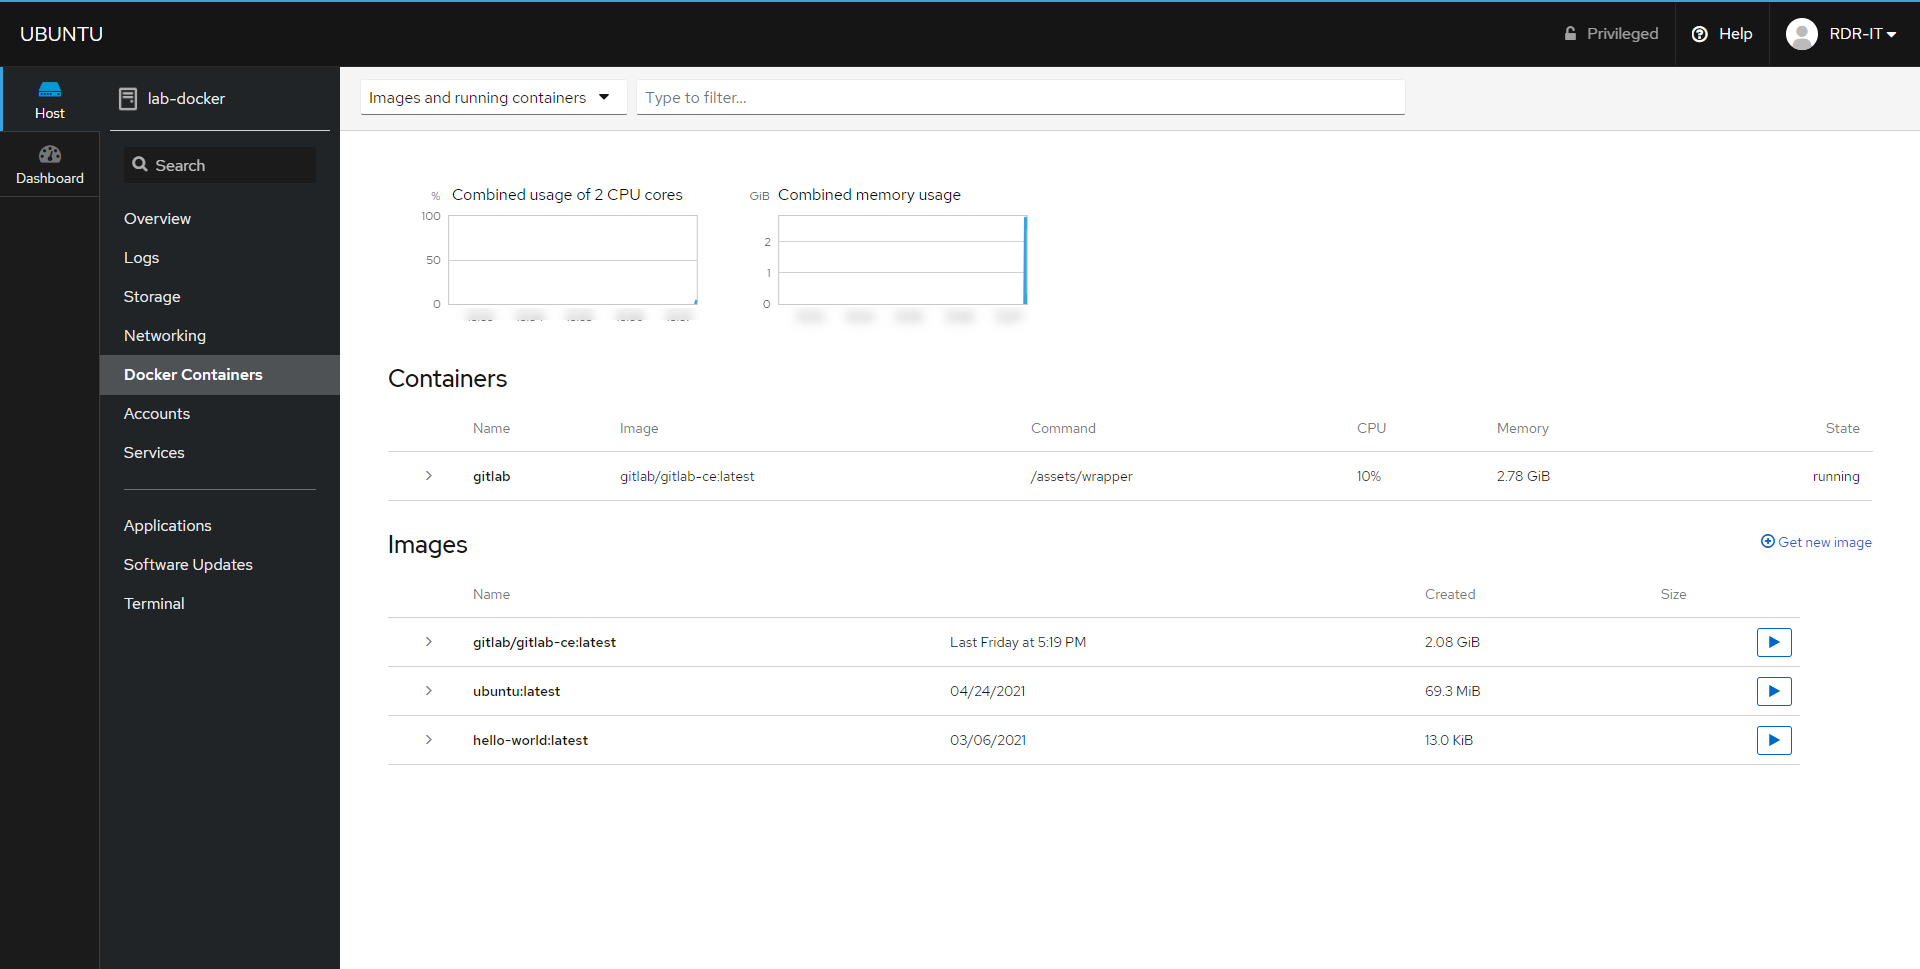
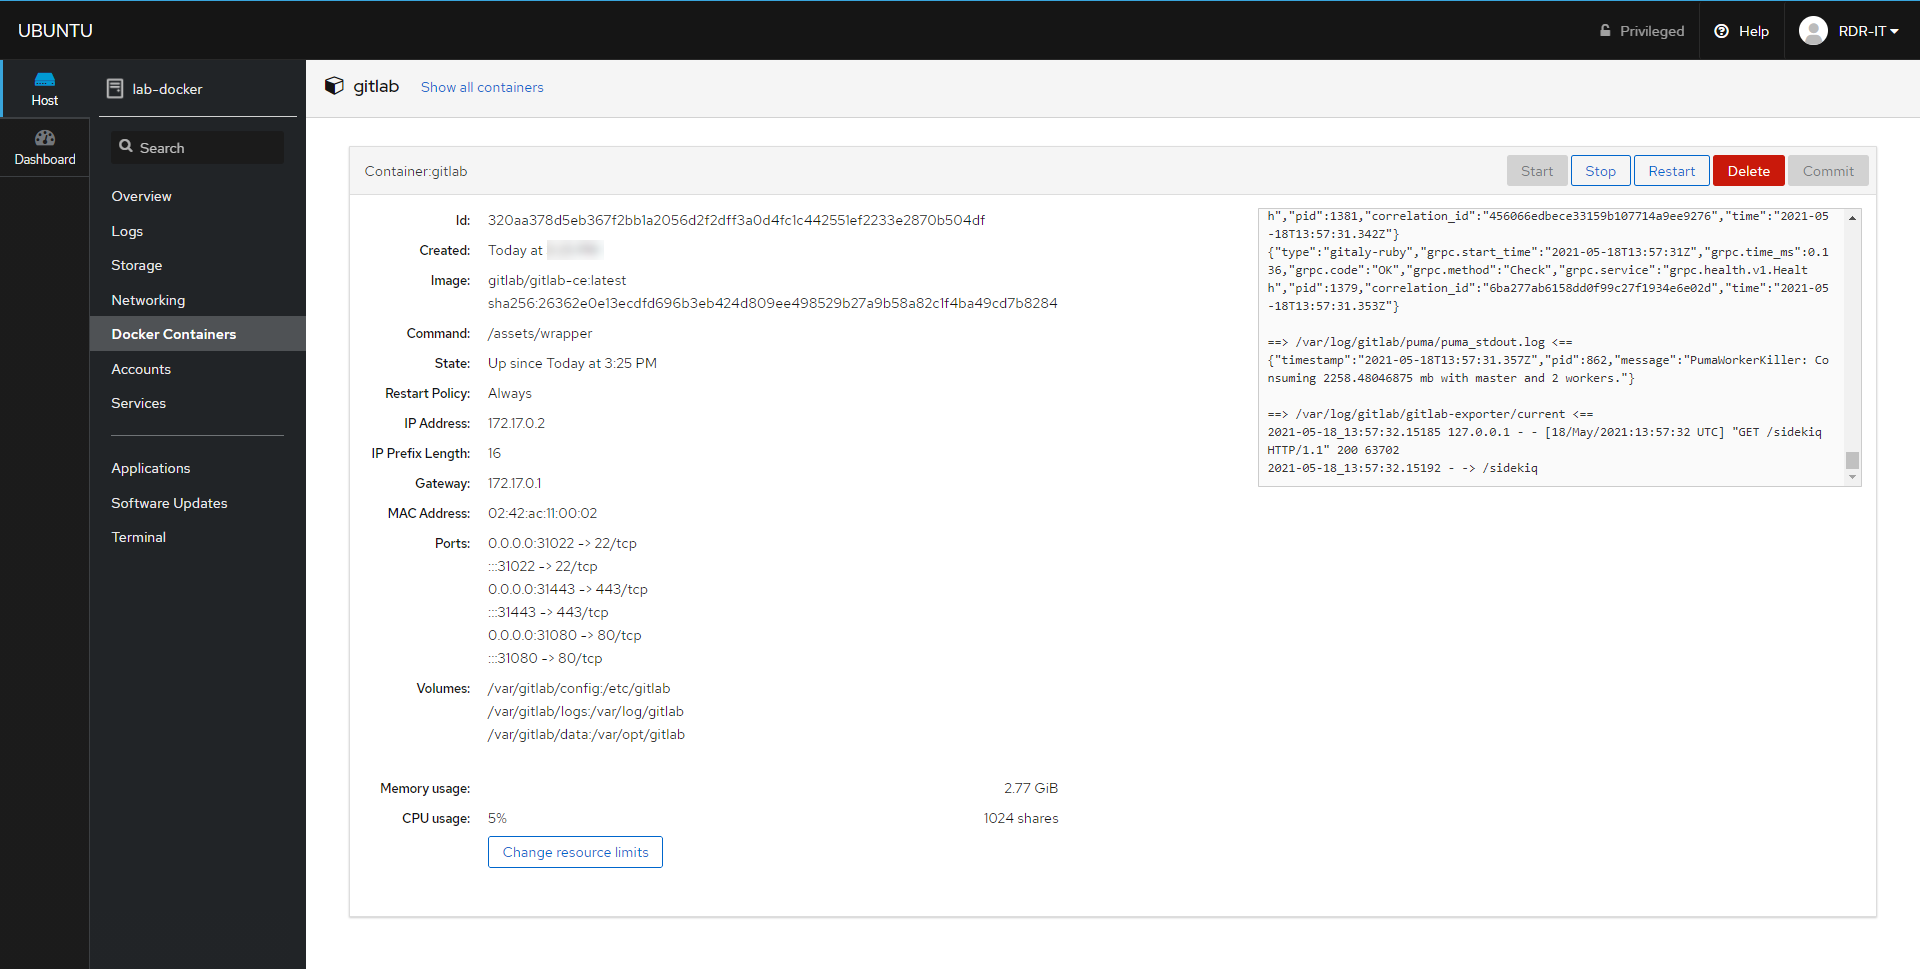
From the Cockpit interface, you can also see the status of the container.
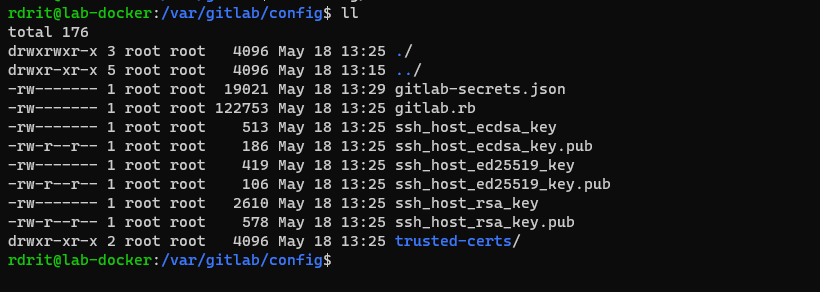
If we look in the folders we created for the volumes, we can see that files and folders have been created, so the redirect works.
Now that our image is installed, we will configure Nginx as a reverse proxy.
Normally Gitlab should be available on port 31080, but I do not recommend that you configure it through the host port.
In the / etc / nginx / sites-available folder create a nano file and use the configuration below:
Adapt line 3 to your configuration by indicating the URL for access to the application and line 6 proxy_pass by configuring the port that corresponds to your container.
Save the file.
Create a symbolic link of the file in the / etc / nginx / sites-enable / folder.
sudo ln -s /etc/nginx/sites-available/<file-name> /etc/nginx/sites-enabled/
Check the configuration of Nginx:
sudo nginx -tIf all is good, reload the configuration of nginx
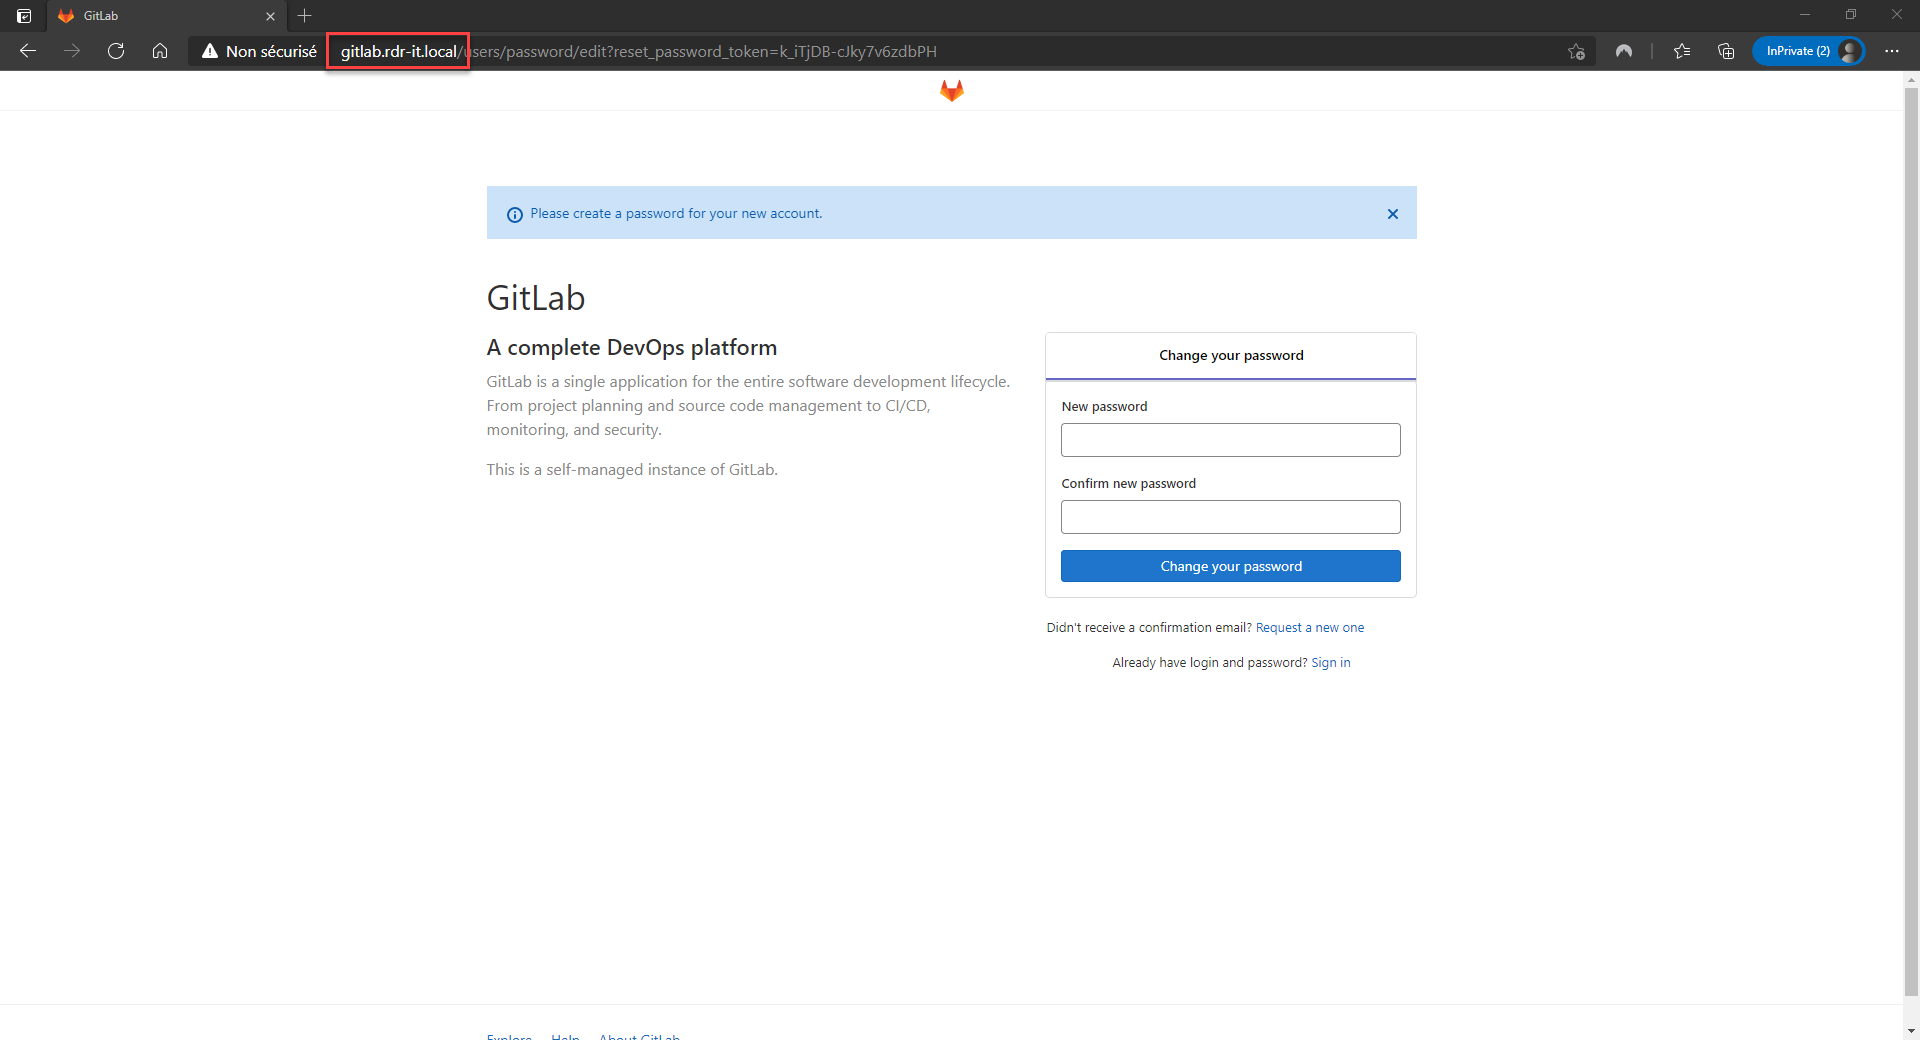
sudo systemctl reload nginxFrom a browser, going to the url configured in nginx, you should normally arrive on the Gitlab root account password configuration form.
HTTPS use case.
The first step will be to generate an SSL certificate using certbot, use the command below and follow the wizard.
sudo certbotIf all goes well, a Let’s Encrypt certificate is generated and the Nginx configuration adapted to the use of HTTPS.
To function correctly, you must modify the configuration of Gitlab to avoid “mixed content” errors. For the moment it is configured in HTTP, so you have to configure Gitlab to tell it that it is accessible in HTTPS from port 80 of its Web server.
Open the gitlab.rb file located in / var / gitlab / config /.
In the file look for the configuration items below and configure them the same except for the external_url parameter.
external_url 'https://git.example.com'
nginx['listen_port'] = 80
nginx['listen_https'] = false
Relaunch the Gitlab configuration:
sudo docker exec -it gitlab gitlab-ctl reconfigureAdapt the command to your container, gitlab after -it matches the container name (–name).
I haven’t told you about it yet, the docker exec command allows you to run commands in the container.
Through this part of the tutorial, we saw how to install a container with network port and folder mapping, how to create a reverse proxy rule with Nginx and how to run a command in a container from the host.