In this tutorial, I’ll explain how to deploy Vaultwarden usingDocker andDocker Compose to self-host a password manager.
Before we begin, let me introduce you to Vaultwarden. Vaultwarden is a fork of Bitwarden written in Rust that is much lighter than Bitwarden and can be self-hosted. Another benefit of using Vaultwarden in a business setting is that it includes all the features of the paid version of Bitwarden, such as:
- The ability to restrict account creation to one or more email domains
- Organization management, which allows passwords to be shared among multiple users
- Organization management also allows you to reset an account’s master password
- …
Vaultwarden is compatible with Bitwarden extensions and clients.
It’s also possible to self-host Bitwarden
Prerequisites
To run Vaultwarden in a container, you will need
- Dockera serverLinuxwithDocker Compose installed.
- For web access, you’ll need a reverse proxy (Nginx or Apache ) and a URL with an SSL certificate for the HTTPS connection.
- an SMTP server for sending emails.
Deploying Vaultwarden
/containers/vaultOn my serverLinuxwhereDocker [Vaultwarden] is installed, I’ll place the container files in the [directory] directory.
To make it easier for you to deploy Vaultwarden, I’ve made the files available here: https://git.rdr-it.com/docker/Vaultwarden
Start by cloning the repository:
sudo git clone https://git.rdr-it.com/docker/Vaultwarden.git .
Edit the .env file to configure Vaultwarden:
sudo nano .env
- ADMIN_TOKEN: password to access the admin panel
- SIGNUPS_ALLOWED: whether or not to allow sign-ups
- SMTP_HOST: SMTP server address
- SMTP_FROM: sender’s email address
- SMTP_FROM_NAME: sender’s name
- SMTP_PORT: SMTP server port
- SMTP_SSL: Use SSL for communication with the SMTP server
- SMTP_USERNAME: SMTP server account; if necessary, uncomment the variable in the docker-compose.yml file
- SMTP_PASSWORD: password for the SMTP server; if necessary, uncomment the variable in the docker-compose.yml file
- DOMAIN: URL to access Vaultwarden
- EMERGENCY_ACCESS_ALLOWED: Enables emergency recovery
- SIGNUPS_VERIFY: Forces verification of the user’s email address
- SIGNUPS_DOMAINS_WHITELIST: email domains authorized to create accounts
Now that the configuration is complete, download the image:
sudo docker compose pull
Start the container:
sudo docker compose up -d
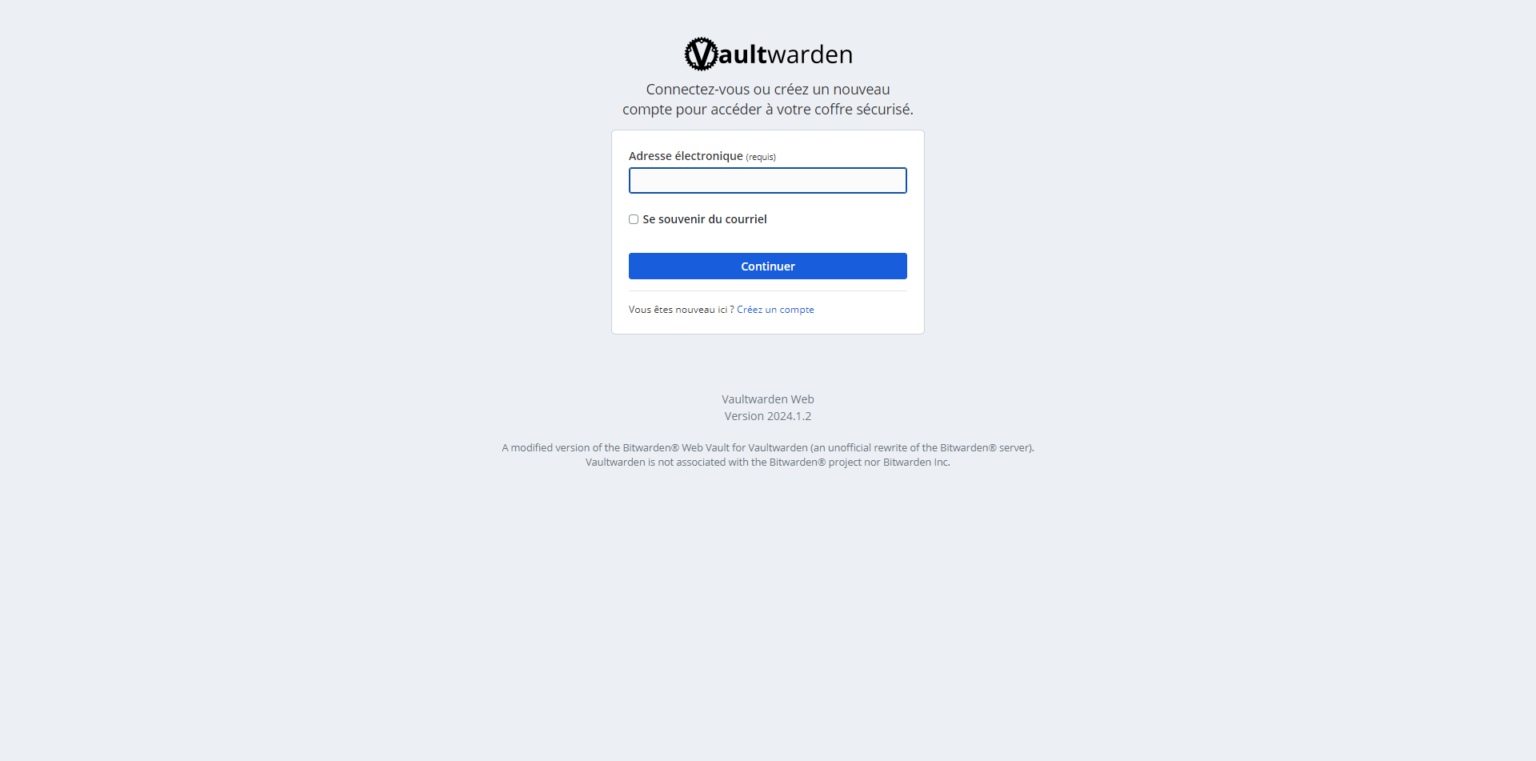
To test that Vaultwarden is working, go to the following address in a browser: http://ip-server:8080. You’ll be taken to the login page:
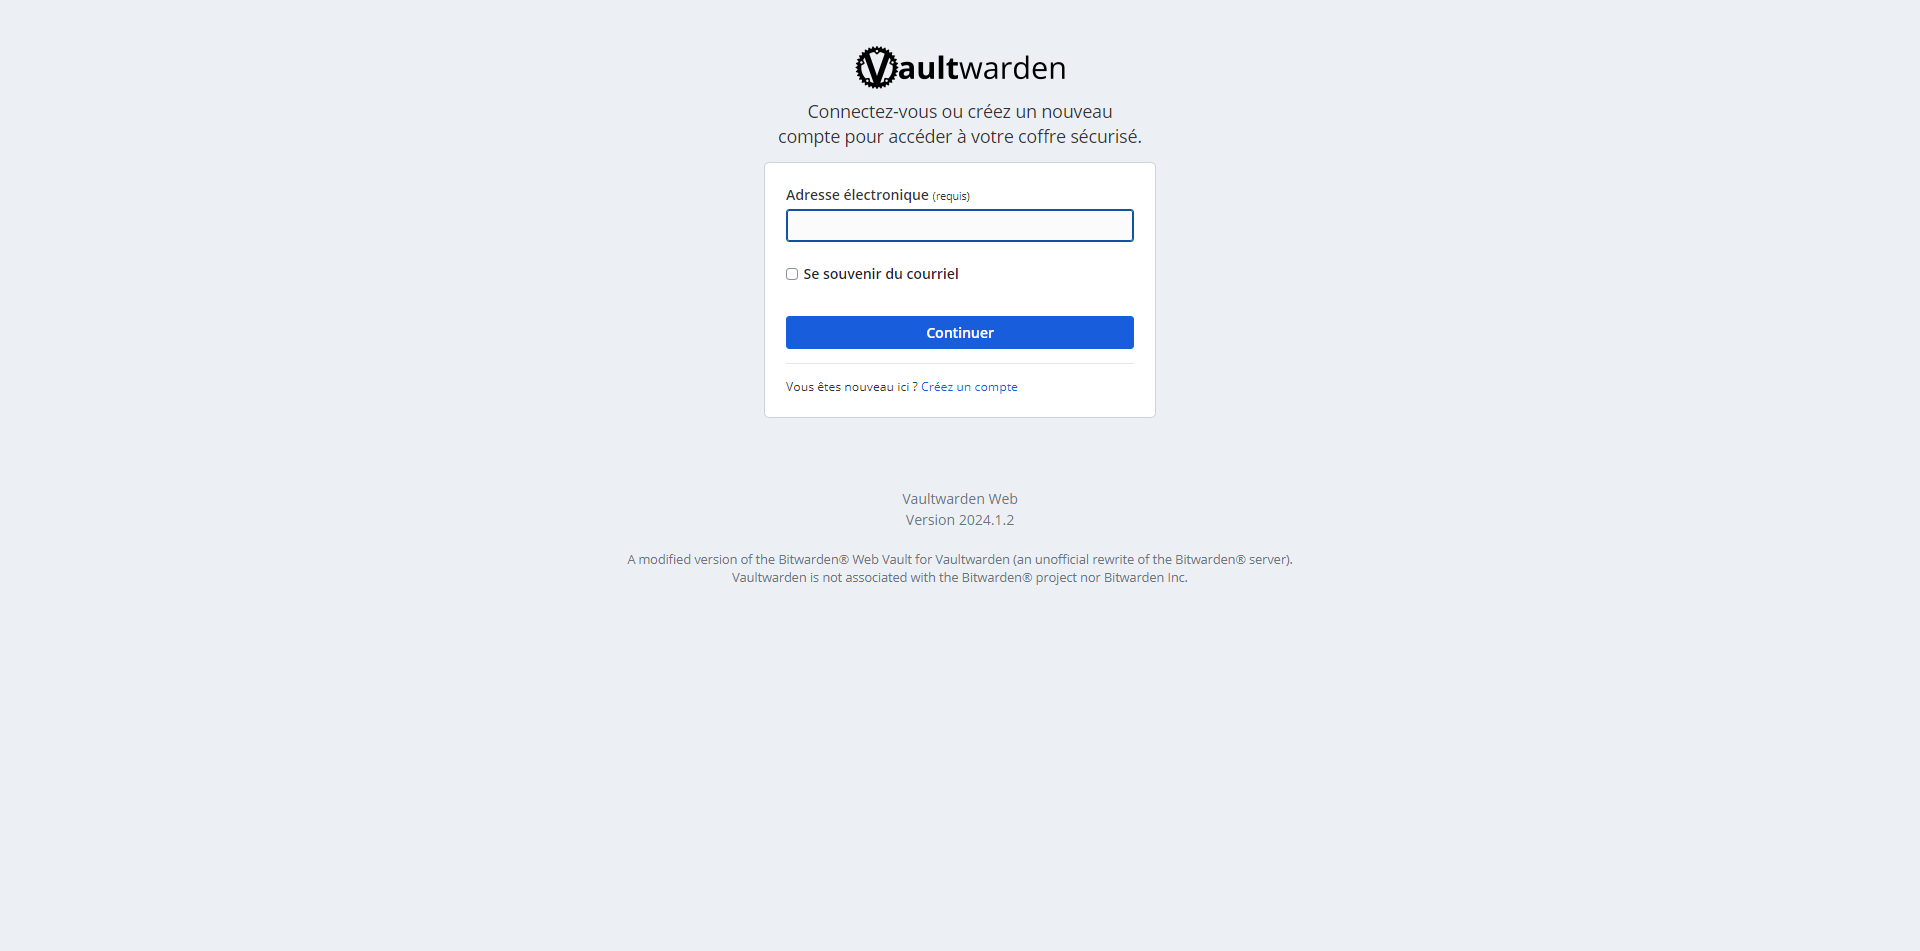
For now, there’s no point in going any further, since Vaultwarden requires an HTTPS connection to maintain end-to-end encryption.
In the repository, you’ll find two configuration examples for Nginx:
- nginx-vhost-ssl: ready to configure if you have a certificate
- nginx-vhost-le: configure this using HTTP and then generate a certificate with Let’s Encrypt
If you have any issues with this part, use the comments section at the bottom of the tutorial.
Create an account on Vaultwarden
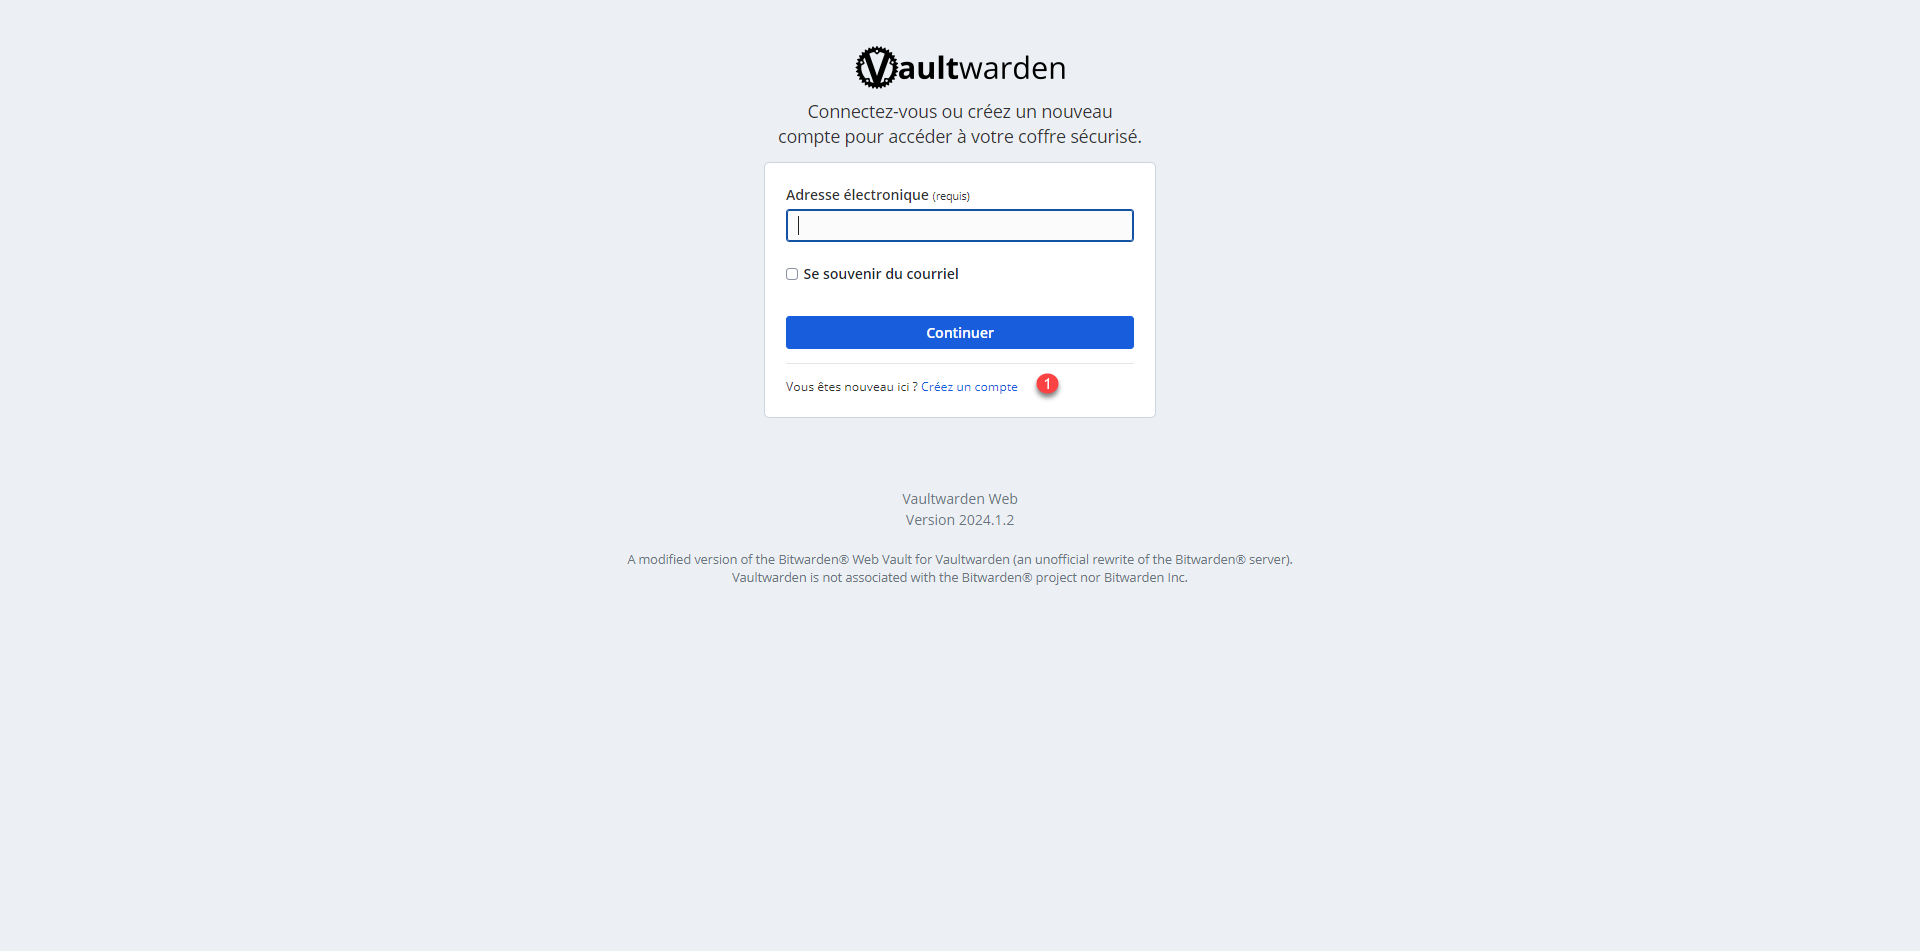
Click on “Create an Account” 1 .
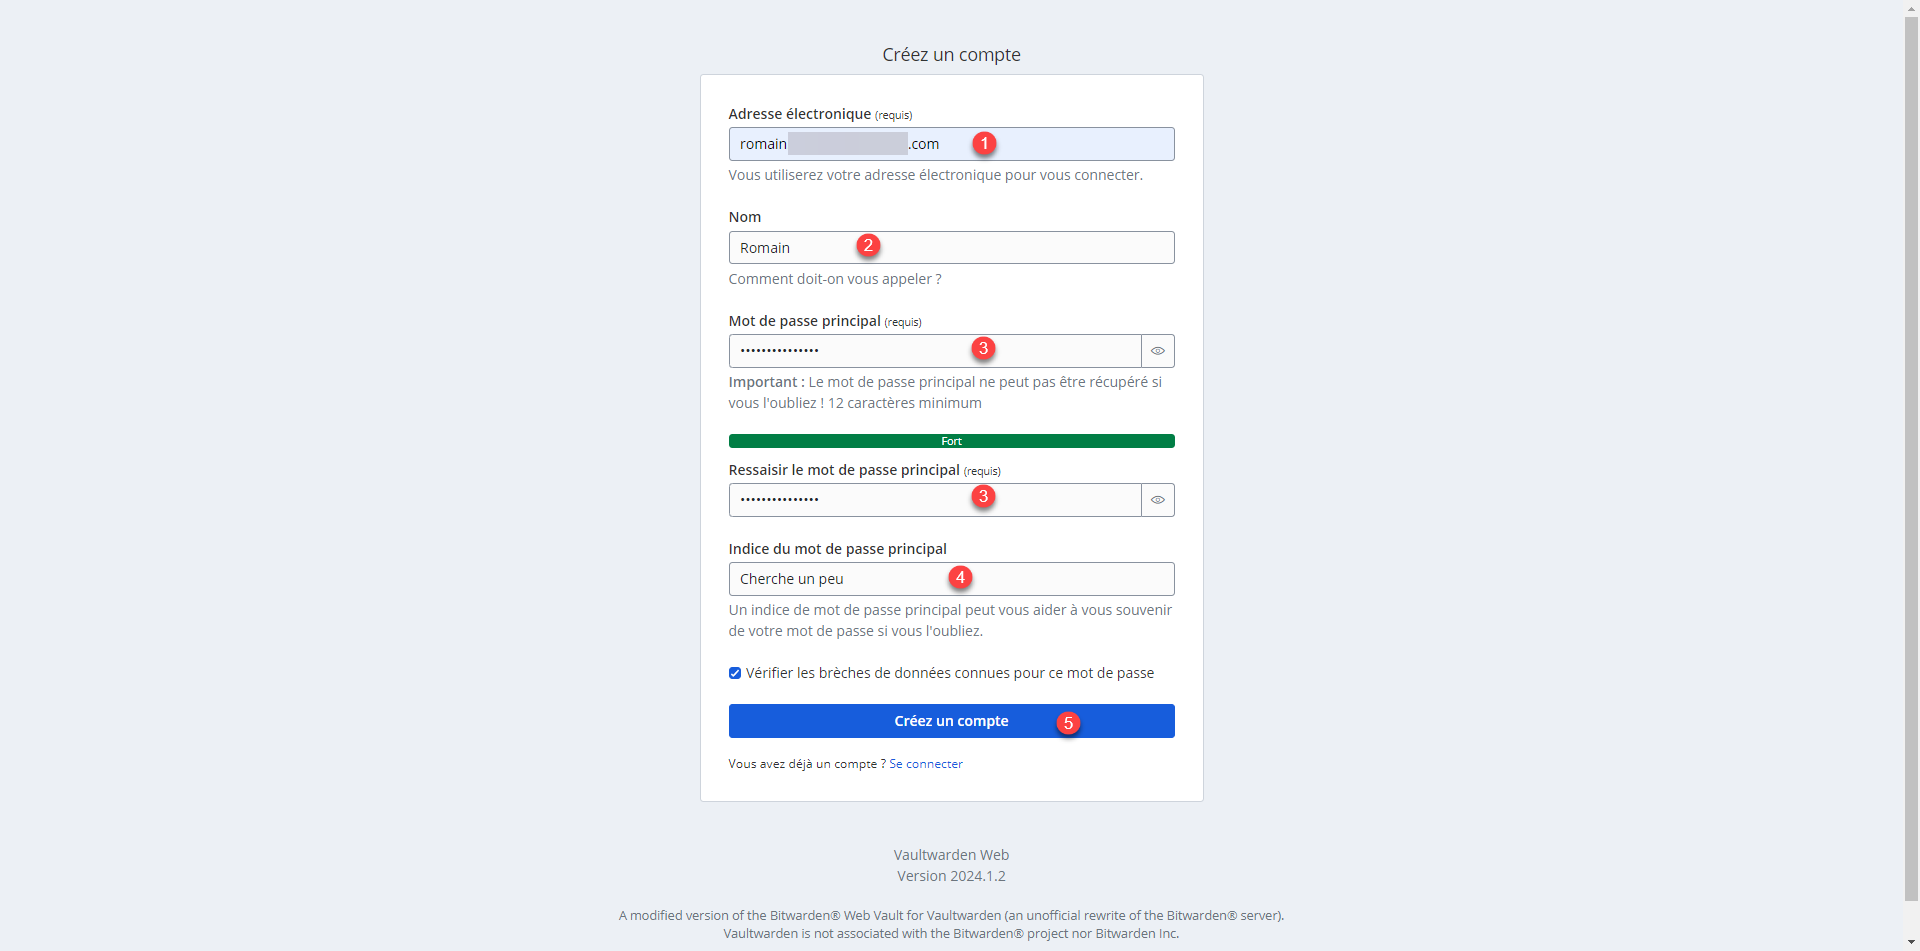
Enter your email address 1 , then your name 2 , set the master key 3 used to unlock the vault, and, if necessary, a memo 4 to help you remember the key, then click “Create an Account” 5 .
If you’ve set up mandatory email verification, you’ll need to verify your email address first.
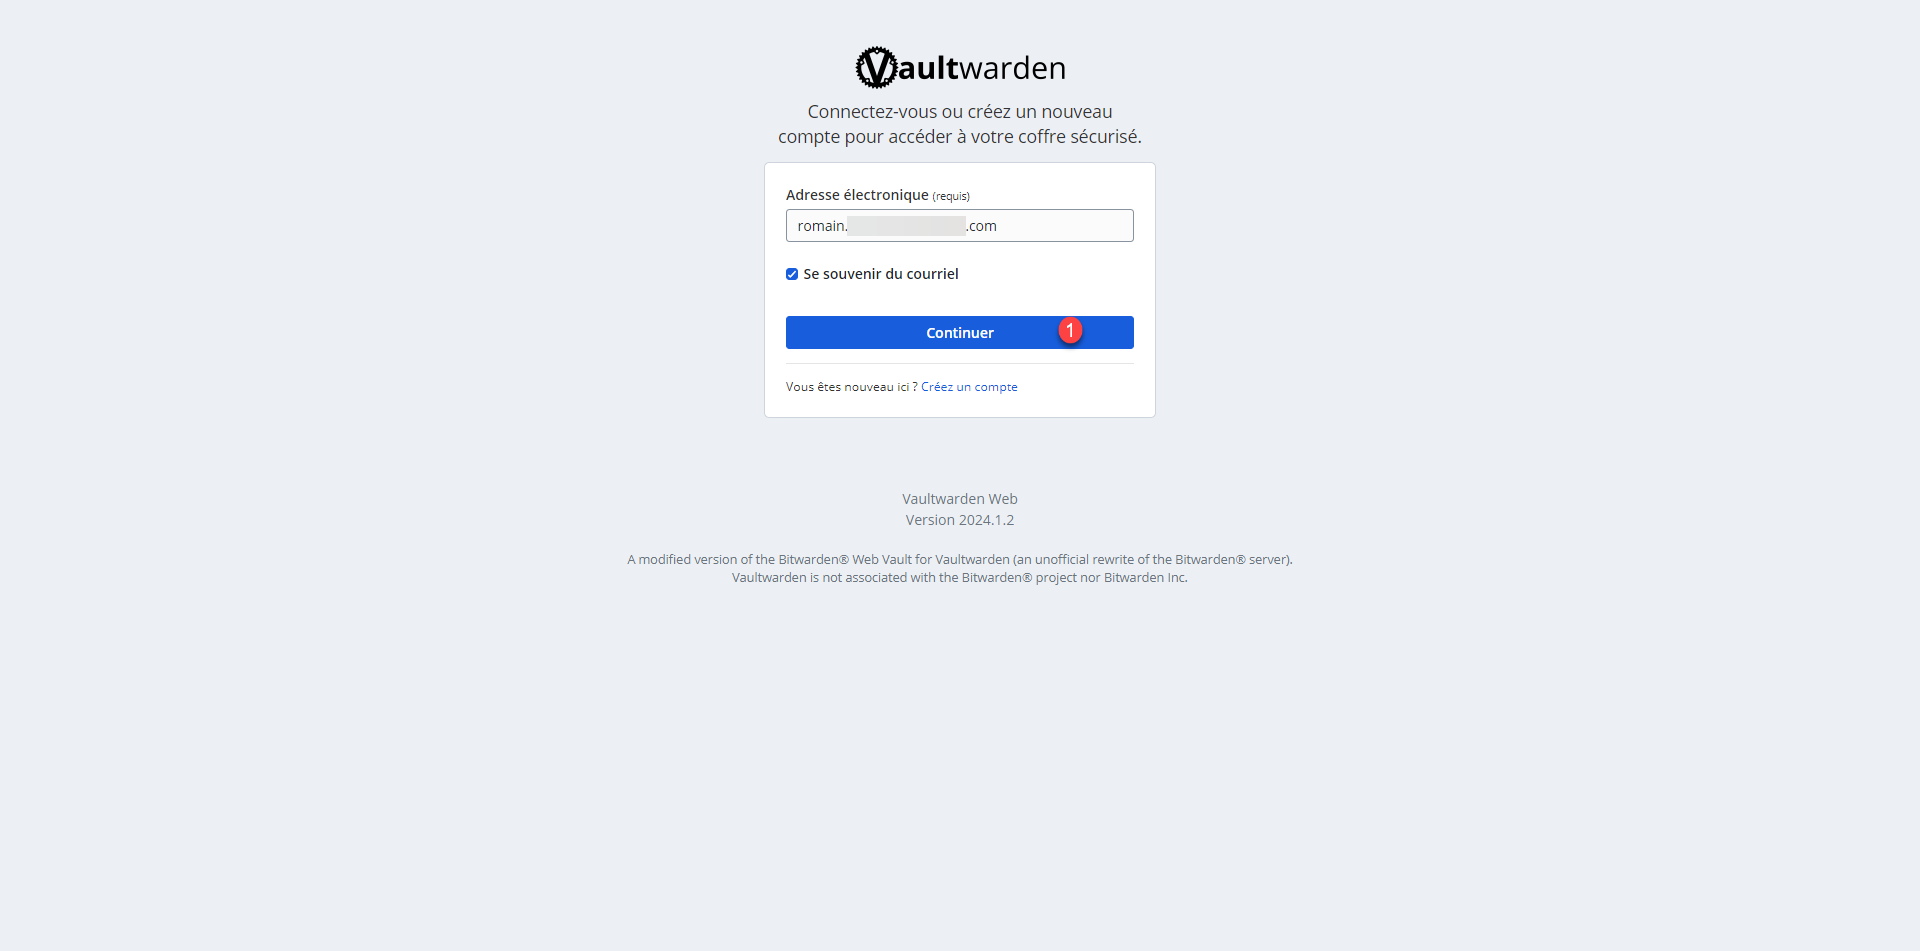
Once the account is created, you’ll be redirected to the login page with your email address already filled in; click the “Continue” button 1 .
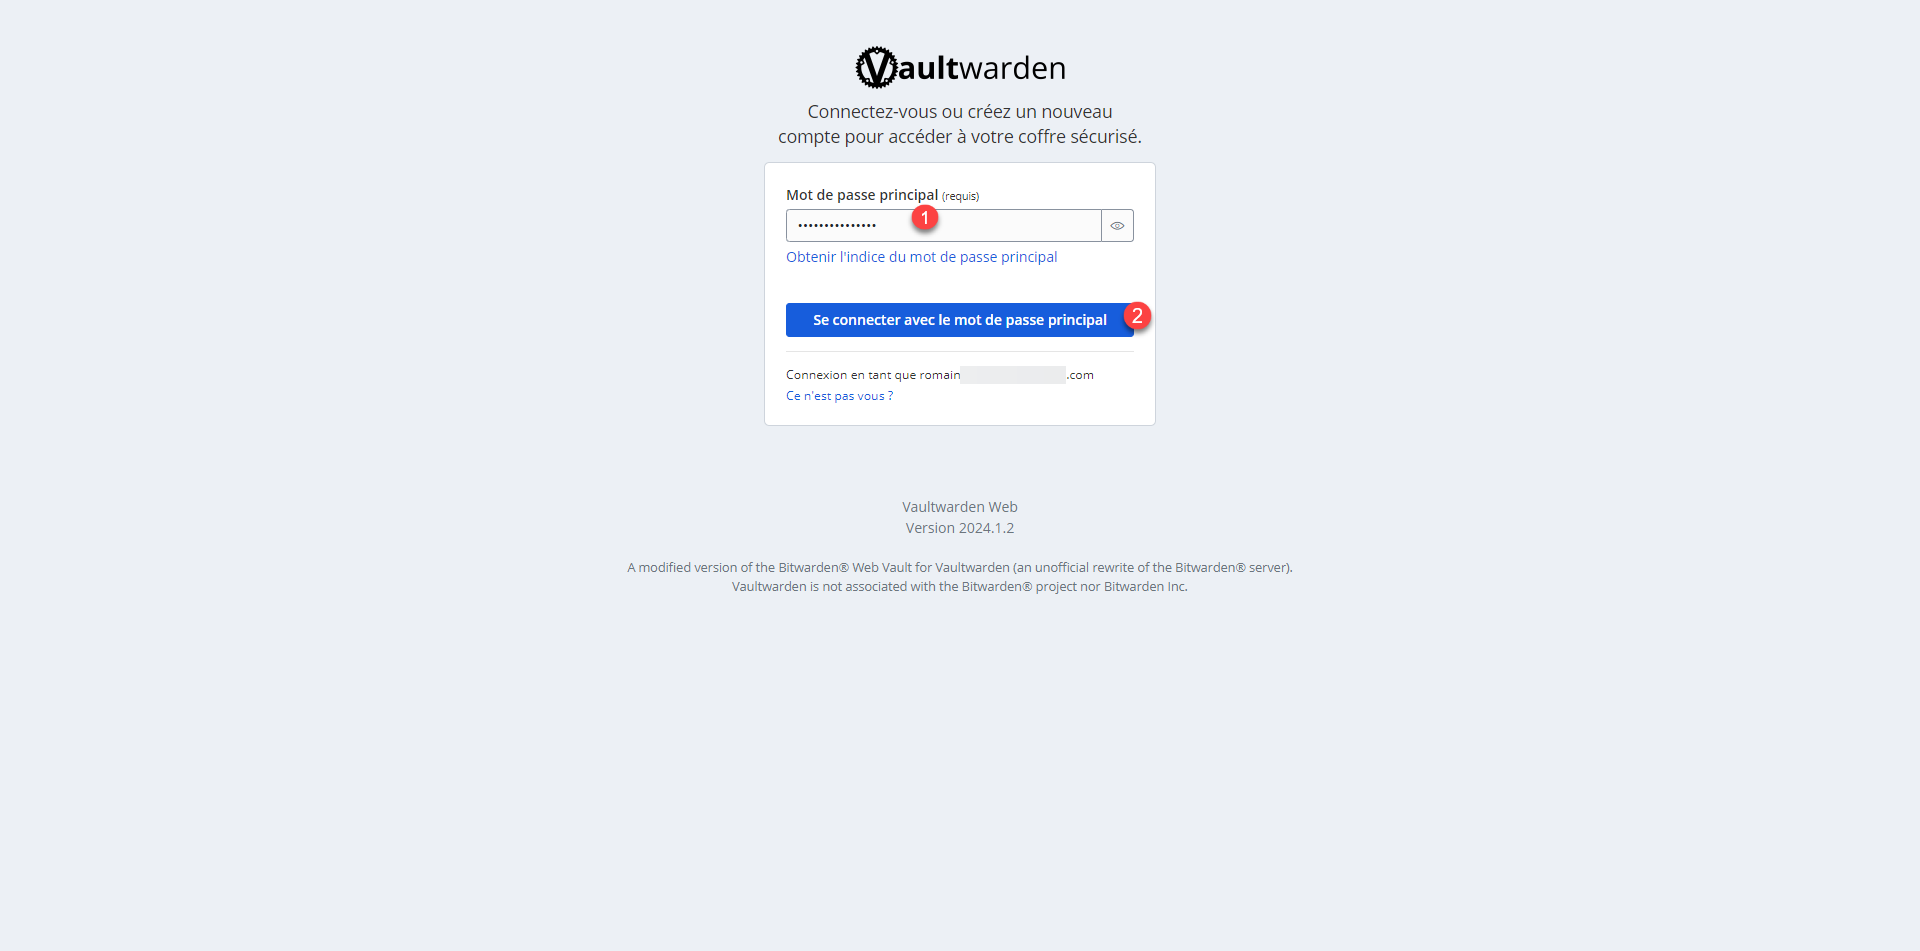
Enter the password 1 (master key) and click “Log in with the master password” 2 .
Once logged in, you’ll be taken to the vault, which is currently empty.
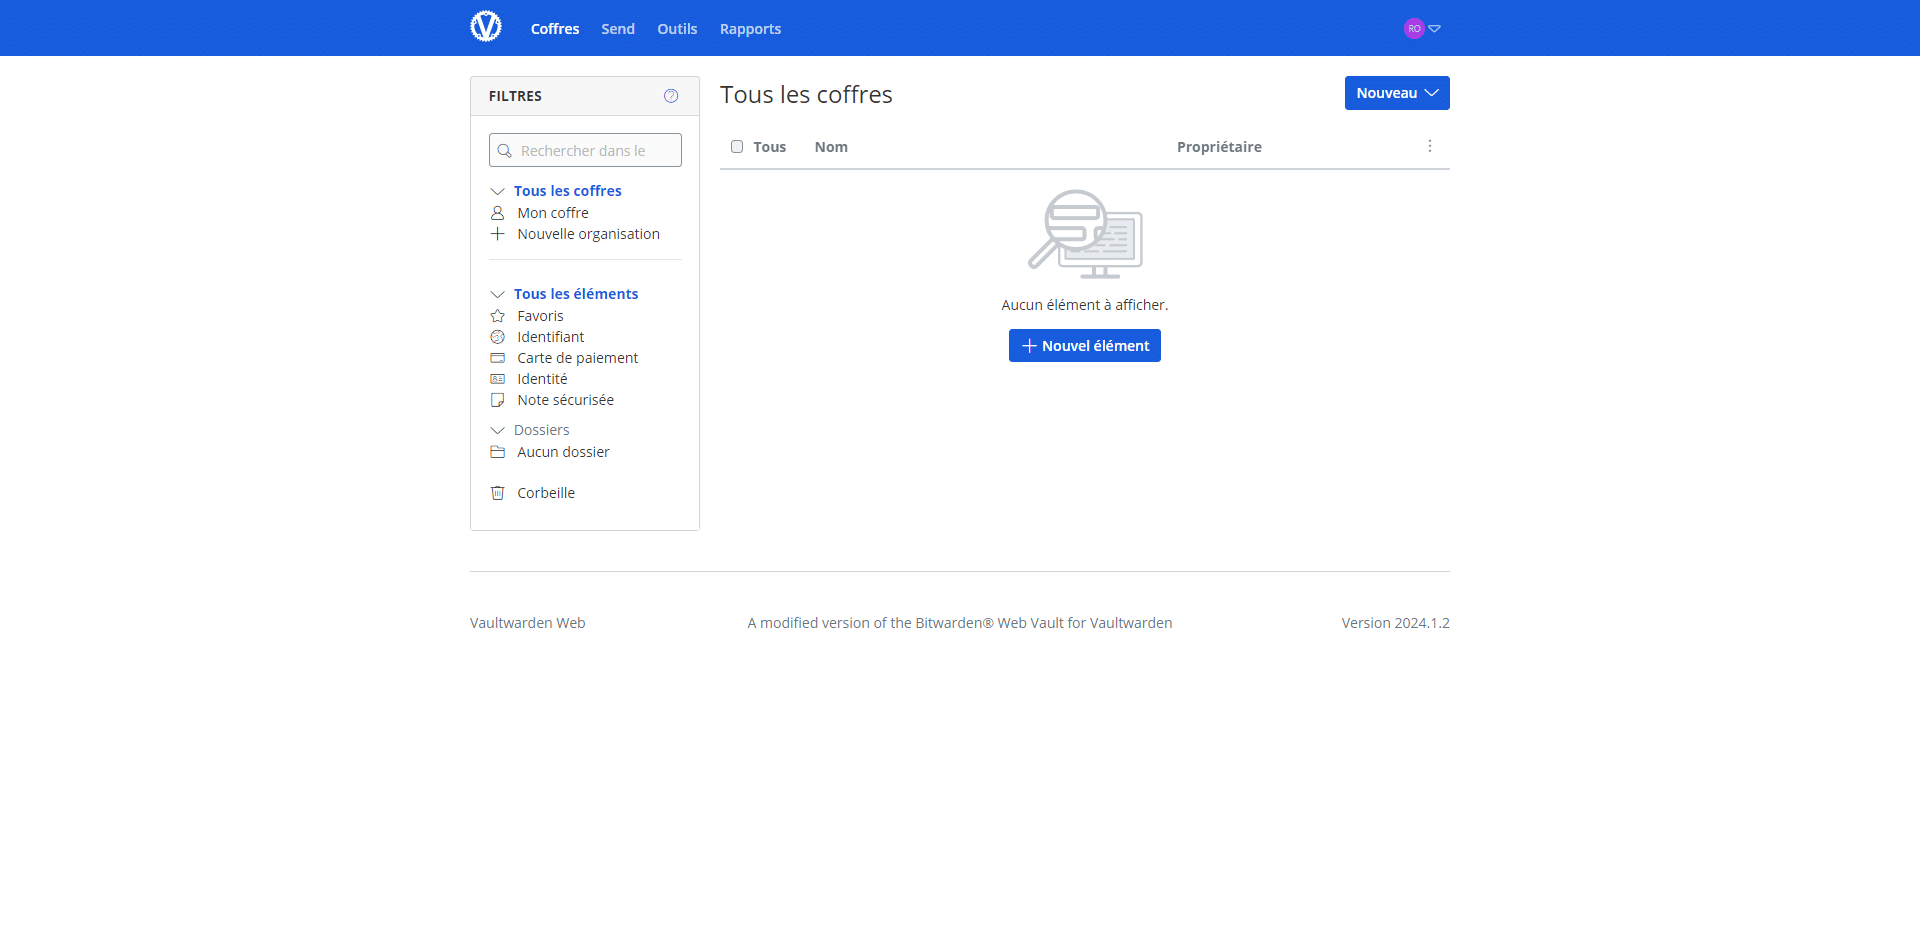
In this tutorial, I won’t cover the day-to-day use of Vaultwarden; I’ll let you figure that out on your own—it’s pretty straightforward.
Managing Organizations in Vaultwarden
In this section, we’ll explore what an organization is used for and how to create one.
Organizations allow you to do several things:
- User management and configuration.
- Password sharing.
Creating an Organization
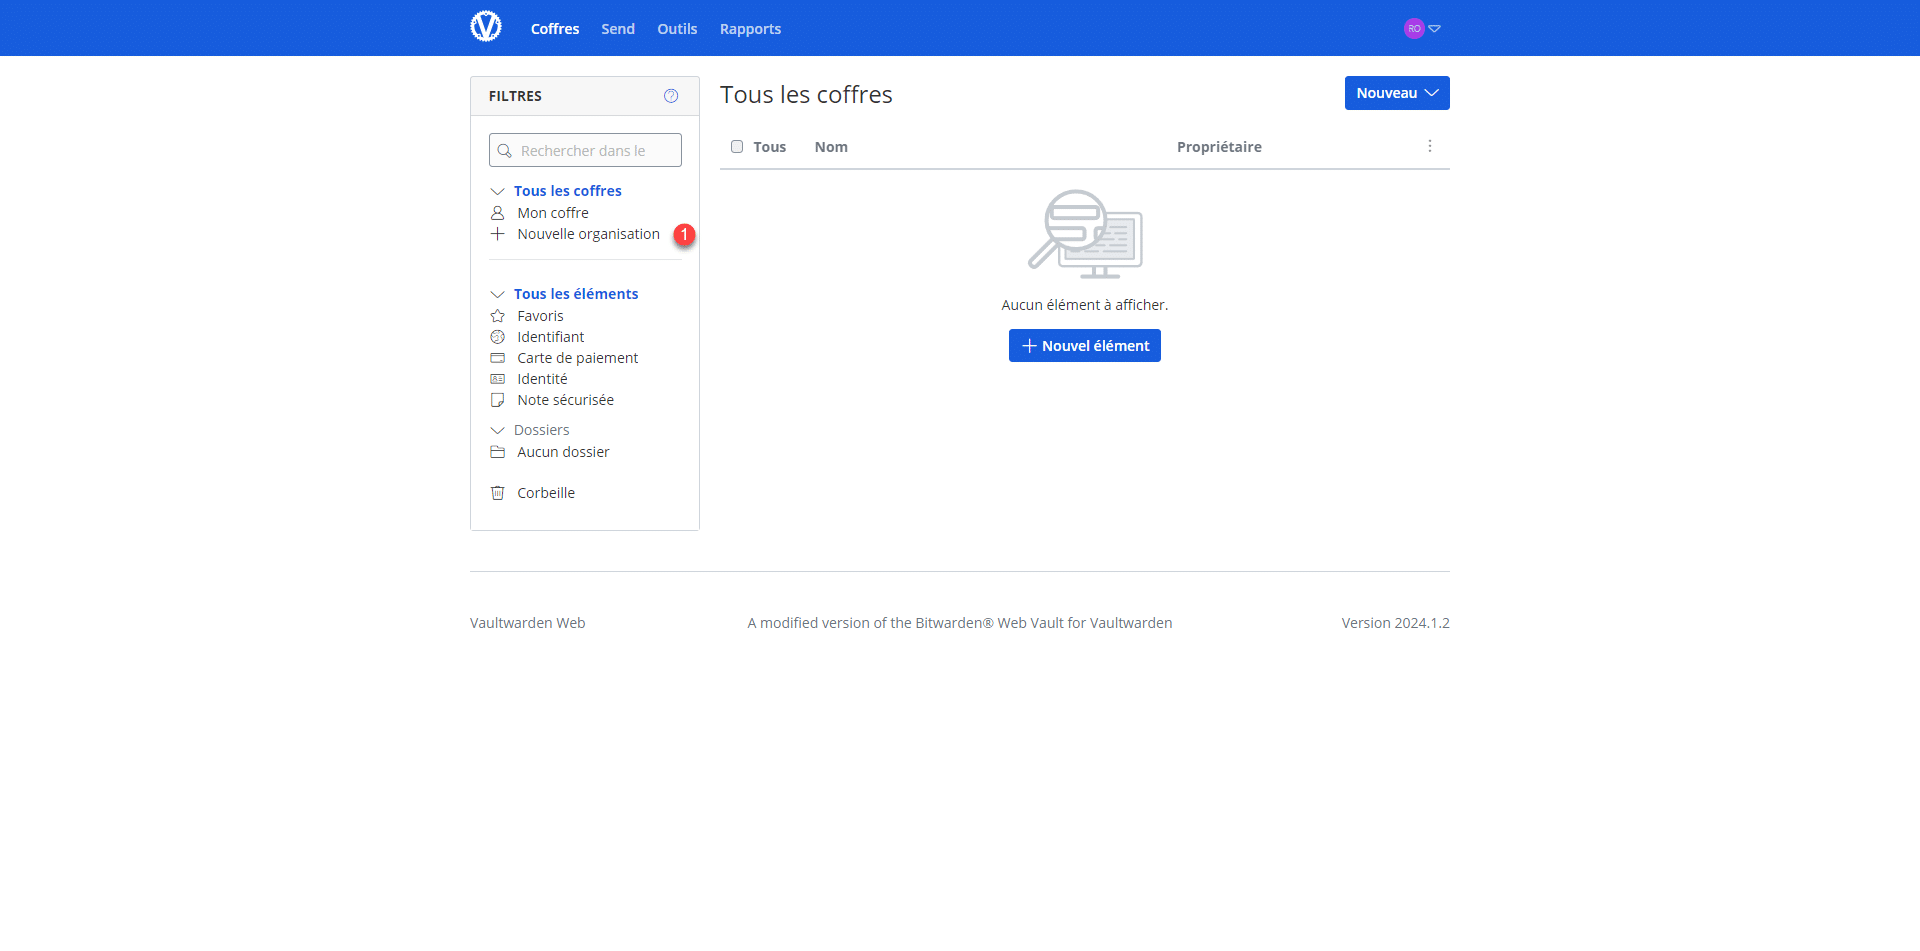
To create an organization, click New Organization 1 .
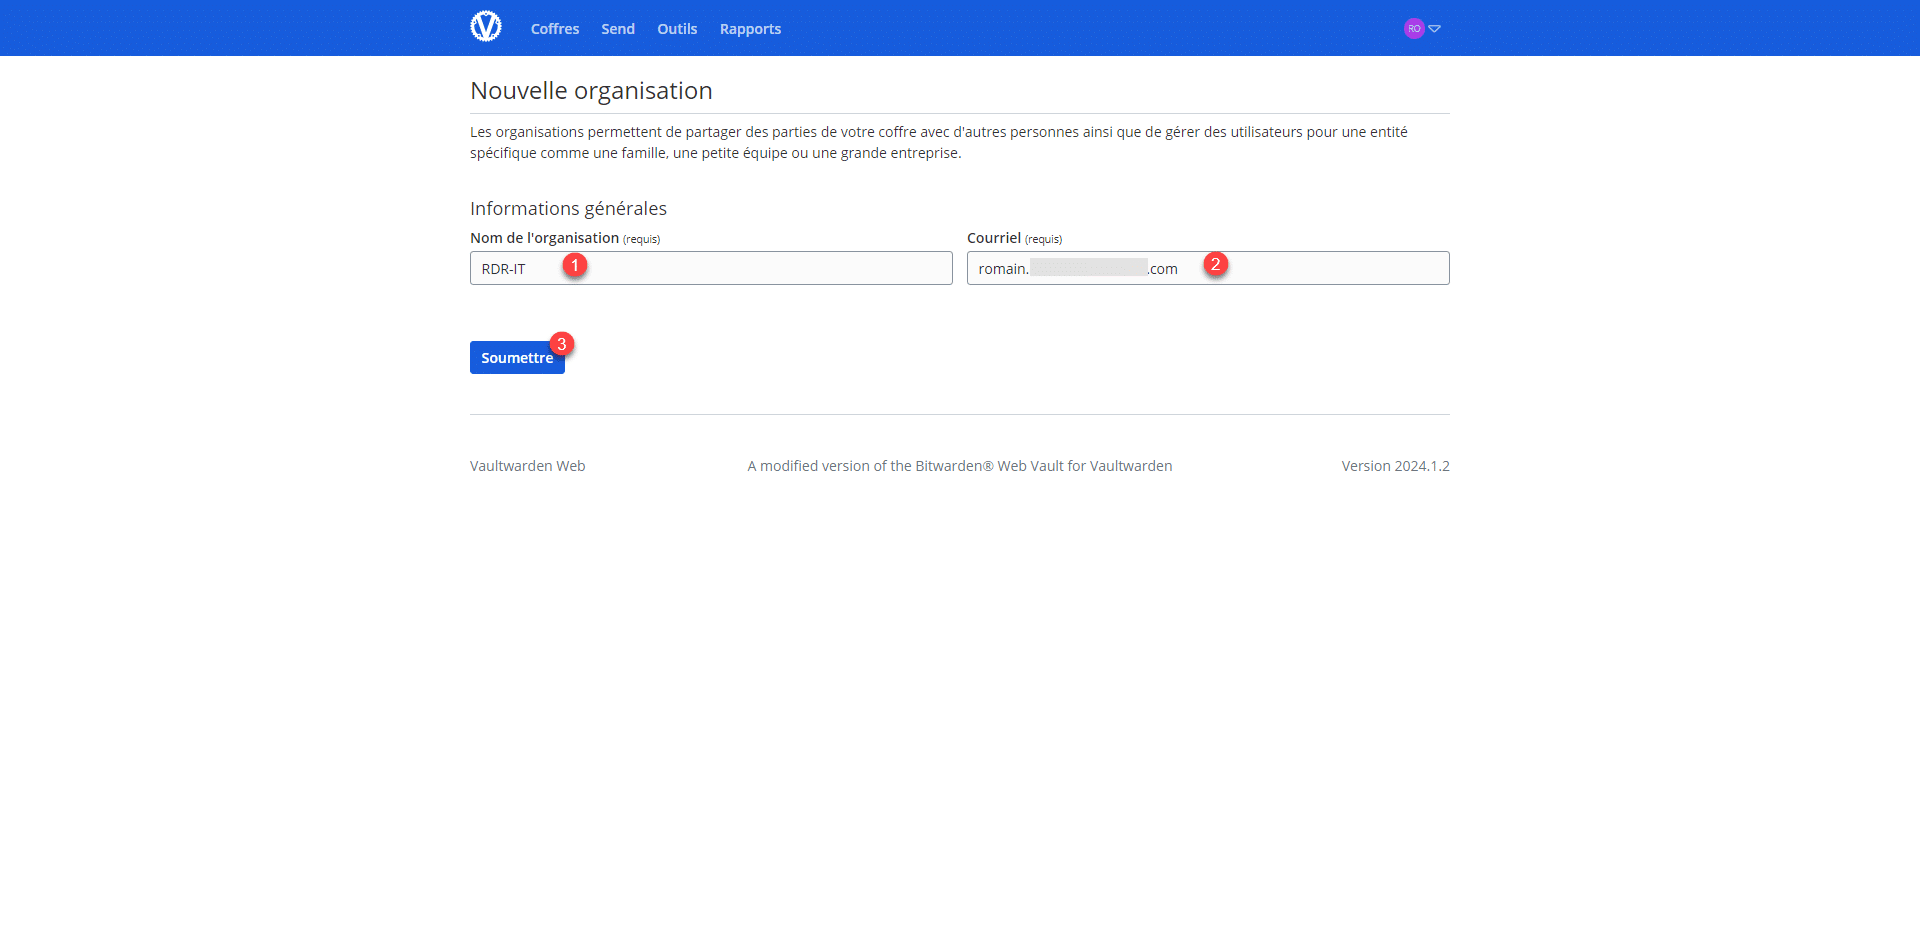
Name the organization 1 , enter an email address 2 , then click Submit 3 .
Once the organization is created, you will be redirected to it.
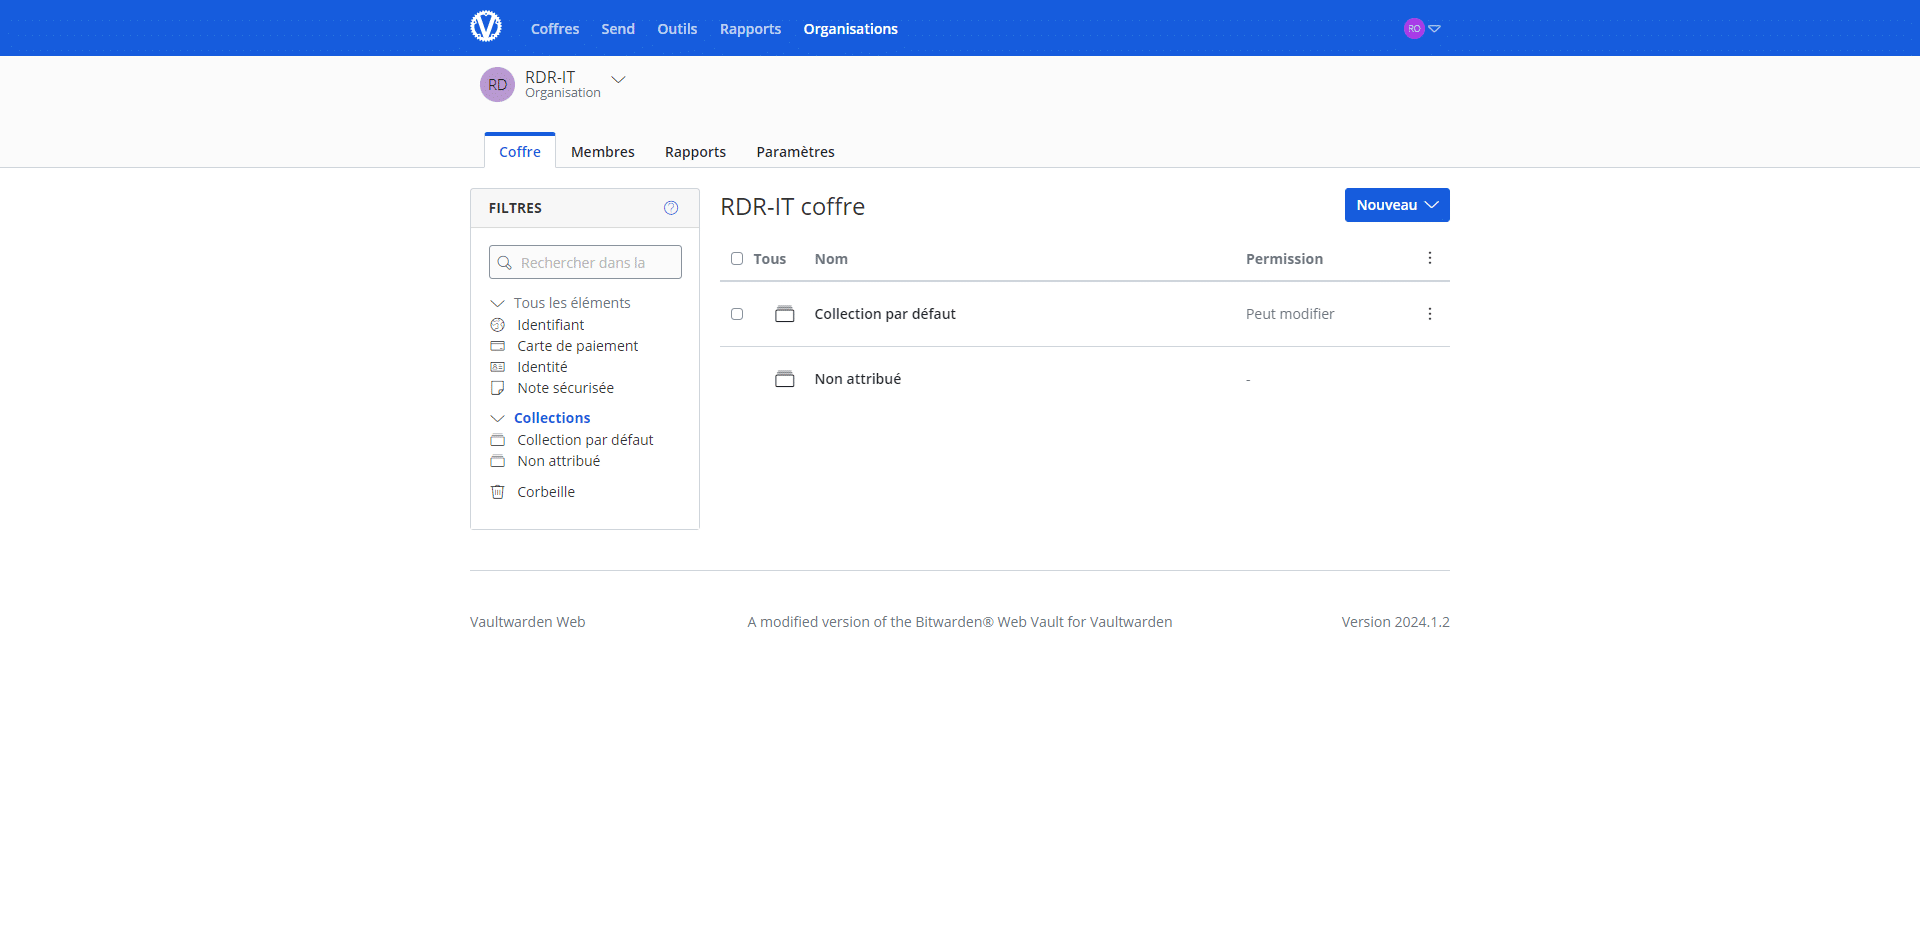
Configuring the organization
Click the Settings tab 1 .
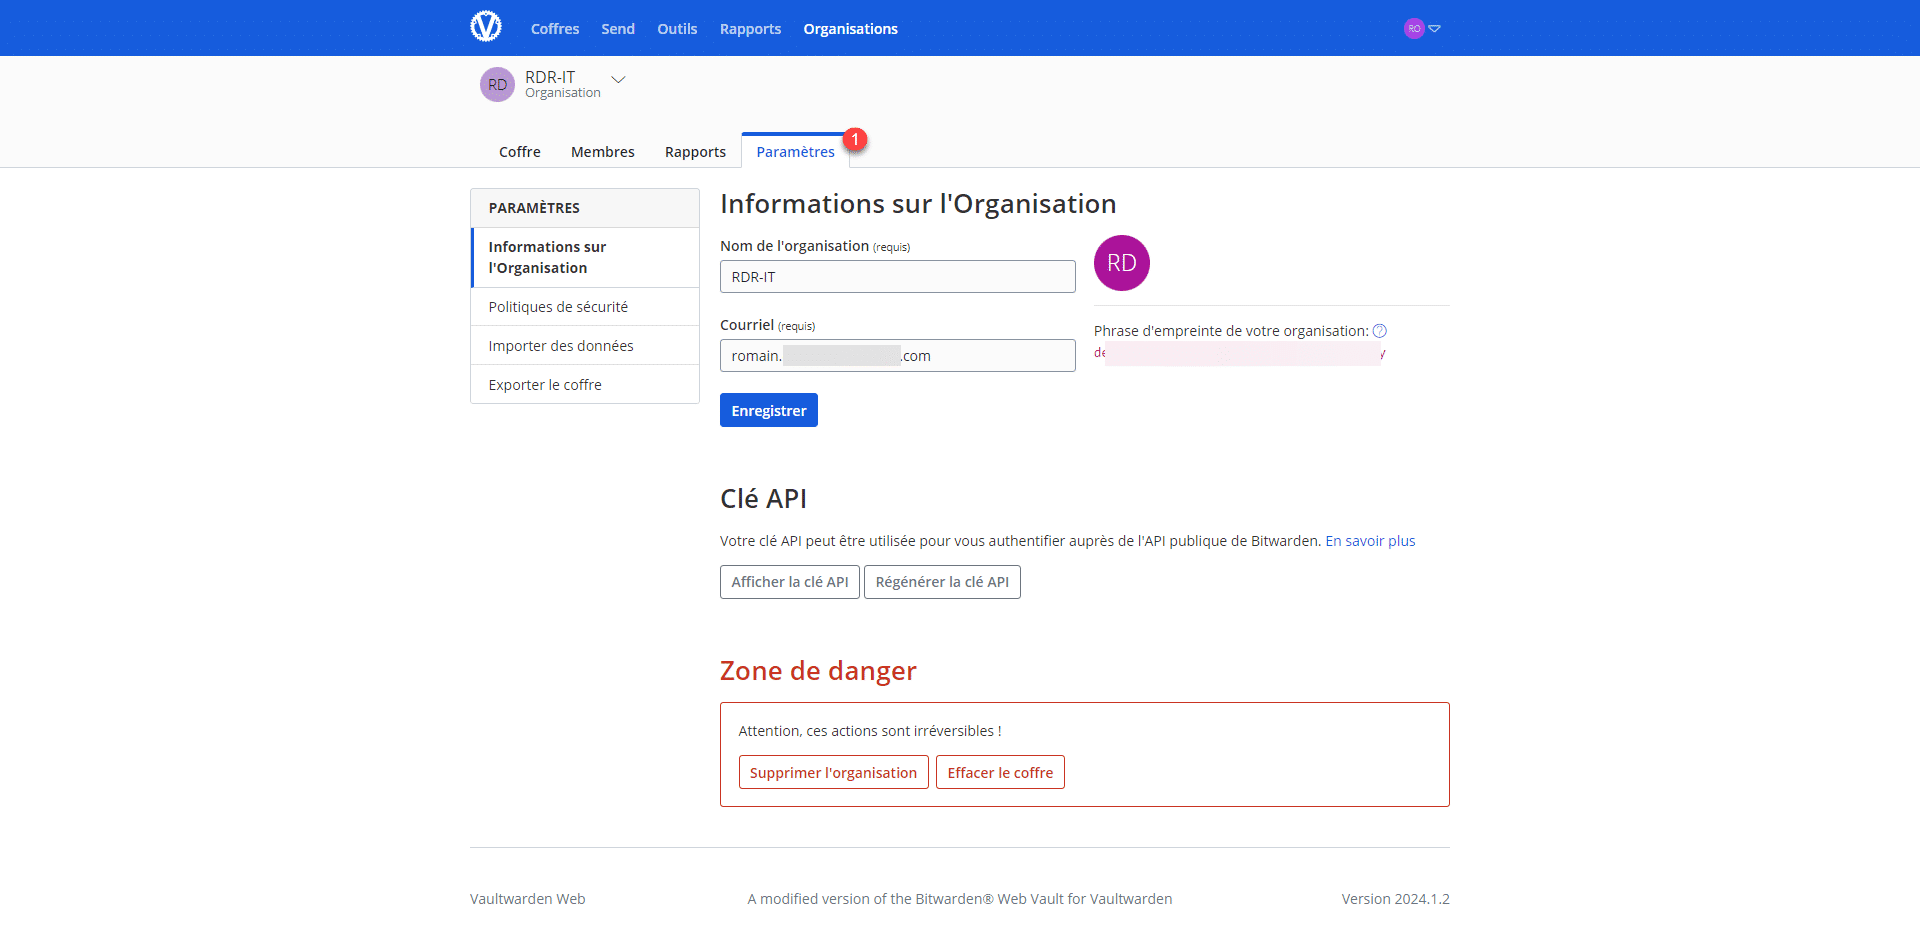
Click on Security Policies 1 .
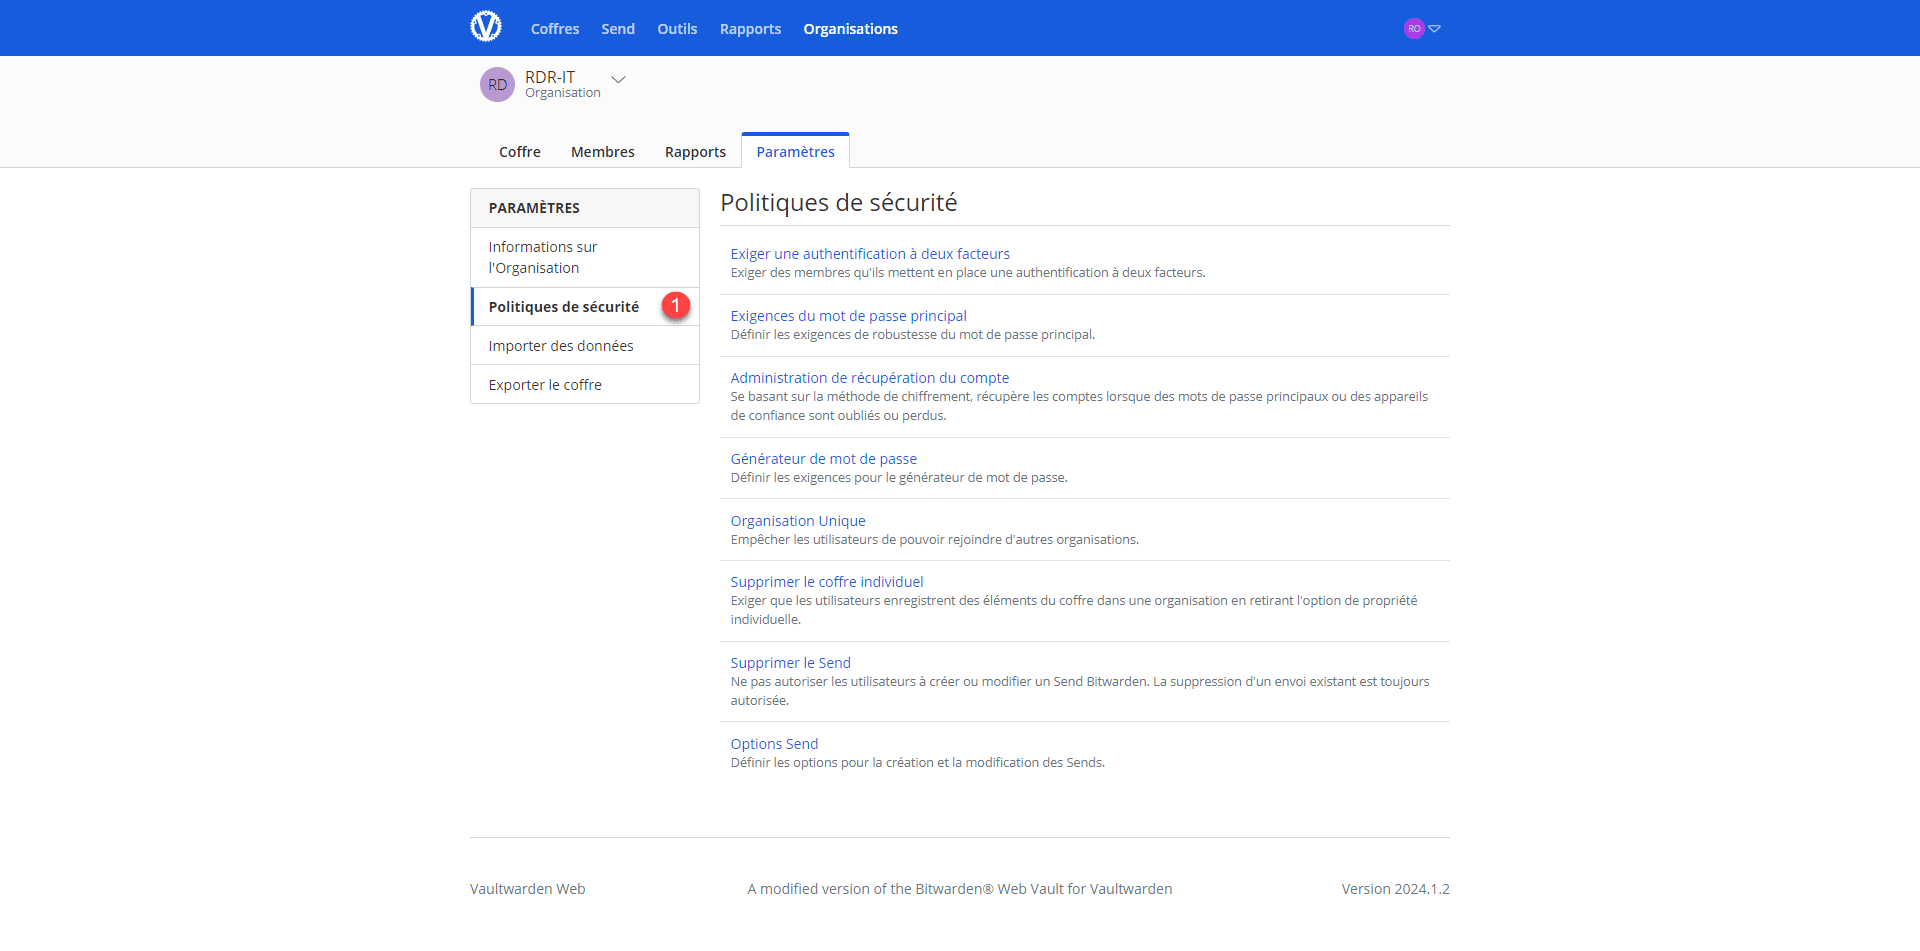
Here you’ll find various configuration options for the organization. One useful option for businesses is “Account Recovery Administration,” which allows for account recovery if the primary password is forgotten. It’s important that users do not create their accounts before this option is enabled.
Collections
Collections are containers (folders) to which you can assign permissions.
From the vault, click New 1 , then Collection 2 .
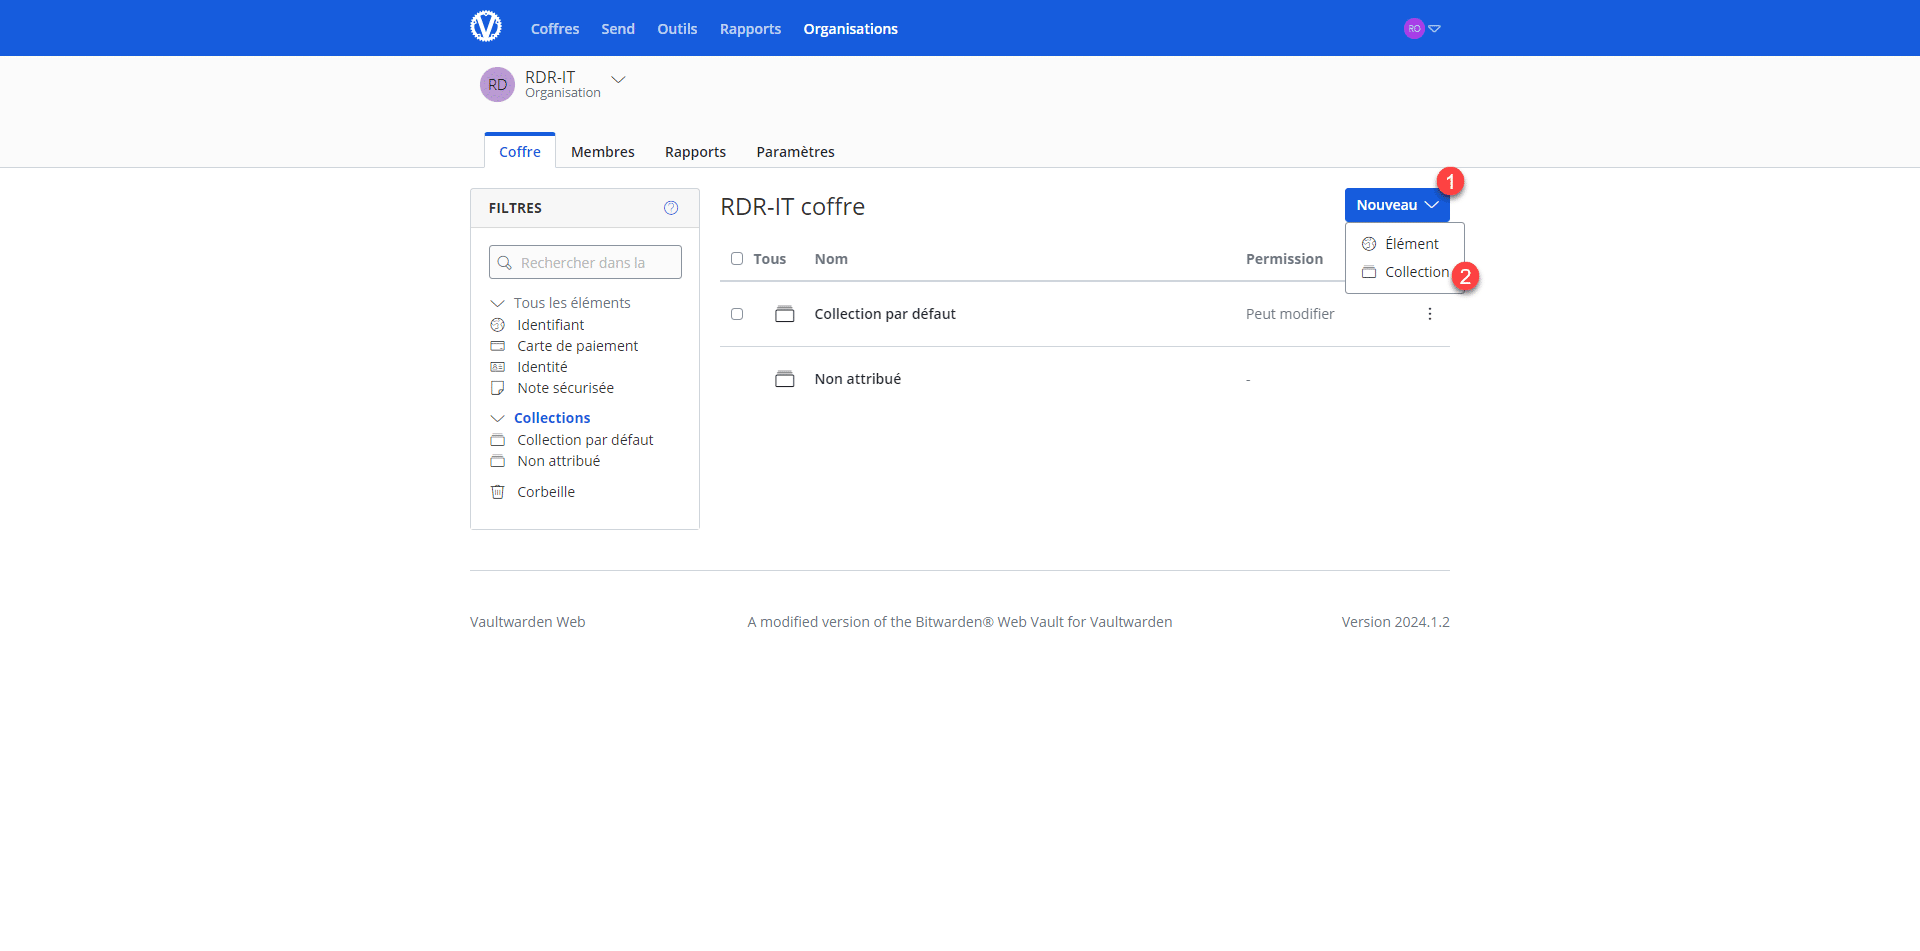
Name the collection 1 , then click Save 2 .
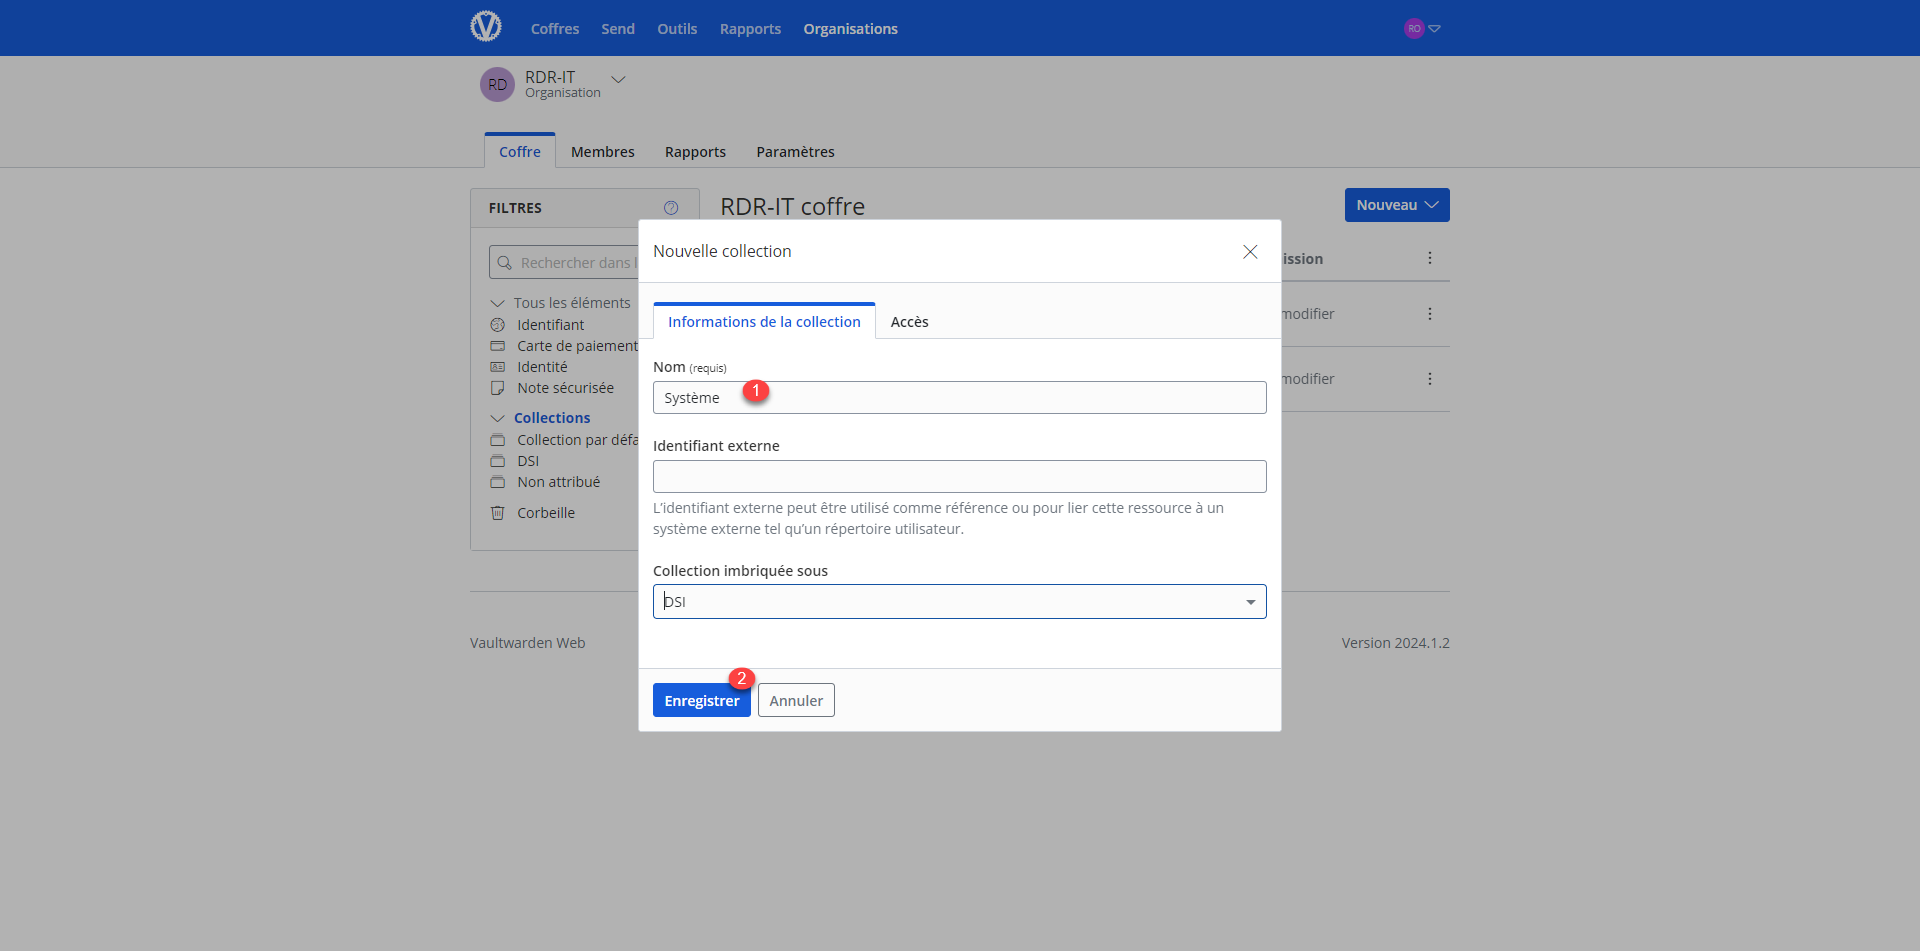
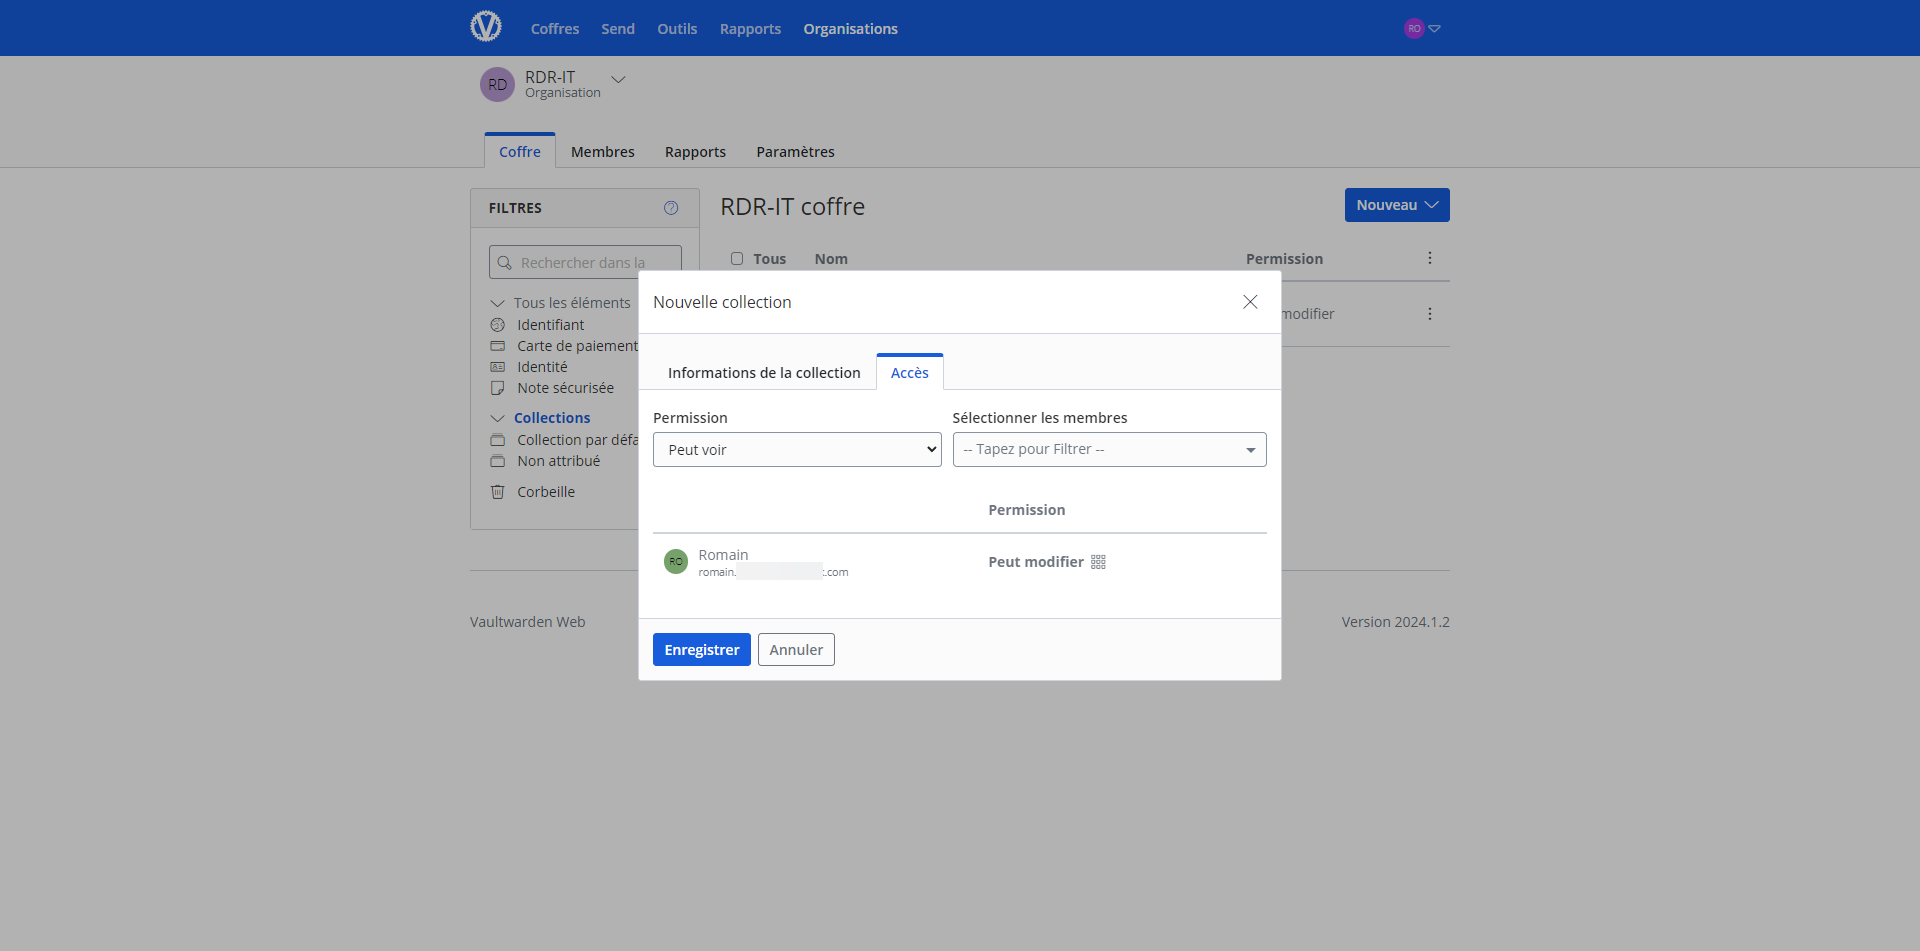
You can nest one collection within another (subcollection) and assign access permissions upon creation.
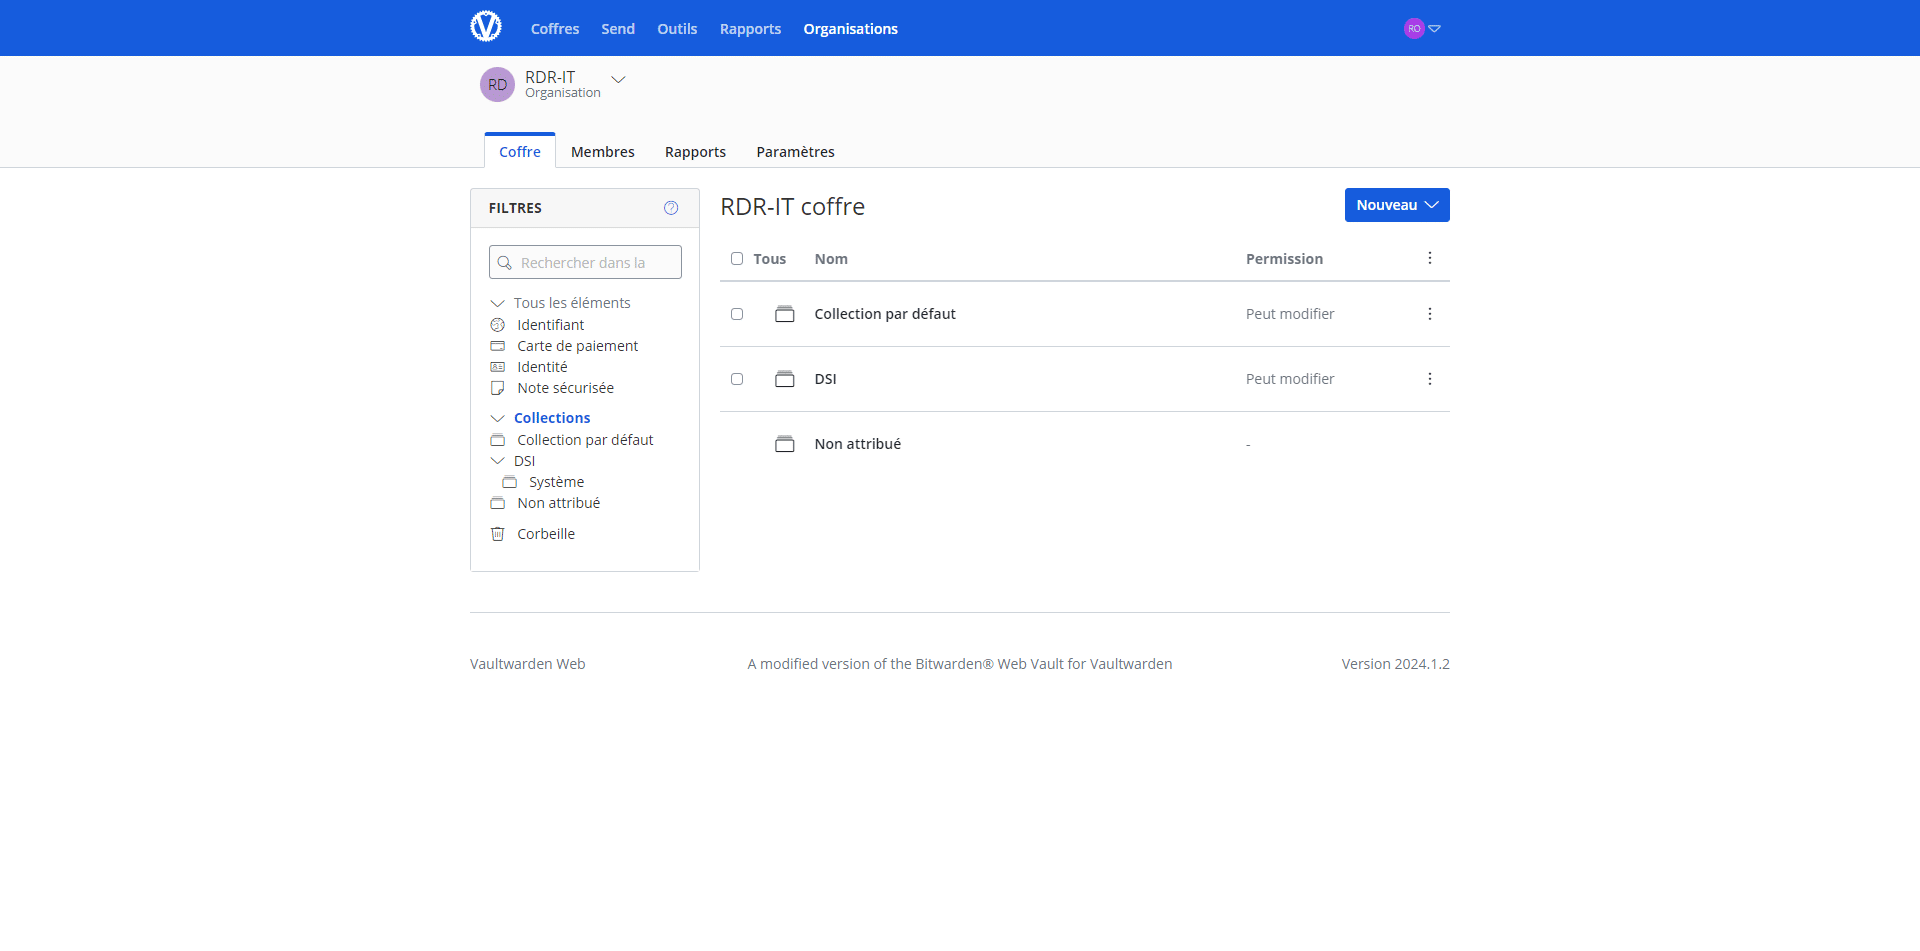
The collection is created.
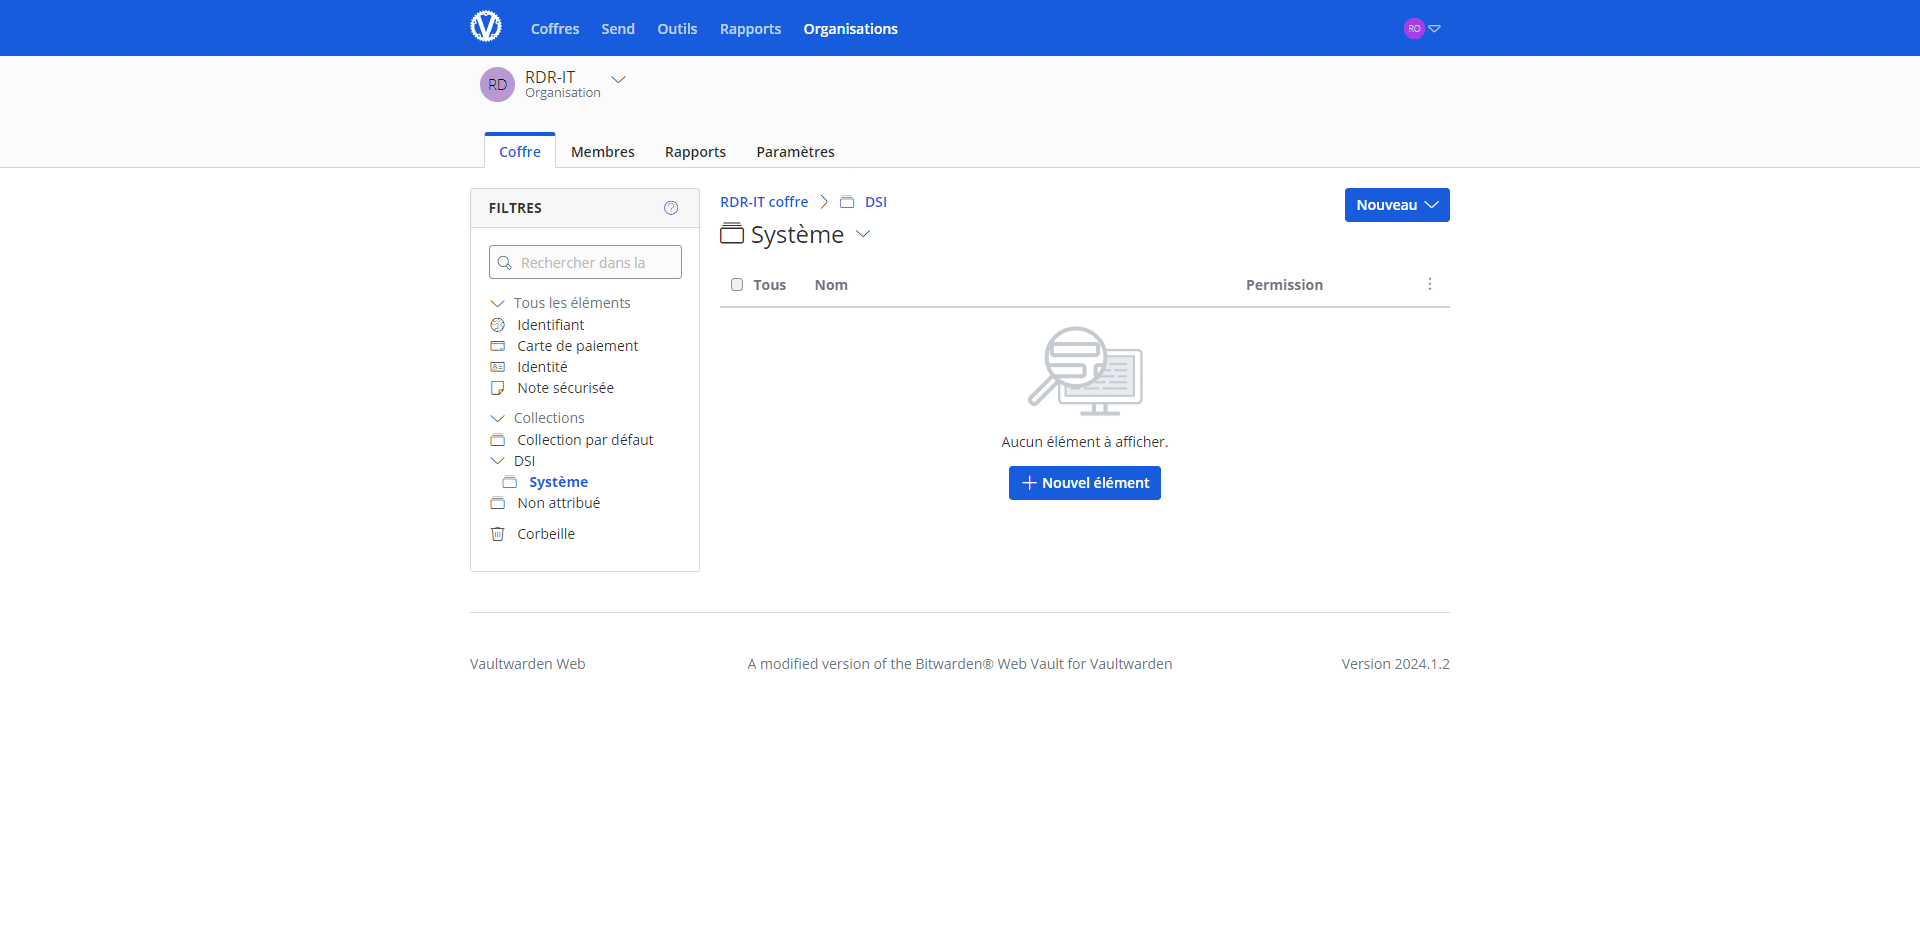
Inviting Users to a Collection
Now, let’s see how to invite users to a collection.
You can invite a user who doesn’t have an account even if registration is closed.
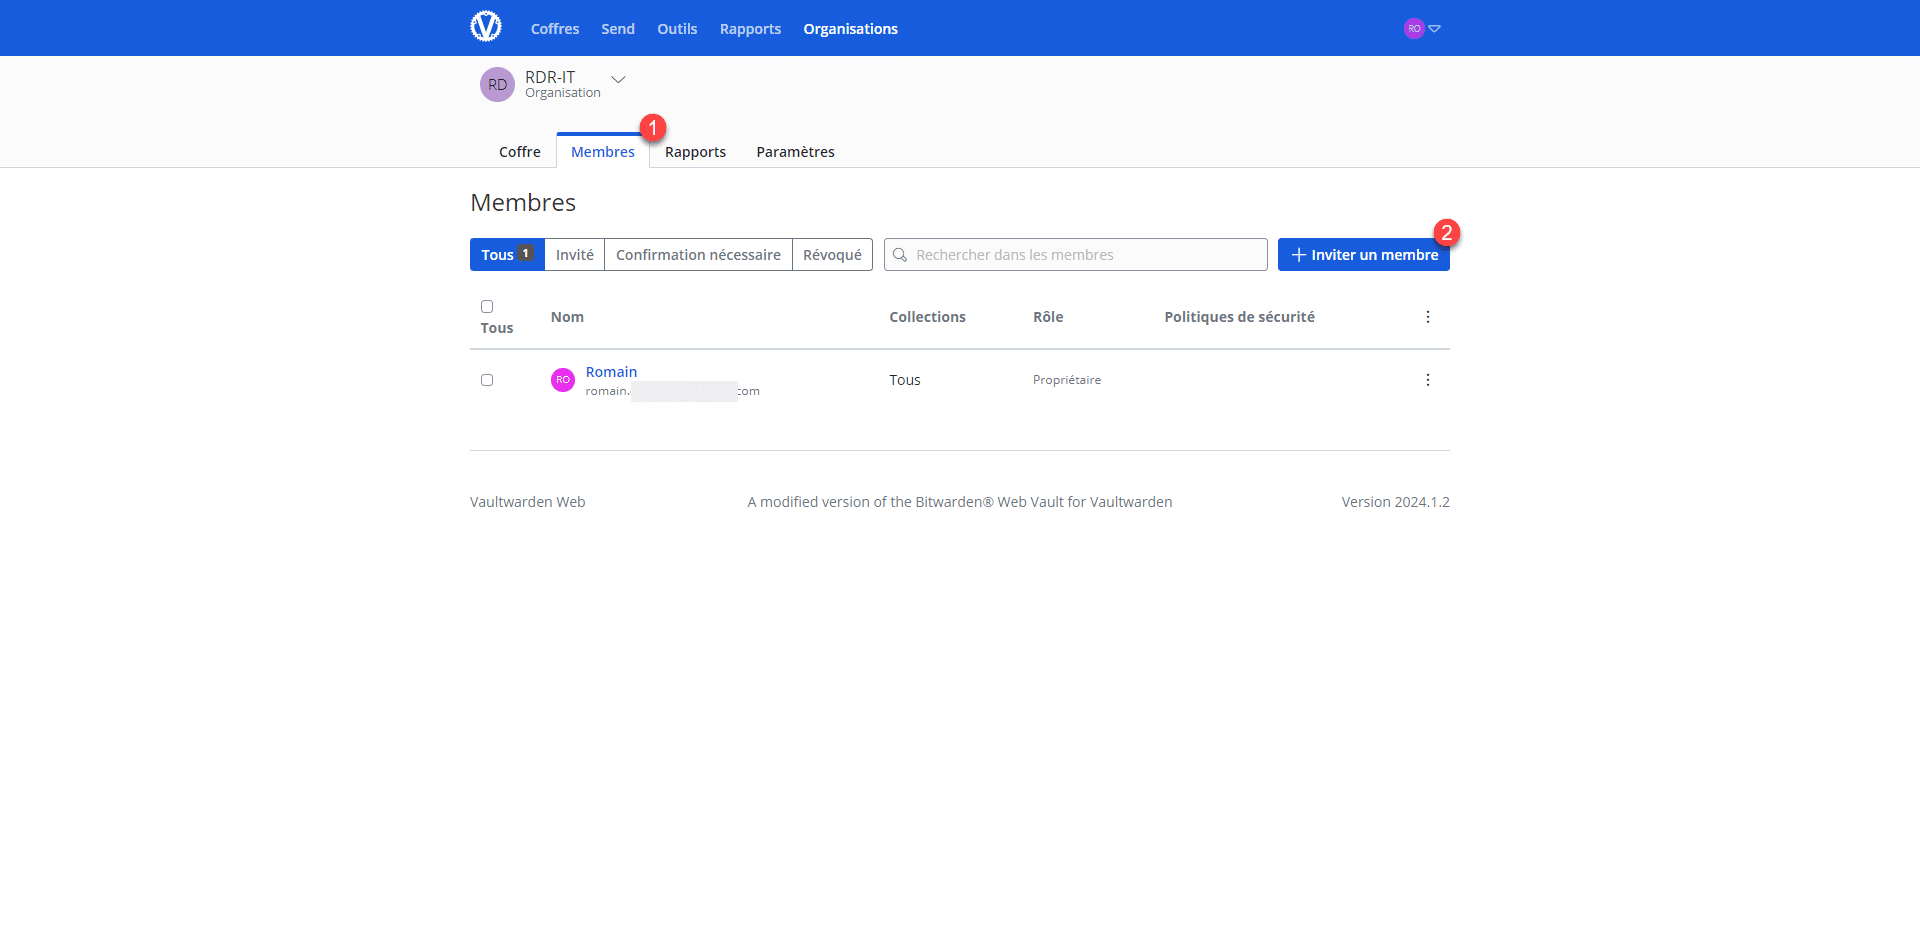
Go to the Members tab 1 and click Invite a Member 2 .
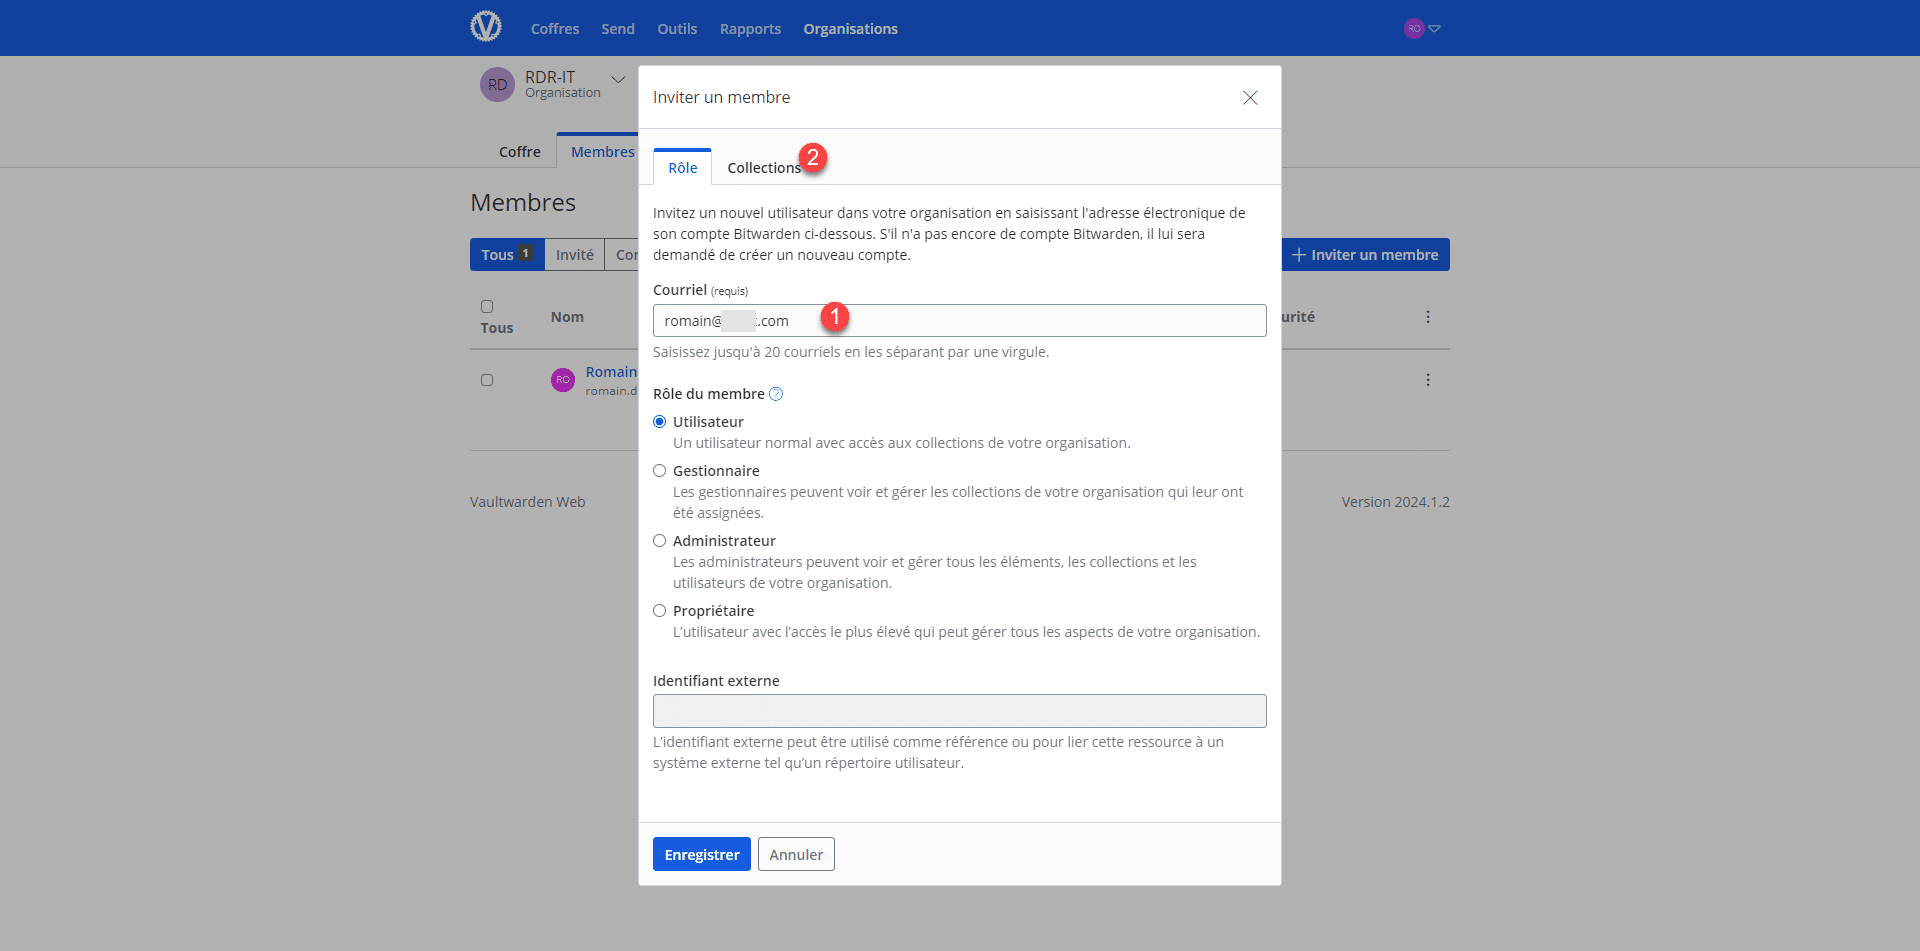
Enter the email address 1 , then go to Collections 2 .
Configure permissions for the collections 1 and click Save 2 .
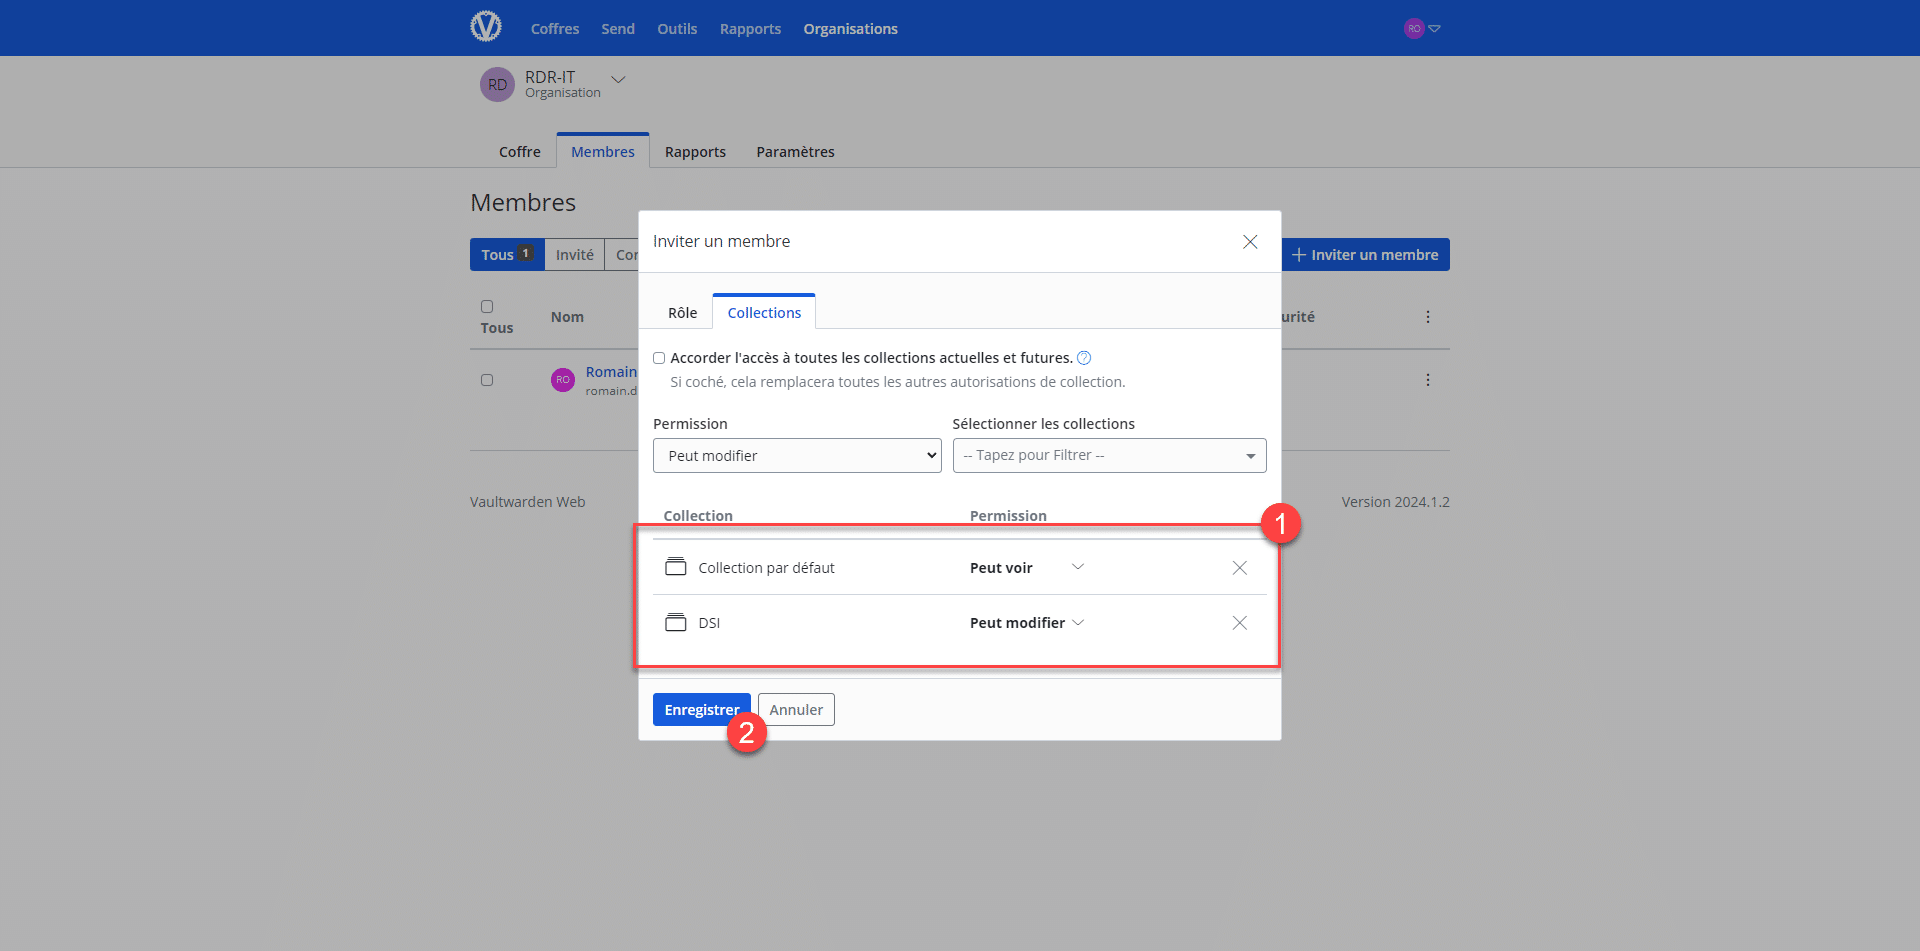
Permissions are not inheritable.
The user is invited.
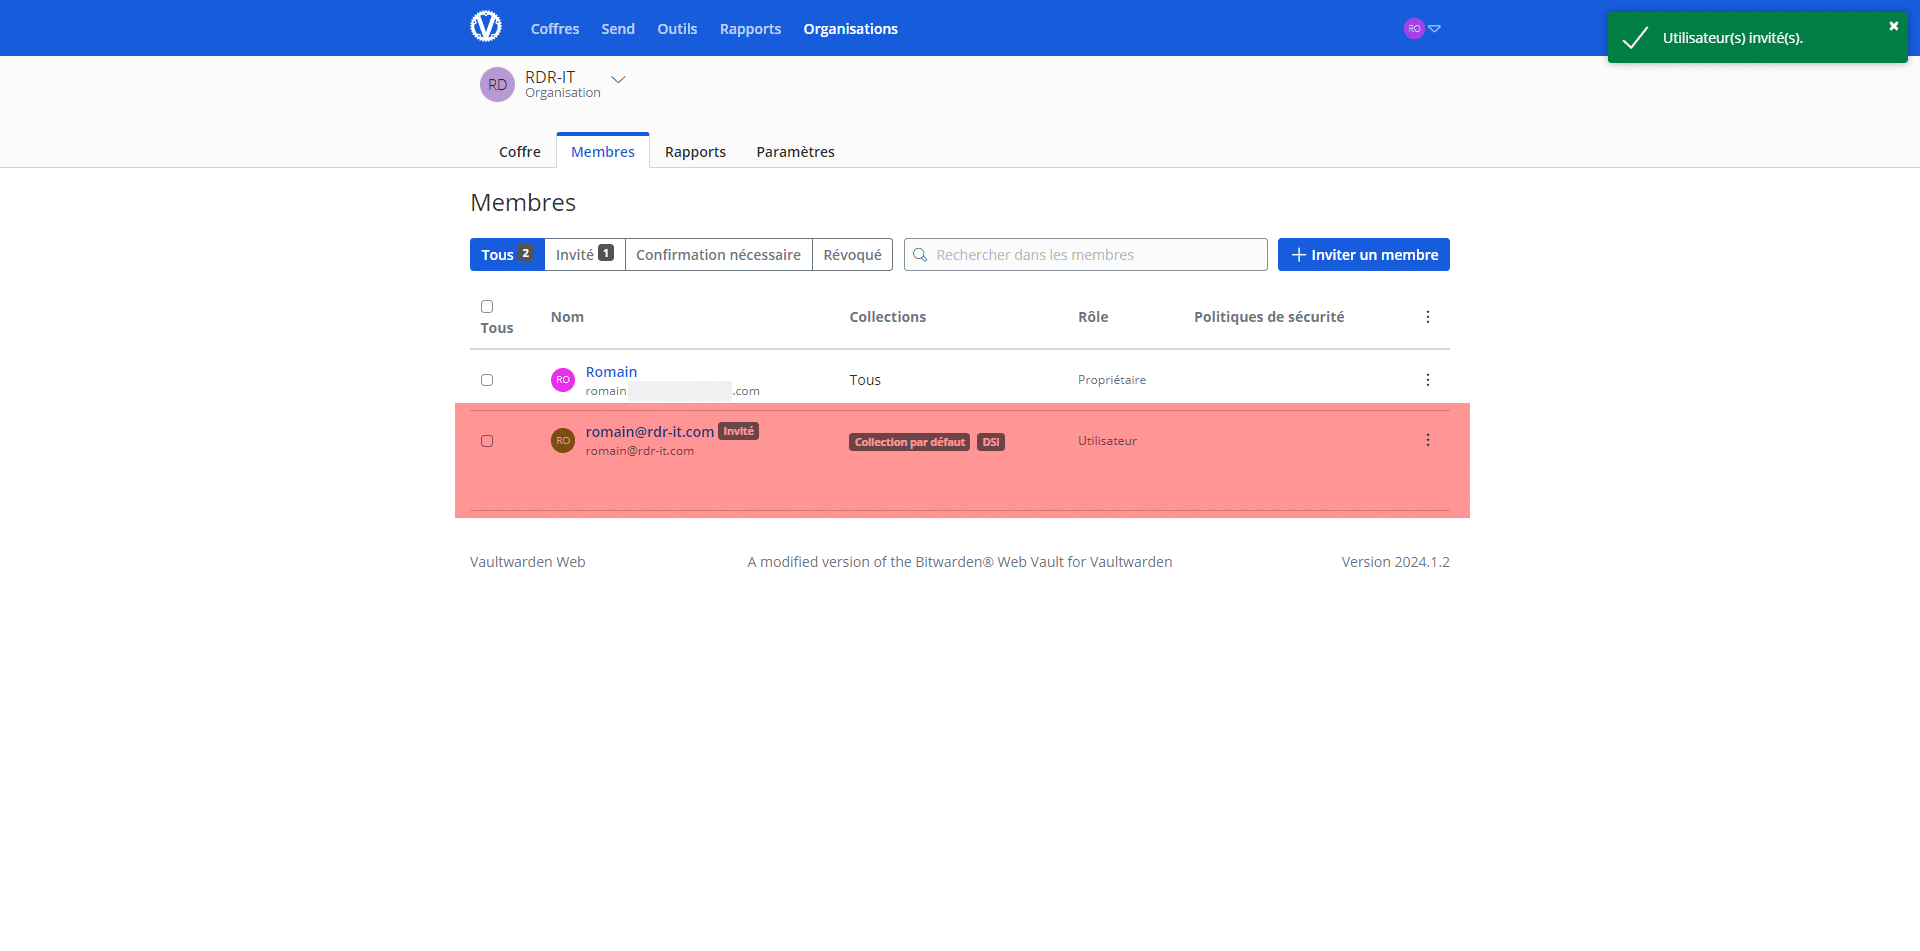
The user receives an email inviting them to join the organization.
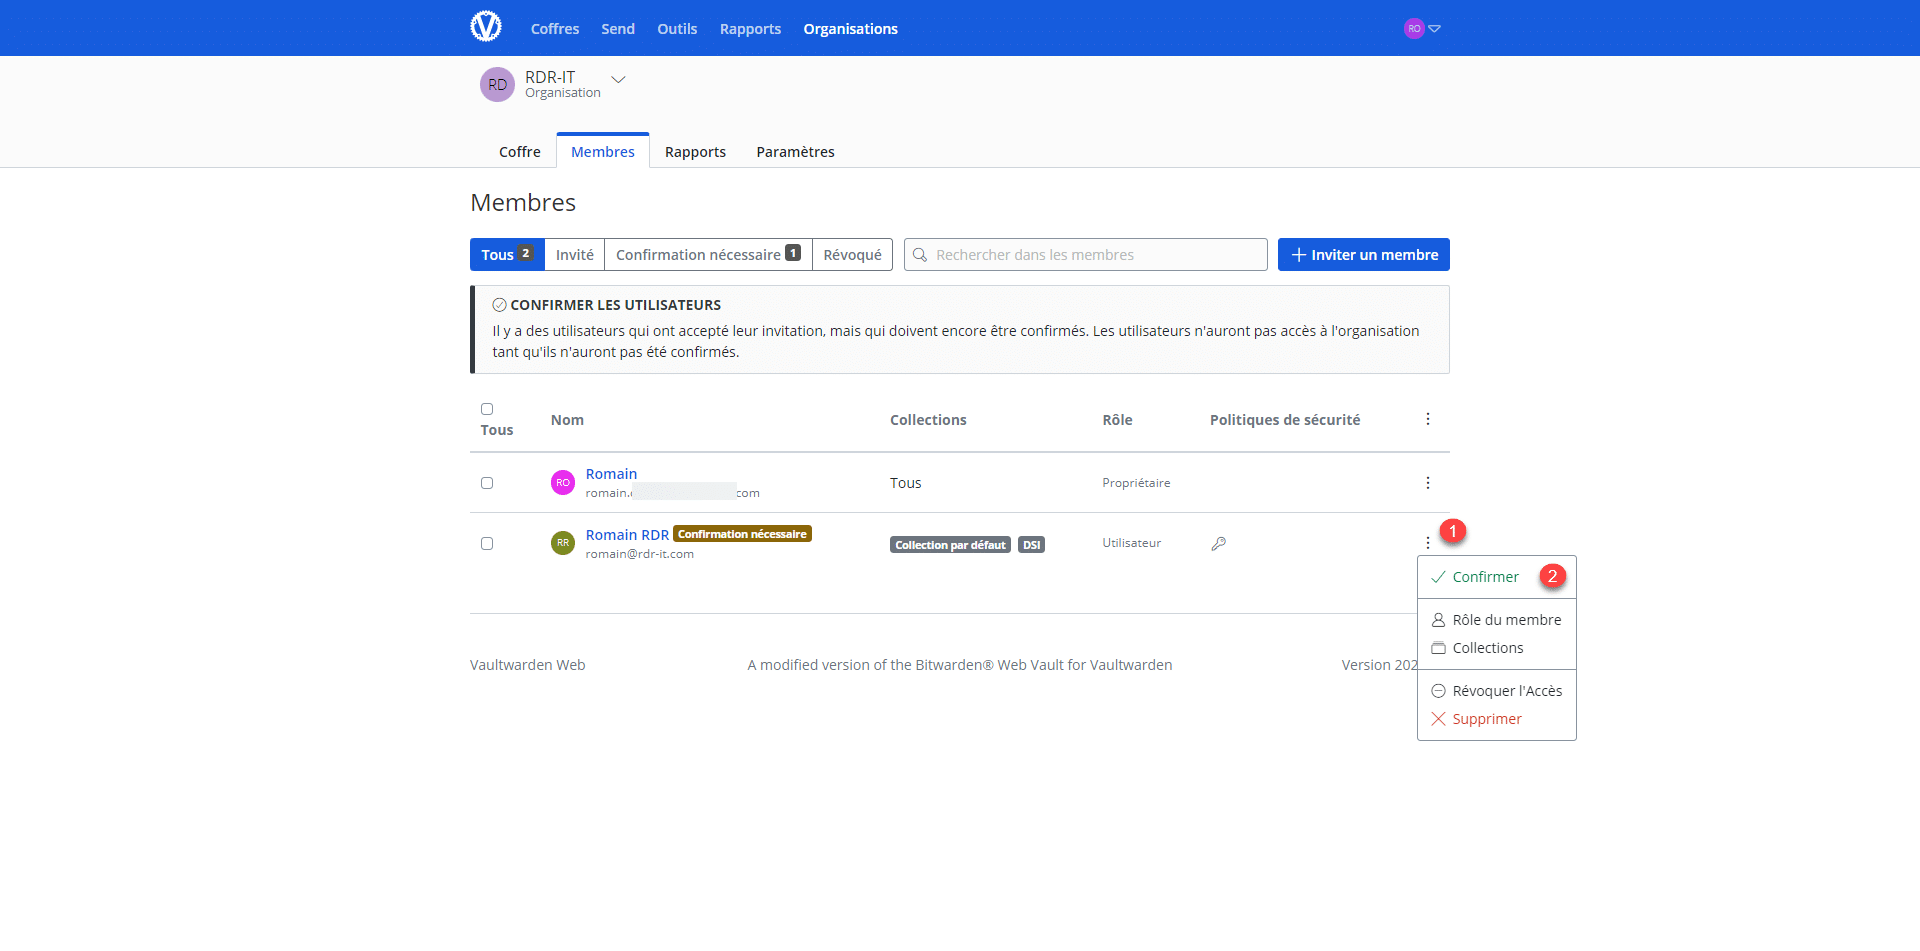
Once the user has joined the organization, you must confirm their access; click the dots 1 , then Confirm 2 .
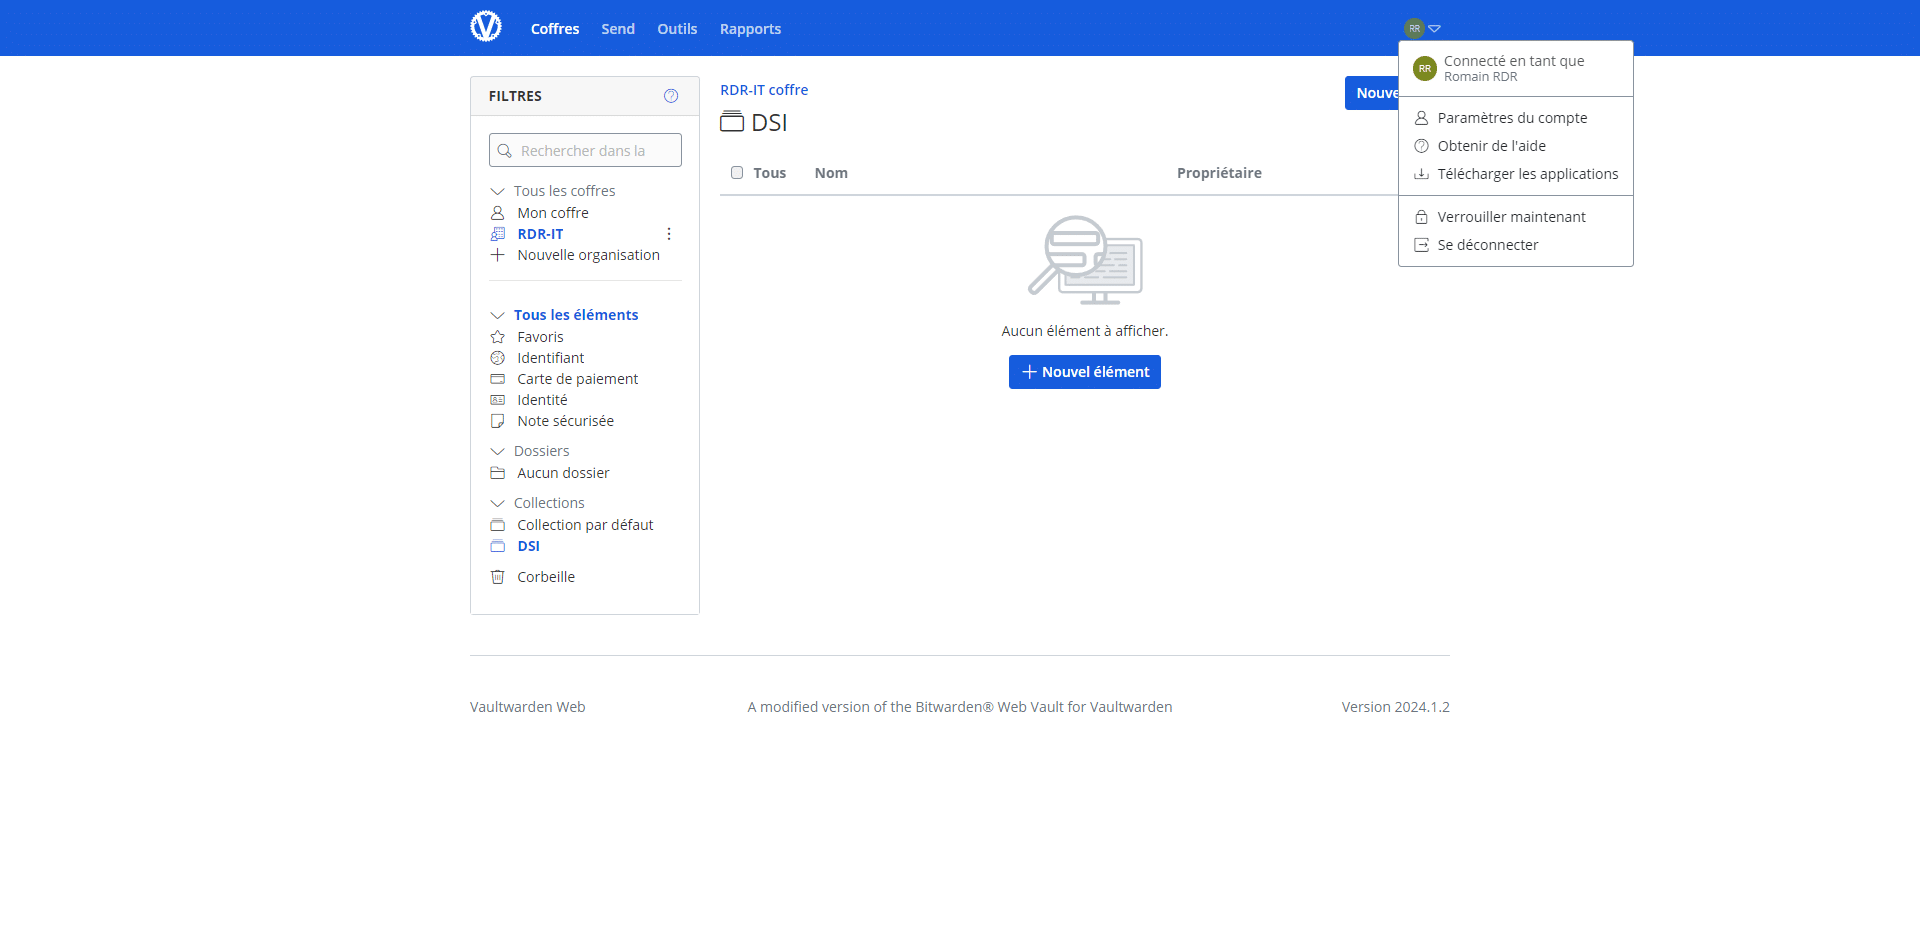
Whether or not you confirm the use of a passphrase, the user now has access to the organization.
Vaultwarden Administration
To finish this tutorial, I’ll explain how to access the admin panel.
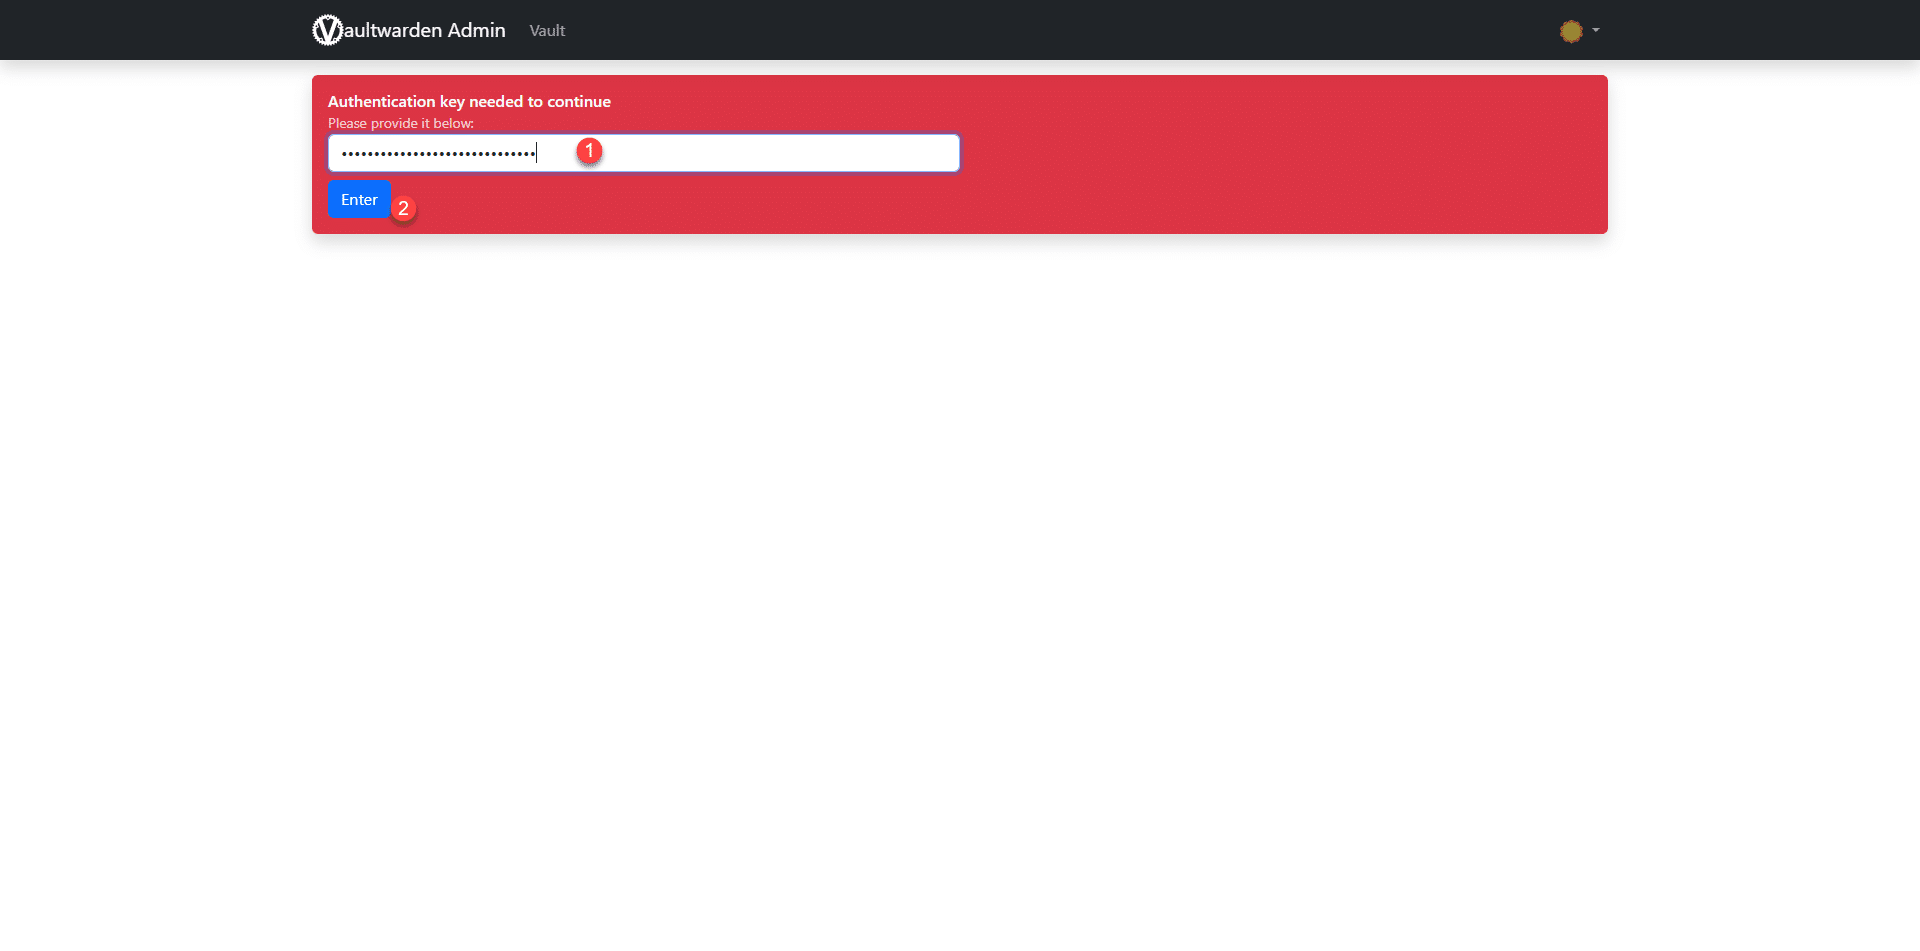
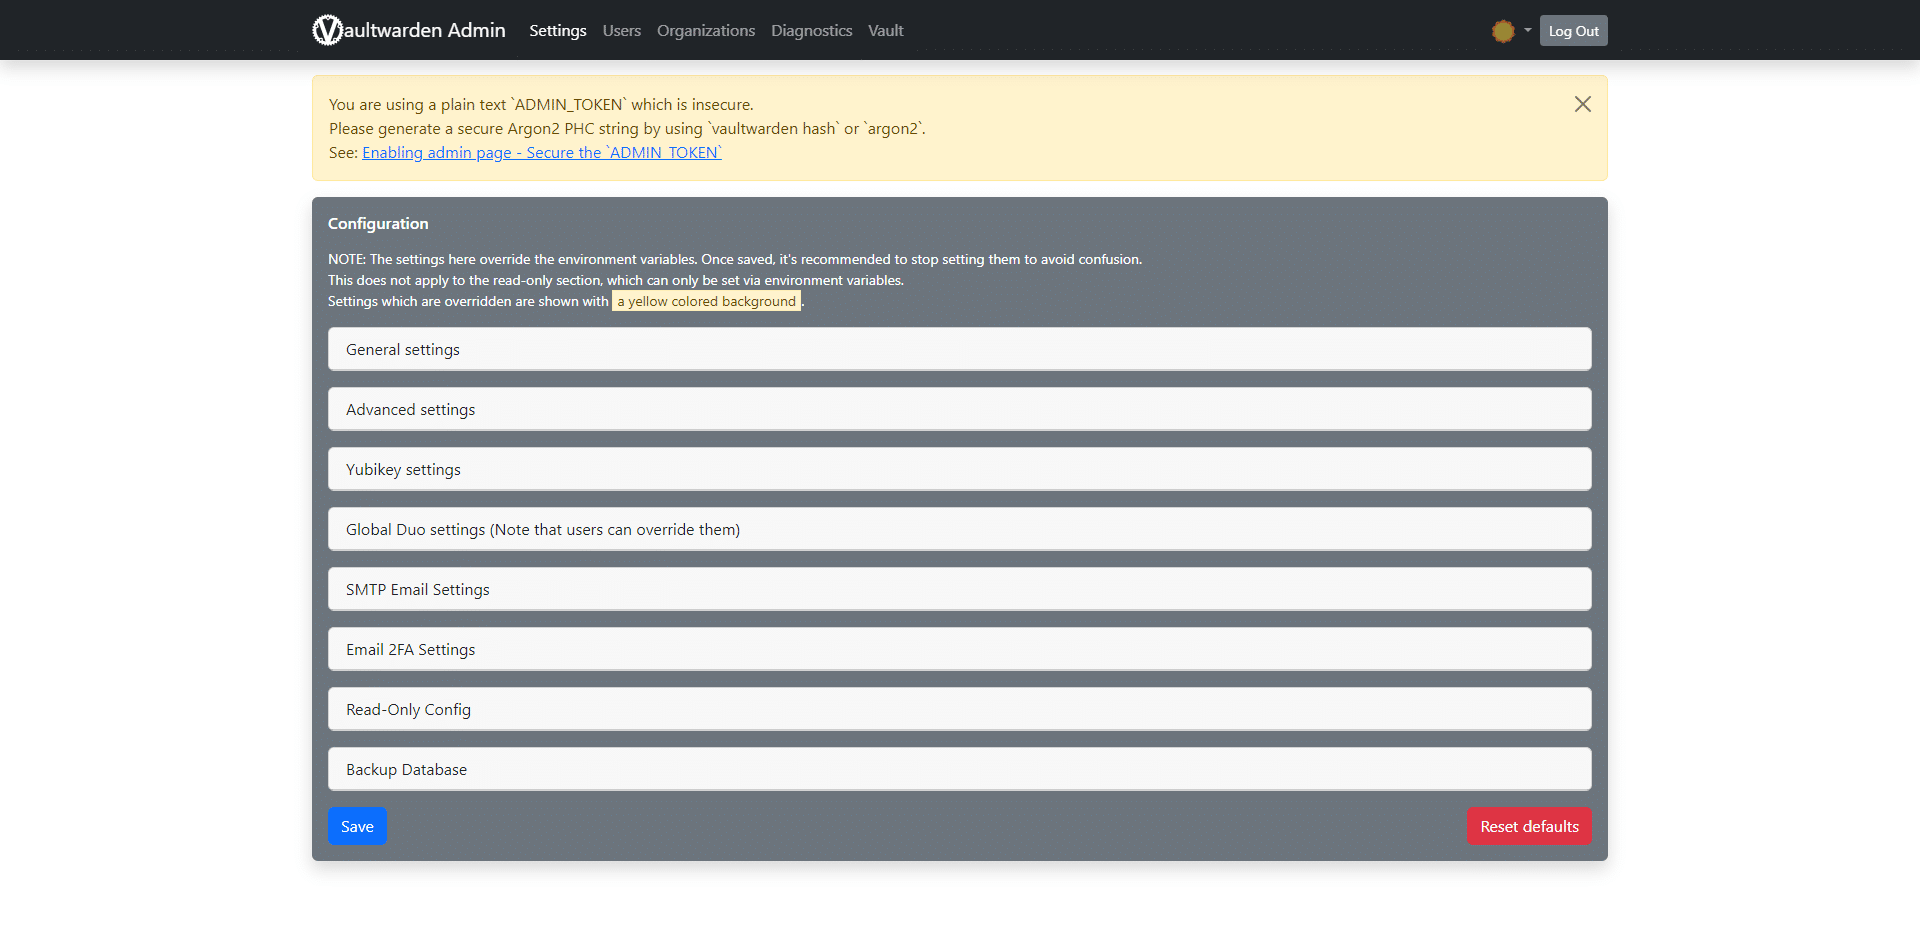
Go to the following URL: https://vault.domain.tld/admin , enter the token 1 configured in the .env file, and click Enter 2 .
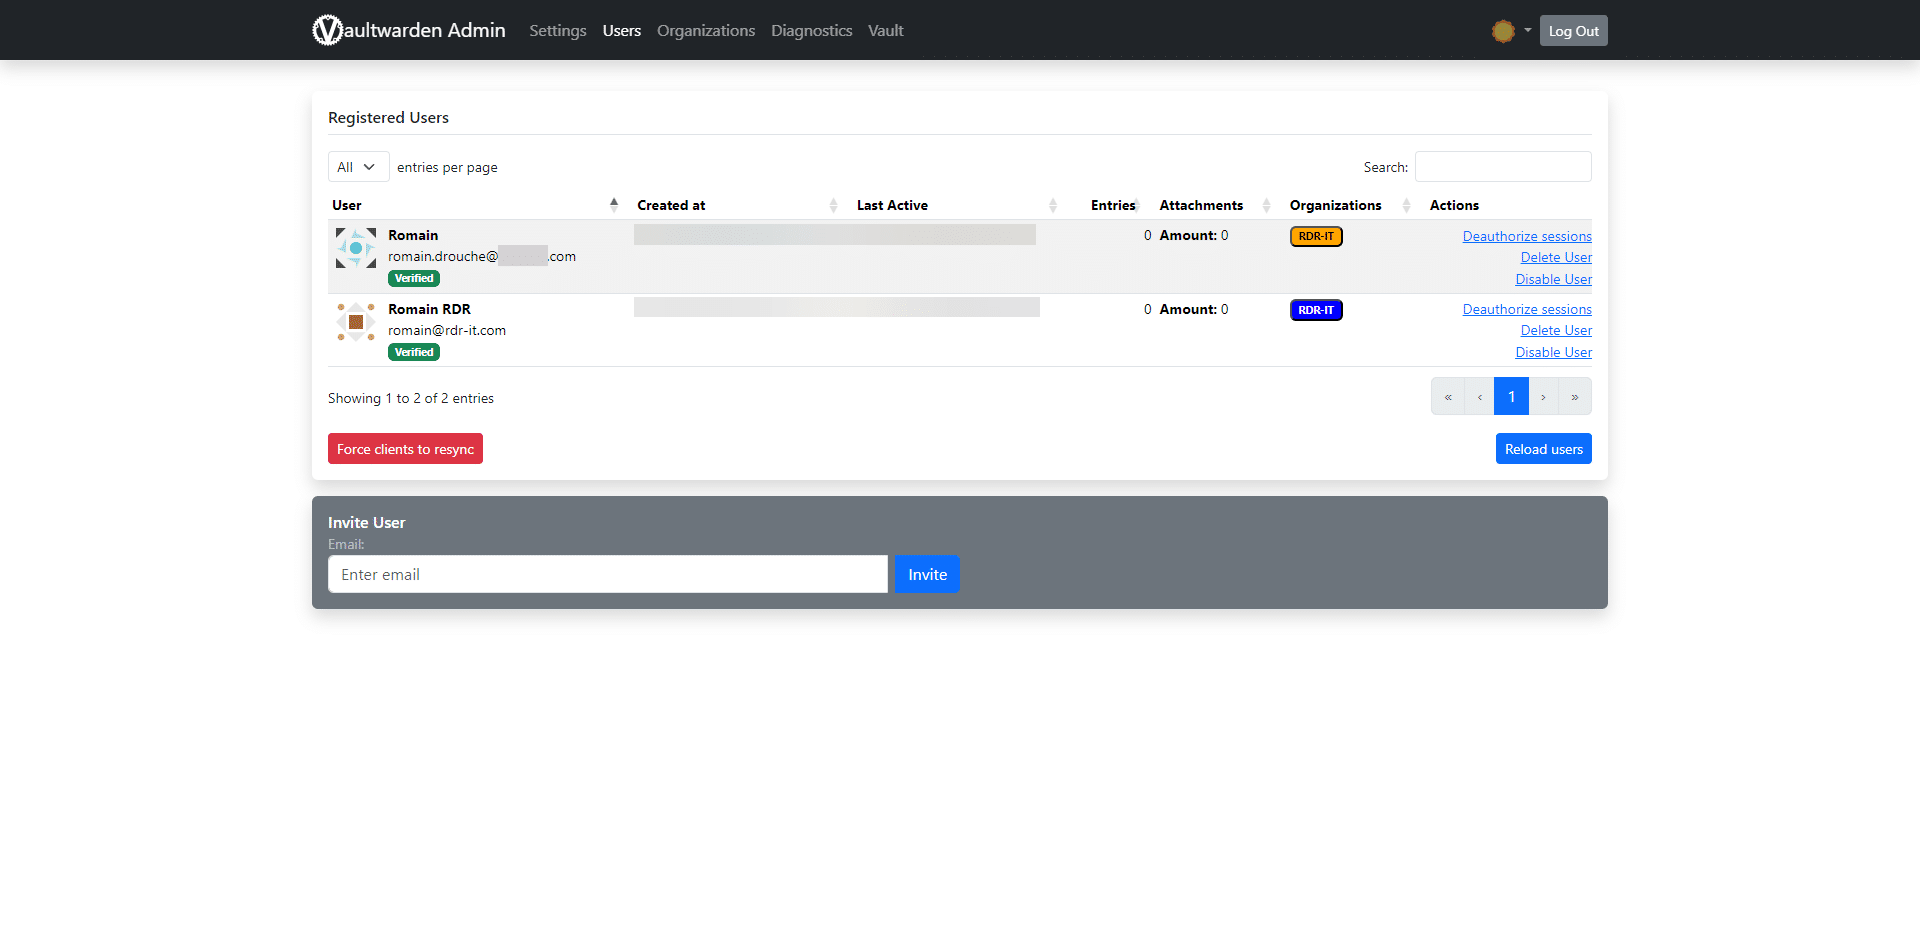
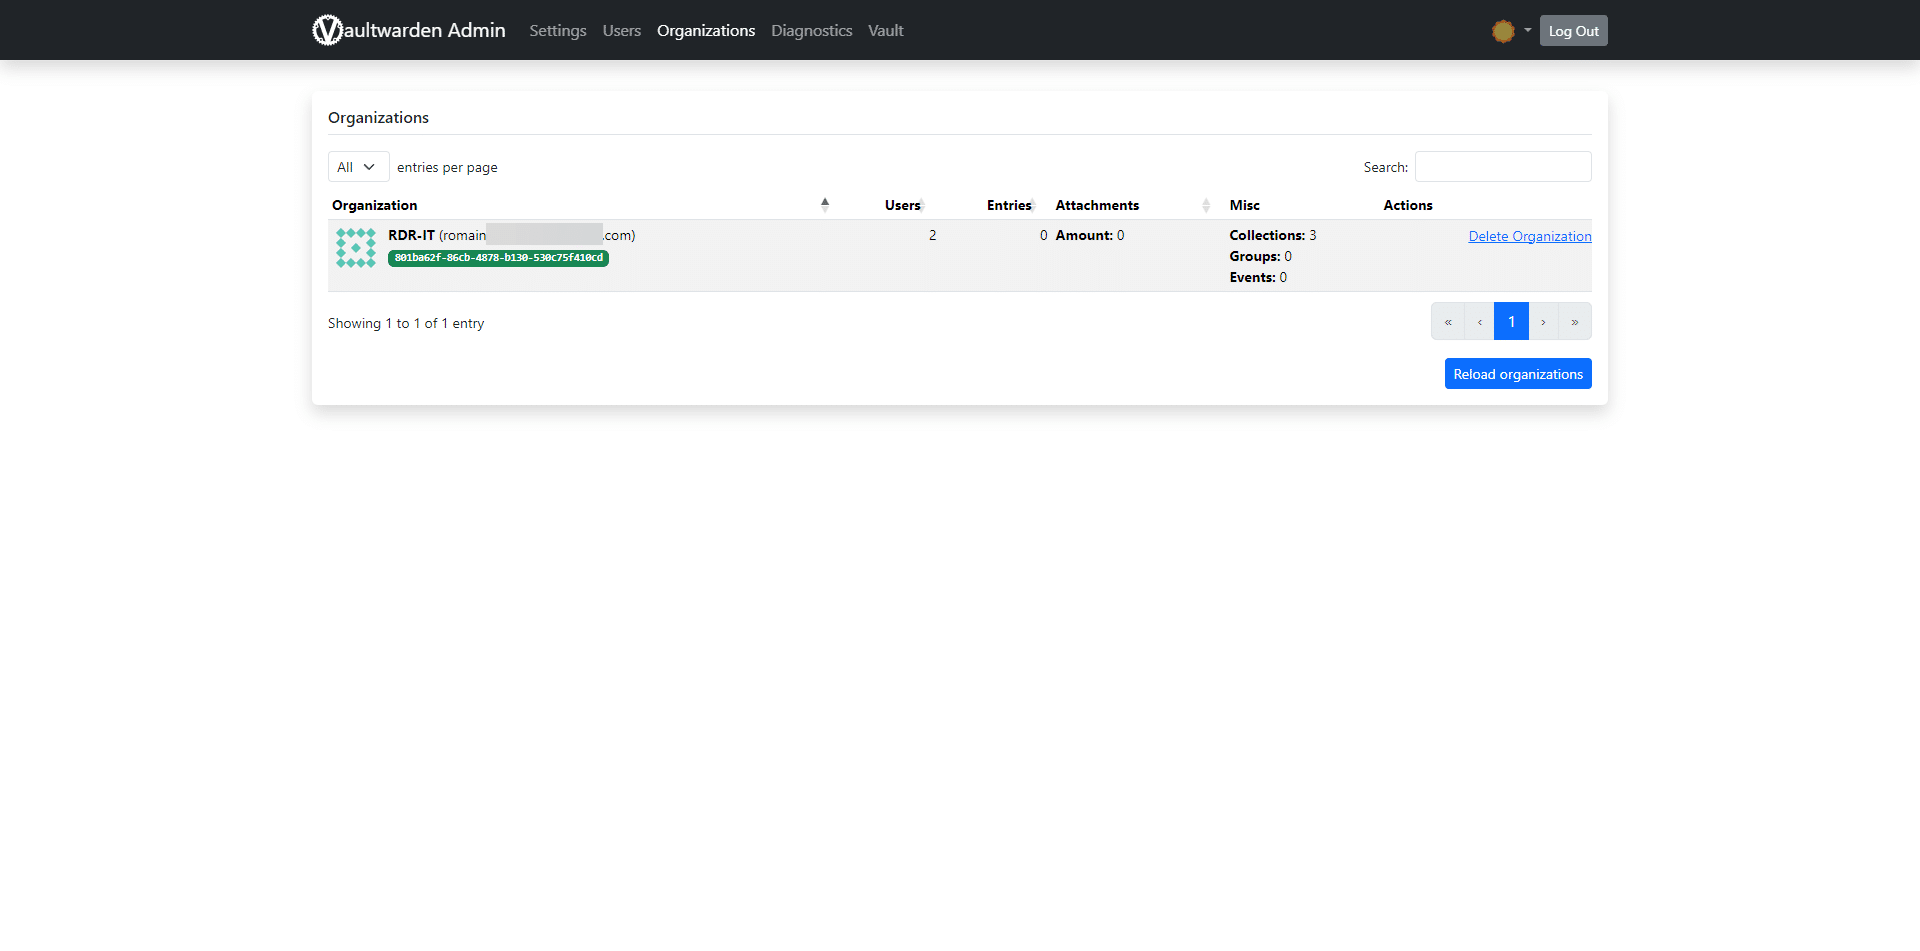
Once logged in, you’ll have access to user and organization management settings.
This first tutorial on Vaultwarden ends here; there’s still a lot more to say about what this tool can do—I’ll leave you to explore on your own ;)
By default, Vaultwarden uses an SQLite database, but you can switch to MariaDB if you wish: https://github.com/dani-garcia/vaultwarden/wiki/Using-the-MariaDB-(MySQL)-Backend